
Studio Gear Organizer
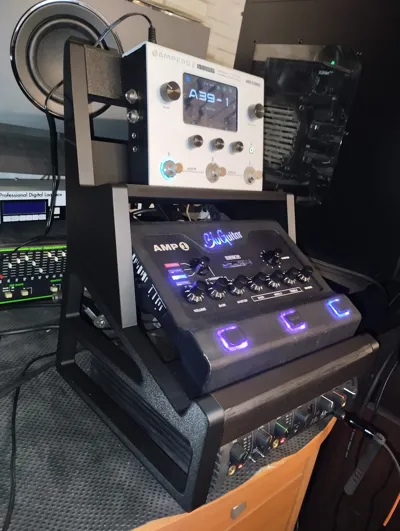
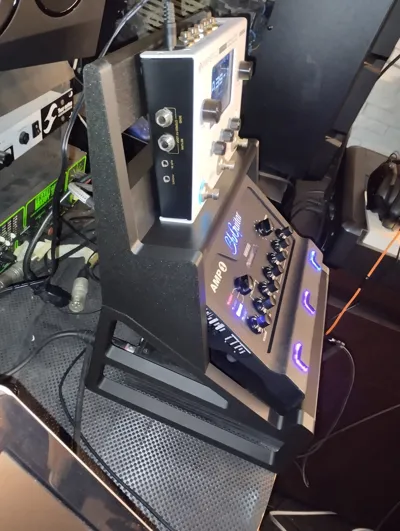
Print Profile(1)

Description
Your support is important and an incentive for future projects. If you liked this work, don't forget to leave a like, a comment, and a 5-star rating. I would be grateful
Boost Me (for free)
If you like this work and want to support me, you can do so for free by sending me a boost
Studio Gear Organizer
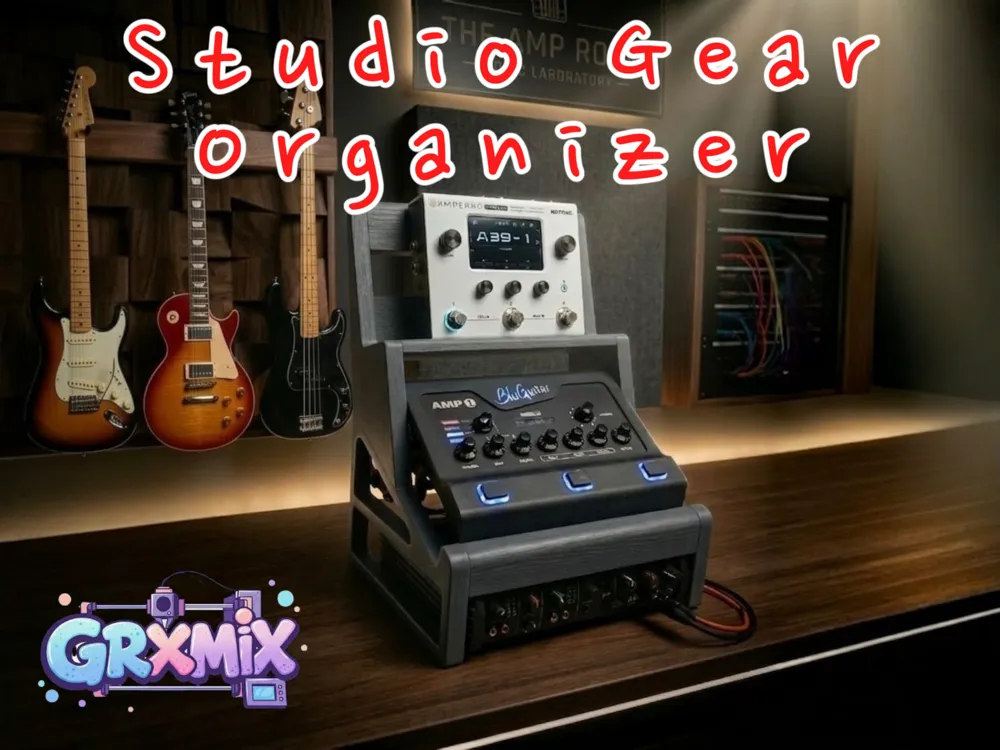
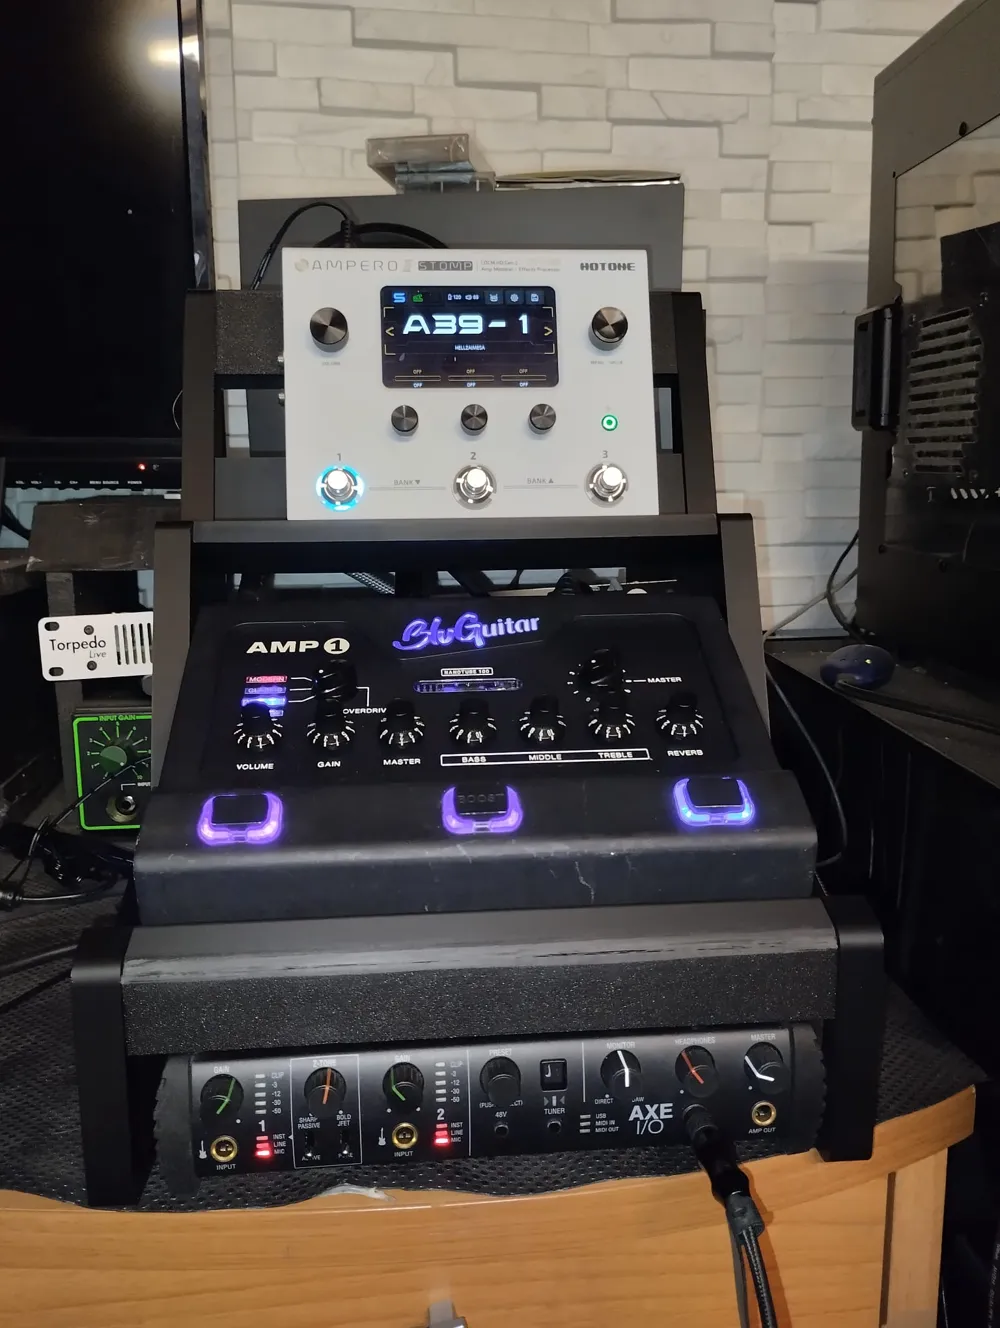
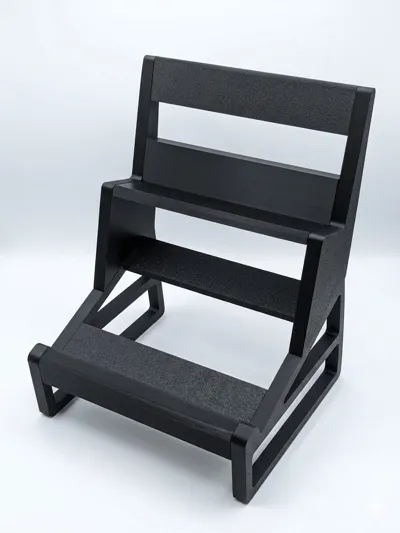
The ultimate Desktop Guitar Rig Stand for Audio Interfaces, Amps, and Multi-effects.
Stop battling desk clutter and centralize your sound!
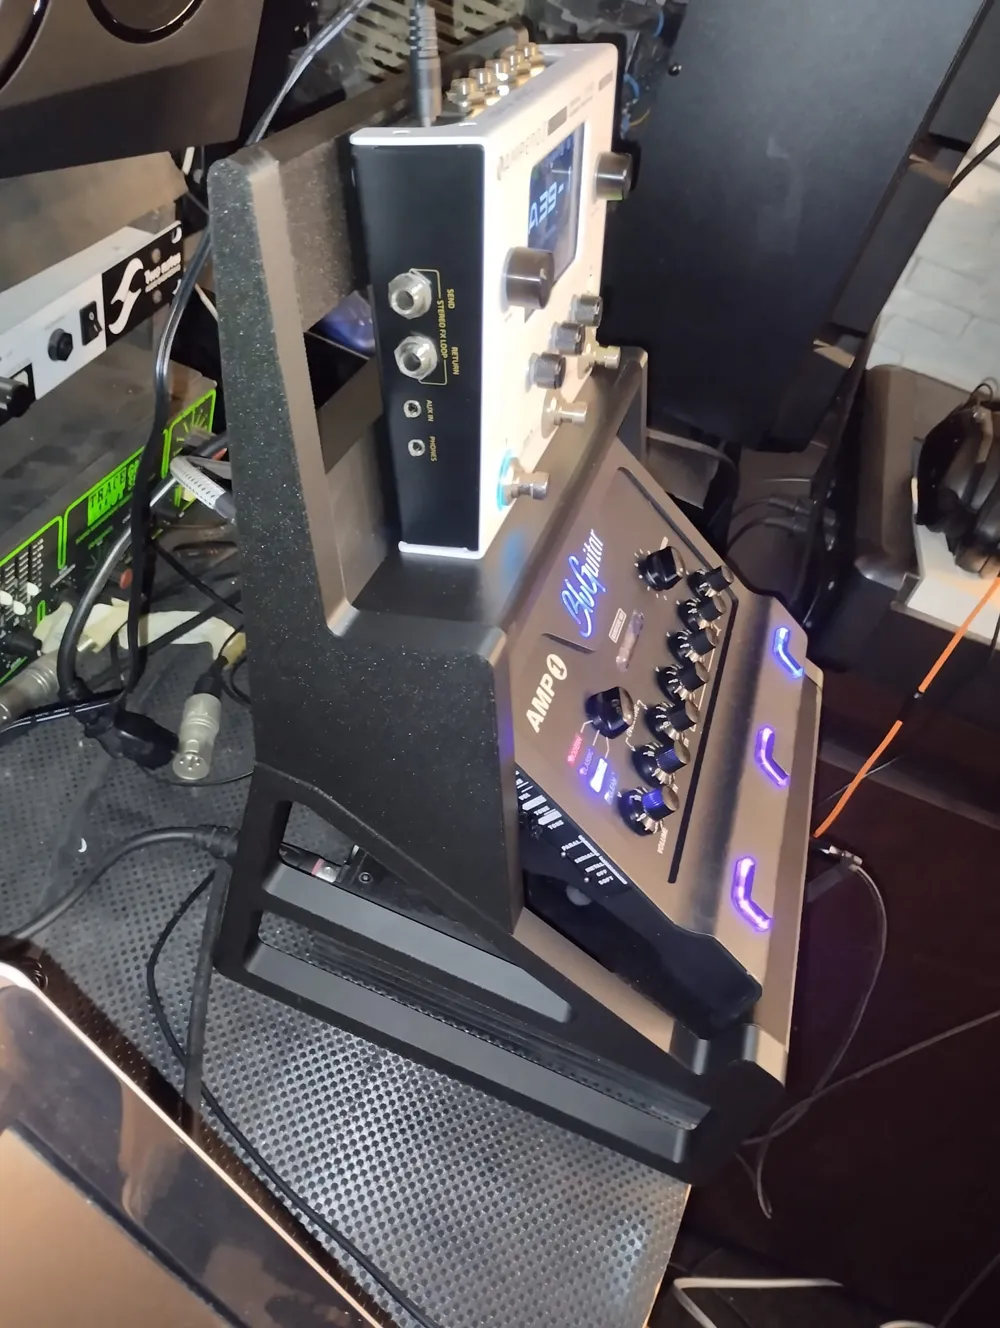
This desktop stand is the ultimate solution for organizing your studio guitar rig neatly and ergonomically.
Specifically designed for those who record or practice in front of their computer, the stand allows you to vertically stack your essential devices, freeing up valuable space and drastically improving access to controls.
✨ Key Features:
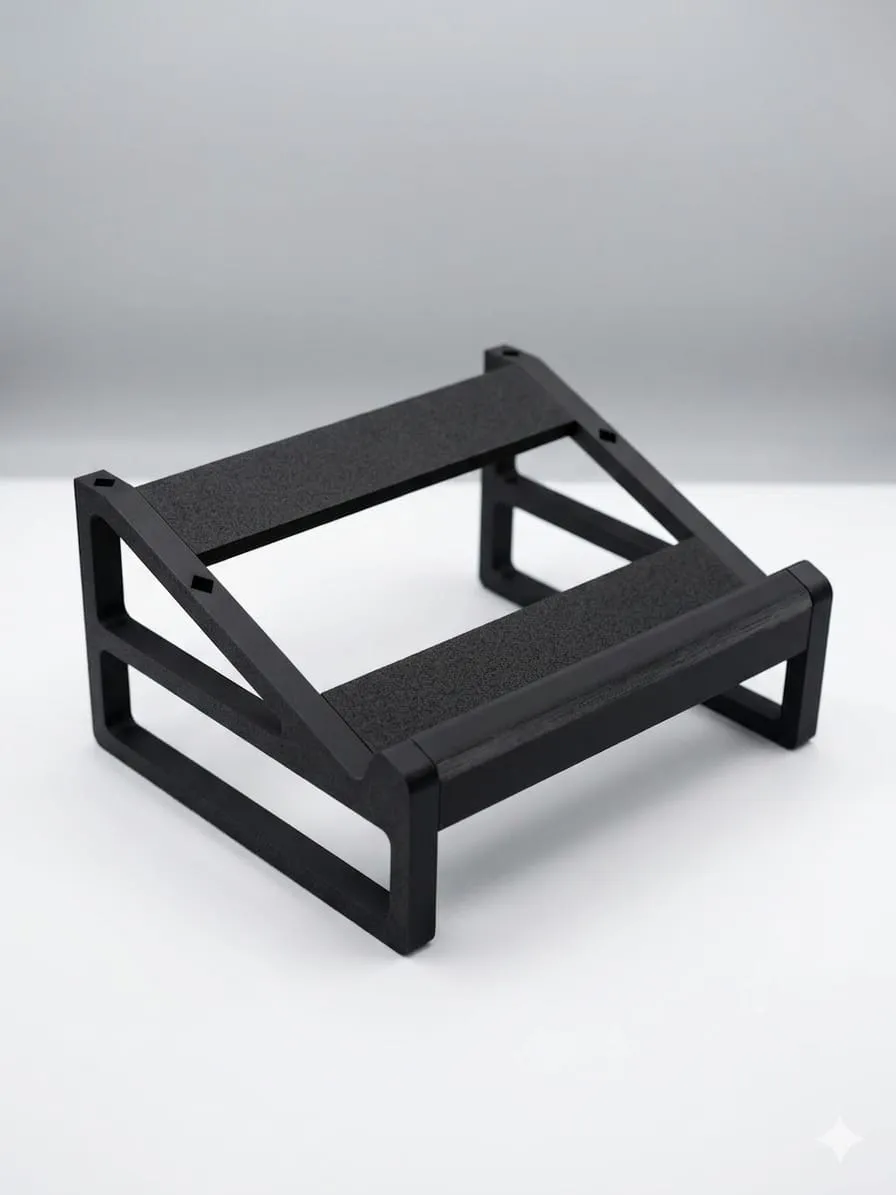
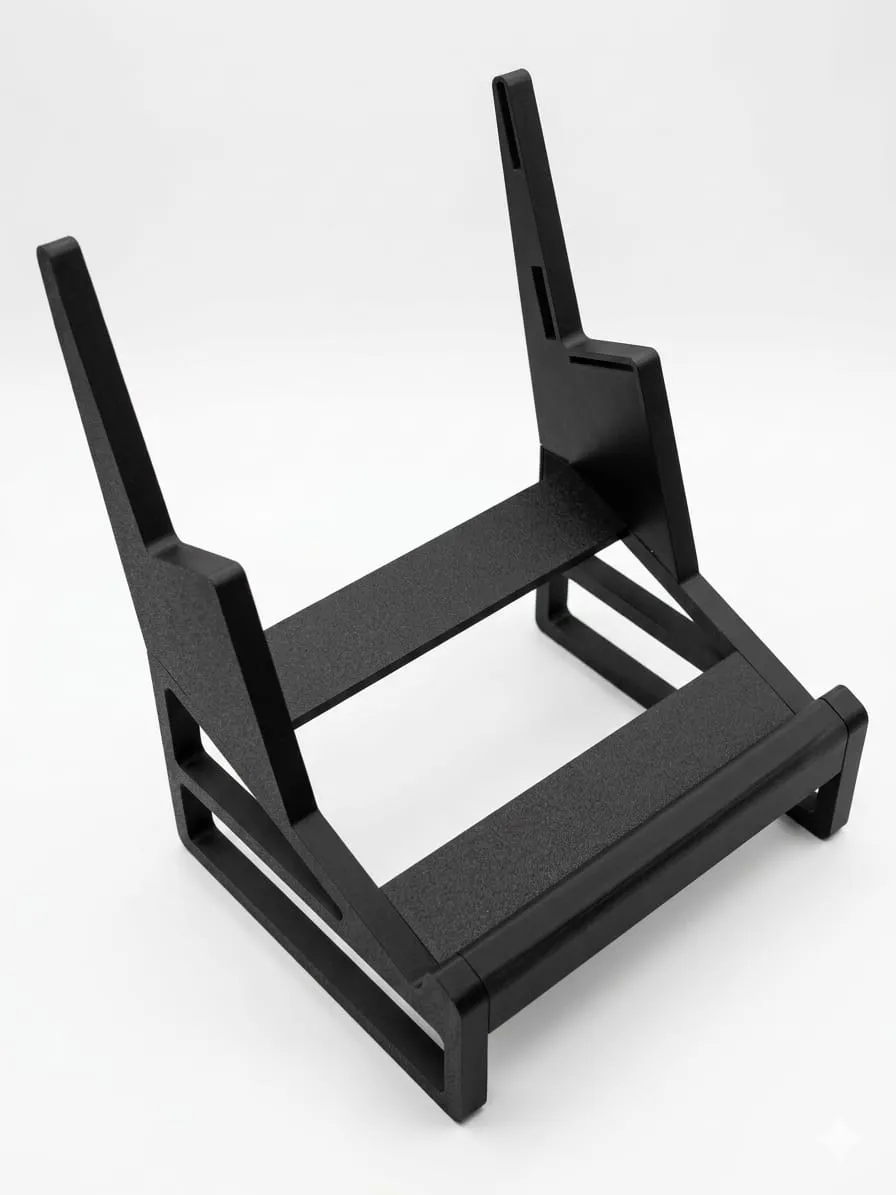
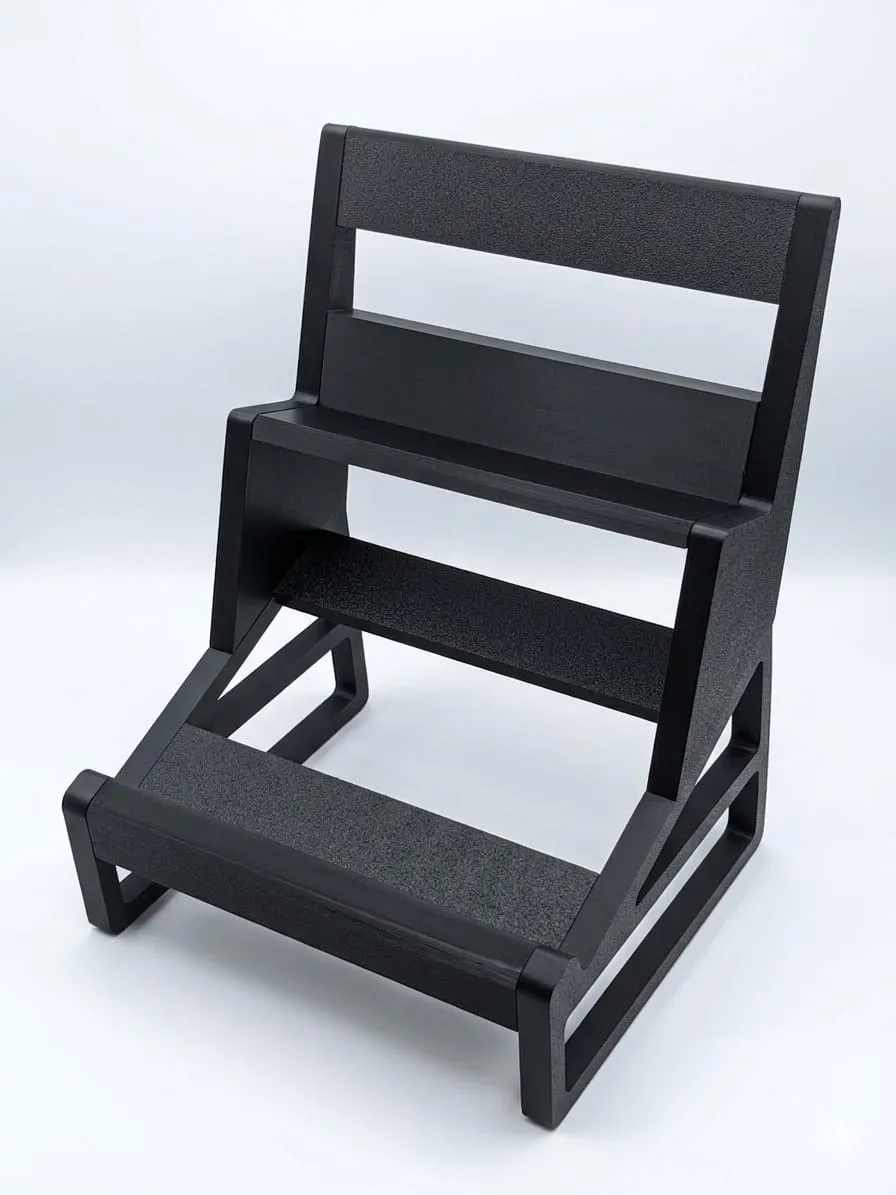
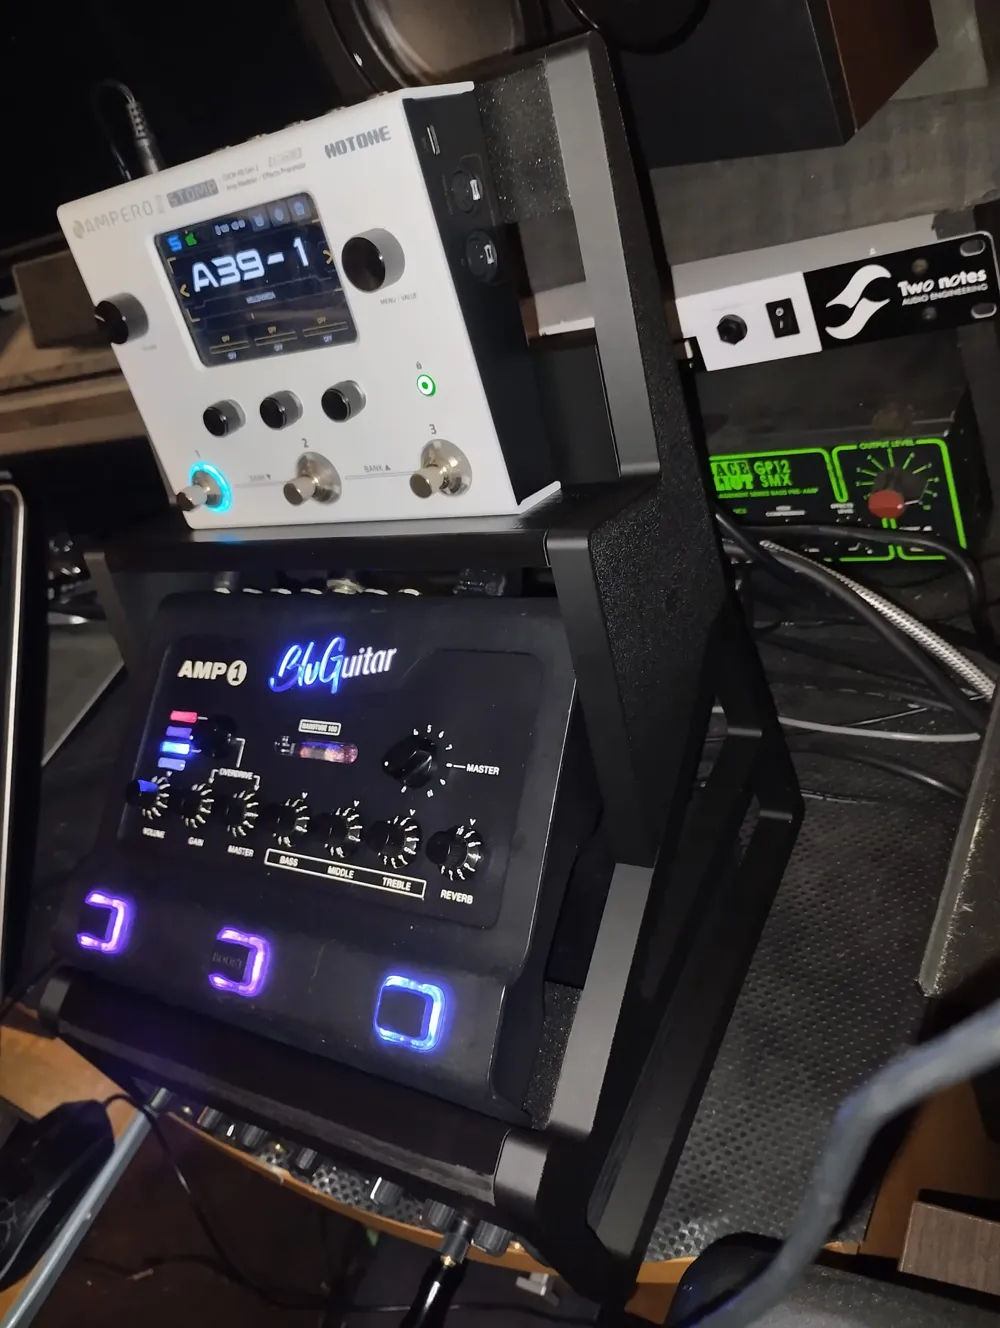
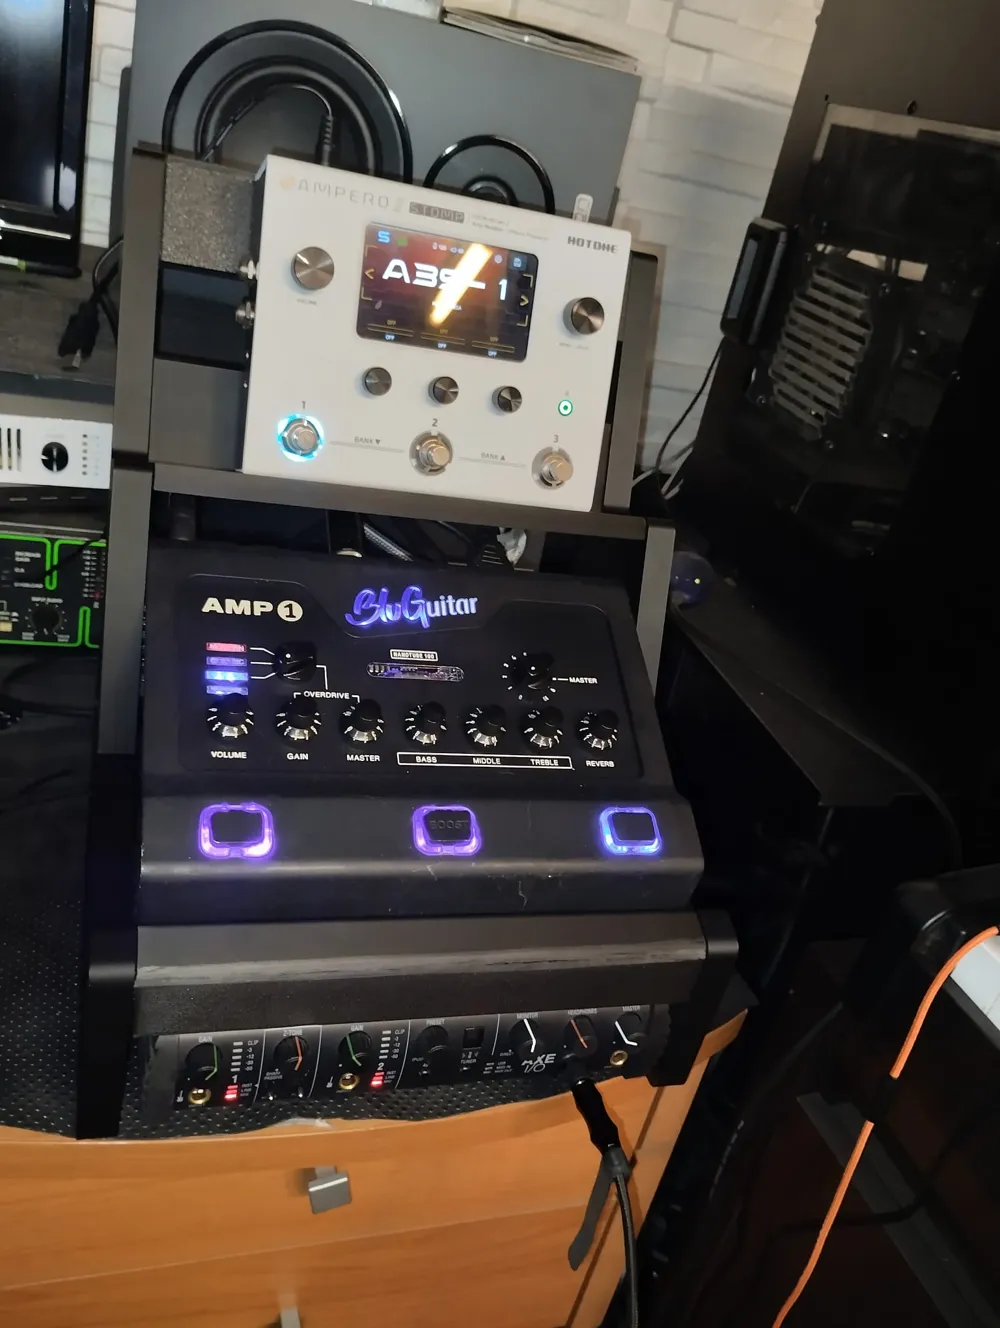
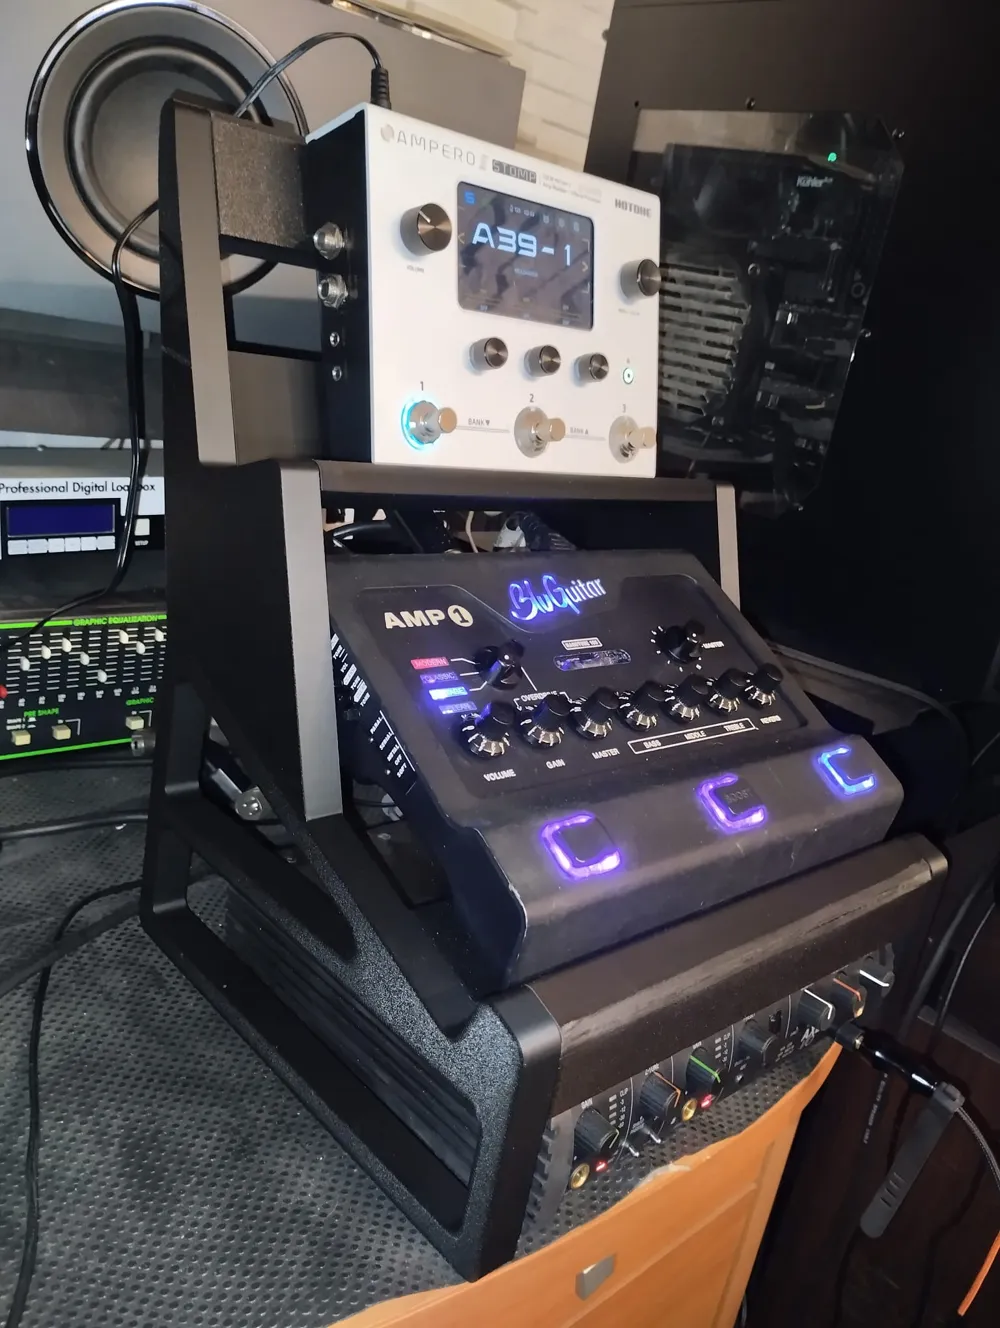
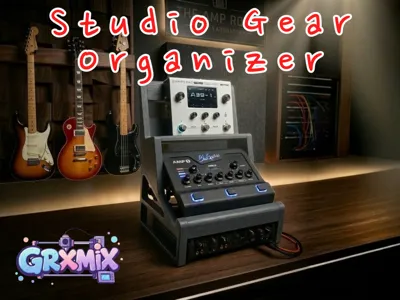
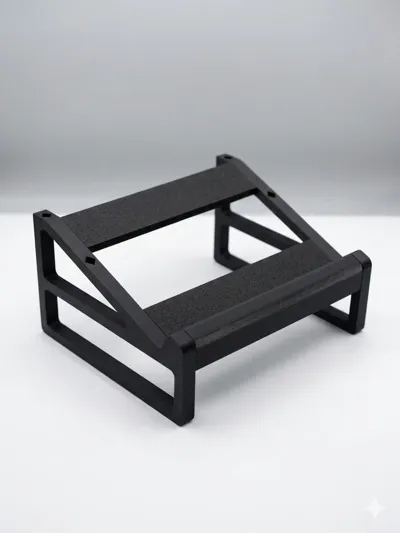
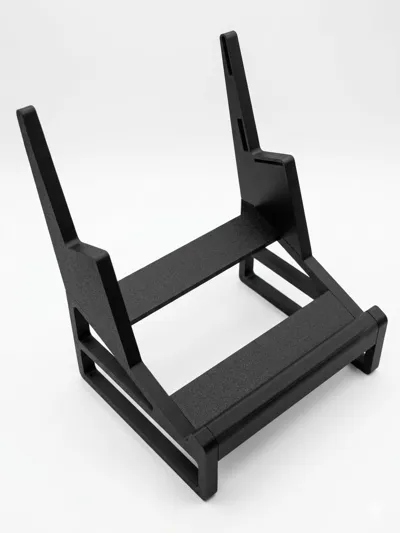
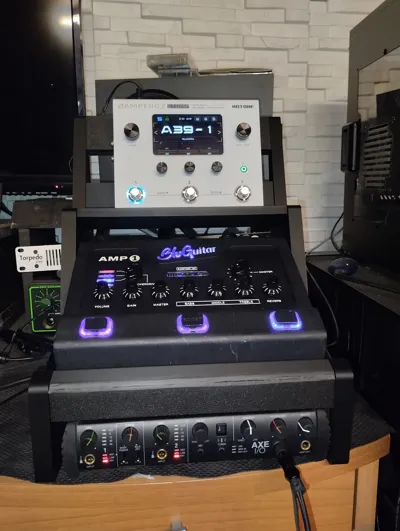
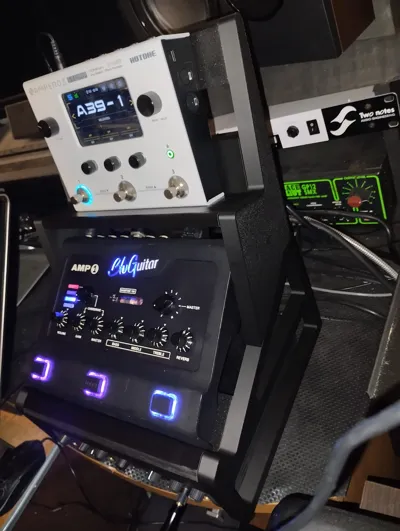
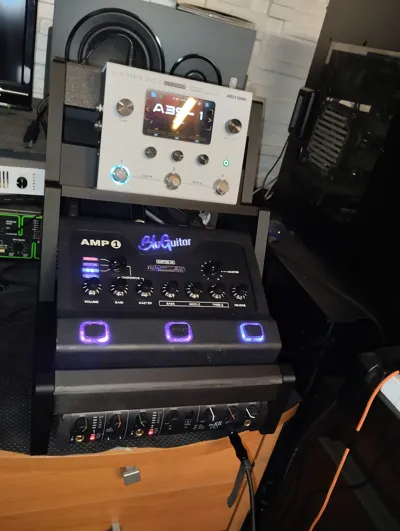
- 3-Tier Design: Dedicated space for audio interface (base), compact amplifier (center), and multi-effects processor (top).
- Ergonomic Tilt: Each tier is angled to ensure perfect display visibility and comfortable access to knobs.
- Cable Management: Open structure on the sides and back for neat cable routing without tangles.
- Stability: Solid base designed to support the weight of professional devices without wobbling.
📐 Compatibility:
- Bottom Tier: Ideal for standard audio interfaces (e.g., ik multimedia axe io).
- Middle Tier: Optimized for mini-amps (e.g., BluGuitar AMP1).
- Top Tier: Perfect for units like Ampero 2 Stomp
🛠️ Tips:
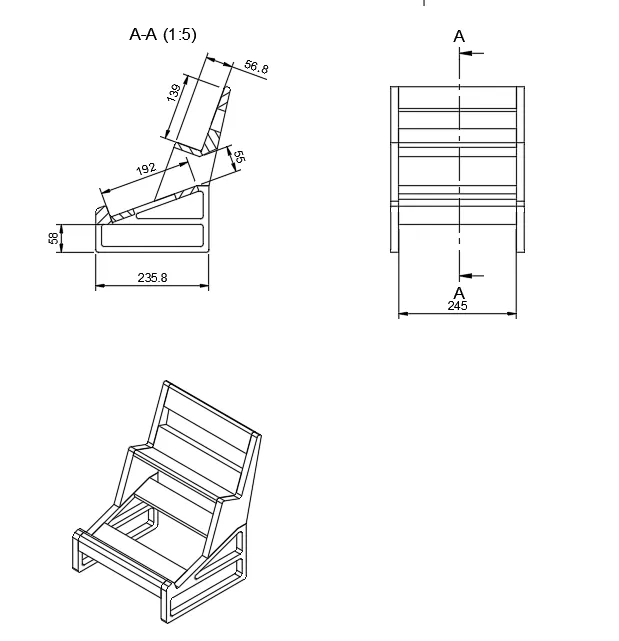
Ensure full compatibility with your devices: Refer to the image below to check the dimensions and ensure compatibility with your devices
Simple and intuitive assembly: No complicated assembly instructions are needed. To assemble it correctly, simply refer to the image below. You will find the name of each individual part within the print file directly in the slicer
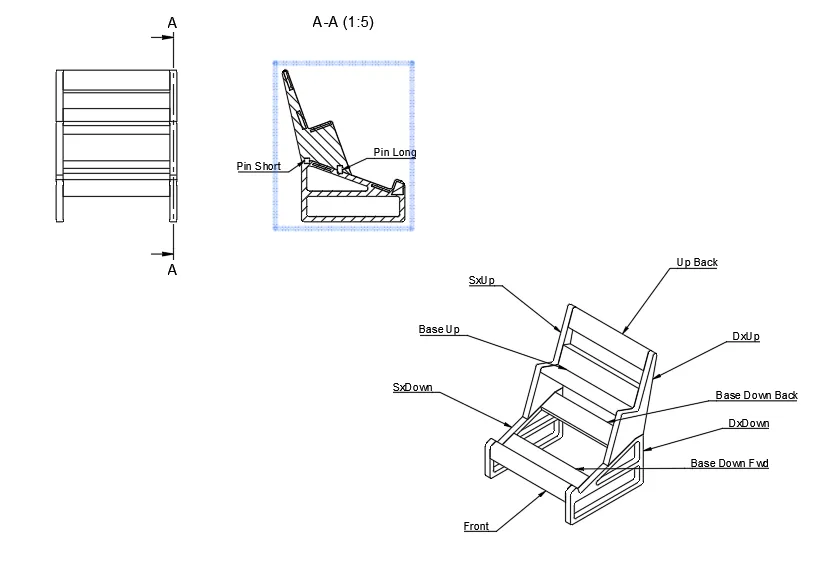
- Assembly does not require glue, but if you wish, you can still add a few drops of cyanoacrylate glue inside the joints
- Supports are kept to a minimum. Once removed, you might struggle to fit them into the joints, but don't worry, simply lightly sand the part after support removal using a file or sandpaper (it only takes a few seconds)
- Clean the build plate thoroughly to avoid warping issues
- To improve adhesion to the build plate, especially for large parts, it is recommended to use a cool plate or a supertak plate. Alternatively, you can add an outer brim to the model parts
License

You shall not share, sub-license, sell, rent, host, transfer, or distribute in any way the digital or 3D printed versions of this object, nor any other derivative work of this object in its digital or physical format (including - but not limited to - remixes of this object, and hosting on other digital platforms). The objects may not be used without permission in any way whatsoever in which you charge money, or collect fees.


Comment & Rating (8)