Snapmaker U1 Filament Enclosure - See Remix for V2


Print Profile(0)
Bill of Materials

Description
Notes:
- For the bottom cover, align your seams away from the PTFE clip hole.
- The "...no Hole" top cover model removes the temperature and hygrometer hole.
- The "...For Locator" bottom cover model has a bigger cutout to fit the spool holder, you need to print the locator if you are using this.
- I suggest printing in PETG but PLA works too.
- I have only printed 5 iterations of these, so I suggest you print 1 set first and see how it fits, if you have any complaint/feedback, let me know and I will fix it asap.
- I have used 2 walls and 8% infill (you can probably drop this down to 5%).
3D Printed BOM:
- 4 × PTFE tubes (12–15 cm long, ~4 mm Ø)
- 4 x Bottom Cover - Default Model that fits onto Spool Holder
- OR Bottom Cover with Bigger Cutout - Bigger cutout at the base in case you have a custom and wider spool holder (requires locator for centreing on default spool holder)
- 4 x Top Cover - Default Model with cutout for temp and humidity sensor, if yours doesn't fit properly (Bambu branded sensors), please print a spacer (I made it wider to accommodate Amazon and other generic ones).
- OR Top Cover with No Hole - No cutout for temp and humidity sensor
- Tape Template - Guide to cutout adhesive tapes to required size/shape.
- Locator - Use this to centre Bottom Cover with Bigger Cutout models.
- 8 x PTFE Male Connectors
- 8 x PTFE Female Connectors.
Additional BOM:
- 4 × BambuLab digital thermometer/hygrometers or alternatives (Optional)
- 10 mm wide double-sided adhesive tape, 2 mm thick
- Using the provided template: 24 strips required
Assembly Instructions:
- Undo the filament auto feeder refer to the printer's assembly manual).
Using the included H2.0 hex key, remove the two screws and separate the feeder halves.

Remove the metal spacers from the auto feeder as shown below.

Insert the male clips where the spacers were.

Insert the PTFE tubes into the female clips from the flat end (do not push fully through).

Snap the male and female clips together. If resistance occurs, slightly pull back the PTFE tube.

- Once clicked in place, push the PTFE tube in fully.
Reassemble the filament auto feeder unto the printer.

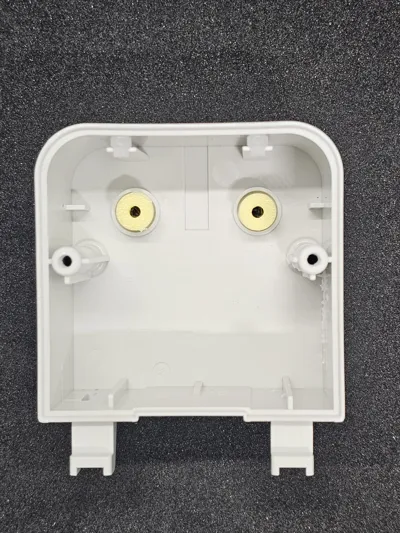
- Insert the male PTFE connector through the 6mm hole in the bottom cover such that the split ends face outwards.
- Slide the female connector onto the PTFE tube from the auto feeder.
For 6 adhesive strips, peel backing from one side and insert them inside the groove of the bottom cover (groove depth: 1.5 mm). Join the strips closely to avoid gaps.

- Similar to the steps for the auto feeder, snap together both PTFE clips and push the PTFE tube fully in.
Insert the locator through the spool (do not skip this step UNLESS you've printed the no locator model “Bottom Cover”, due to the clearance of the spool to the cover, if the cover is not centred properly, the spool will rub against the top cover and stop it from closing properly).

- Test fit the bottom cover (adhesive backing film still on) through the spool holder and locator to determine the fit.
- Rotate it to your preferred orientation of the PTFE tube, and if required, cut the PTFE tube to length.
- Once satisfied, remove the film backing of the tapes attached to the bottom cover.
- Align the bottom cover through the spool holder as previous in the chosen orientation.
Press the cover to printer’s body slightly. Perform a final check, and if satisfied, press in place with more pressure and remove the locator.

- You can now fit the top cover.
- If you have some desiccant packs, you can chuck them through the temperature hygrometer hole.
Fix the digital temperature and hygrometer through the hole in the top half cover. If it is too loose, add a spacer design to size as shown below.

Thanks for downloading! Please provide feedback for improvements.
If you appreciate this model, you can buy me filaments here: https://ko-fi.com/emam719431
I am also selling the full part list (3D printed parts and accessories) required for the complete build on Etsy and eBay with international shipping.
Comment & Rating (13)