
Plants vs. Zombies - Gatling Pea
Print Profile(1)
Description
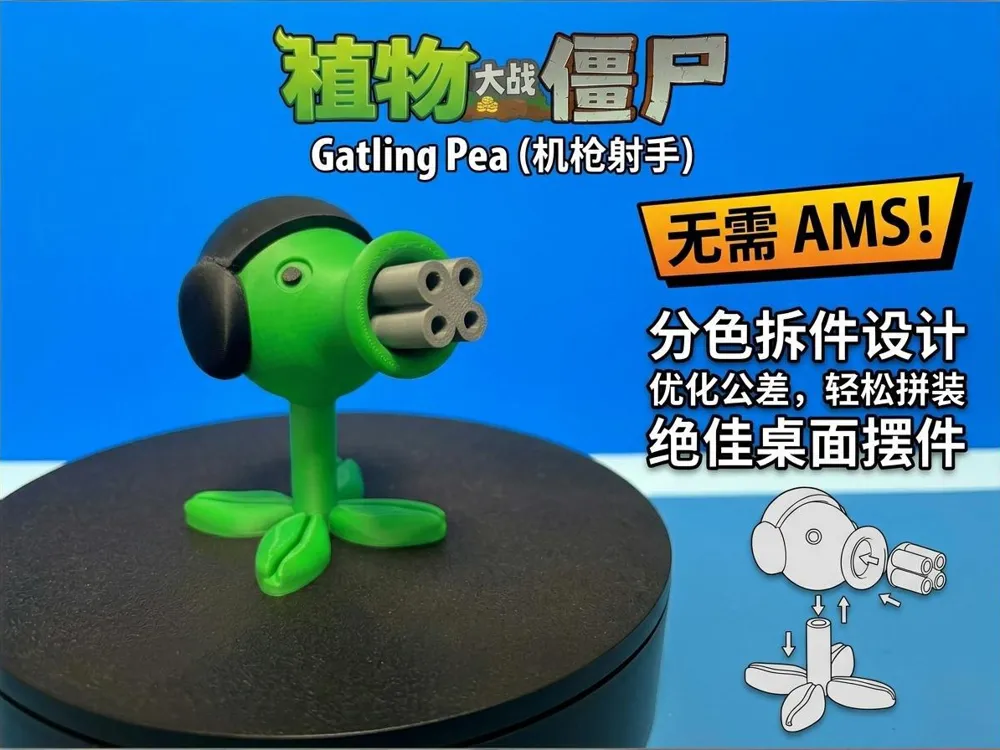
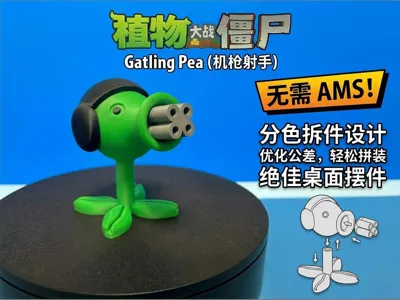
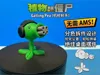
“Ready for the zombie horde? Full firepower!” The ultimate evolved form of the Peashooter — the Gatling Pea is here! This model perfectly recreates the powerful “Gatling Pea” from the classic game Plants vs. Zombies. To allow all 3D printing enthusiasts to own this attractive desk ornament, I have specifically designed the model with detailed color separation and part breakdown!
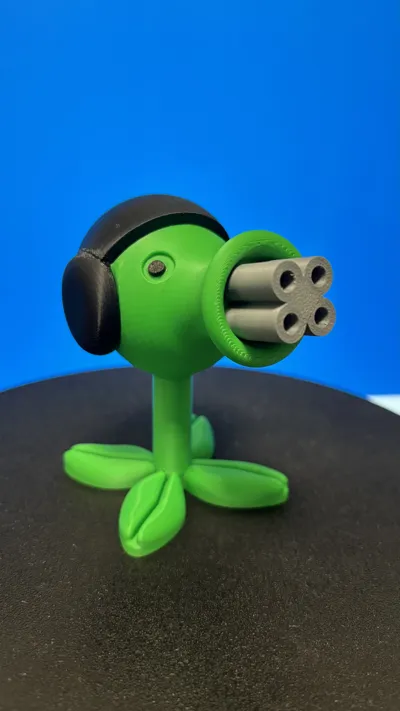
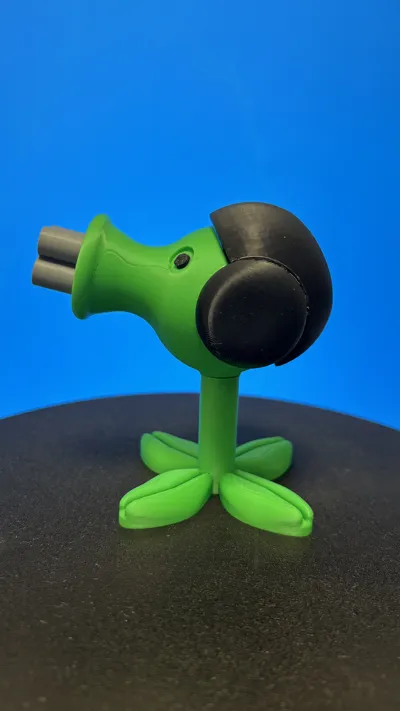
- 🚫 No AMS Required: All parts have been independently separated onto plates according to color (green body/leaves, black helmet/eyes, silver-gray barrel). With just a regular single-color printer, you can achieve a perfect colorful model by changing filament in batches!
- 🧩 Easy Assembly: Part tolerances have been optimized, so after printing, you can simply plug and assemble (a small amount of model glue/super glue 502 is recommended at connection points for ultimate sturdiness) to get a perfect Gatling Pea.
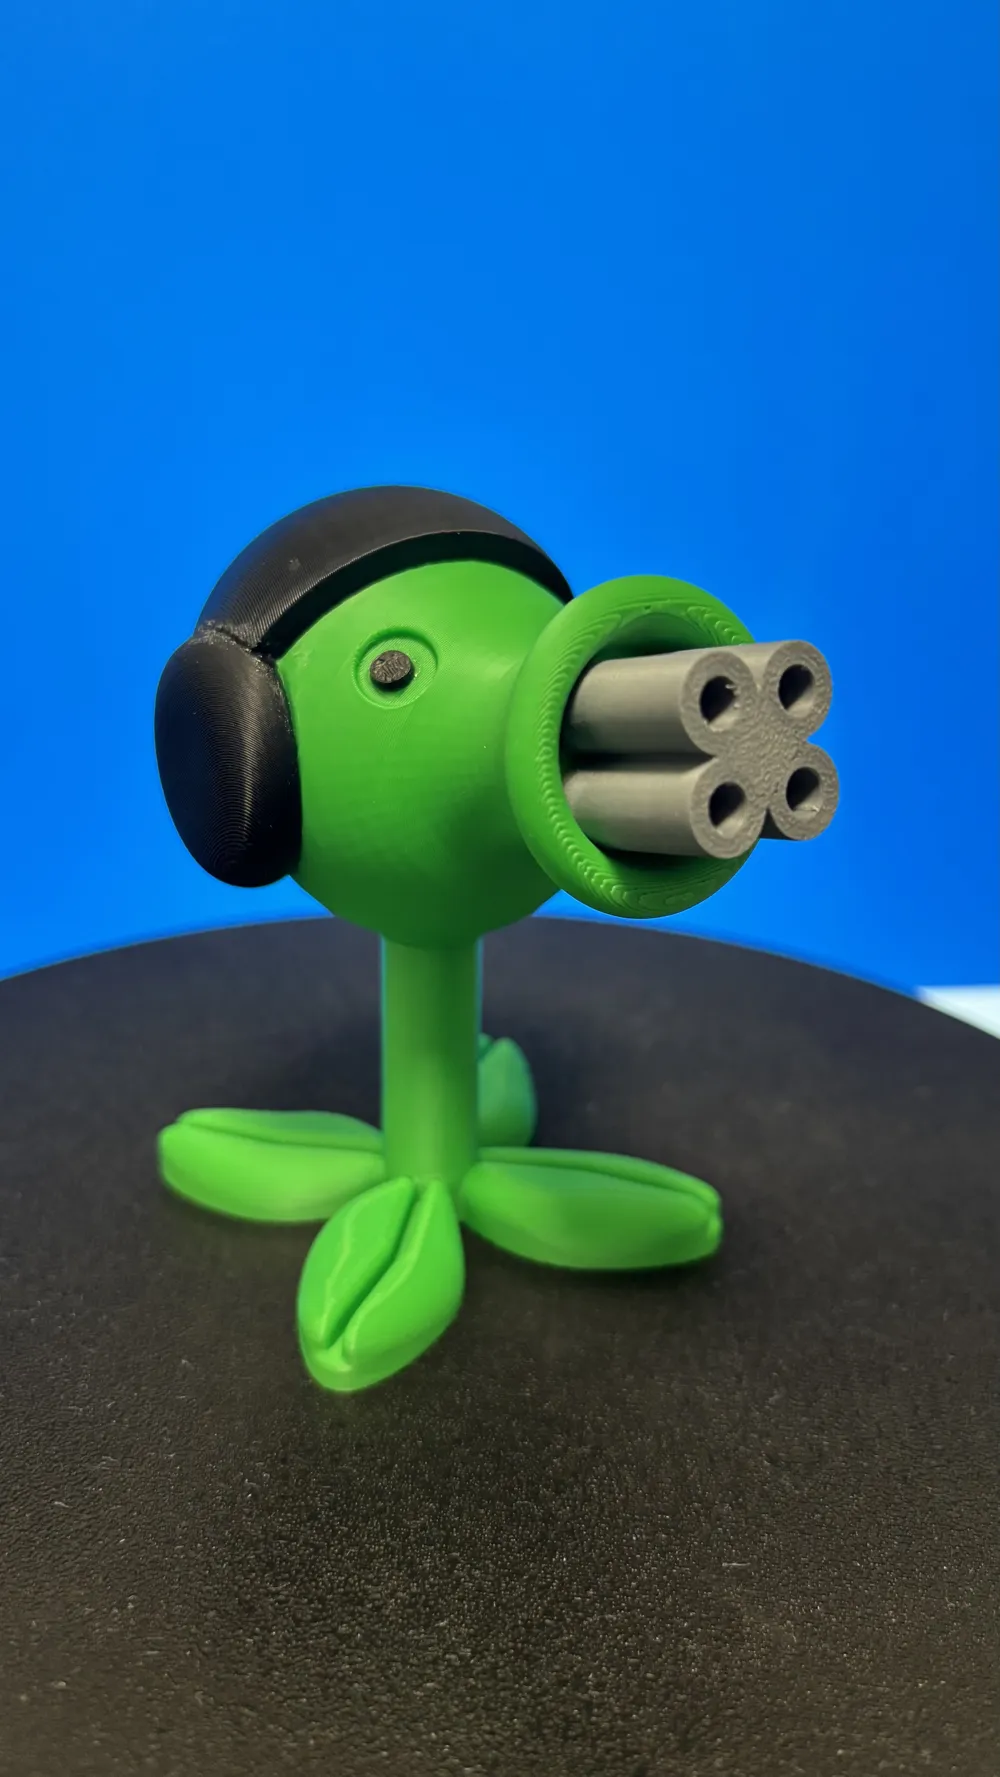
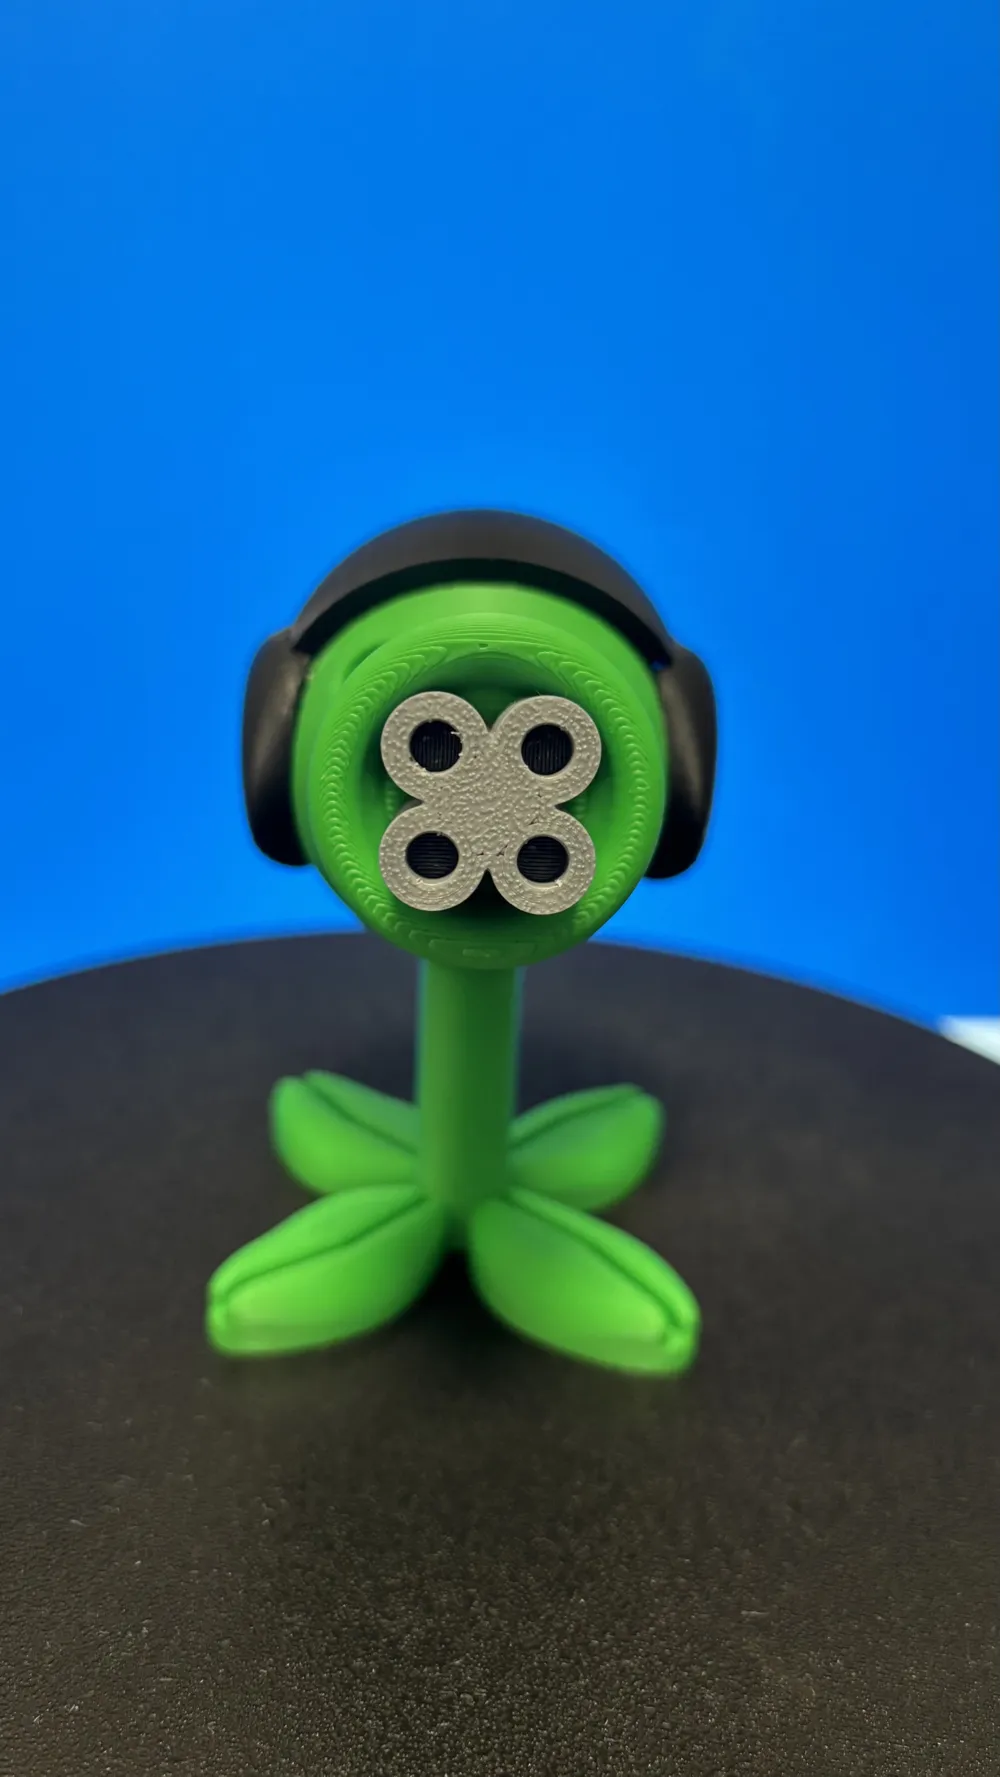
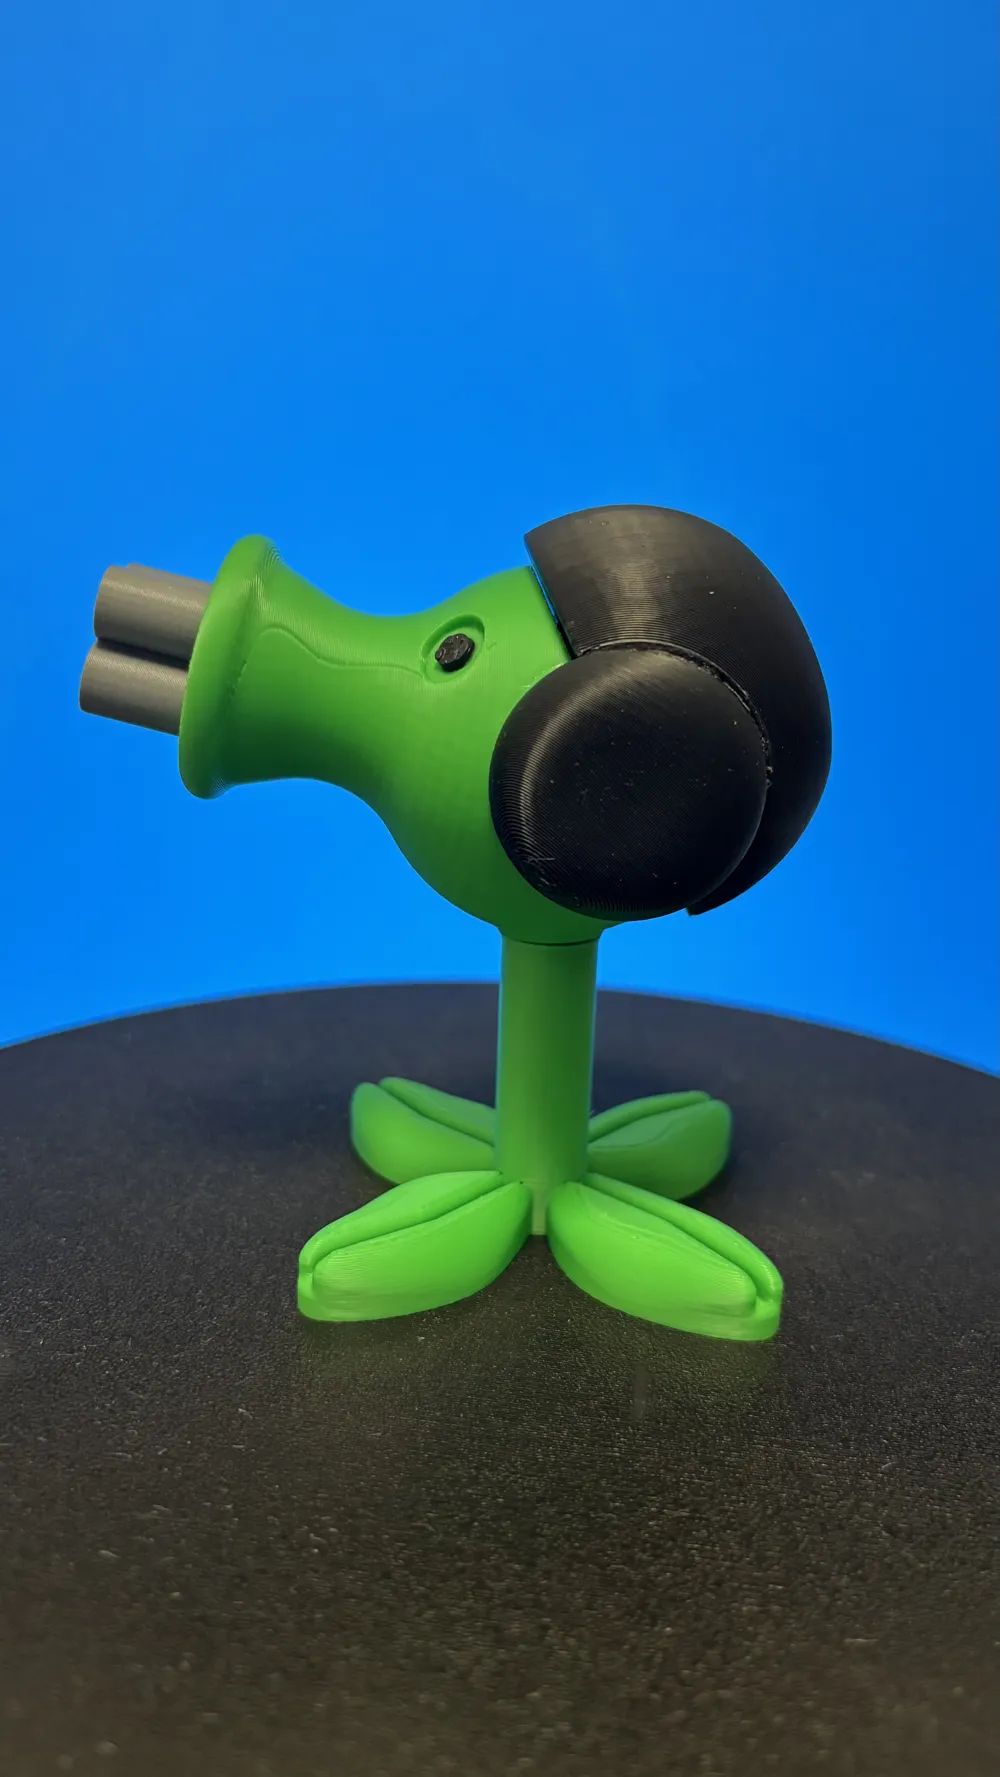
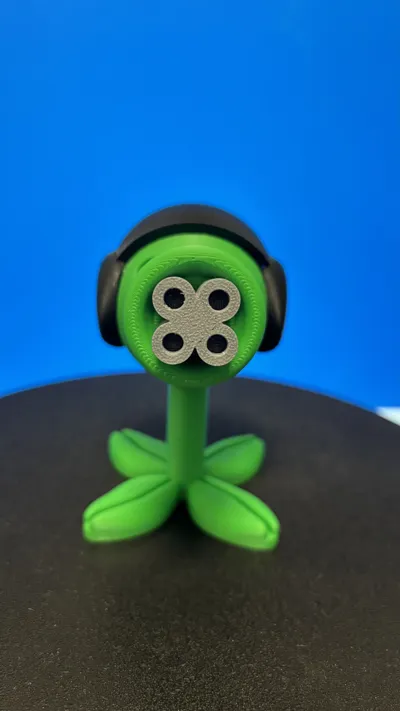
✨ High Details: The rounded head, iconic four-hole gatling barrel, and cool tactical helmet perfectly replicate the game's essence, making it an excellent desk ornament and a great gift for friends.
🛠️ Print & Assembly Tips:
- Material Recommendation: PLA / PETG (the one shown in the photo is PLA, with excellent surface texture).
- Layer Height Setting: 0.2mm layer height is sufficient for both print speed and surface smoothness.
- Support Settings: For parts with overhangs such as the head and helmet, it is recommended to enable supports (tree supports are more effective and easier to remove). The barrel and leaves may not require supports or only need minimal auxiliary supports depending on the placement angle.
- Assembly Order: Assemble the helmet first, then the two ears; other parts can be assembled in any order.
License

You shall not share, sub-license, sell, rent, host, transfer, or distribute in any way the digital or 3D printed versions of this object, nor any other derivative work of this object in its digital or physical format (including - but not limited to - remixes of this object, and hosting on other digital platforms). The objects may not be used without permission in any way whatsoever in which you charge money, or collect fees.


Comment & Rating (2)