
RED BULL F1 RB19 - 2023 SEASON - NAUSELLO ALERON
Print Profile(2)
Description
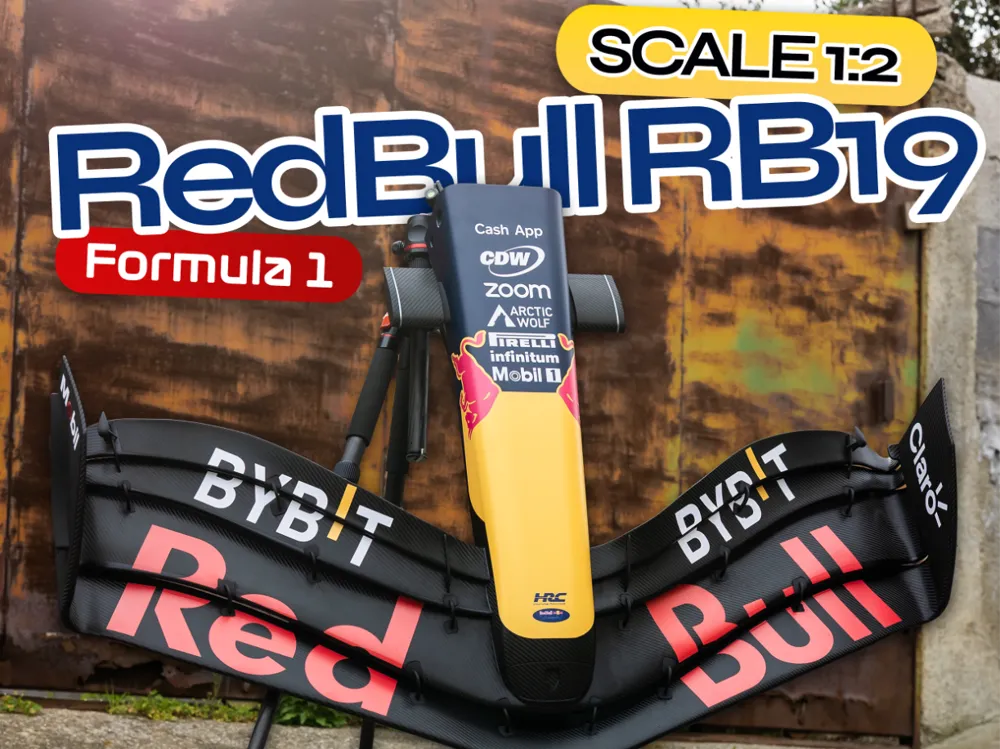
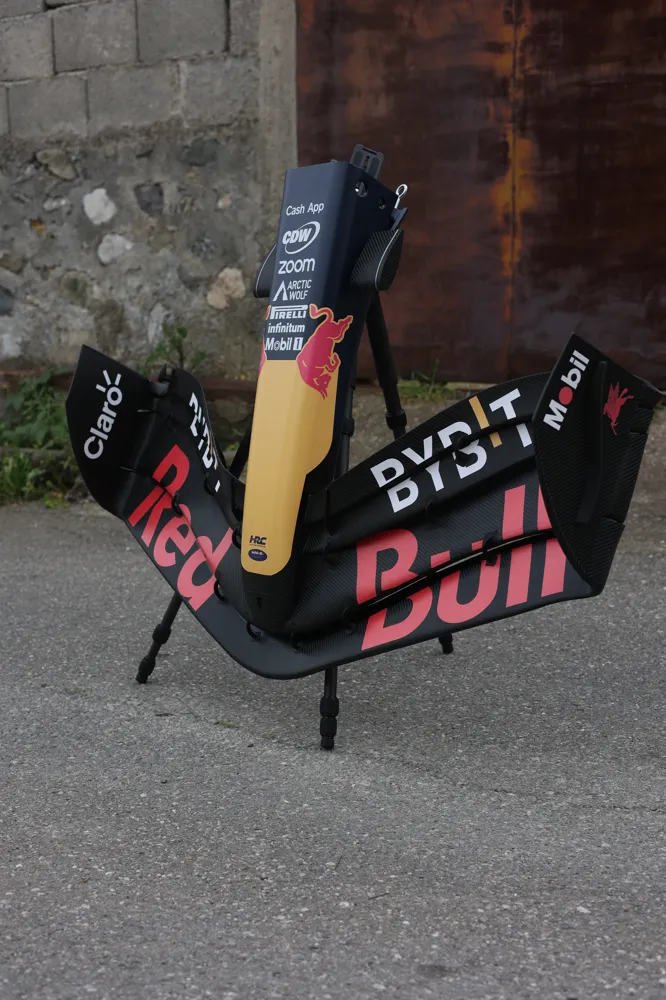
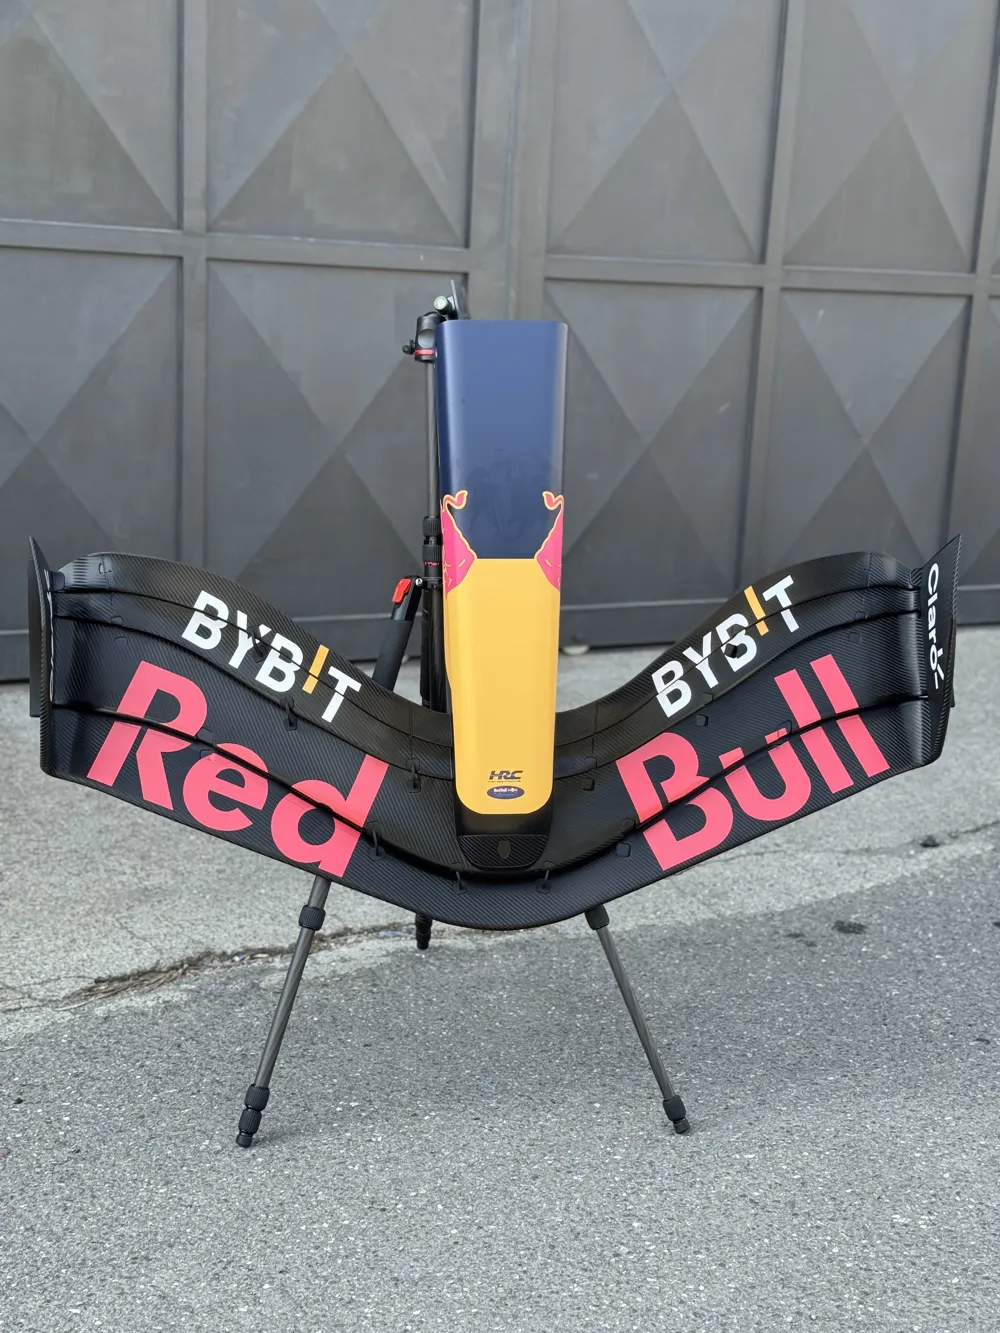
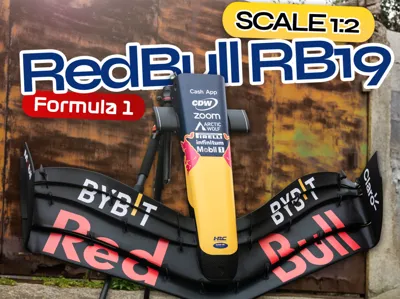
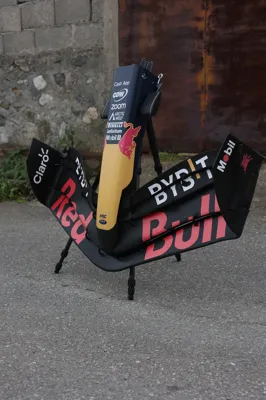
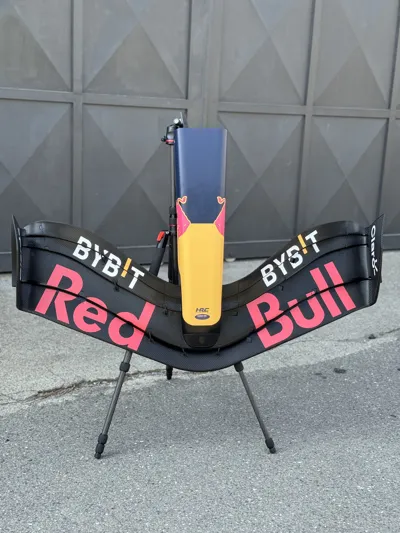
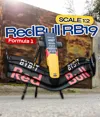
Red Bull RB19 2023 – 3D Model
Project Description
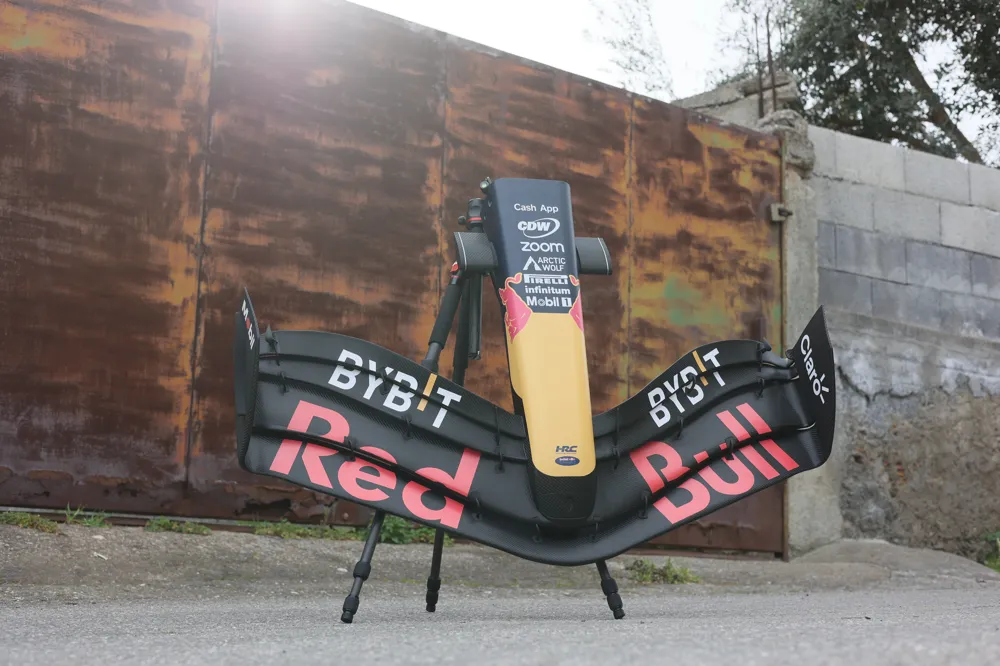
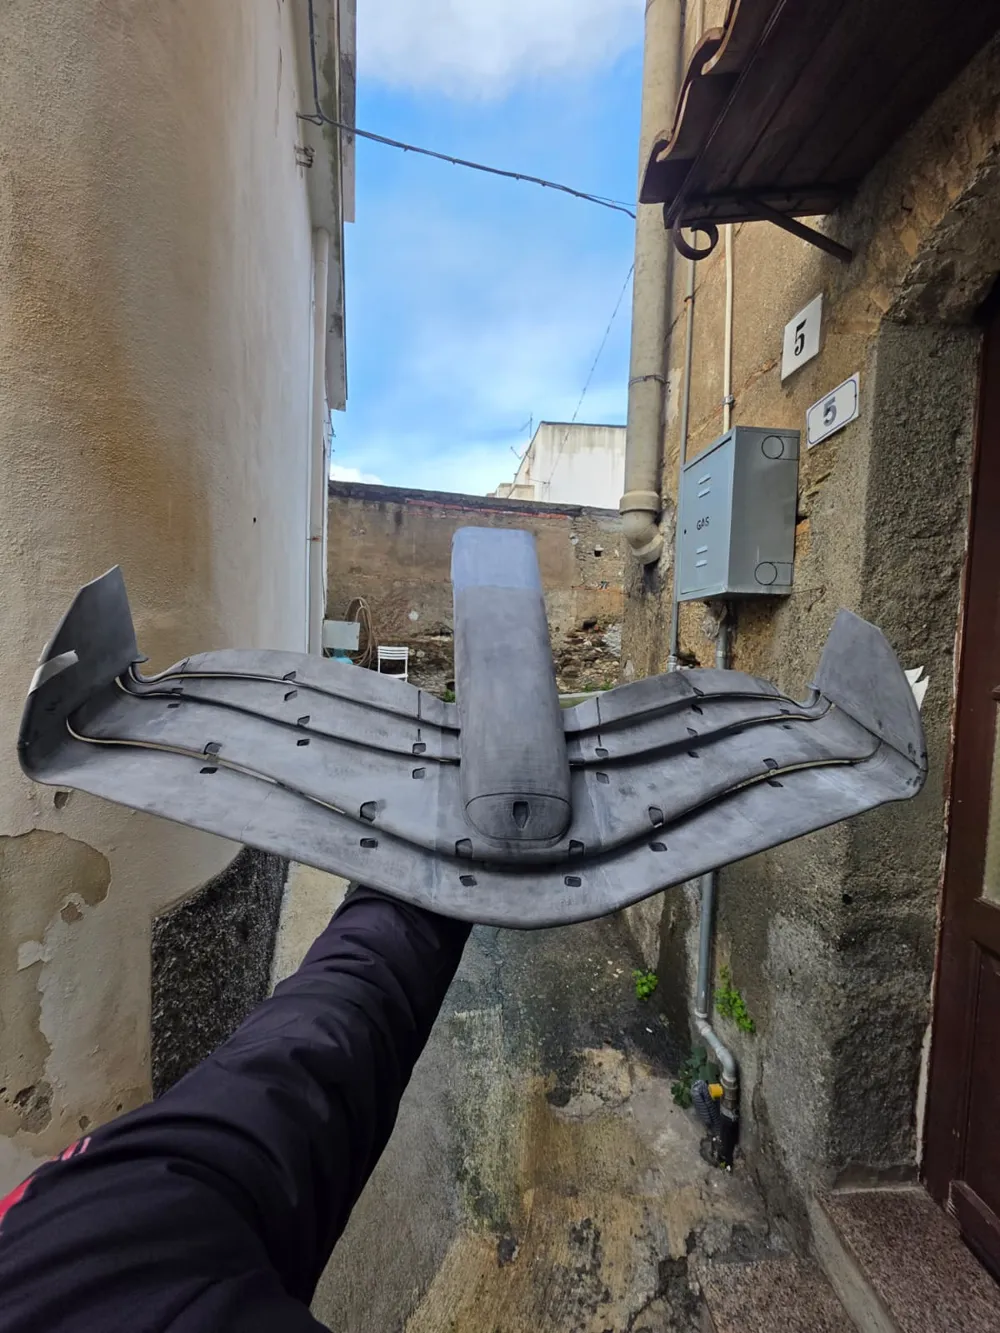
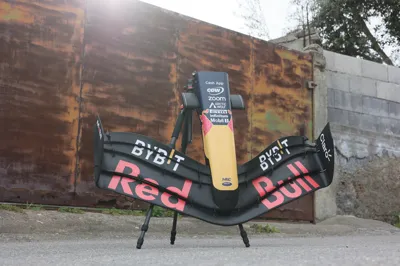
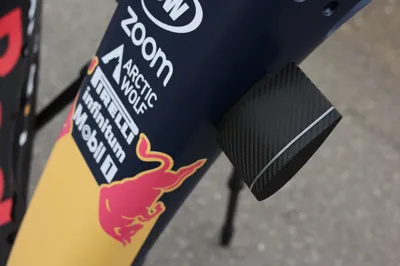
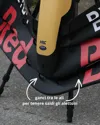
This 3D model of the Red Bull RB19 2023 was started in November 2025, and the creation process took approximately 4-5 months including prototyping, printing, and post-production. The model is definitively finished and ready to be presented, with all final details and finishing completed. The central nose and front wing are among the most complex sections of the project, characterized by high-precision assembly details
3D Model Details
- Materials used:
The model was printed using ABS, with a print precision of 0.16 mm and a 0.4 mm nozzle.
The second print profile for the inserts was printed using PETG and PLA Silk, with a print precision of 0.06 mm and a 0.2 mm nozzle. - Project status:
The model is completely finished, with all components assembled and refined.
Model Dimensions
- Width: 1.20 m
- Length: 80 cm
- Height: > 30 cm
- Weight: < 6 kg
Central Nose Assembly
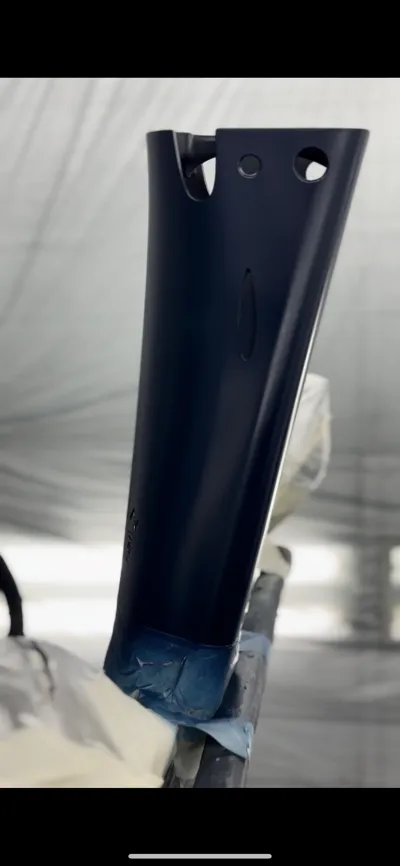
The assembly process begins with the central part, which consists of 3 large pieces. These pieces are joined together by a drilled joint that allows for the insertion of a two-component adhesive for sealing. Subsequently, the entire assembly is secured with 7 bolts and corresponding M6x3 nuts to ensure stability
Central Wing Assembly
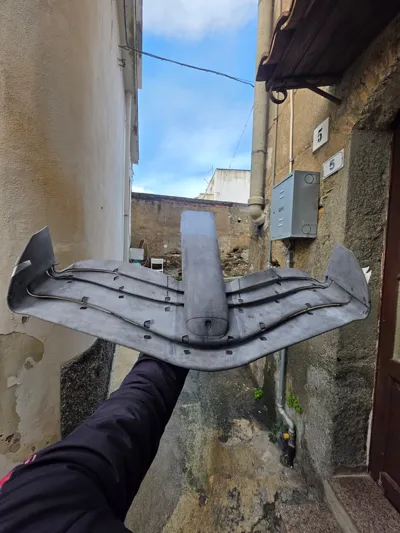
In the 3mf file, we have sorted the wings into 4 pre-split plates, distinguishing left from right.
Inside each plate, there are 2 winglets, which should be paired together; to facilitate recognition, we also recommend writing the orientation and wing number with a marker.
To pair them, we recommend epoxy resin; those without much experience in the field can find the ready-to-use Pattex two-component epoxy resin. Once the two-component adhesive is applied, hold manually for about 5 minutes or use clamps, making sure both parts are flush.
Once all pairs of wings are glued and dried, we recommend sanding at this step with a 120-grit sandpaper, so that once fully assembled, given the fragility of the piece, too much force and torsion do not need to be applied
Deflectors and Final Assembly
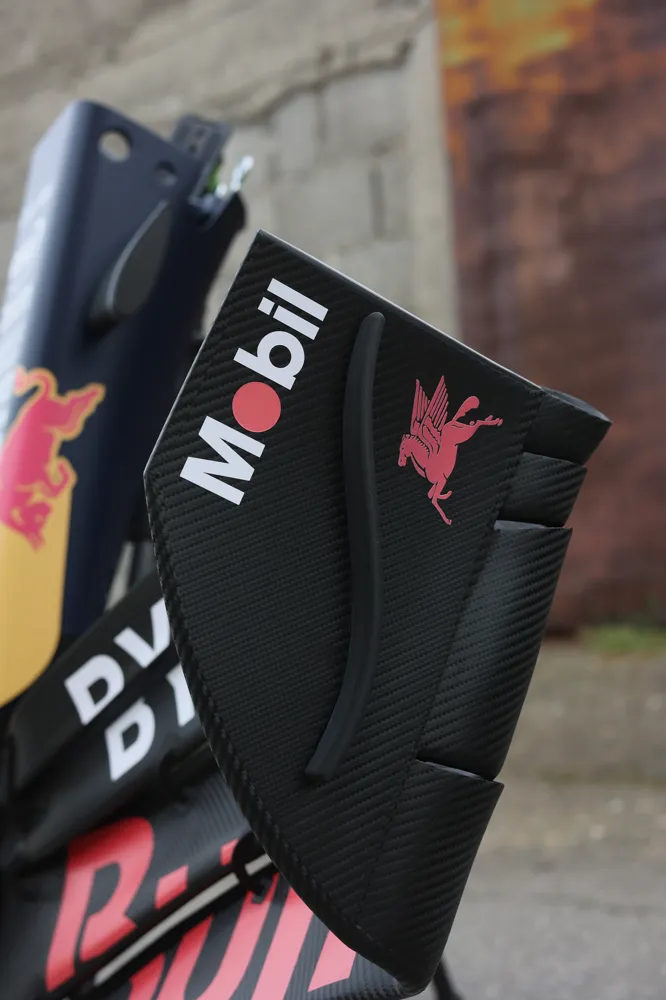
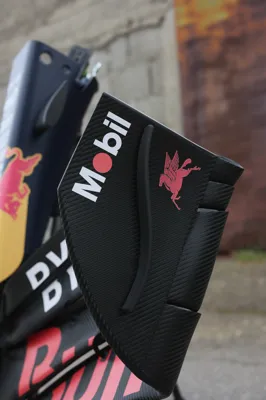
At the ends of the 8 winglets, there is 1 deflector, which must be assembled together and then joined to the winglets. Printing at 0.06 mm with a 0.2 nozzle allows for simplified sanding, making it easier to prepare the pieces before gluing for a perfect result. After assembling the components, it is advisable to use 220 - 320 - 400 grit automotive sandpaper to remove impurities and any glue that might seep out from the joints
Final Treatment and Painting
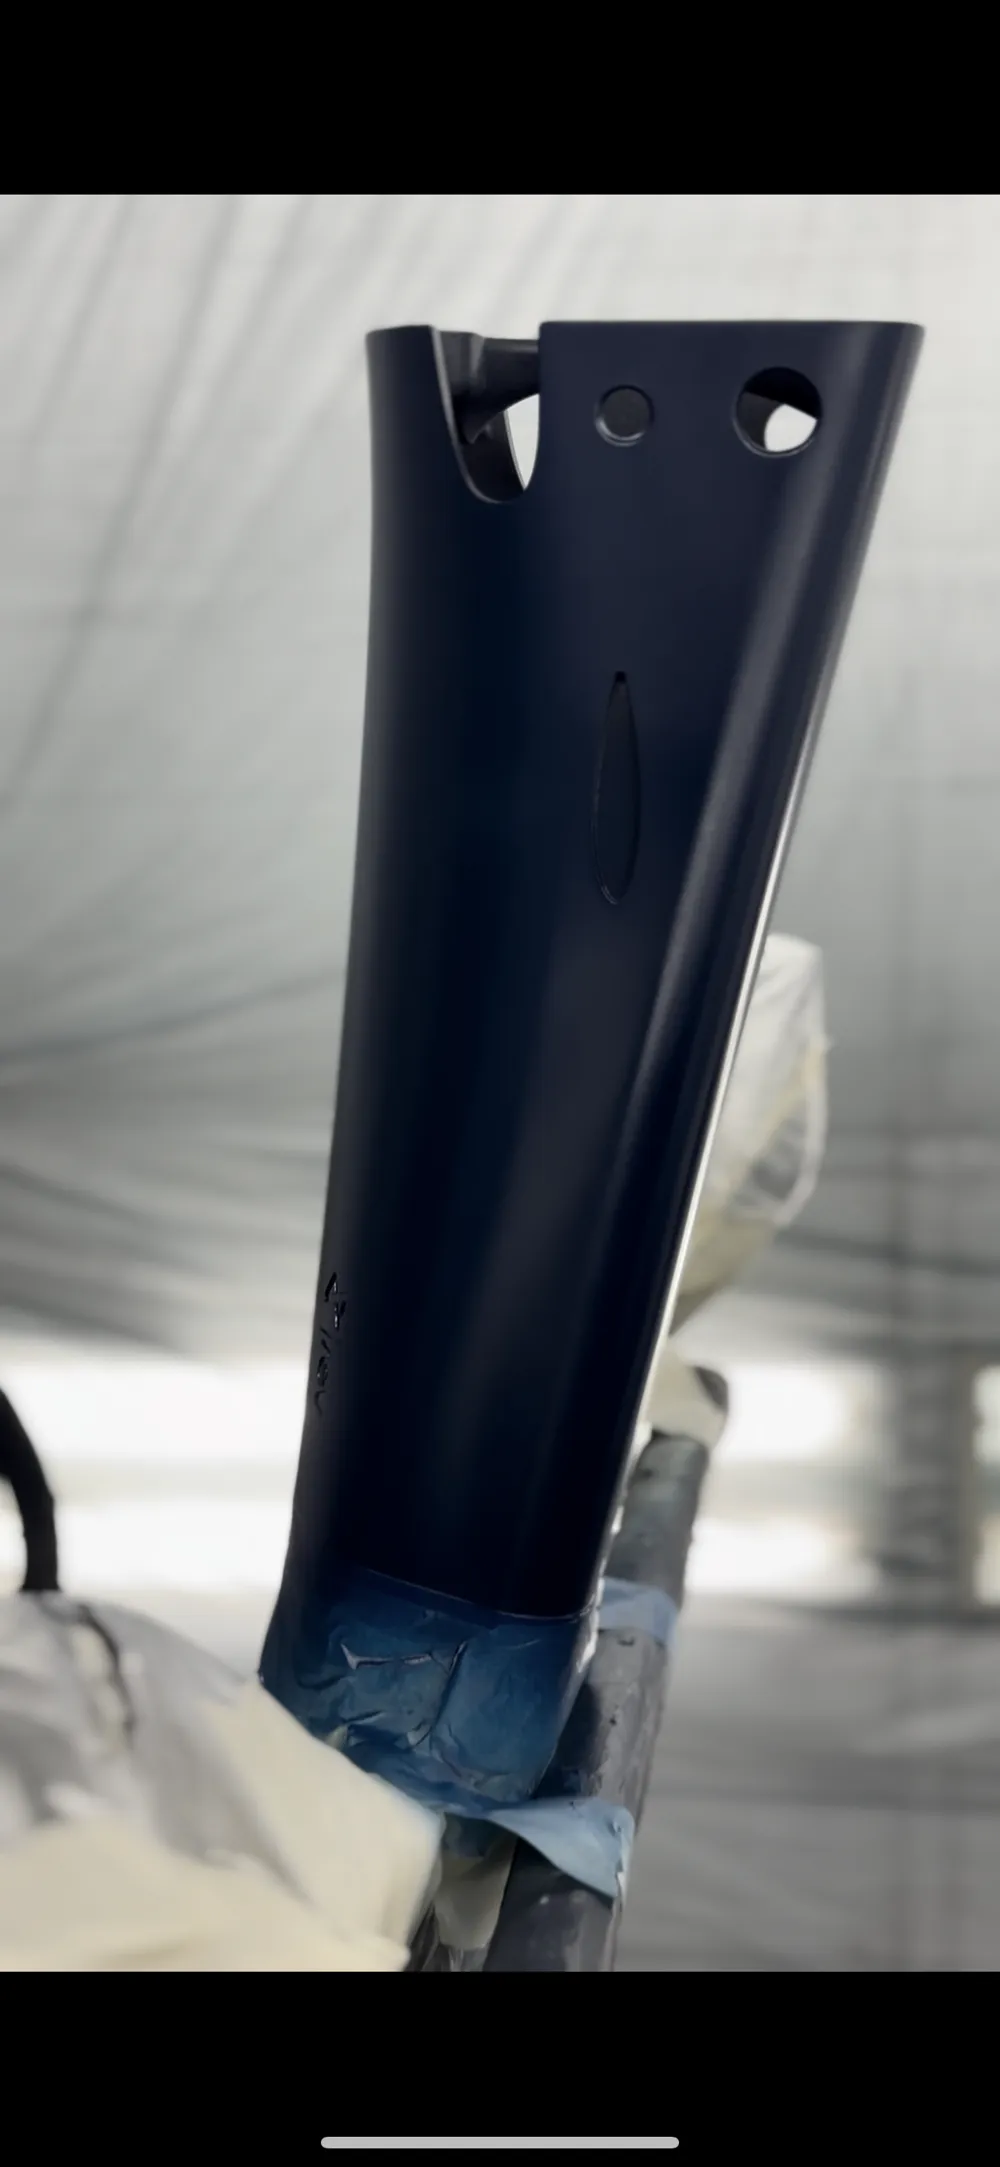
The next step Contact us directly on Instagram to receive vector files or stickers consists of blowing and washing the pieces with a cloth to prepare them for the primer. For the primer, I recommend relying on a good car painter or proceeding in a home-made way with an airbrush. After applying the primer, it should be sanded with 400 and 500 grit for a smooth surface. Two coats of primer are recommended for a solid base
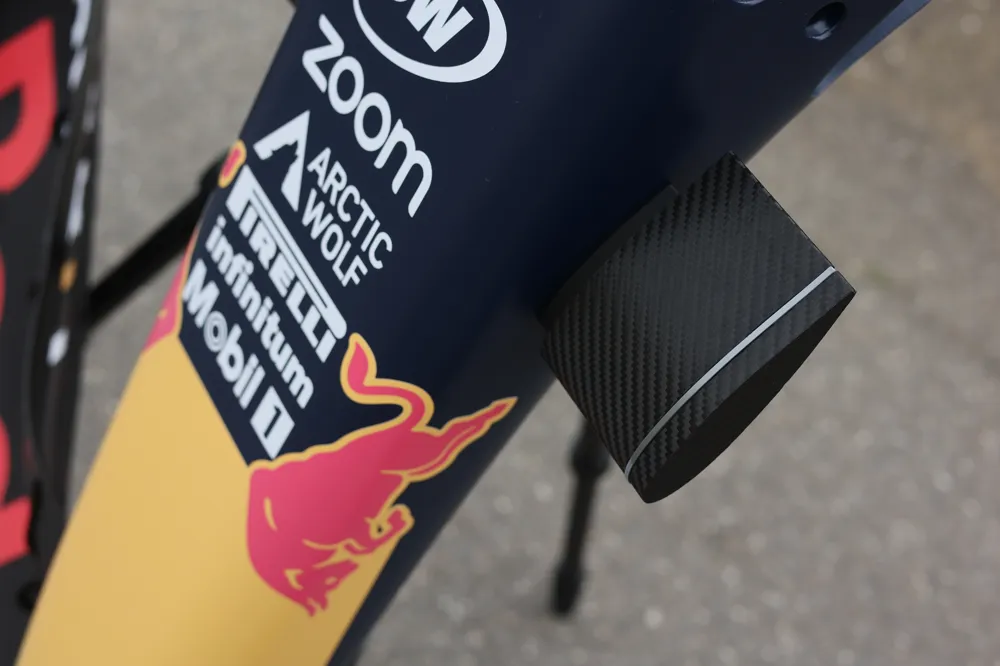
Regarding the painting, I used PPG Navy Blue 003773 and matte black, with which the model acquires an authentic look
Final Details
Finally, for the details, colors like silver gray and black are used, printed with a 0.2 mm nozzle
Vector Files and Stickers
Contact us directly on Instagram to receive vector files or stickers.
Conclusions
Thank you for following this project. I invite you to enjoy the printing and assembly process, and to contact me for any questions or for further details on the components. Good luck and have fun printing! I hope to create a guide for less experienced users
License

You shall not share, sub-license, sell, rent, host, transfer, or distribute in any way the digital or 3D printed versions of this object, nor any other derivative work of this object in its digital or physical format (including - but not limited to - remixes of this object, and hosting on other digital platforms). The objects may not be used without permission in any way whatsoever in which you charge money, or collect fees.


Comment & Rating (21)