
Twin-Motor RC UAV / Plane (Easy Assembly)
Print Profile(1)
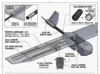
Bill of Materials
- 2mm Carbon rod (1 meter) x 2: You need 2 to be inside the wing
- 22mm carbon pipe x 1: Cut to length to balance the CG around 1/4th the wing length
- M3 screws x 1:
- Brushless motor x 2:
- 9g servo x 4:
- 8 inch props x 2: one CCW and one CW
Description
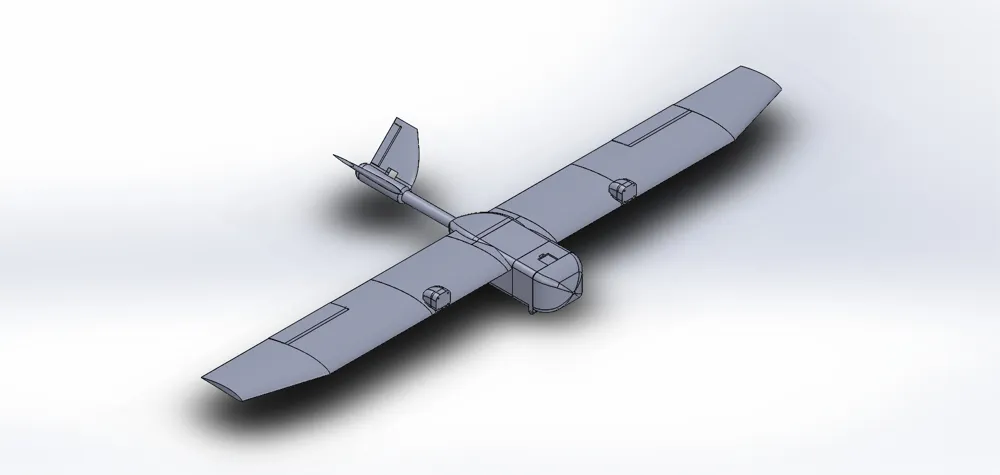
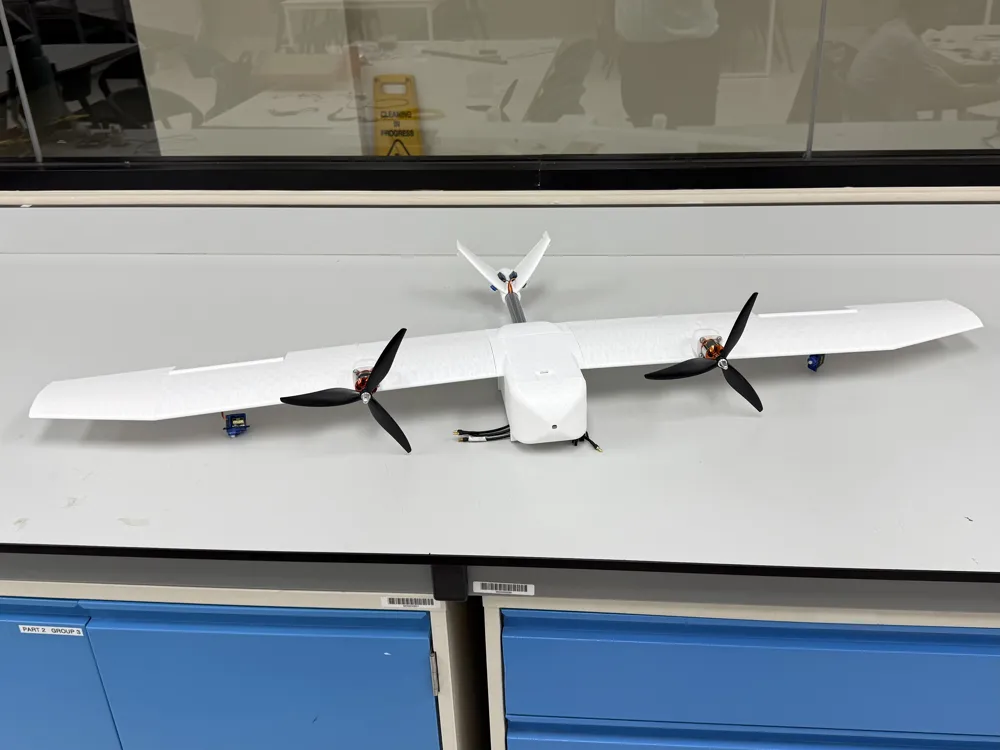
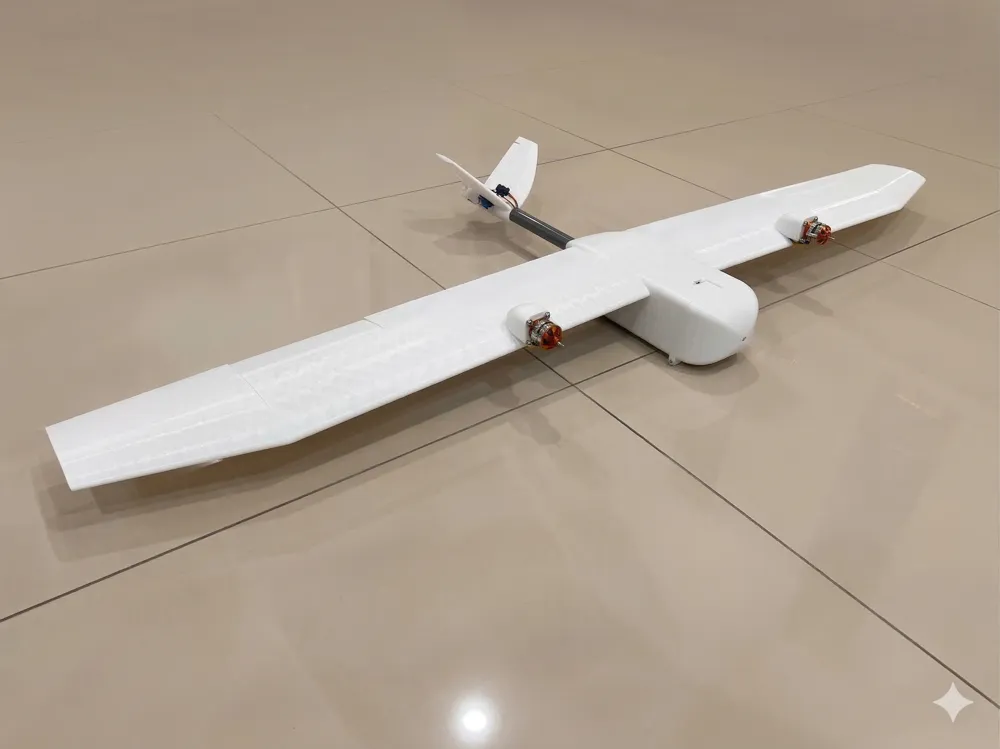
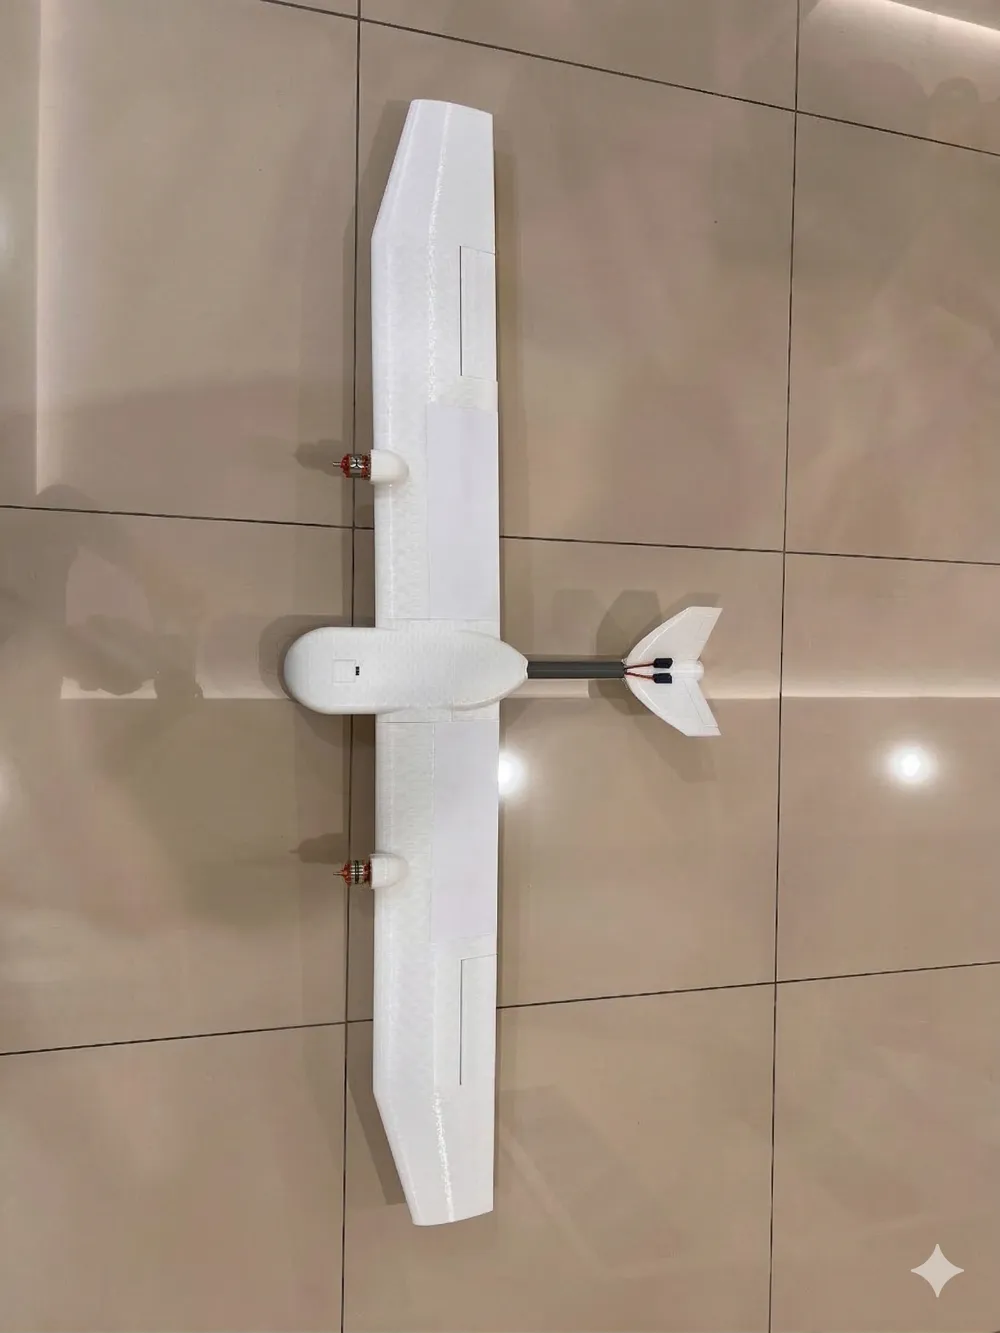
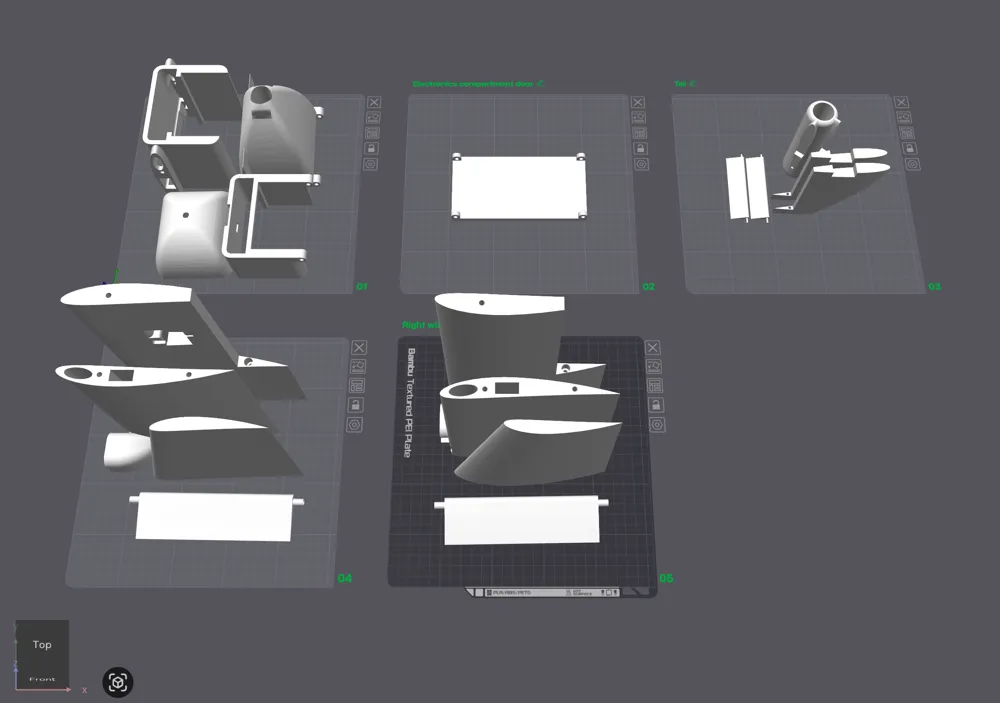
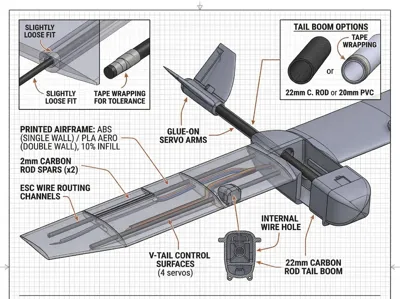
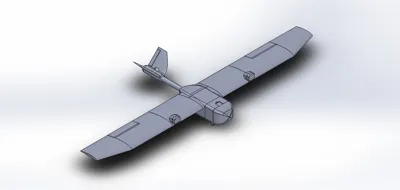
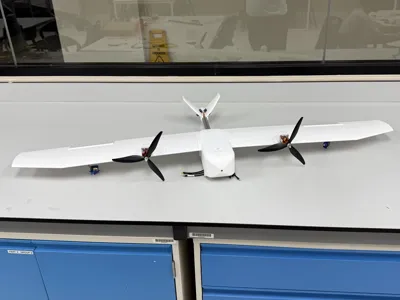
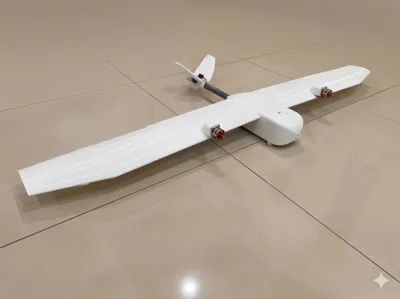
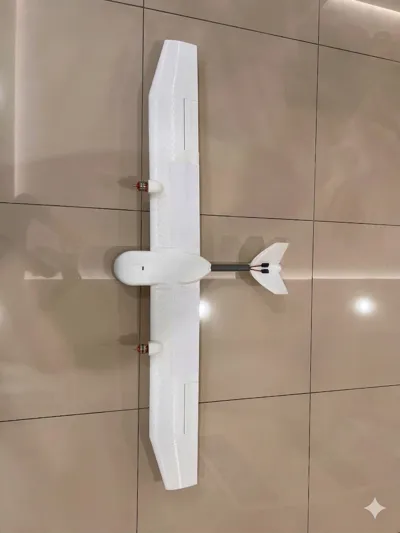
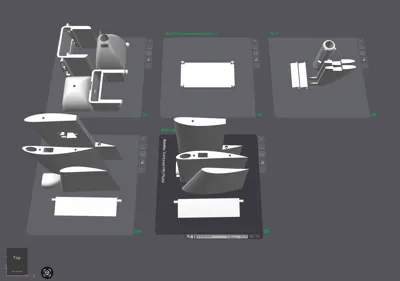
This is a custom-designed, twin-motor RC UAV built for easy printing and forgiving assembly! I designed this model with built-in wire routing to keep your electronics clean, and it uses standard, easy-to-source hardware.
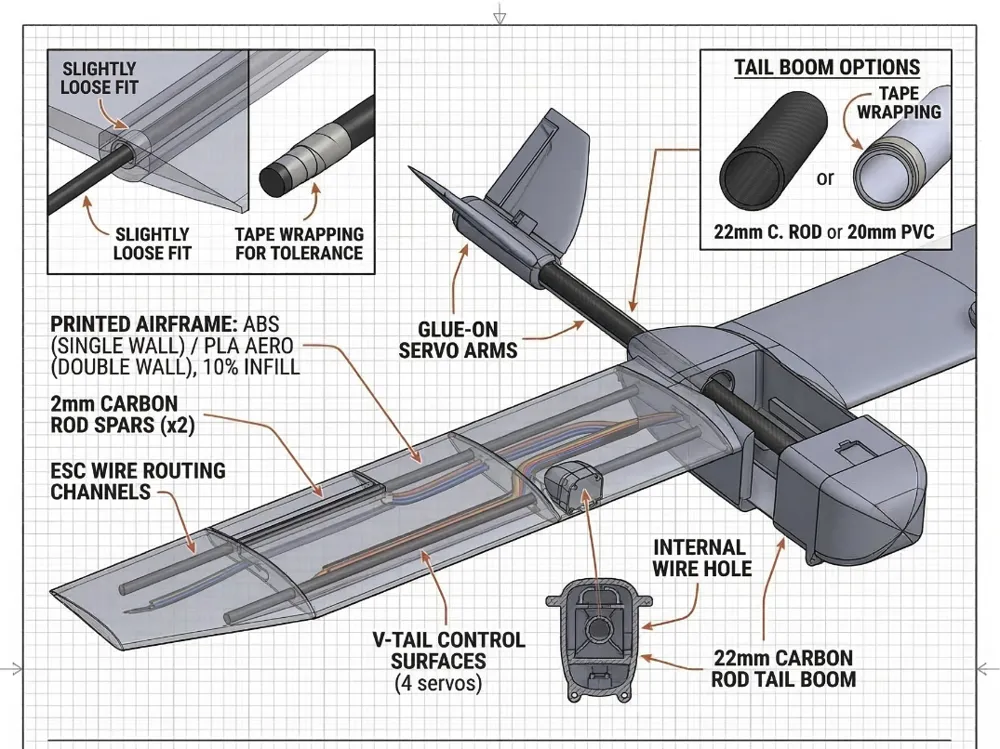
To combat the annoying tolerance issues across different 3D printers, I intentionally oversized the rod channels slightly. You just need a bit of tape to get the perfect, snug fit for your specific print!
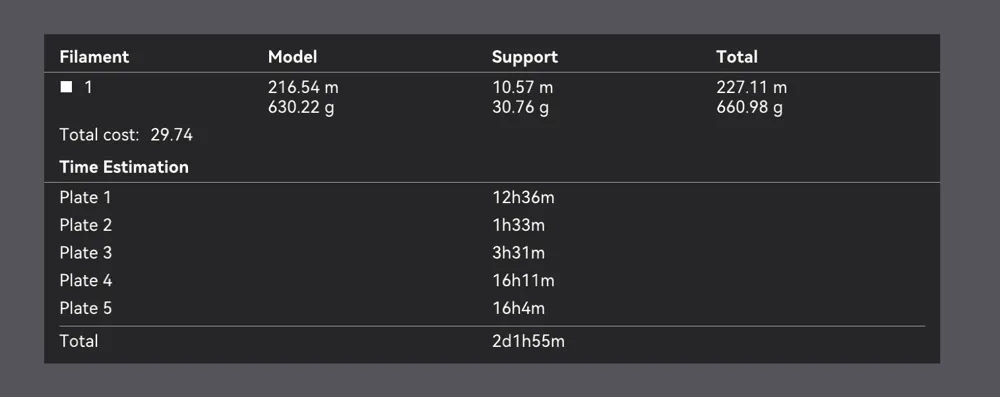
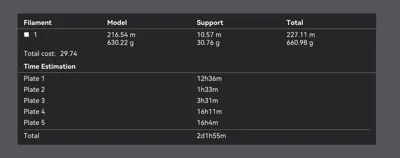
⚙️ Print Settings & Materials
- Filament: Aero PLA (LW-PLA)
- Walls: Double wall (2 wall loop)
- Infill: 10%
OR
- Filament: ABS
- Walls: Single wall (1 wall loop)
- Infill: 10%
📦 Bill of Materials (BOM)
Hardware & Frame:
- Wing Spars: 2x 2mm Carbon Fiber Rods (1 meter length).
- Tail Boom: 1x 22mm Carbon Fiber Rod OR a 20mm PVC Pipe.
- Fasteners: Assorted M3 screws for mounting components ("here and there" as needed for the motors and mounts).
- Tape: Standard masking or clear tape (crucial for getting the perfect fit on the rods).
Electronics:
- Motors: 2x Brushless Motors (design features built-in wire routing channels).
- Servos: 4x 9g (or standard micro) servos for the control surfaces.
- (Plus your standard RC gear: ESCs, Battery, Receiver, and Transmitter).
🛠️ Assembly Notes & Tips
- The Tape Trick for Wing Rods: The channels for the 2mm carbon wing rods are designed to be slightly loose to account for printer tolerances. Simply wrap a little bit of tape around your 2mm carbon rods until they slide in with a snug, friction fit.
- Tail Boom Options: If you are using a 22mm carbon rod, it should fit perfectly. If you opt for the cheaper 20mm PVC pipe, just wrap tape around the ends of the PVC to increase the diameter until it fits tightly into the printed tail mounts.
- Control Surfaces: For a quick and solid linkage, simply glue the servo arms directly onto the control surfaces.
- Wiring: Take advantage of the internal wire holes designed into the wings and fuselage to route your motor wires cleanly before gluing the main body pieces together.
Happy flying, and please share your makes and remixes!
License

You shall not share, sub-license, sell, rent, host, transfer, or distribute in any way the digital or 3D printed versions of this object, nor any other derivative work of this object in its digital or physical format (including - but not limited to - remixes of this object, and hosting on other digital platforms). The objects may not be used without permission in any way whatsoever in which you charge money, or collect fees.


Comment & Rating (5)