BLV BMCU 370C DM Wall & A1mini Mount & PTFE Guide


Print Profile(3)

Bill of Materials

Description
🚀 Support My Creative Journey🚀
If you find my designs helpful or inspiring, there are two ways you can help me keep creating:
Boost Me (for free)
If you're on MakerWorld, a "Boost" helps me reach more makers and keeps the filament flowing! It's Free!!🚀
Buy me a coffee☕: For those who want to go the extra mile to support my work and my family.
📖 Description
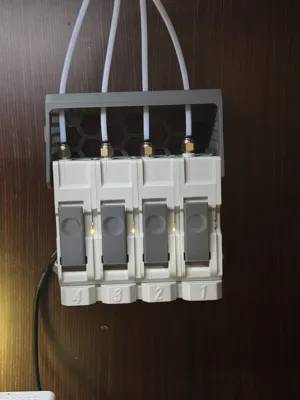
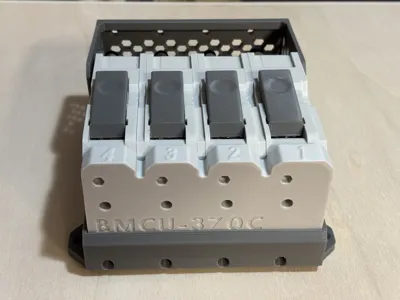
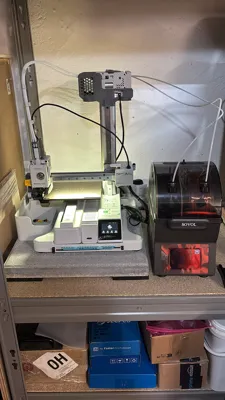
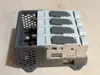
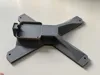
Stop dealing with loose PTFE tubes and unsupported buffer units hanging off your printer frame! The BMCU 370C DM from BLV deserves a proper wall mount or A1 Mini Z axis top mount — one that's clean, functional, and built specifically for how this buffer actually works. This bracket is the solution I designed after not finding anything that truly checked all the boxes.
What makes this mount different:
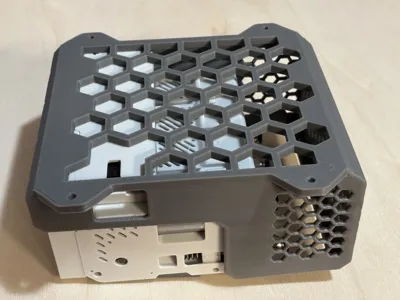
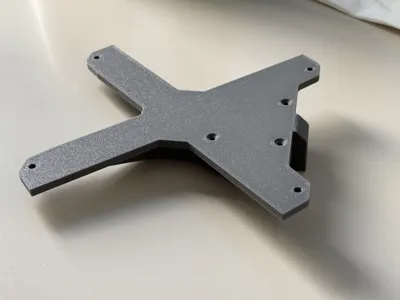
- Rock-Solid Fixing: Mounts to the wall with 4 screws for a stable, vibration-resistant base — no flex, no wobble during print cycles.
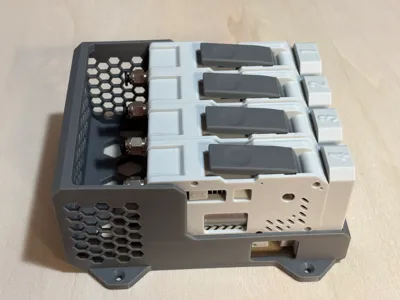
- Native BMCU Attachment: The BMCU fastens via 4 rear screws, exactly like every other BMCU bracket out there — so the mounting pattern is familiar and compatible.
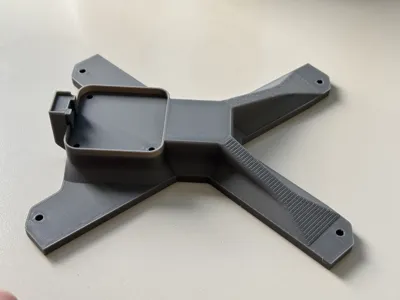
- Snap-In Retention System: Two integrated rectangular snap-in tabs engage directly into the BMCU's rectangular recess, locking the unit in place with a satisfying click and preventing any lateral movement.
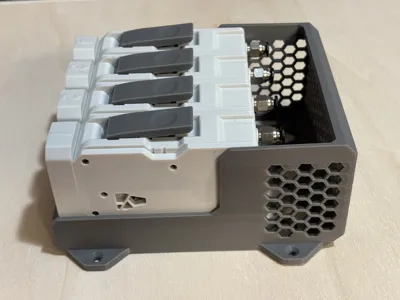
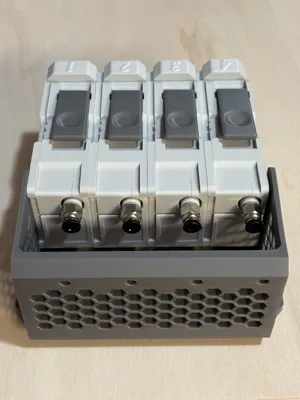
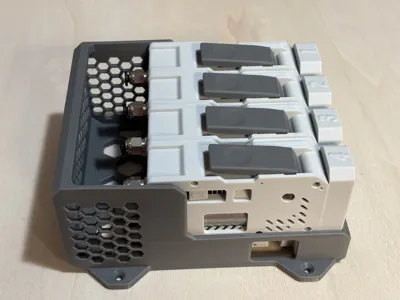
- Built-In PTFE Tube Guide: A dedicated guide keeps your PTFE tubes perfectly aligned and allows them to slide freely as the buffer travels — no kinking, no binding, no stress on the fittings.
- USB Port Access: A side cutout gives you direct access to the USB connector without removing the unit from the wall. Firmware updates and configuration changes just got a lot easier.
- Lightweighted Structure: Material has been strategically removed where it's not needed, reducing print time and filament usage without compromising rigidity.
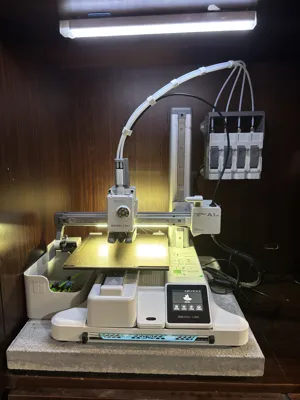
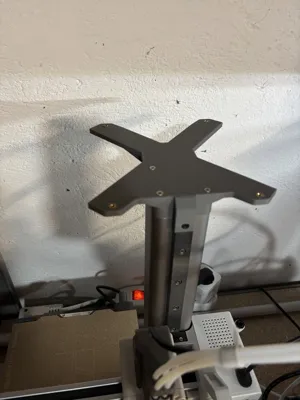
- A1 Mini Z Axis Top Mount: An additional bracket lets you mount the whole assembly directly on top of the A1 Mini Z axis — keeping everything compact, tidy, and off the wall entirely.
🖨 Printing Tips for Best Results:
- Material: PETG recommended for the snap-in tabs — the flexibility helps with engagement and long-term retention. PLA+ works fine for the main body.
- Walls: 2 perimeters minimum for clip and mounting boss strength.
- Infill: 10% Adaptive Cubic.
- Orientation: Print flat on the bed to maximize layer adhesion across the mounting flanges and snap features.
🔧 A1 Mini Z Axis Mount — Assembly Instructions:
- Install heat-set brass inserts into the 4 corners of the bracket.
- Remove the Z axis cover by unscrewing the black M3 screw.
- Remove the 3 screws and set them aside.
- Position the bracket, secure it with 3 M3×25mm countersunk screws, then reinstall the black M3 screw on the side.
- Place the BMCU support on the bracket and fasten it with 4 M3×8mm countersunk screws at the corners.
- Cut the PTFE tubes to the correct length and install them.
- Run a test print to verify everything is working correctly.
Hardware required for Z Axis Mount:
- 4× M3 brass heat-set inserts
- 4× M3×8mm countersunk screws
- 3× M3×25mm countersunk screws
📦 Designed specifically for the BLV BMCU 370C DM. Always verify screw hole positions and PTFE tube diameter before printing.
License
You may create derivative works based on this object, provided that all such derivative works are published exclusively on the MakerWorld platform and include proper attribution to the original creator. You may not share, upload, host, distribute, or publish this object—or any derivative work of this object—on any other digital platform, marketplace, or distribution channel. Commercial use of this object and any derivative works is strictly prohibited. This includes, but is not limited to, selling, renting, sublicensing, or using the object in any context in which you receive monetary compensation or other financial benefits.
Comment & Rating (5)