
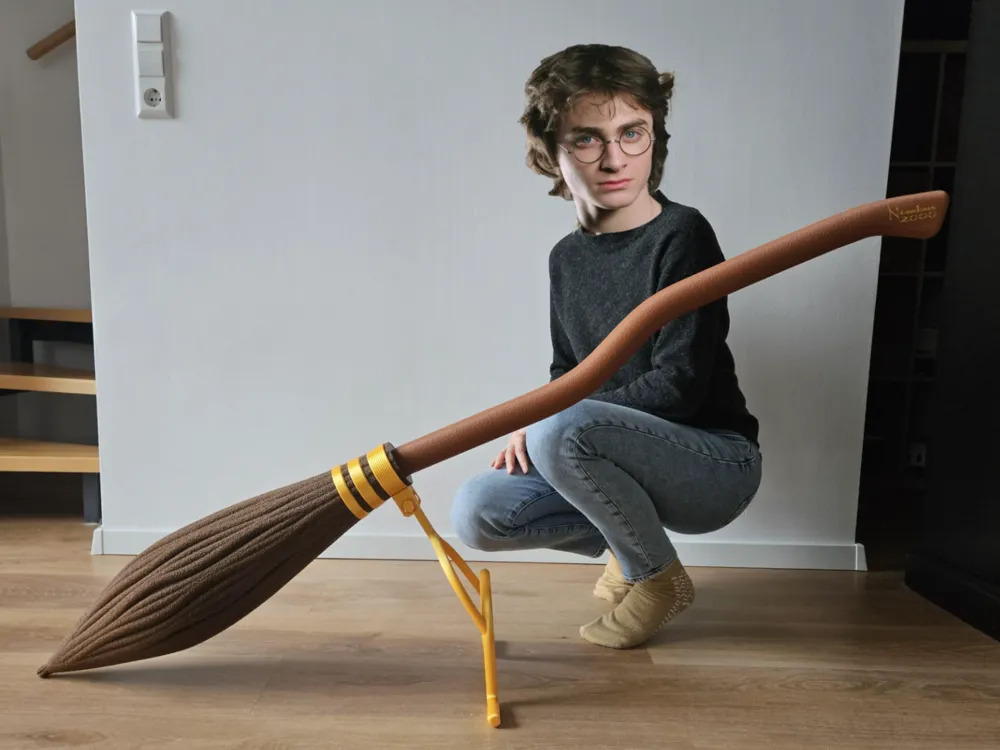
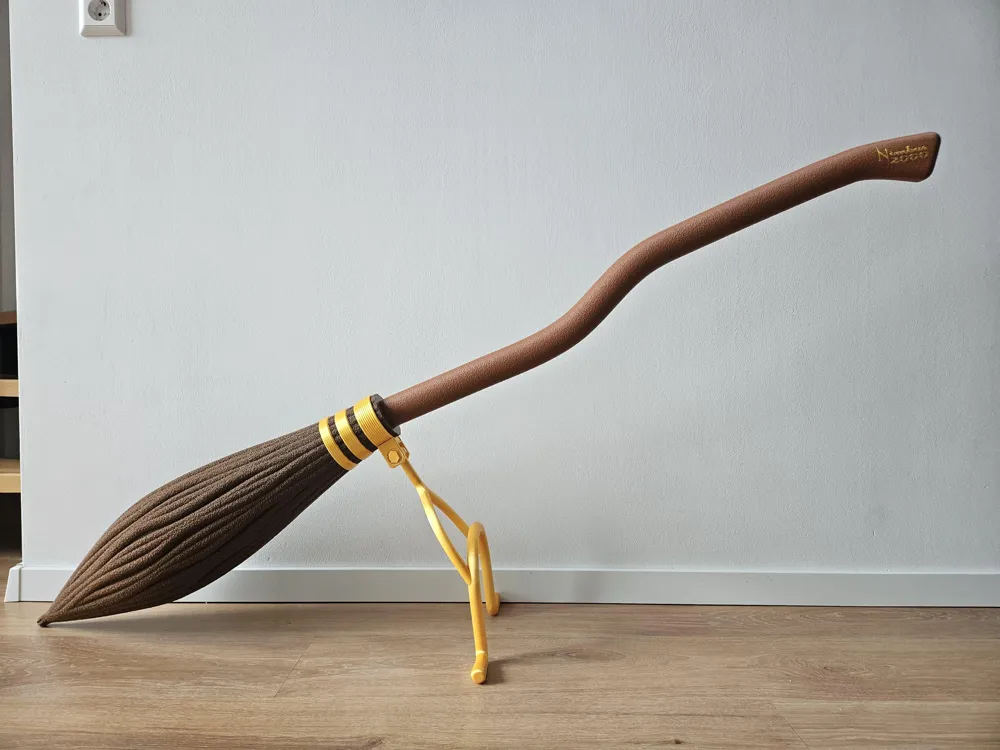
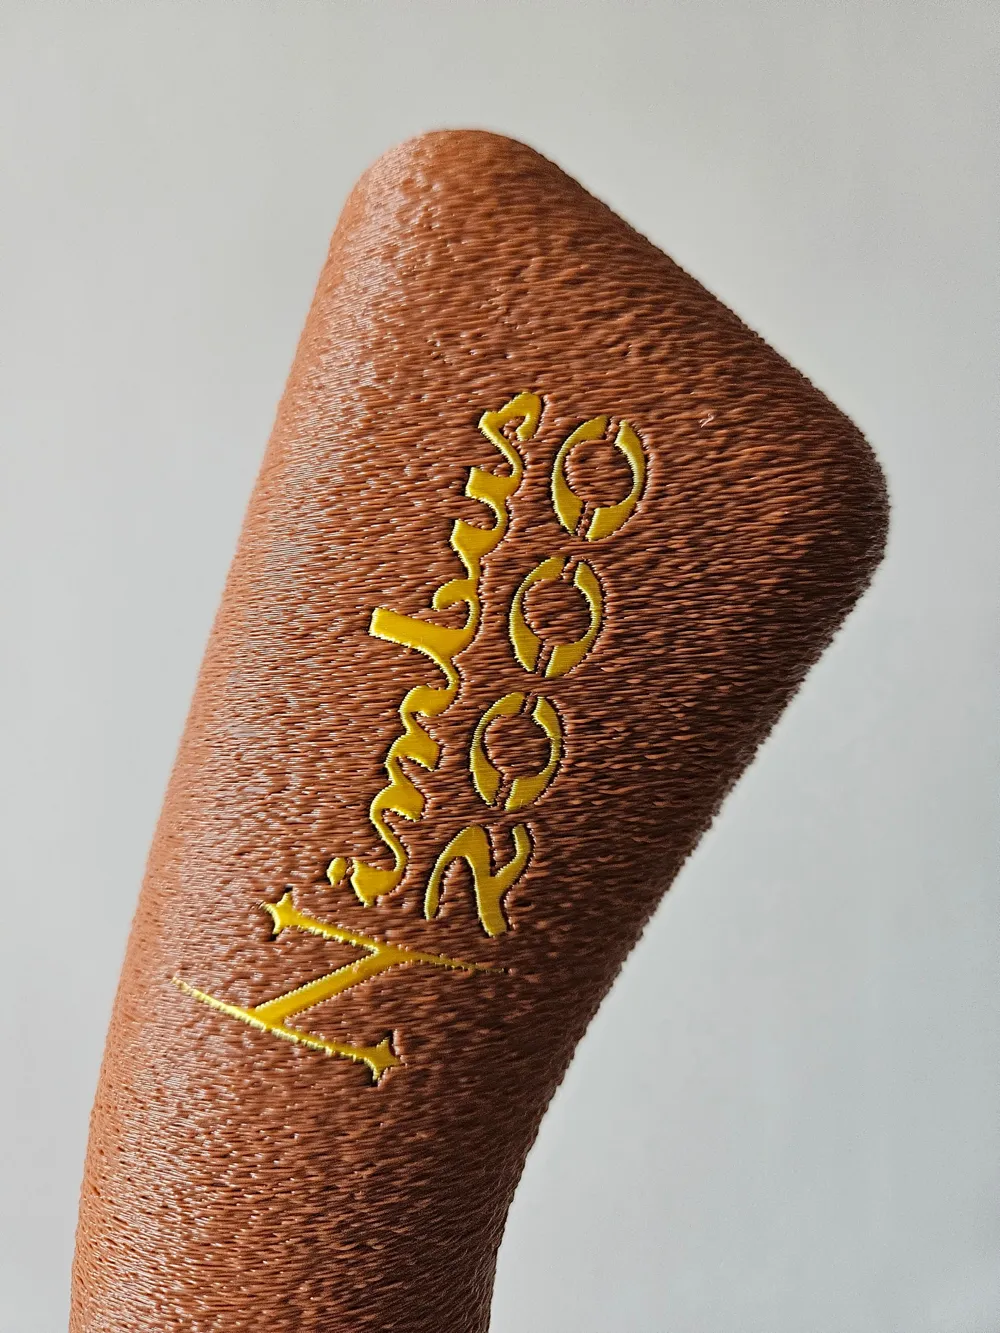
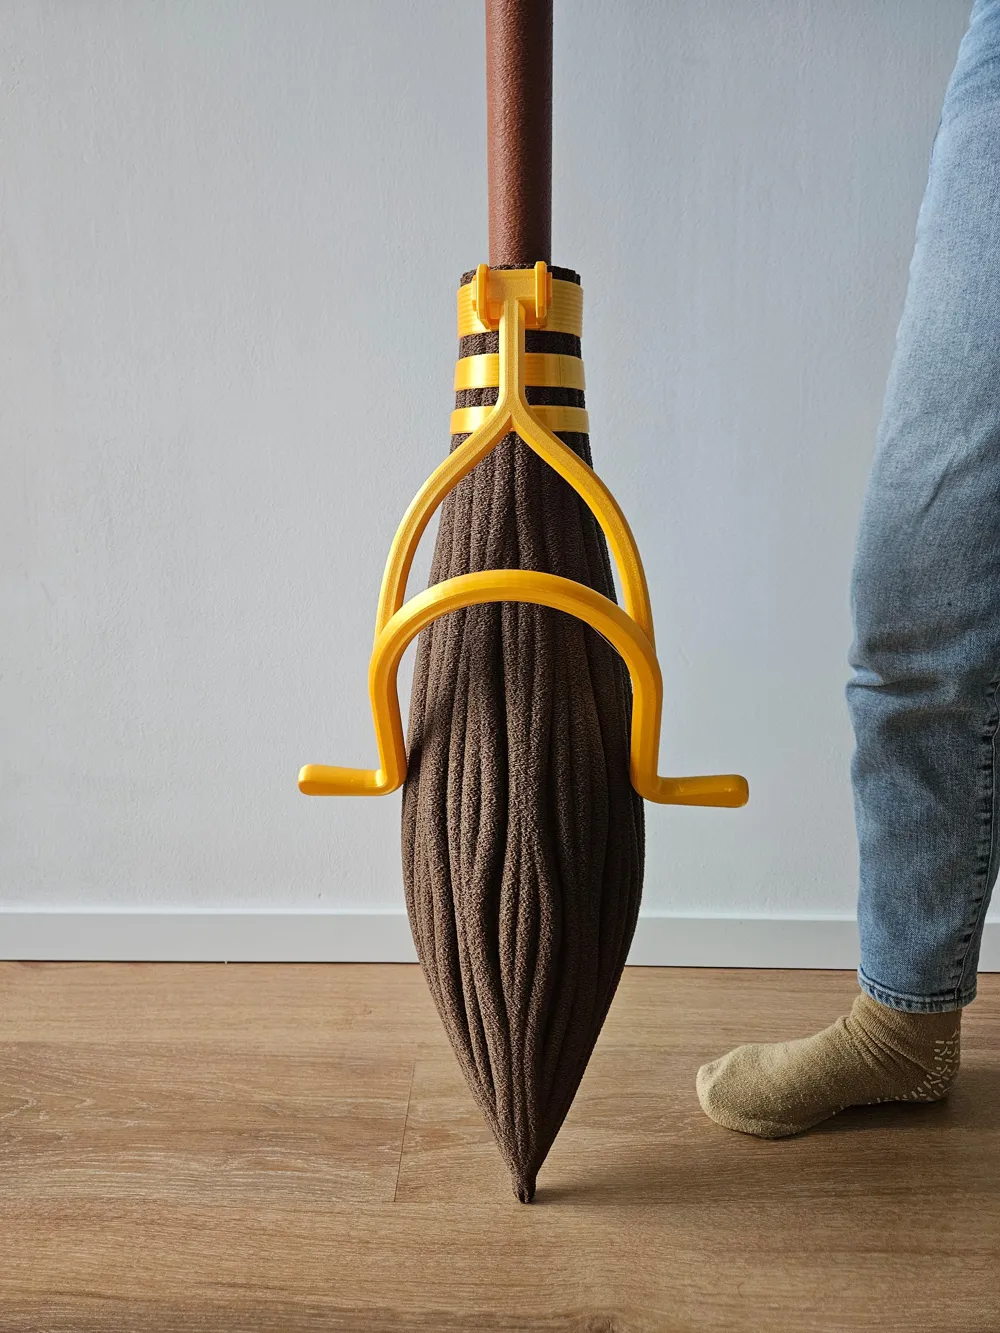
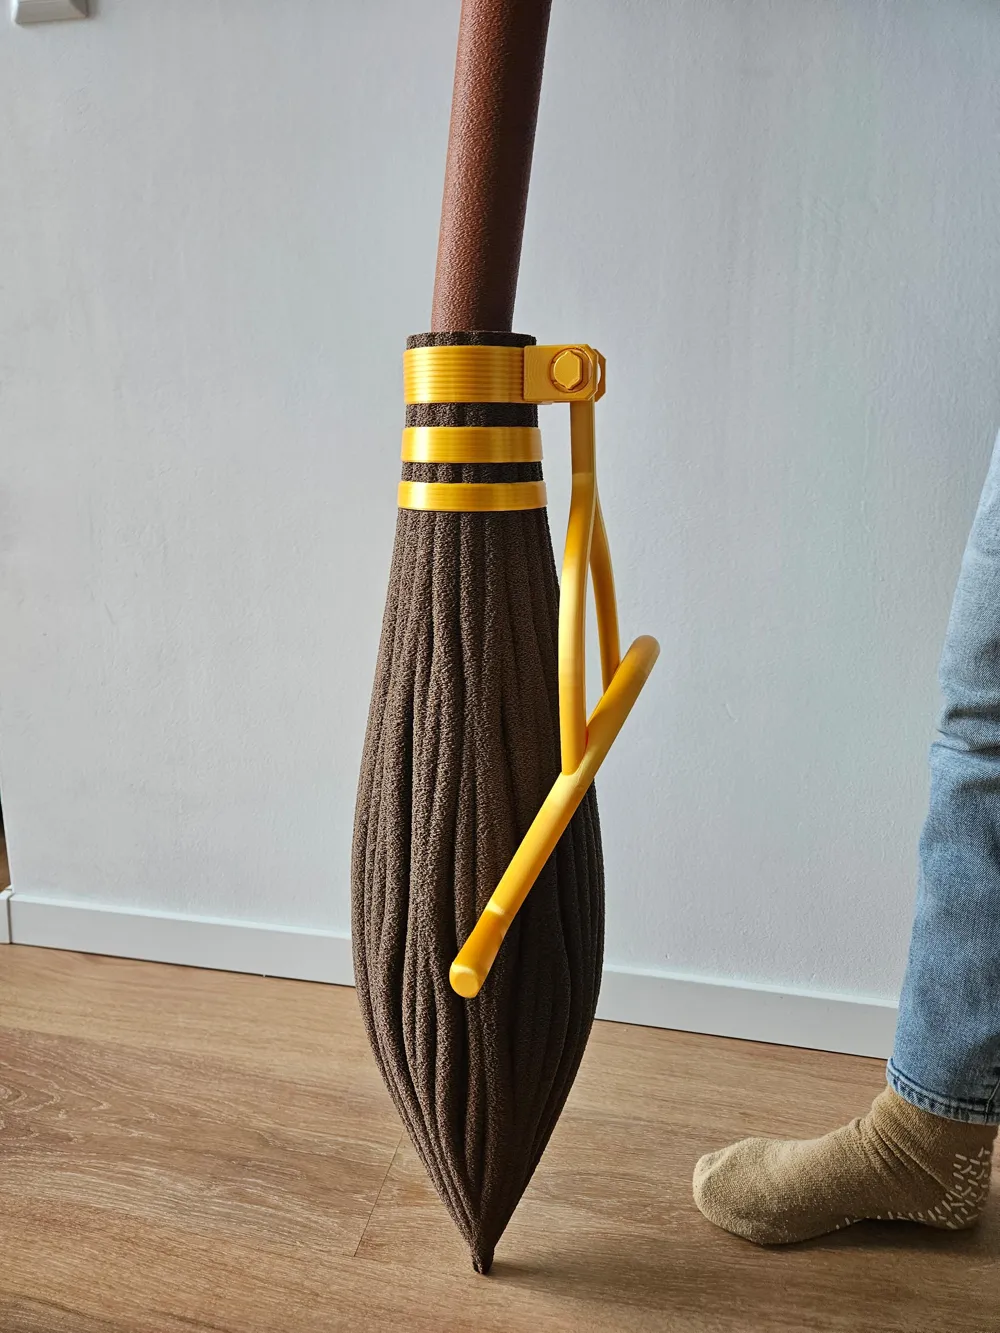
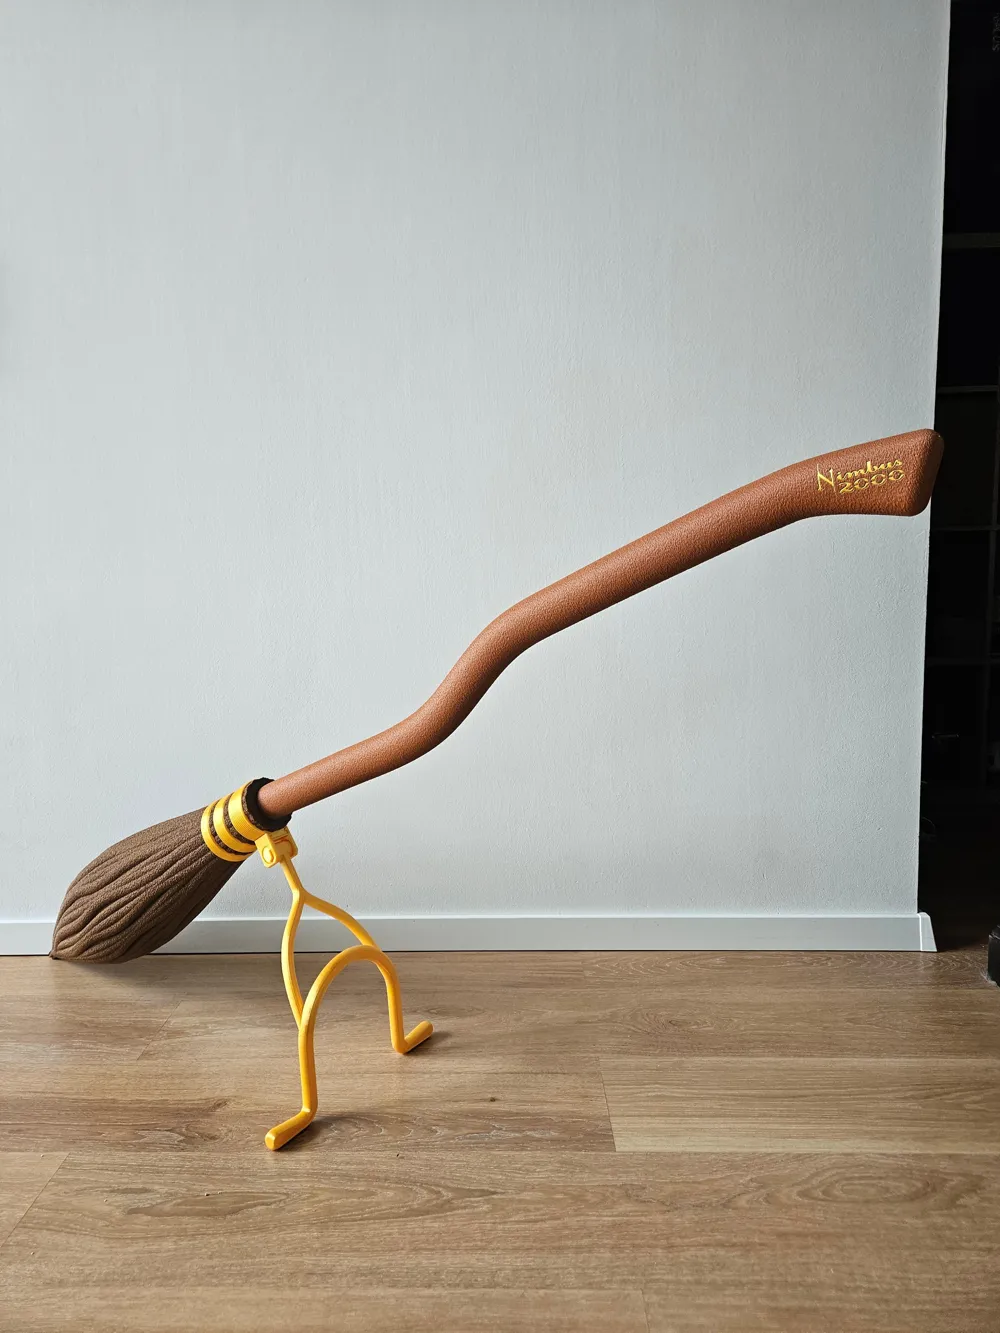
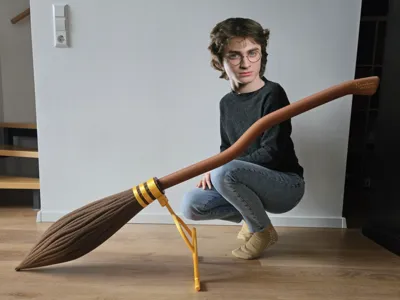
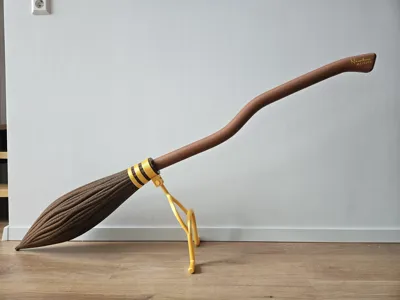
Life size Nimbus 2000 with working stand
Print Profile(2)





Description
Boost Me (for free)
Thanks for you boosts!
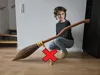
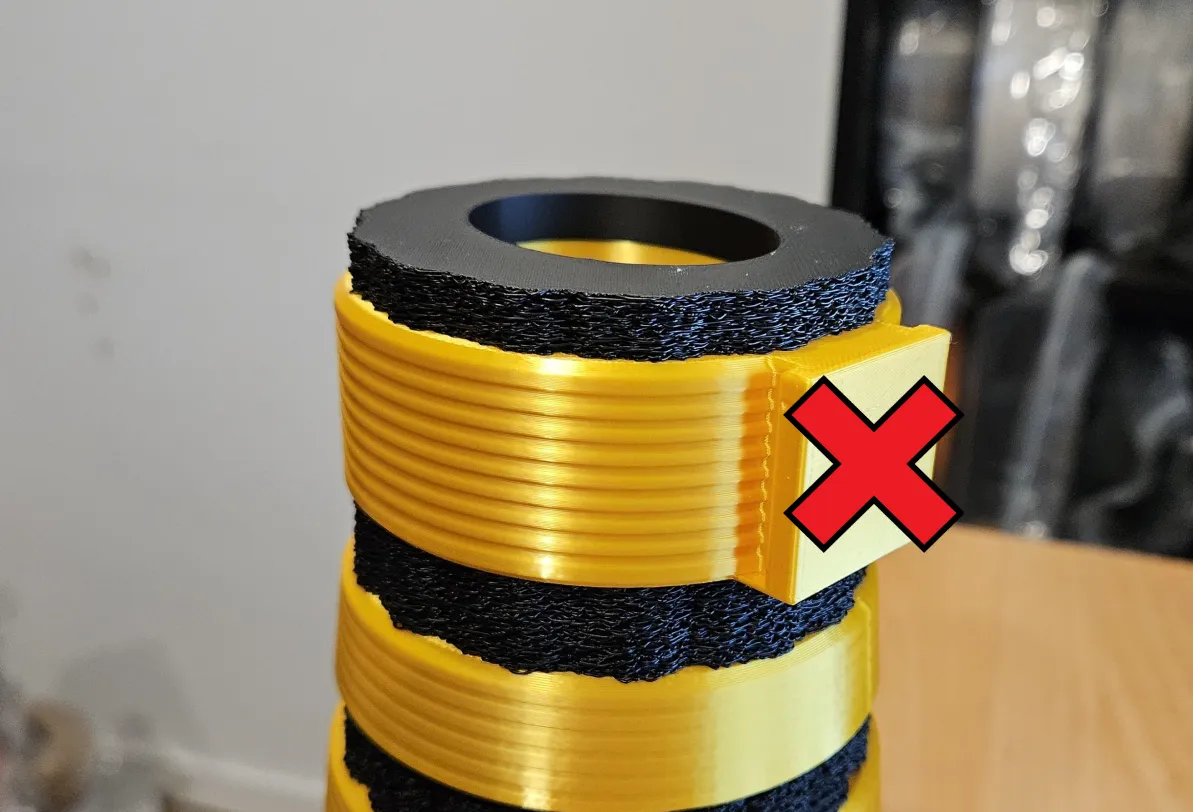
Update 2026.03.28
- Added a print profile without the kickstand/Pedestal
- Only 1 part changed: I deleted the geometry to connect the kickstand
Original Post
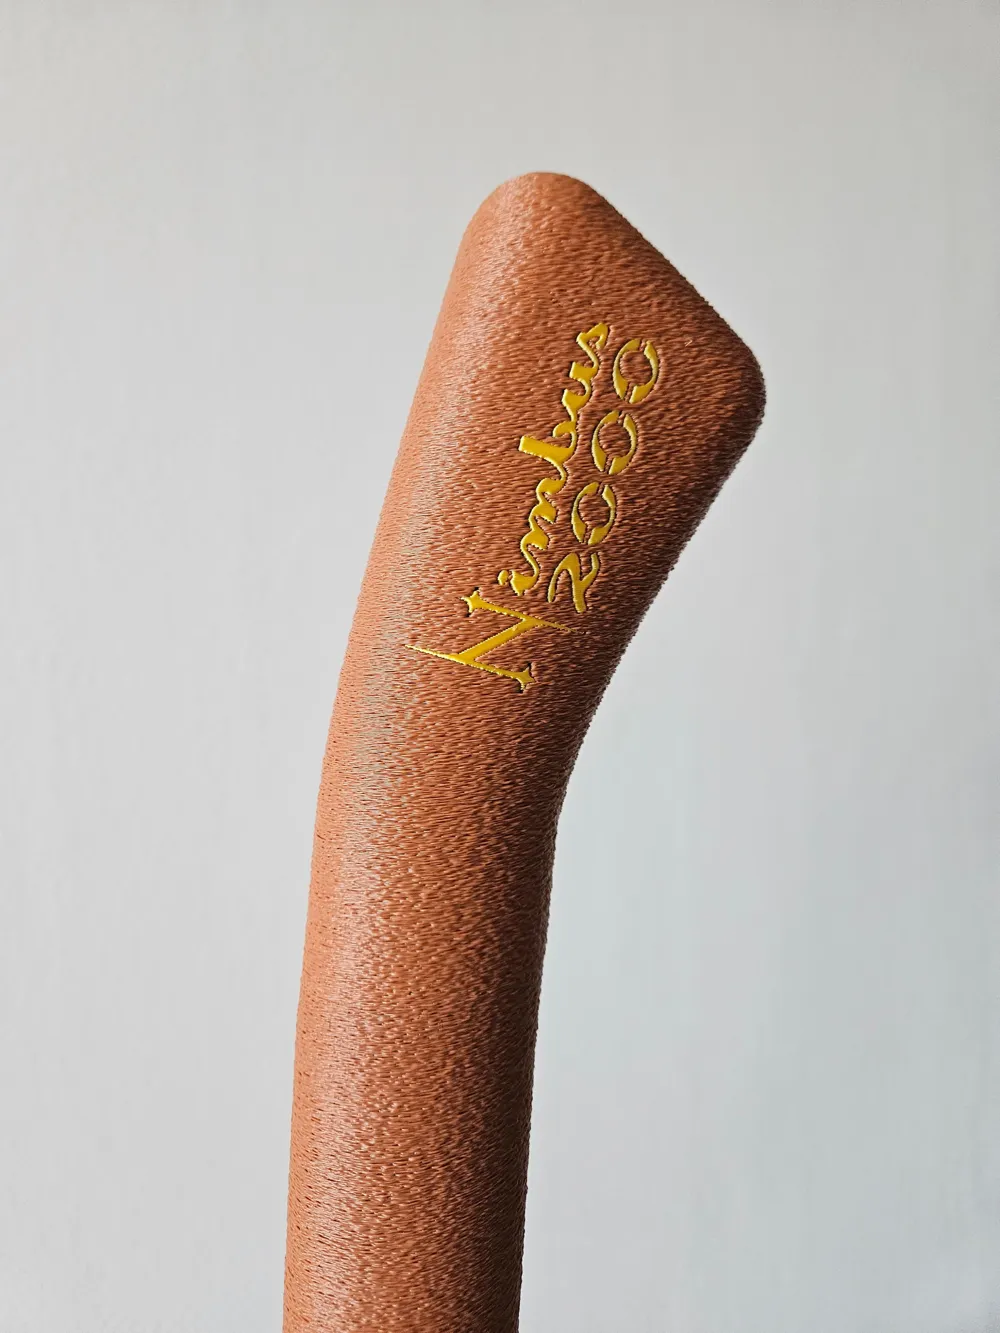
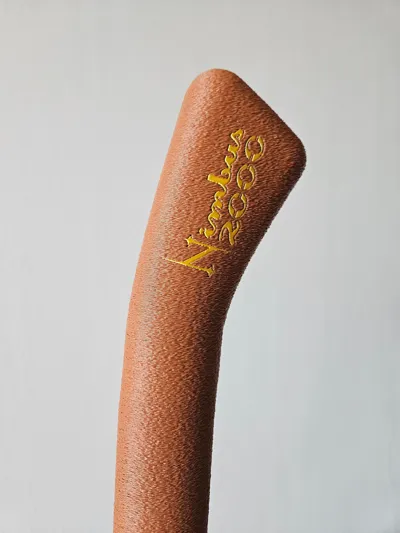
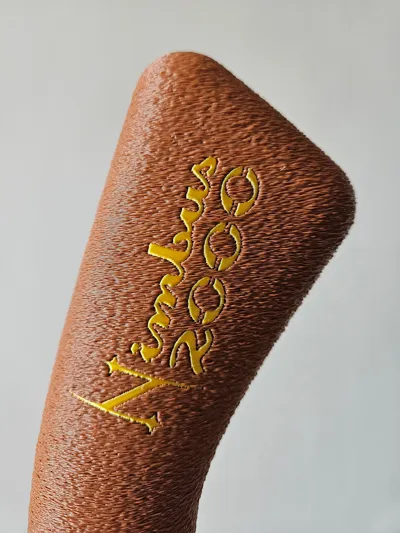
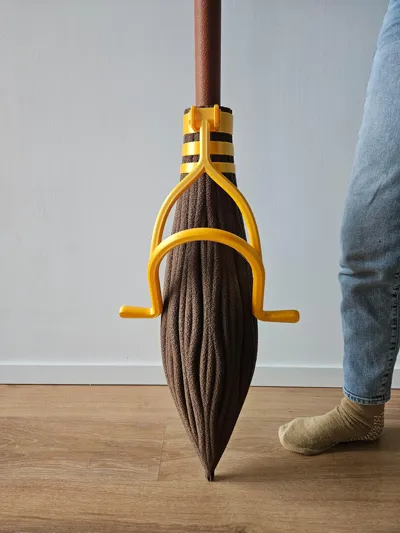
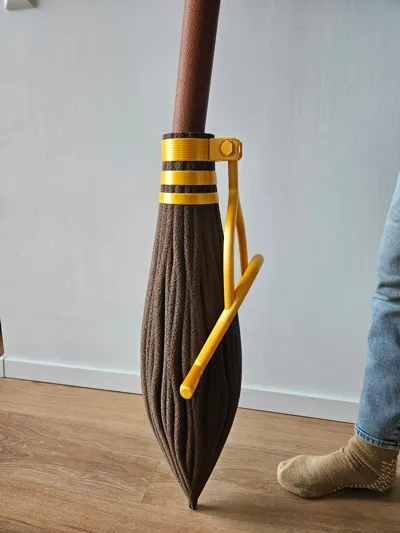
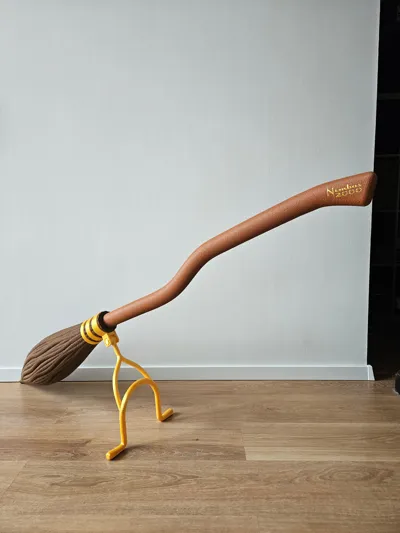
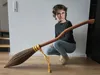
This is a life size model of the nimbus 2000
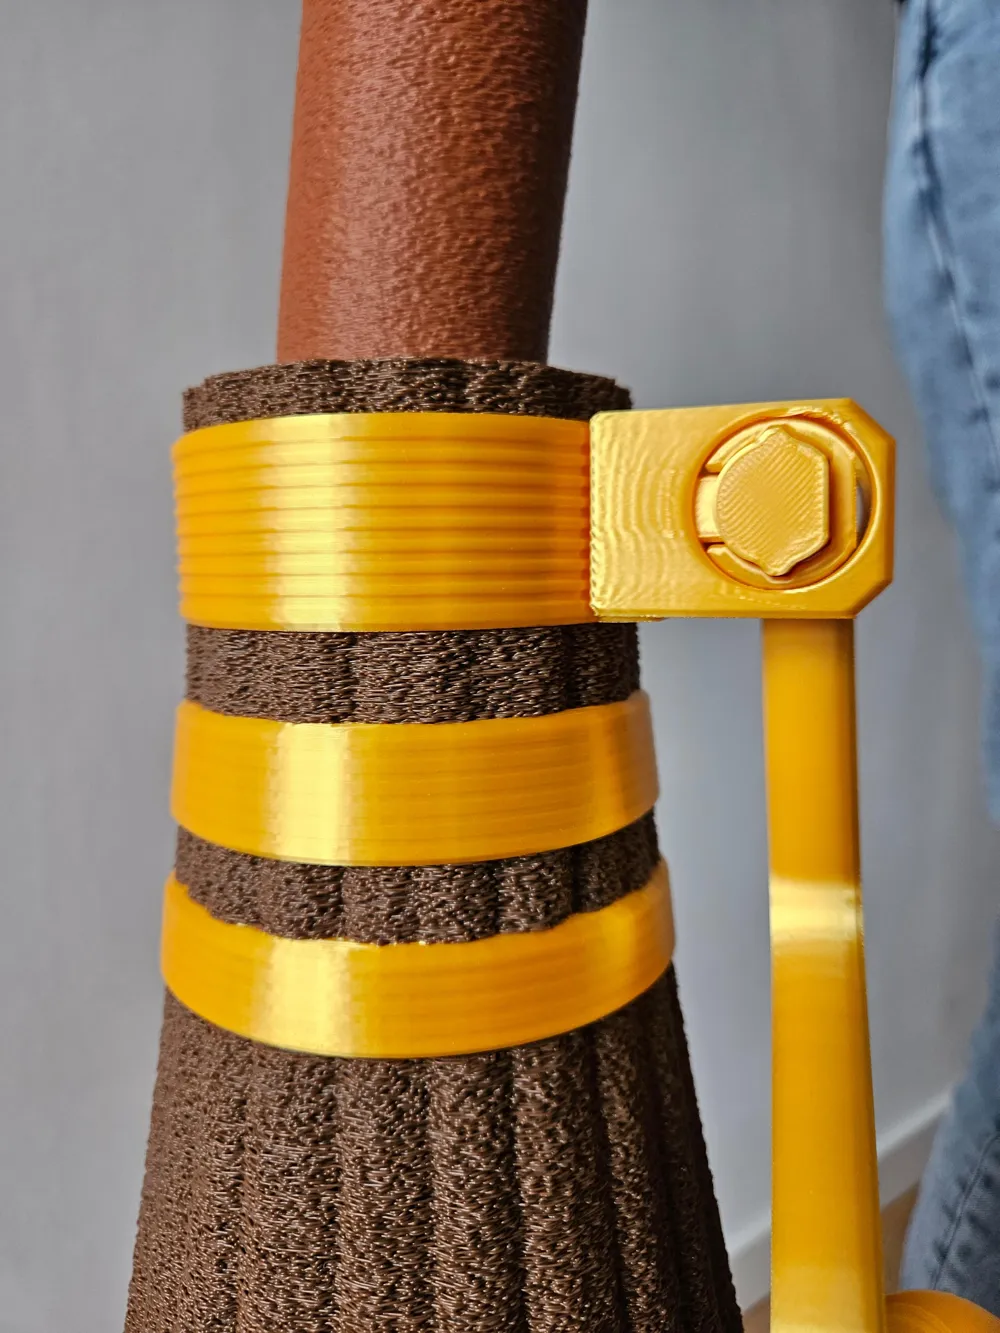
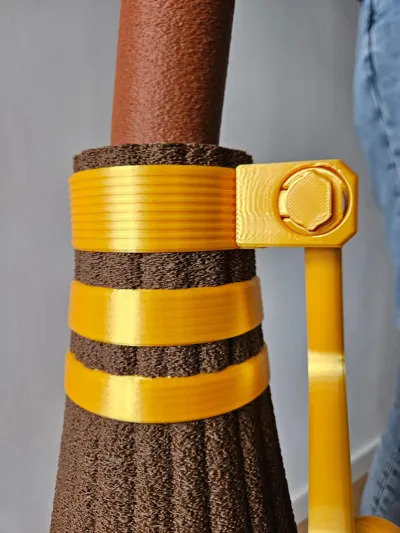
- Hinged pedestal with lockabel positions
- Invisible connections between the parts due to fuzzy skin
- No AMS needed
- 100% printed parts
- It is BIIIIIG! 160 cm or 5 feet 3 inches (5'3")
Please read the description before printing!
Material needed
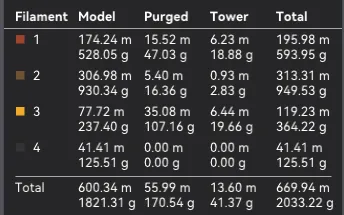
For each color you need less than 1 kg of filament
1: The stick (front part)
2: Broom (back part)
3: golden parts
4: Can be any color you want. These parts are not visible
Print instructions
You do not have to print everything inside the print profile
- There are plates that end with “AMS” and “NO AMS”. Please only print the plates accroding to your setup
- There is one test plate to get the tolerances right. Print it. Test it and decide which one you need
Tolerence test
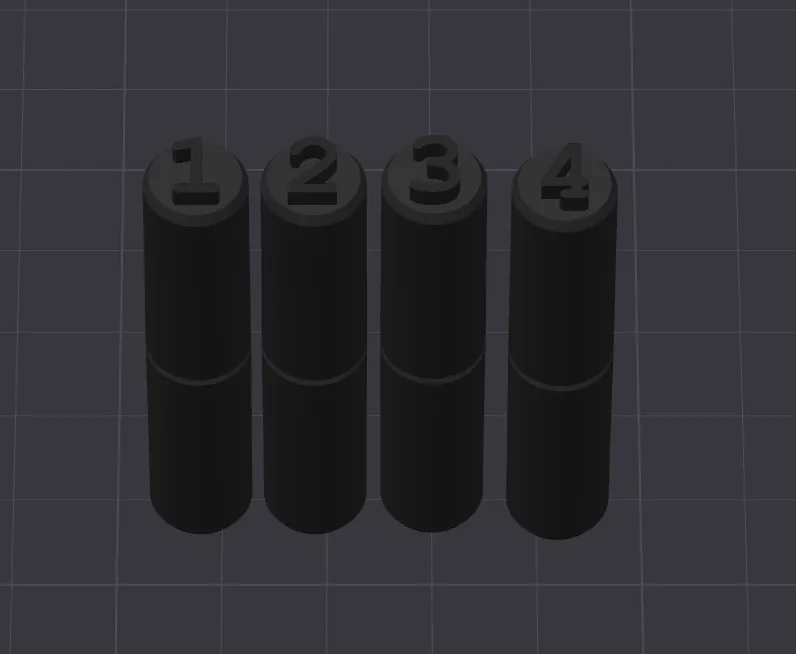
The pins belong to the back part of the broom. The test pins are numbered with 1 to 4.
Print the test pins and try to insert them WITHOUT STRONG FORCE into one of the parts
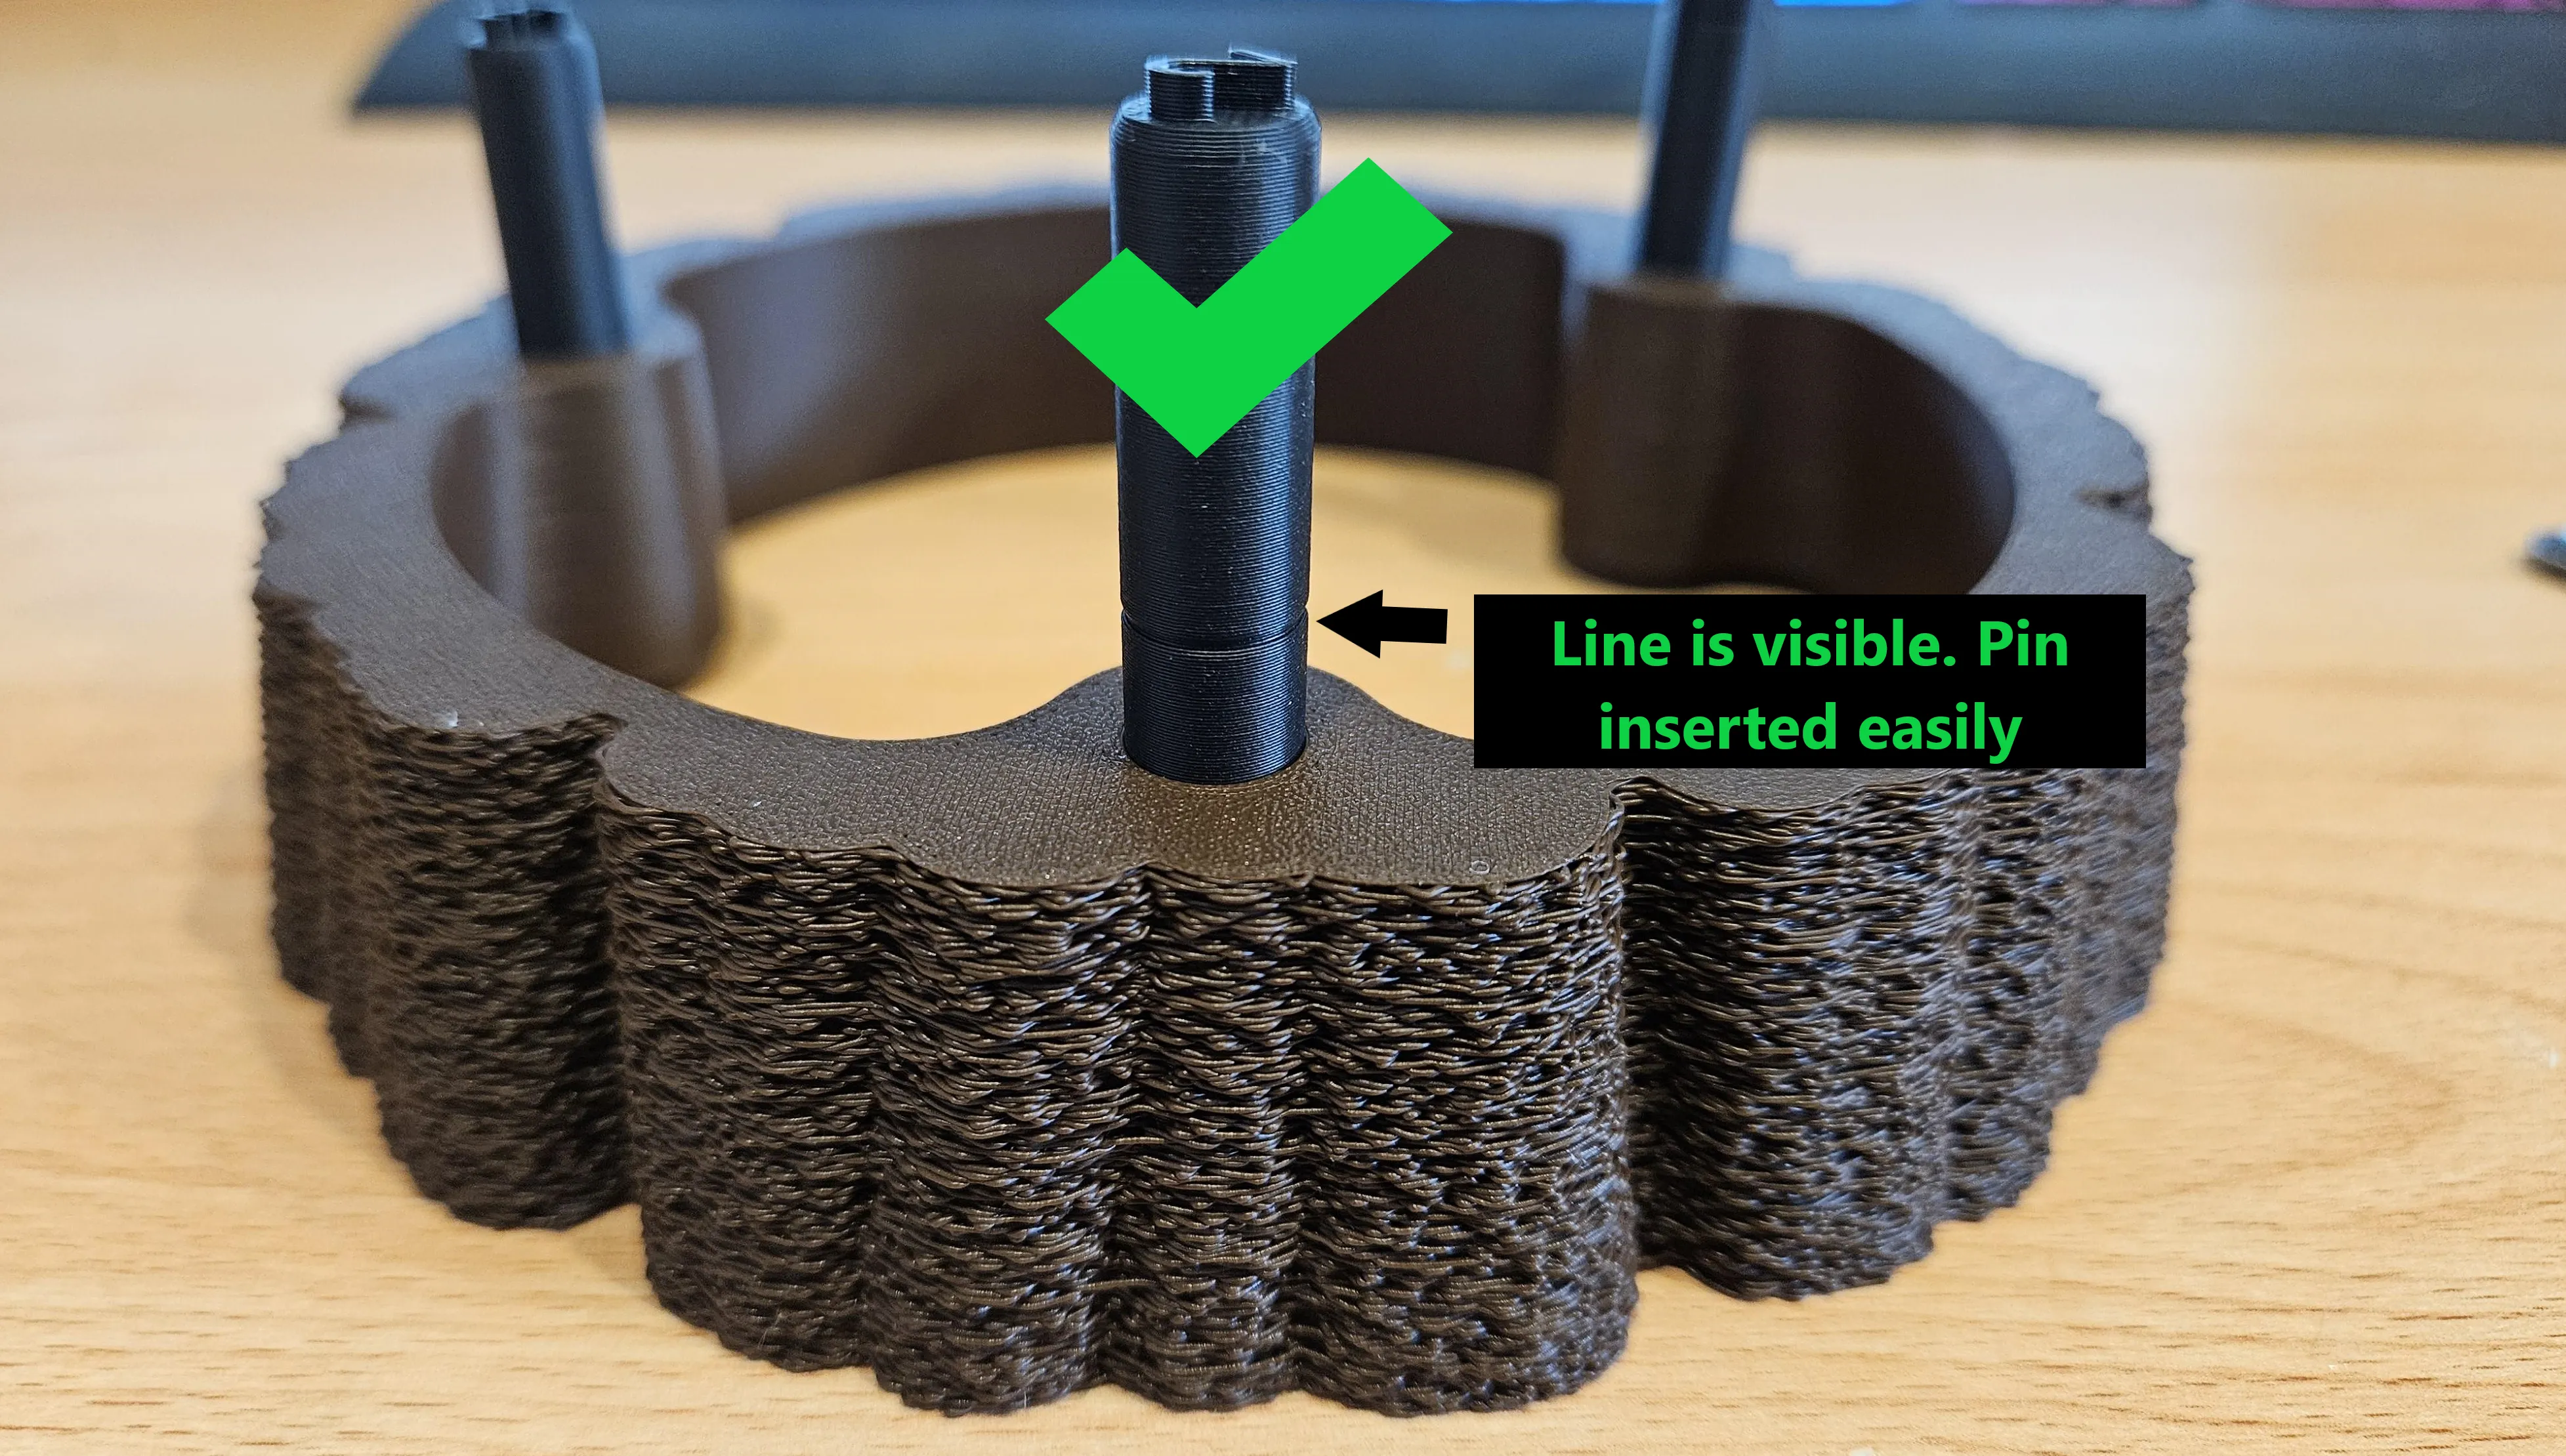
- If it can be inserted with very little force but not all the way (the middle line must be visible) → This is the pin you want
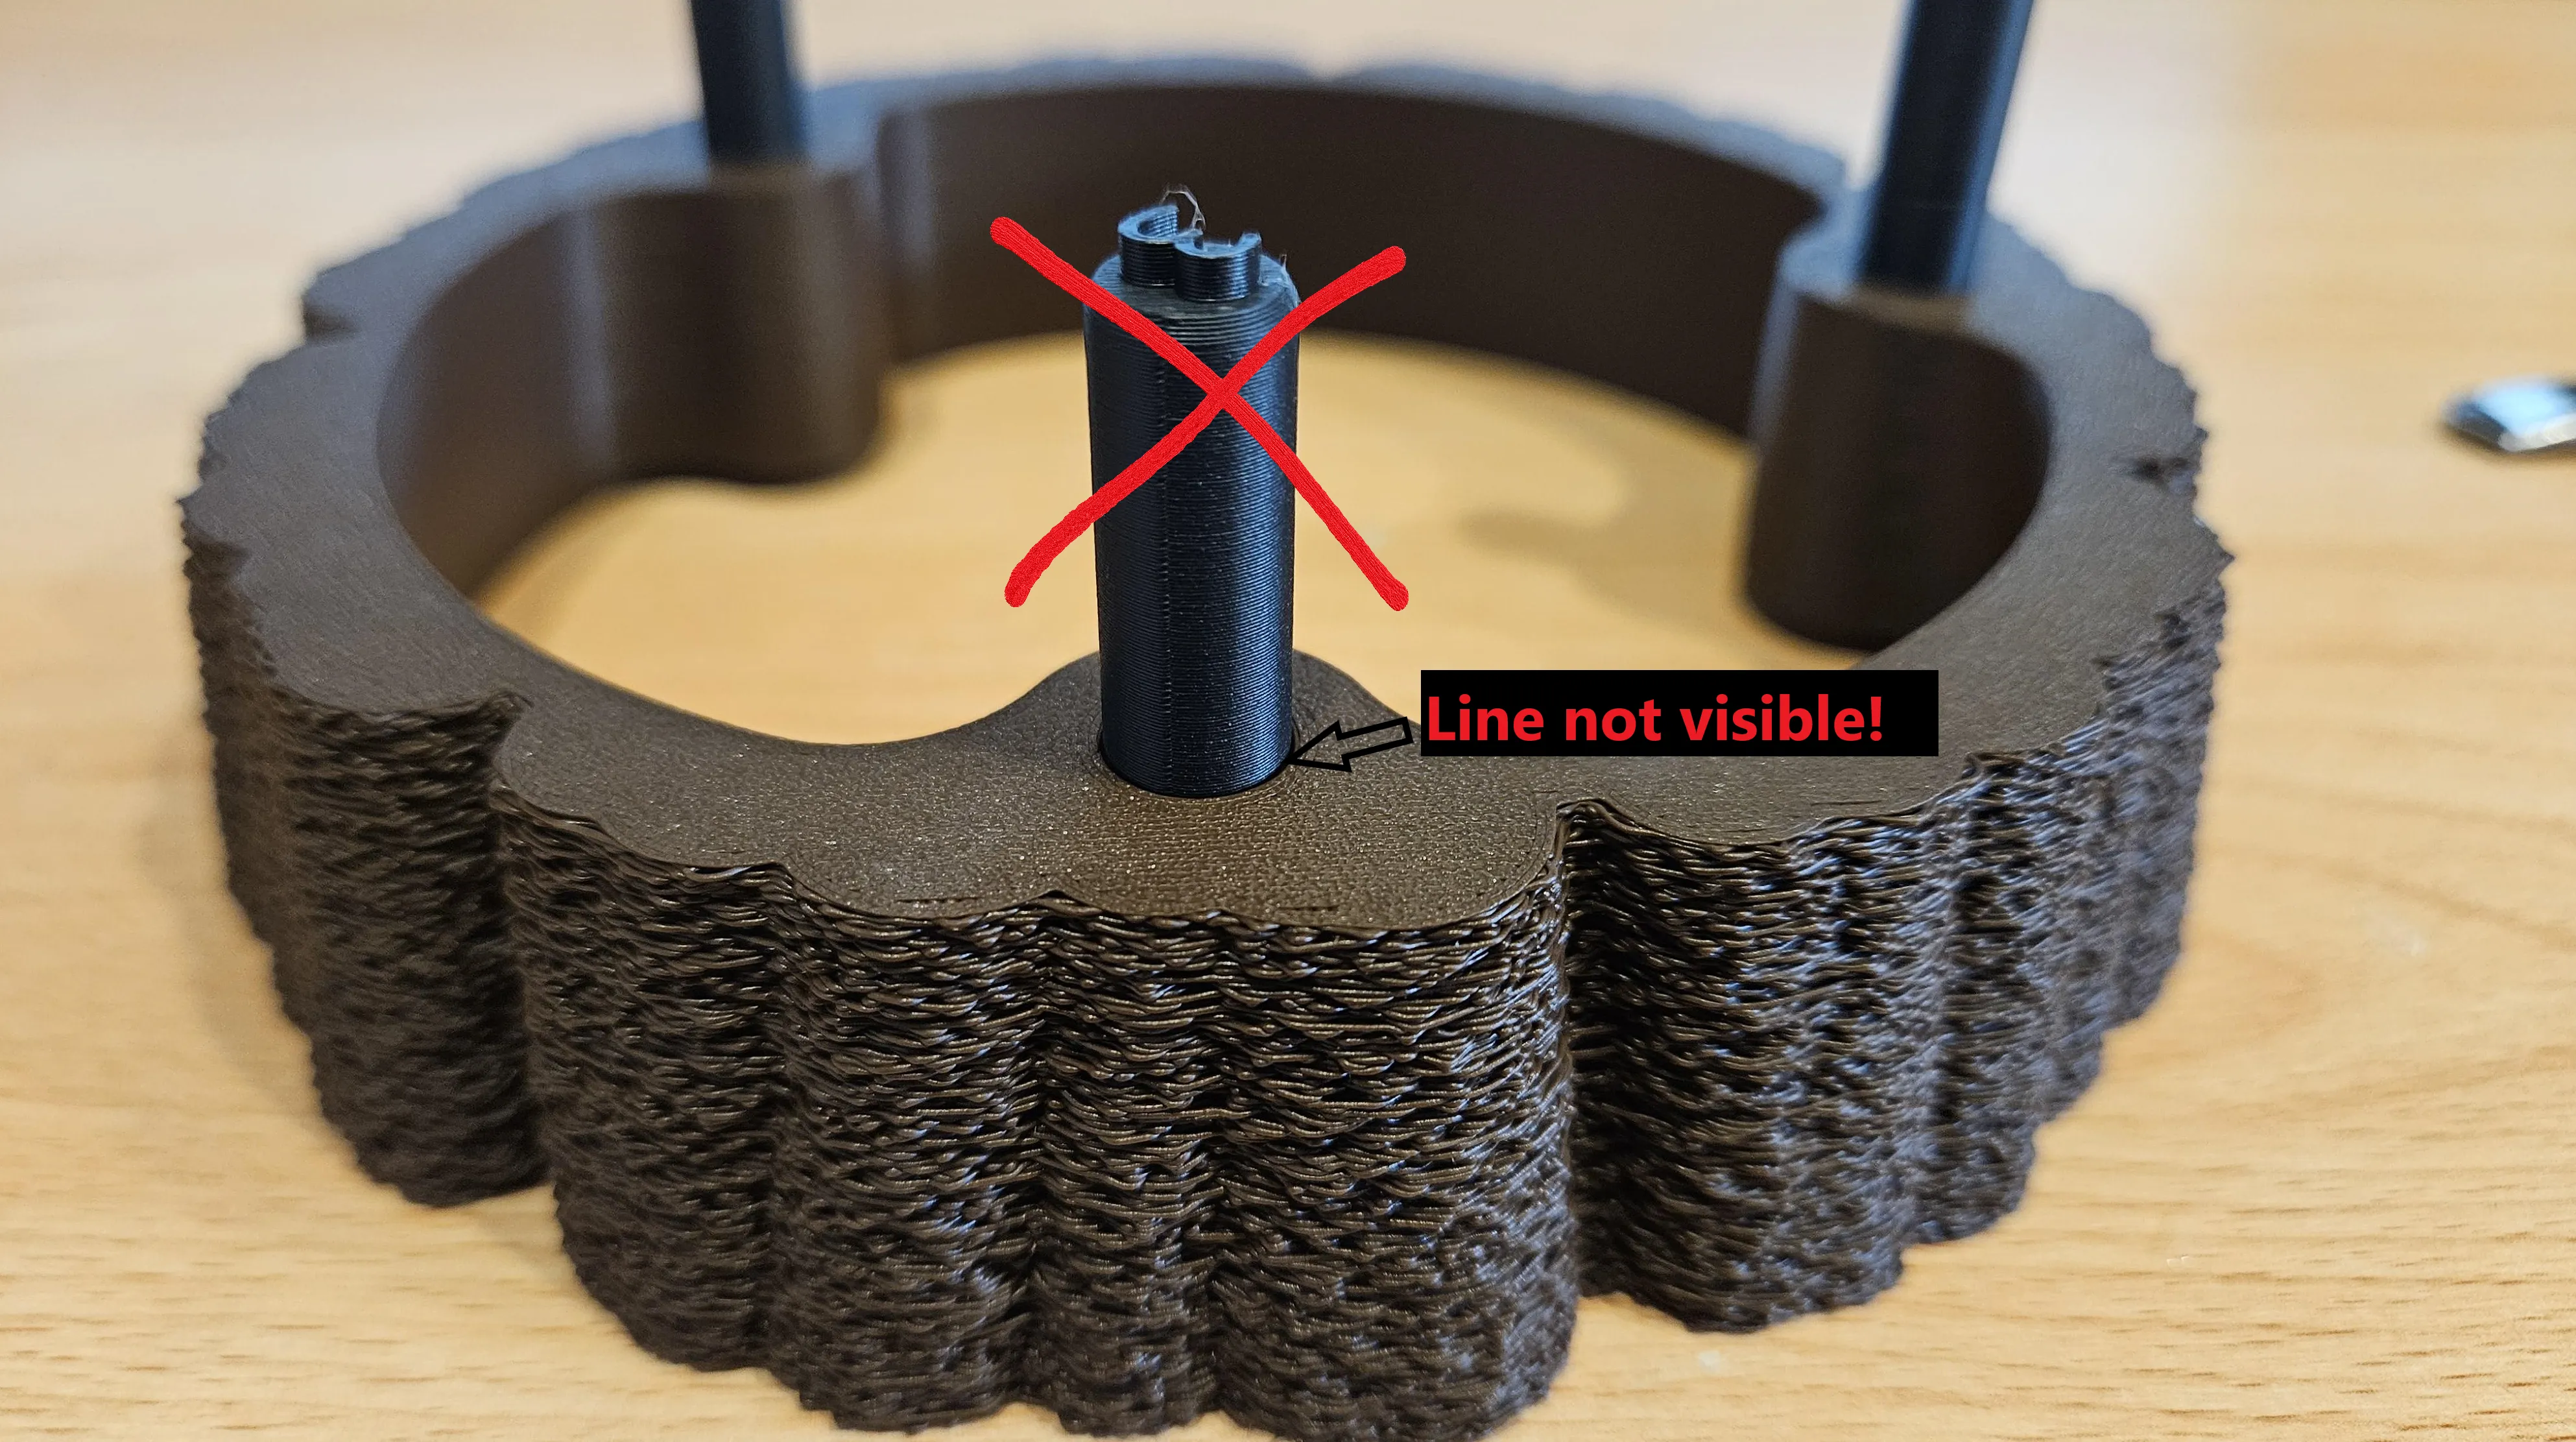
- If it falls completely into the hole (the line is not visible anymore) → Pin diameter is too small
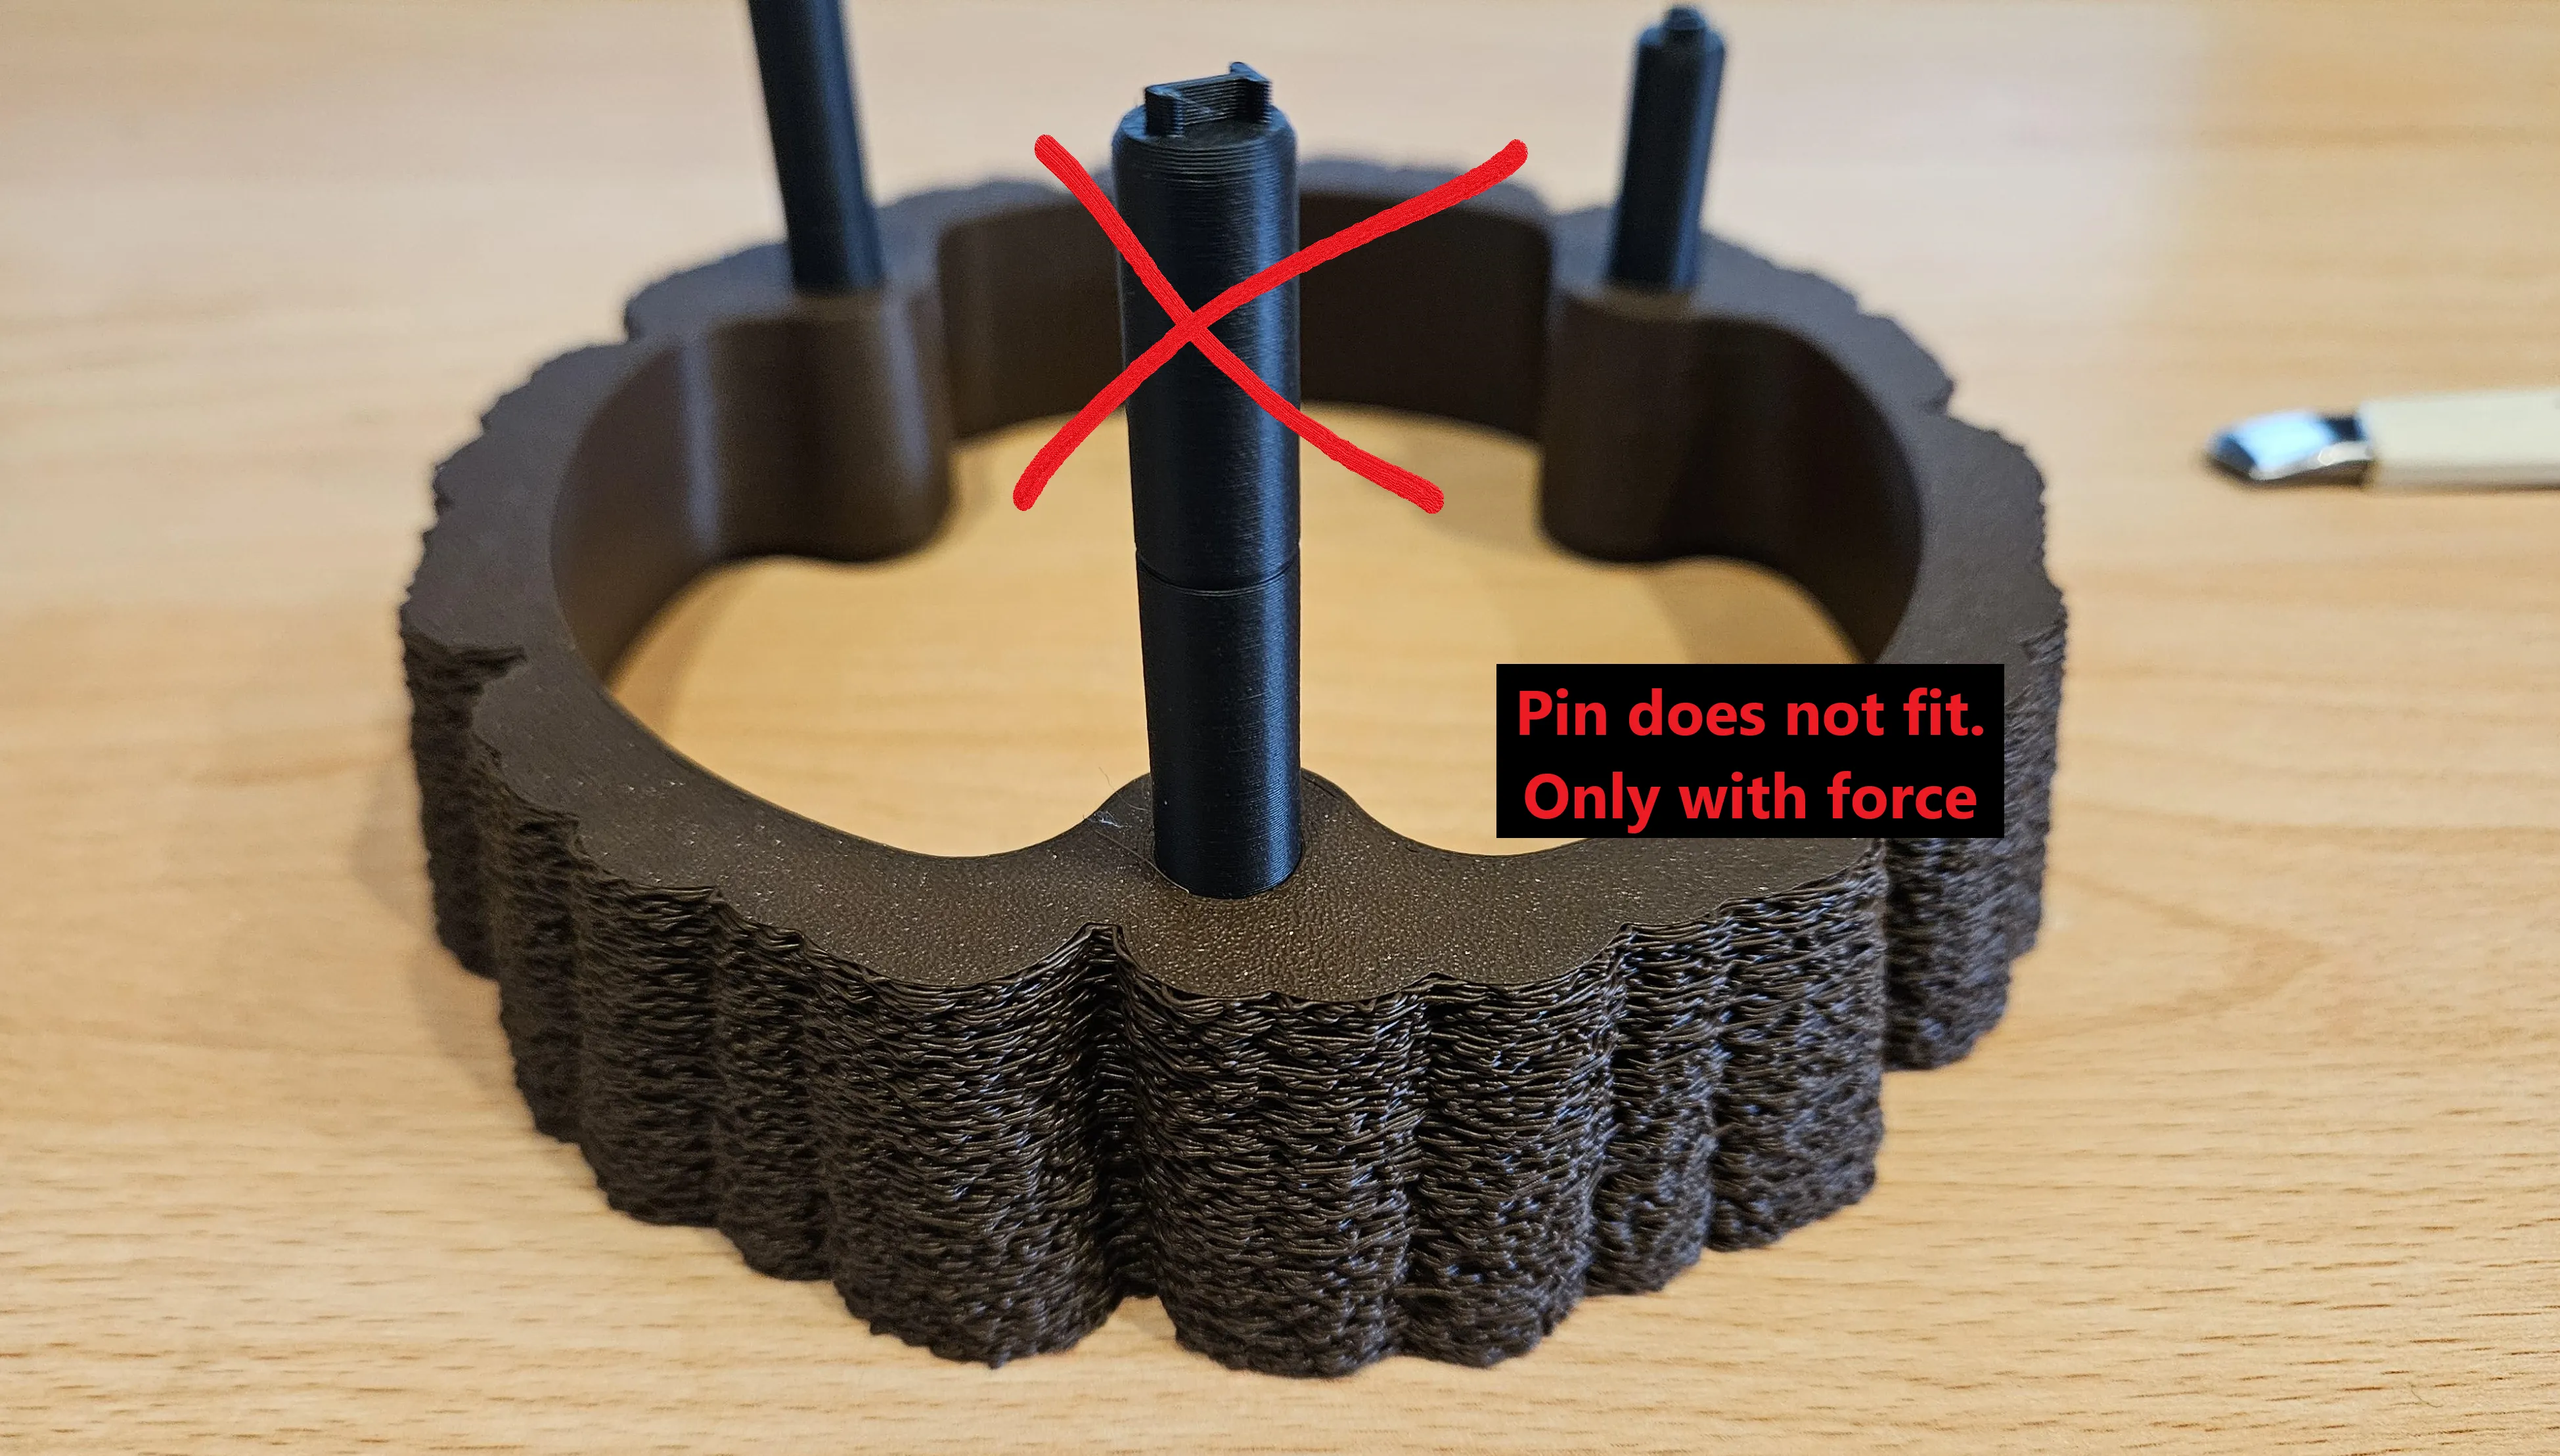
- If it cannot be insereted into the hole → Pin diameter is too big
Depending on your result (1, 2, 3 or 4) you can print the plate with the accroding number “Tolerance X”
Assembly of handle
The surfaces of the handle parts are numbered. Connect the faces with the same number on it (1 is facing 1, etc.).
Use MUCH glue. Not too much, so the glue will be pressed out of the holes.
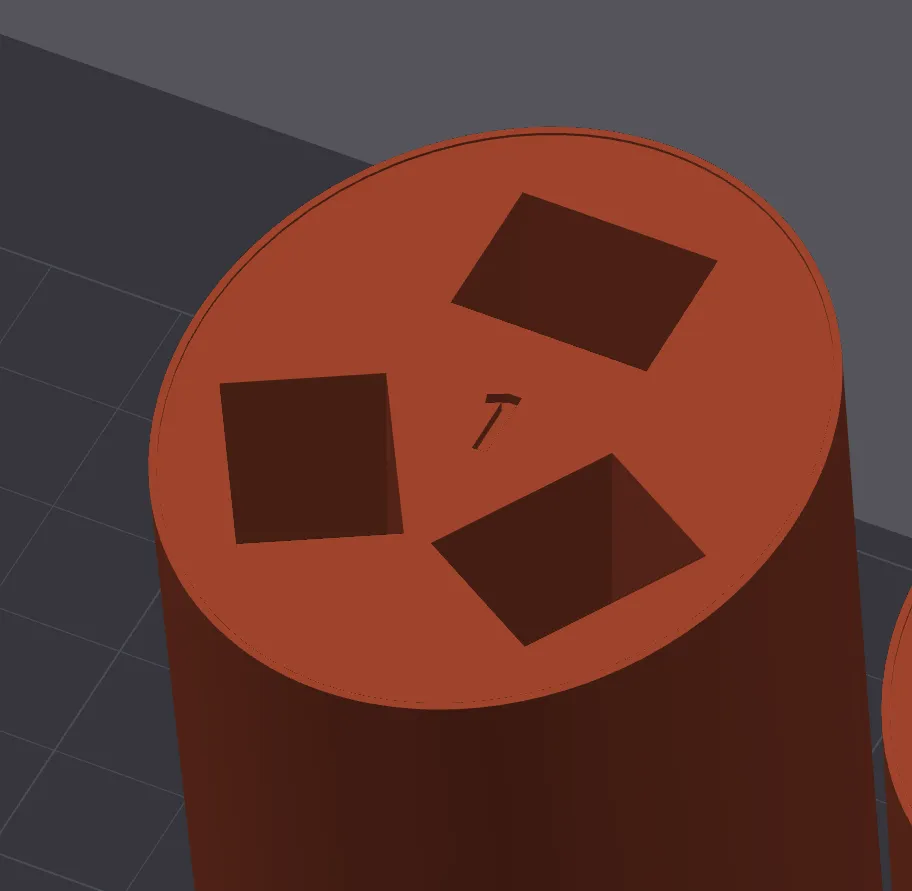
- Insert glue into the hole
- Insert the connectors
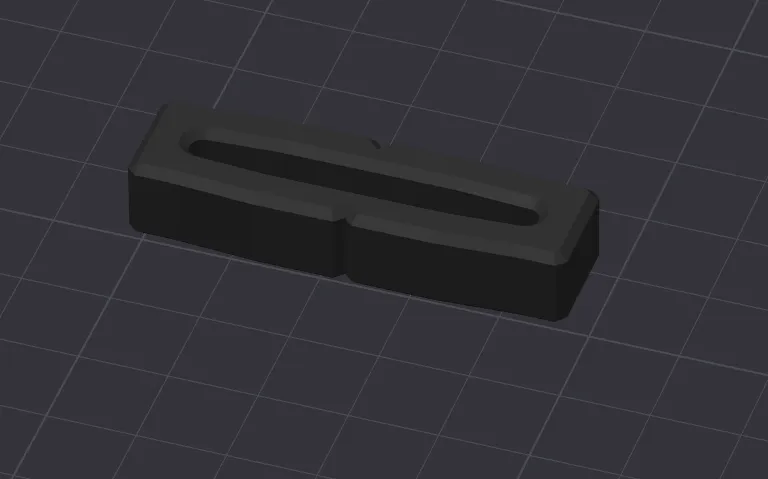
- Put glue onto the connectors
- Insert the next part into the connectors
- Repeat
Assembly broom
The broom parts can only be assembled in one way since the pin holes have a different position for every part
Start of the broom
- Start with broom parts 1 + 2 + 3
- Insert glue into the pin holes of broom part 1
- Insert the pins into broom part 1
- Insert glue into pins holes of broom part 2 and 3
- Press part 2 and 3 onto part 1
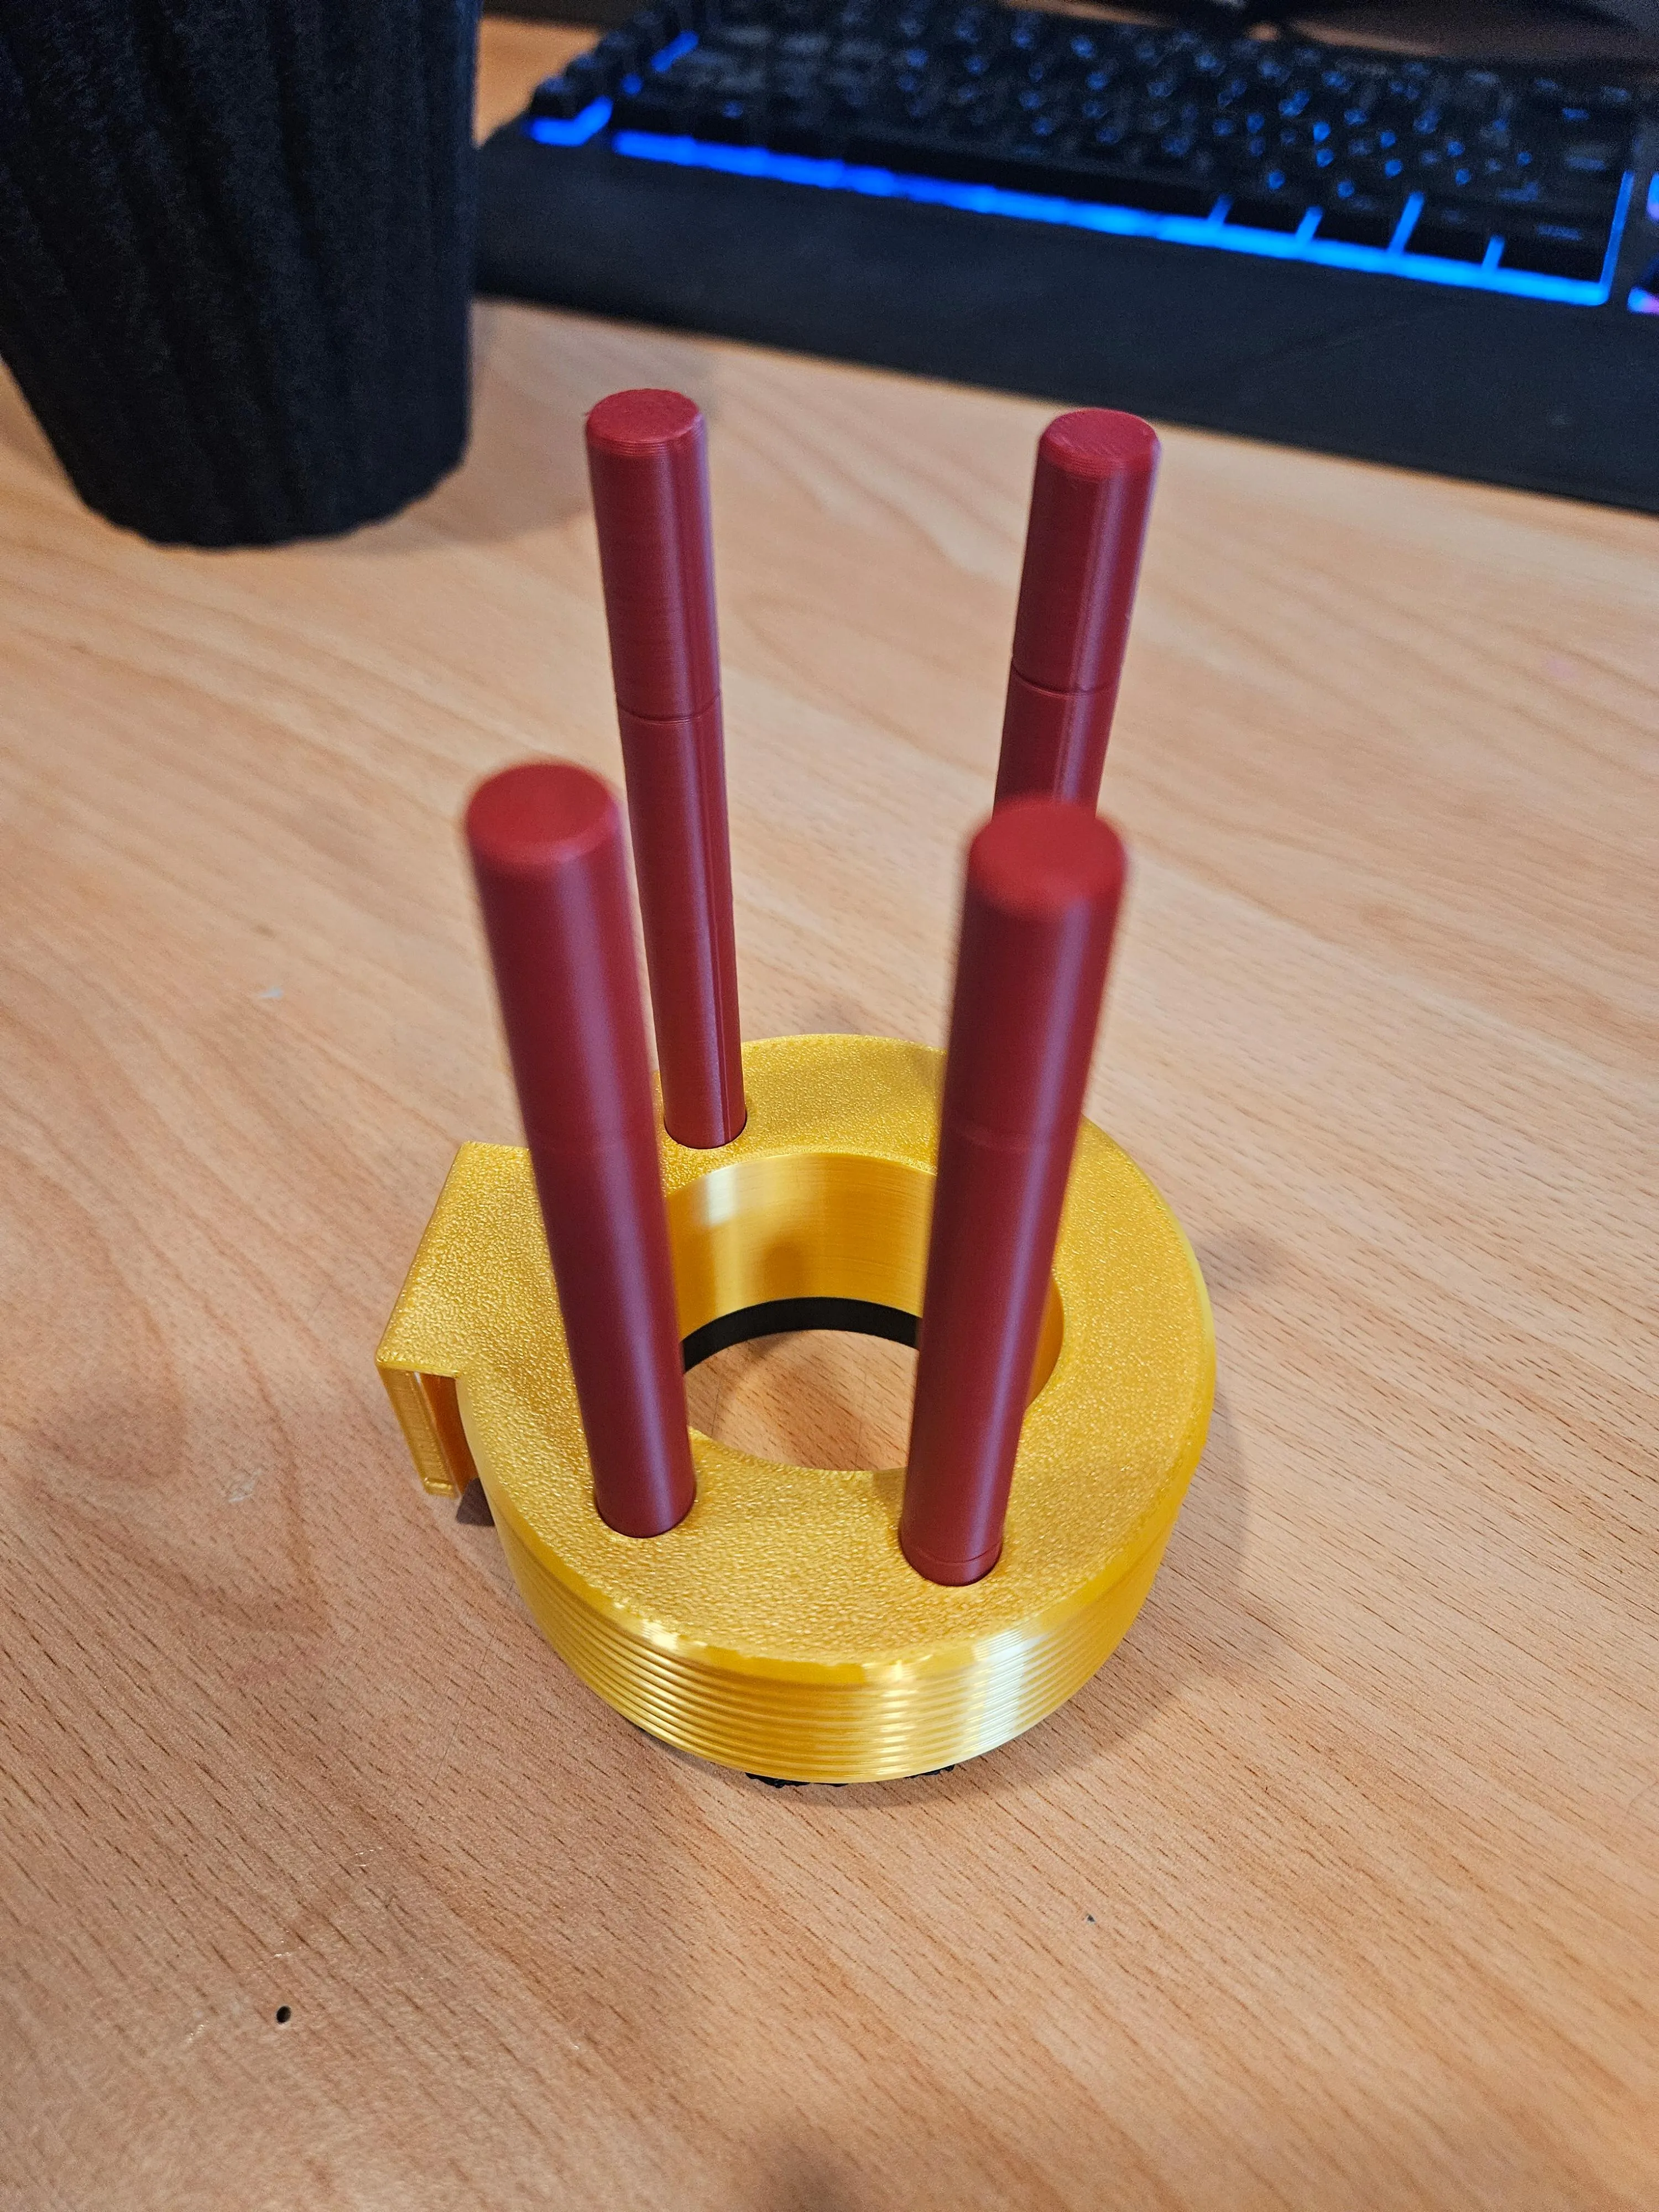
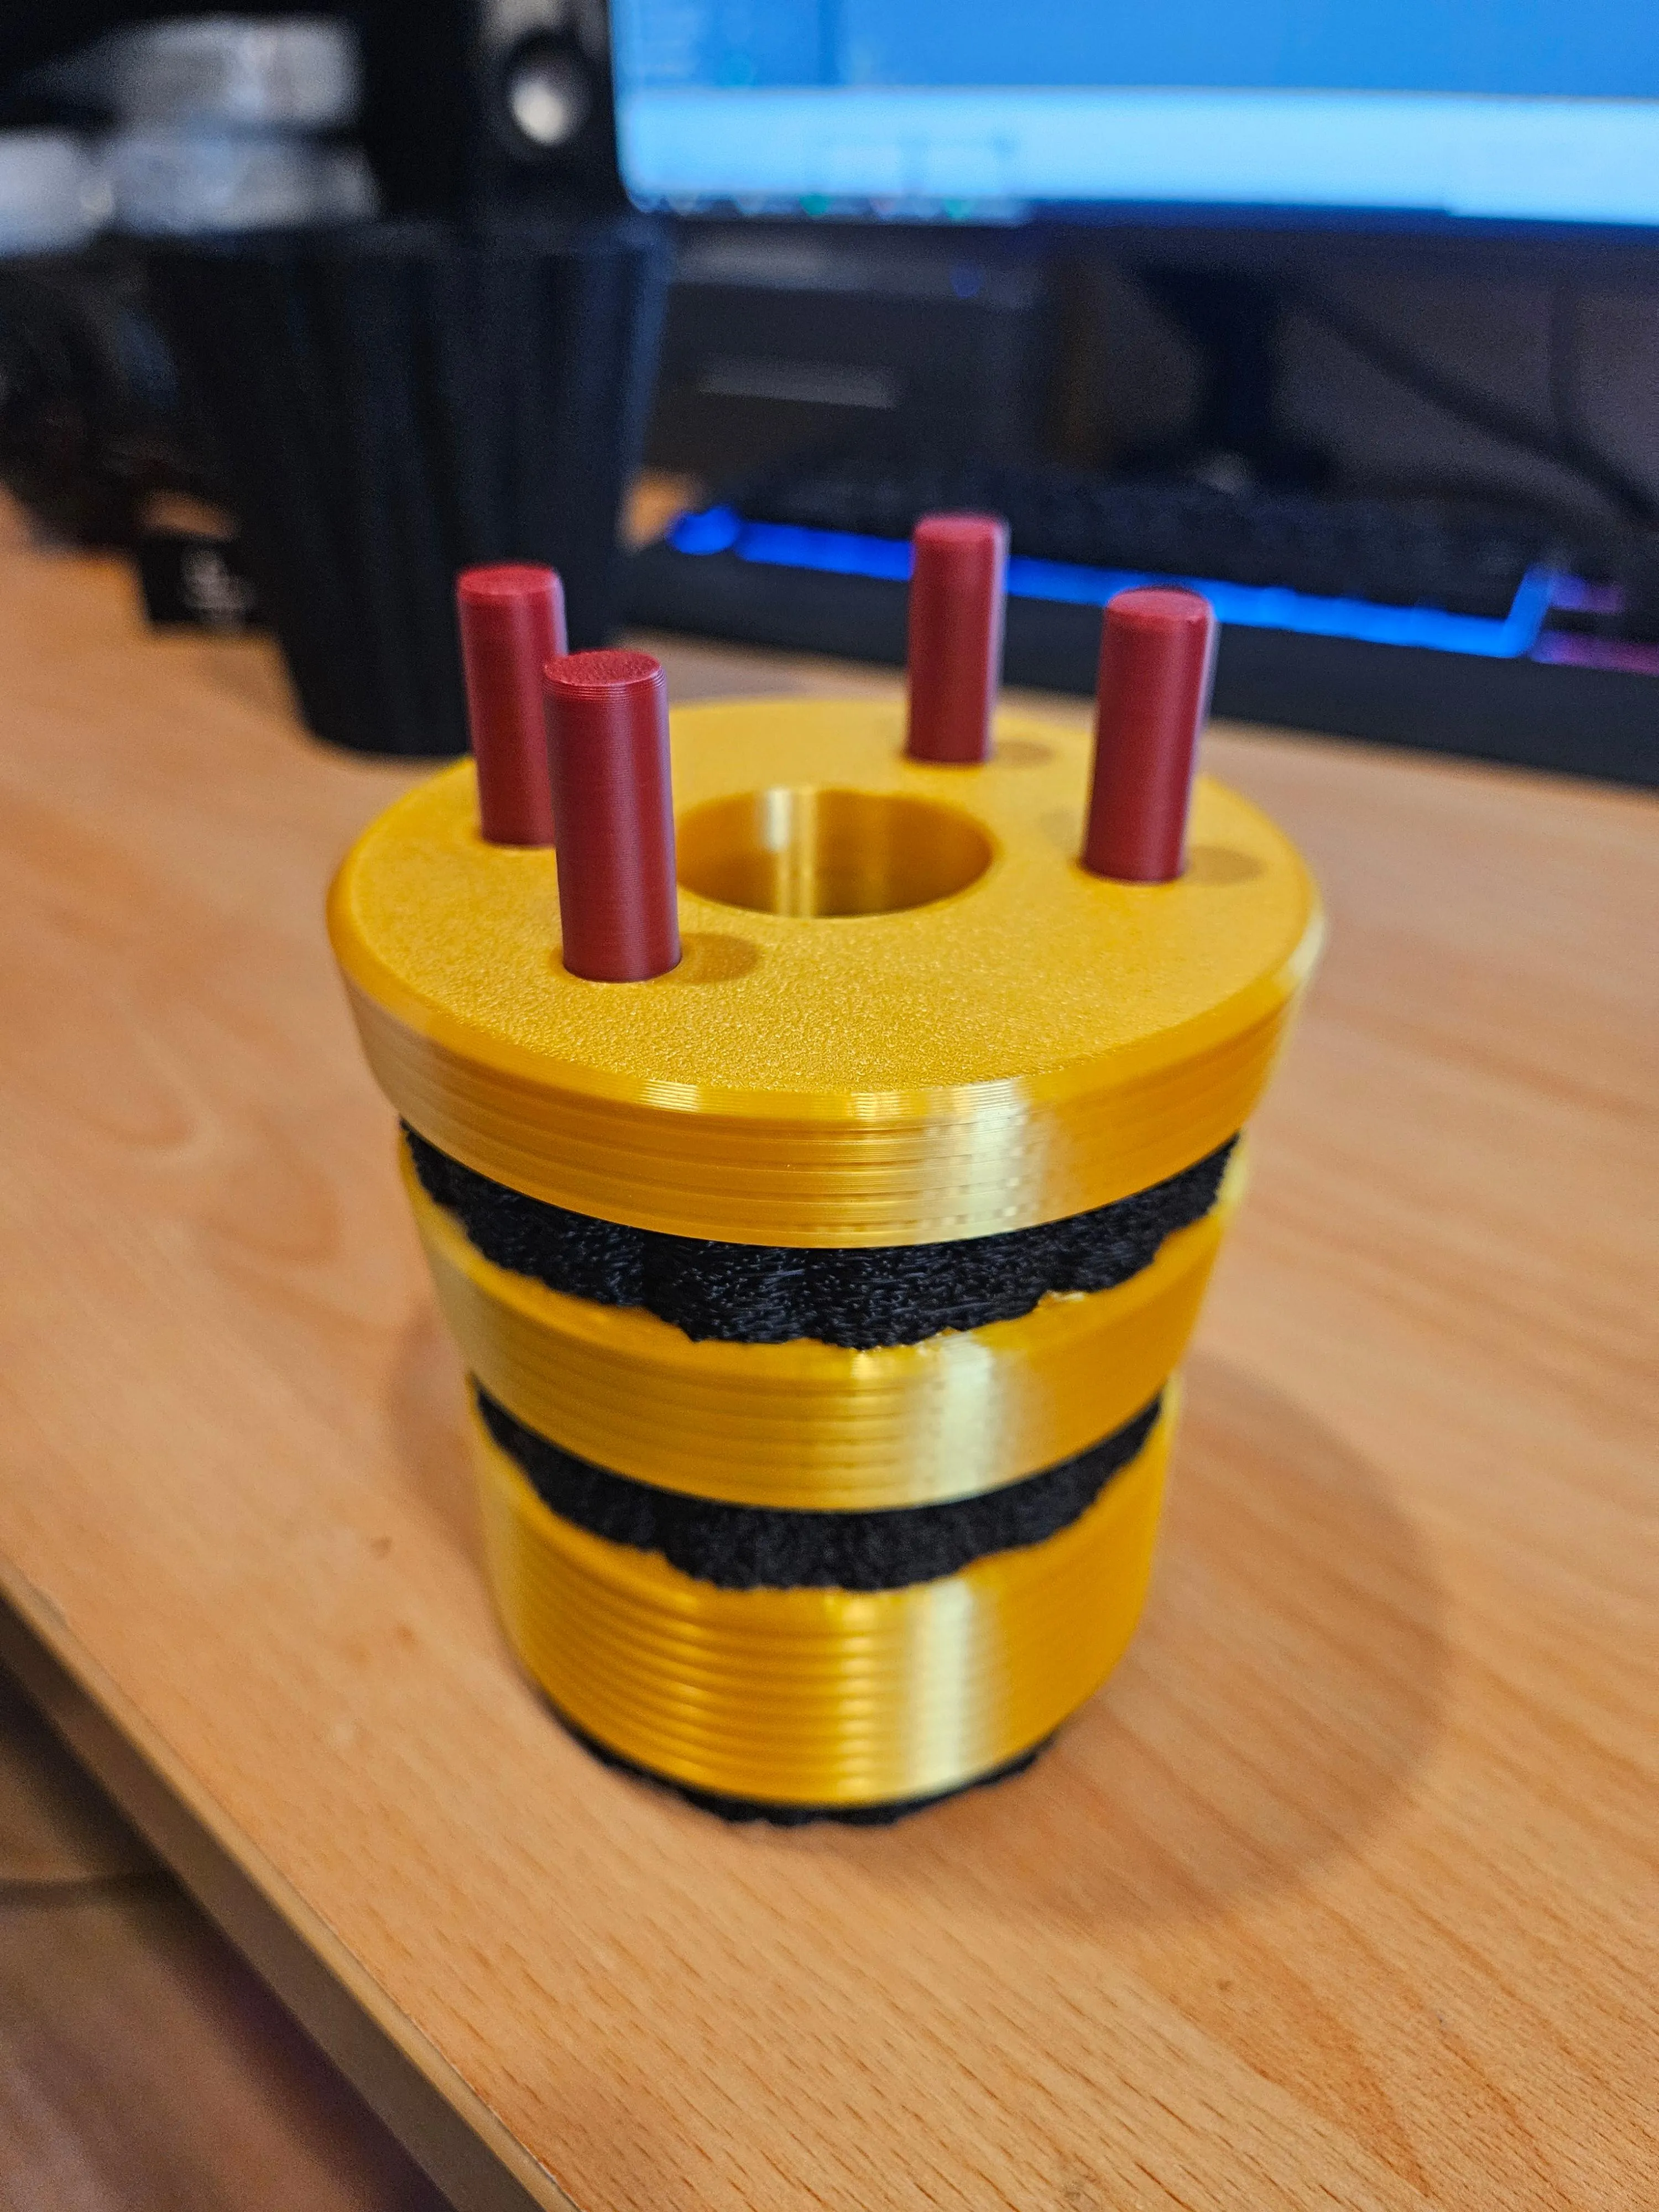
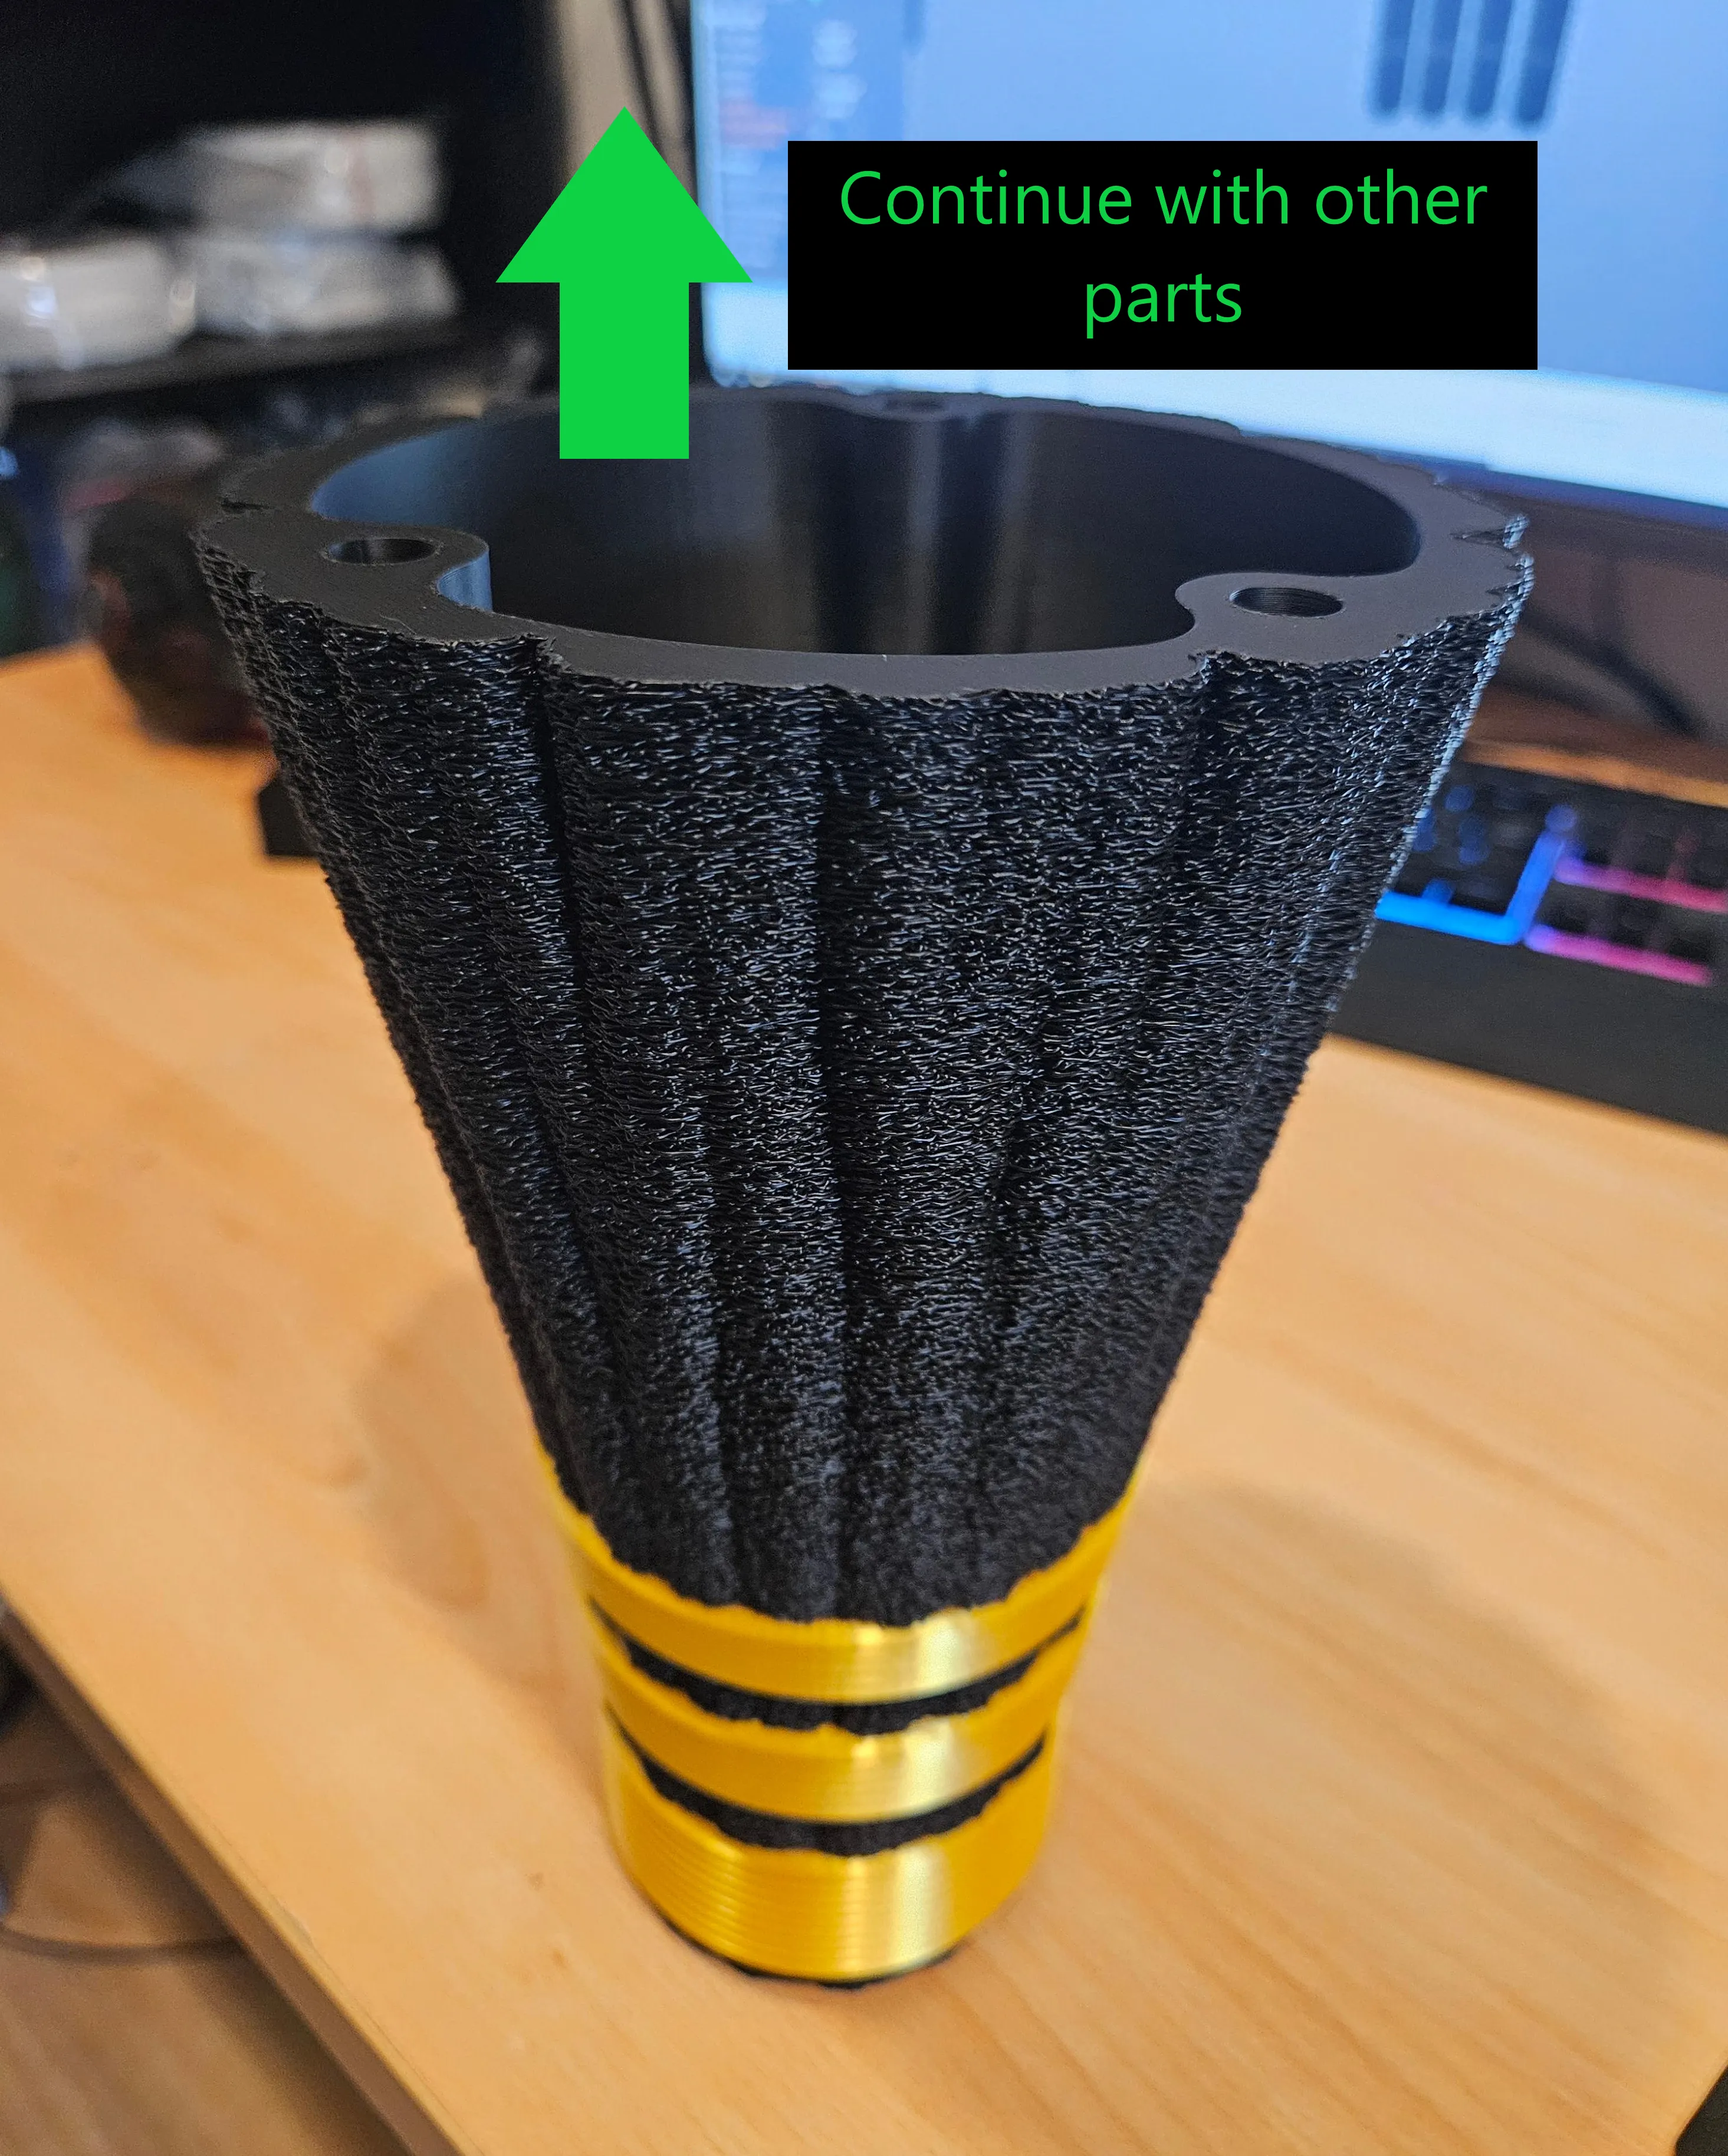
Rest:
- Insert glue into the pin holes
- Insert pins
- Assemble the next part
- repeat until done
Assembly pedestal
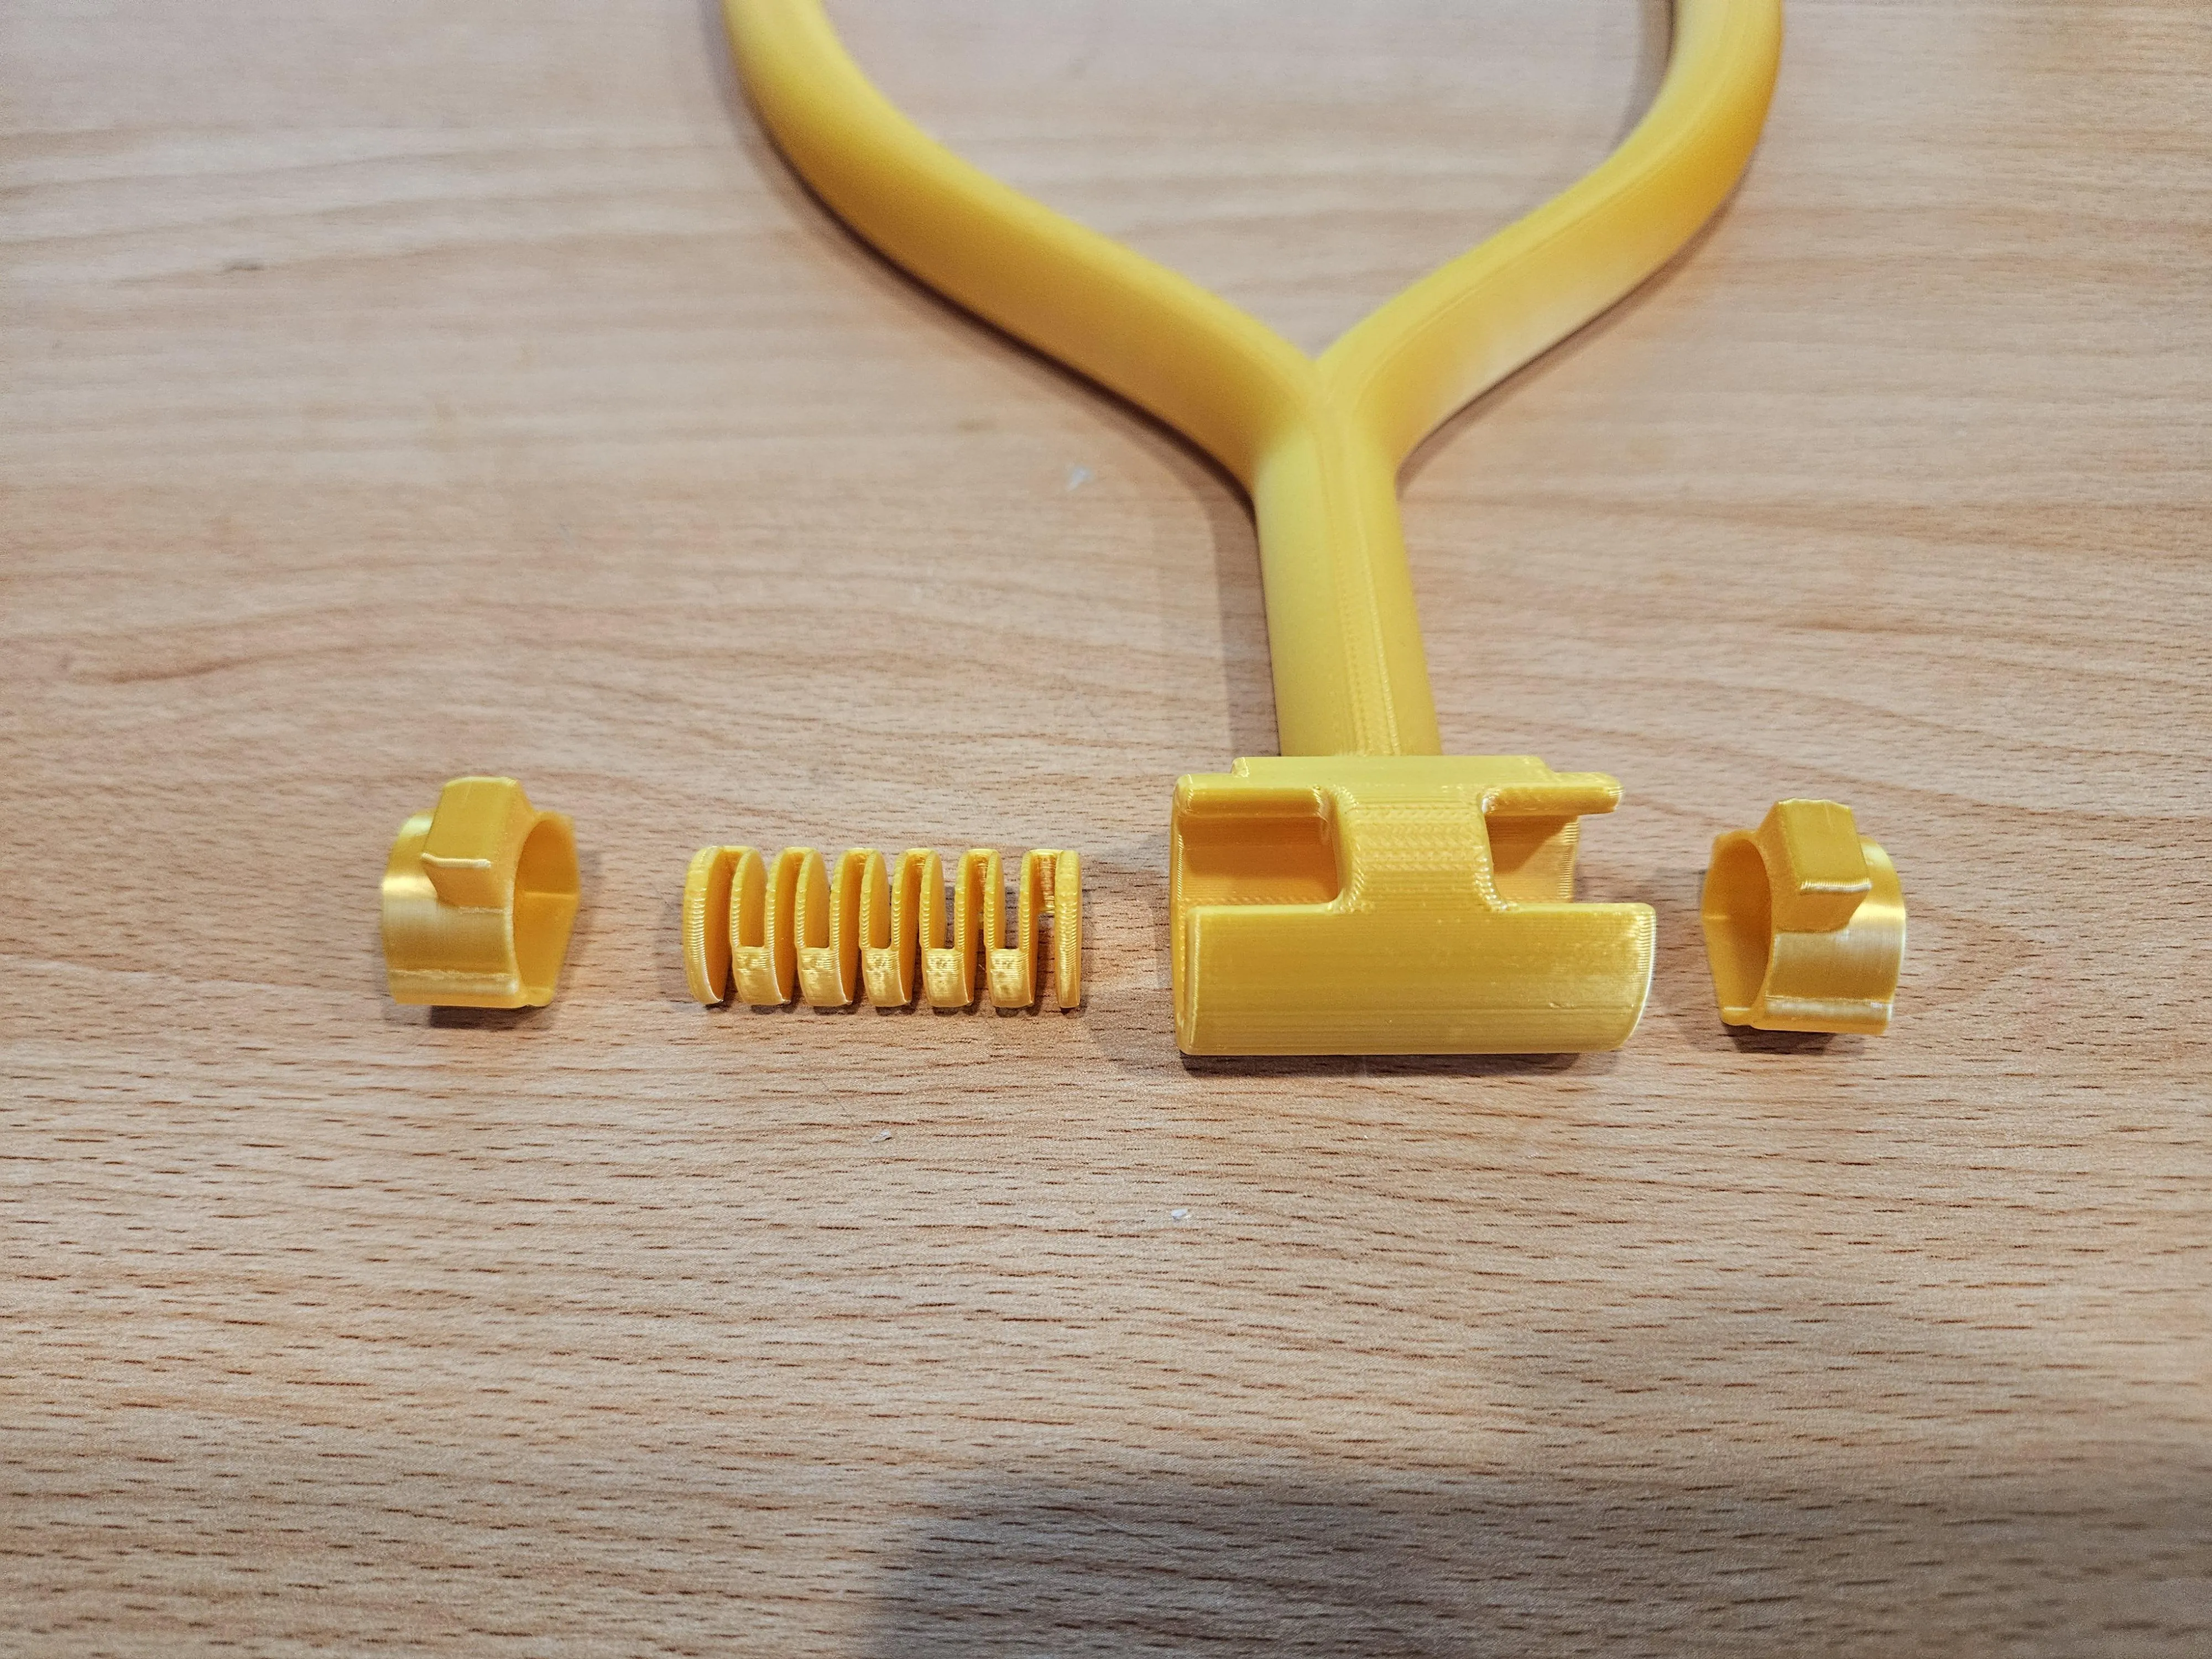
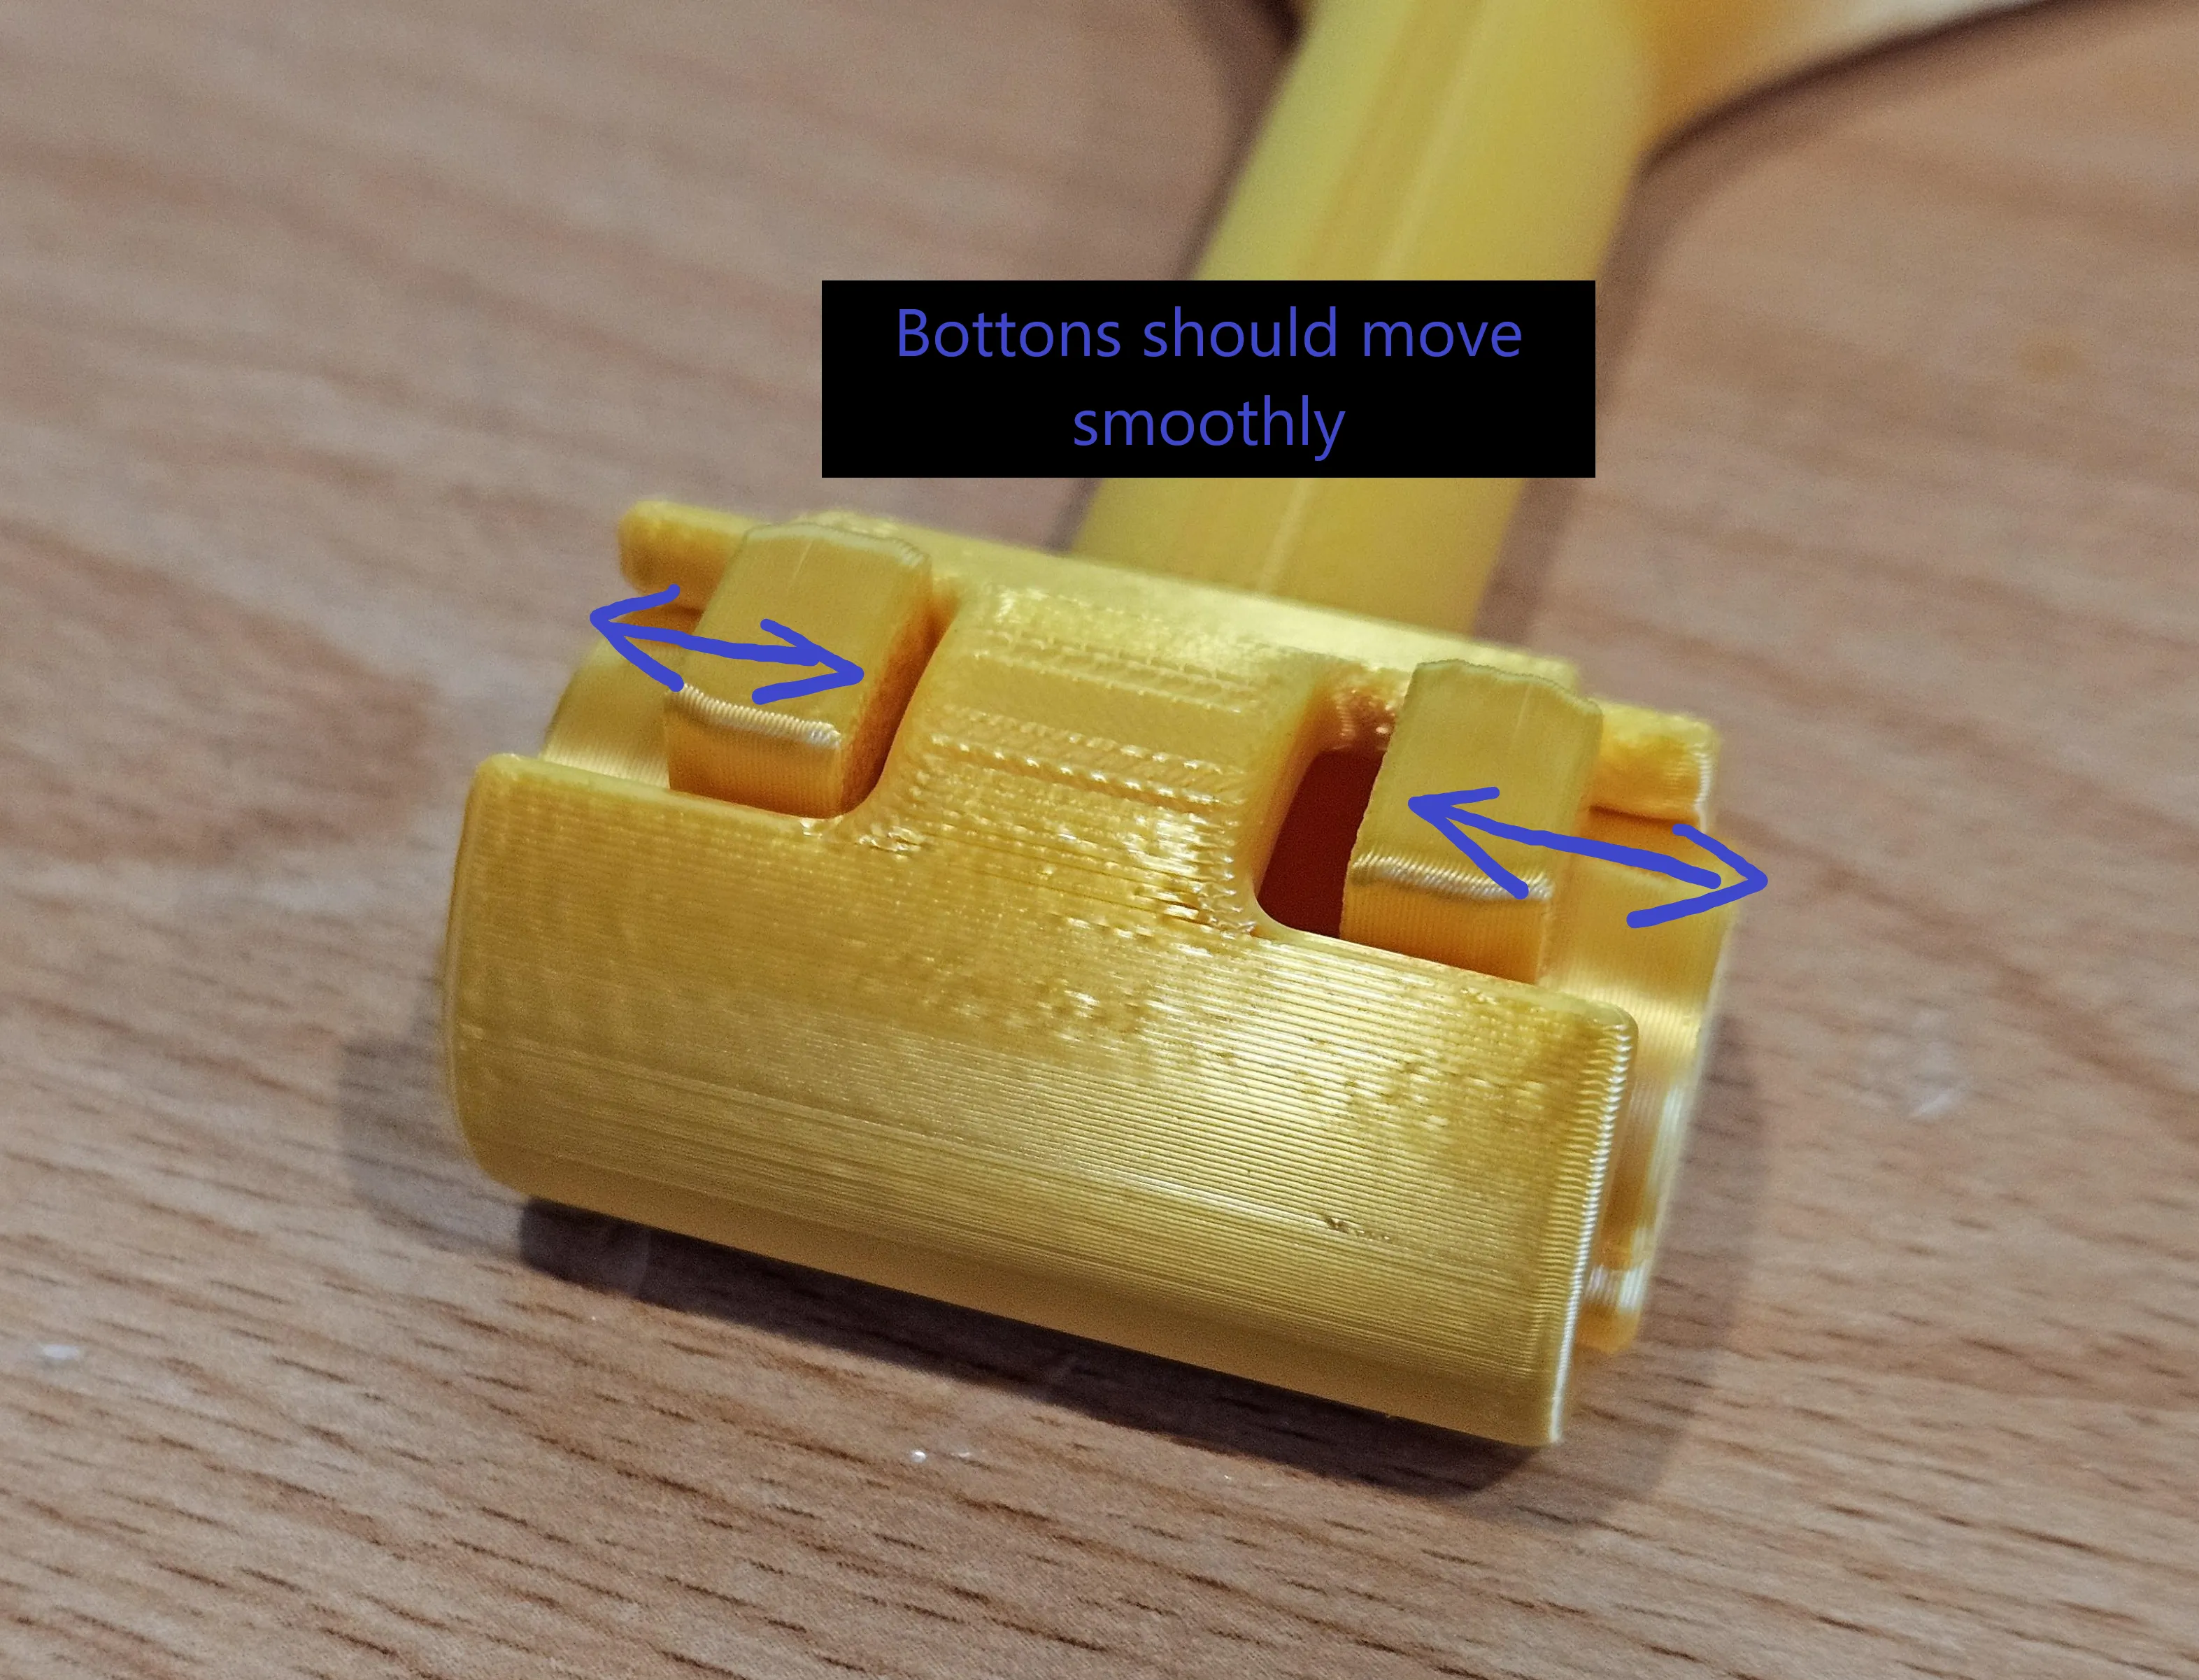
- Make sure the two bottons can slide inside the pedestal (see image)
- Assemble the bottons with the sprint in the middle (glue optional)
- Bend the socket a little and insert the pedestal part with the bottons into the socket
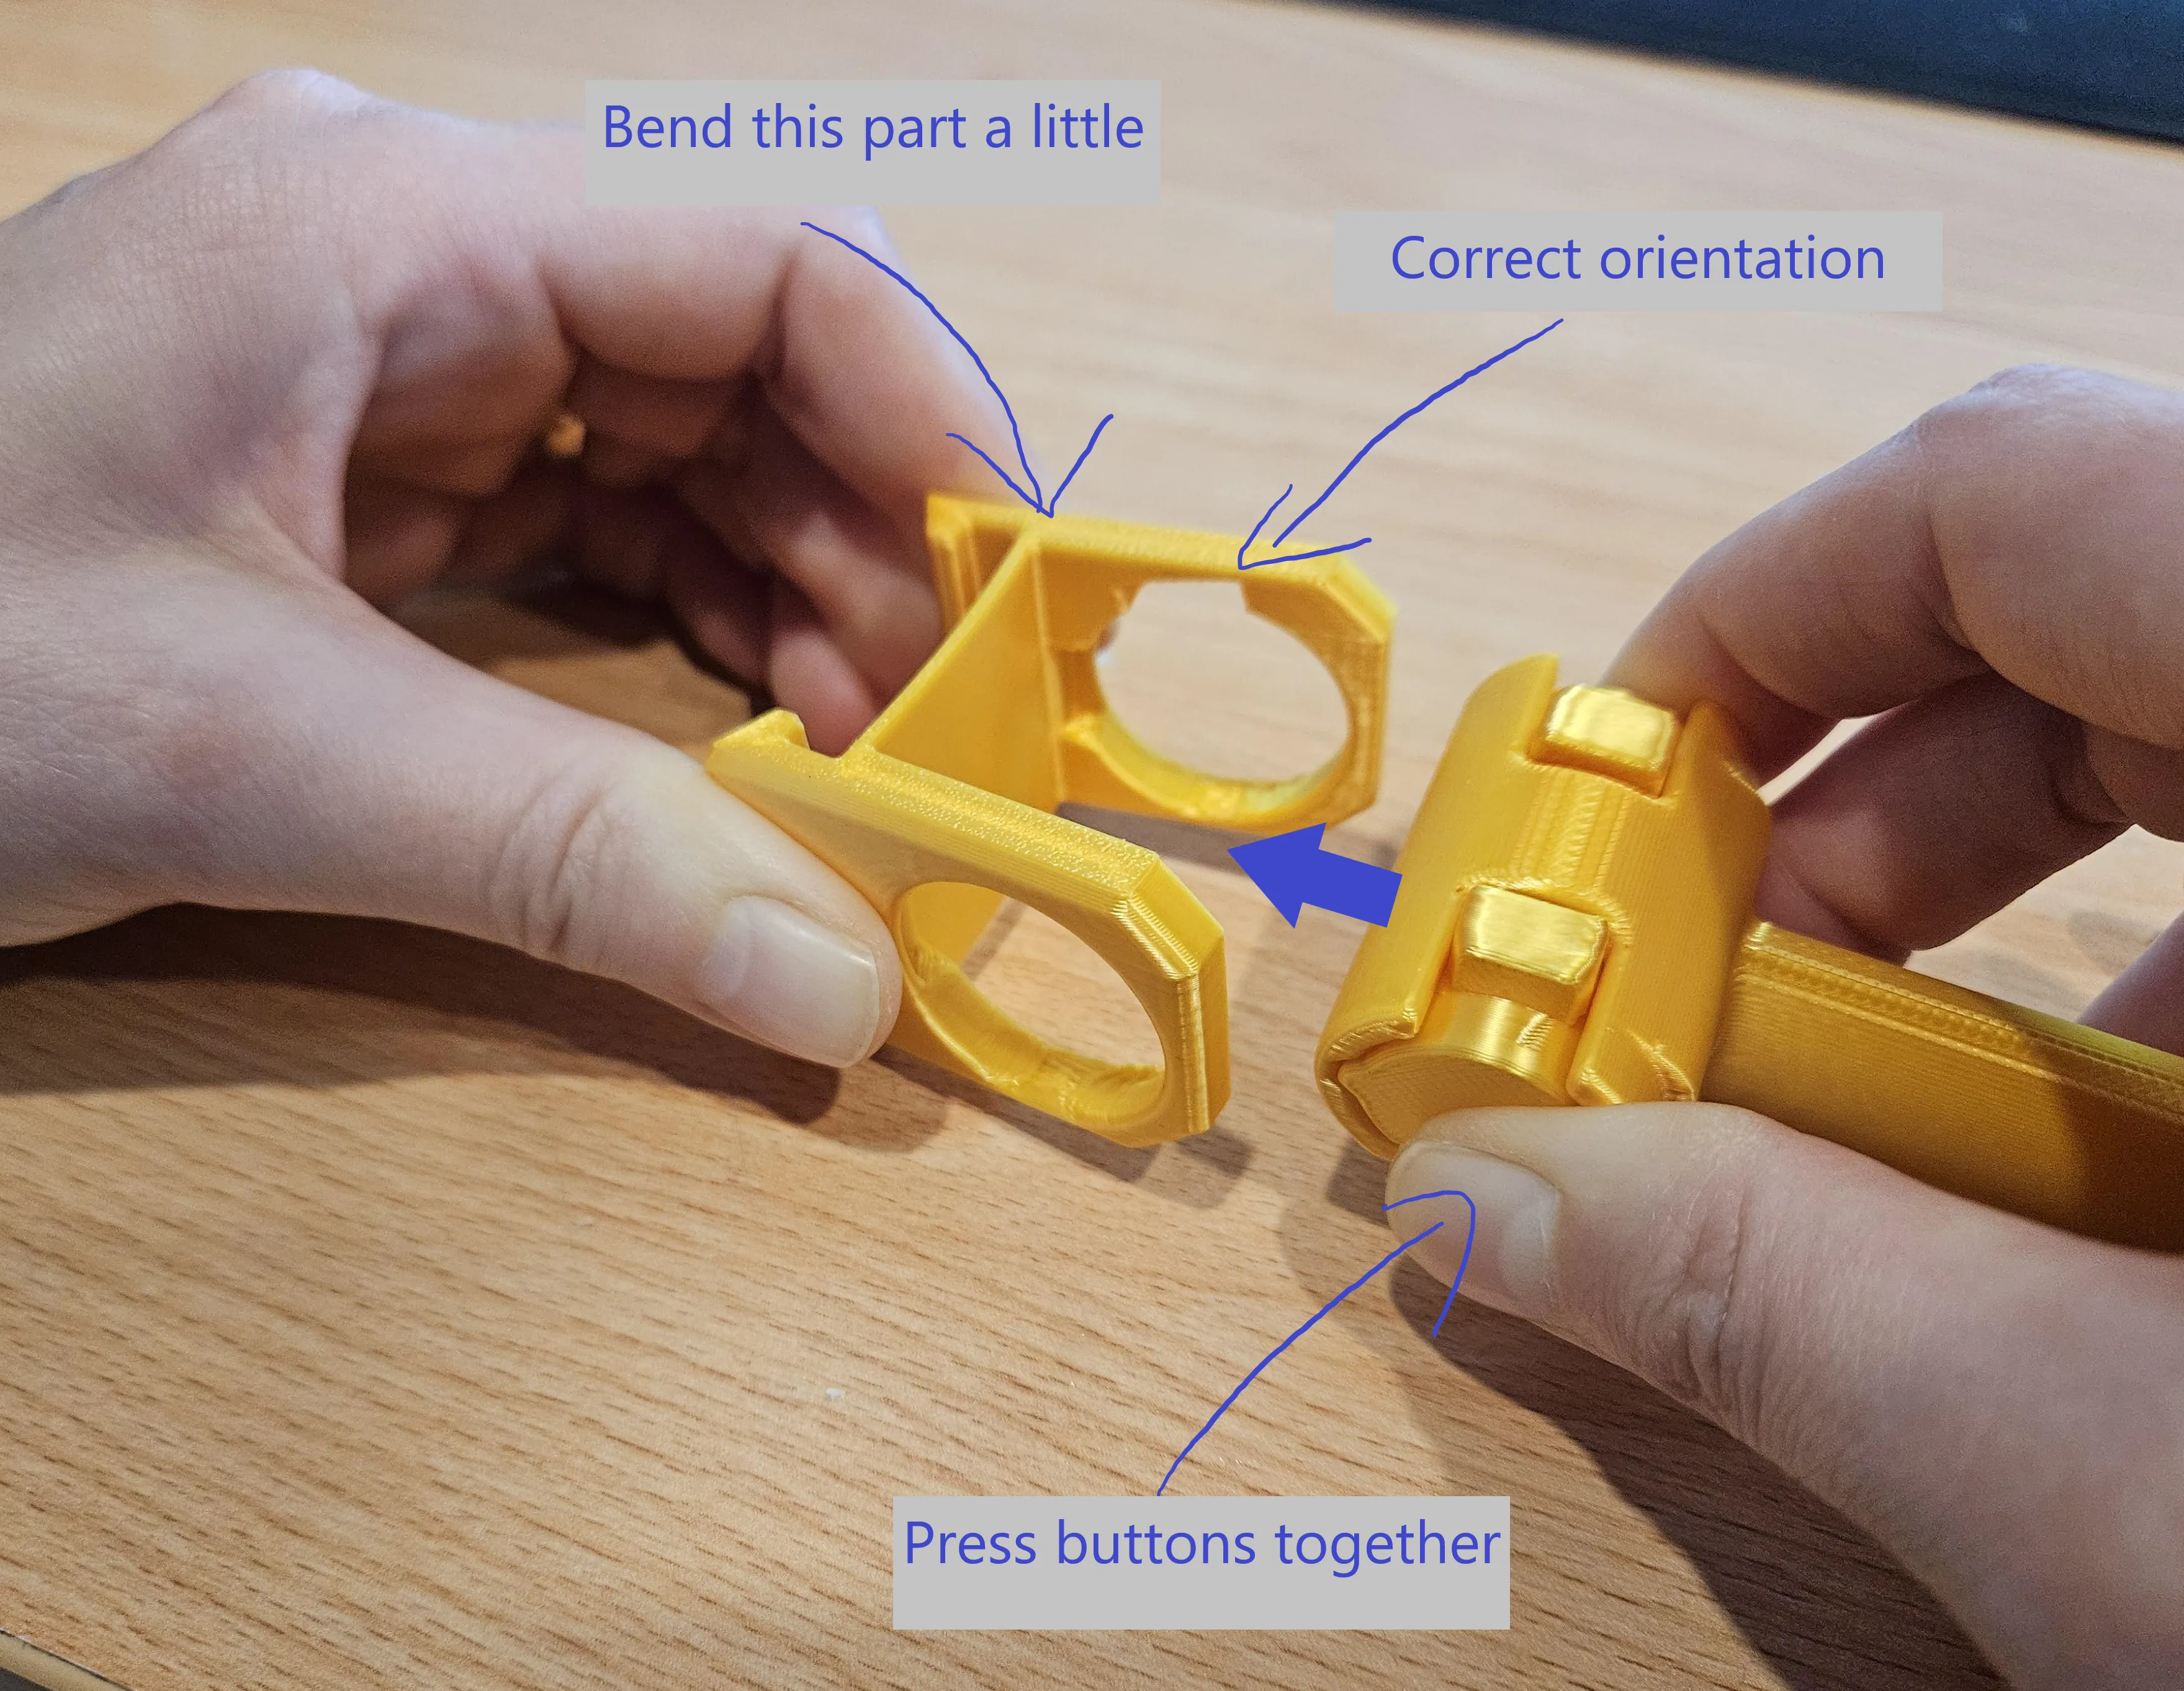
- Assemble the two pedestal parts
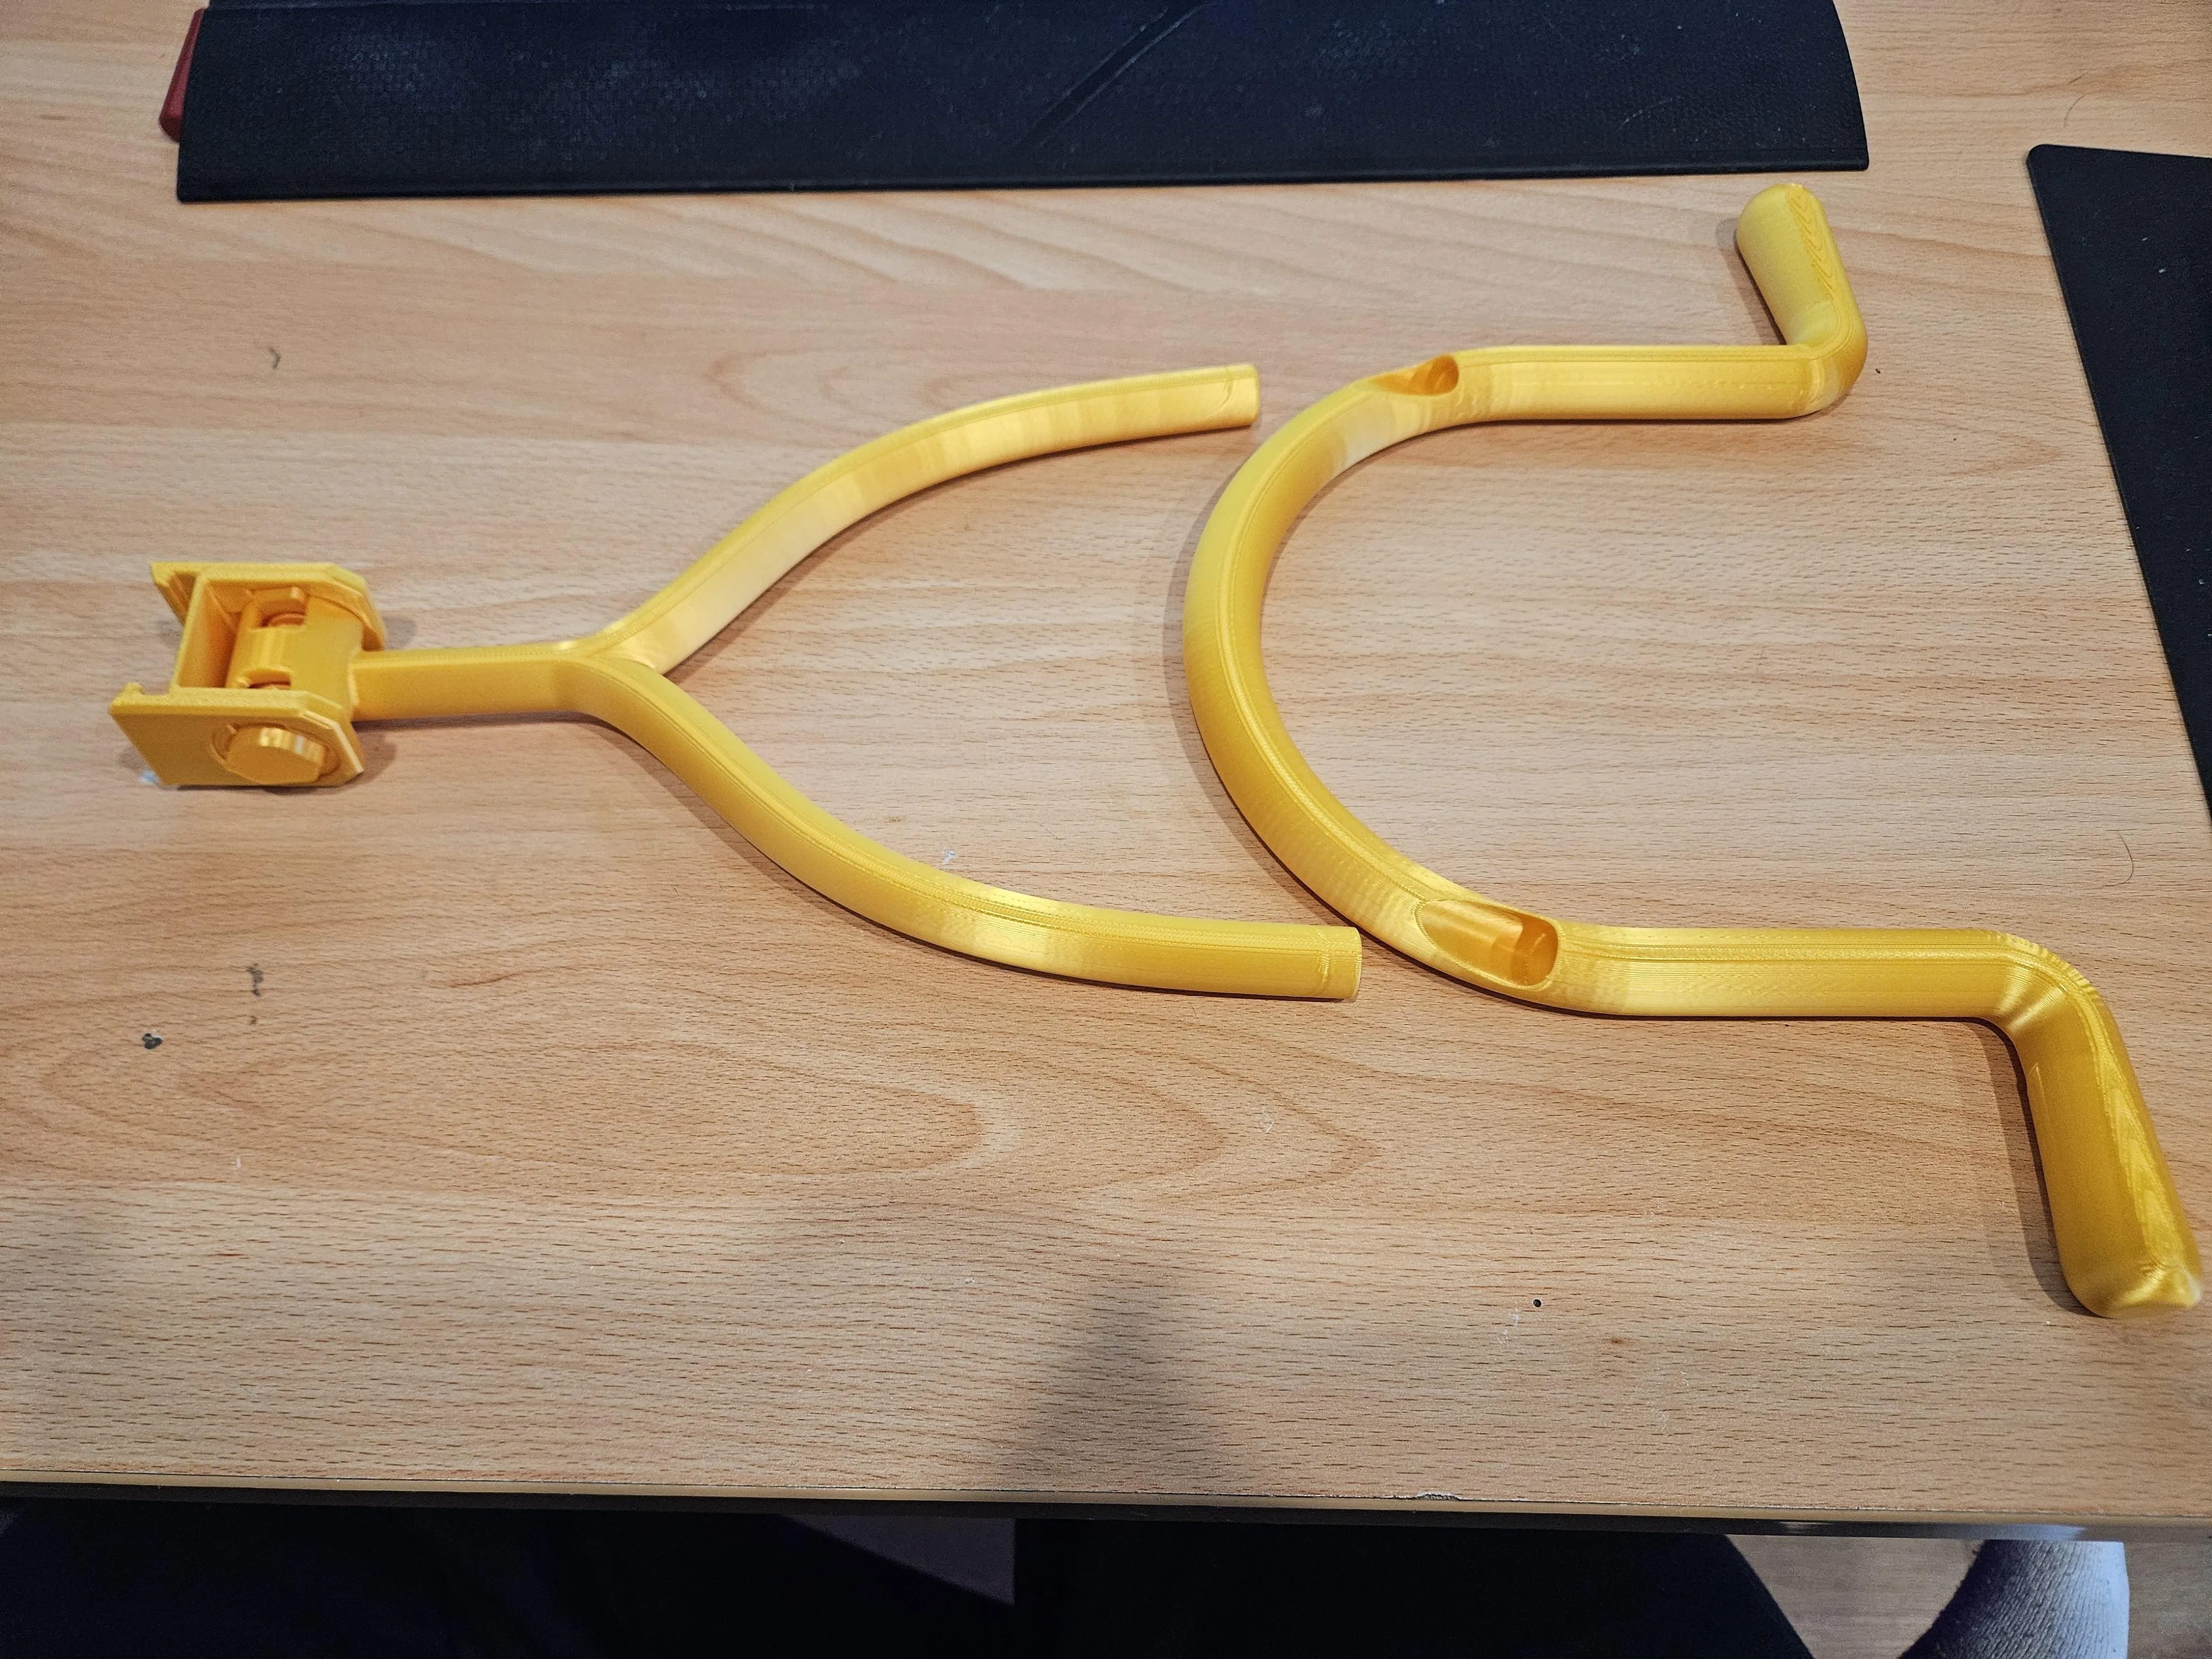
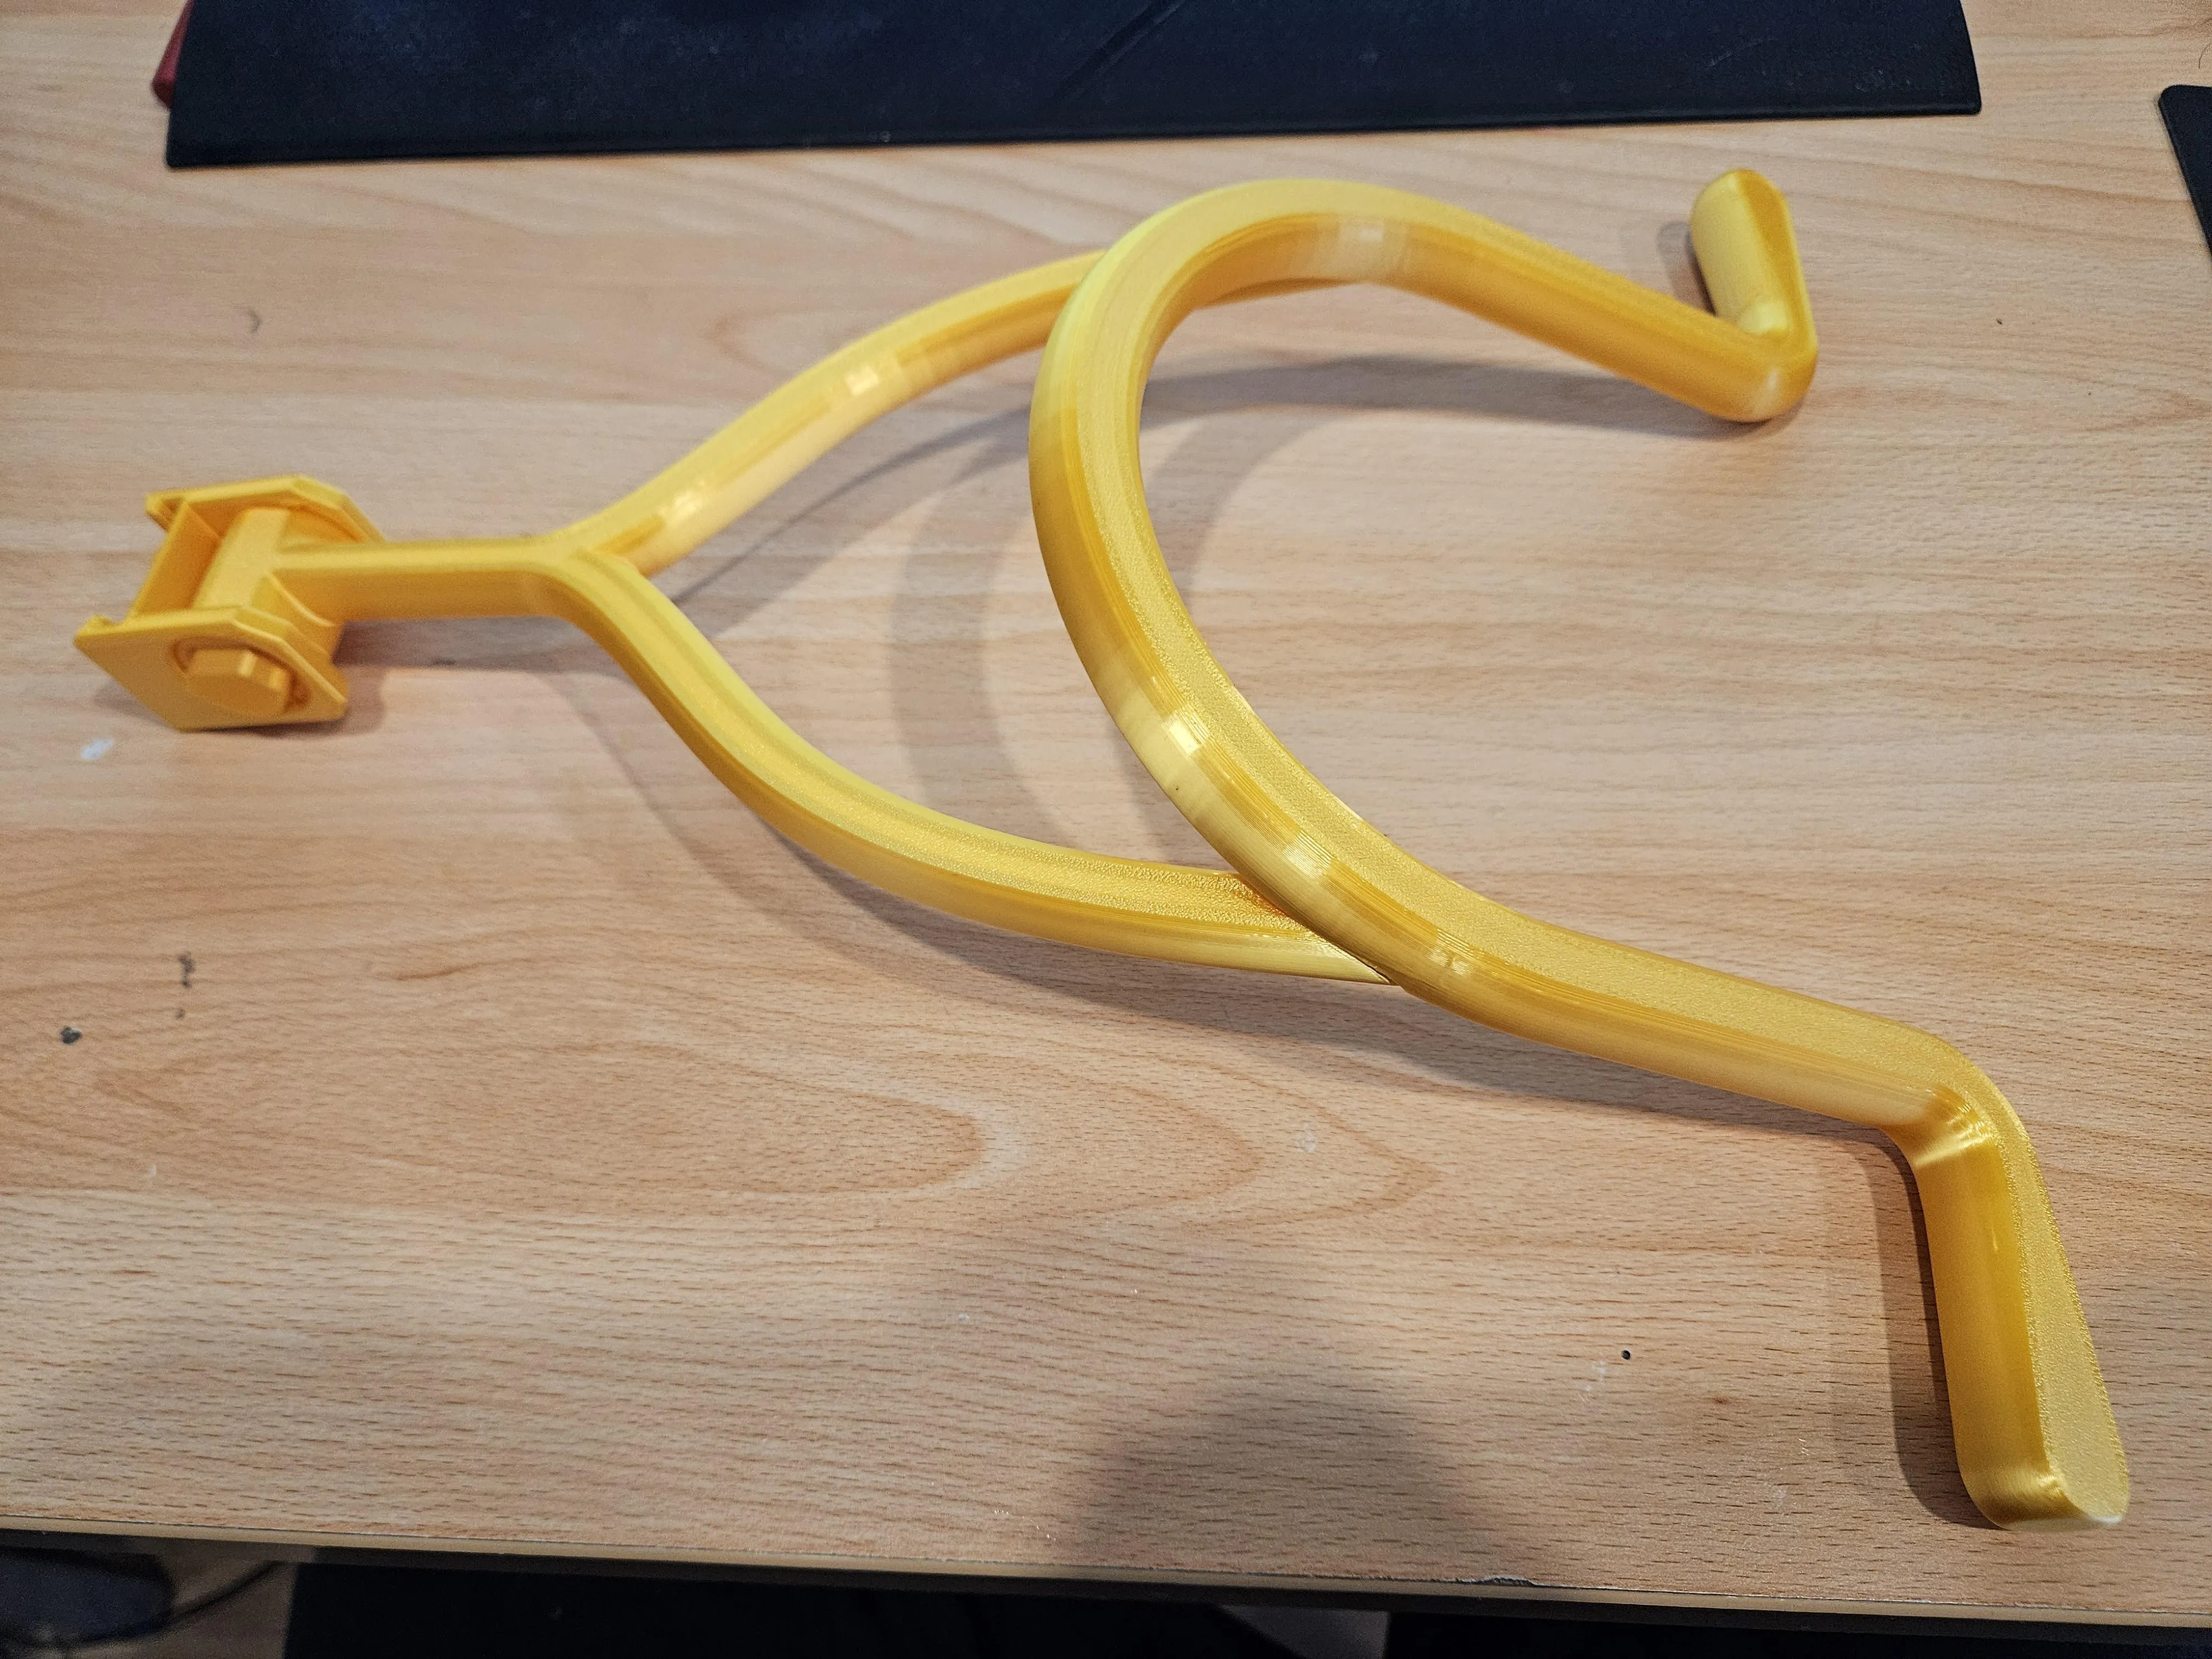
- Slide the pedestal onto the broom
Enjoy!
License

You shall not share, sub-license, sell, rent, host, transfer, or distribute in any way the digital or 3D printed versions of this object, nor any other derivative work of this object in its digital or physical format (including - but not limited to - remixes of this object, and hosting on other digital platforms). The objects may not be used without permission in any way whatsoever in which you charge money, or collect fees.


Comment & Rating (91)