
Print Profile(4)

Description
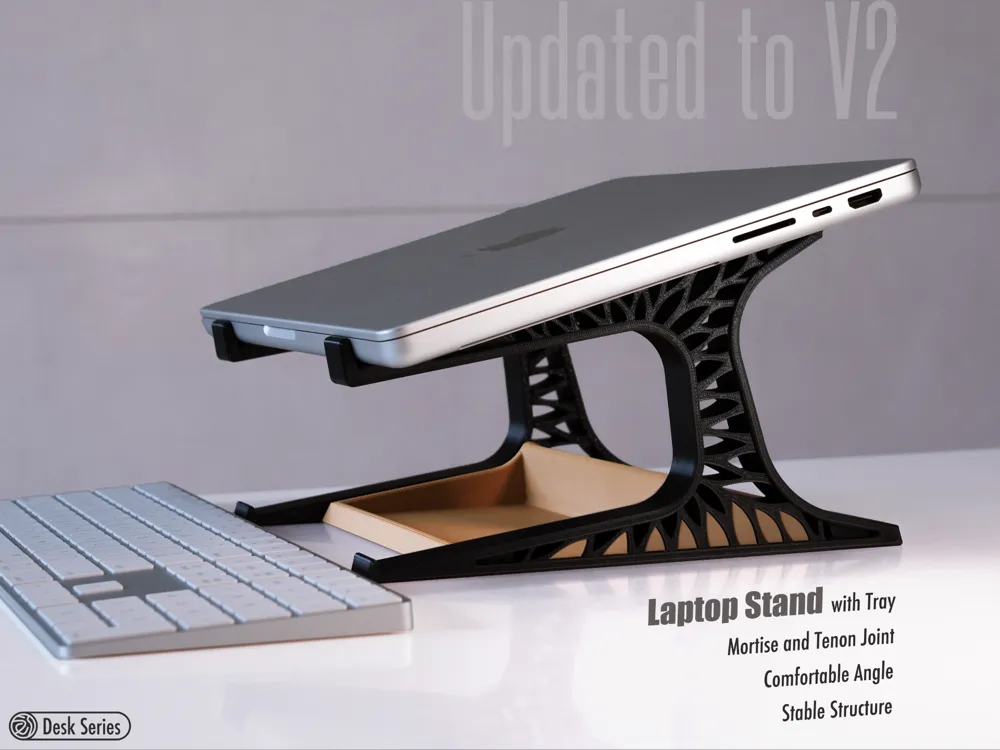
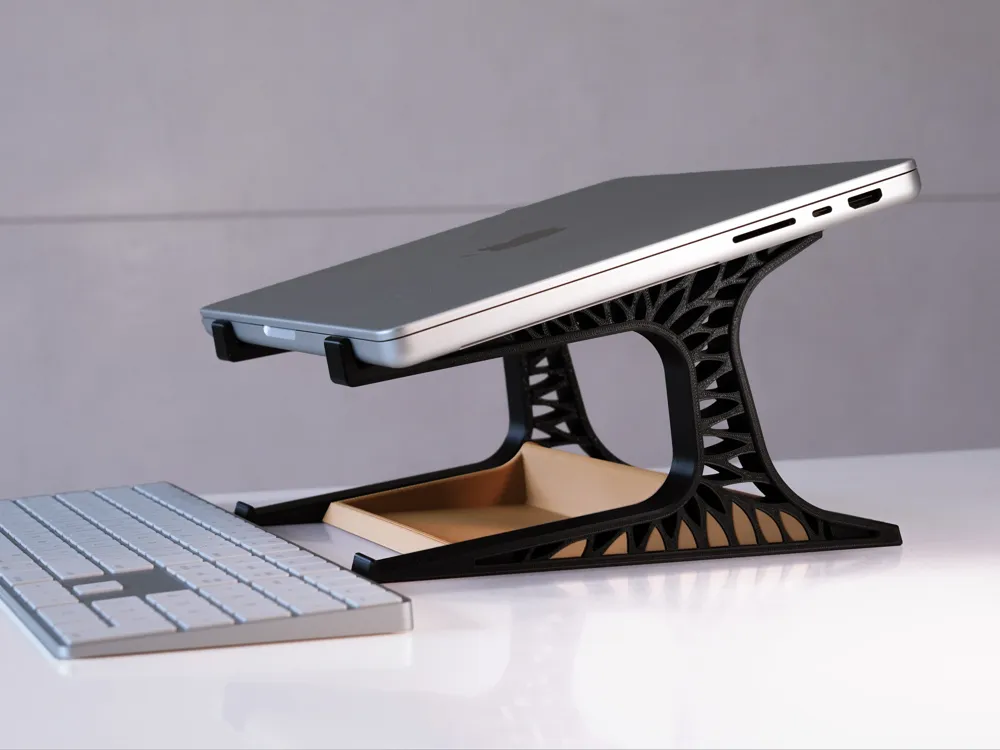
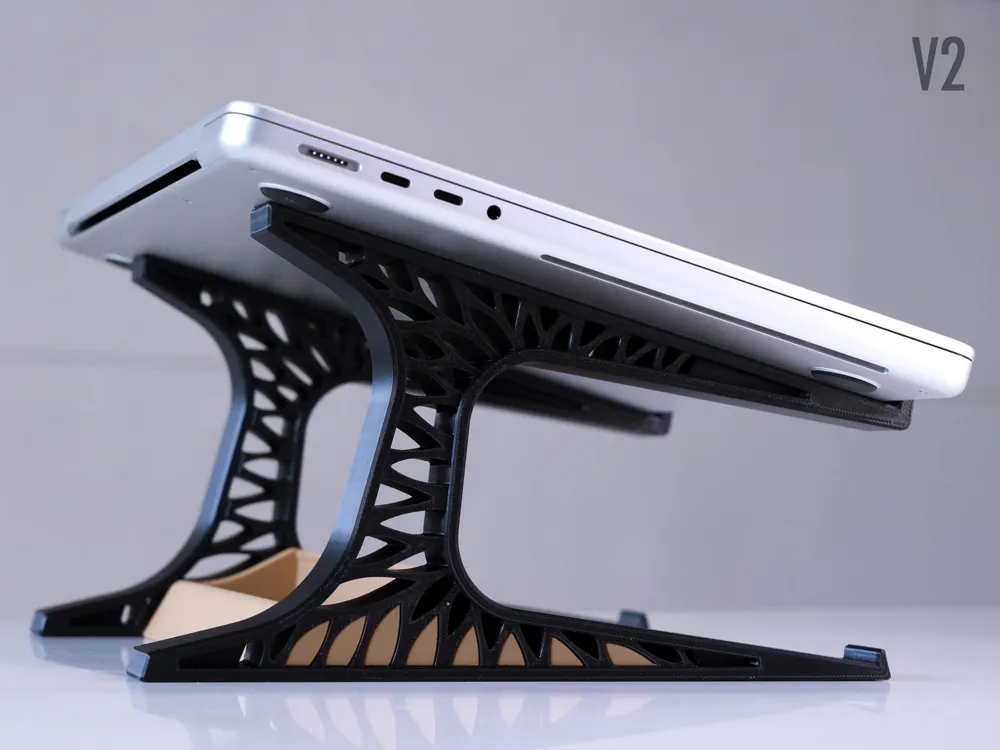
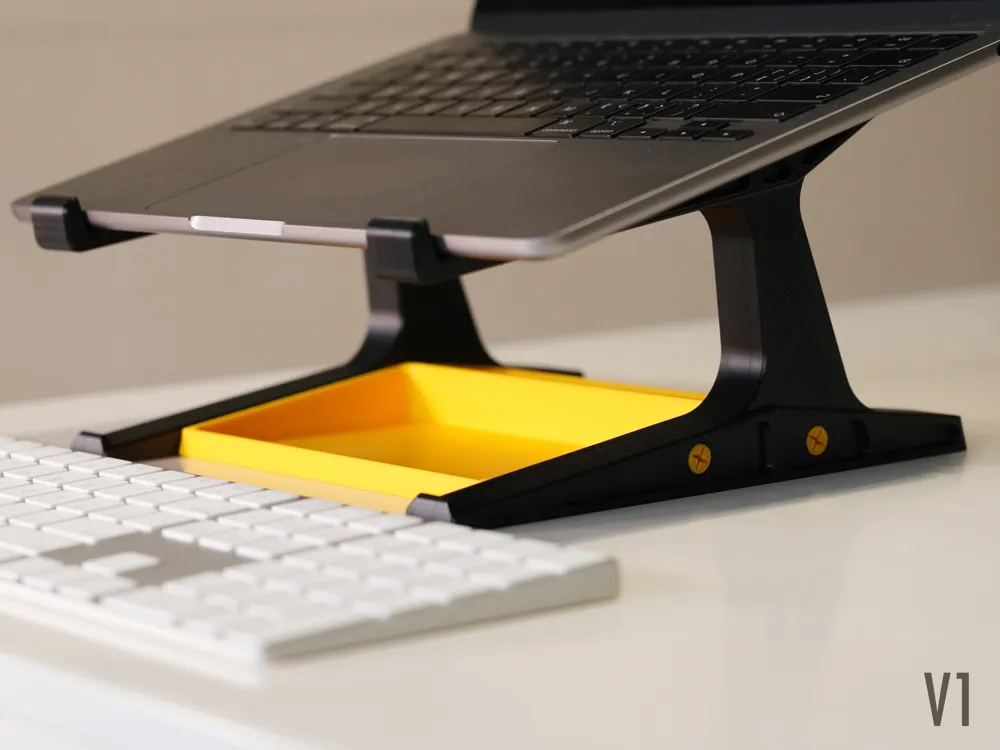
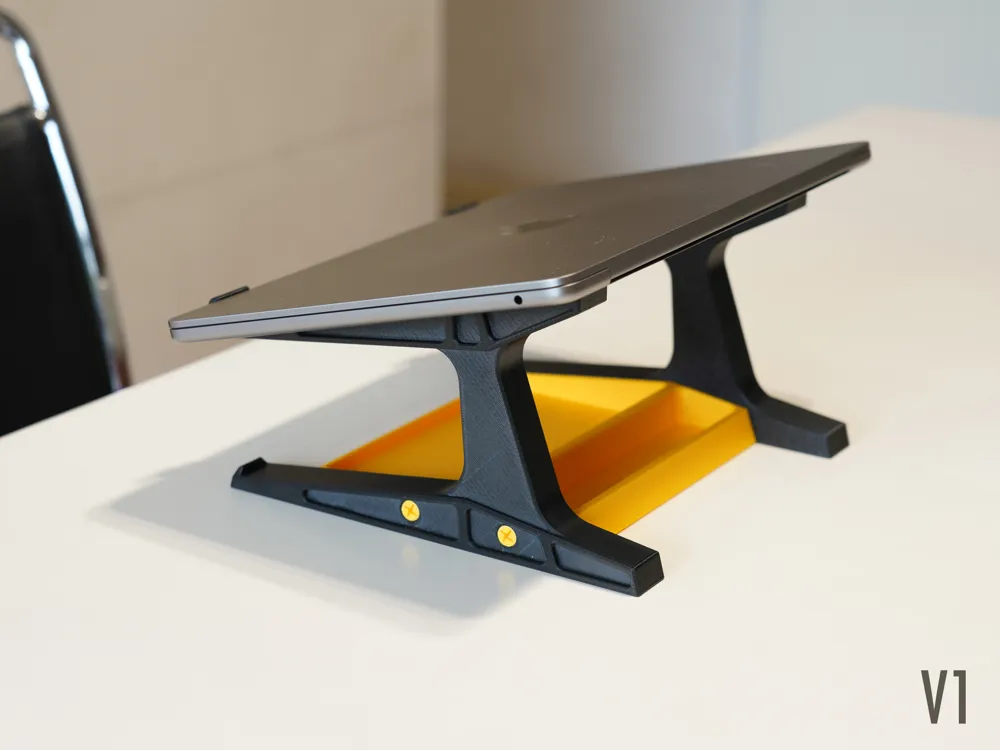
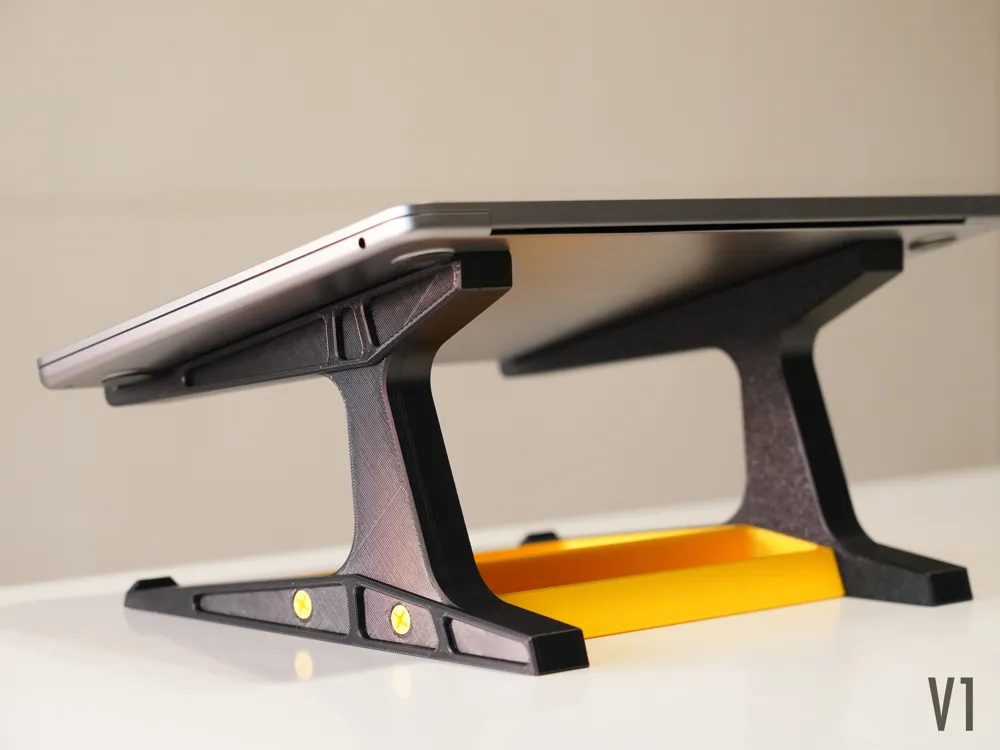
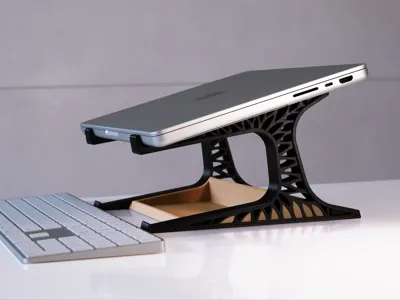
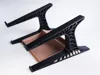
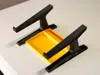
Ergonomic Laptop Stand | With Tray | Comfortable Angle | Flexible Disassembly | Mechanical Structure
Important Reminder (Please read carefully before printing):
Always use different types of material for the support contact surface, utilizing the characteristic that different materials do not stick to each other to achieve a smooth support surface.
In the provided print profile:
The main stand is PETG, so the support contact surface should be PLA (the V2 version of the main stand does not require support)
The tray (connector) is PLA, so the support contact surface should be PETG
Note: If you must use the same type of filament for printing support, you must reconfigure the support parameters, **otherwise the support will not be removable!!!**
***Strongly recommended to print according to the provided print profile***
If the meaning of this explanation is still unclear to you, please read the comments in the discussion section to gain a full understanding.
2026/05/16 Update, New V2 Version Added
V2:
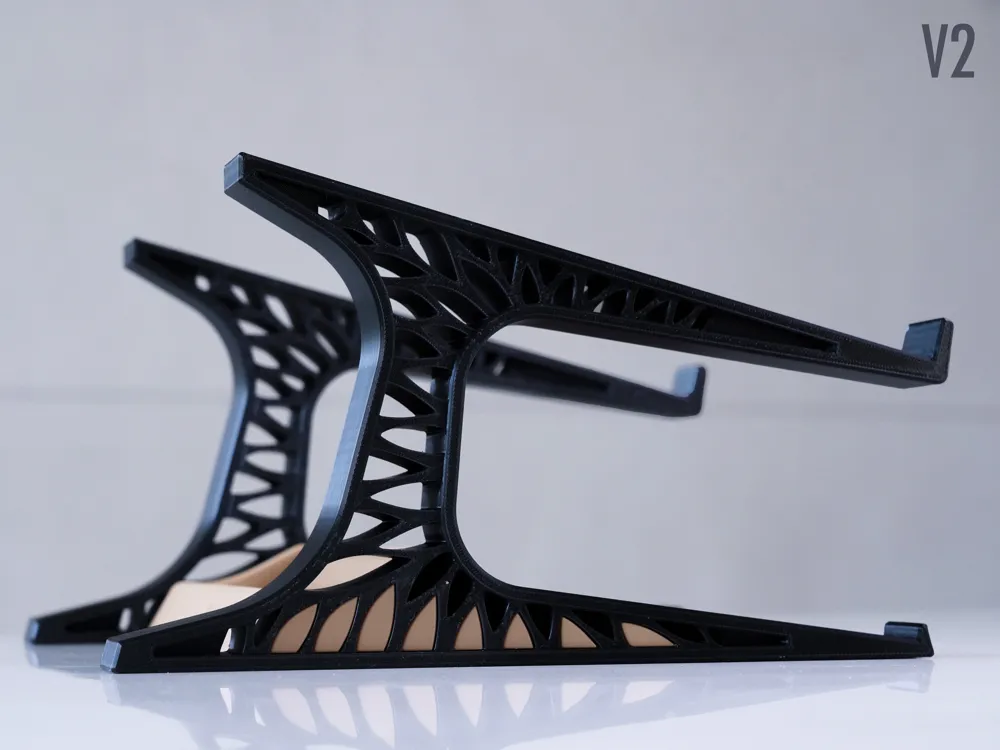
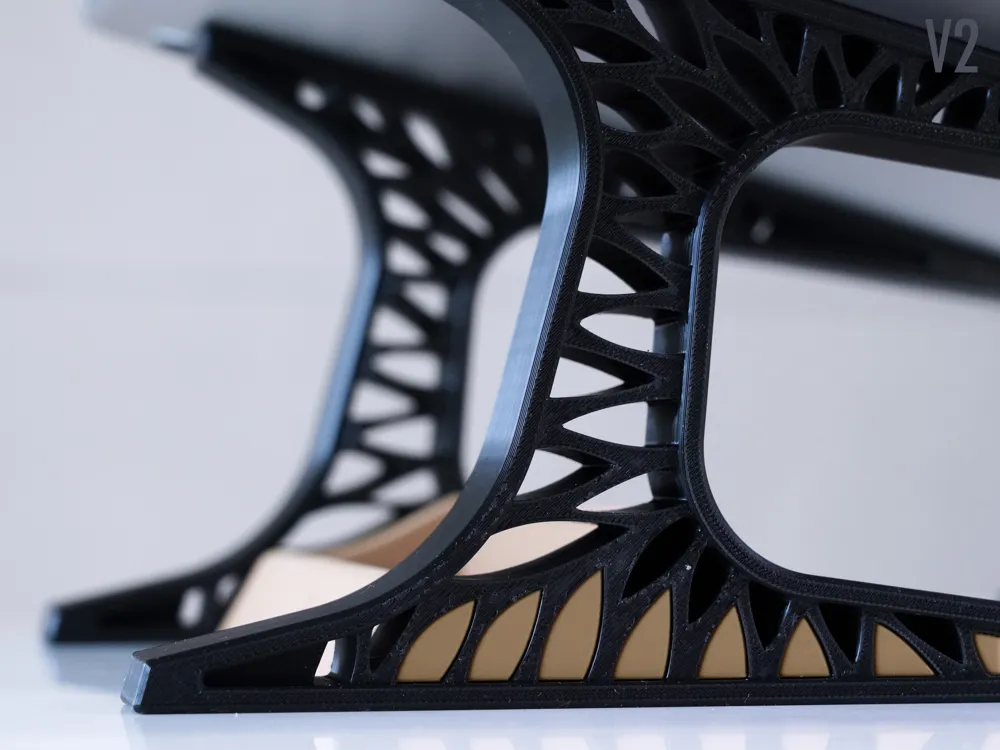
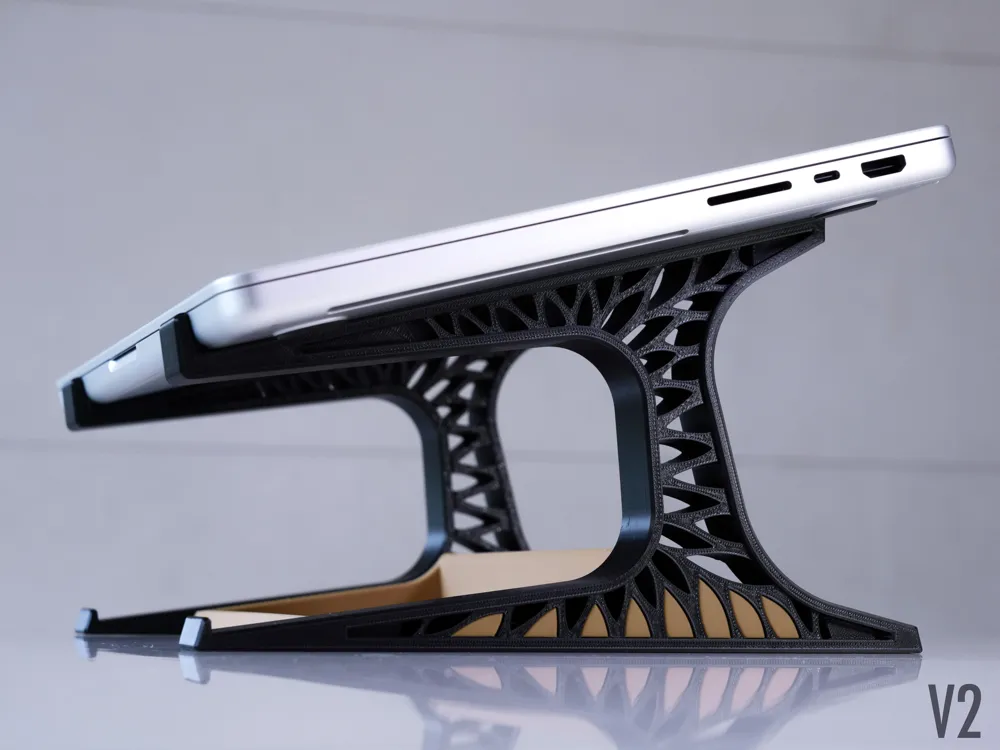
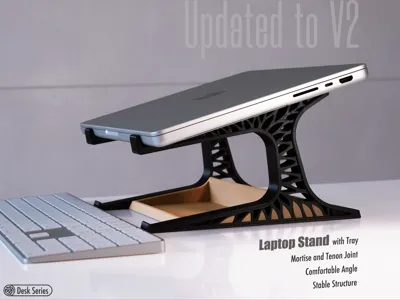
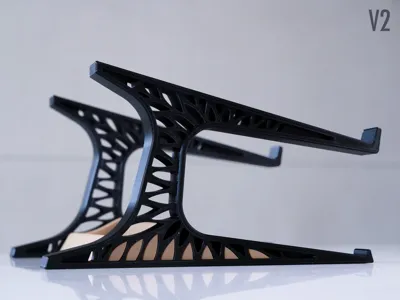
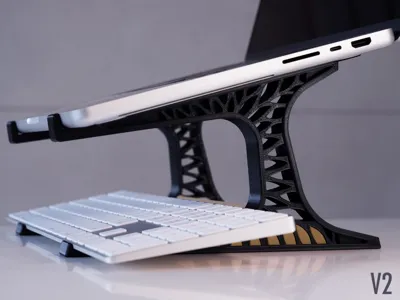
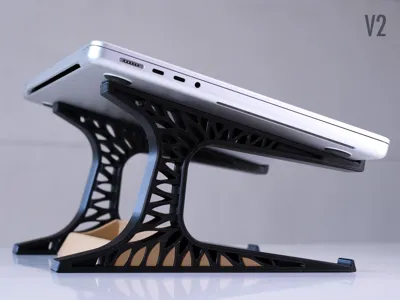
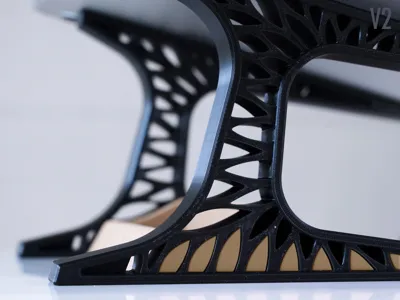
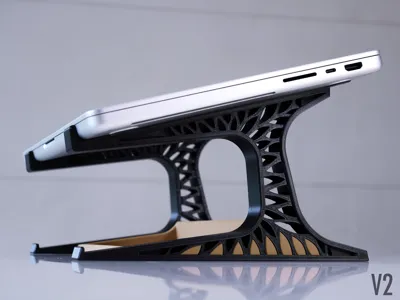
- **Naturally hollowed-out** design language, with an elegant and fresh appearance
- Lighter structure, **more in line with mechanical principles**, and stronger and more stable
- **16 mortise and tenon joints**, providing strong connection stability
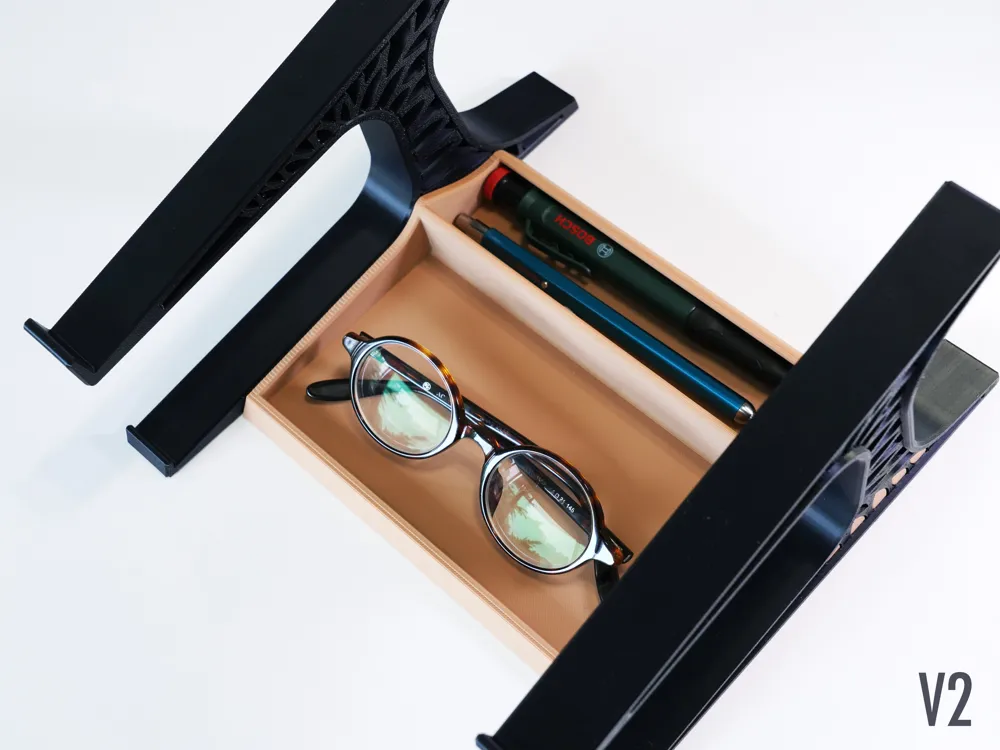
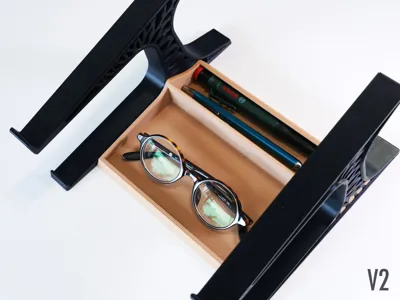
- Continuing the V1 version's design features, the **tray serves as a connector**, making the tray more secure
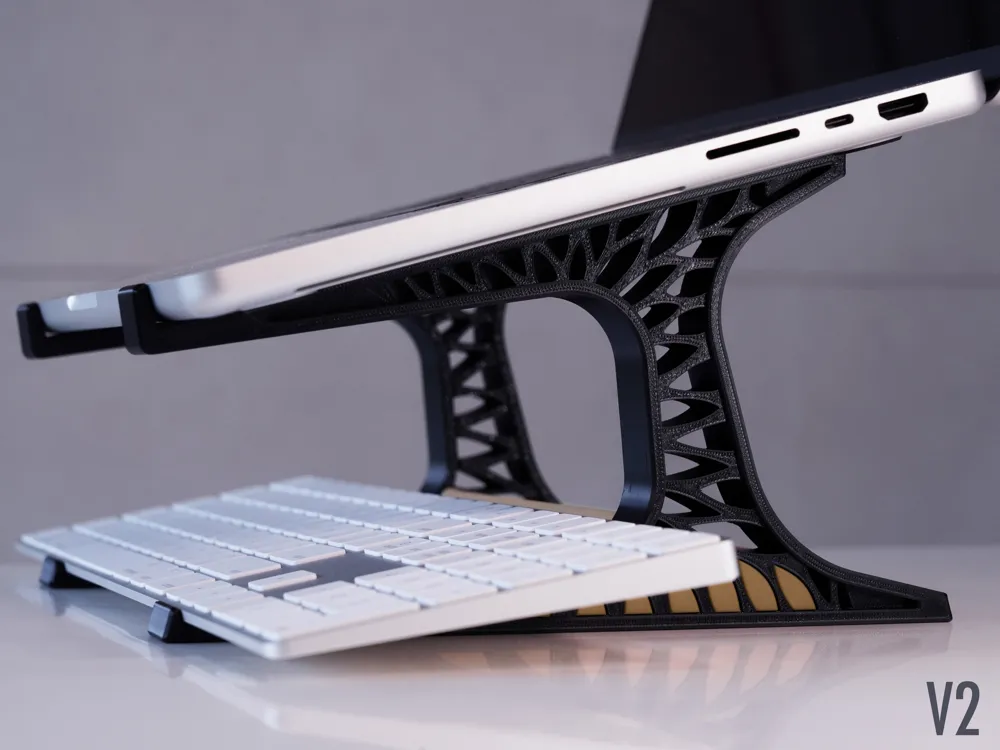
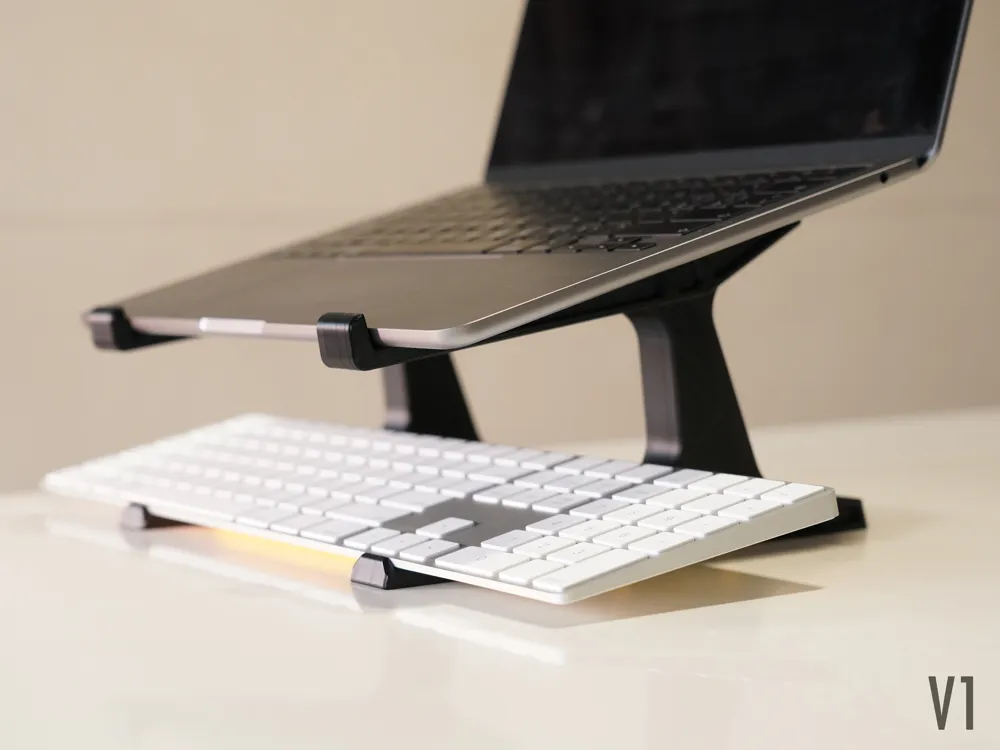
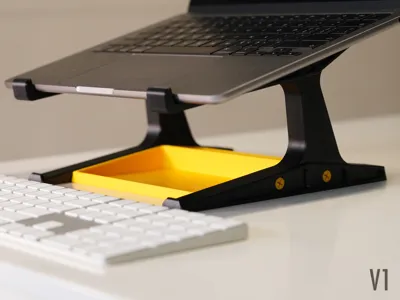
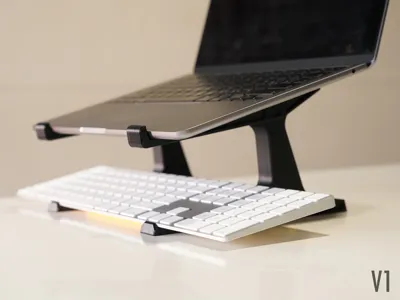
- Continuing the V1 version's design features, designed a **placement area for an external keyboard**
- Maintains the same **comfortable angle** as the V1 version
- Still **flexibly detachable**
V1:
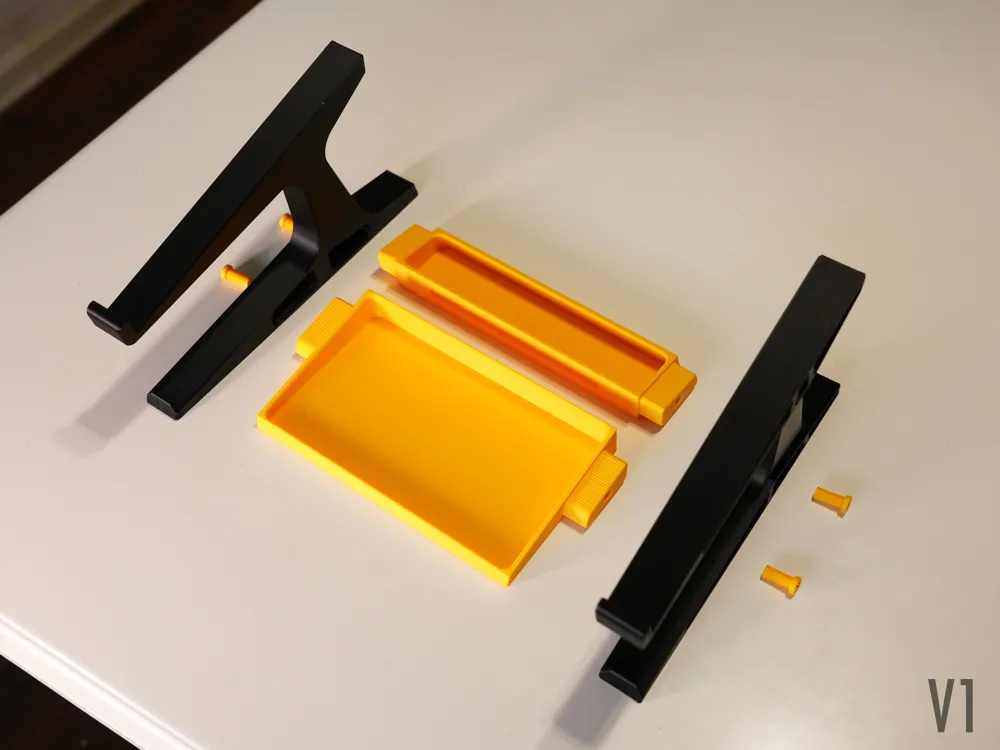
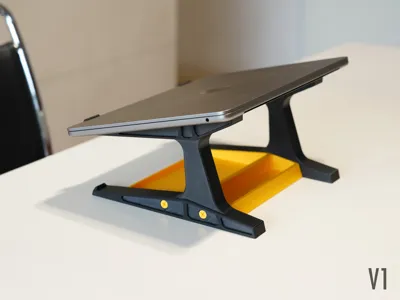
- **V1 has two versions**: Standard version, larger in size, more stable support. Compact version, suitable for A1 mini printing, which is also very stable.
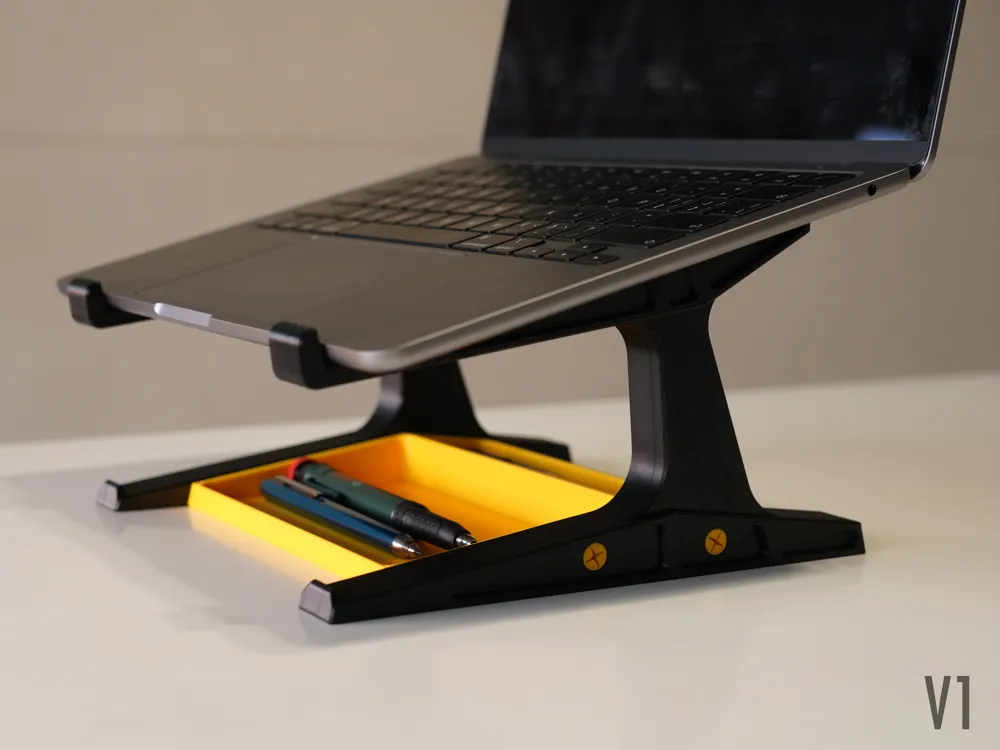
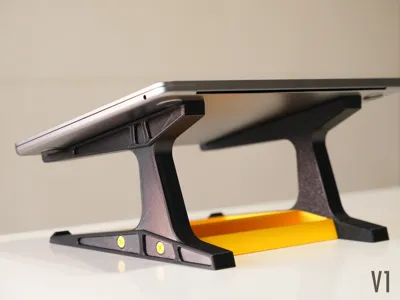
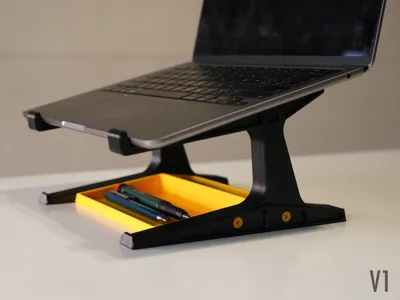
- **With tray,** the two connectors also serve as storage trays, where you can place stationery and other items, and there's also a spot for an external keyboard.
- **Comfortable angle:** 75 degrees, raised 140mm
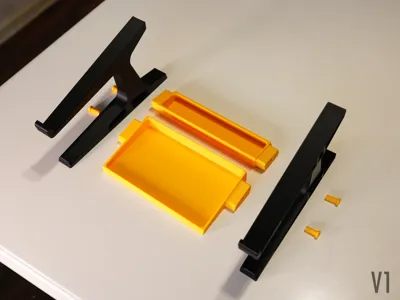
- **Flexible assembly and disassembly**
Assembly Tips:
Assembly is easy, and it can be used without assembly, but installing the tray (connector) will provide a sturdy overall structure and be more practical and convenient
V2:
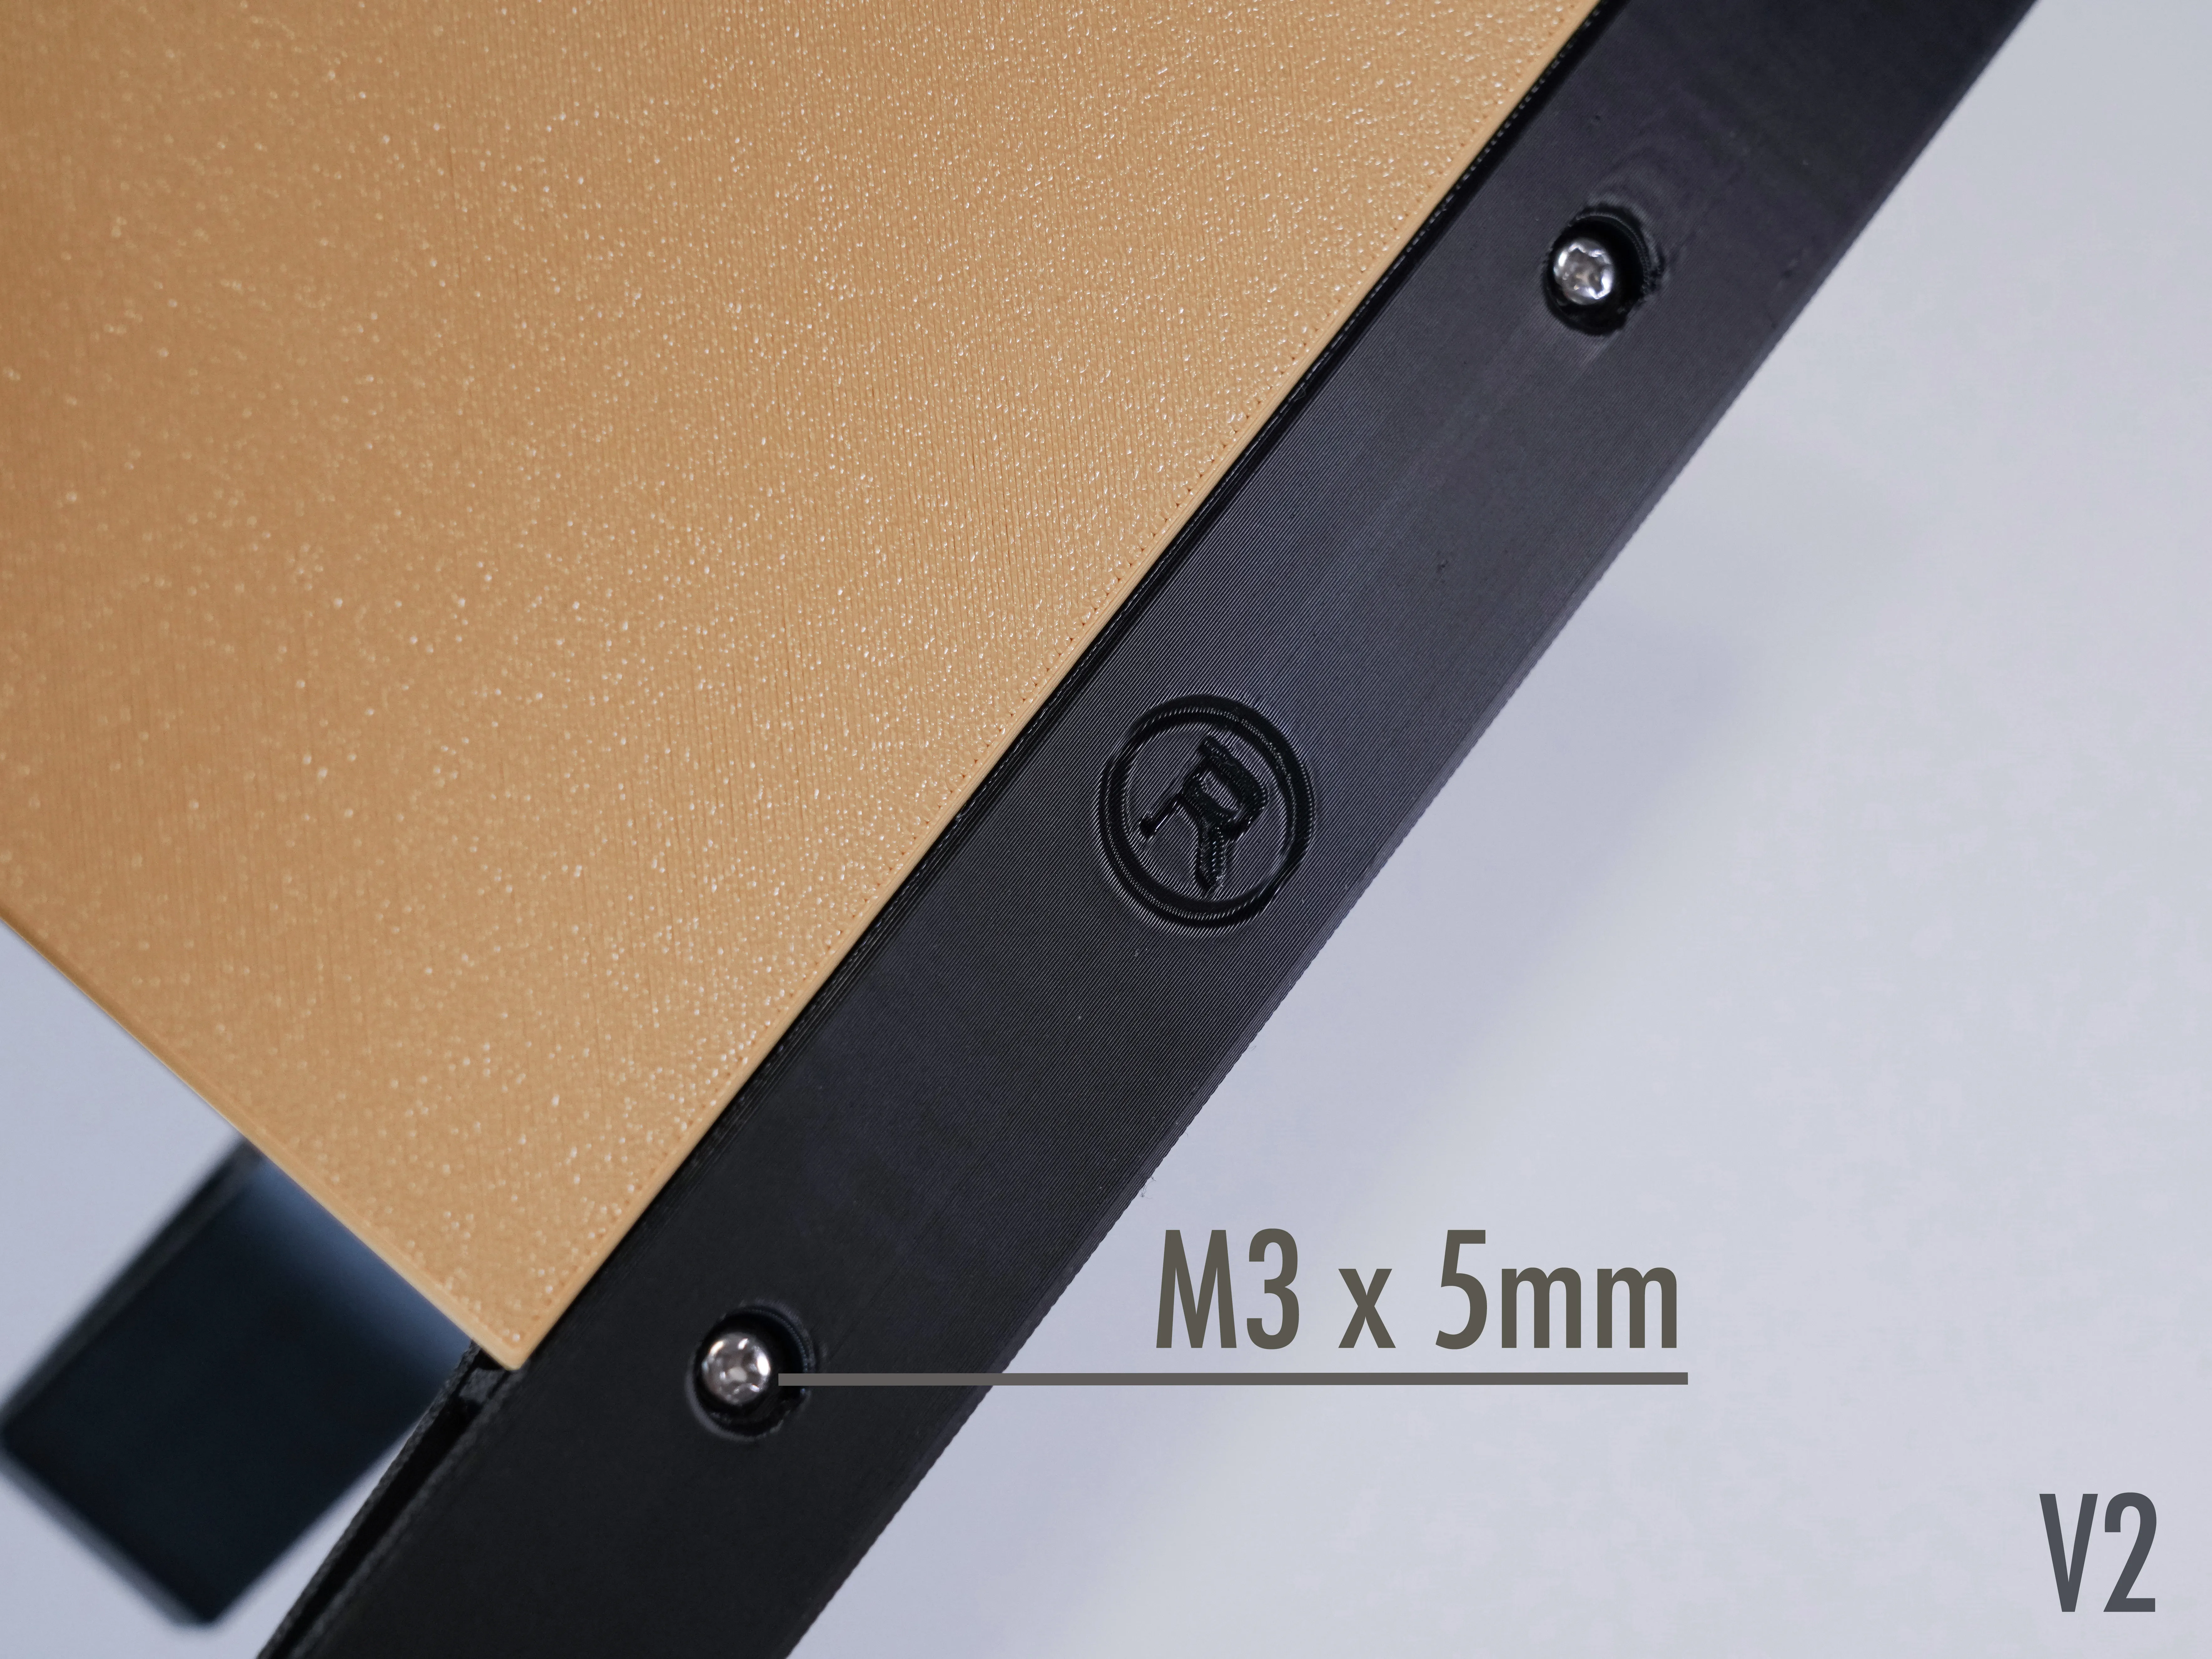
Simply insert the mortise and tenon joints; the tolerance is quite tight, so firm tapping is required. Left and right (R&L) are marked, just align and install.
It's best to tap it into place with your palm, not a hammer.
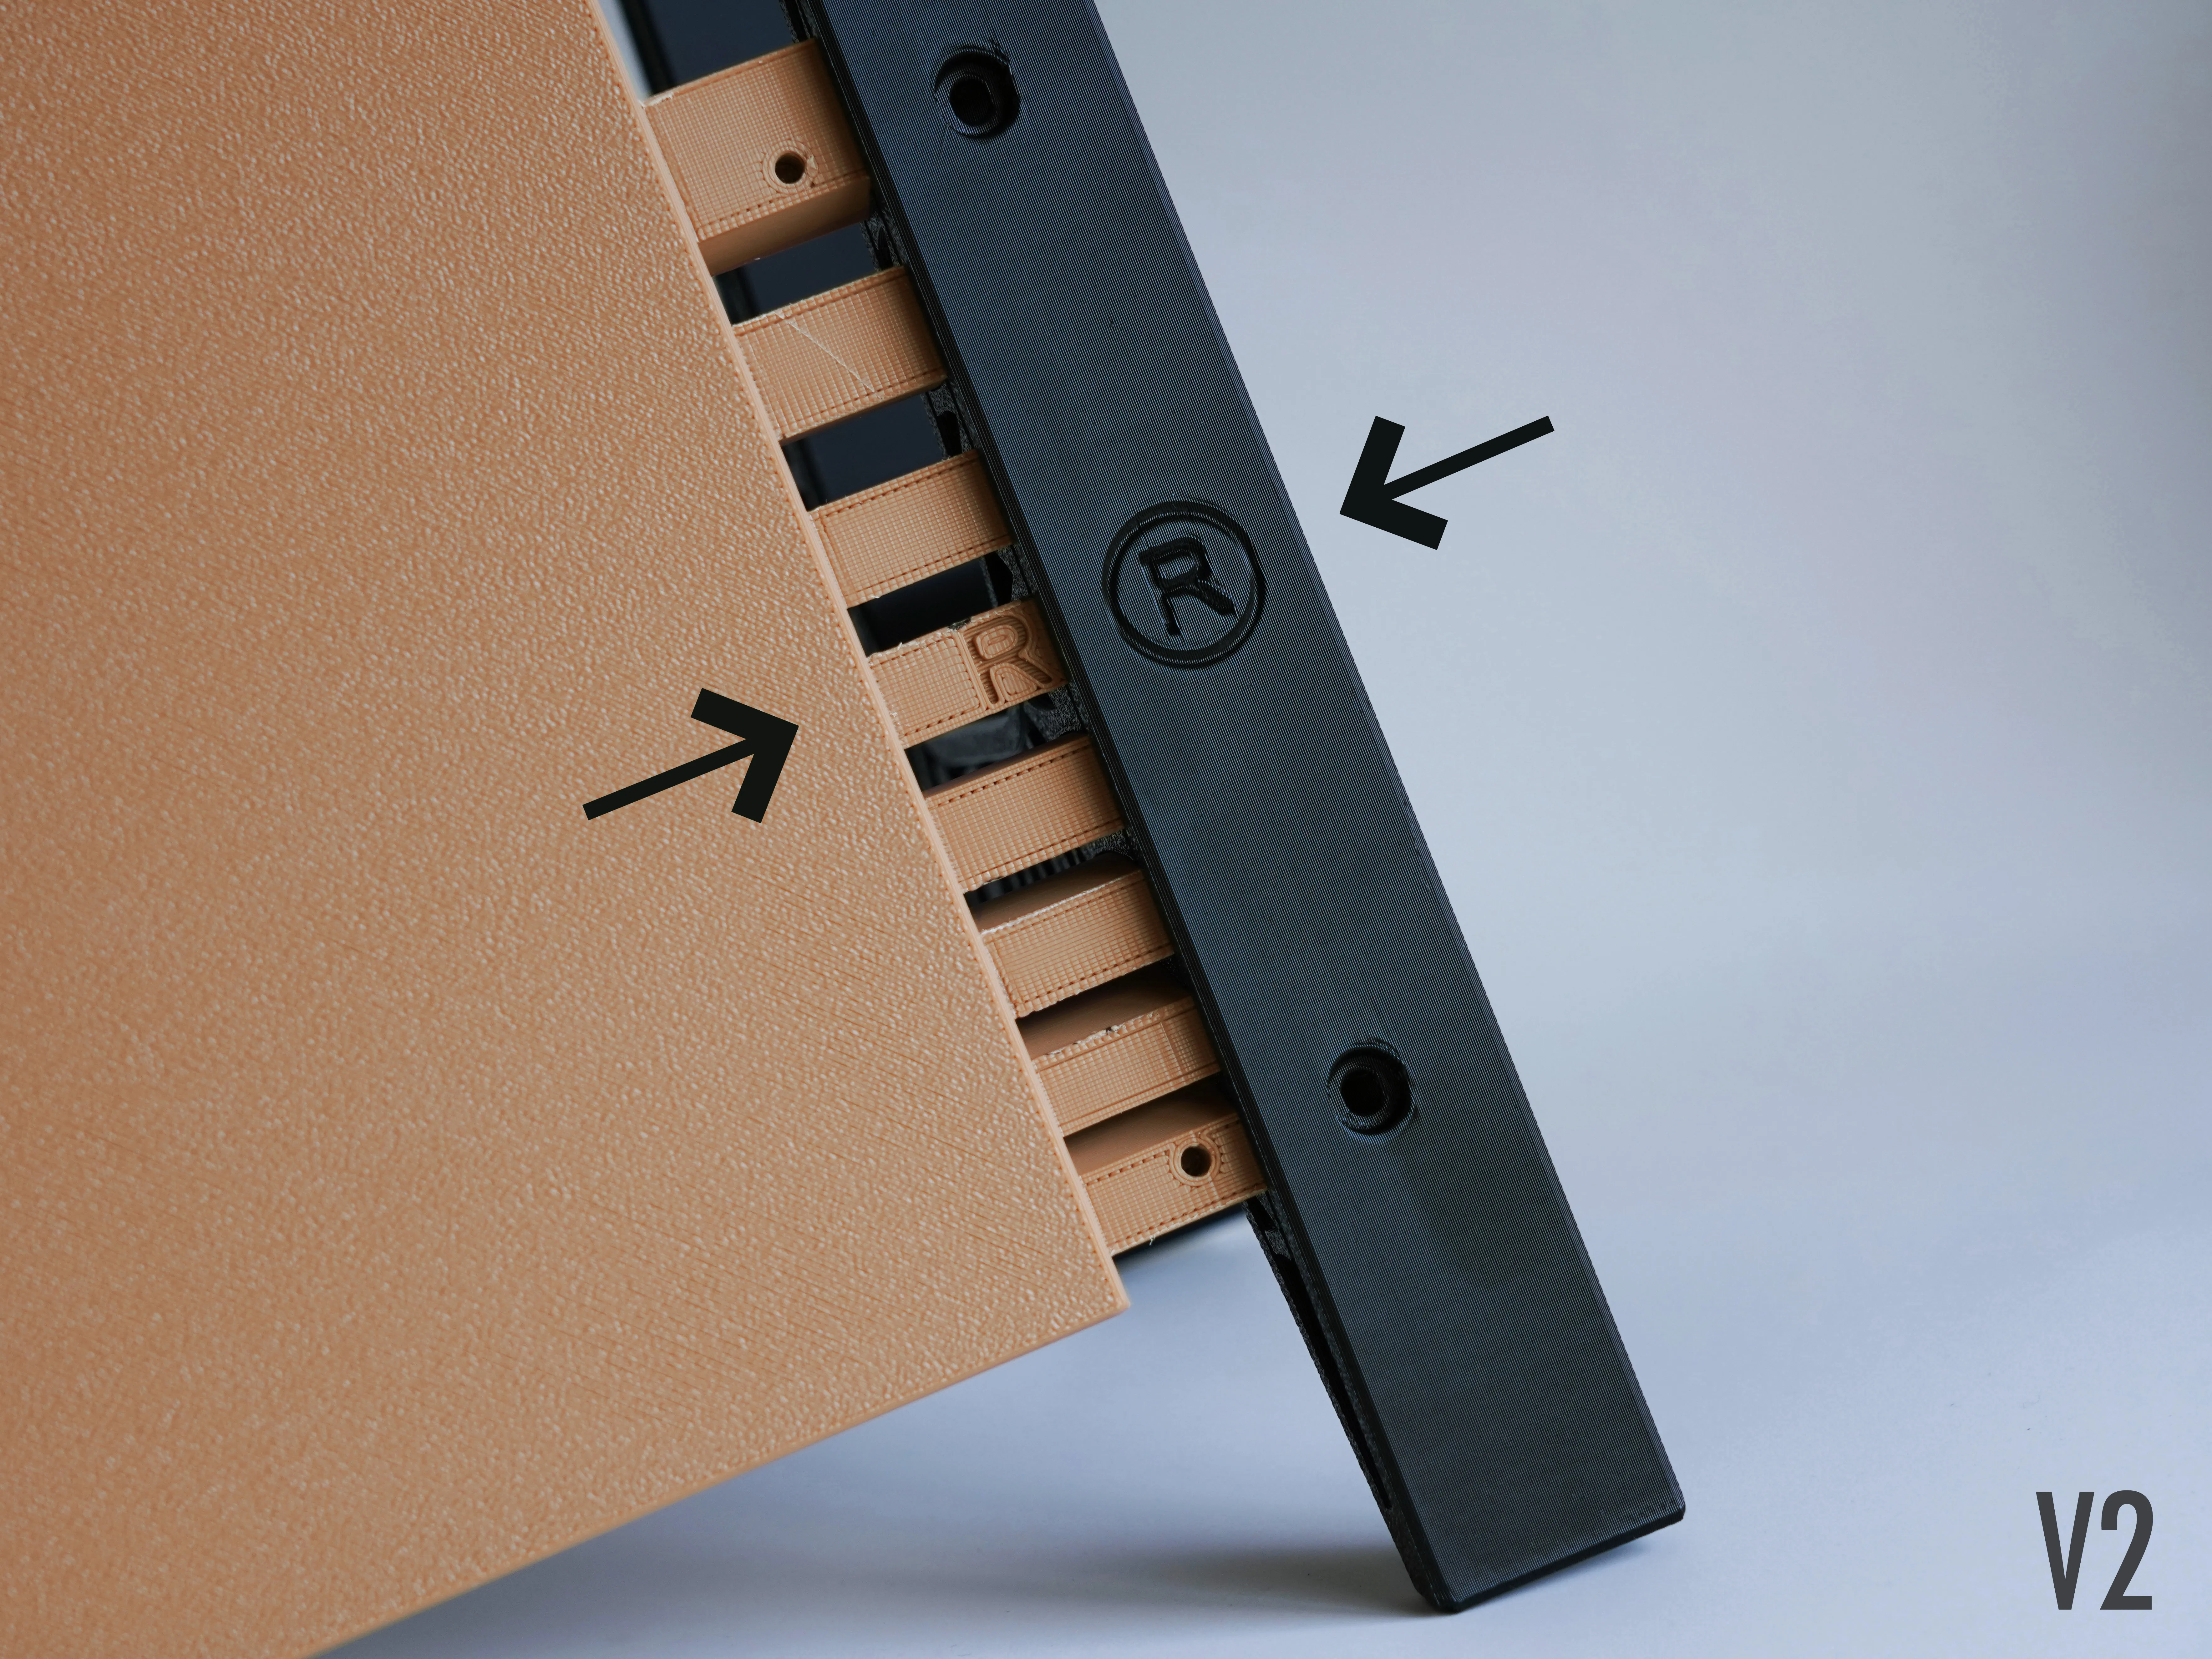
Once in place, secure with 4 M3x5mm screws (not mandatory, but screwing them in prevents accidental loosening and increases durability)
V1:
The connectors are installed with mortise and tenon joints, secured with printed 7mm screws.
The mortise and tenon joints are designed with tight tolerances; if you need to disassemble them, you might need to gently tap them off with a hammer.
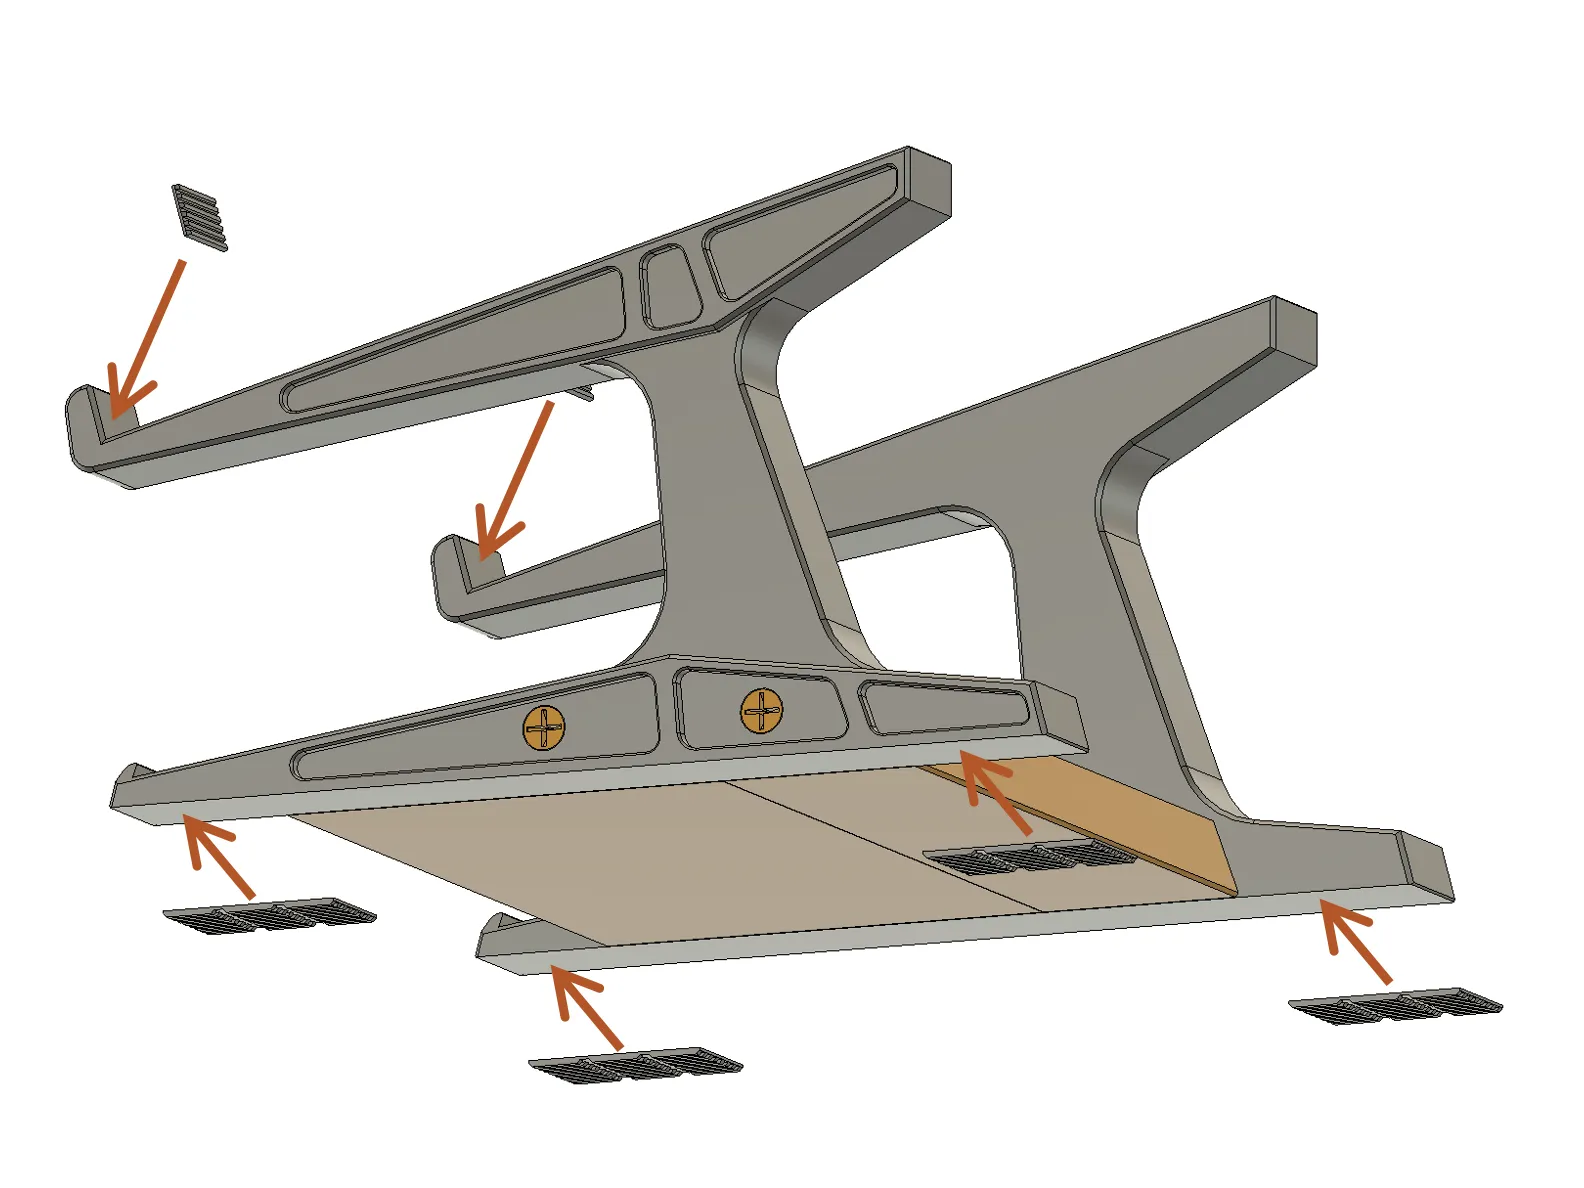
2026/04/24, added TPU non-slip pads, requires double-sided tape for adhesion. Suitable for V1 and V2 versions
The small non-slip pads are placed on the front hooks,
There are two types of large non-slip pads: 1, thicker with teeth, which provides better anti-slip effect, 2, the toothless one has a smooth surface and is very thin.
---------------------------------------------------------------------------------------------------------------------
Other desktop items available for download
International site:
Chinese site:
Boost Me (for free)
Thank you for your support . Happy printing.
License

You shall not share, sub-license, sell, rent, host, transfer, or distribute in any way the digital or 3D printed versions of this object, nor any other derivative work of this object in its digital or physical format (including - but not limited to - remixes of this object, and hosting on other digital platforms). The objects may not be used without permission in any way whatsoever in which you charge money, or collect fees.


Comment & Rating (133)