"Leroy" Corvette (Cleetus) - 1/24 Scale Model!


Print Profile(1)
Description
Boost Me (for free)
Boost me to support the creation of even more awesome models!
Commercial Licensing now available via my Patreon account! Just follow the link in the Bio to get your license today! It's a one-time, non-recurring fee that also includes the rights to all of my photography! Thank you for the continued support! https://www.patreon.com/cw/AEMRavan?utm_source=search&vanity=AEMRavan
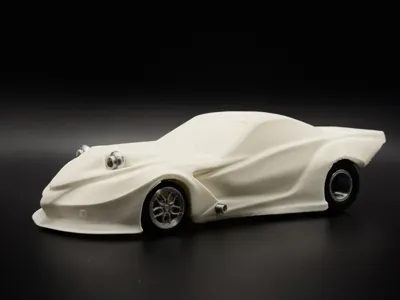
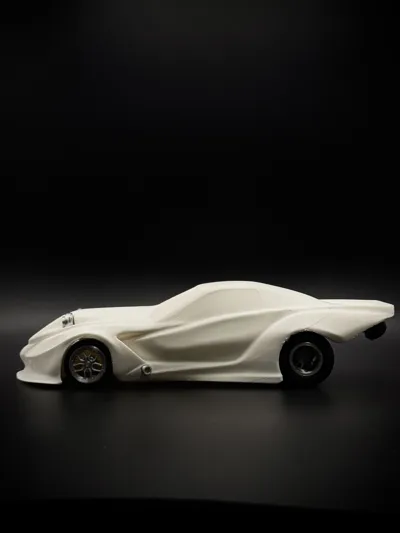
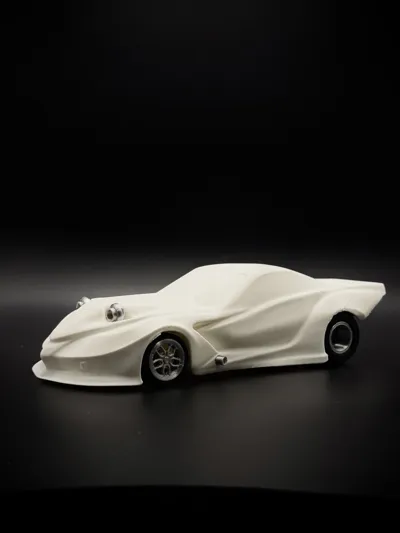
“Leroy the Savage” Cleetus' Corvette -1/24 Scale model!


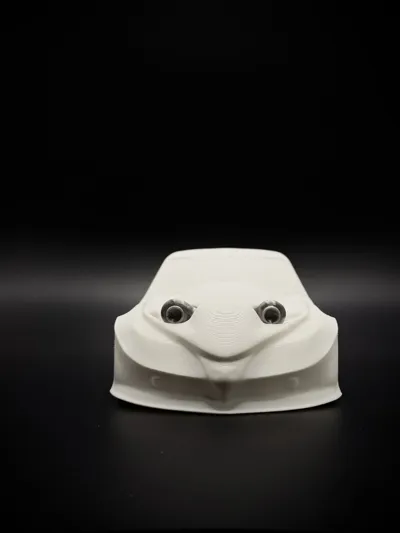
If you follow any form of drag racing surely you know the Cleetus, and by this point you've probably seen a number versions of his Corvette, AKA “Leroy”. I spent quite a bit of time recently recreating his latest and greatest fiberglass body look, and man, did this thing come out sweet!

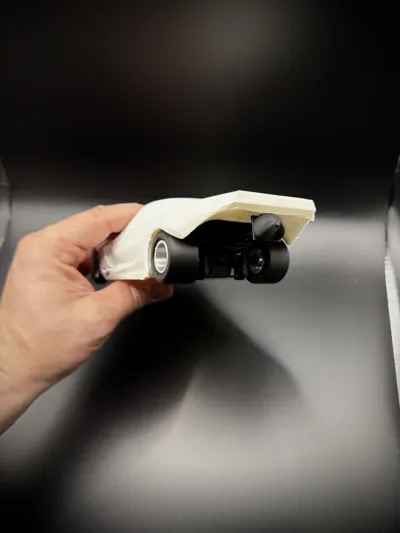
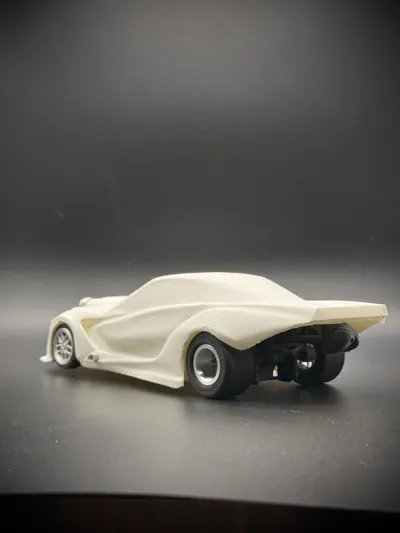
As with all of my car models it's not FULLY detailed and intended to print in just several, simple parts that just press together. This model required a little bit more segmenting than most. The car body is separated from the wheels, tires and exhaust as usual, but now also has separated turbo chargers to insert into the hood, a separate rear end as well as a parachute!

Assembly is fairly straight forward, but keep in mind that you will need to put the wheels/tires onto the rear end assembly before pressing into place in the body as the rear tires are slightly tucked into the body work. The parachute mounted pole and chute can be pressed in later. The exhausts also just press in. Please note that due to the design of the wheels you will likely need to use a drop of glue to keep them secure long term. The turbo chargers also require a little bit of glue to hold in place. Please note that the turbo chargers are identical, but need to be installed rotated 180 degrees from each other (the cutouts in the hood will make it easy to understand while you test fit).
This is a small spin-off project from my recently added Supra Collection ( https://makerworld.com/en/models/1646284-toyota-supra-turbo-model-car-set-with-mods#profileId-1740049 ). I still have quite a number of cars from my Layered Car models that I've done in the past that I think would look fantastic in a full print! ( https://makerworld.com/en/collections/6642322-layered-car-art-collection )
Drop me a comment and let me know which car model you would like to see made not just layered, but in a full car print!
Size
This is a 1/24 Scale Model. My previous uploads were slightly smaller so this model was adjust by 127% size to bring it to a true 1/24 scale! Below is a reference image to my previously “standard” size models. (PS: all the models are sized similarly, so if you want to print any of the previous models in 1/24 scale just scale all of the parts equally to 127%)

Assembly
The assembly process is very straightforward with only a couple of things to look out for. The print profile includes a few things: The body of the car (made in one-piece print for a no-seam/glue model), 4 tires (if you care to pay attention to the detail there are 2 left and 2 right tires), and one set of wheels (more to come as I expand the collection)
Start by carefully removing the supports. Most should come off just fine, but at times I found myself using a pick to get to the ones inside of wheel wells. I then recommend using a razor blade (carefully) to remove any support material build-up in the wheel wells and back of model, particularly at the bottom of the rear bumper, top of the license plate cutout, and under the spoiler.

The most important part is to slightly cut down the wheel spindles area that droops down at the support. This will ensure that you don’t have too hard of a time pushing on the wheels (and risk breaking the wheel and/or spindle). I recommend shaving it down a little, and testing the wheel, and shaving again if needed in a couple of passes. The wheels should be firm to press on, but not feel like you will break the spindle. Due to various filament properties I have settled on wheel cutout size that should work in any filament, but may take a little more shaving for a good, snug fit.

Once you have shaved the spindle down, press the tires onto the wheels, and install the wheels to the spindles. Make sure to properly align all wheels in the same orientation.

Thank you for visiting my page and taking the time to print my models. Your support is truly appreciated. I never expected to have so many people following me and fueling my passion for creating the models that I create!
License
You shall not share, sub-license, sell, rent, host, transfer, or distribute in any way the digital or 3D printed versions of this object, nor any other derivative work of this object in its digital or physical format (including - but not limited to - remixes of this object, and hosting on other digital platforms). The objects may not be used without permission in any way whatsoever in which you charge money, or collect fees.
Comment & Rating (10)