
X2D,P2S,P1S Exhaust Complete Kit 2x80mm-->120mm
Print Profile(1)
Description
Boost Me (for free)
Boost for more projects
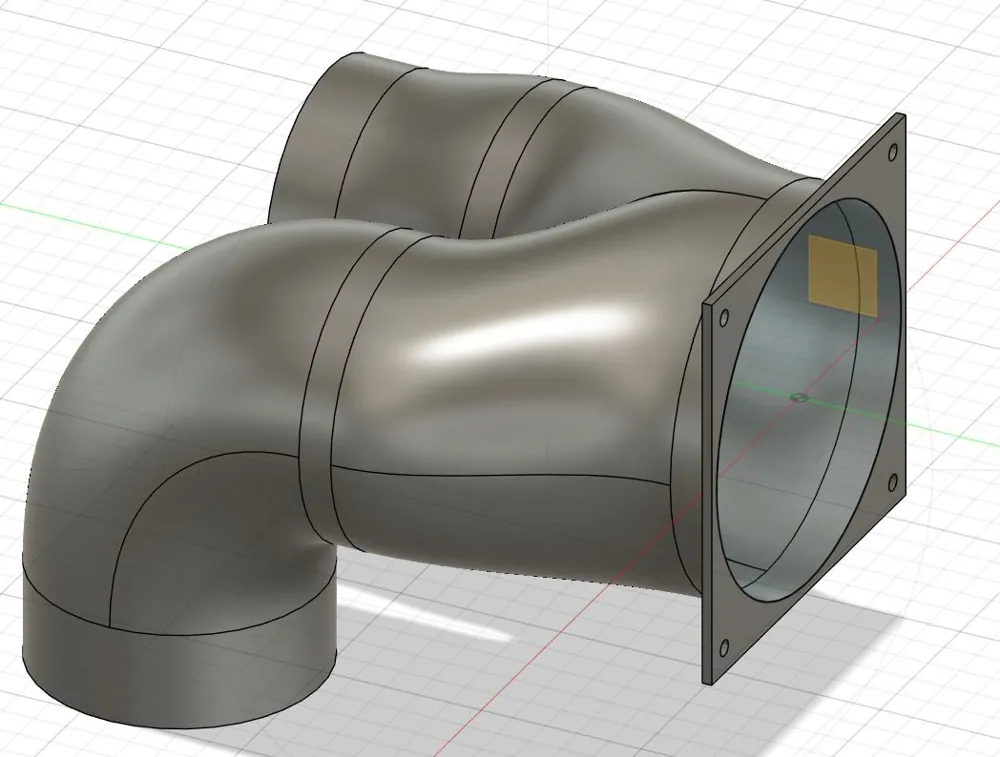
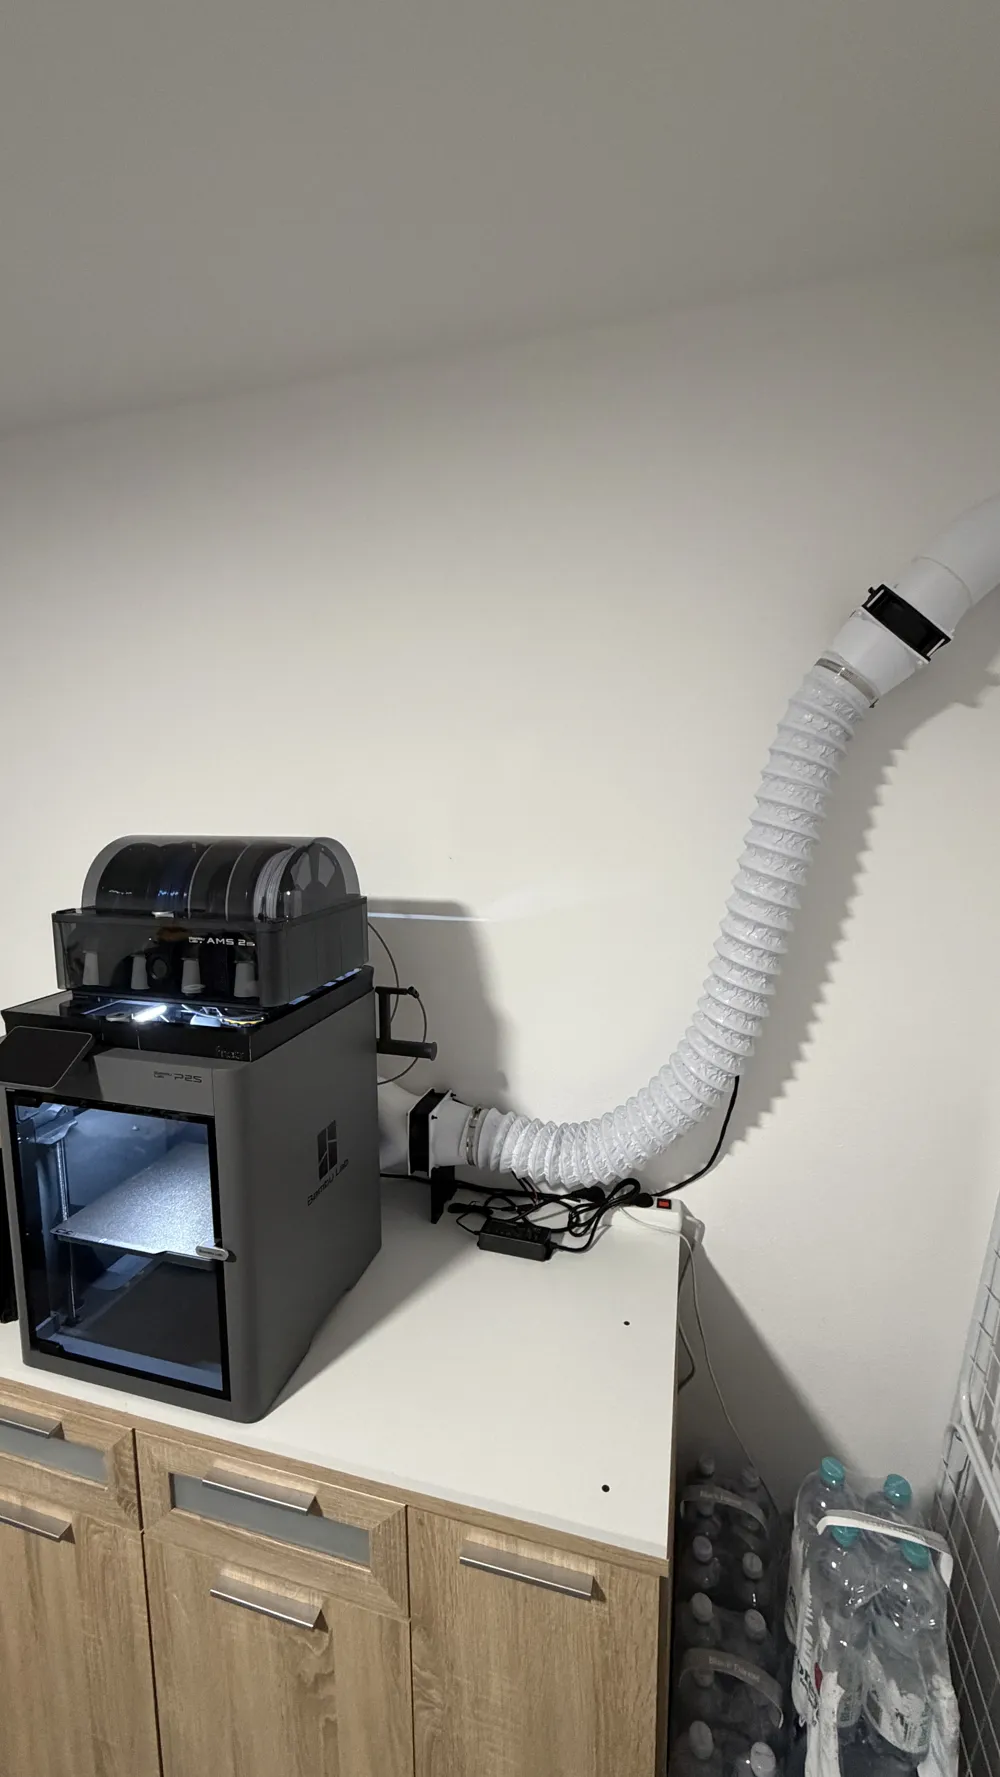
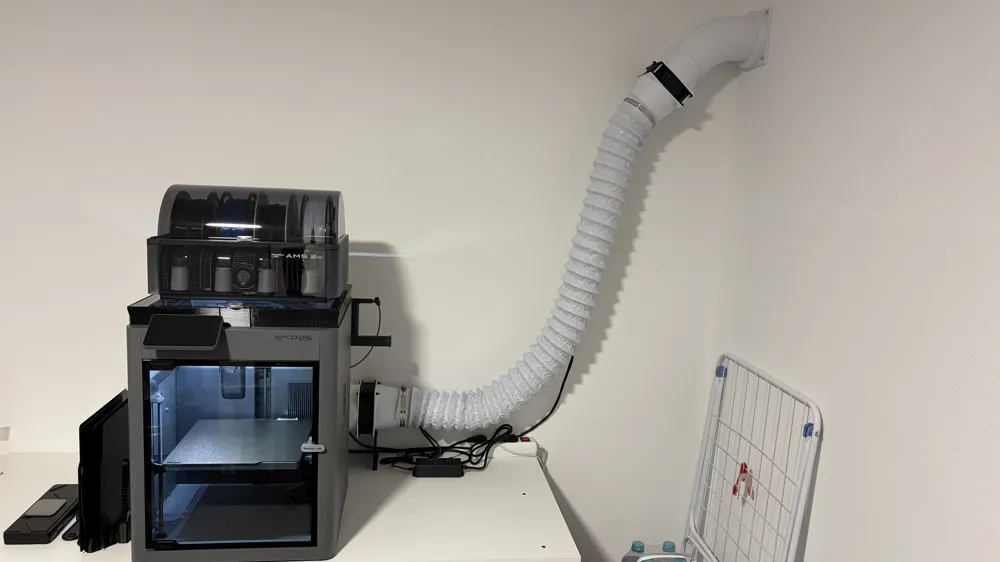
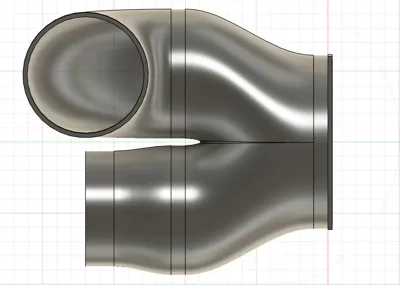
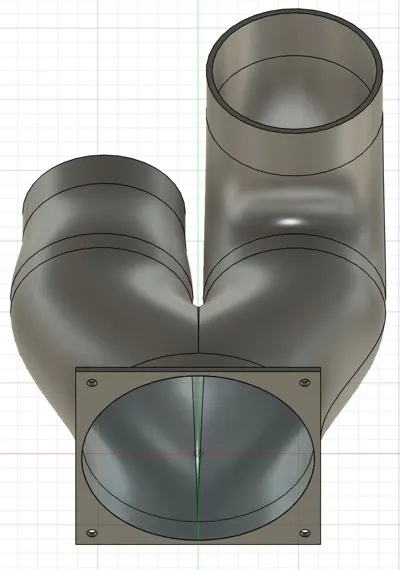
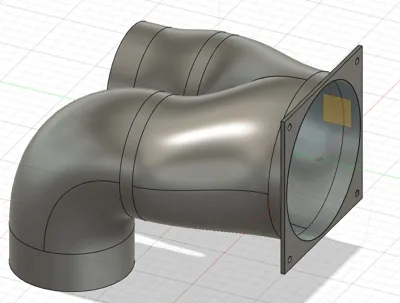
The Ultimate Exhaust System for P2S, P1S and X2D (Also applicable to other printers with other parts)
Update July 16, 2026
-Added support for the 1st fan as a file
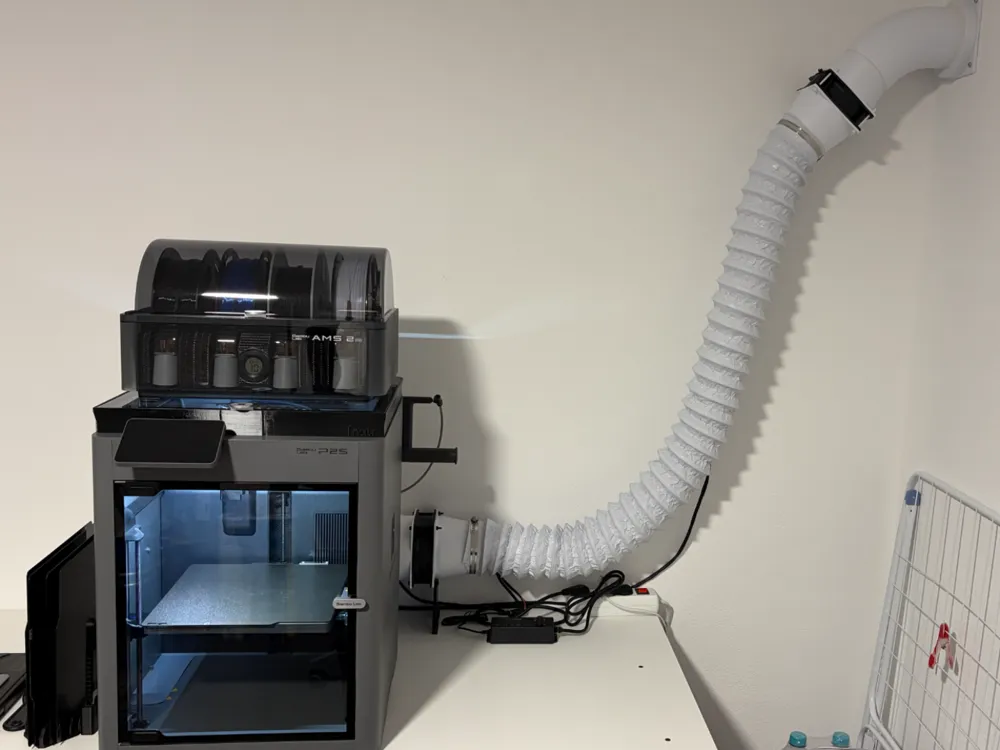
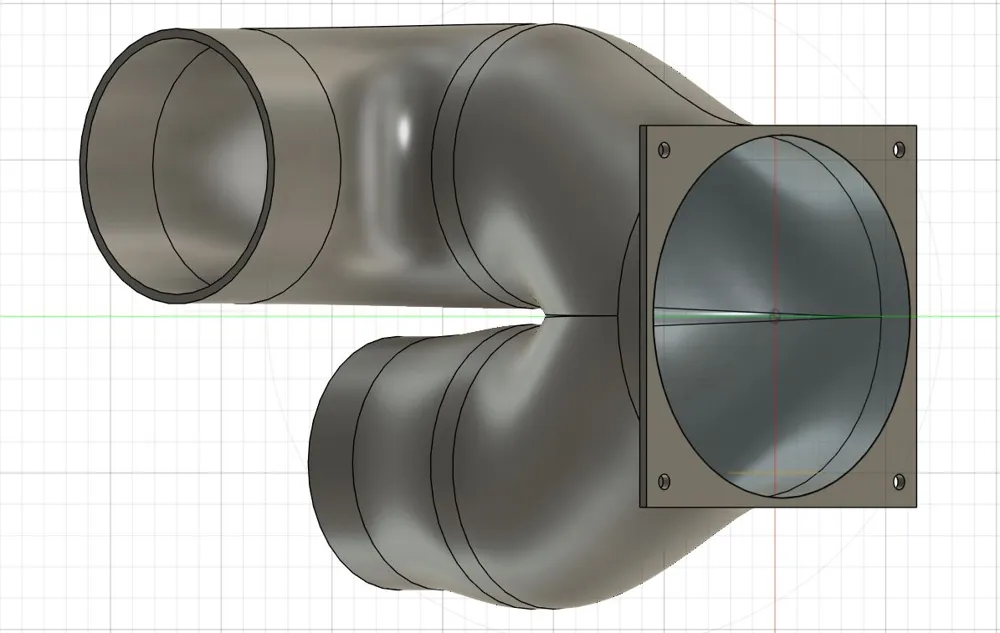
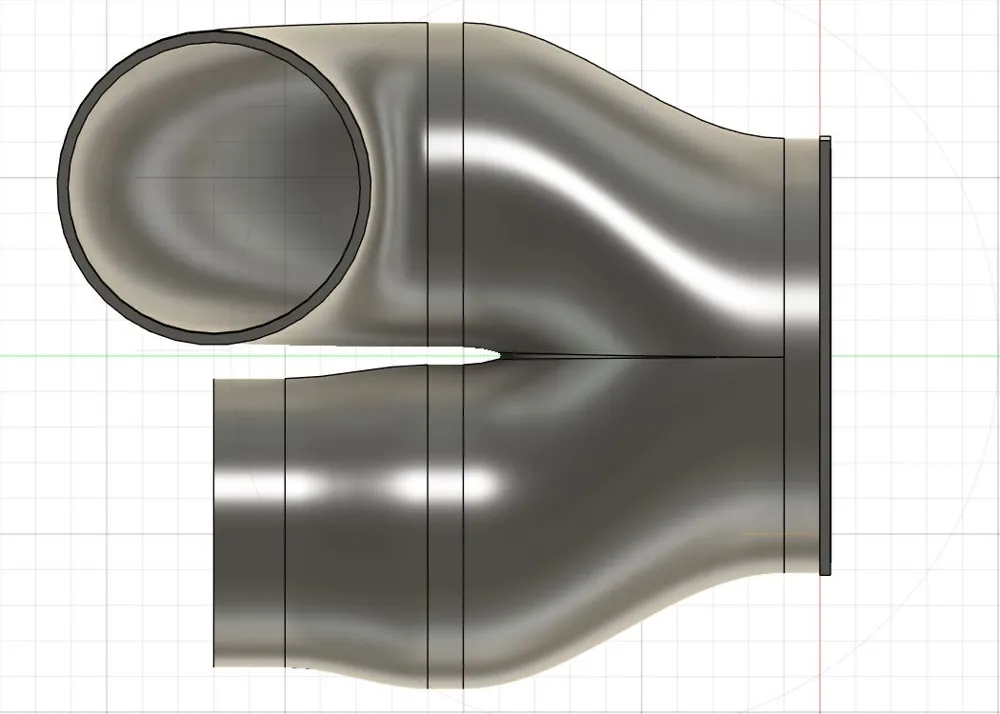
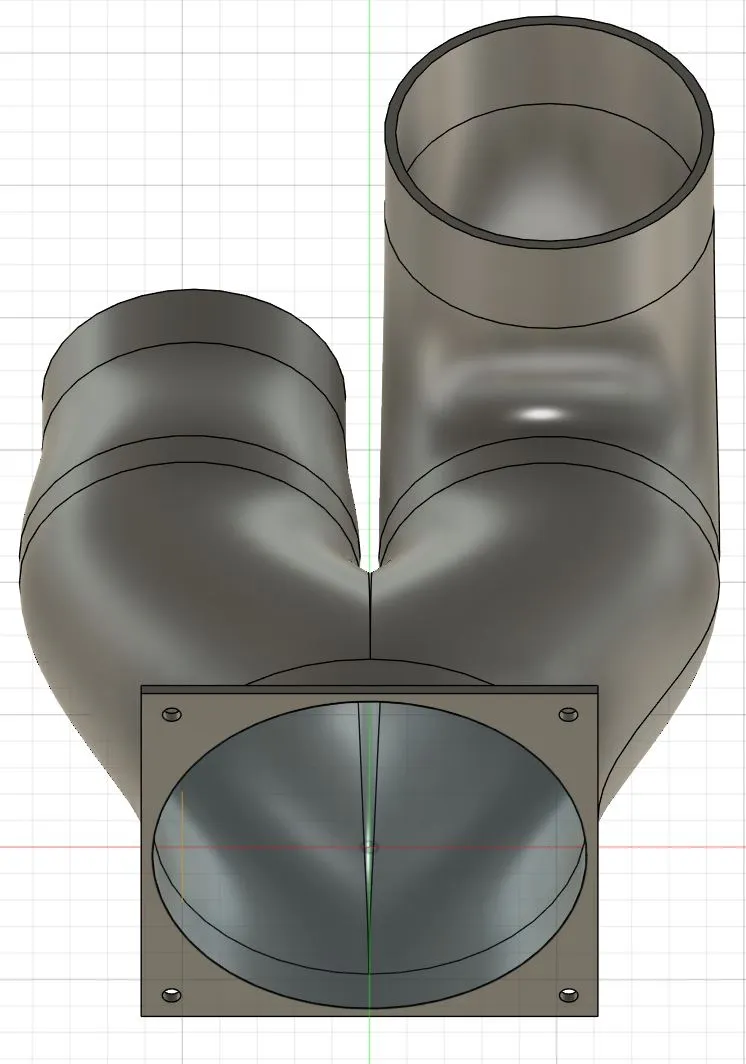
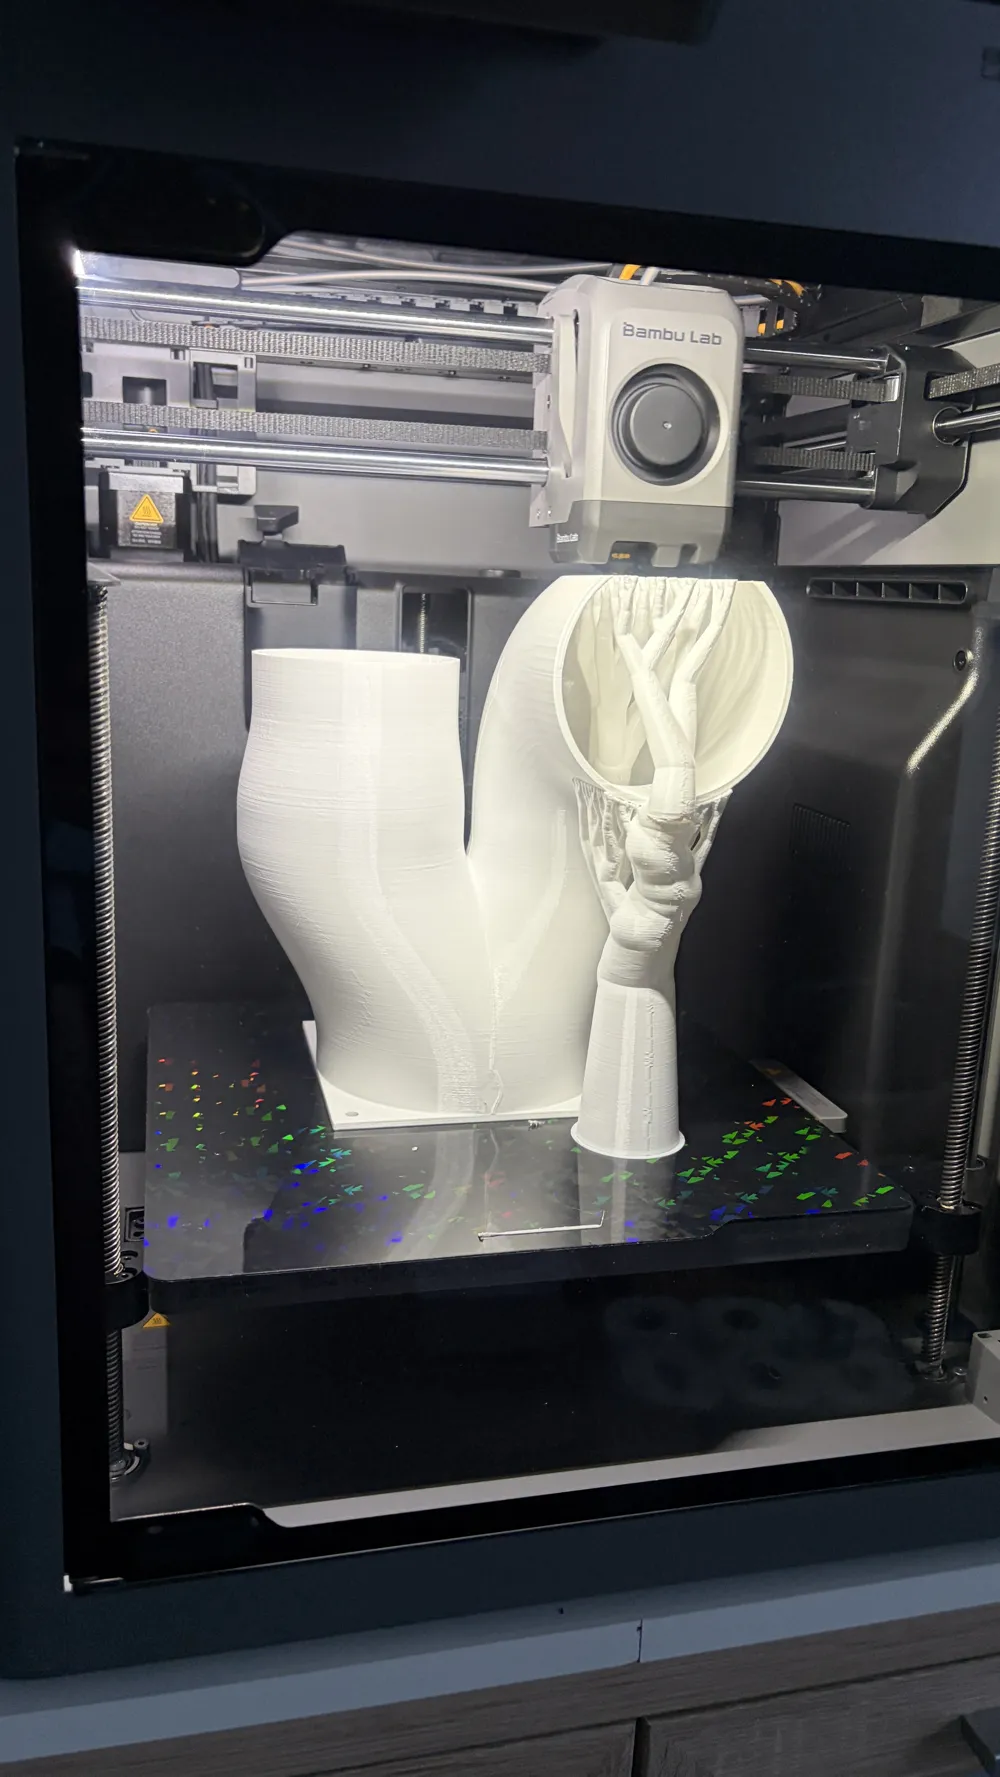
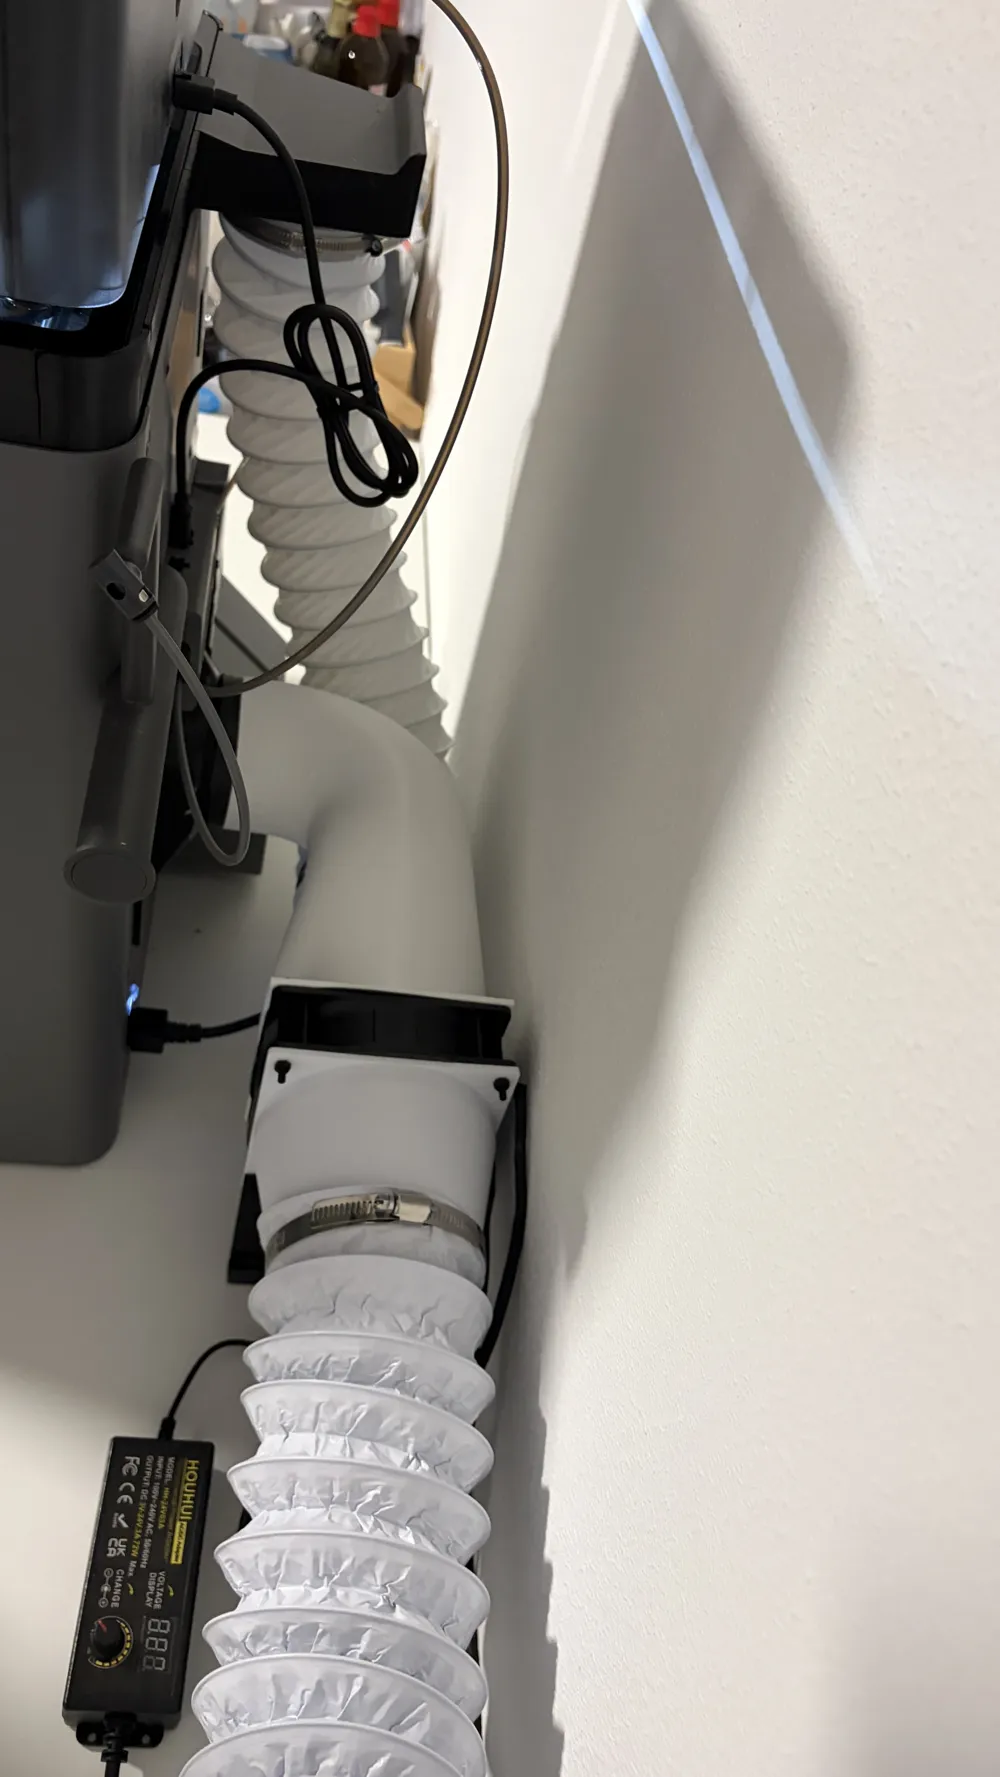
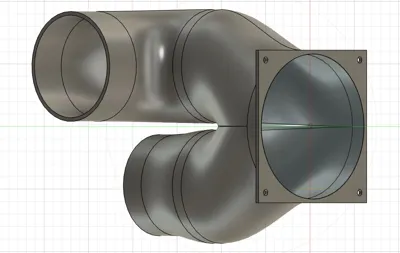
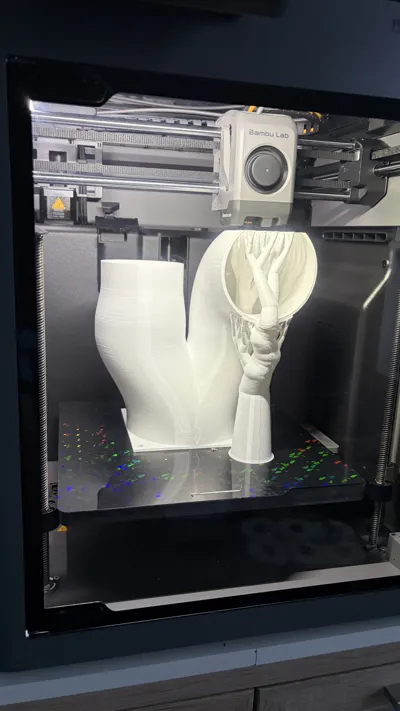
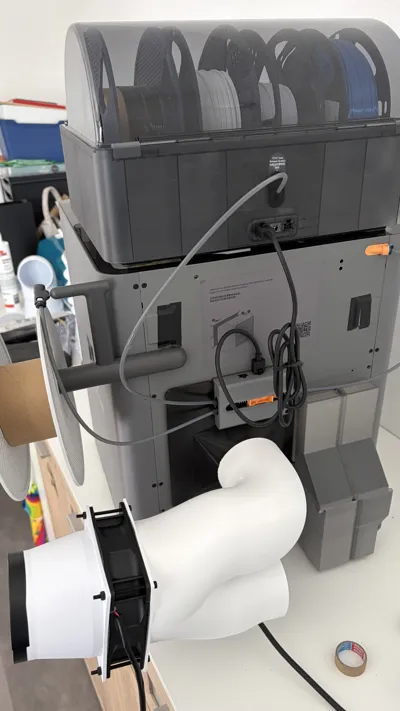
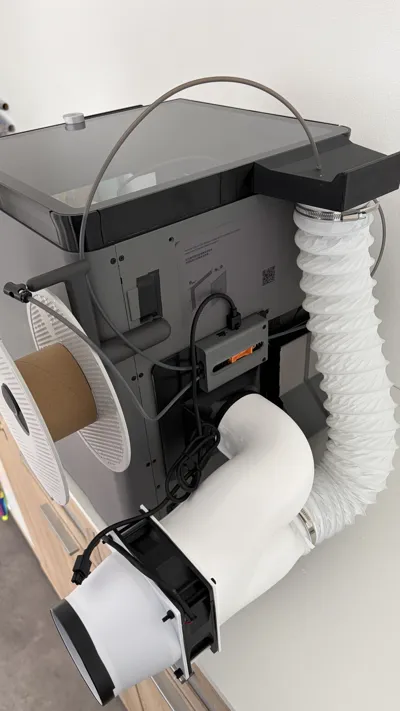
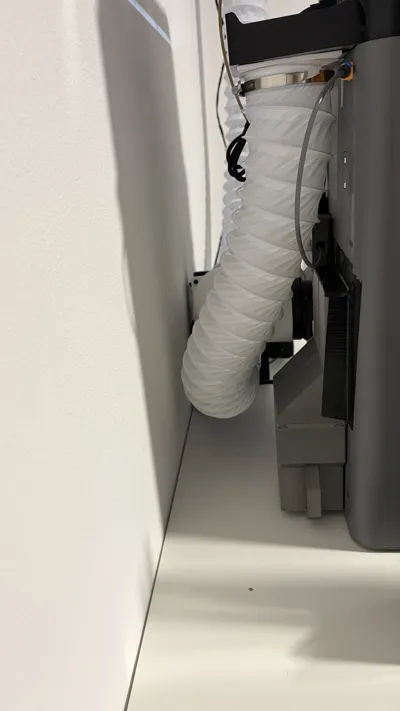
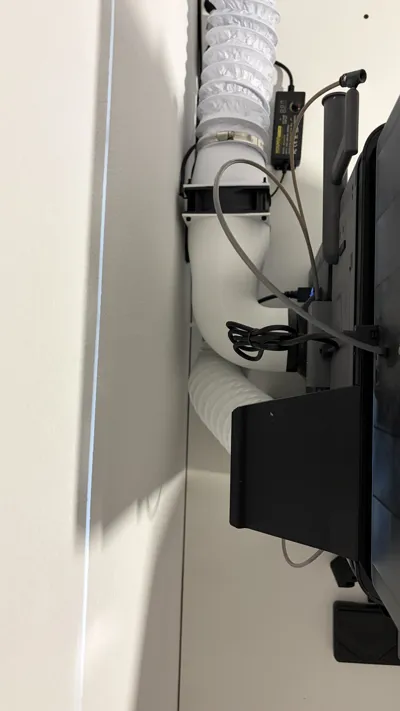
Due to the filter problem with the P2S, I looked into how I could extract as much air as possible from the P2S, as the odor from PLA and PET was very bothersome. Here on MakerWorld, there are many small solutions but no complete solution. To build myself a complete solution, I calculated and designed this adapter to get the effective maximum out of a 120mm fan. The first variant, with 1x 80mm extraction at the bottom, was inefficient and severely throttled the fans, leading only to more noise. I must say that my current expansion stage, with 2x 80mm to 120mm to 100mm, is somewhat over-dimensioned, as air is even being drawn from the poop bin, and with the door slightly ajar, you can feel the air being sucked into the printer from outside. However, since I control everything with a suitable power supply, this is not a problem. Currently, the extraction runs at about 50% (12v) (approximate volume of the printer during printing) and could probably be turned down further with the same result. Everyone is welcome to test this for themselves.
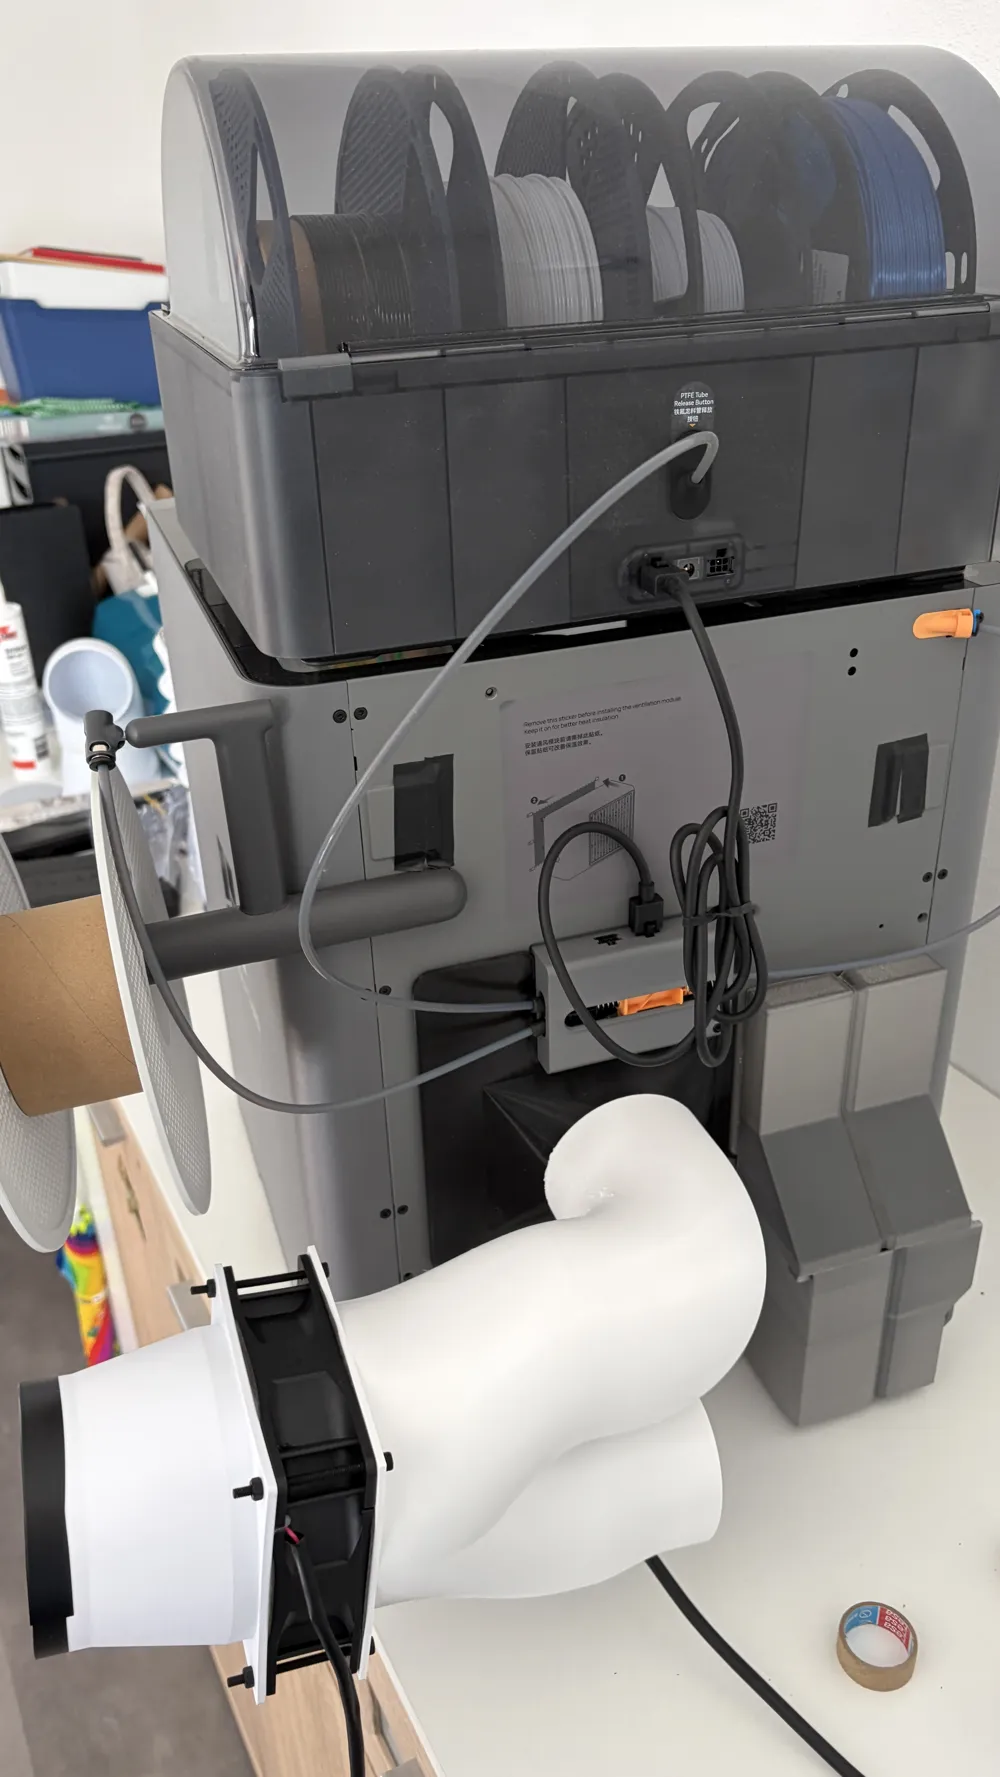
Note: Due to the entire construction, you will need a depth of approximately 58.5cm from the front edge of the printer to the furthest point on the fan.
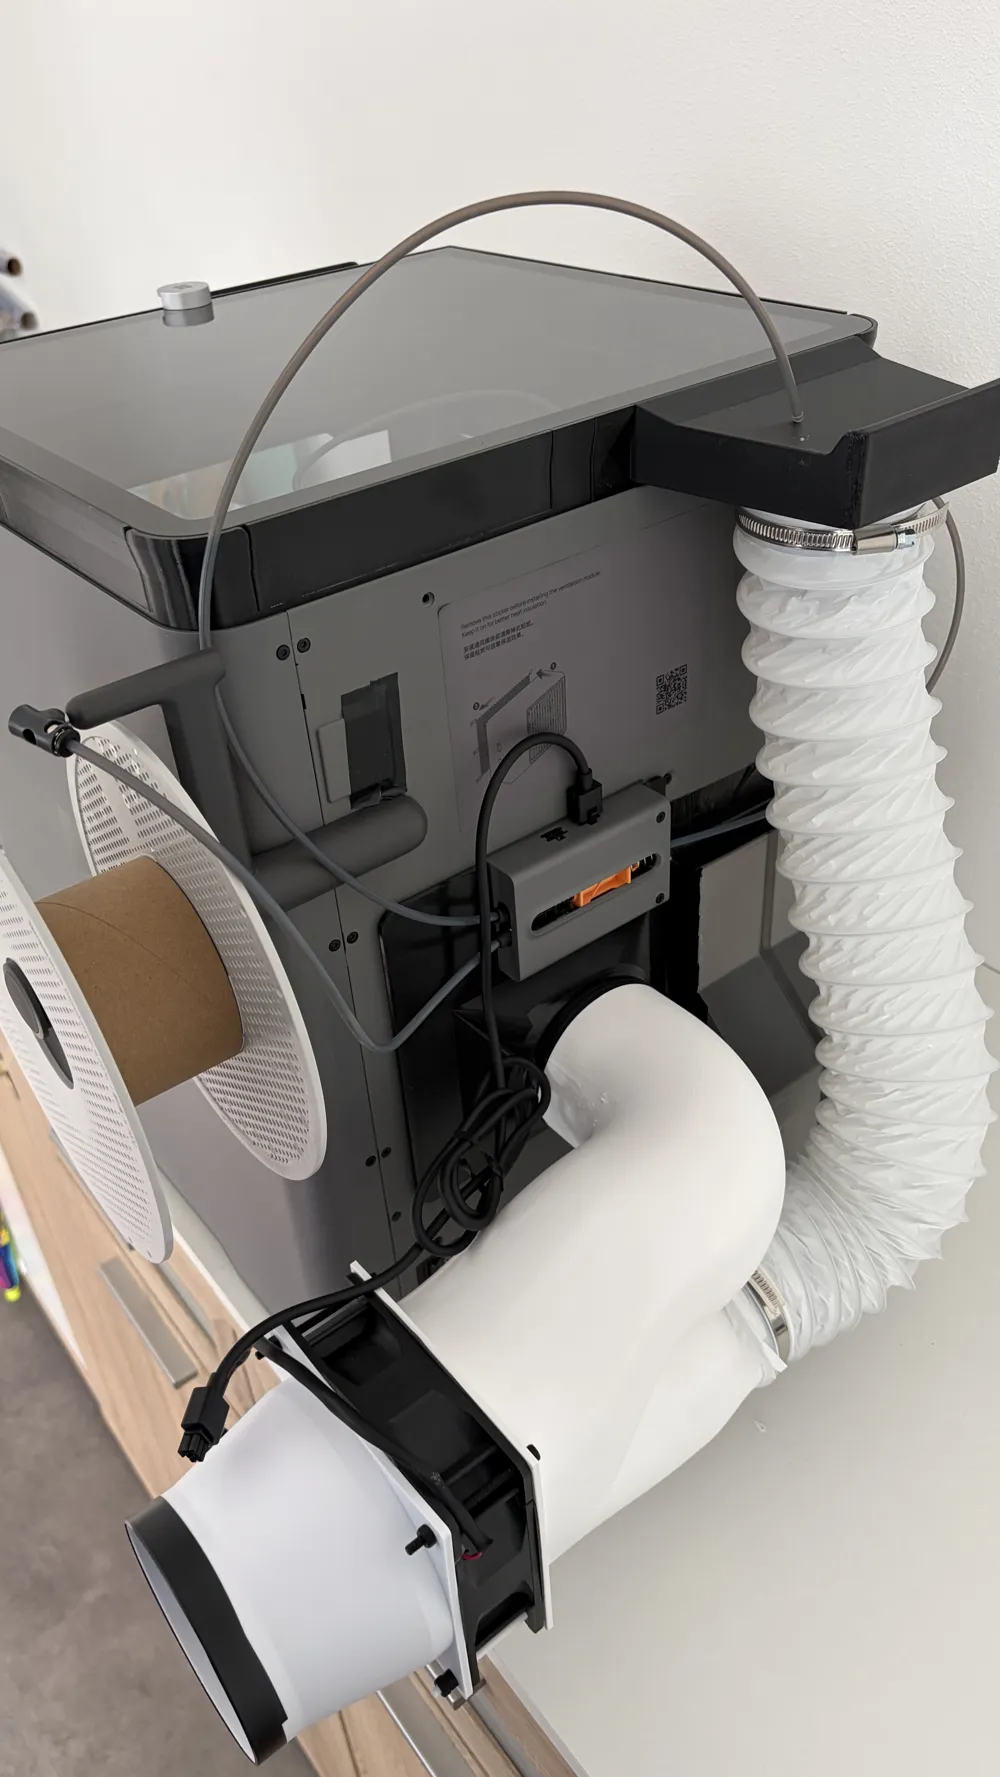
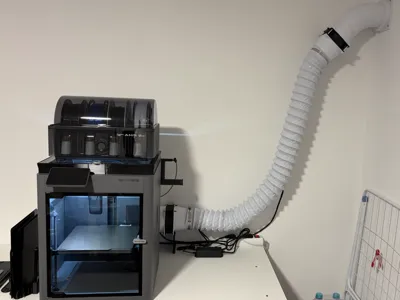
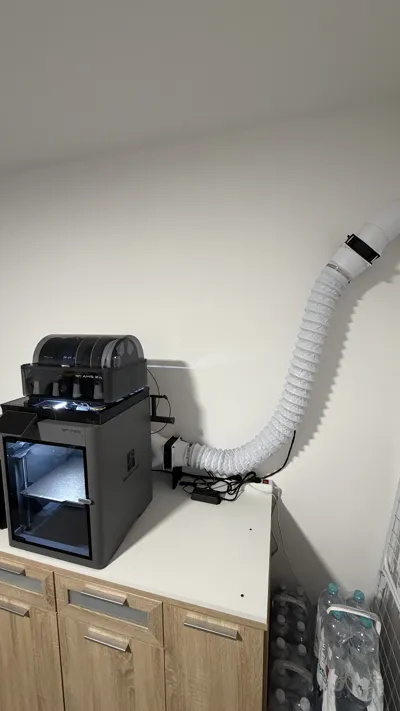
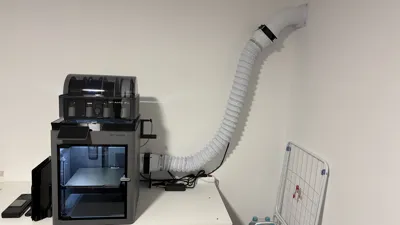
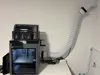
(I wanted it to be as visually clean as possible, which is why you only see the exhaust hose exiting to the right behind the printer)
The upper and lower exhaust and the poop bin were printed with PETG. The rest was printed with PLA. (Not a problem due to the 3mm wall thickness)
In addition to my adapter pipe, I have printed and installed the following parts:
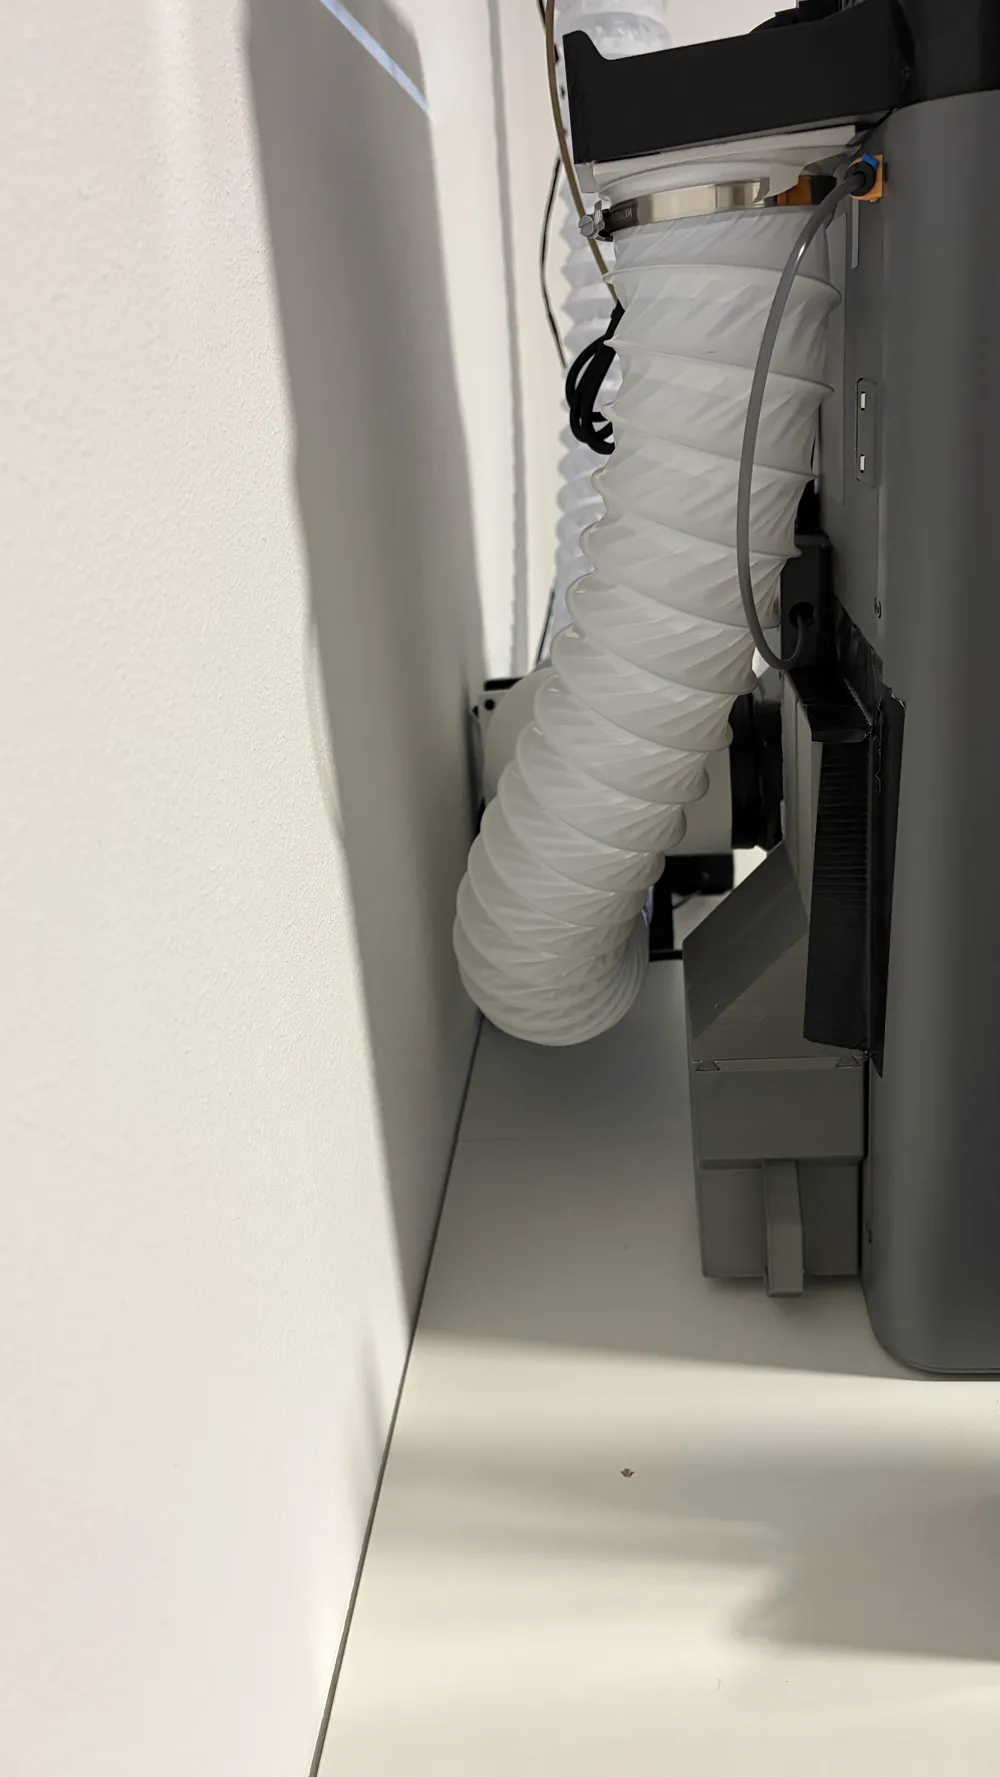
-Bottom exhaust for the new back panel (80 or 75mm connection, depending on how you want to seal the connection)
glued with this tape. Airtight and rock-solid: https://amzn.to/414KJmo
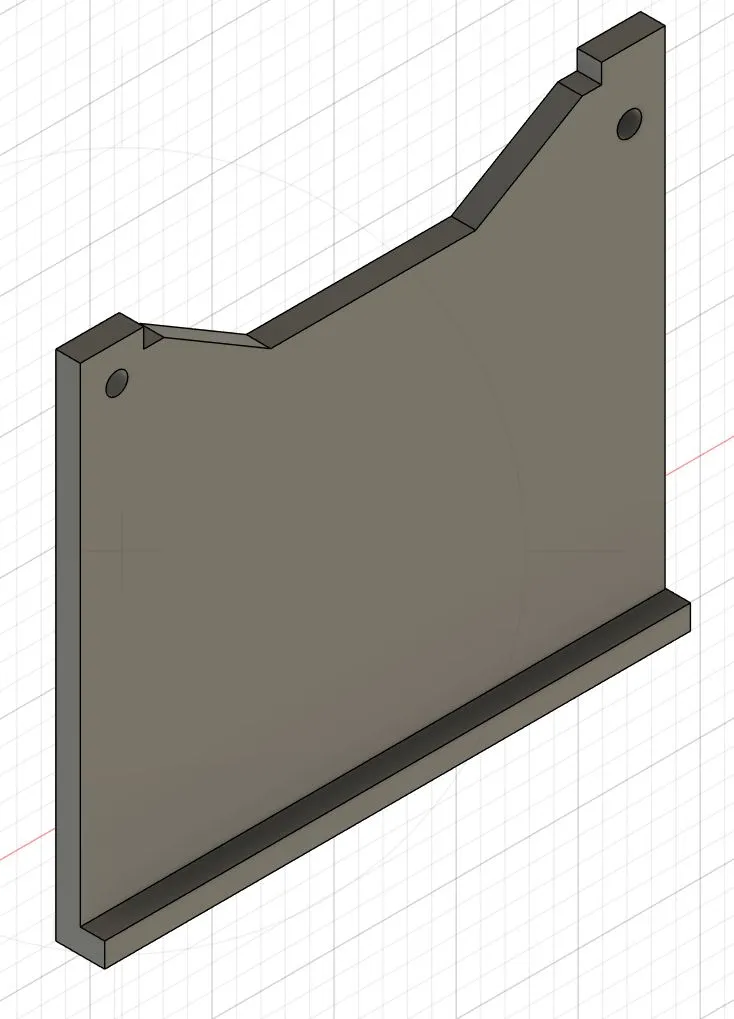
-Poop bin
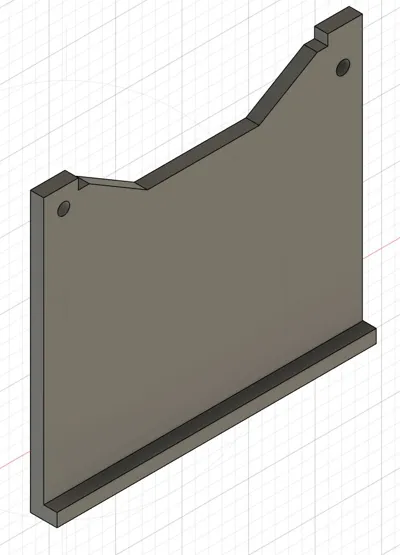
I removed the bevel of the sealing plate that is inserted into the waste chute from the sealing plate and glued it to the mounting frame with superglue, so you can use the original screws on the left and 2 small 3mm screws.
I sealed the contact surface from the poop bin to the printer with this: https://amzn.to/4bIabUU
-Top exhaust
Raises the glass, which eliminates filament tube rubbing and enables top exhaust.
I glued the variable elements and sealed them as they are supposed to sit later.
I applied sealing tape around the rim where the glass rests: https://amzn.to/47LCwav
Due to the connection size of 74mm (inner), I used an 80mm (outer) hose.
You can individually create the connection yourself in a configurator and then simply glue or screw it, for example here: https://makerworld.com/de/models/2024998-customizable-fan-to-duct-adapter#profileId-2183171
-Fans
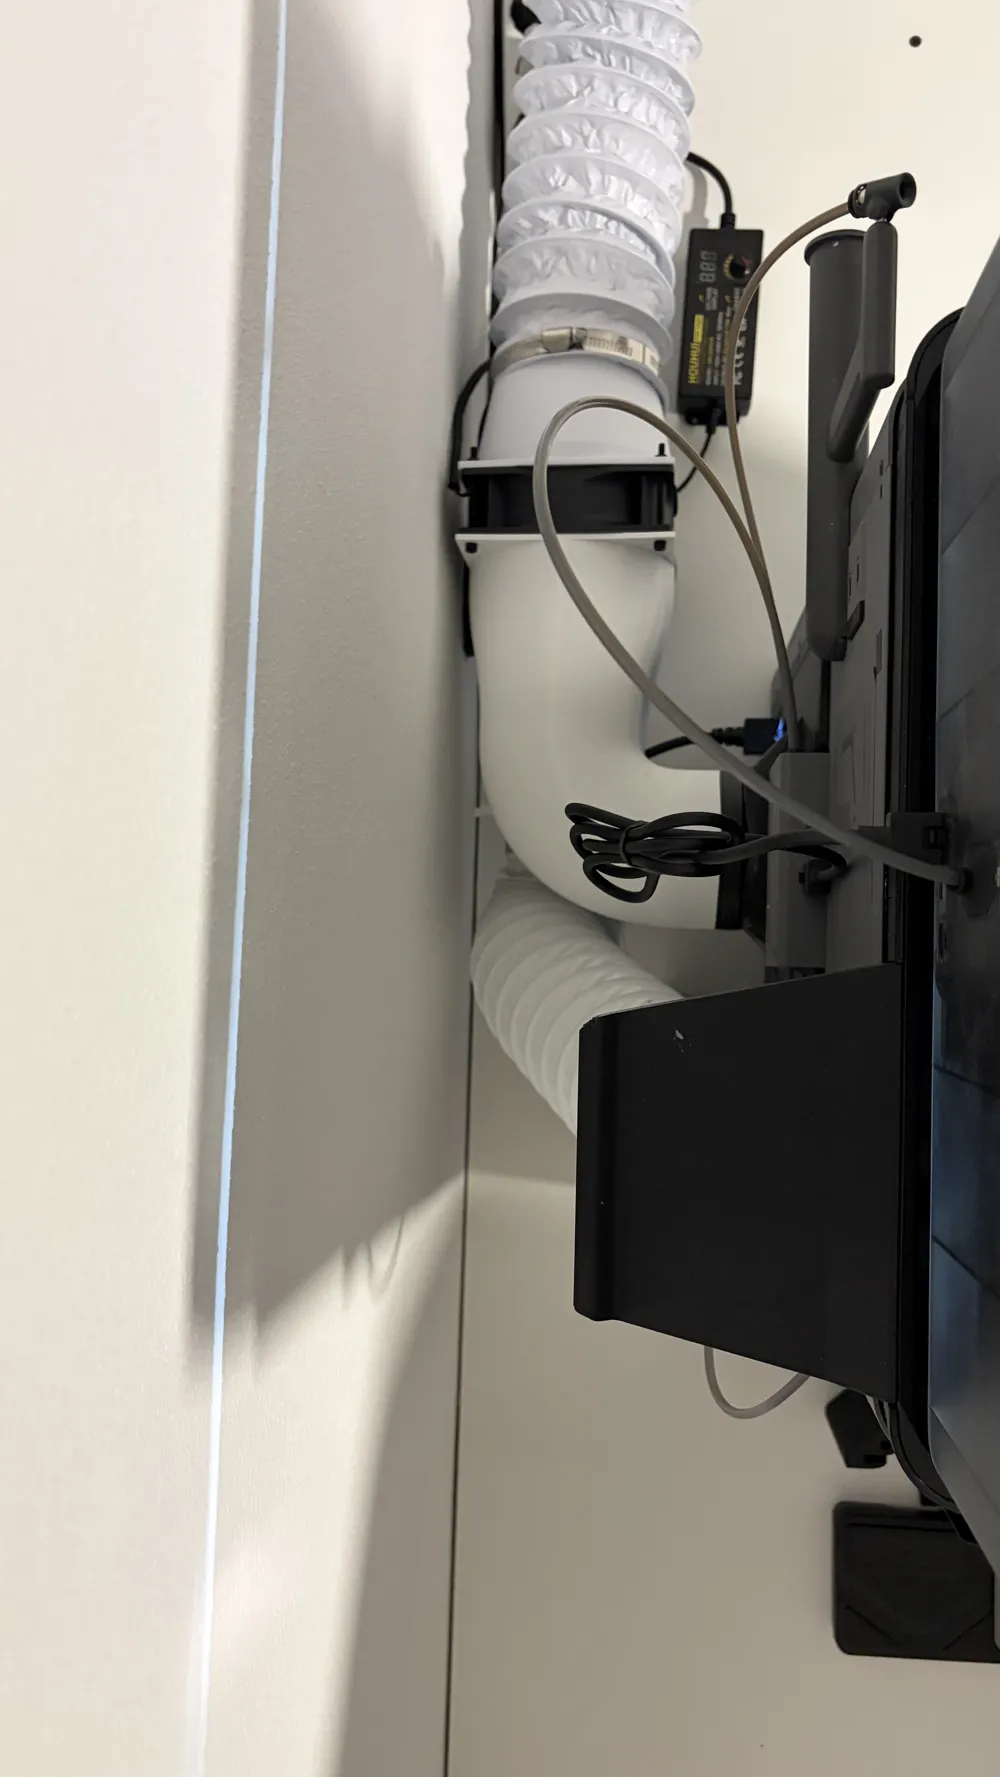
I used 2x 120mm 24v fans. https://amzn.to/4cLTA3G
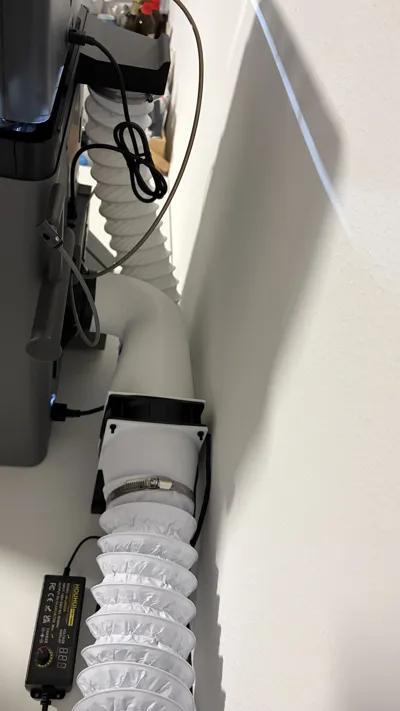
Adjustable 24v power supply: https://amzn.to/4sOS2e1
I sealed all contact surfaces of the fans with the same sealing tape used for the poop bin: https://amzn.to/4s7GsdL
One fan sits at the bottom of the adapter, and the second sits at the top, just before the wall connection, to help the first fan overcome the exhaust hose and ensure that everything is blown outside. (Fortunately, my office used to be a kitchen, so the hole in the wall was already there. This can, of course, also be done with window connections, etc. The main thing is that the air/smell from the printer is led outside.)
-Screws
https://makerworld.com/de/models/164058-working-m4-screws-and-nut?from=search#profileId-654587
As a test, I printed 55mm long M4 screws, and they are sufficient for this purpose. Please do not overtighten.
-80 mm exhaust hose for top exhaust to adapter: https://amzn.to/4rBk4Zn
-100 mm exhaust hose from the 1st fan to the 2nd fan: https://amzn.to/4lyirue
-The wall connection and pipe elbows can be created in the configurators on MakerWorld.
I wish you much success and fun with our creative hobby :-)
Please use my links, as an Amazon partner, I earn from qualifying purchases and thus you support further projects.
License

You shall not share, sub-license, sell, rent, host, transfer, or distribute in any way the digital or 3D printed versions of this object, nor any other derivative work of this object in its digital or physical format (including - but not limited to - remixes of this object, and hosting on other digital platforms). The objects may not be used without permission in any way whatsoever in which you charge money, or collect fees.


Comment & Rating (15)