
Sim Racing Gear Indicator Ganganzeige Flag DIY
Print Profile(1)
Description
Boost Me (for free)
Do you like my Sim-Racing Gear Indicator? Show your support – boost me for more cool DIY projects!
DIY Sim Racing Gear Indicator
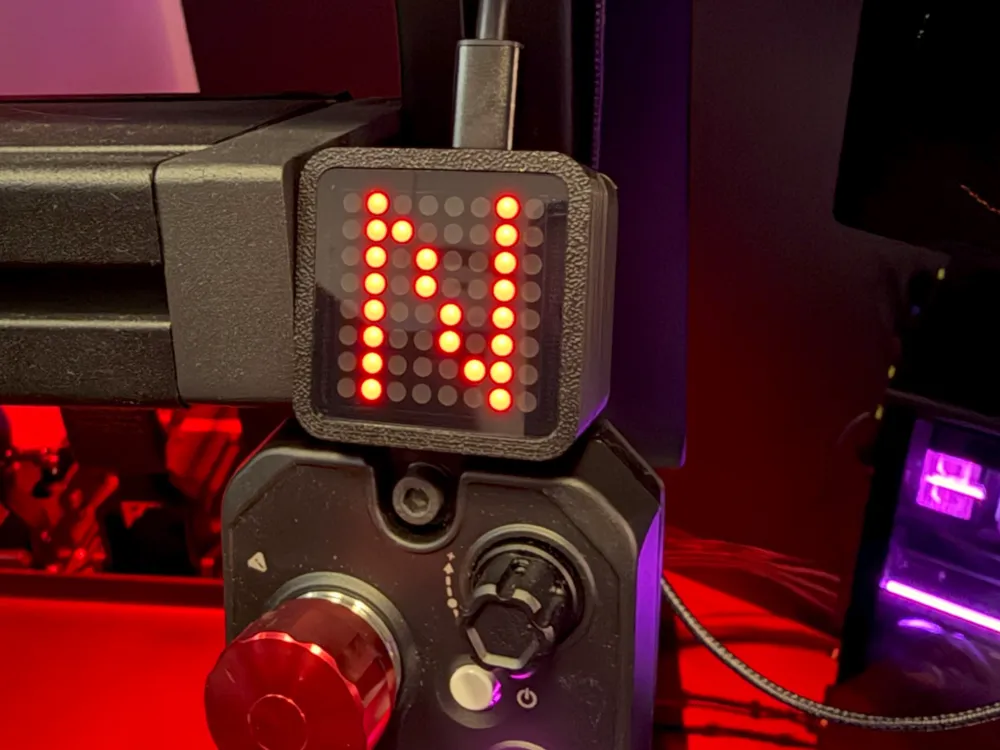
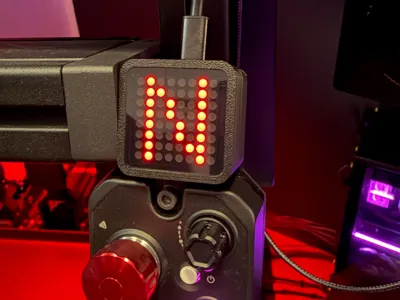
This DIY gear indicator was specially developed for sim racing simulators and displays the currently selected gear via an LED matrix. The compact housing can be easily integrated into almost any sim rig or dashboard
The display is operated via SimHub. SimHub reads telemetry data from supported racing simulations and transmits the currently selected gear to the Arduino, which then displays it on the LED matrix
Dimensions
- Width: 45 mm
- Height: 45 mm
- Depth: 34 mm
Required Components
LED Matrix MAX7219 (8×8)
- https://de.aliexpress.com/item/1005006222492232.html?spm=a2g0o.order_list.order_list_main.95.4f085c5fFoNz1z&gatewayAdapt=glo2deu
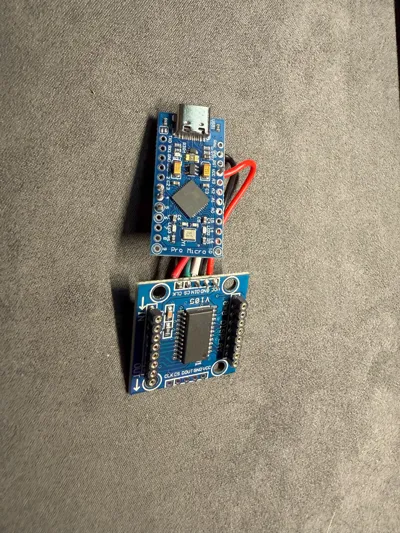
Arduino Pro Micro Type-C
- https://de.aliexpress.com/item/1005008804370504.html?spm=a2g0o.productlist.main.8.53964b8epWhuDa&aem_p4p_detail=20260313085546727415102240160000695738&algo_pvid=7c4c5f12-d960-4d01-8cc4-de7e3c1a5fa9&algo_exp_id=7c4c5f12-d960-4d01-8cc4-de7e3c1a5fa9-7&pdp_ext_f=%7B%22order%22%3A%2281%22%2C%22eval%22%3A%221%22%2C%22fromPage%22%3A%22search%22%7D&pdp_npi=6%40dis%21EUR%214.89%214.89%21%21%2137.85%2137.85%21%402103856417734173463182816e41e4%2112000046732279359%21sea%21DE%21888527740%21X%211%210%21n_tag%3A-29919%3Bd%3Aec44f1e7%3Bm03_new_user%3A-29895&curPageLogUid=lJitYwtYXUWB&utparam-url=scene%3Asearch%7Cquery_from%3A%7Cx_object_id%3A1005008804370504%7C_p_origin_prod%3A&search_p4p_id=20260313085546727415102240160000695738_3
2 mm acrylic sheet (black / grey transparent) for the front window
- https://de.aliexpress.com/item/32857098929.html?spm=a2g0o.order_list.order_list_main.10.4f085c5fFoNz1z&gatewayAdapt=glo2deu
- 4× M3 screws (20 mm)
- https://de.aliexpress.com/item/1005006037706986.html?spm=a2g0o.cart.0.0.362f4ae4IpuDUD&mp=1&pdp_npi=6%40dis%21EUR%21EUR%204.49%21EUR%204.49%21%21EUR%204.49%21%21%21%402103956a17734174872573963e908b%2112000042728519164%21ct%21DE%21888527740%21%211%210%21&gatewayAdapt=glo2deu - 4× M3 heat-set inserts
2× M5 heat-set inserts
- https://de.aliexpress.com/item/1005003582355741.html?spm=a2g0o.order_list.order_list_main.65.4f085c5fFoNz1z&gatewayAdapt=glo2deu
5× wires 22 AWG / 0.34 mm²
Length per wire: 30–40 mm- https://de.aliexpress.com/item/1005010662031332.html?spm=a2g0o.detail.pcDetailTopMoreOtherSeller.2.1151Q4uwQ4uwRd&gps-id=pcDetailTopMoreOtherSeller&scm=1007.40050.354490.0&scm_id=1007.40050.354490.0&scm-url=1007.40050.354490.0&pvid=3cc0c83e-46c1-4ded-b911-ee918cacd37c&_t=gps-id:pcDetailTopMoreOtherSeller,scm-url:1007.40050.354490.0,pvid:3cc0c83e-46c1-4ded-b911-ee918cacd37c,tpp_buckets:668%232846%238107%231934&pdp_ext_f=%7B%22order%22%3A%2228%22%2C%22eval%22%3A%221%22%2C%22sceneId%22%3A%2230050%22%2C%22fromPage%22%3A%22recommend%22%7D&pdp_npi=6%40dis%21EUR%212.05%212.05%21%21%2115.87%2115.87%21%40211b80d117734172269953543e285f%2112000053110664188%21rec%21DE%21888527740%21X%211%210%21n_tag%3A-29919%3Bd%3Aec44f1e7%3Bm03_new_user%3A-29895&utparam-url=scene%3ApcDetailTopMoreOtherSeller%7Cquery_from%3A%7Cx_object_id%3A1005010662031332%7C_p_origin_prod%3A
Wiring
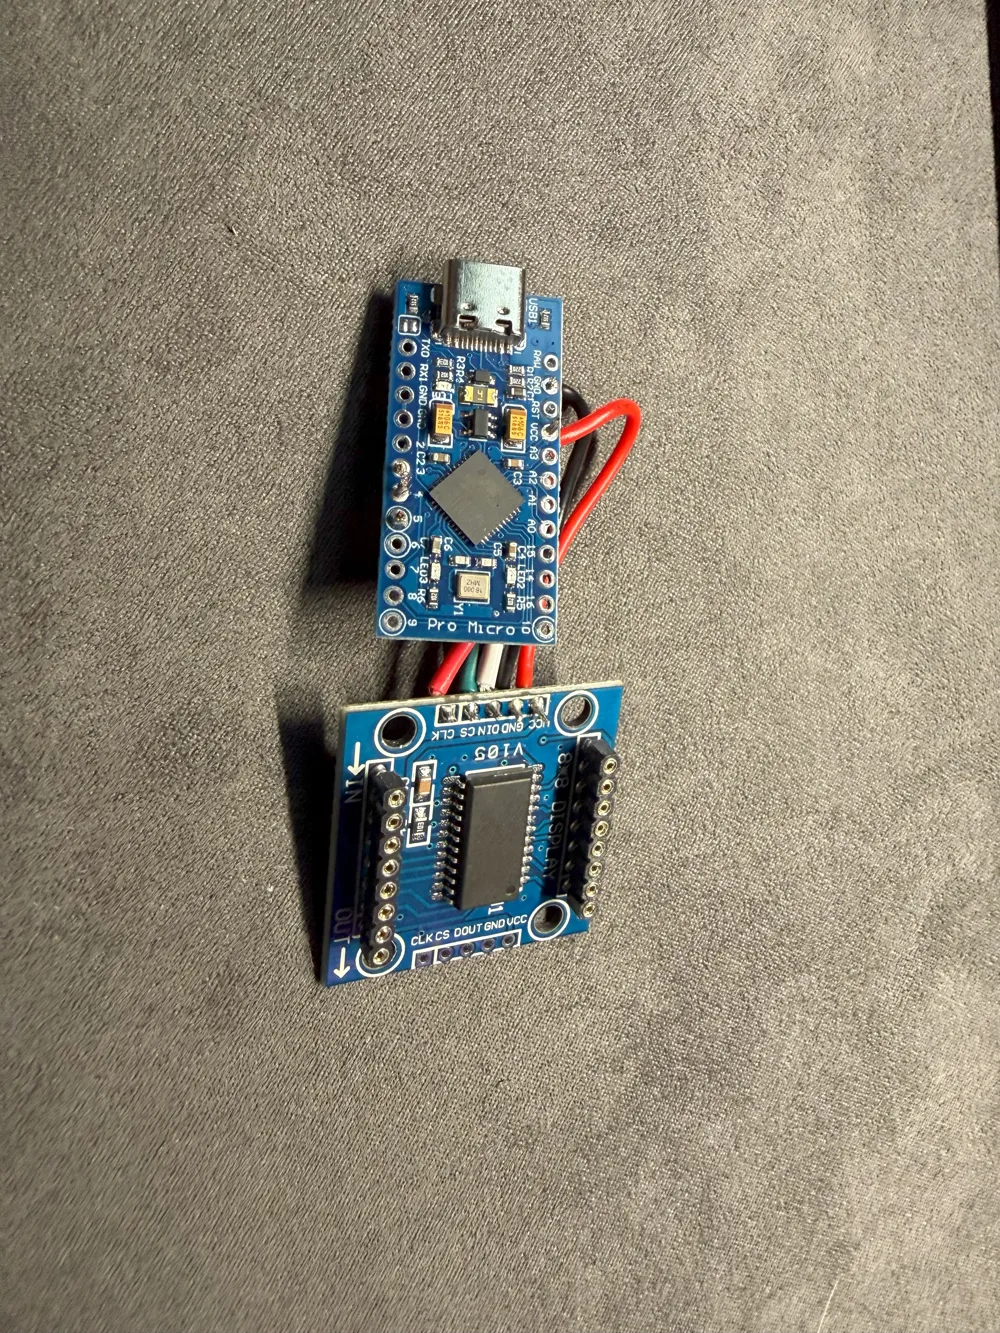
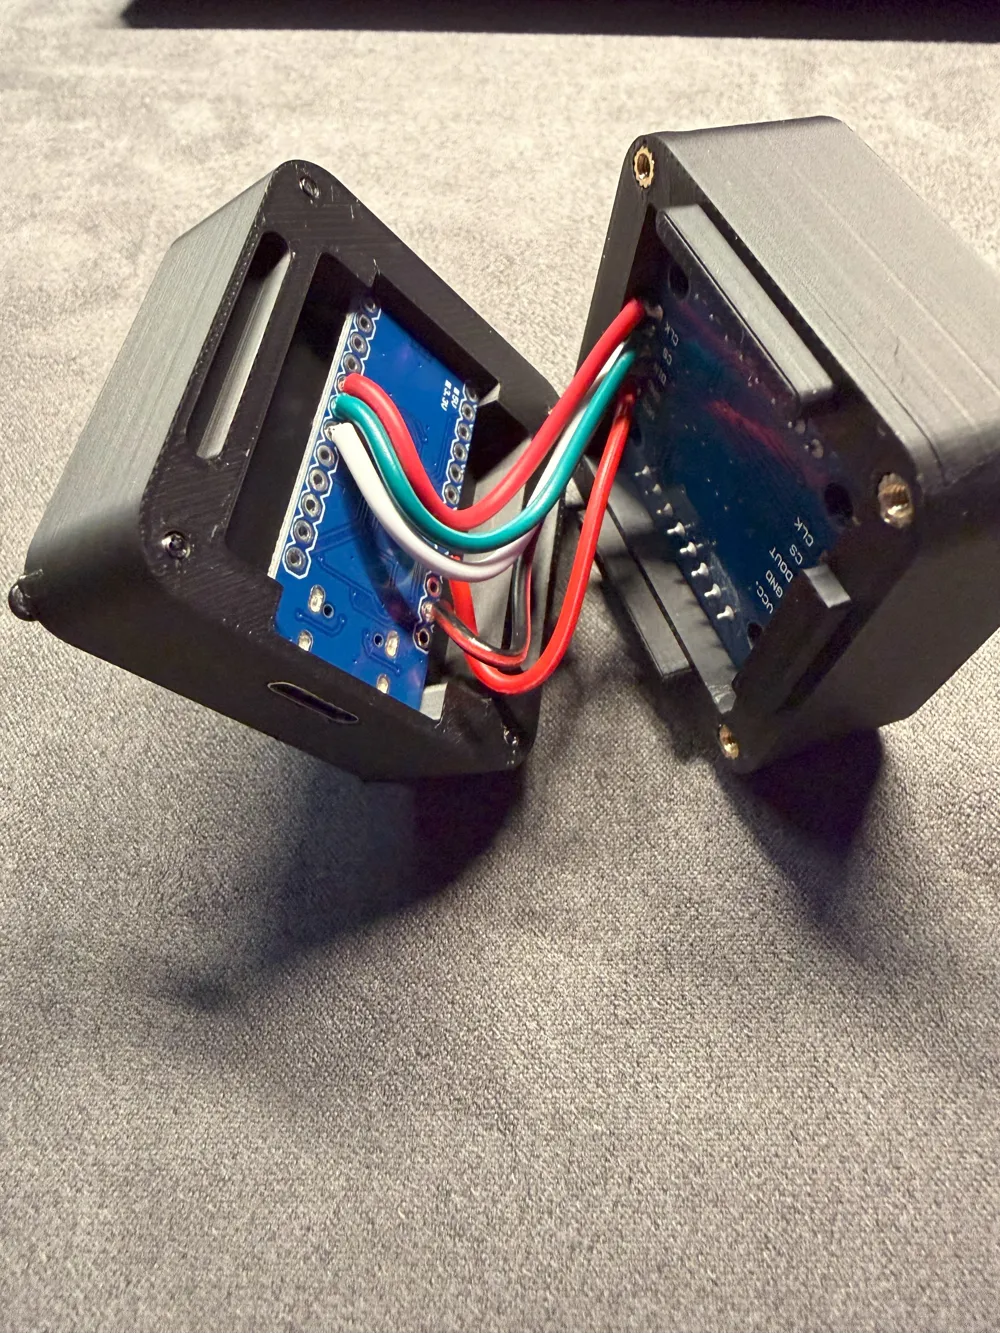
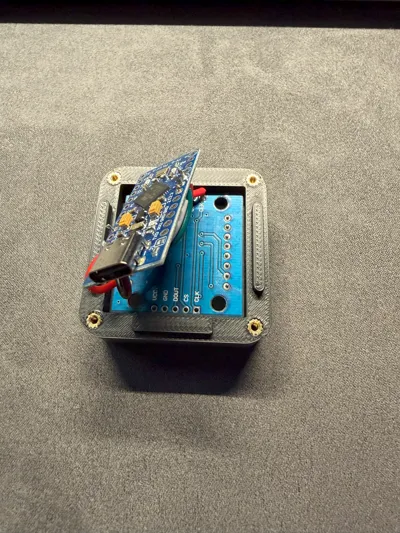
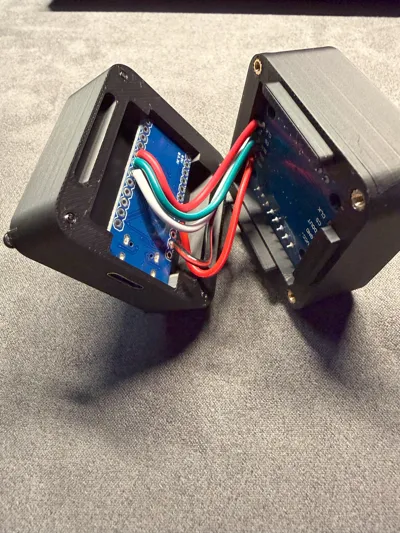
The wires must be soldered accordingly:
- VCC → VCC
- GND → GND
- DIN → 3
- CS → 4
- CLK → 5
All connections should be cleanly soldered to ensure stable and reliable signal transmission
Installing the LED Matrix
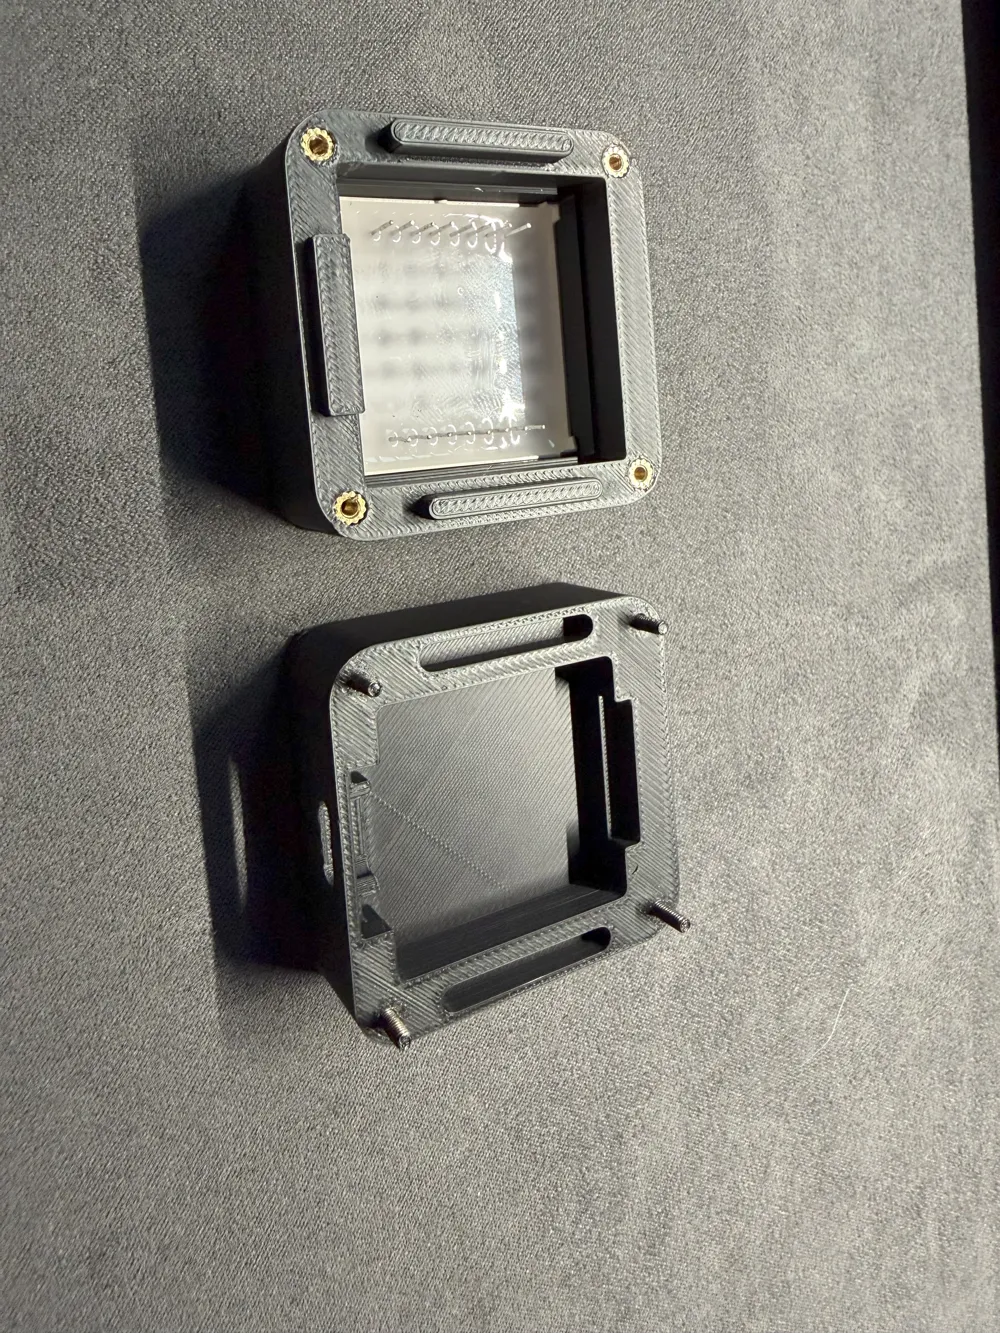
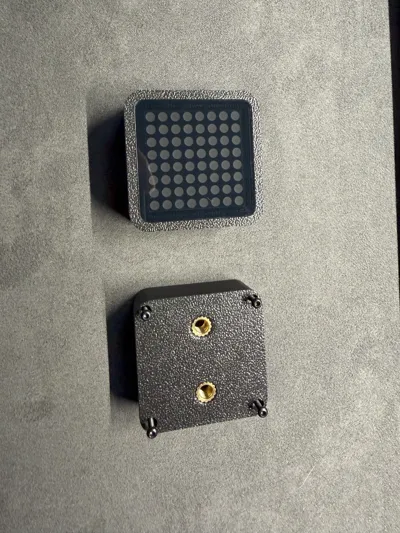
The LED matrix is inserted into the front from the back.
Thanks to the precise design, it can simply be pressed into the opening and will then hold itself in place. Additional fastening is usually not necessary
Front Window (Acrylic)
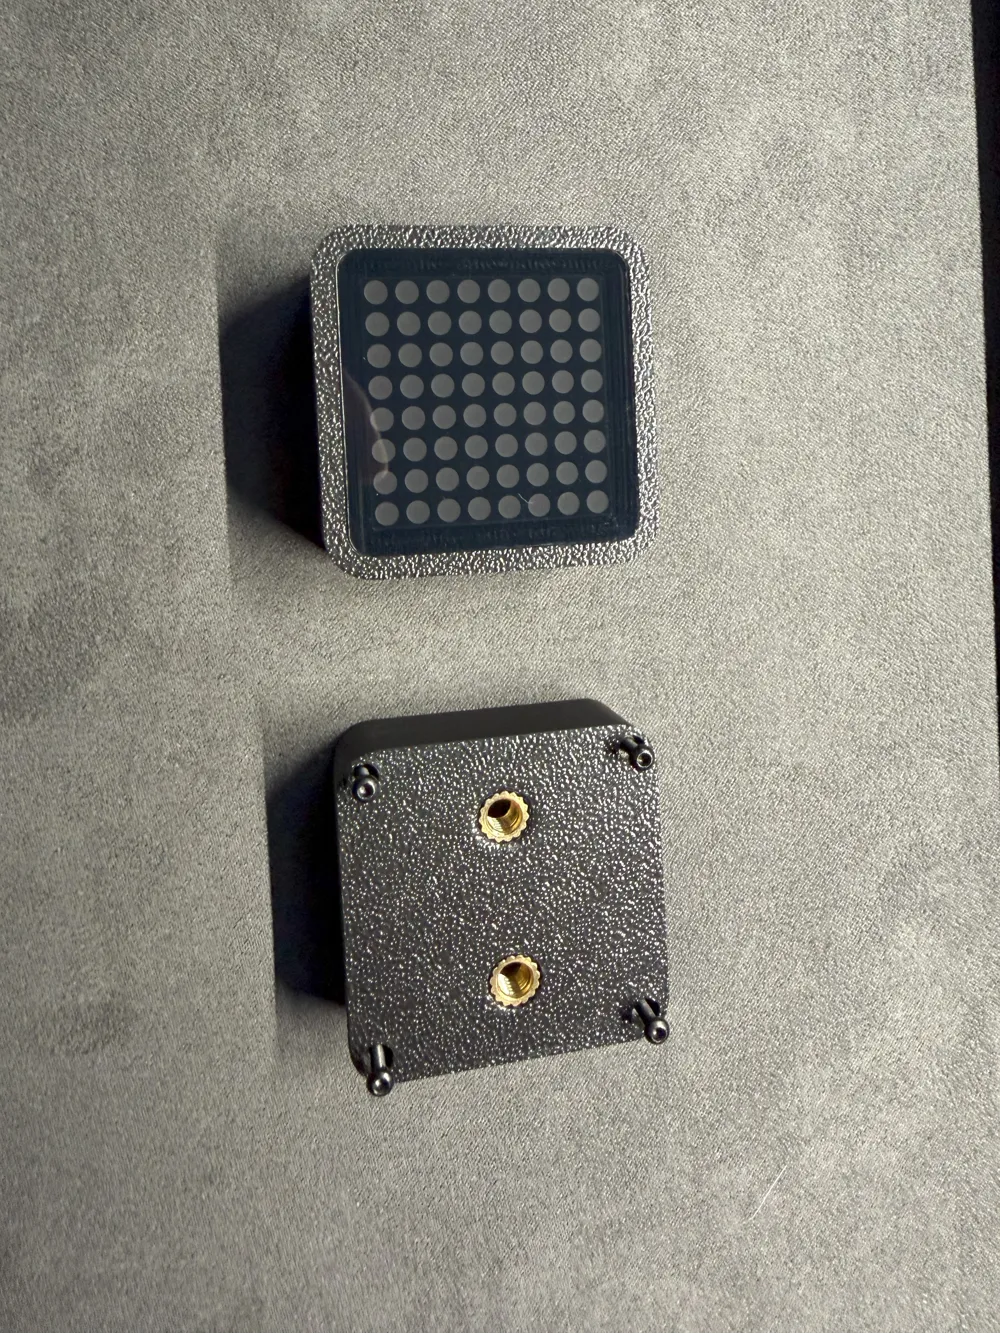
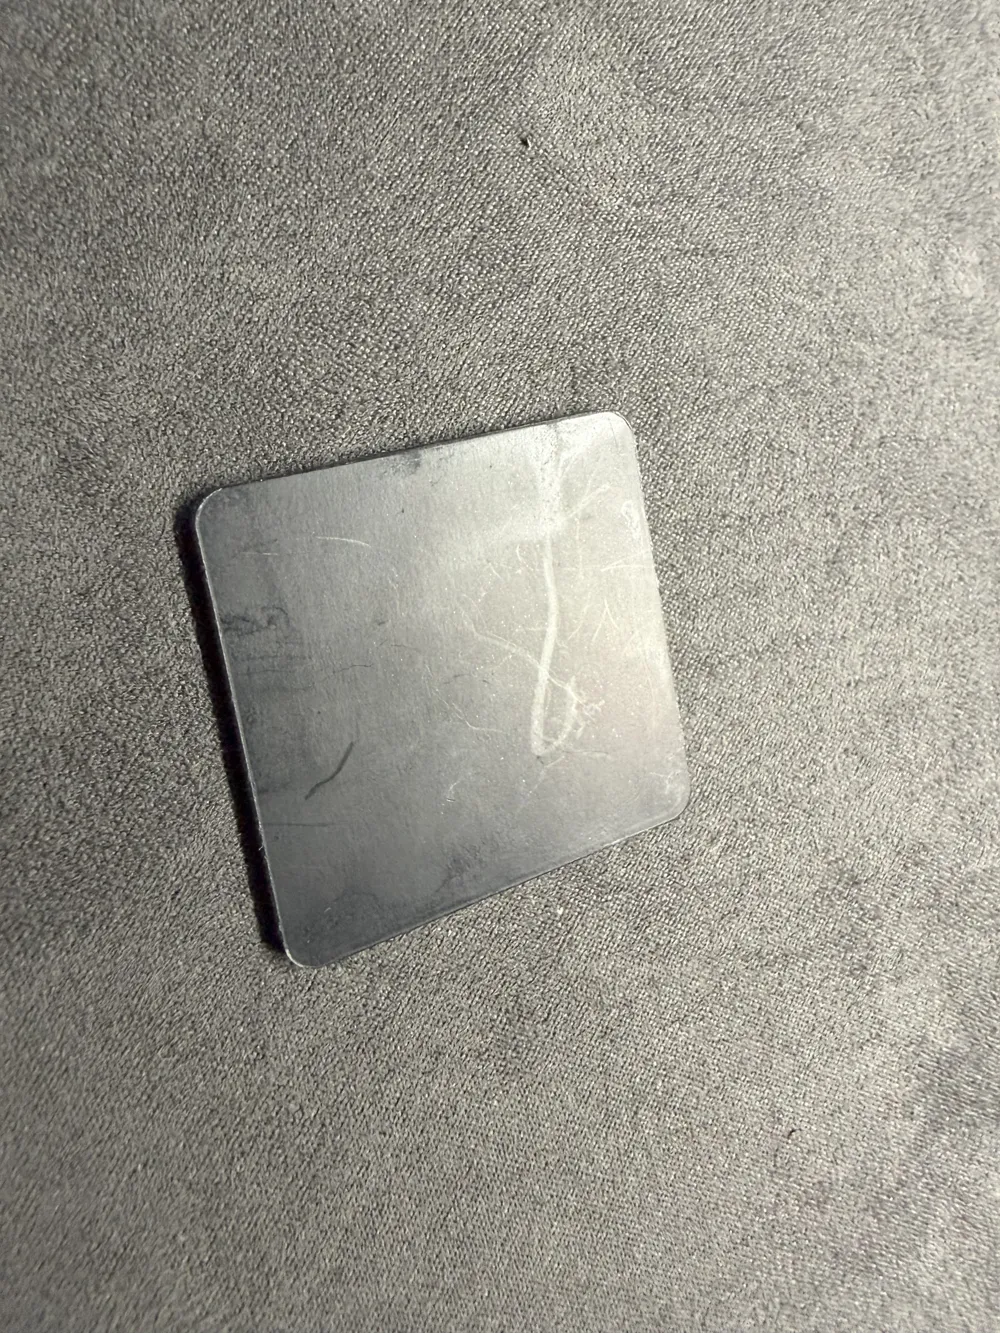
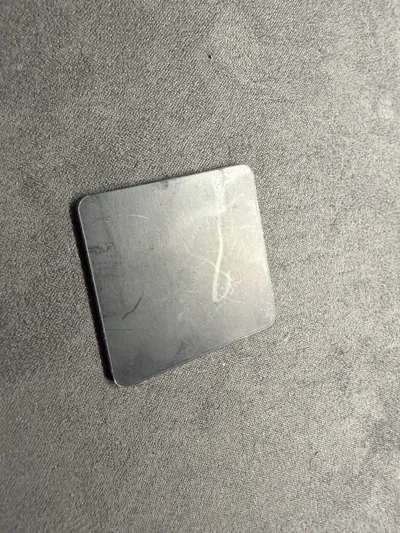
The front window is laser cut from a 2 mm acrylic sheet
- The required DXF file is included
- Material: black / grey transparent
After laser cutting, the sheet is pressed into the housing from the front and usually holds due to the fit
If desired, 1–2 small drops of superglue can be used for securing it
Mounting to the Sim Rig
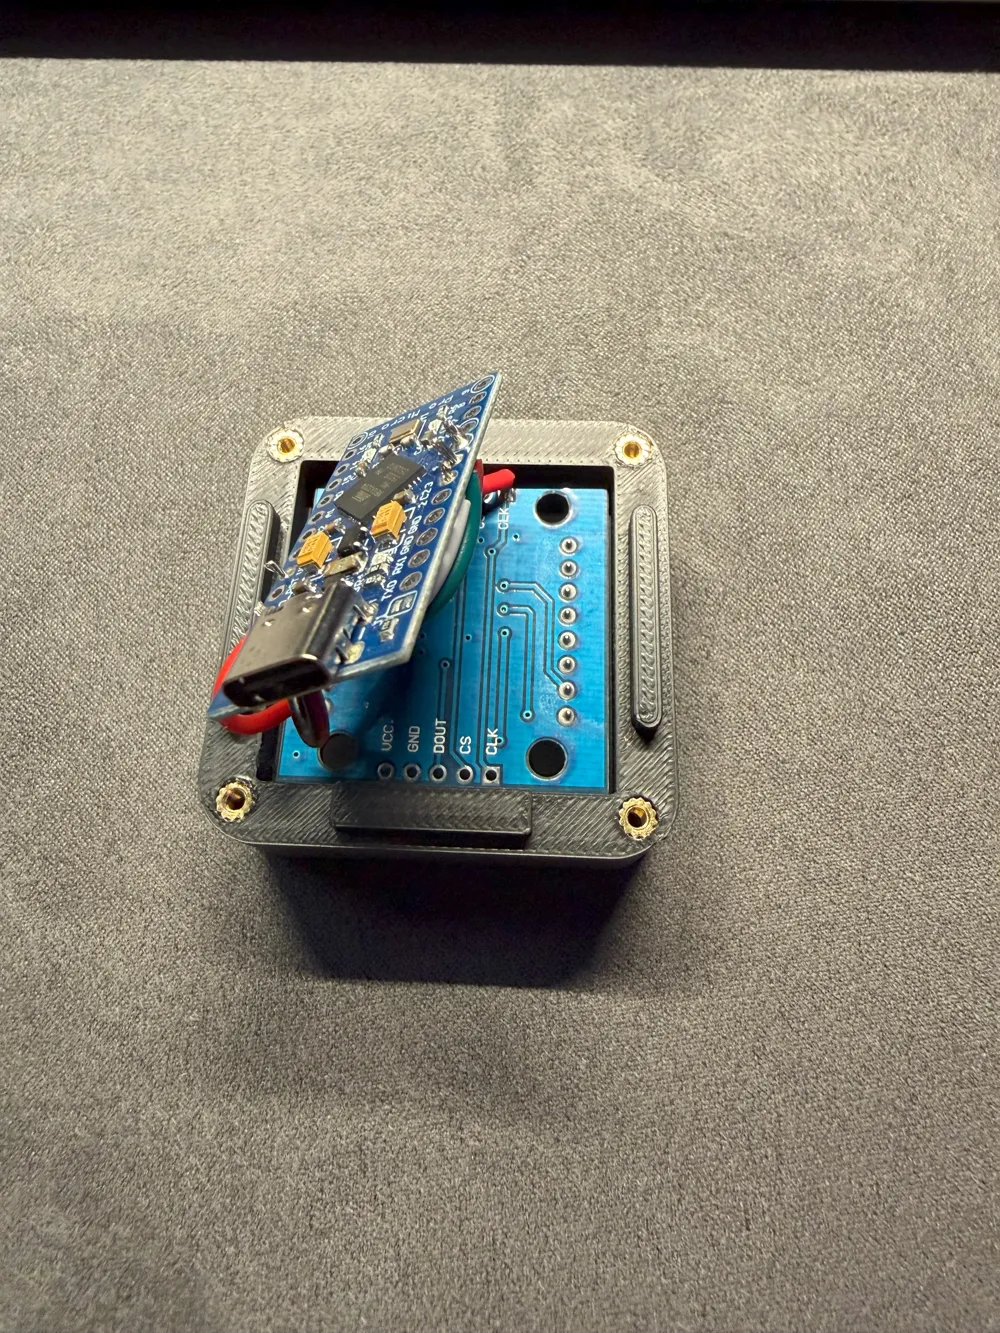
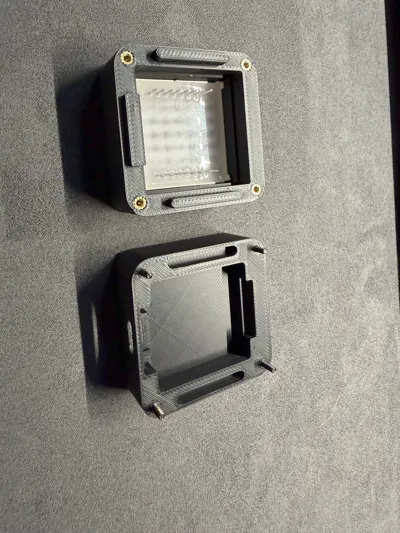
On the back of the housing are two M5 heat-set inserts.
These allow the gear indicator to be later attached to a sim rig, dashboard, or bracket
Assembly
- Insert heat-set inserts (M3 and M5) into the housing
- Press the LED matrix into the front from the back
- Solder the wires according to the pinout
- Insert the Arduino and place the board onto the matrix
- Connect the housing parts with the M3 screws (20 mm)
- Insert the front window from the front and lightly glue if necessary
Setup in SimHub
The display is controlled via SimHub
Add Arduino to SimHub
- Start SimHub
- Select "Arduino" in the left menu bar
- Connect the Arduino to the PC via USB
- Go to "My Hardware" in SimHub
- Click on "Add Arduino"
- Select the appropriate COM port device (Arduino Pro Micro)
⚠️ Important:
Before uploading the firmware, the MAX7219 LED Matrix must be selected as the hardware used in the device selection. This will automatically create the appropriate sketch with matrix support in SimHub
Configure LED Matrix
- In SimHub, select the added Arduino
- Under "Matrix / LED Displays", add a MAX7219 LED Matrix
- Set the pinout according to the wiring:
- DIN → D3
- CS → D4
- CLK → D5
Number of modules: 1
Then click on "Upload Sketch"
SimHub will now automatically upload the appropriate firmware to the ArduinoAfter a successful upload, the Arduino will appear in the hardware list
Result
In the end, you will have a compact, stable gear indicator for your sim racing setup that is easy to mount and clearly displays the currently selected gear
License

You shall not share, sub-license, sell, rent, host, transfer, or distribute in any way the digital or 3D printed versions of this object, nor any other derivative work of this object in its digital or physical format (including - but not limited to - remixes of this object, and hosting on other digital platforms). The objects may not be used without permission in any way whatsoever in which you charge money, or collect fees.


Comment & Rating (1)