
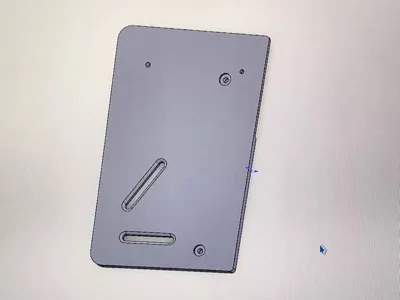
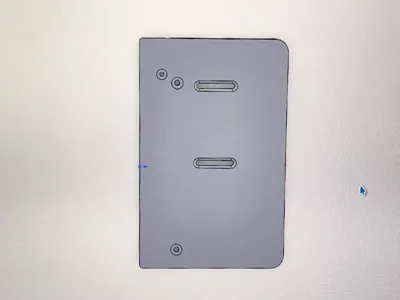
Go2 EDU Backplate
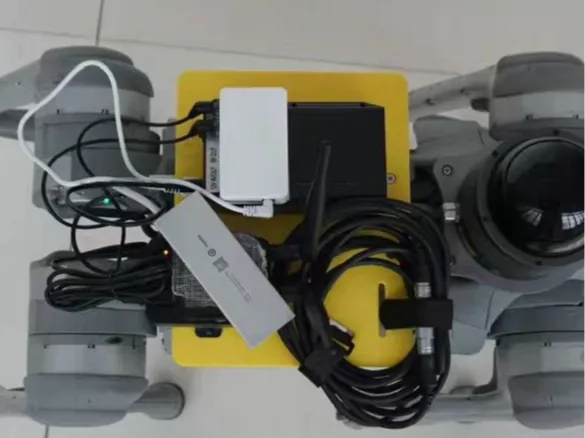
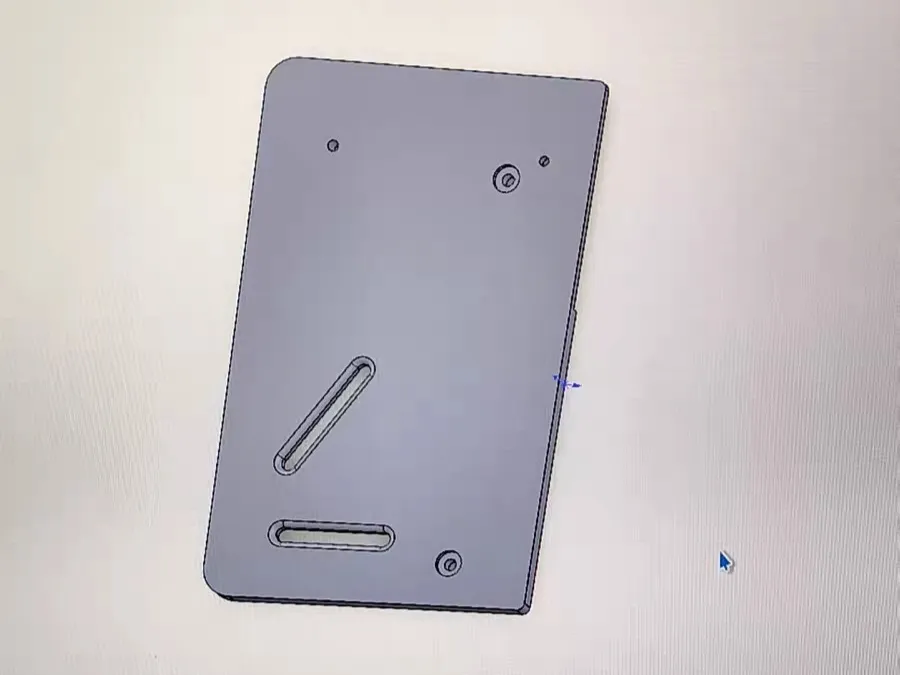
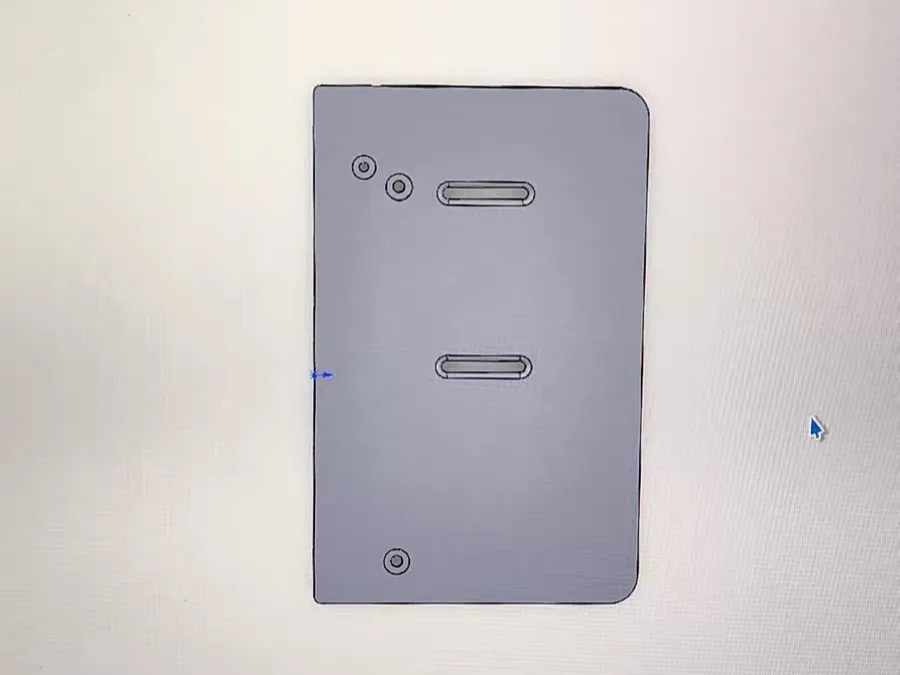
Print Profile(2)
Description
Used P1S, other devices not yet tested, using official PETG Basic
Requires M4*7*7*3 square nuts and M4*14 bolts to secure the slide rail holes
M3*16 bolts (too long caused cracks in the docking station) and M3*0.2 or 0.3 (using 3D printed parts) nuts to secure the screw holes after the docking station (previously secured bolts need to be removed
OS: Choosing the above accessories cost a small 30 :(
Installation video: go2 platform installation_bilibili_bilibili
Installation steps:
- Install the square nuts and bolts onto the backplate, simply secure them
- M3*0.2/0.3 nuts and M3*16 proceed as described above
- Slide the backplate into the docking station rail from the rear
- Lift up the M3*0.2/0.3 nuts and M3*16, align with the holes and secure
- Secure the slide rail nuts
Boost Me (for free)
Thanks!
License

You may create derivative works based on this object, provided that all such derivative works are published exclusively on the MakerWorld platform and include proper attribution to the original creator. You may not share, upload, host, distribute, or publish this object—or any derivative work of this object—on any other digital platform, marketplace, or distribution channel. Commercial use of this object and any derivative works is strictly prohibited. This includes, but is not limited to, selling, renting, sublicensing, or using the object in any context in which you receive monetary compensation or other financial benefits.


Comment & Rating (0)