H2C SERIES AMS RISER LITE VERSION-2026


Print Profile(1)

Bill of Materials


Description
Description
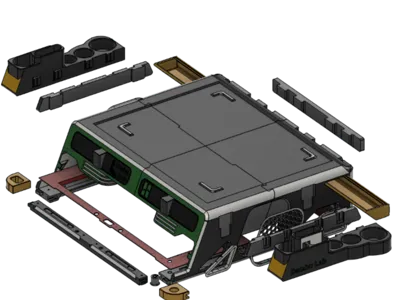
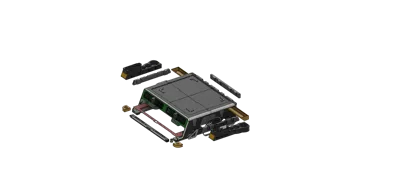
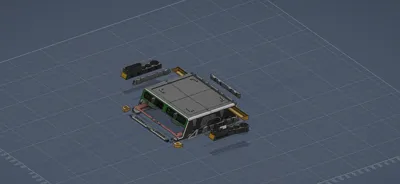
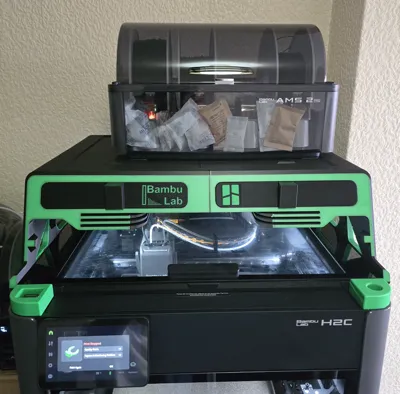
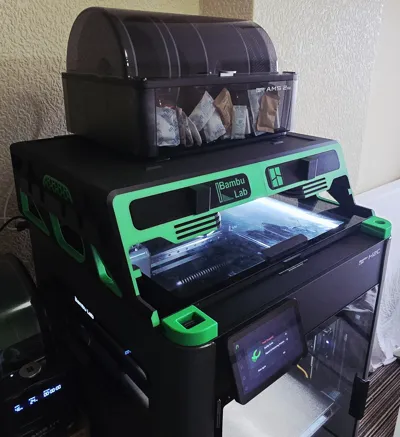
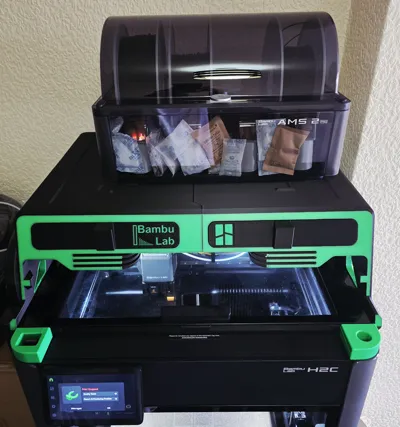
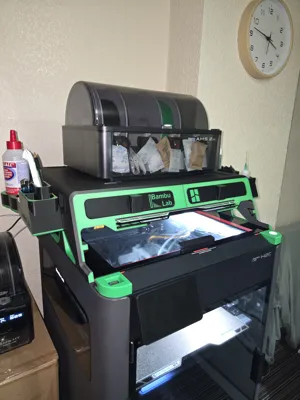
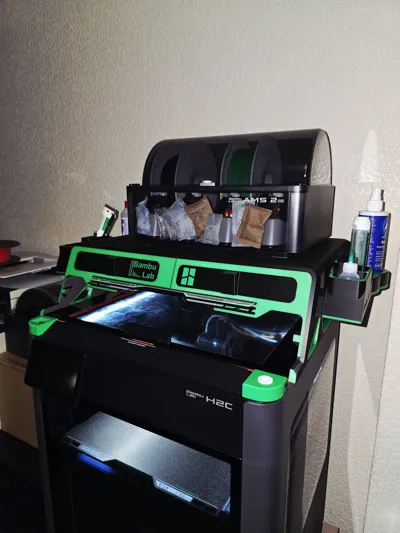
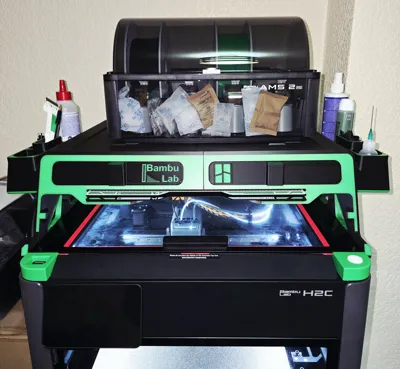
are 3D-printable or purchasable frames that elevate the Automatic Material System (AMS) above your printer to improve airflow, visibility, and storage. I have finshed my 2nd generation H2 Series AMS RISER LITE VERSION which used less filaments and less time from my previous model and also much more smooth top layer and top glass open and close sign part which uses spring coil on it, on my previous model it had'nt.
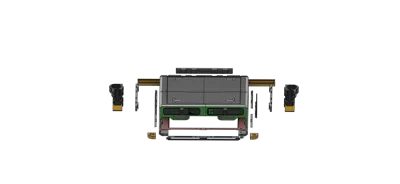
Side tools holder has been wider than my previous model so keep more stuff in it.
- Features: This modular design includes two storage drawers for tools, dedicated three build plate storage, and integrated dual LED strip placement.
- Compatibility: Fully compatible with Bambu Lab H2 Series.
- Assembly: Designed for screw-free installation and supports third-party magnetic attachments for top glass open and sign operating system.
Key Benefits of Using a Riser
On my model Several functional advantages:
- Thermal Management: Elevating the AMS allows you to vent the top glass during long PLA prints, reducing "heat creep" that can cause filament to soften prematurely.
- Improved Visibility: Lifting the unit provides a better view of the internal build chamber and the printhead during operation.
- Cable & Tube Protection: Risers often provide a gentler curve for the PTFE tube, reducing friction and tension that can cause AMS retraction errors.
- Workspace Organisation: On my model used the "dead space" under the AMS for tool drawers and build plate slots.
Assembly Guide: Please Follow Images for better references.

- Gently Push part 2 into part 1 from back.

2. Again gently Push Part 4 into part 3 from back.

3. Now gently slide down part 1, 2 into 3,4 together from upside as shown in photo.

4. Install front this part into part 1 and 2.

5. Now install TPU gasket into part 1,2,3,4 and front panel.

6. Install back part into 3 and 4. Make sure press this part down untill all snap on it completely as I made it little tighter than usual for more securely locked.

7. Put spring coil as shown in picture then put this inside on of small of the part. Spring coil size should be 7x10mm.
Now install side toolholder body. Thats it and well done.
Well done.
Please leave reviews if you like my model. Thank you so much.
License
You shall not share, sub-license, sell, rent, host, transfer, or distribute in any way the digital or 3D printed versions of this object, nor any other derivative work of this object in its digital or physical format (including - but not limited to - remixes of this object, and hosting on other digital platforms). The objects may not be used without permission in any way whatsoever in which you charge money, or collect fees.
Comment & Rating (38)