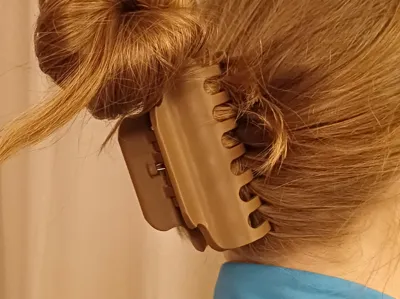
Functional hair claw clip


Print Profile(16)


Bill of Materials
- M3x35 bolt x 1:
Description
Hair claw clip
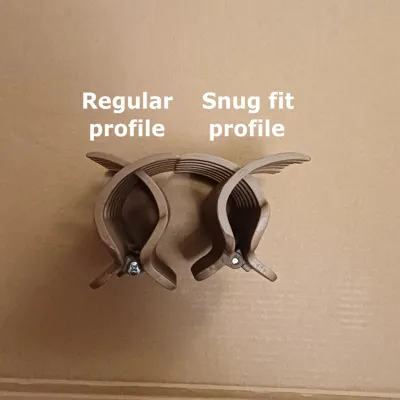
Update
I also added profiles for a version of the hair claw, that closes more than the regular version (print profiles “SNUG”.)

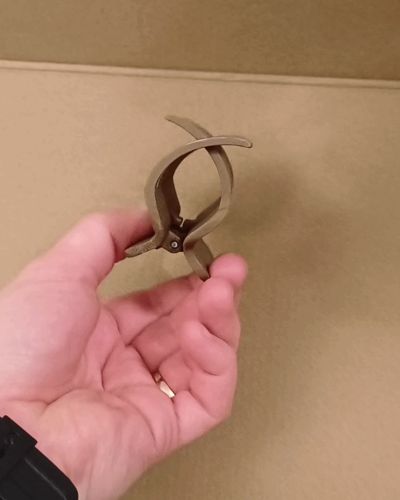
Assembly
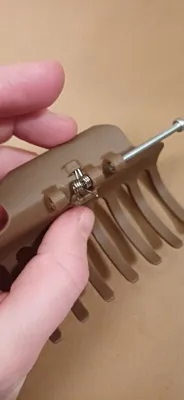
The hair clip comes in two parts that are held together by a M3x35 bolt.
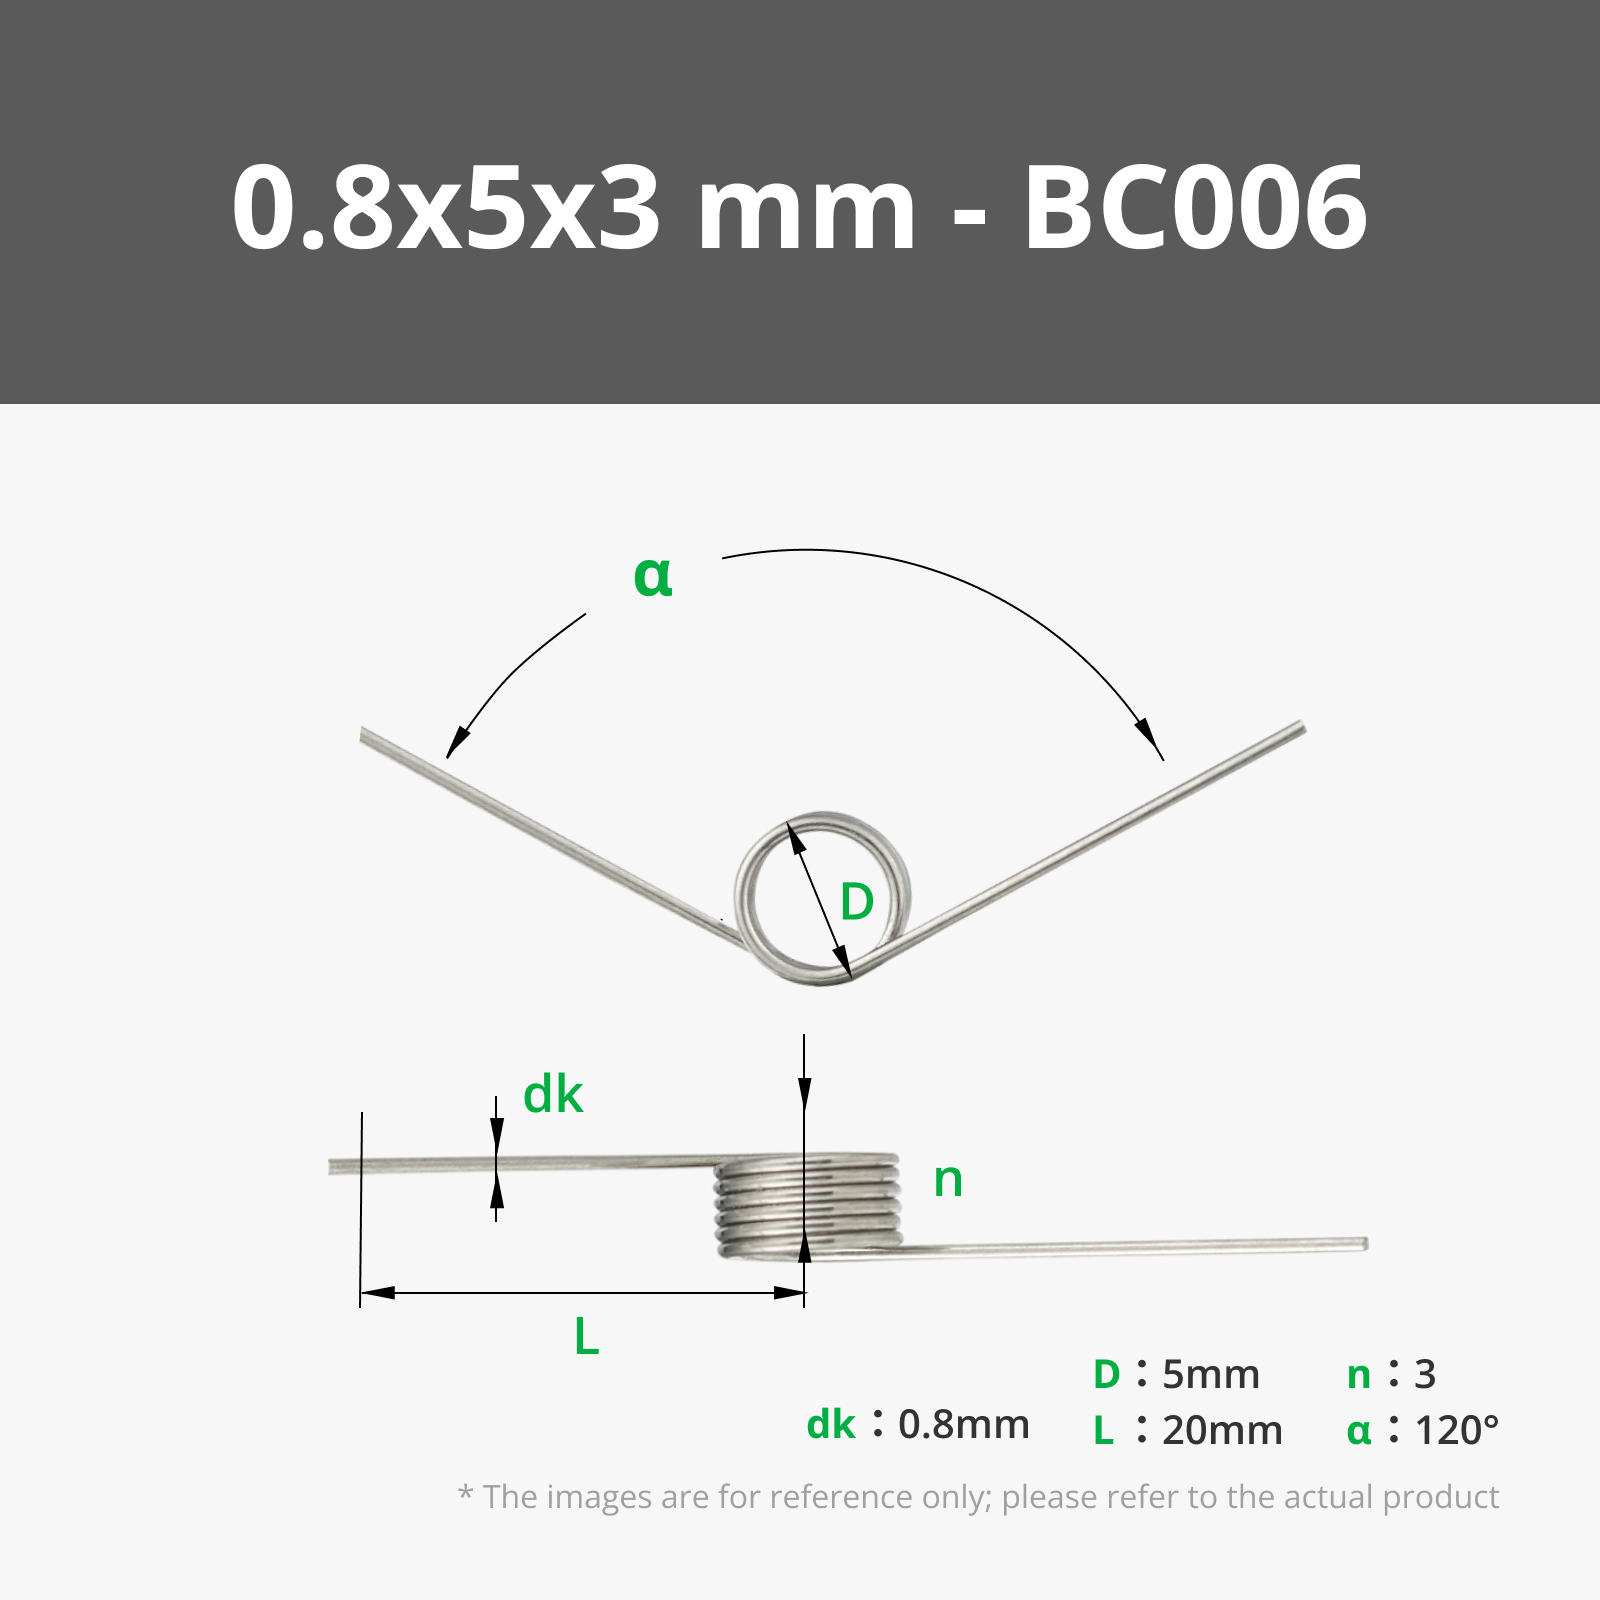
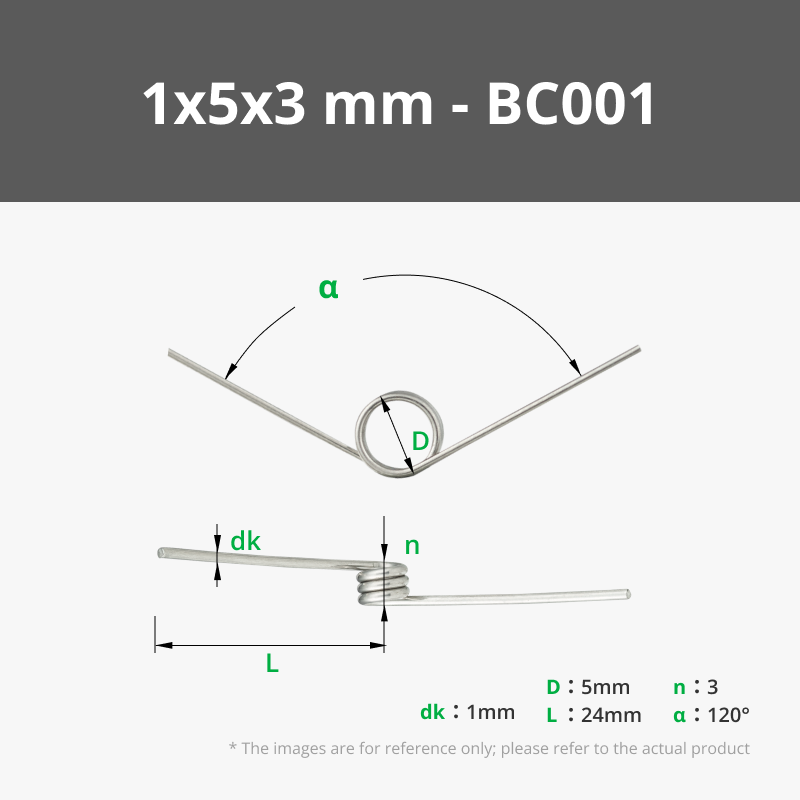
I used two torsion springs I had left over from Bambu, but you could use a different one or even reuse one from an old broken hairclip. You can also bend out the torsion springs a to increase it's angle and strength.
I cut the springs I had to size and placed them into the shroud of one of the clips, then i placed the second clip on top while slotting the other side of the springs in to the opposite shroud. after that i screwed in the bolt and that's it.


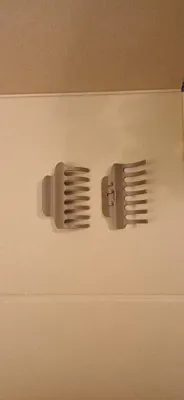
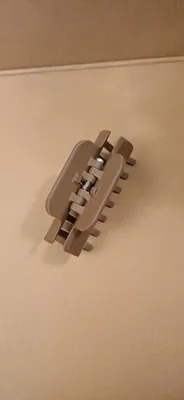
I had a bit of trouble assembling it with the shroud so just in case I have added a second print profile without the shroud as well. Assembly is easier without the shroud, but I liked having the added cover.
Supports
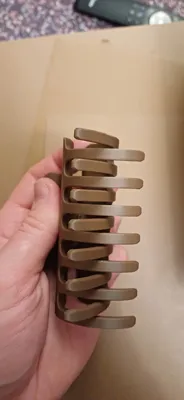
The model could be placed in a way that would limit the need for supports but i have found, that also decreases it's strength and noone wants to be afraid to throw their hair clip in a bag or have their hair clip break from a short fall. This method gives the most durable end product.
The supports are snug and use support interface ironing to give the teeth of the claw a smooth finish top and bottom. smoothness is important so the surface does not snag hair. The support can be a bit tough to remove at times, but i have mostly gotten by with pliers and a small exacto knife or box cutter to get between the interface layers and the model to pry them loose if they are really on there.

P.S.
If you manage to scrape or nick the surface when removing supports a light pass with a lighter returns the plastic to it's original colour so the scrapes won't be visible.
Also if you have any torsions springs that won't fit (more than 6mm wide), let me know and I can upload print profiles with a wider spring gap.
Boost Me (for free)
If you liked this model and want to see more of my work, why not give me a boost so I can buy more filament to test out and upload more cool stuff.
A review is also much appreciated.
License
You may create derivative works based on this object, provided that all such derivative works are published exclusively on the MakerWorld platform and include proper attribution to the original creator. You may not share, upload, host, distribute, or publish this object—or any derivative work of this object—on any other digital platform, marketplace, or distribution channel. Commercial use of this object and any derivative works is strictly prohibited. This includes, but is not limited to, selling, renting, sublicensing, or using the object in any context in which you receive monetary compensation or other financial benefits.
Comment & Rating (5)