Eufymake E1: Universal JIG universal grid pattern!


Print Profile(2)

Description
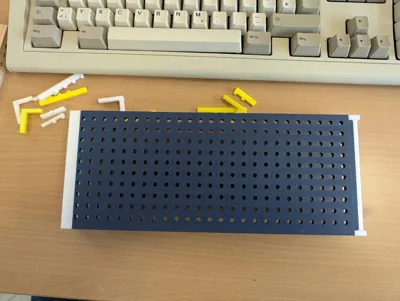
A universal holder with a grid pattern - Universa-JIG / Print material holder
Based on my "click and fit" print material holder for the small Eufy print plate, here is the universal solution for all quick prints for which a dedicated jig is not worthwhile. For single pieces, but also for series production if needed
Based on the insert holders: https://makerworld.com/de/models/2505512-eufymake-e1-universal-jig-clamp-holder#profileId-2754705
Suitable for the small print plate of the Eufy Make E1
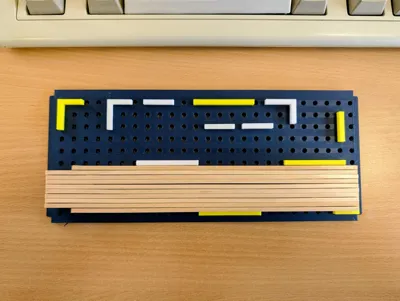
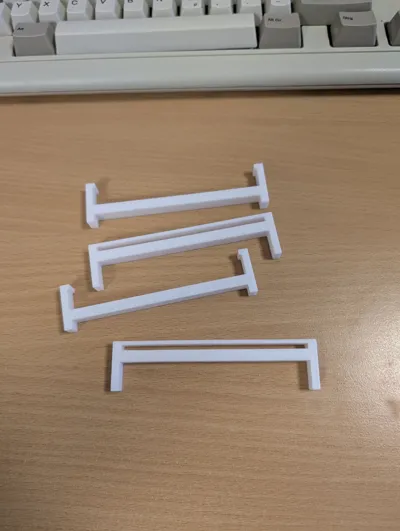
Just create your own holders.
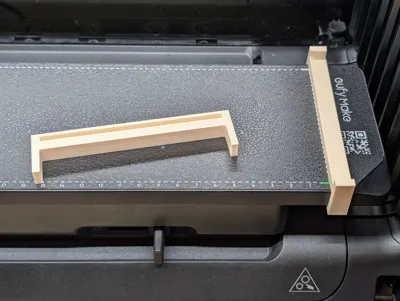
Position the right clip on the base plate, align it with the green corner.
Connect your base plate (universal - see data below) with the left clip, then place it.
What is the easiest way to align it?
Create a file with lines, one vertical, one horizontal. The lines converge at the bottom right corner. That's where the origin is in the Eufy software:
Create a file in Corel-Draw, Inkscape, or whatever.
Set the origin at the bottom right.
Place one vertical and one horizontal line on the edge so they meet at the origin (0/0).
If necessary, create more lines, e.g., a grid with 10mm spacing.
Export this file.
Position this file at 0/0 in the Eufy software - if a message appears saying the template is too large, DO NOT scale it down, as this changes the dimensions!
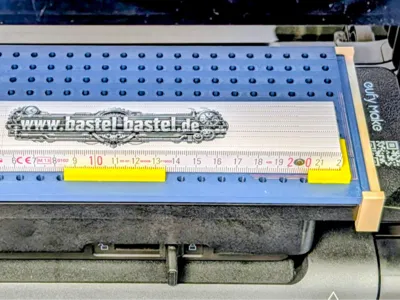
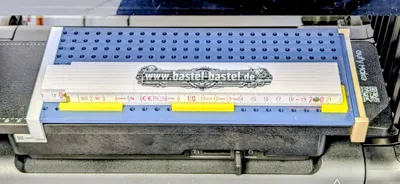
Print this file as a calibration onto the grid plate.
This gives you the origin from which you can measure.
Print as many holders as you need.
Attach them to the plate and place your print object on them.
Ideally, always use the stop at the bottom right.
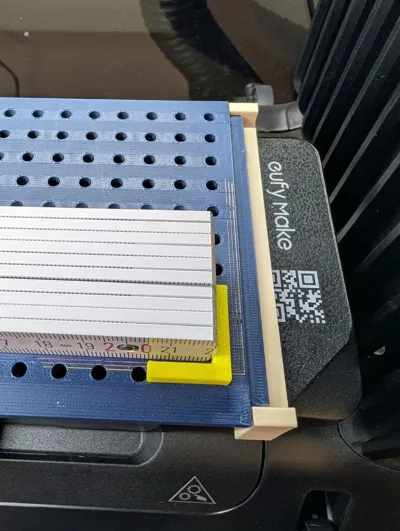
For example, I printed a measuring tape. Works perfectly.
Object on the plate?
Measure distances, position the print in the software, print!
Always measure from the origin, not from the edge of the holder!
With this holder, almost anything (single-sided objects) can be quickly printed.
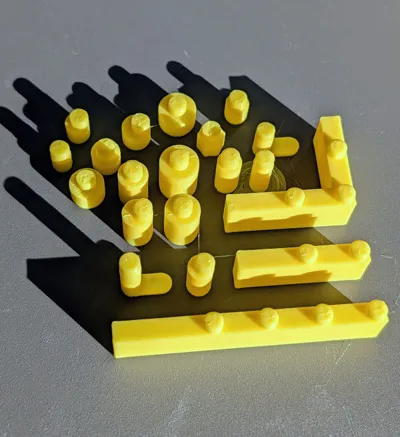
Update 20.3.26:
Additional holders added - extra file.
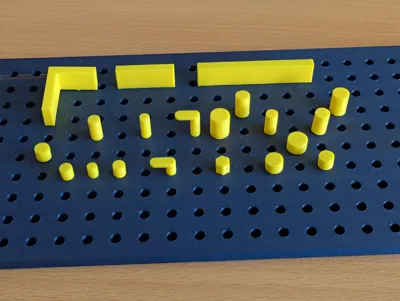
Many different variations for universal hold.
Round, square, eccentric, 10mm high, 5mm high, etc.
Boost Me (for free)
:-)
License
You shall not share, sub-license, sell, rent, host, transfer, or distribute in any way the digital or 3D printed versions of this object, nor any other derivative work of this object in its digital or physical format (including - but not limited to - remixes of this object, and hosting on other digital platforms). The objects may not be used without permission in any way whatsoever in which you charge money, or collect fees.
Comment & Rating (7)