Slide Rails for the H2 Series - Effortless Movement


Print Profile(1)
Bill of Materials
- Irgendwas zum Aufbocken x 1: z.B. zwei Holzleisten
- Filzgleiter x 4: ggf. Zuschneiden
Description
Sliding Rails for the H2 Series
These rails with felt glides are intended for the H2 series or printers of similar size. The distance between the front and rear feet should be approximately 45 cm
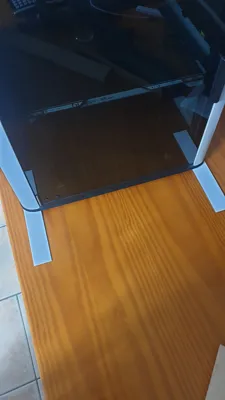
In my setup, the printer (H2D) is on a desk in a corner, so I cannot access the device from the back. If the printer needs to be moved (e.g. for maintenance or cleaning), this quickly becomes a problem
The printer stands on specially tuned rubber feet that absorb vibrations and kinetic energy. These are important so that printer movements during operation are not transferred to the table and no damage occurs within the device
The system weighs over 30 kg, and due to the rubber feet, the friction on the table surface is very high. Simple repositioning is therefore hardly possible. Additionally, sliding it on the rubber feet is not ideal, as the friction unnecessarily stresses the material
A possible solution would be felt glides under the feet
However, this has a major disadvantage: The printer could easily move during operation, which would incorrectly dissipate the kinetic energy. This can lead to print quality issues or even damage to the printer in the long run
The Solution
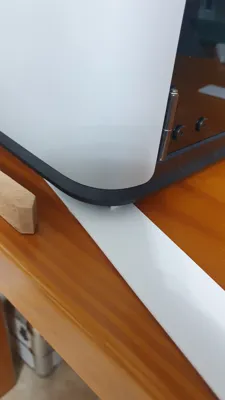
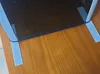
I designed rails with felt glides that are only pushed under the rubber feet when needed
This way, the rubber feet remain directly on the table during normal operation and can continue to fulfill their purpose
The rails with the felt glides are only used to move the printer
Assembling the Rails
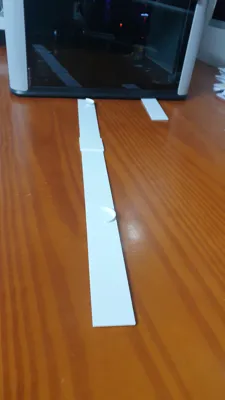
In the print profile, there are rails for the left side and rails for the right side
Each rail consists of three parts
For assembly:
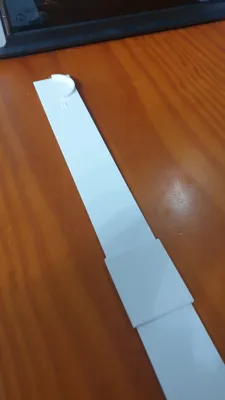
- Place the two large parts with the semicircles facing up on a smooth surface
- Connect the two parts with the small connector piece in the middle
- Glue the parts together to create a stable rail
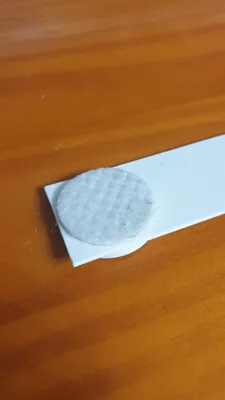
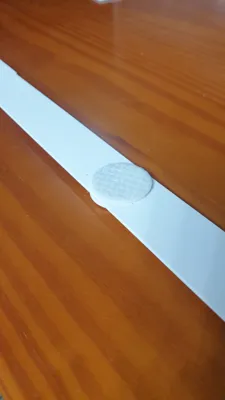
- Then, glue suitable felt glides under the semicircles
The exact positions of the connector piece and the felt glides can be seen in the pictures
Mounting the Rails Under the Printer
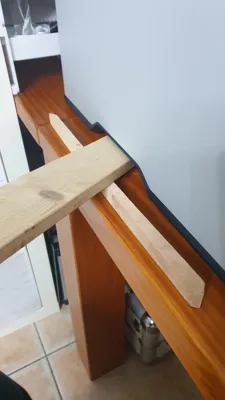
To mount the rails, the printer must be slightly lifted on one side
Currently, I do this using the leverage of two wooden strips (see picture) which I place into the printer's handle recesses. Perhaps I will find a better solution for this or design something suitable. However, since the printer is rarely moved, a greater effort is probably not worthwhile here
Installing the rails:
- Slightly lift the printer on one side
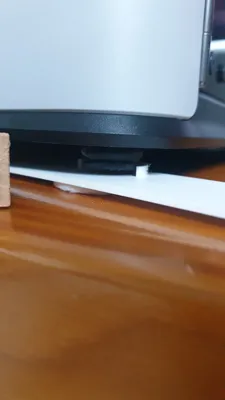
- First push the rail under the front foot
- The semicircular recess fixes the position
- Then slightly rotate the rail and push it under the rear foot
Rail Orientation
On one side of the rail, there is an "H" on a semicircle
This "H" stands for "Hinten" (Rear)
So the appropriately marked semicircle belongs under the printer's rear foot
Usage
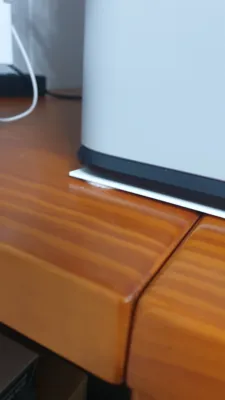
Once both rails are mounted, the printer can be moved very easily on the table thanks to the felt glides under the rails
After moving, the rails can be easily removed again, so that the printer stands directly on its rubber feet again
Boost Me (for free)
If you like the model, I appreciate a boost 🚀
License
You may create derivative works based on this object, provided that all such derivative works are published exclusively on the MakerWorld platform and include proper attribution to the original creator. You may not share, upload, host, distribute, or publish this object—or any derivative work of this object—on any other digital platform, marketplace, or distribution channel. Commercial use of this object and any derivative works is strictly prohibited. This includes, but is not limited to, selling, renting, sublicensing, or using the object in any context in which you receive monetary compensation or other financial benefits.
Comment & Rating (0)