Portal Companion Cube – 41 Piece Kit (No AMS)


Print Profile(1)


Description
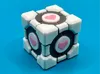
Congratulations, Test Subject.
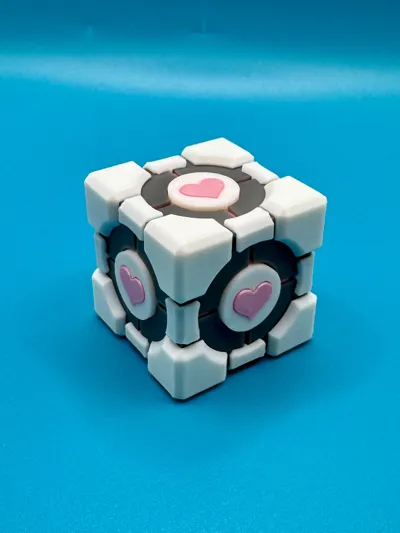
You have been selected to assemble your very own Aperture Science Weighted Companion Cube. Unlike the standard-issue cube provided during testing, this unit arrives in multiple components so that you may experience the enriching educational value of manual assembly.
Each part is printed separately by color and then combined using adhesive, allowing for a clean multi-color result without complicated filament changes. The final product is a fully formed Companion Cube, ready to assist you with moral support, emotional stability, and the occasional incinerator-related decision.
Please remember:
- The Companion Cube cannot speak.
- The Companion Cube cannot threaten you.
- In the event that the Companion Cube appears to encourage disobedience toward Aperture Science, ignore these hallucinations.
Assembly Instructions
The final four images show the assembly process step-by-step.
Superglue is recommended for assembly (affiliate link):
https://amzn.to/4rg6WZp
Allow glue to fully set between steps for best results.
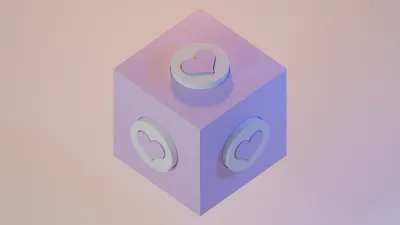
Step 1 — Install the Hearts
Insert the heart pieces into the circular center plates.
- Insert the chamfered (angled) side first
- The chamfer allows easier insertion and creates space for glue
Apply a small amount of glue to secure the heart in place.
Step 2 — Attach the Center Plates
Glue the completed center plates onto each face of the pink inner cube.
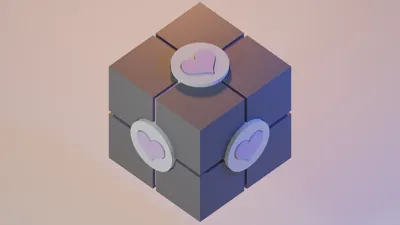
Step 3 — Install the Gray Corner Shells
Glue the gray outer shell pieces onto the corners of the pink inner cube.
These parts form the outer structure of the Companion Cube.
Make sure each piece is aligned evenly before the glue cures.
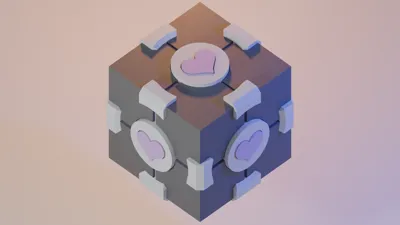
Step 4 — Add the White Edge Pieces
Glue the small white edge pieces between the gray corner shells.
Each edge piece includes an alignment tab that fits into the gap between the gray parts.
This tab helps position the piece correctly during assembly.
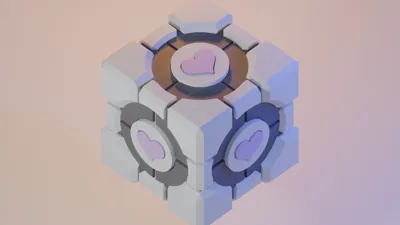
Step 5 — Install the White Corner Panels
Finally, glue the white corner pieces onto the exposed corner areas of the gray shell.
Hold each piece in place for a few seconds to ensure a strong bond.
Thank you for your participation in this enrichment activity.
Aperture Science
We do what we must because we can.
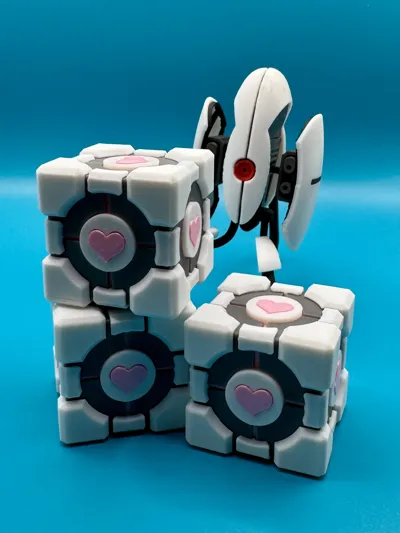
Aperature Sentry Turret Kit Card Model:
Boost Me (for free)
All support is greatly appreciated, please consider dropping a boost or two!
License
You shall not share, sub-license, sell, rent, host, transfer, or distribute in any way the digital or 3D printed versions of this object, nor any other derivative work of this object in its digital or physical format (including - but not limited to - remixes of this object, and hosting on other digital platforms). The objects may not be used without permission in any way whatsoever in which you charge money, or collect fees.
Comment & Rating (23)