Steampunk Chronometer - Planetary Geared Calendar


Print Profile(1)
Bill of Materials


Description
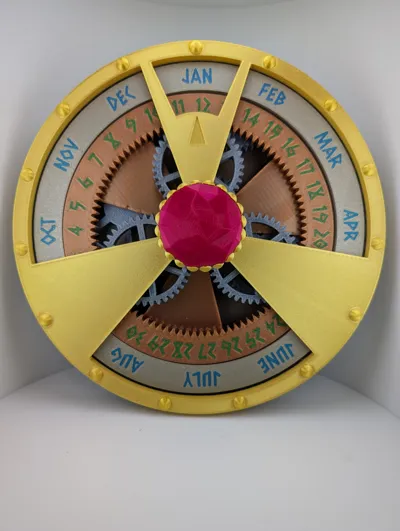
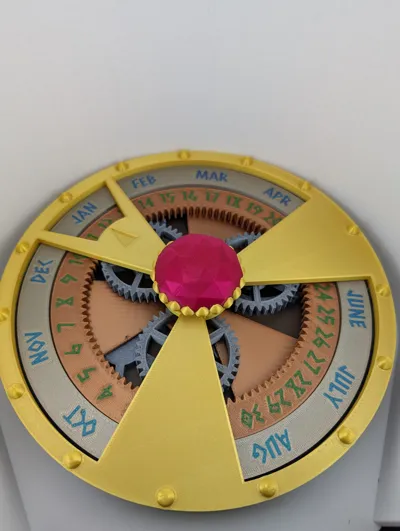
Step into the shoes of a celestial navigator with the Steampunk Chronometer. This isn't just a calendar; it’s a fully functional mechanical artifact driven by a complex compound planetary gear system.
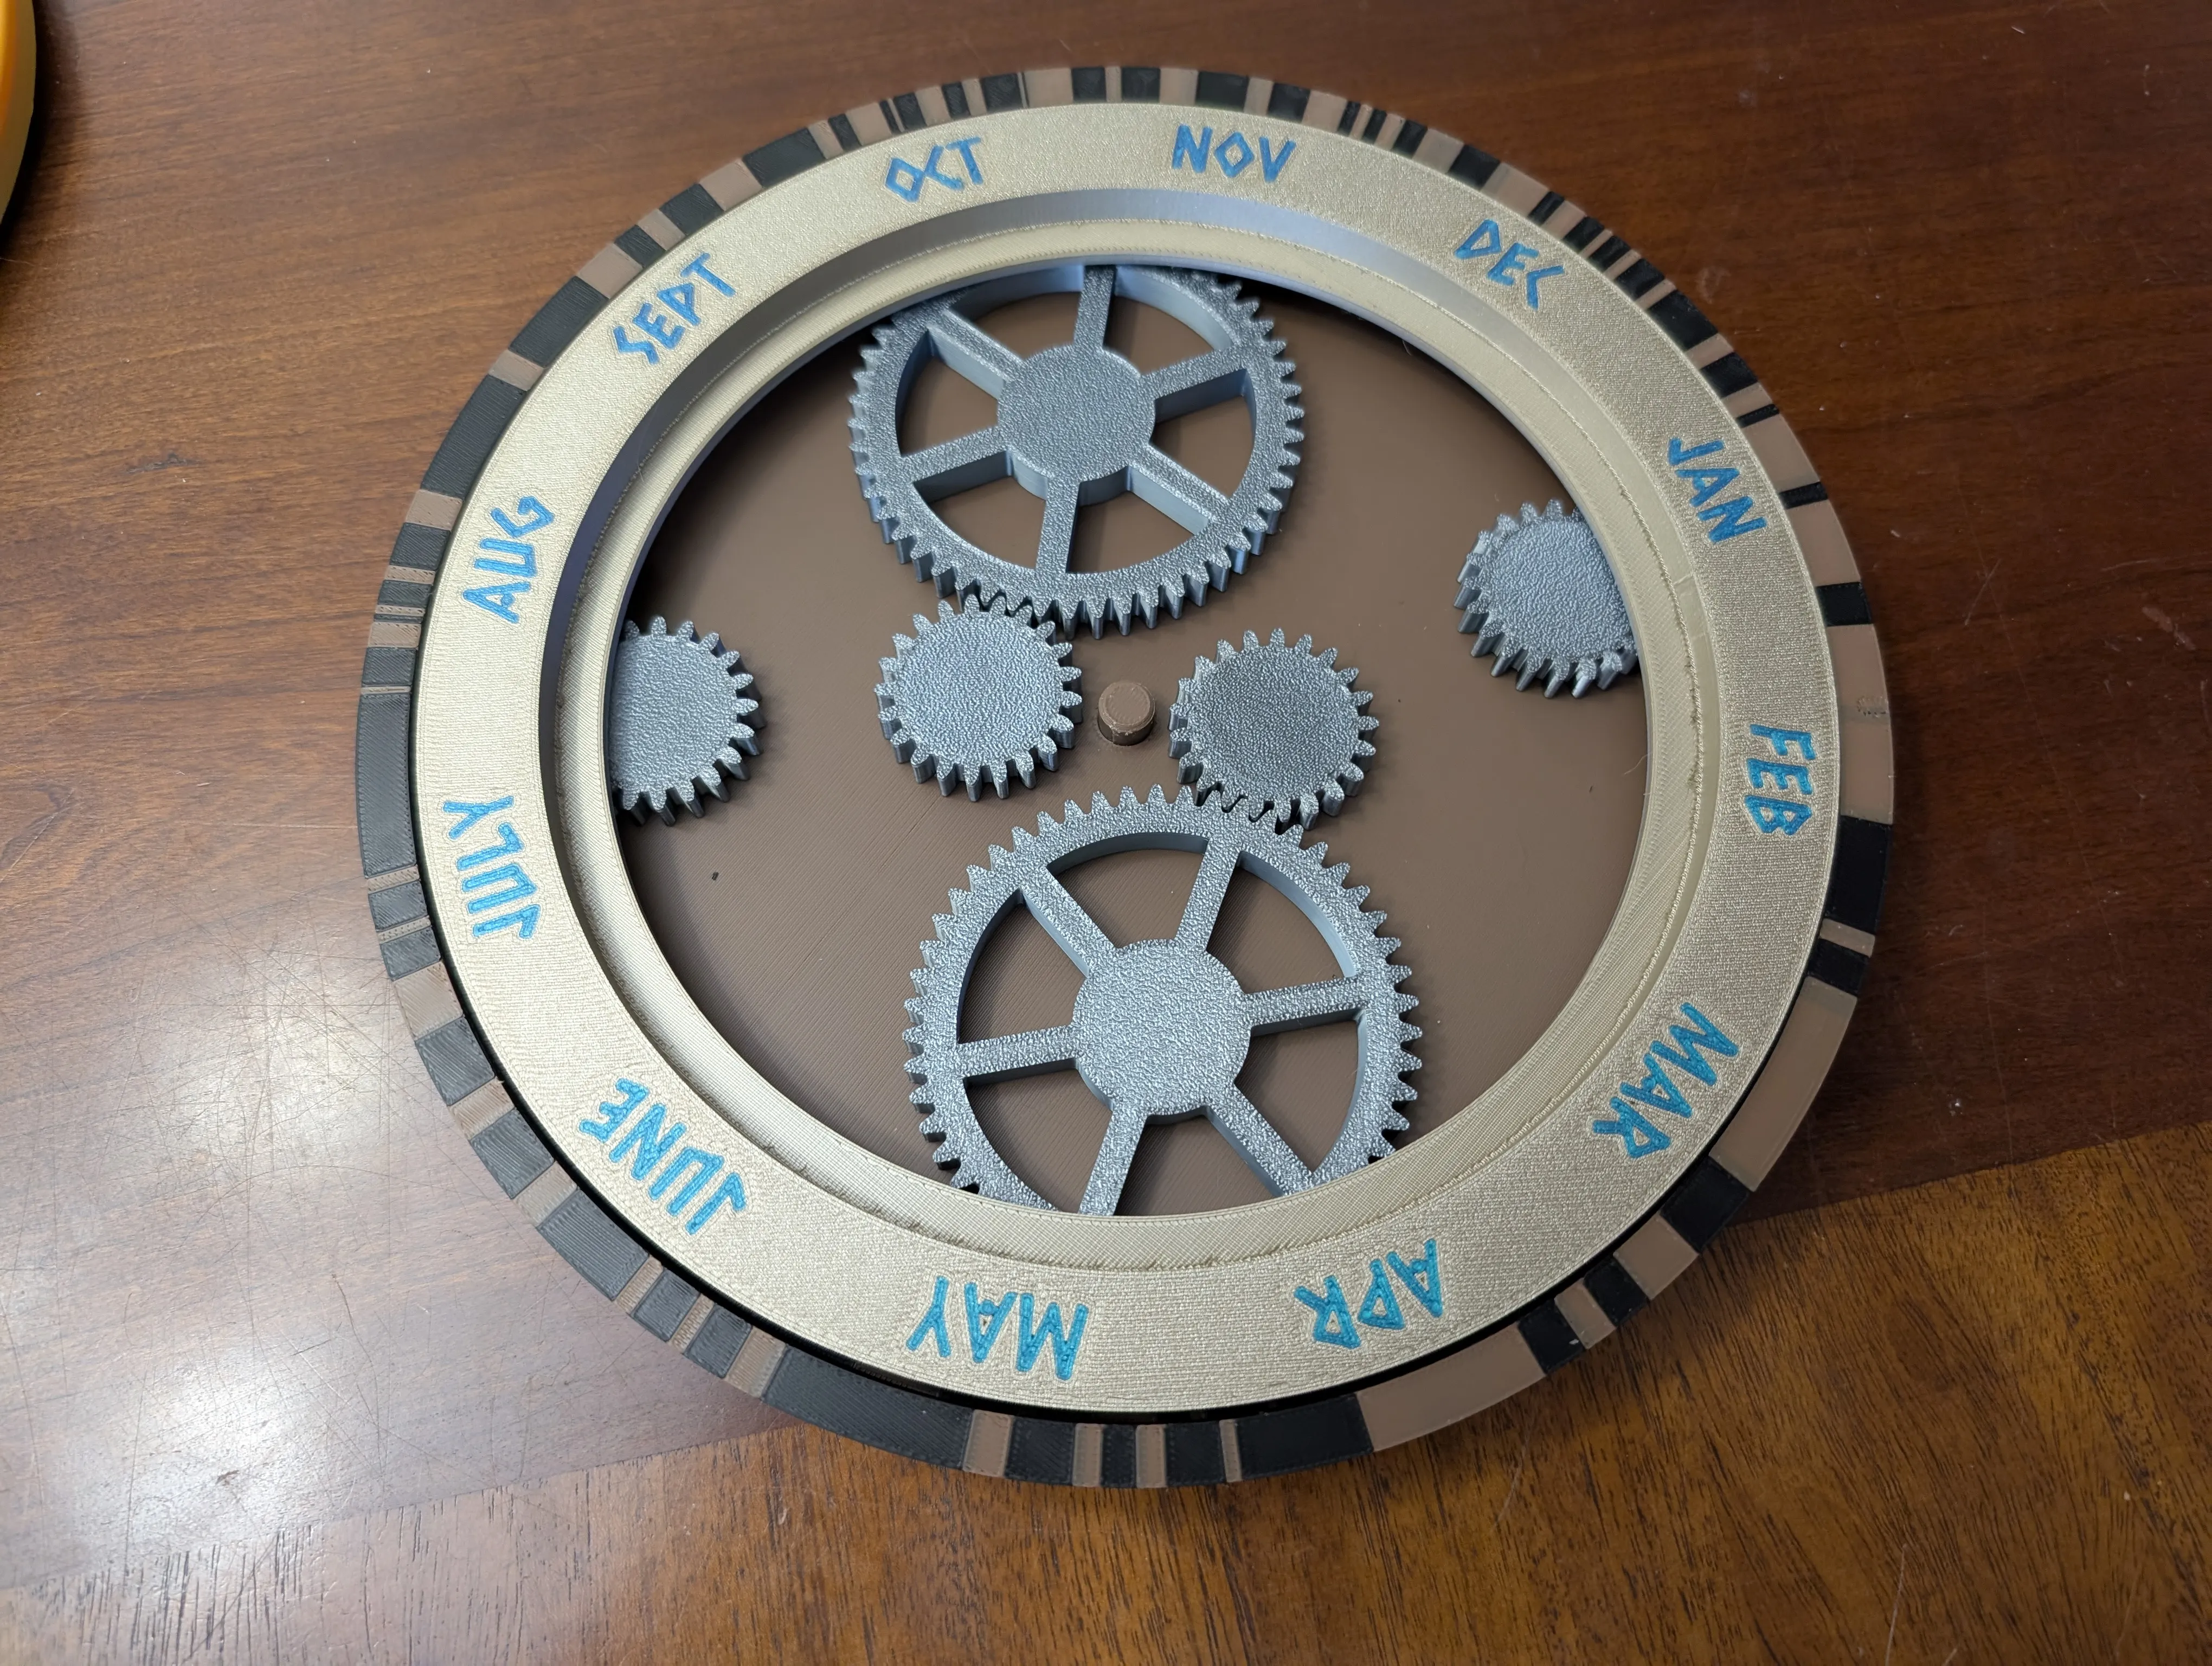
Under the gold silk faceplate lies a calculated gear train that handles the heavy lifting:
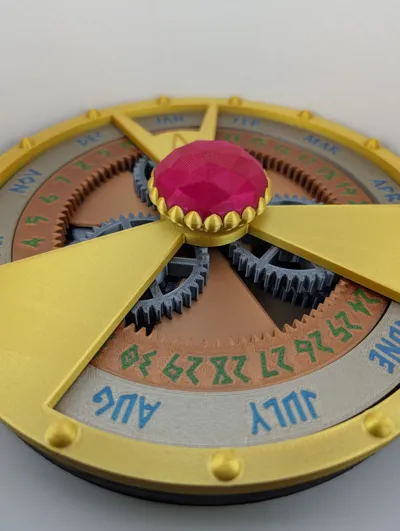
- The Golden Ratio: A precise 6.2:1 reduction on the day ring, meaning one fifth-turn of the central gem advances exactly one day.
- Coaxial Stacking: A sophisticated dual-layer gear system allows the Month and Day rings to sit on the same axis while rotating at different speeds.
- Compound Motion: Turning the central "Sun" gear drives 9 independent planets that synchronize the dance between the days and the months.
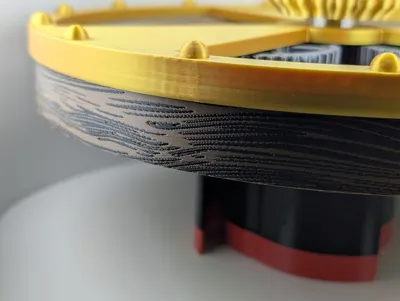
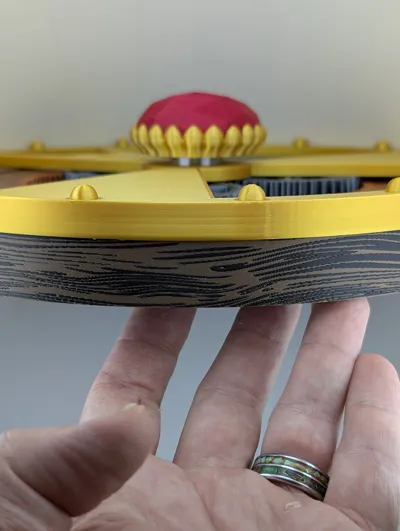
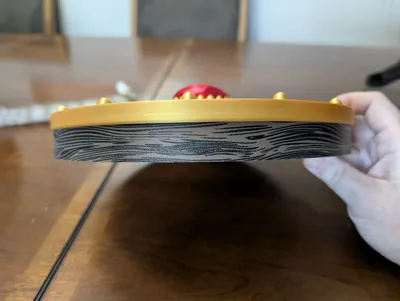
There are two different base styles depending on the printer you use to print: A single color base with embossed wood grain, and a dual colored base for multi-nozzle machines to give a beautiful wood grain pattern.
ASSEMBLY INSTRUCTIONS
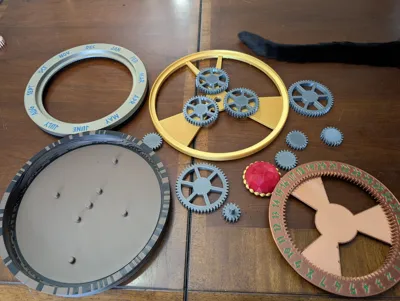
Materials needed: Filaments of your choice, and 10 608zz bearings
Press fit the 608 bearings into all the planetary gears, including the center of top plate


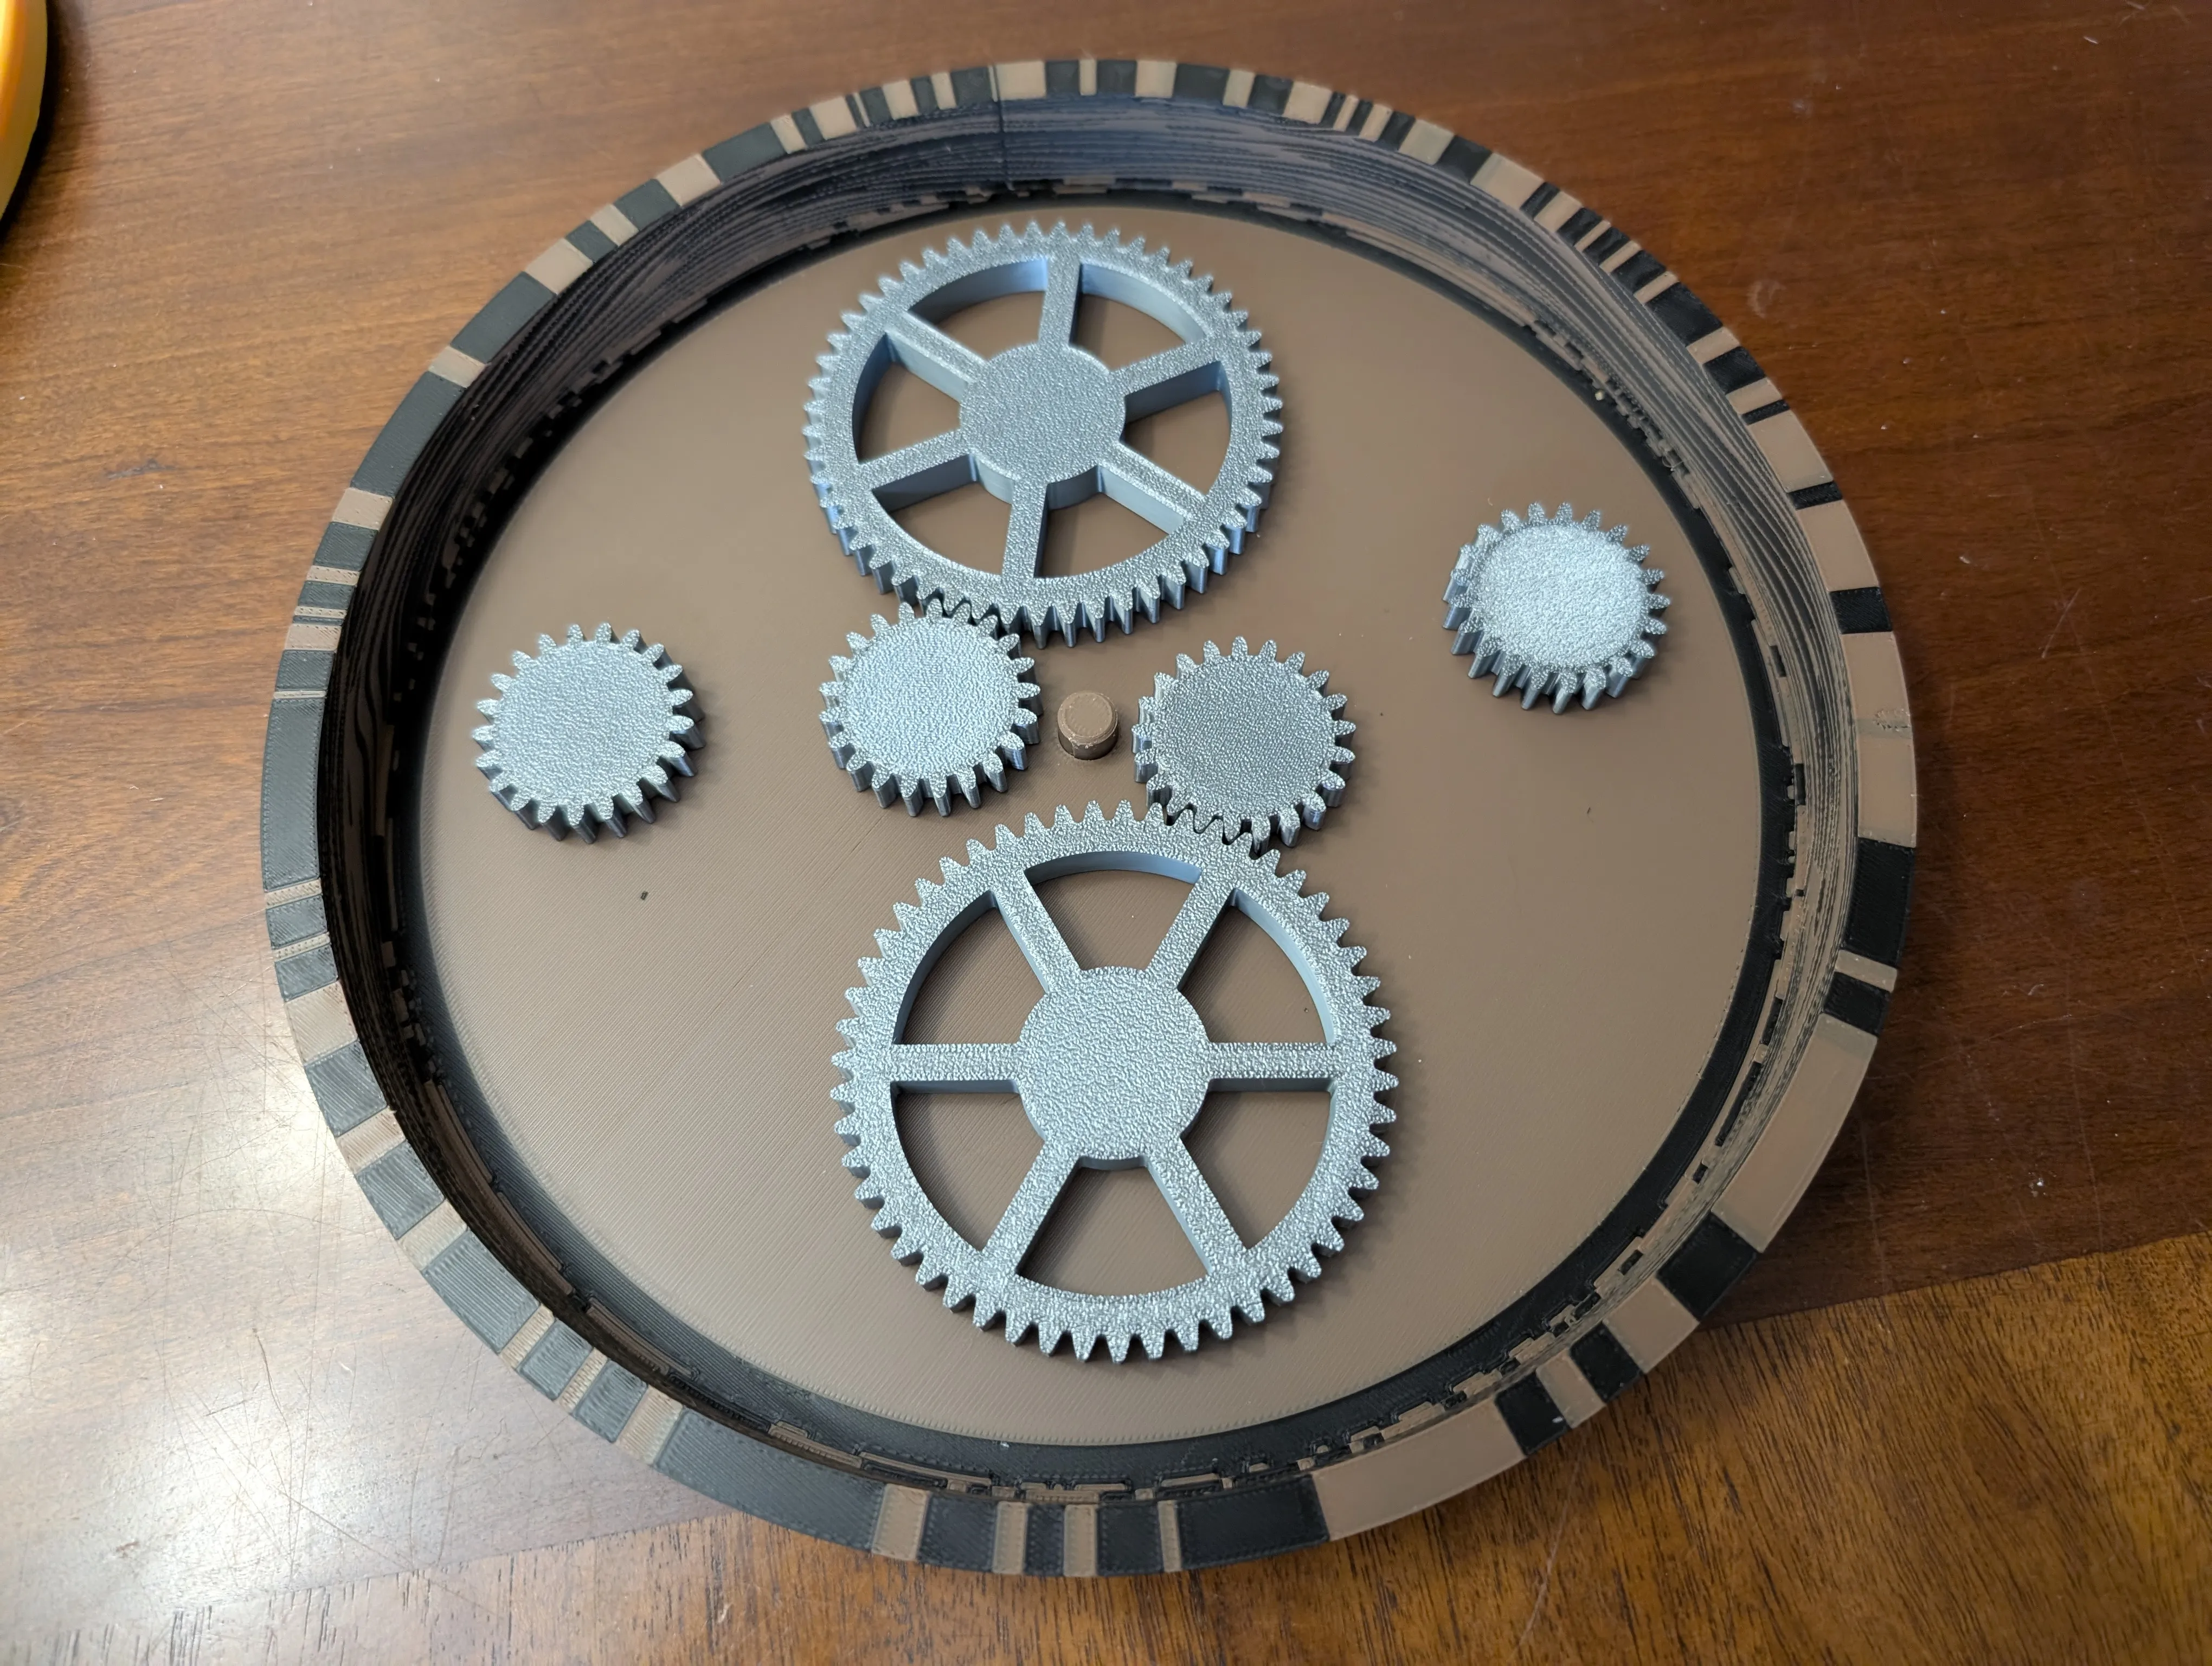
Place the four small planetary gears onto their designated posts on the base
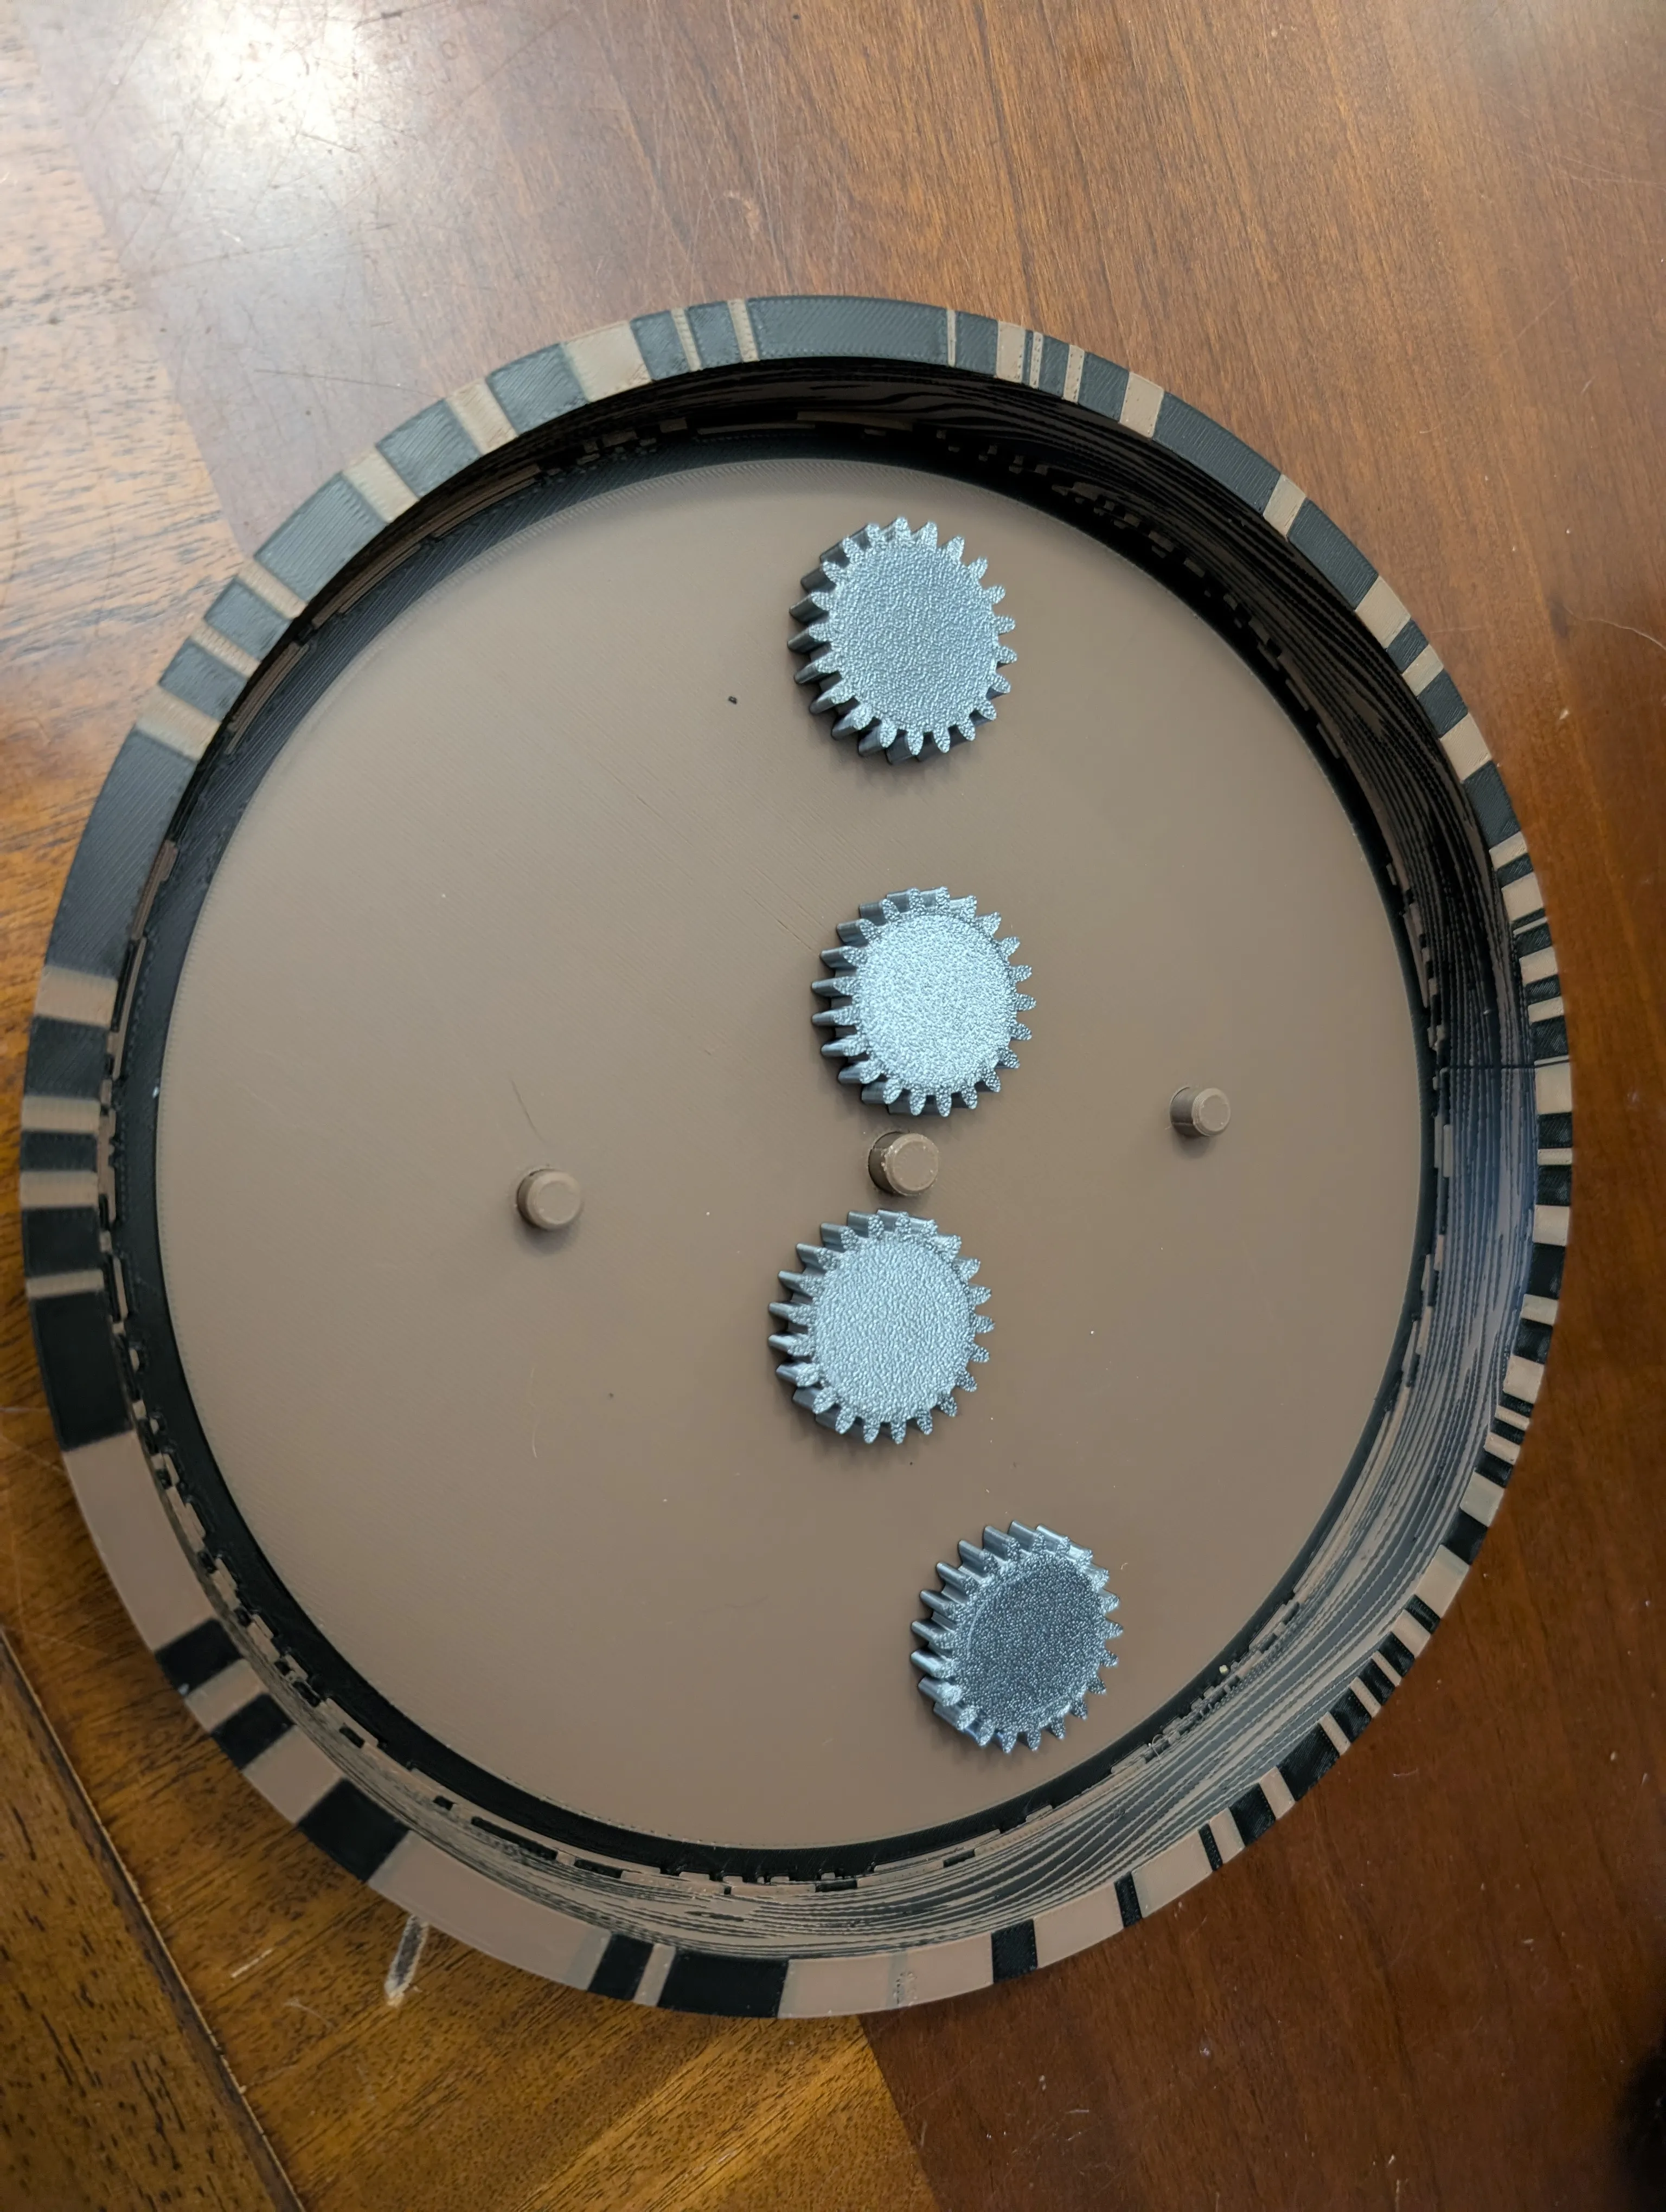
Place the two Large Planetary Gears on their posts on the base
Place the Month Ring into the small channel surrounding the base gears
Place the Dates Ring, making sure that the small gear on the bottom of the ring seats onto the center post of the base.


Glue the three medium planetary gears onto their posts on the underside of the Top Plate
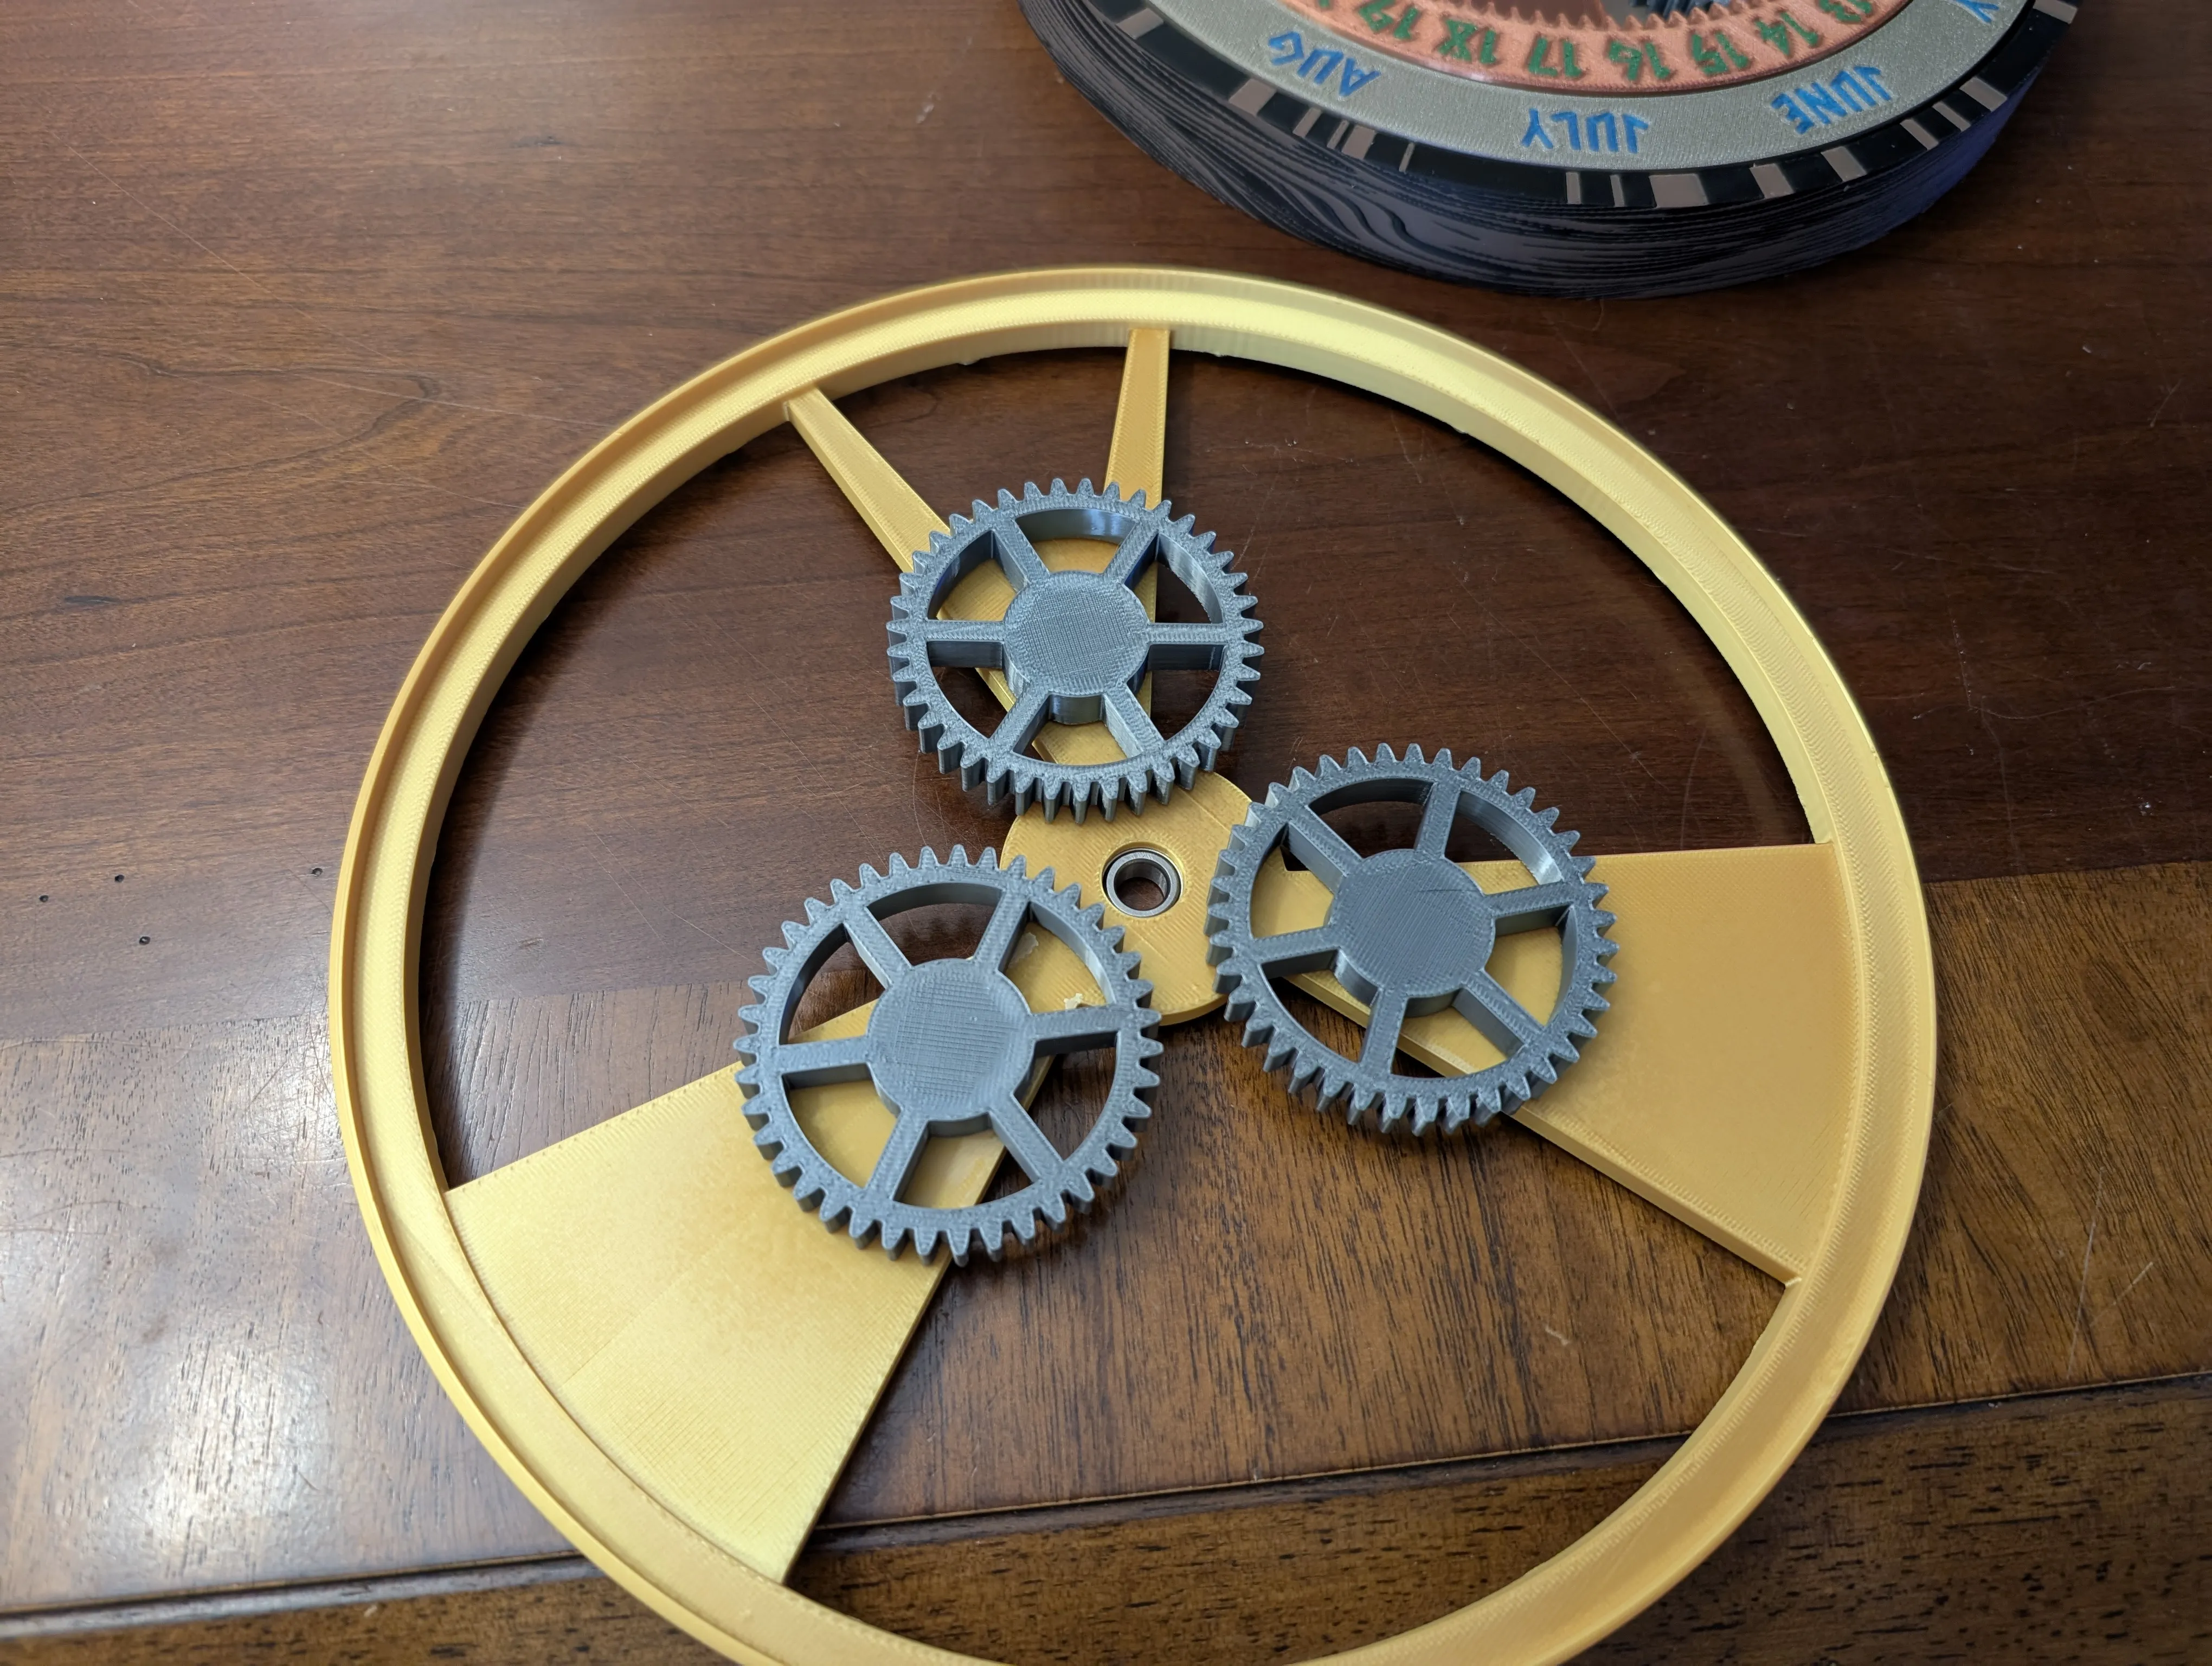
Glue the 15 Rivets onto their embossed spots on the Top Plate

Place the Sun Gear into the center of the Top Plate, ensuring that the gear properly engages the previously glued medium gears.


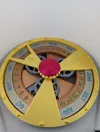
Place the Top Plate onto the base, it works best if you line up the rings to JAN 1 and place the top plate so that the arrow points at JAN 1

Press fit, or glue, the Jewelled Knob onto the center post of the Sun Gear


- ENJOY!! Congrats, you did it!
PRINTING TIPS AND NOTES
- For pure aesthetics reasons, I preferred to print the gears with the visible sides placed down on a Textured PEI Plate, to give the impression of cast metals.
- I usually try to avoid supports as much as possible, but the rings require them due to their design. The 3MF file is made with optimal supports layout. If you can use a support interface, it is much preferred.
License
You may create derivative works based on this object, provided that all such derivative works are published exclusively on the MakerWorld platform and include proper attribution to the original creator. You may not share, upload, host, distribute, or publish this object—or any derivative work of this object—on any other digital platform, marketplace, or distribution channel. Commercial use of this object and any derivative works is strictly prohibited. This includes, but is not limited to, selling, renting, sublicensing, or using the object in any context in which you receive monetary compensation or other financial benefits.
Comment & Rating (4)