
Frieren: Beyond Journey's End - Fern's staff ver.1:1
Print Profile(2)
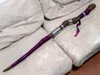

Bill of Materials






Description
Update Log:
2026.4.23:
Updated details for the staff head (plate 9), it looks a bit better now (not really
2026.3.17:
Adjusted the orientation of plate 10, corrected the model pattern. Previously printed models installed in reverse had the same effect, so those already printed do not need to be reprinted. Also, tested titanium grey, the effect was mediocre, changed back to silver
Future plan: Optimize the shape of the tree trunk section for plate 9
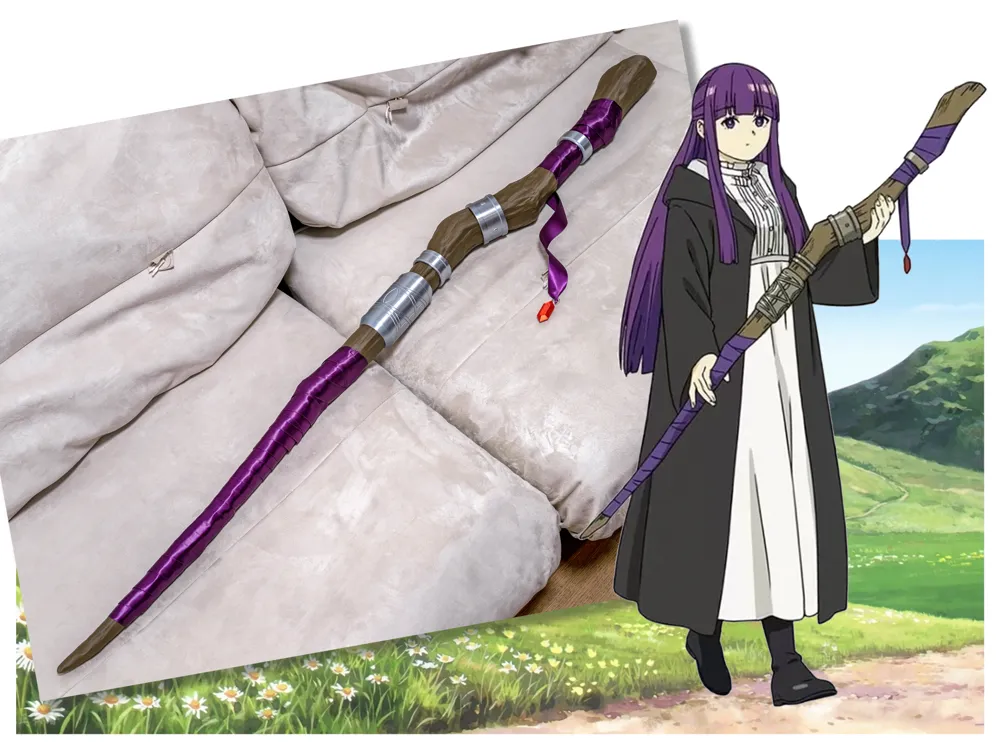
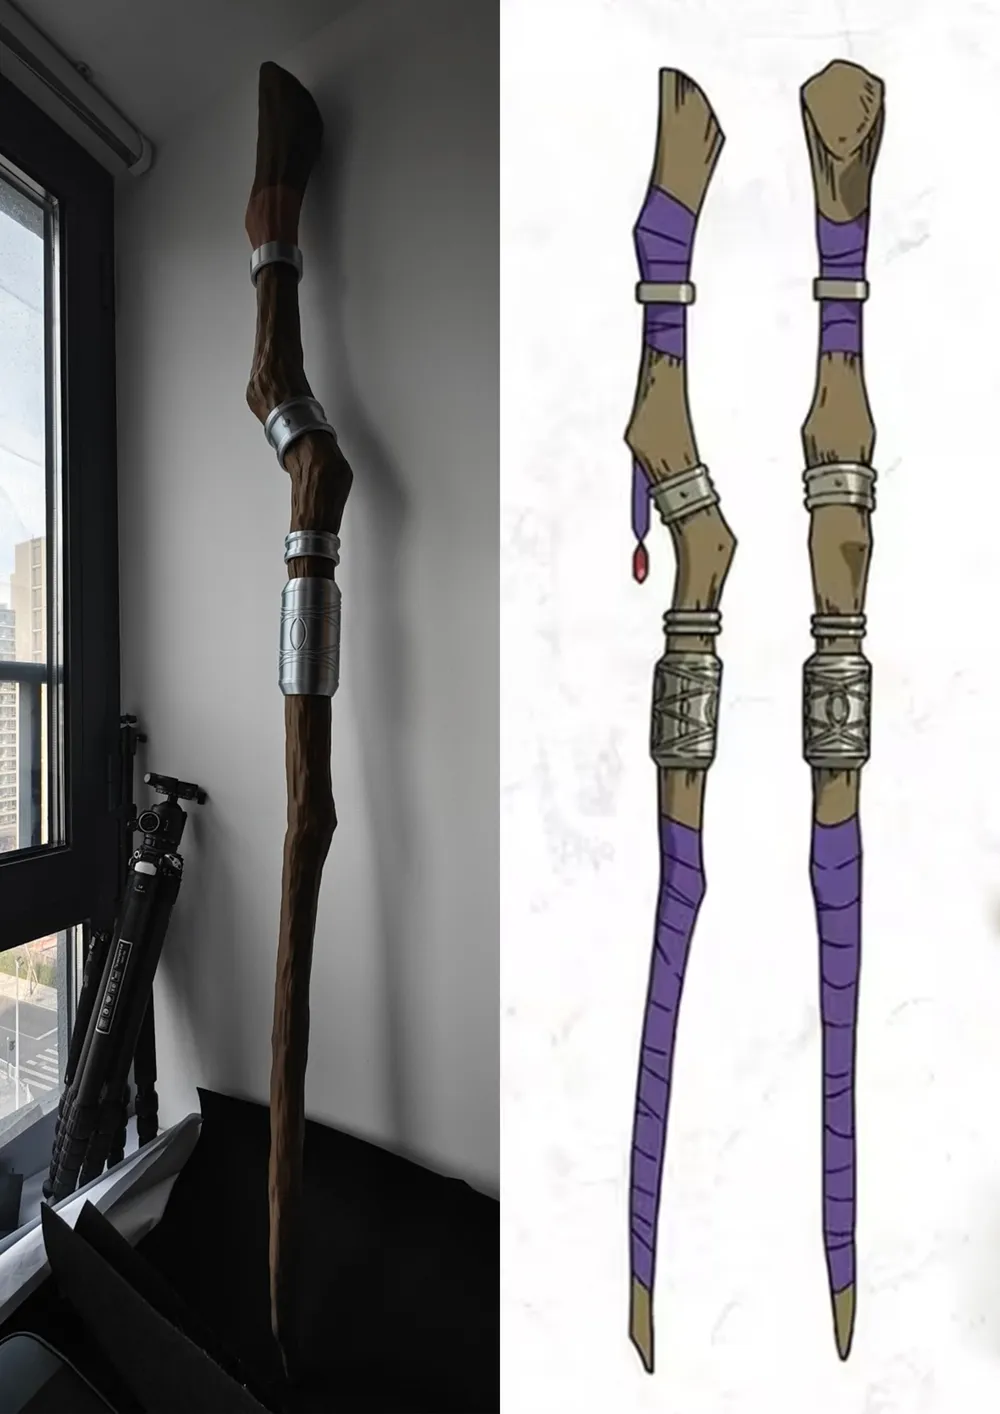
This project aims to reproduce Fern's staff based on the original design as closely as possible. This version is 1:1, with a total length of about 160cm. A 1:3 version for dolls will be made in a few days
The model's drawing and sculpting are based on the design draft:
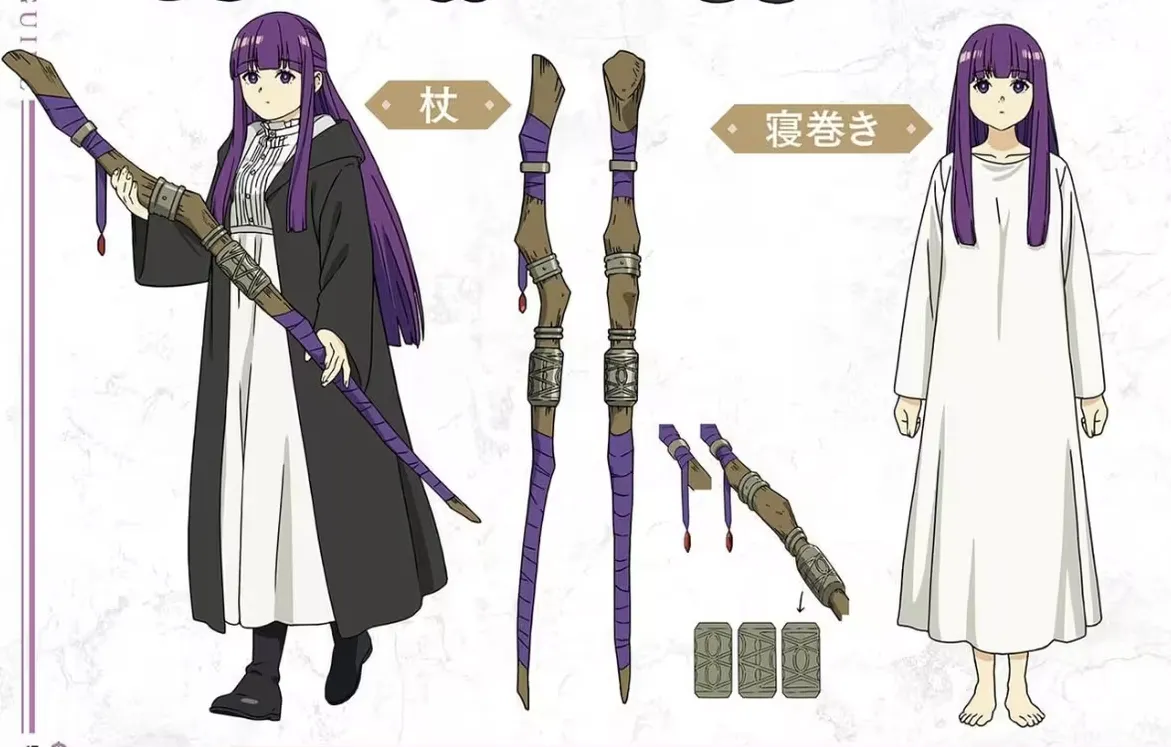
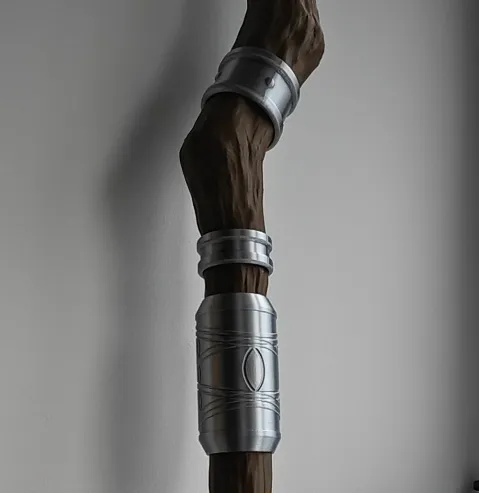
After many attempts, it was decided that the largest metal ring would use a double-line intaglio texture, which provides good fidelity to the design drawing and actual effect. The width has been slightly slimmed down to be closer to the version held by the character
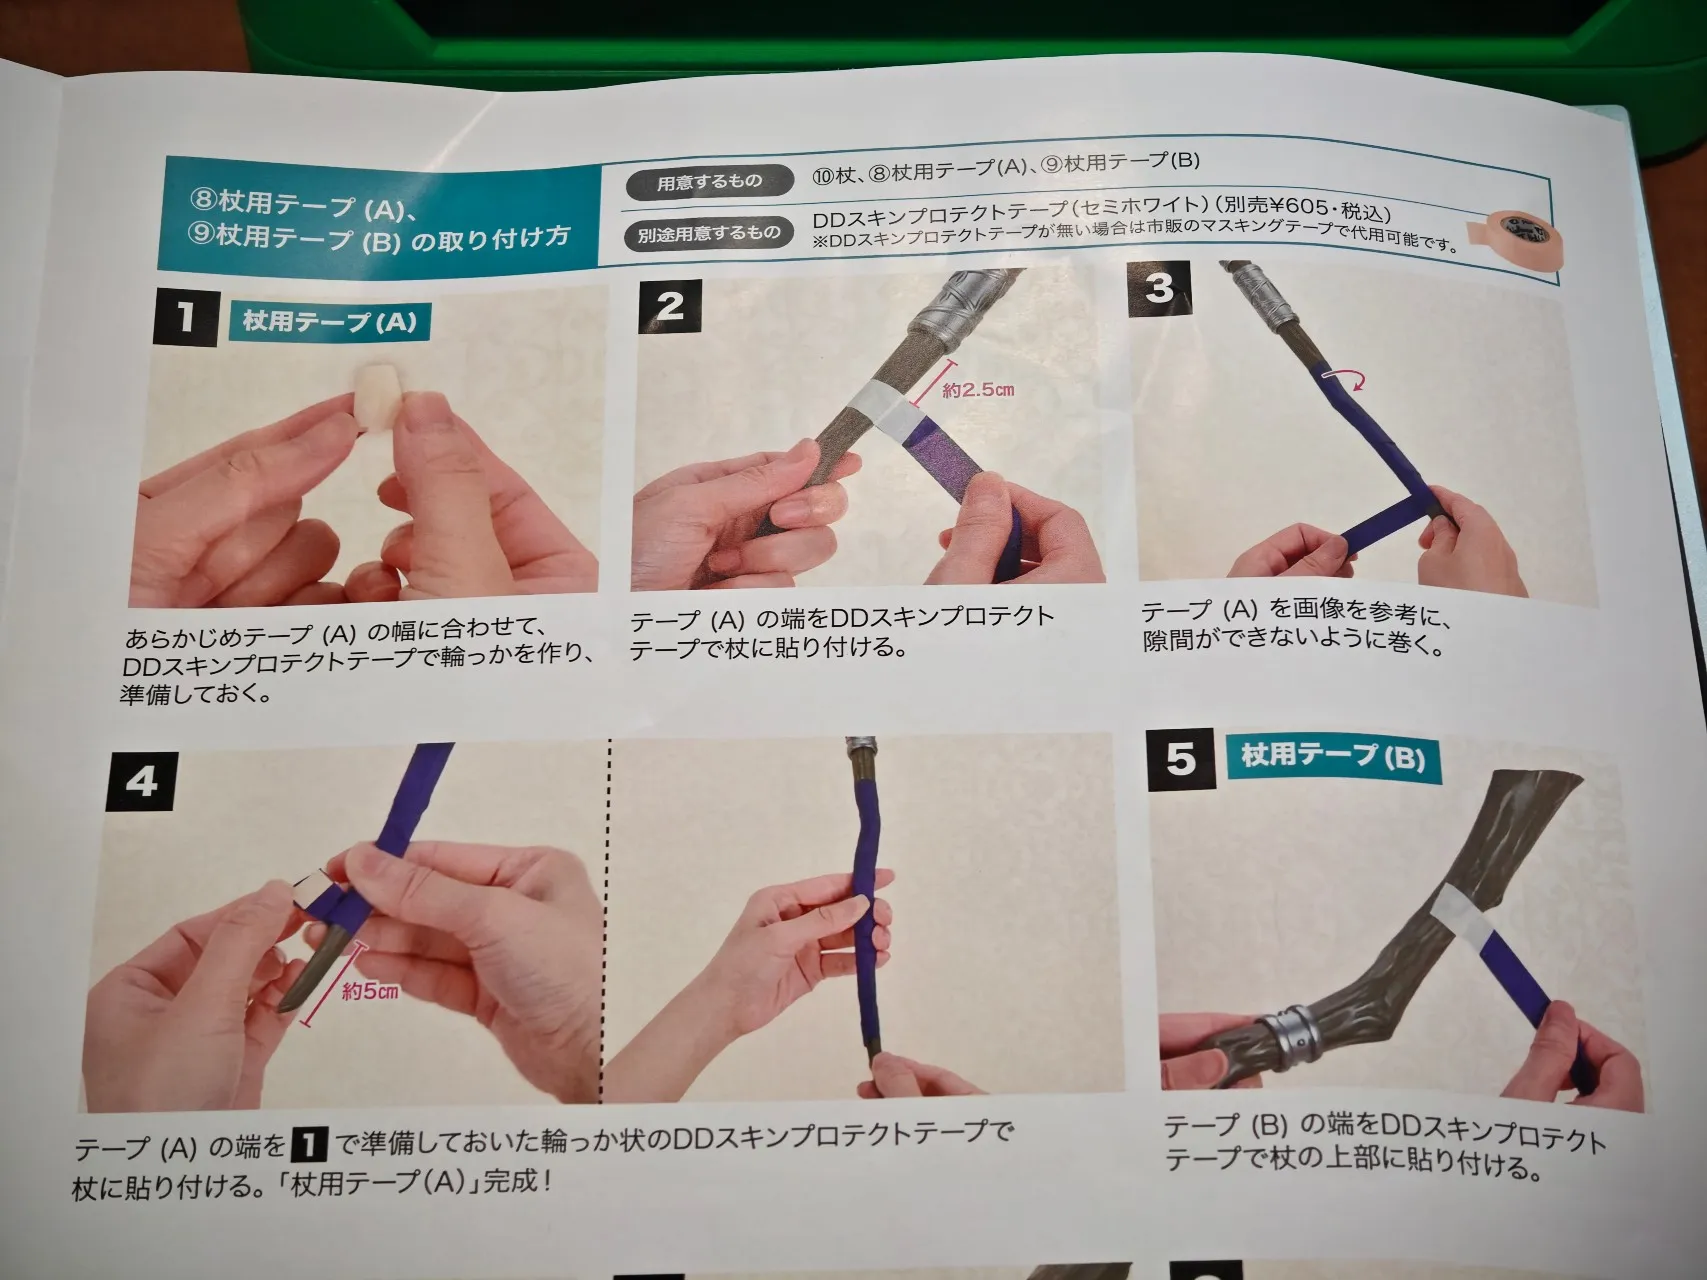
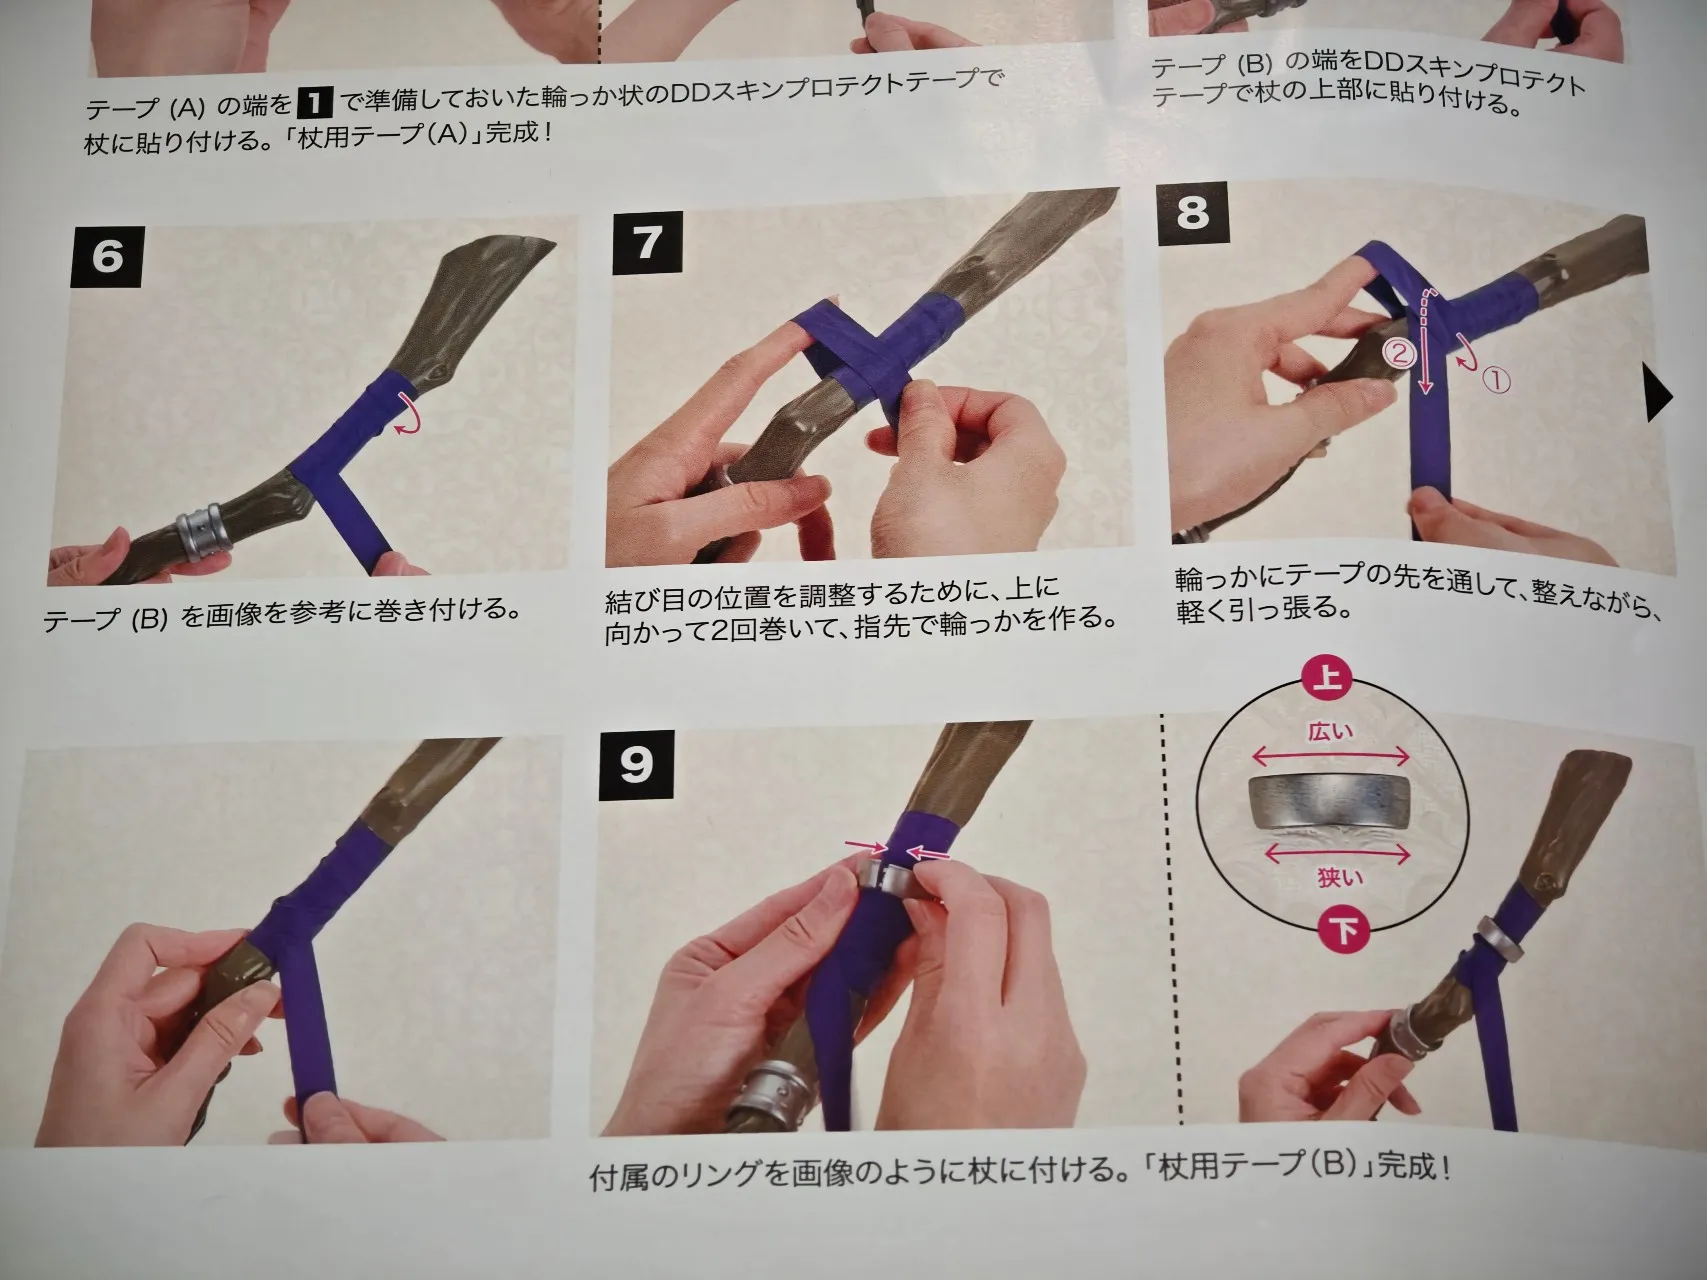
For wrapping the purple ribbon, you can refer to the method in the Japanese Volks DD manual. The ring above the gem is different; wrap the ribbon in two parts to reduce difficulty:
It is recommended to use a 3-5cm wide soft-light satin ribbon. Matte or glossy effects are generally mediocre
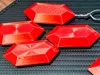
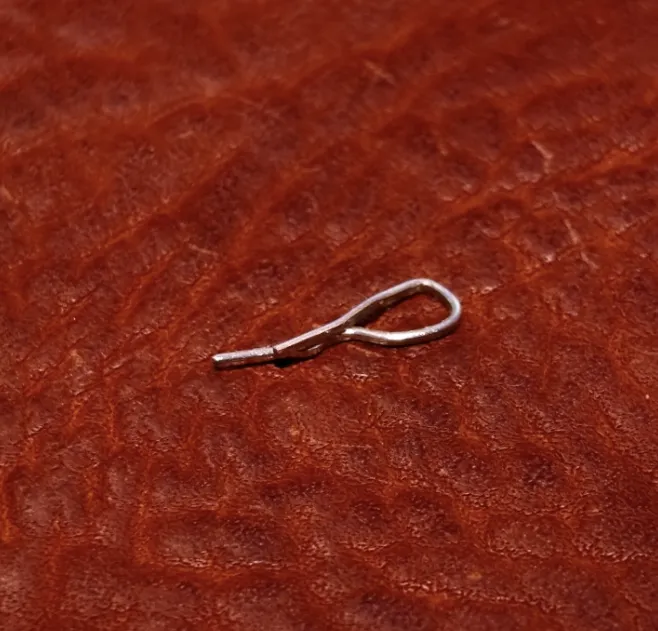
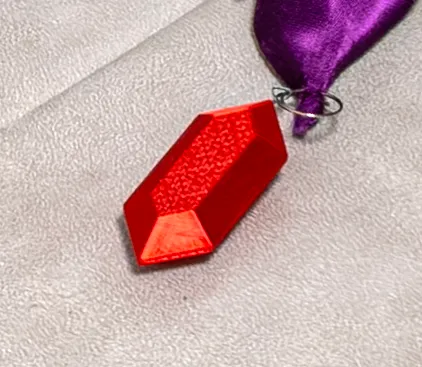
Considering that large gems or glass are hard to find, printed gems are also prepared. You can try PLA Silk or partially transparent materials, glue them together with super glue, bend a staple into a ring and insert it into the reserved hole, then remove a ring from a key and thread it onto the ribbon:
The model is entirely printed using Bambu Lab official filament, with different settings for different plates:
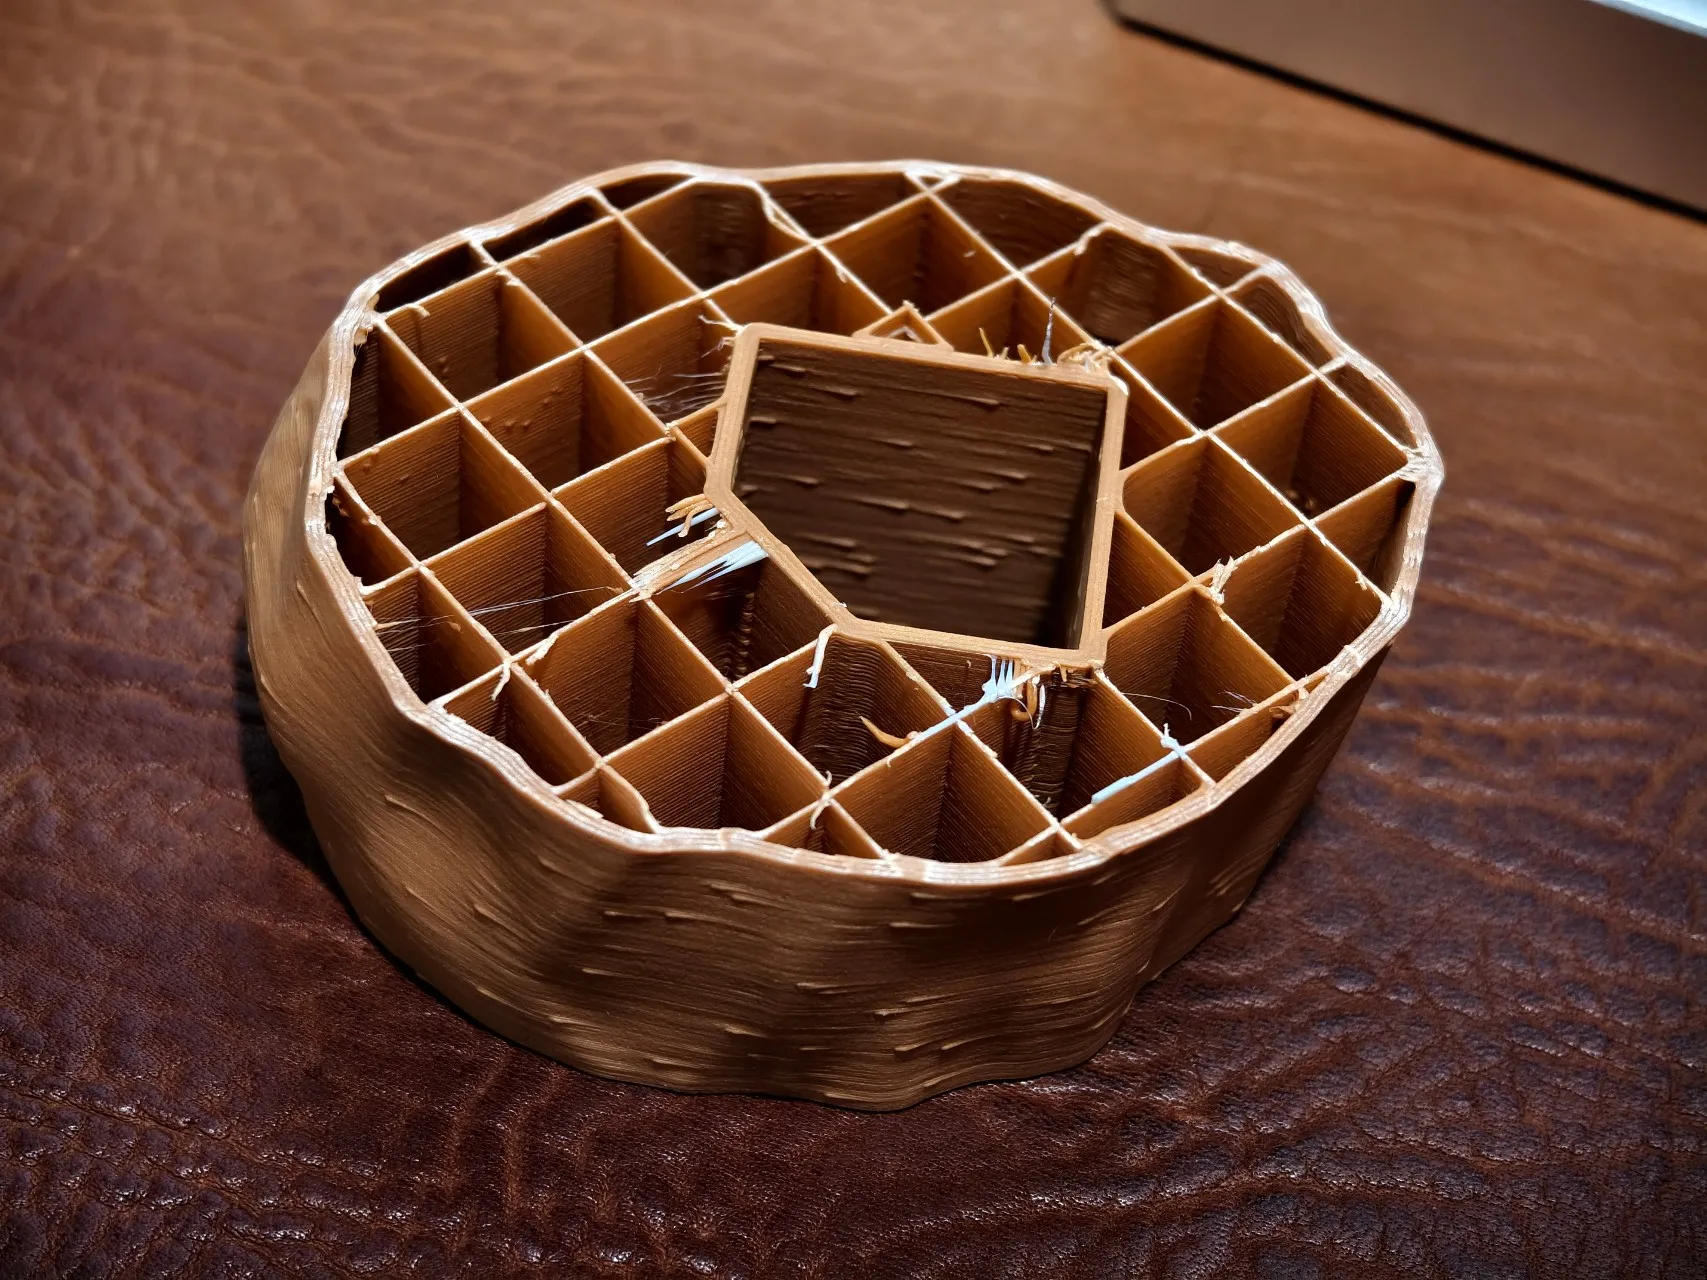
The wooden staff is made from Bambu Lab PLA Wood Walnut, using only 3 walls and 8% sparse infill density. Actual tests show excellent strength, and using [Seam position: Random] achieved an effect close to wood grain holes;
Approximately 1kg of filament is needed. If using filament from other manufacturers, it is recommended to test the printing effect first
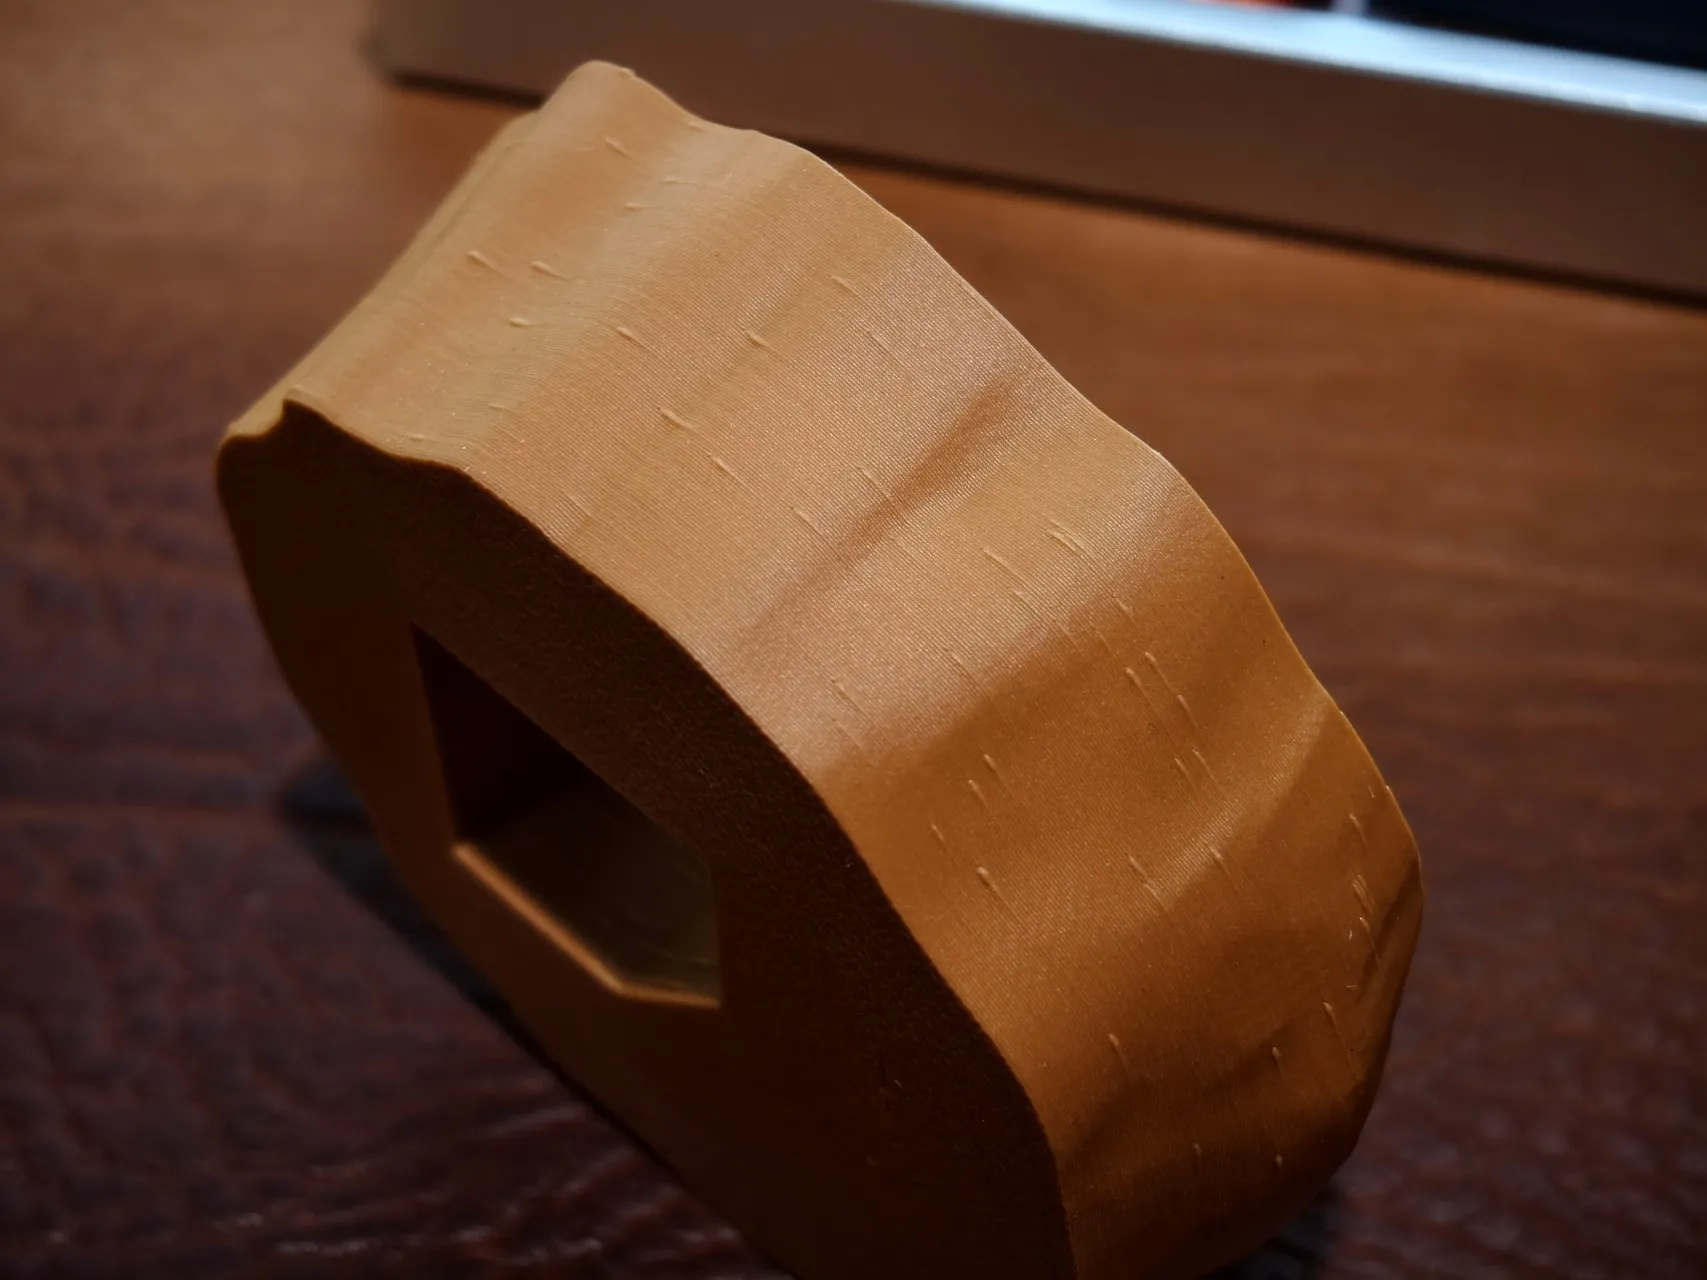
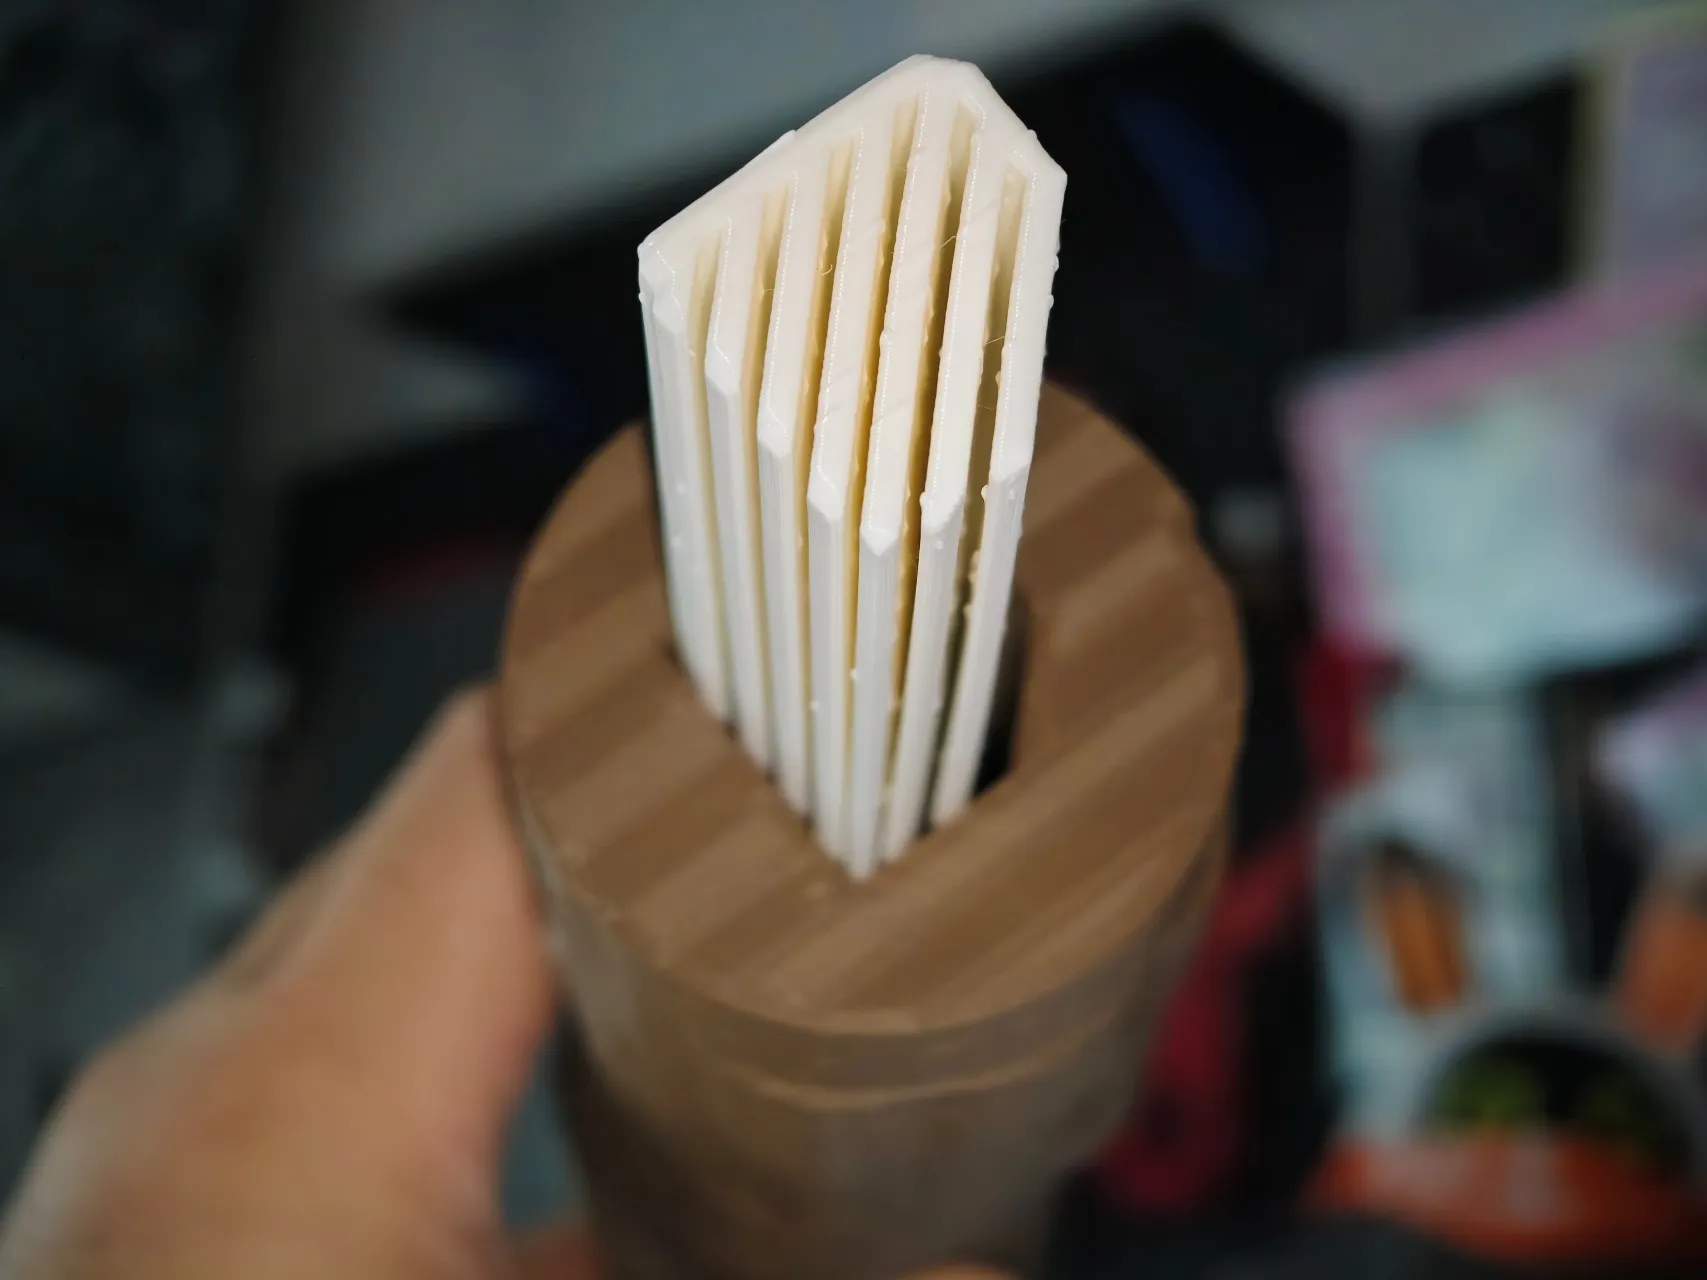
The pins are made from Bambu Lab PLA Tough, using an assembly design method learned elsewhere. They require longer printing time, but there's almost no need to worry about model fit; deformable pins will adapt to the holes themselves;
There are many pins. If you're afraid of spaghetti, it's recommended to print them one by one. PETG can also be used. The pins require about 500g of filament
The metal parts are Bambu Lab PLA Silk+ Silver. Different models in the current version have different seam settings, it's not recommended to adjust them, or they can be set to the back;
Layer height is generally set between 0.08-0.12; lower layer height provides a better metallic texture. The outer wall printing speed should not exceed 80. In total, less than 300g of filament is needed, or you can print in a solid color and then spray paint with metallic paint
Assembly should be easy, no instructions needed:
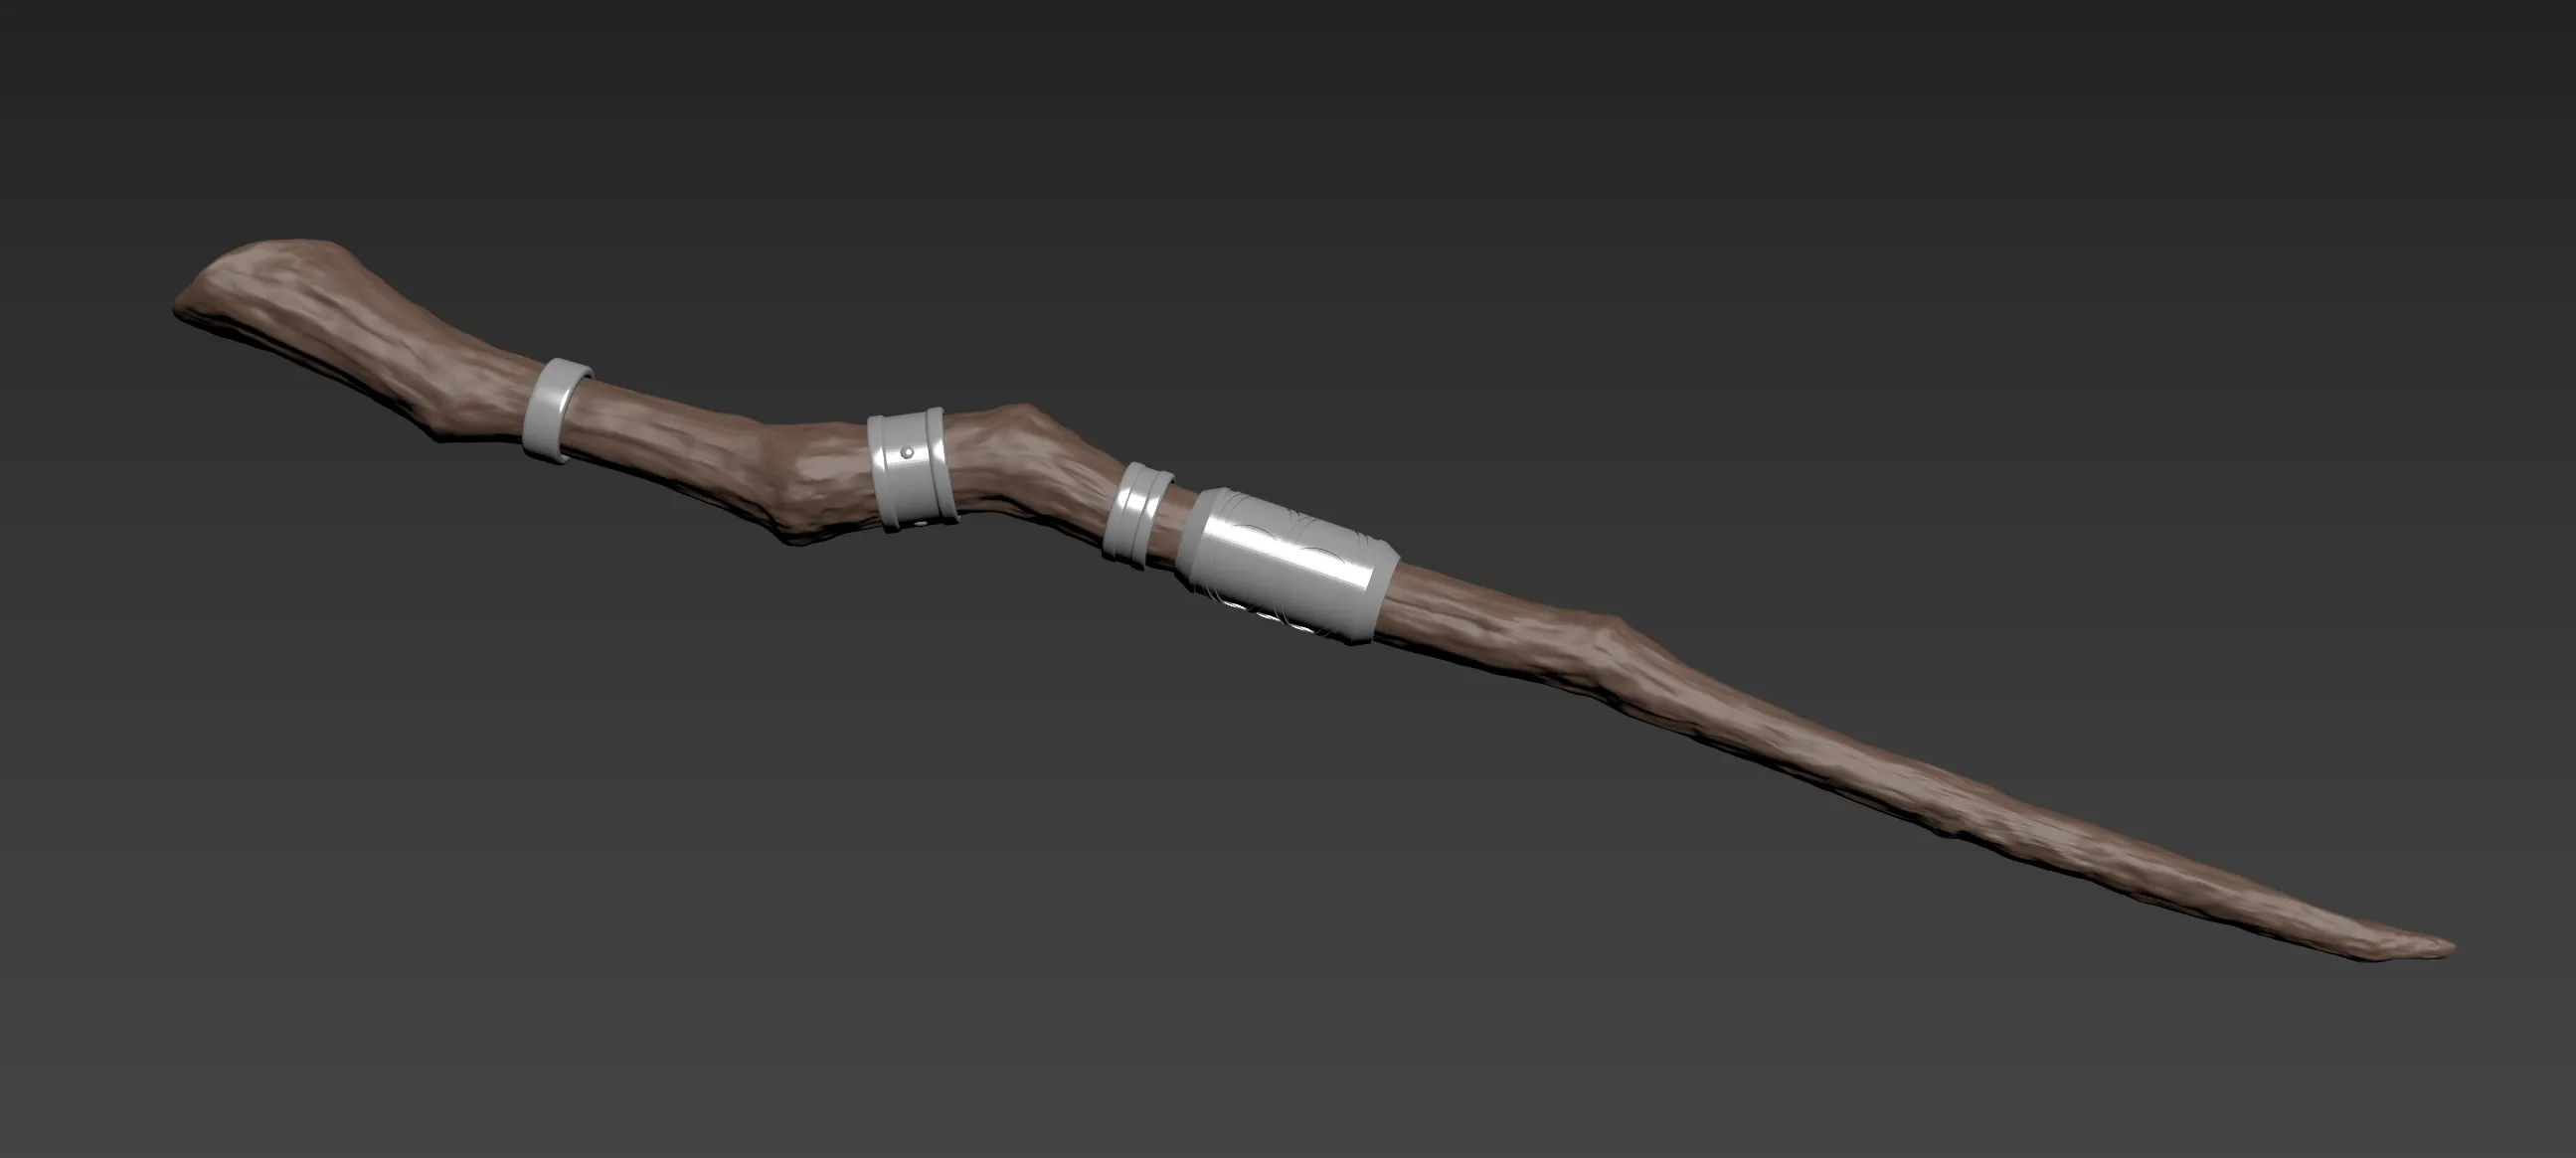
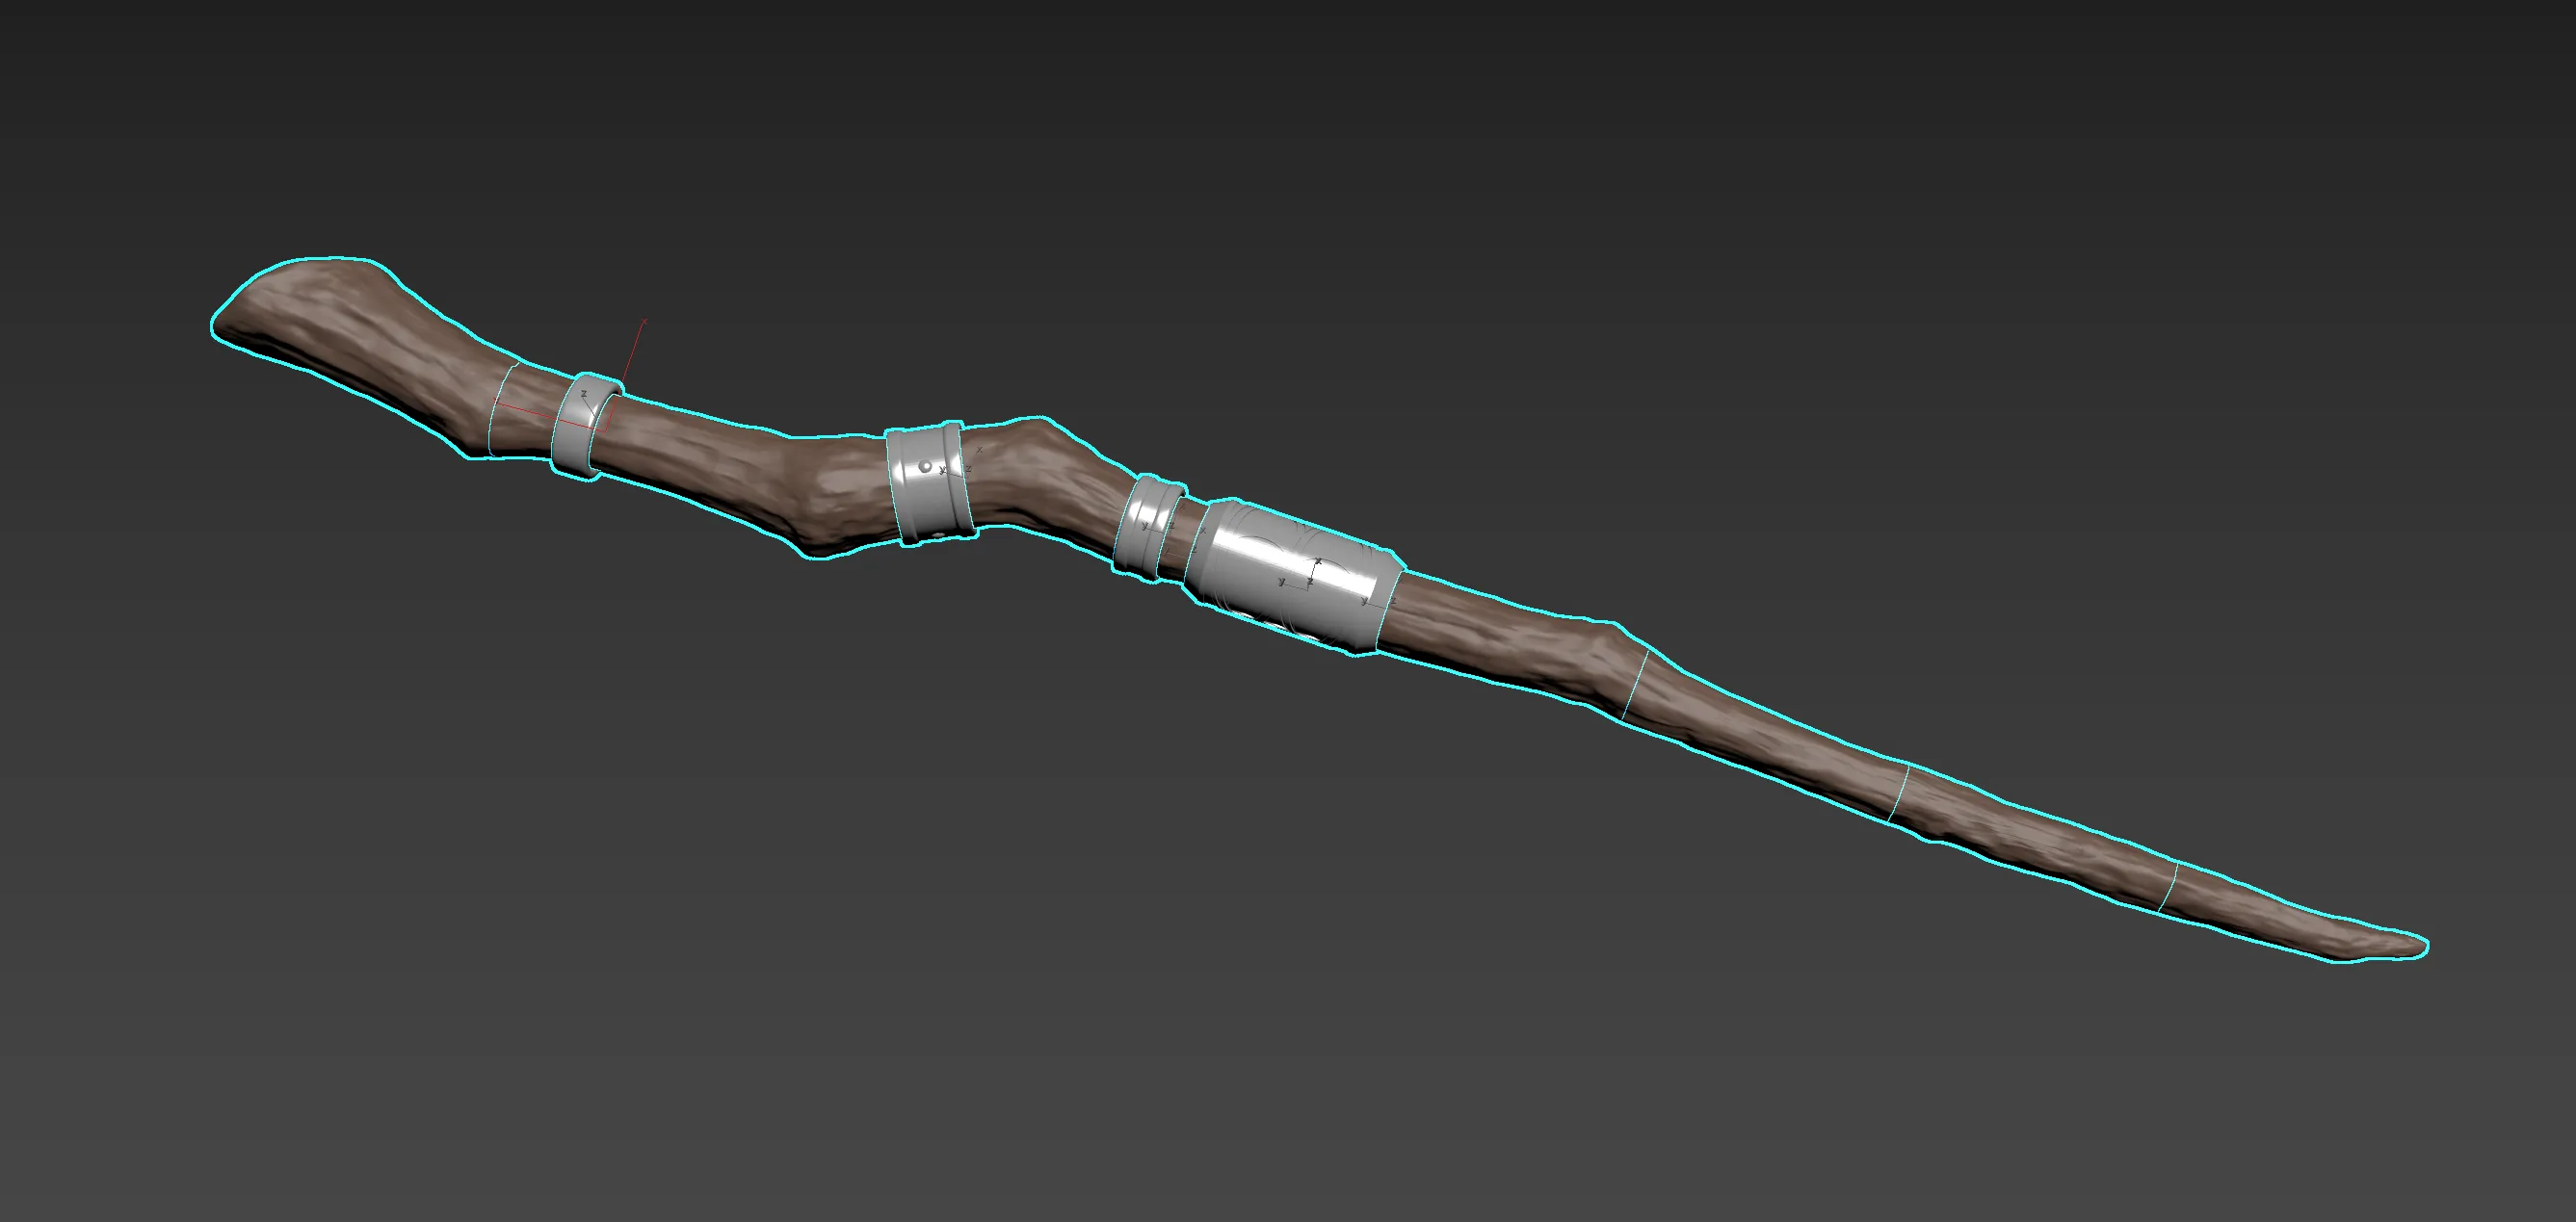
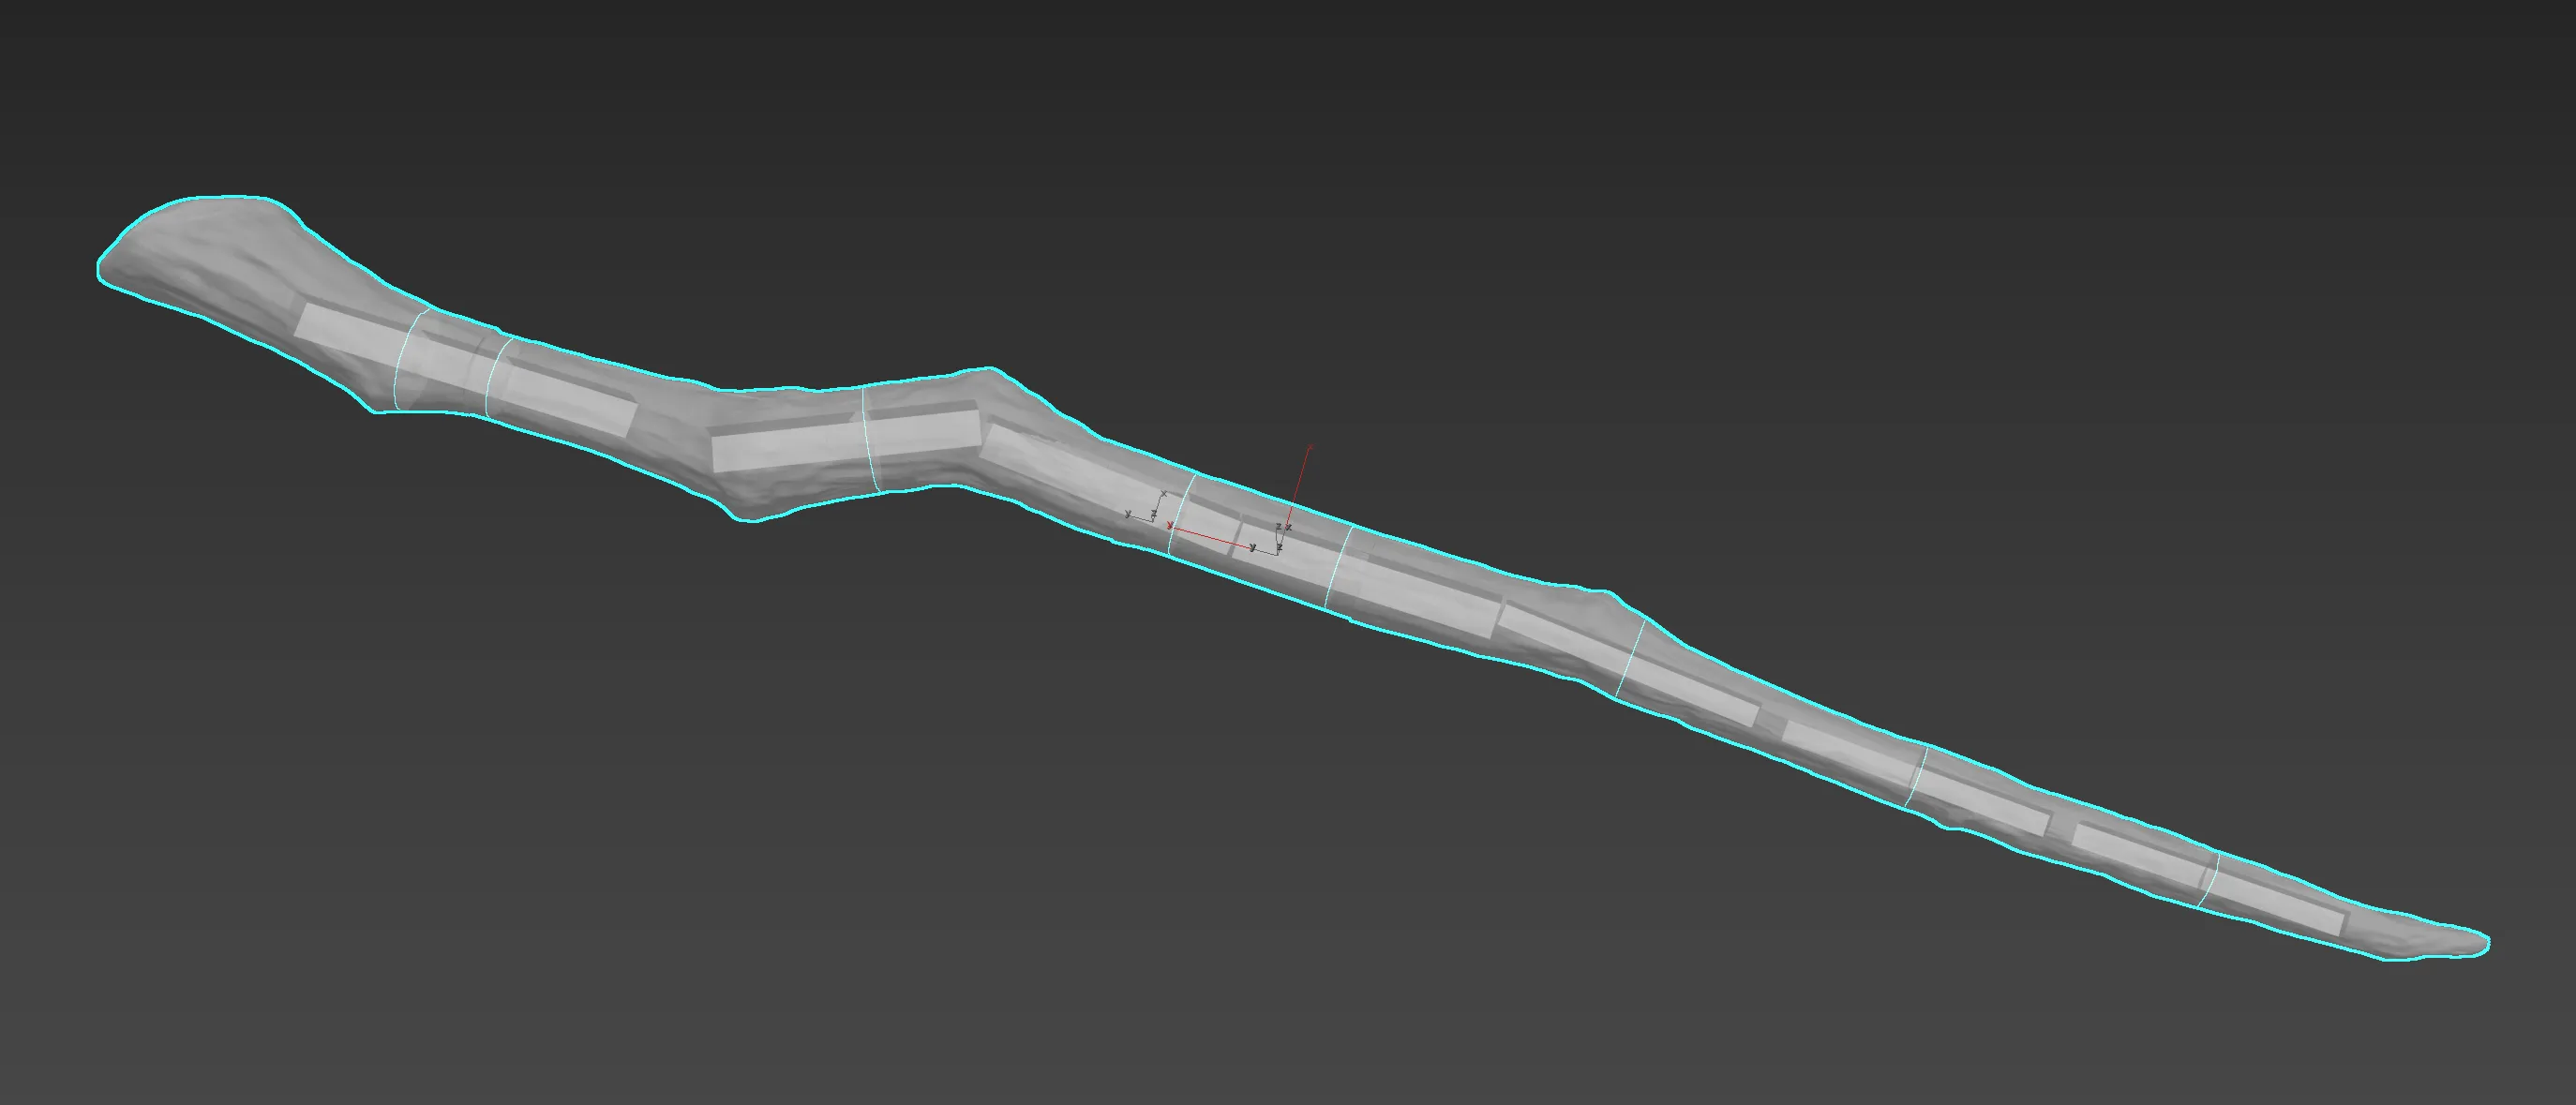
The current scale of the main model body is 97.5%, the gem is 90%, and the pins are 98.5% and 99.5%. If the pins are not tight enough, you can scale them up slightly when printing. If you modify the scale of the main body, remember to change the other parts accordingly;
Printed and assembled at the current scale, the total weight is approximately 1800g. For cosplay, no glue is needed, and it will not break or come loose. If rigidity is required, consider injecting glue into the pin gaps
License

You may create derivative works based on this object, provided that all such derivative works are published exclusively on the MakerWorld platform and include proper attribution to the original creator. You may not share, upload, host, distribute, or publish this object—or any derivative work of this object—on any other digital platform, marketplace, or distribution channel. Commercial use of this object and any derivative works is strictly prohibited. This includes, but is not limited to, selling, renting, sublicensing, or using the object in any context in which you receive monetary compensation or other financial benefits.


Comment & Rating (5)