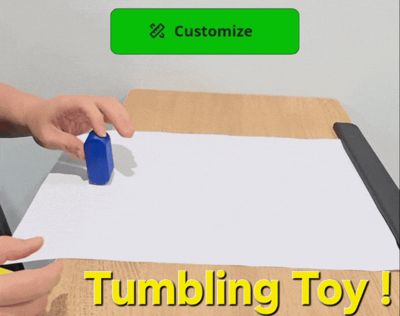
Tumbling Toy ! (Customizable)


Print Profile(11)


Bill of Materials
Description
Membership
Welcome to Den!🐾 Join the BigTeddy community. Support my creative work as a 🧸Cub Teddy, or unlock commercial sales rights as a 💼 Big Teddy.
Didn't you make toys like this at least once by cutting paper when you were young?
It was fun, and suddenly I wanted to make this again :)
Instead of crookedly cut paper,
now that we have 3D printers, we should make it look much cooler :)
It seems like something fun to enjoy with your child.
Or you could have a drinking game with friends to see who can send it the farthest.
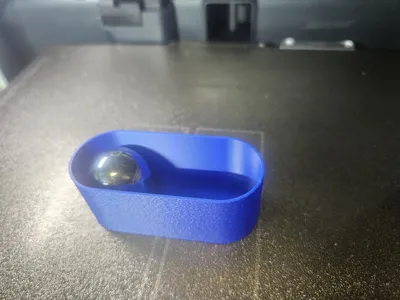
Since we're making it with plastic this time,
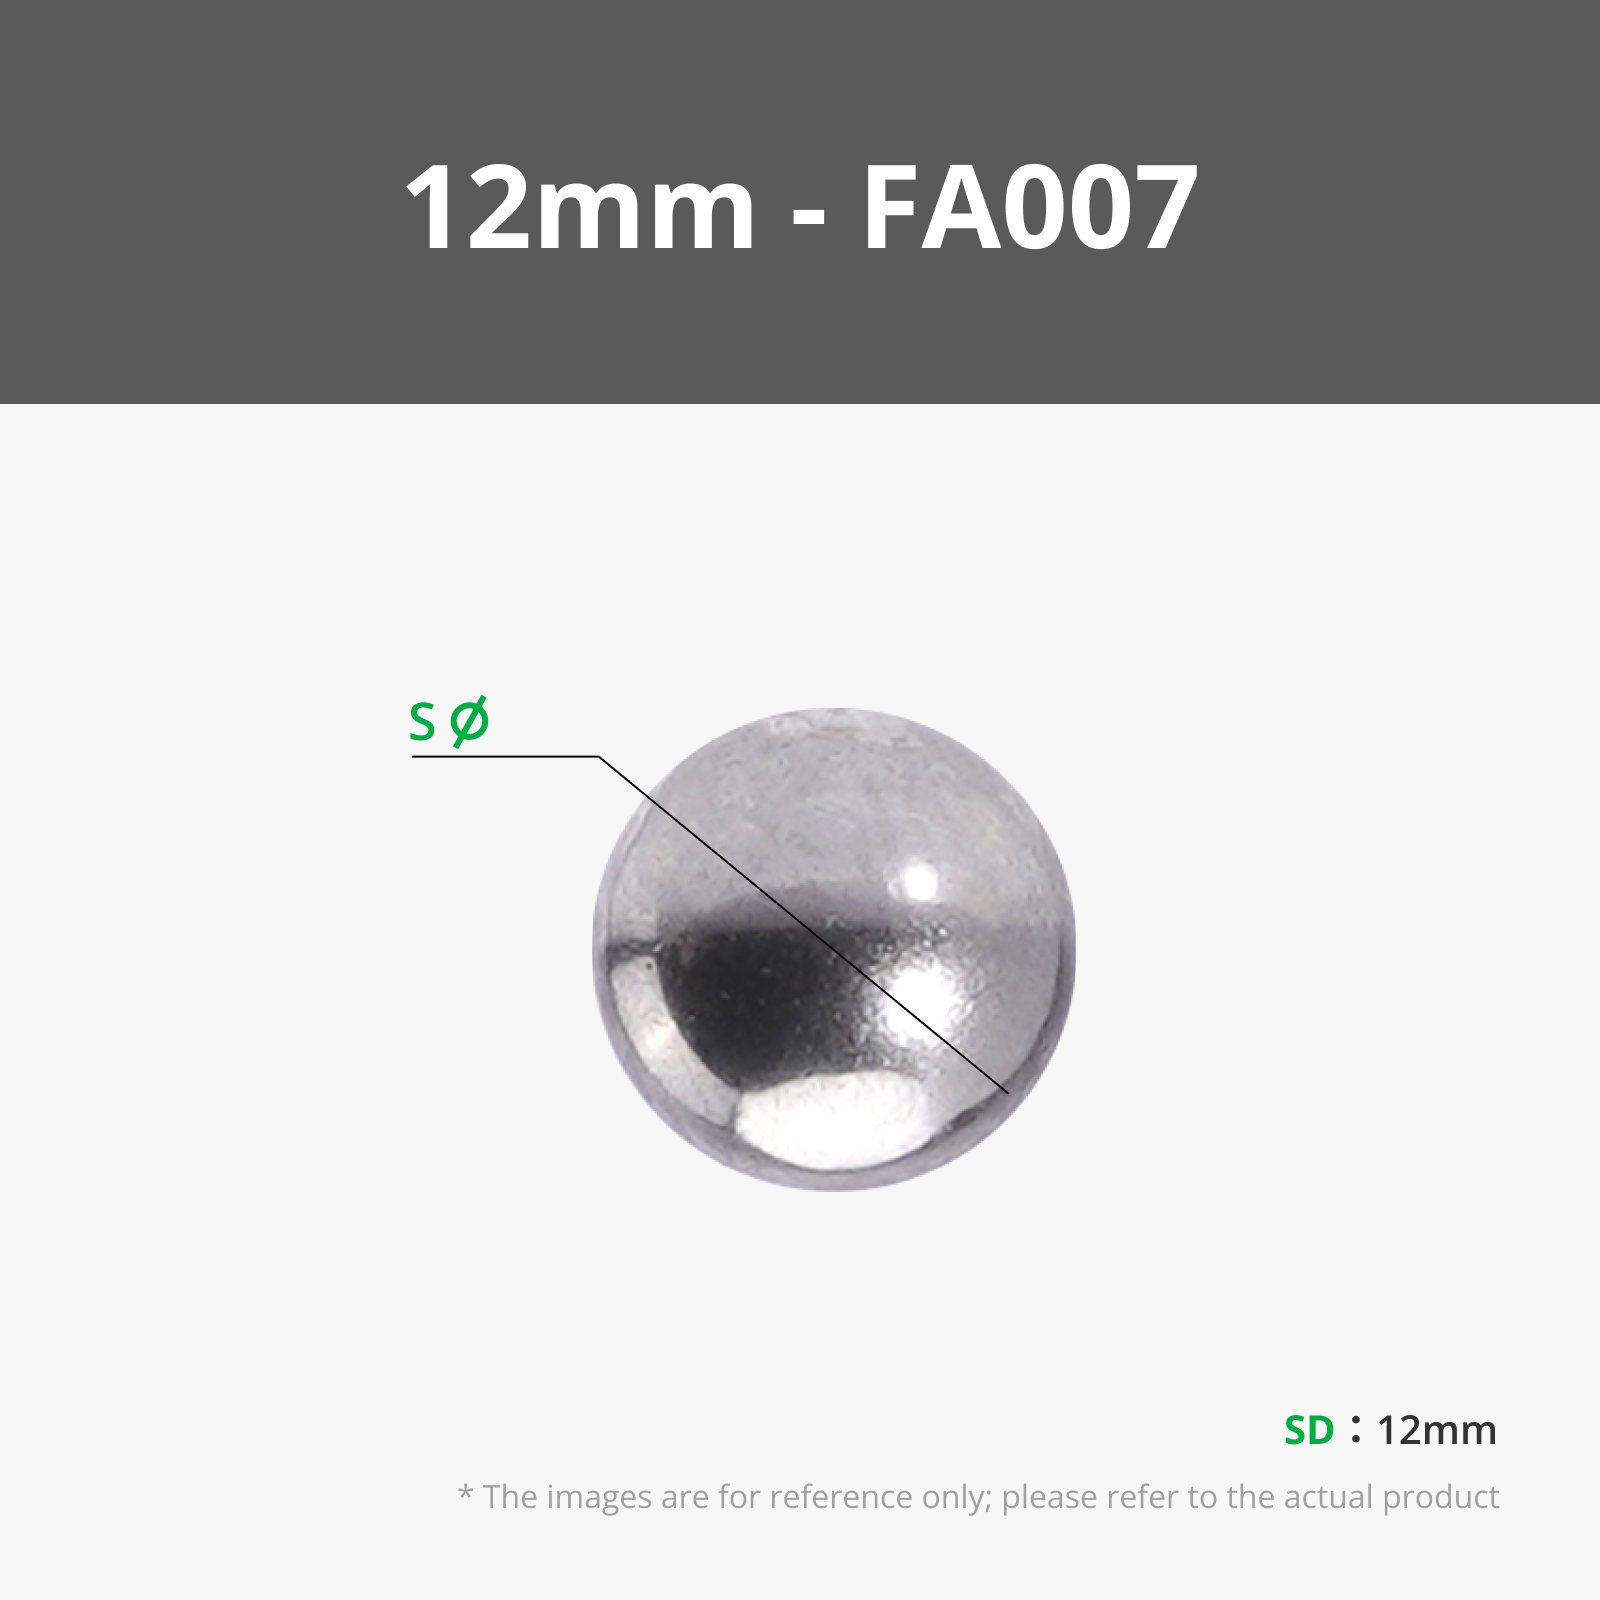
please use steel balls instead of glass marbles.
I've prepared various preset profiles for the sizes of steel balls commonly found on Amazon.
The profiles have auto-pause enabled.
When printing pauses, drop the steel ball inside and press “Resume Print”.
and one more thing.
This toy rolls down an inclined surface.
It does not roll on a flat surface.
Although it's a parametric model,
there are few things to cover due to MakerWorld's feature limitations.
If you won't be using the preset profiles, please read the following details carefully.
1. Enter the diameter of your steel ball in the Customizer.
2. Download the generated model in 3MF format.
3. Slice it in Bambu Studio.
4. Change the settings in “Global Settings” as follows:
- 4.1 : Quality → Advanced → Bridge Flow : 1.5
- 4.2 : Speed → Bridge : 10 mm/s
- 4.3 : Others → Fuzzy skin point distance/ thickness : 0.2mm
- 4.4 : Prepare → Fuzzy skin painting : follow guide below picture.

5. Slice, then Add “Pause" on the layer,
just before the top bridge → It's 4th layer from the top Layer.
6. Print!!
If you encounter difficulties with the parametric settings,
please request the size you need in the comments. We will register an additional profile for you.
I hope you enjoy this time, reminiscing about childhood memories :)
Thank you.
-----------------------------------------------------------------------------------------------------------------------------------------------------------
please check my other toy model.
it'll be fun, too :)
Tricky Stick (Print in Place)

Boost Me (for free)
I truly enjoy creating models and communicating with all of you. Your active feedback always makes my designs better! Your boosts are a huge help in letting me test and develop more fun models (you'd be surprised how much filament gets wasted in testing! :)). 🐻Thank you so much for your support!
License
You shall not share, sub-license, sell, rent, host, transfer, or distribute in any way the digital or 3D printed versions of this object, nor any other derivative work of this object in its digital or physical format (including - but not limited to - remixes of this object, and hosting on other digital platforms). The objects may not be used without permission in any way whatsoever in which you charge money, or collect fees.
Comment & Rating (80)