
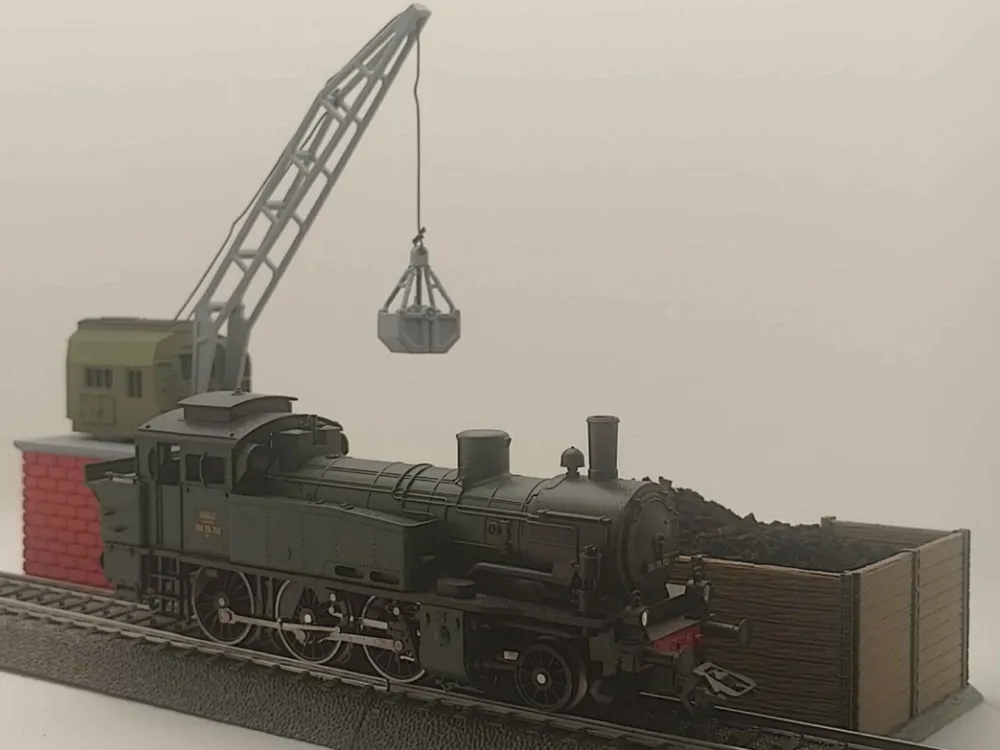
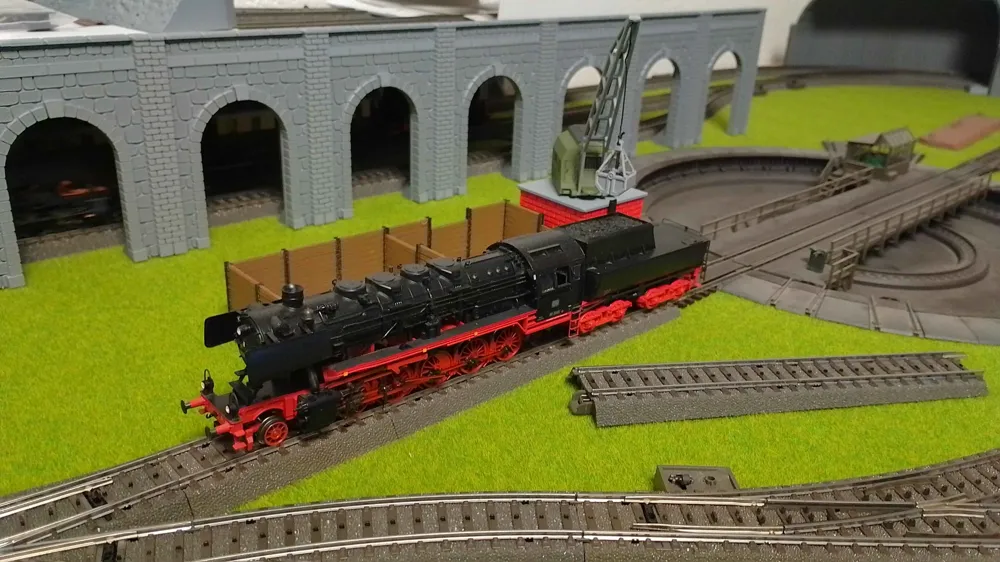
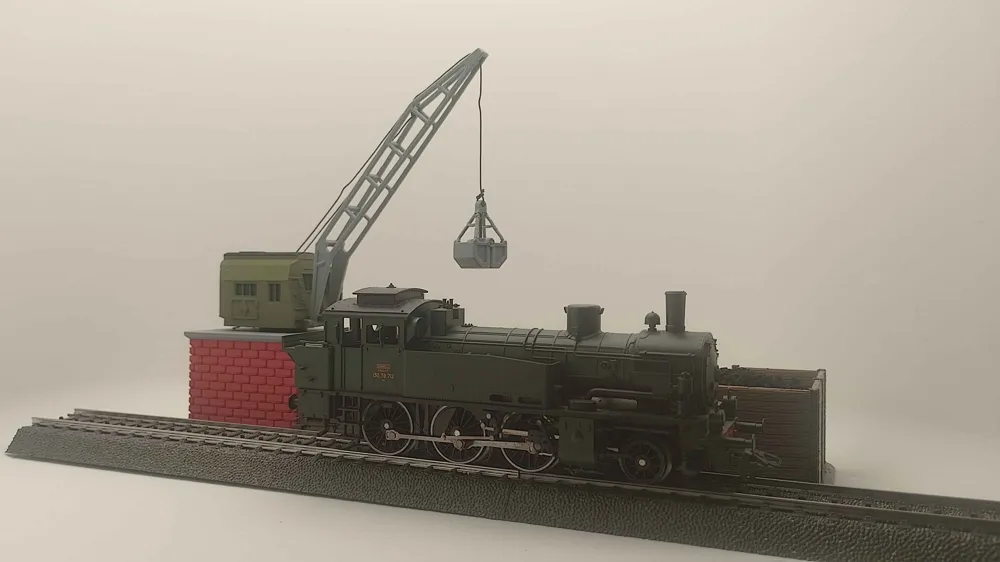
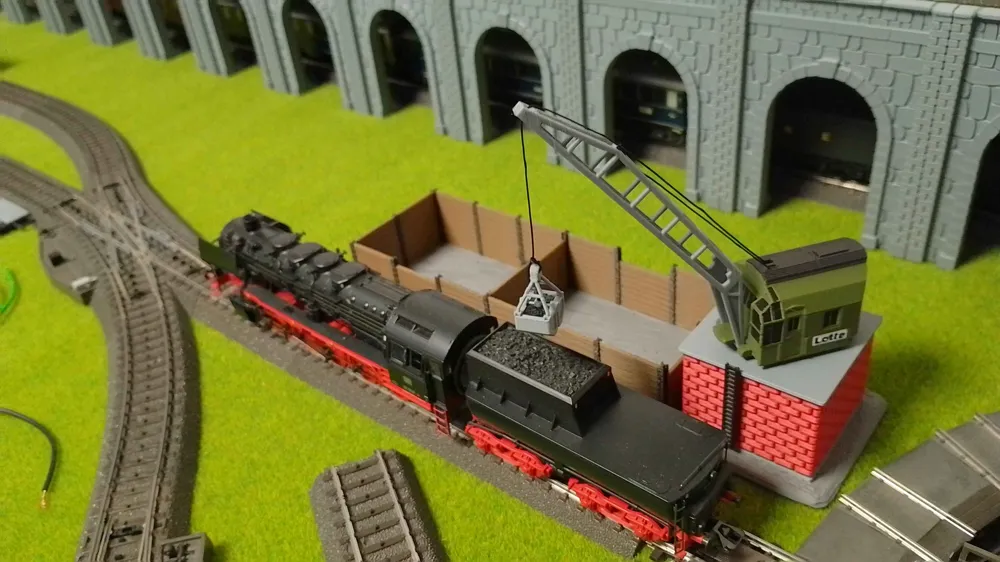
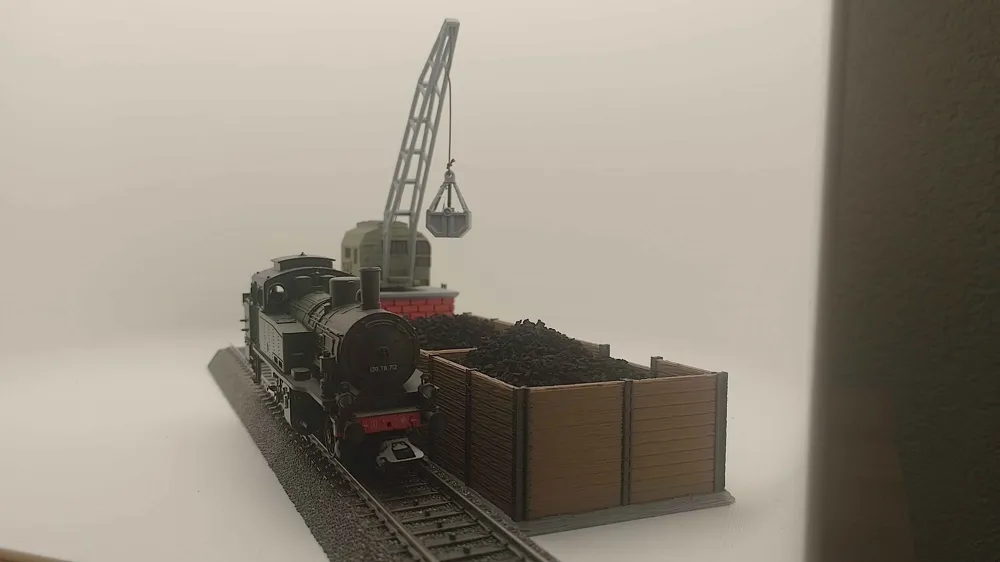
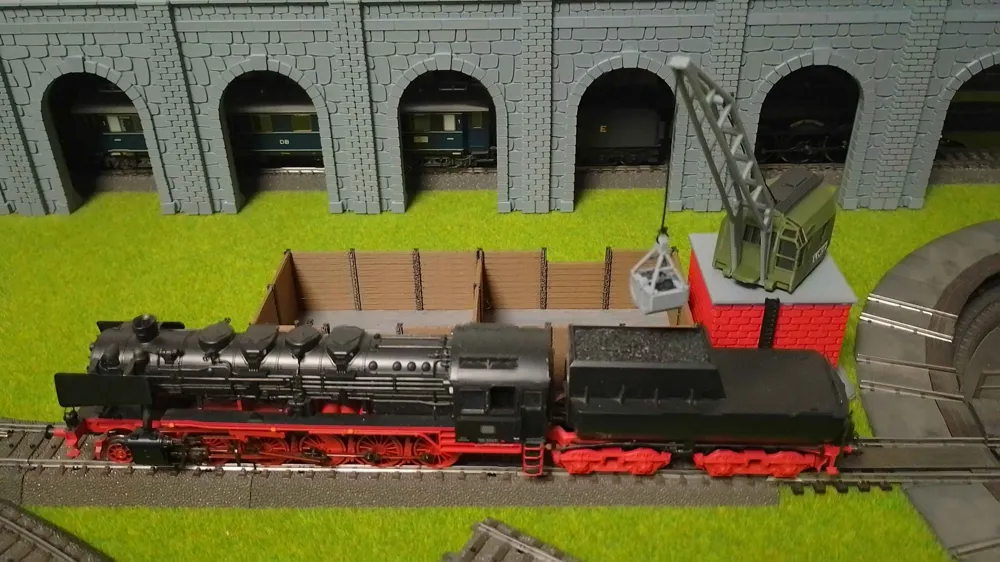
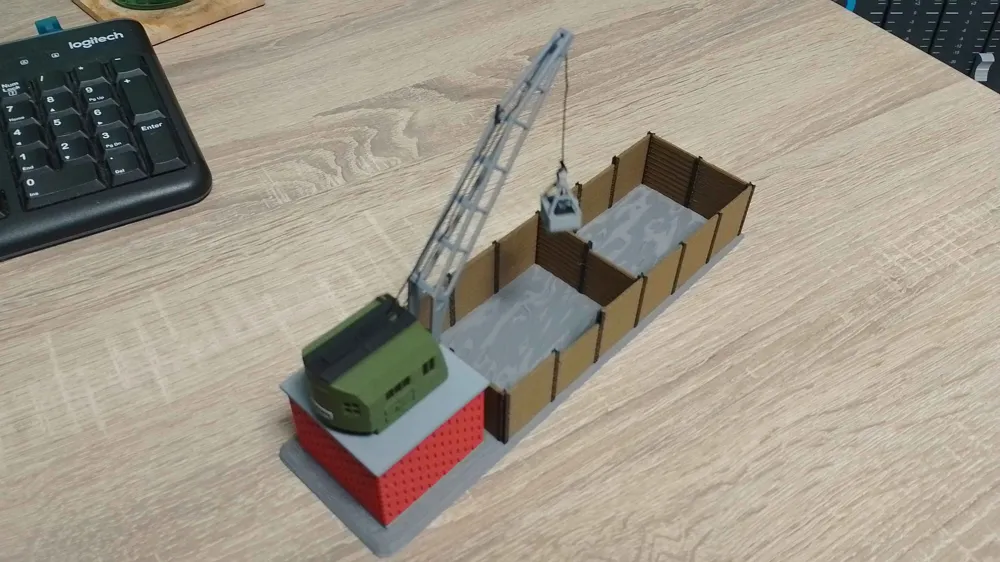
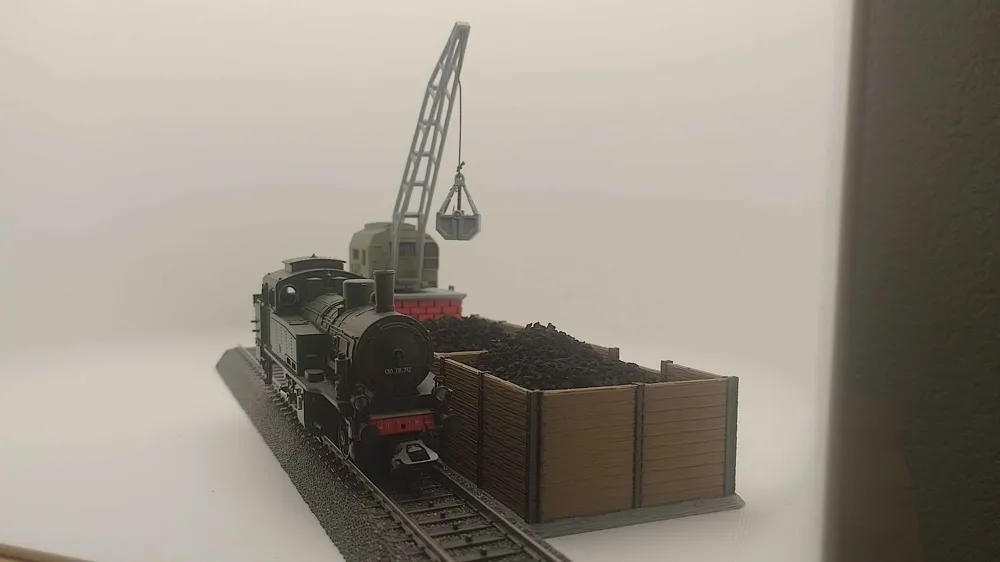
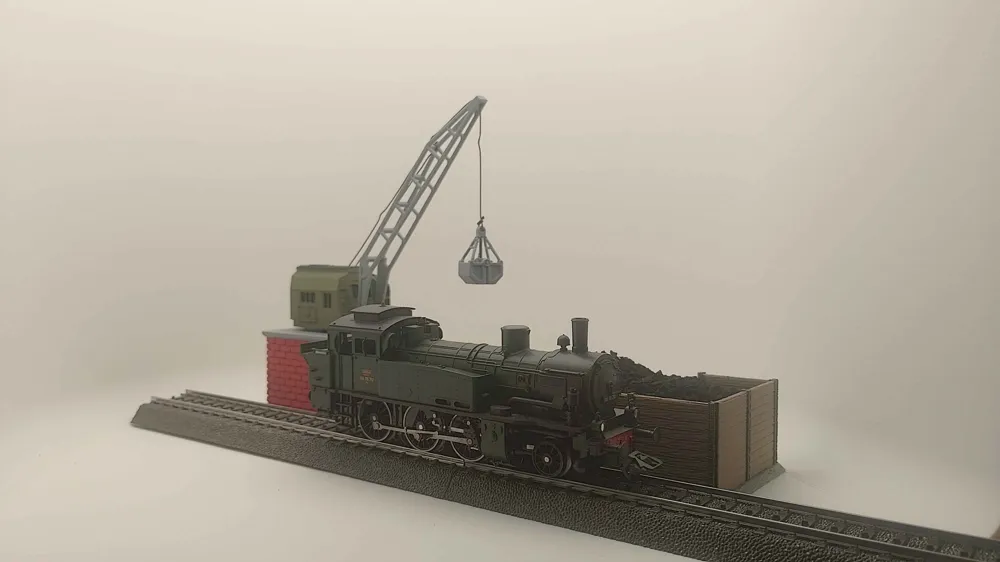
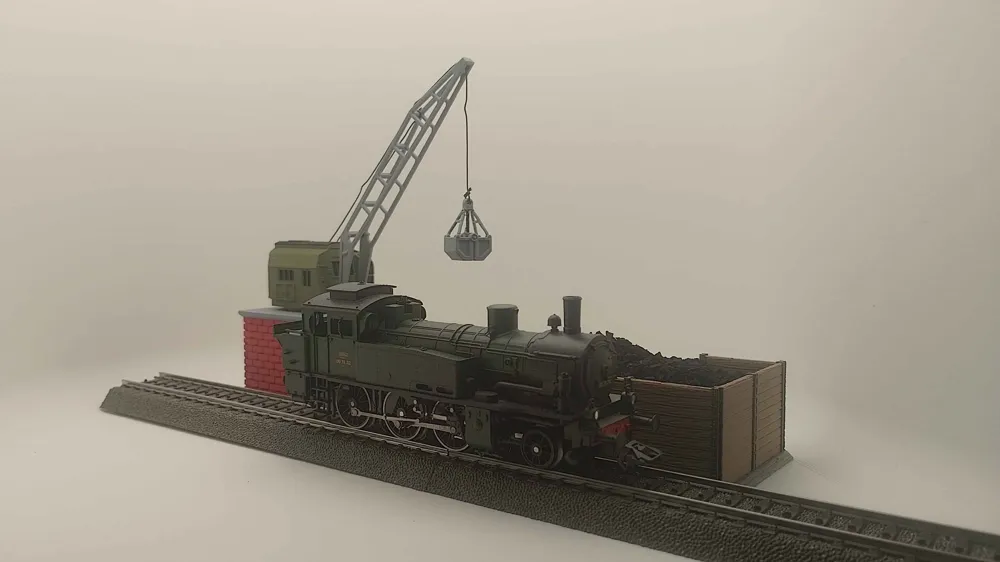
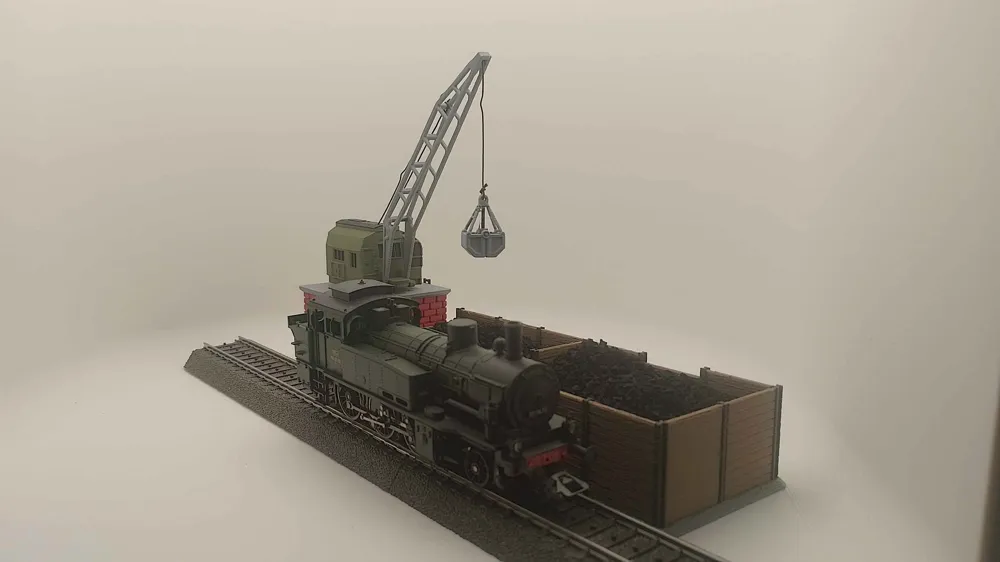
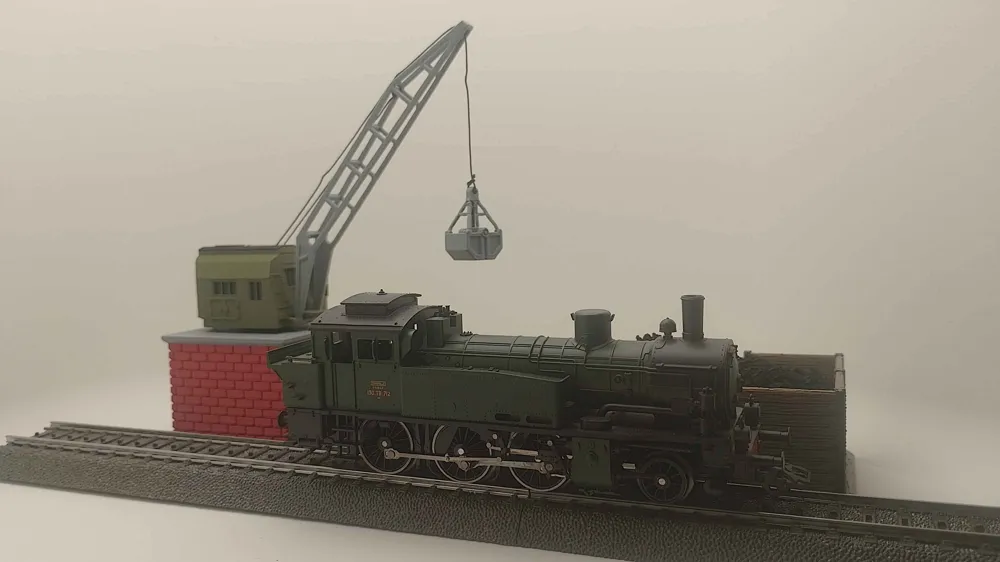
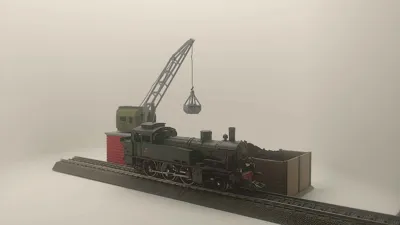
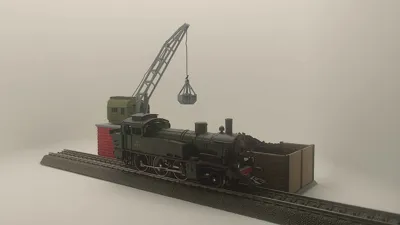
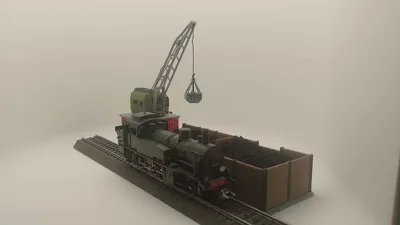
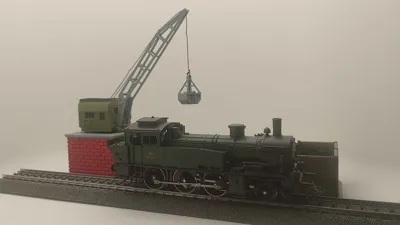
H0 Epoch III Coal Bunker
Print Profile(2)
Bill of Materials



Description
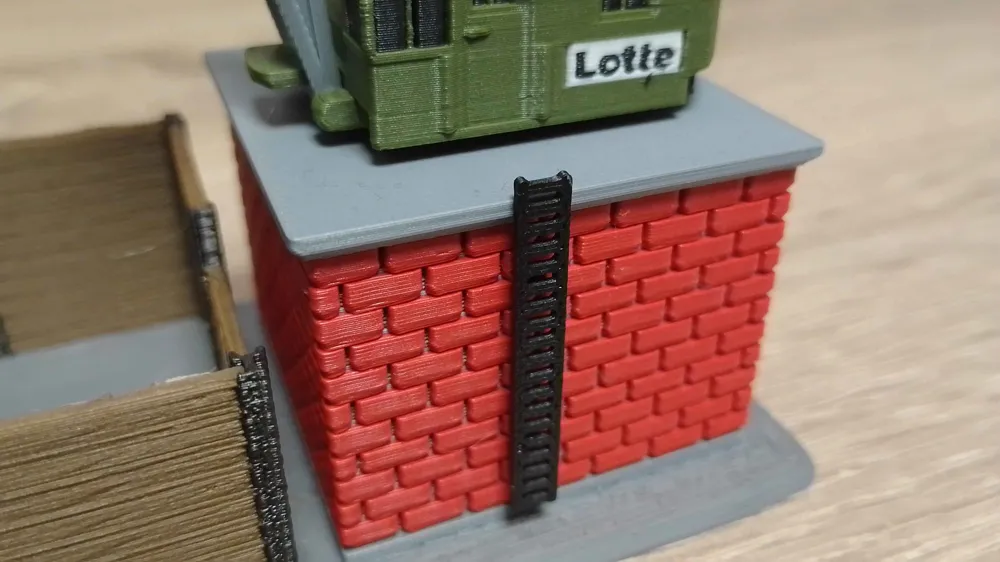
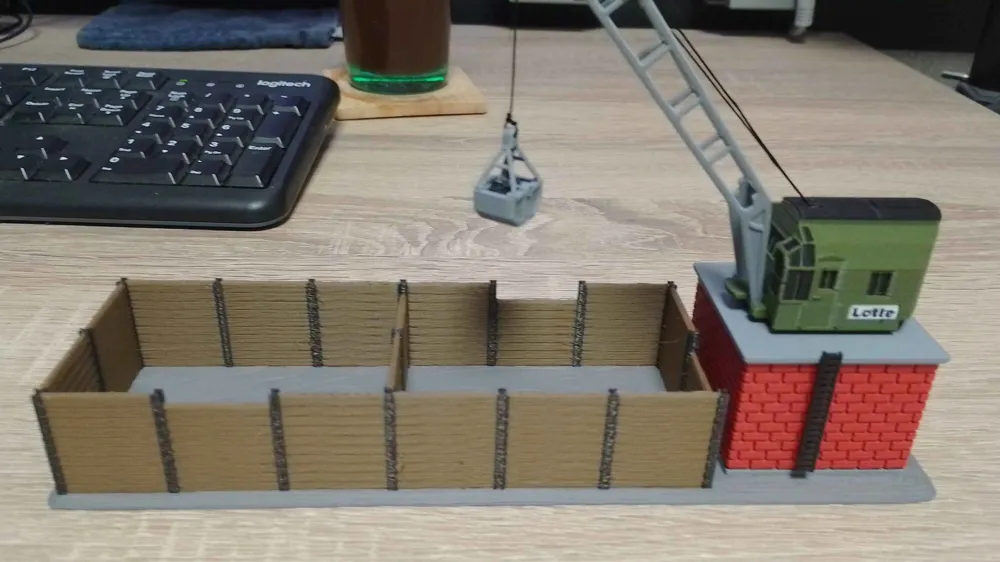
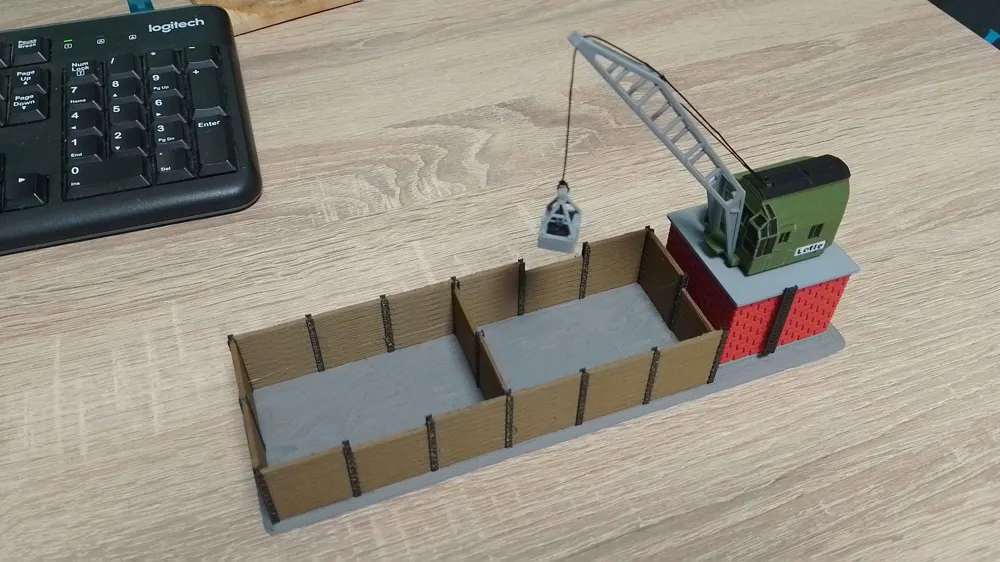
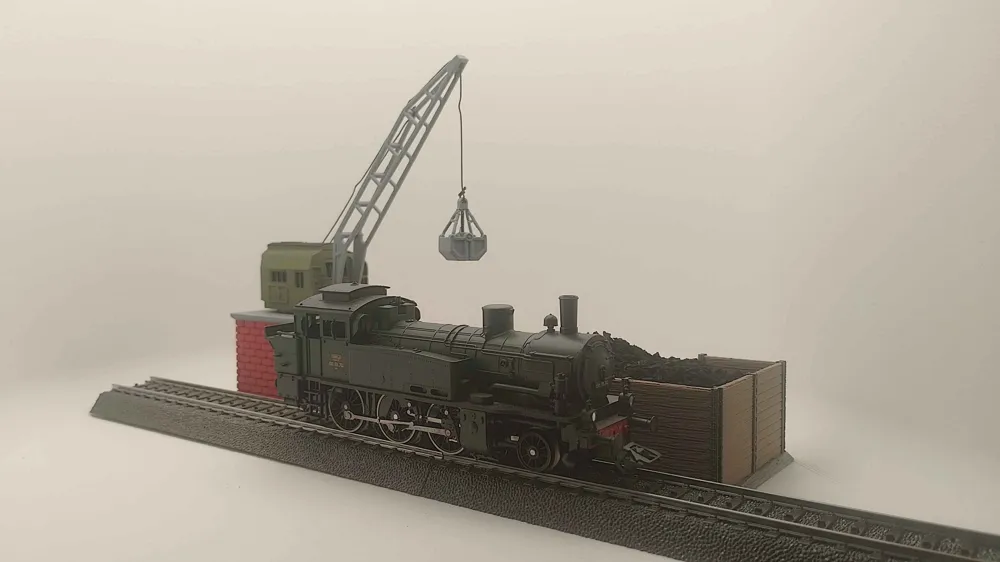
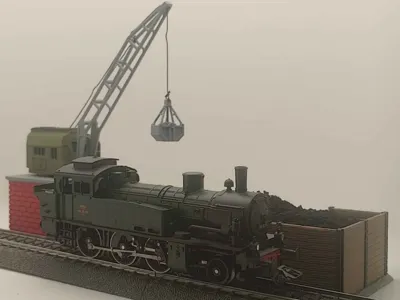
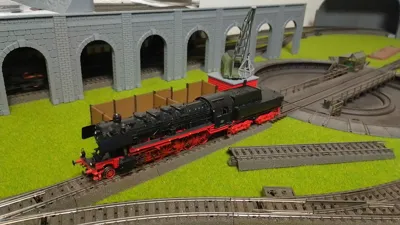
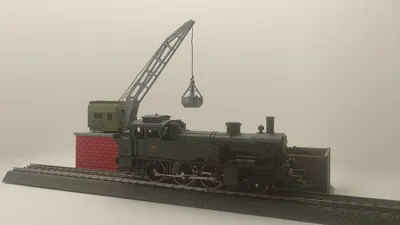
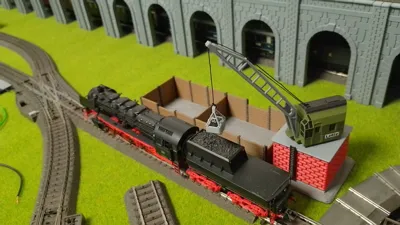
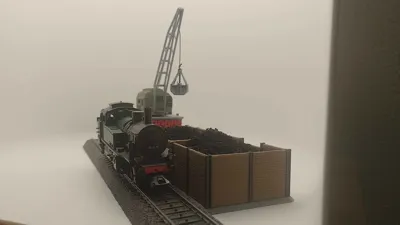
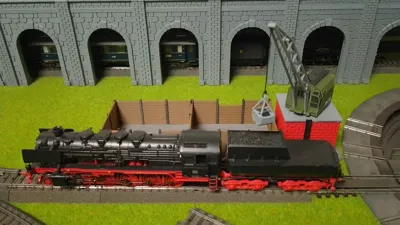
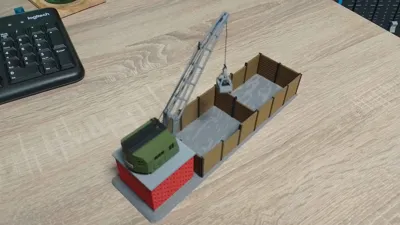
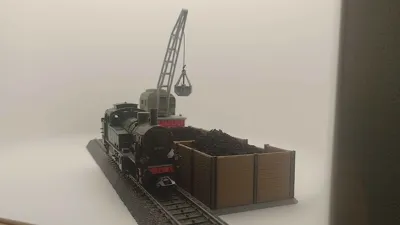
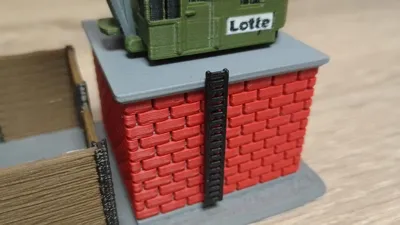
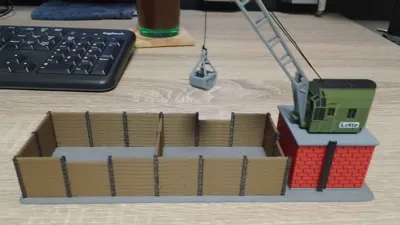
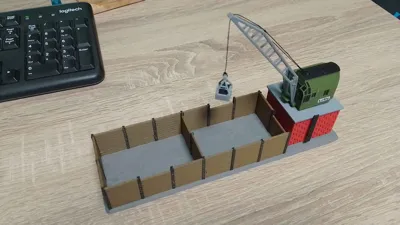
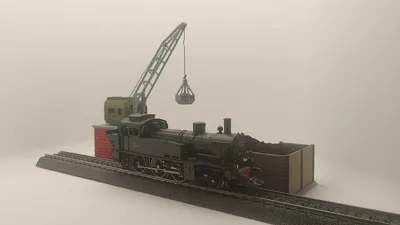
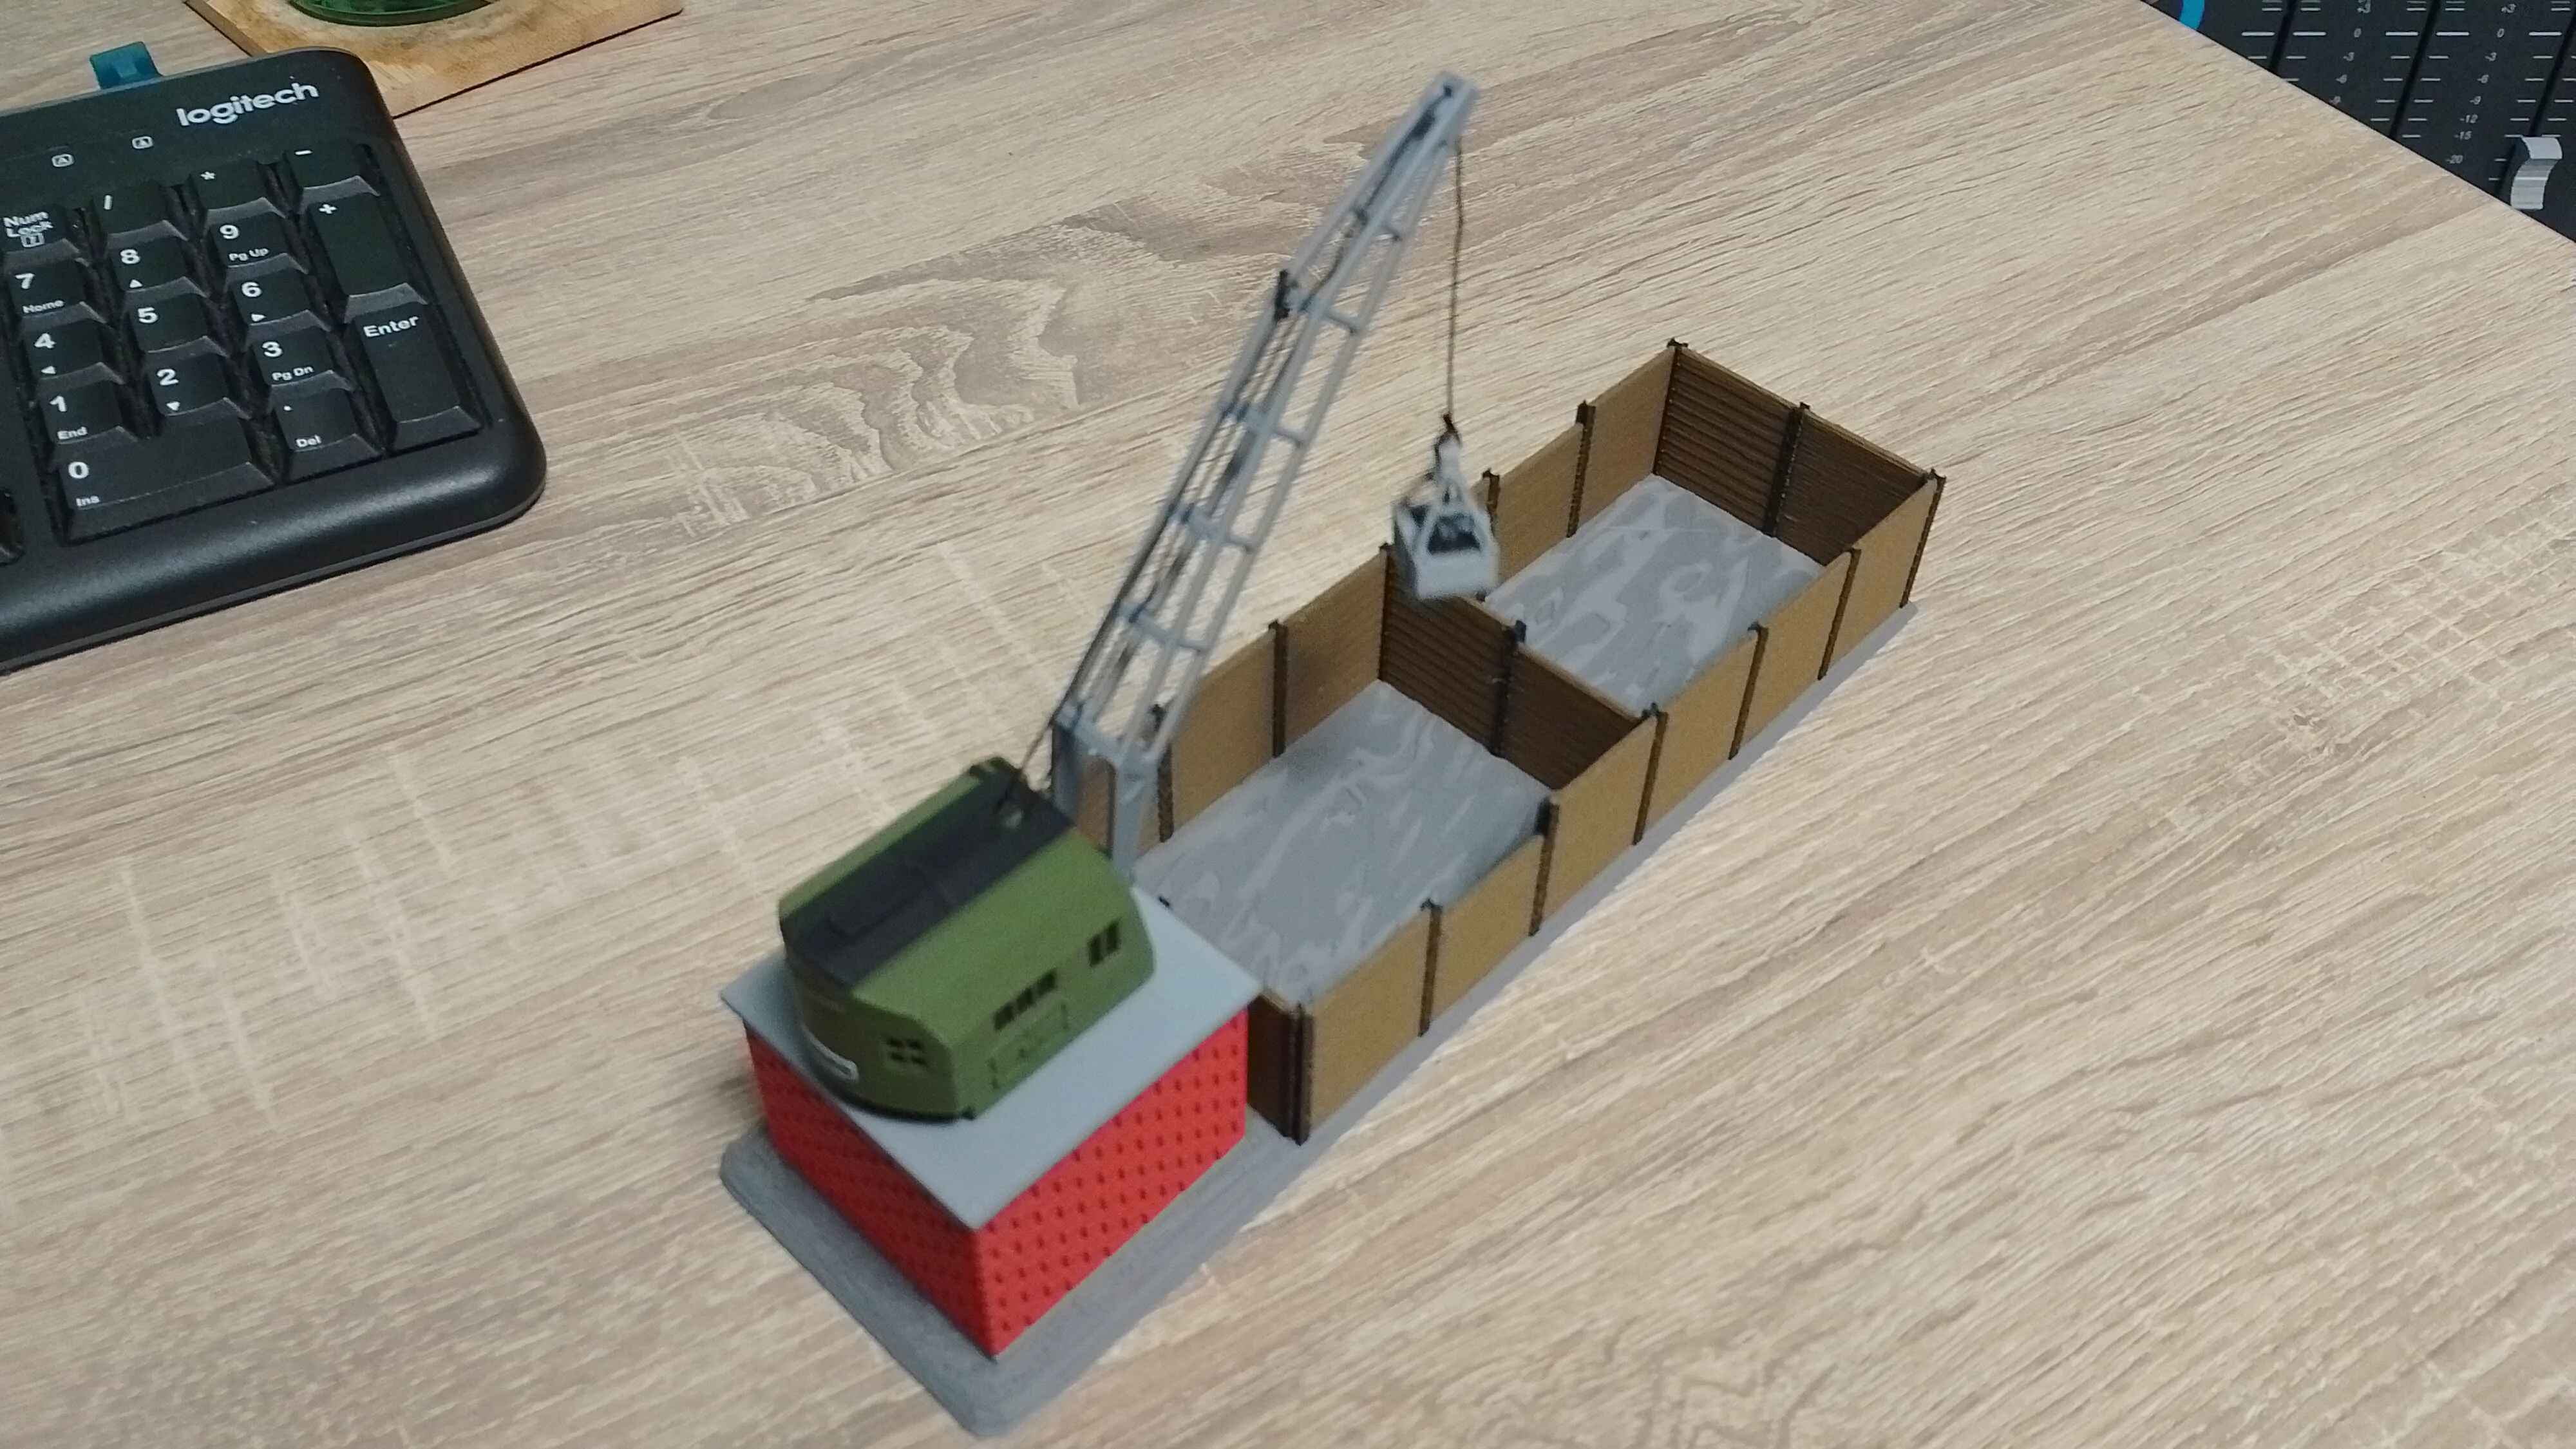
Marklin H0 Coalbunker based on Faller set 120254 and the older DB Krupp Ardelt railroad cranes commonly seen in Marklin sets.
Print Instructions
- The model being H0 means it has thin fragile parts. To make your your printer can perform the model start with the crane's gray boom. A cube is added as a sort of prime tower. Older printers (Like X1C) tend to struggle more with this part then newer maschines like the H2D.
- The lader needs a low first layer speed to print properly. Make sure its around 10/20mm sec. Bambu Studio sometimes resets those settings when switching printer model!
Build Instructions
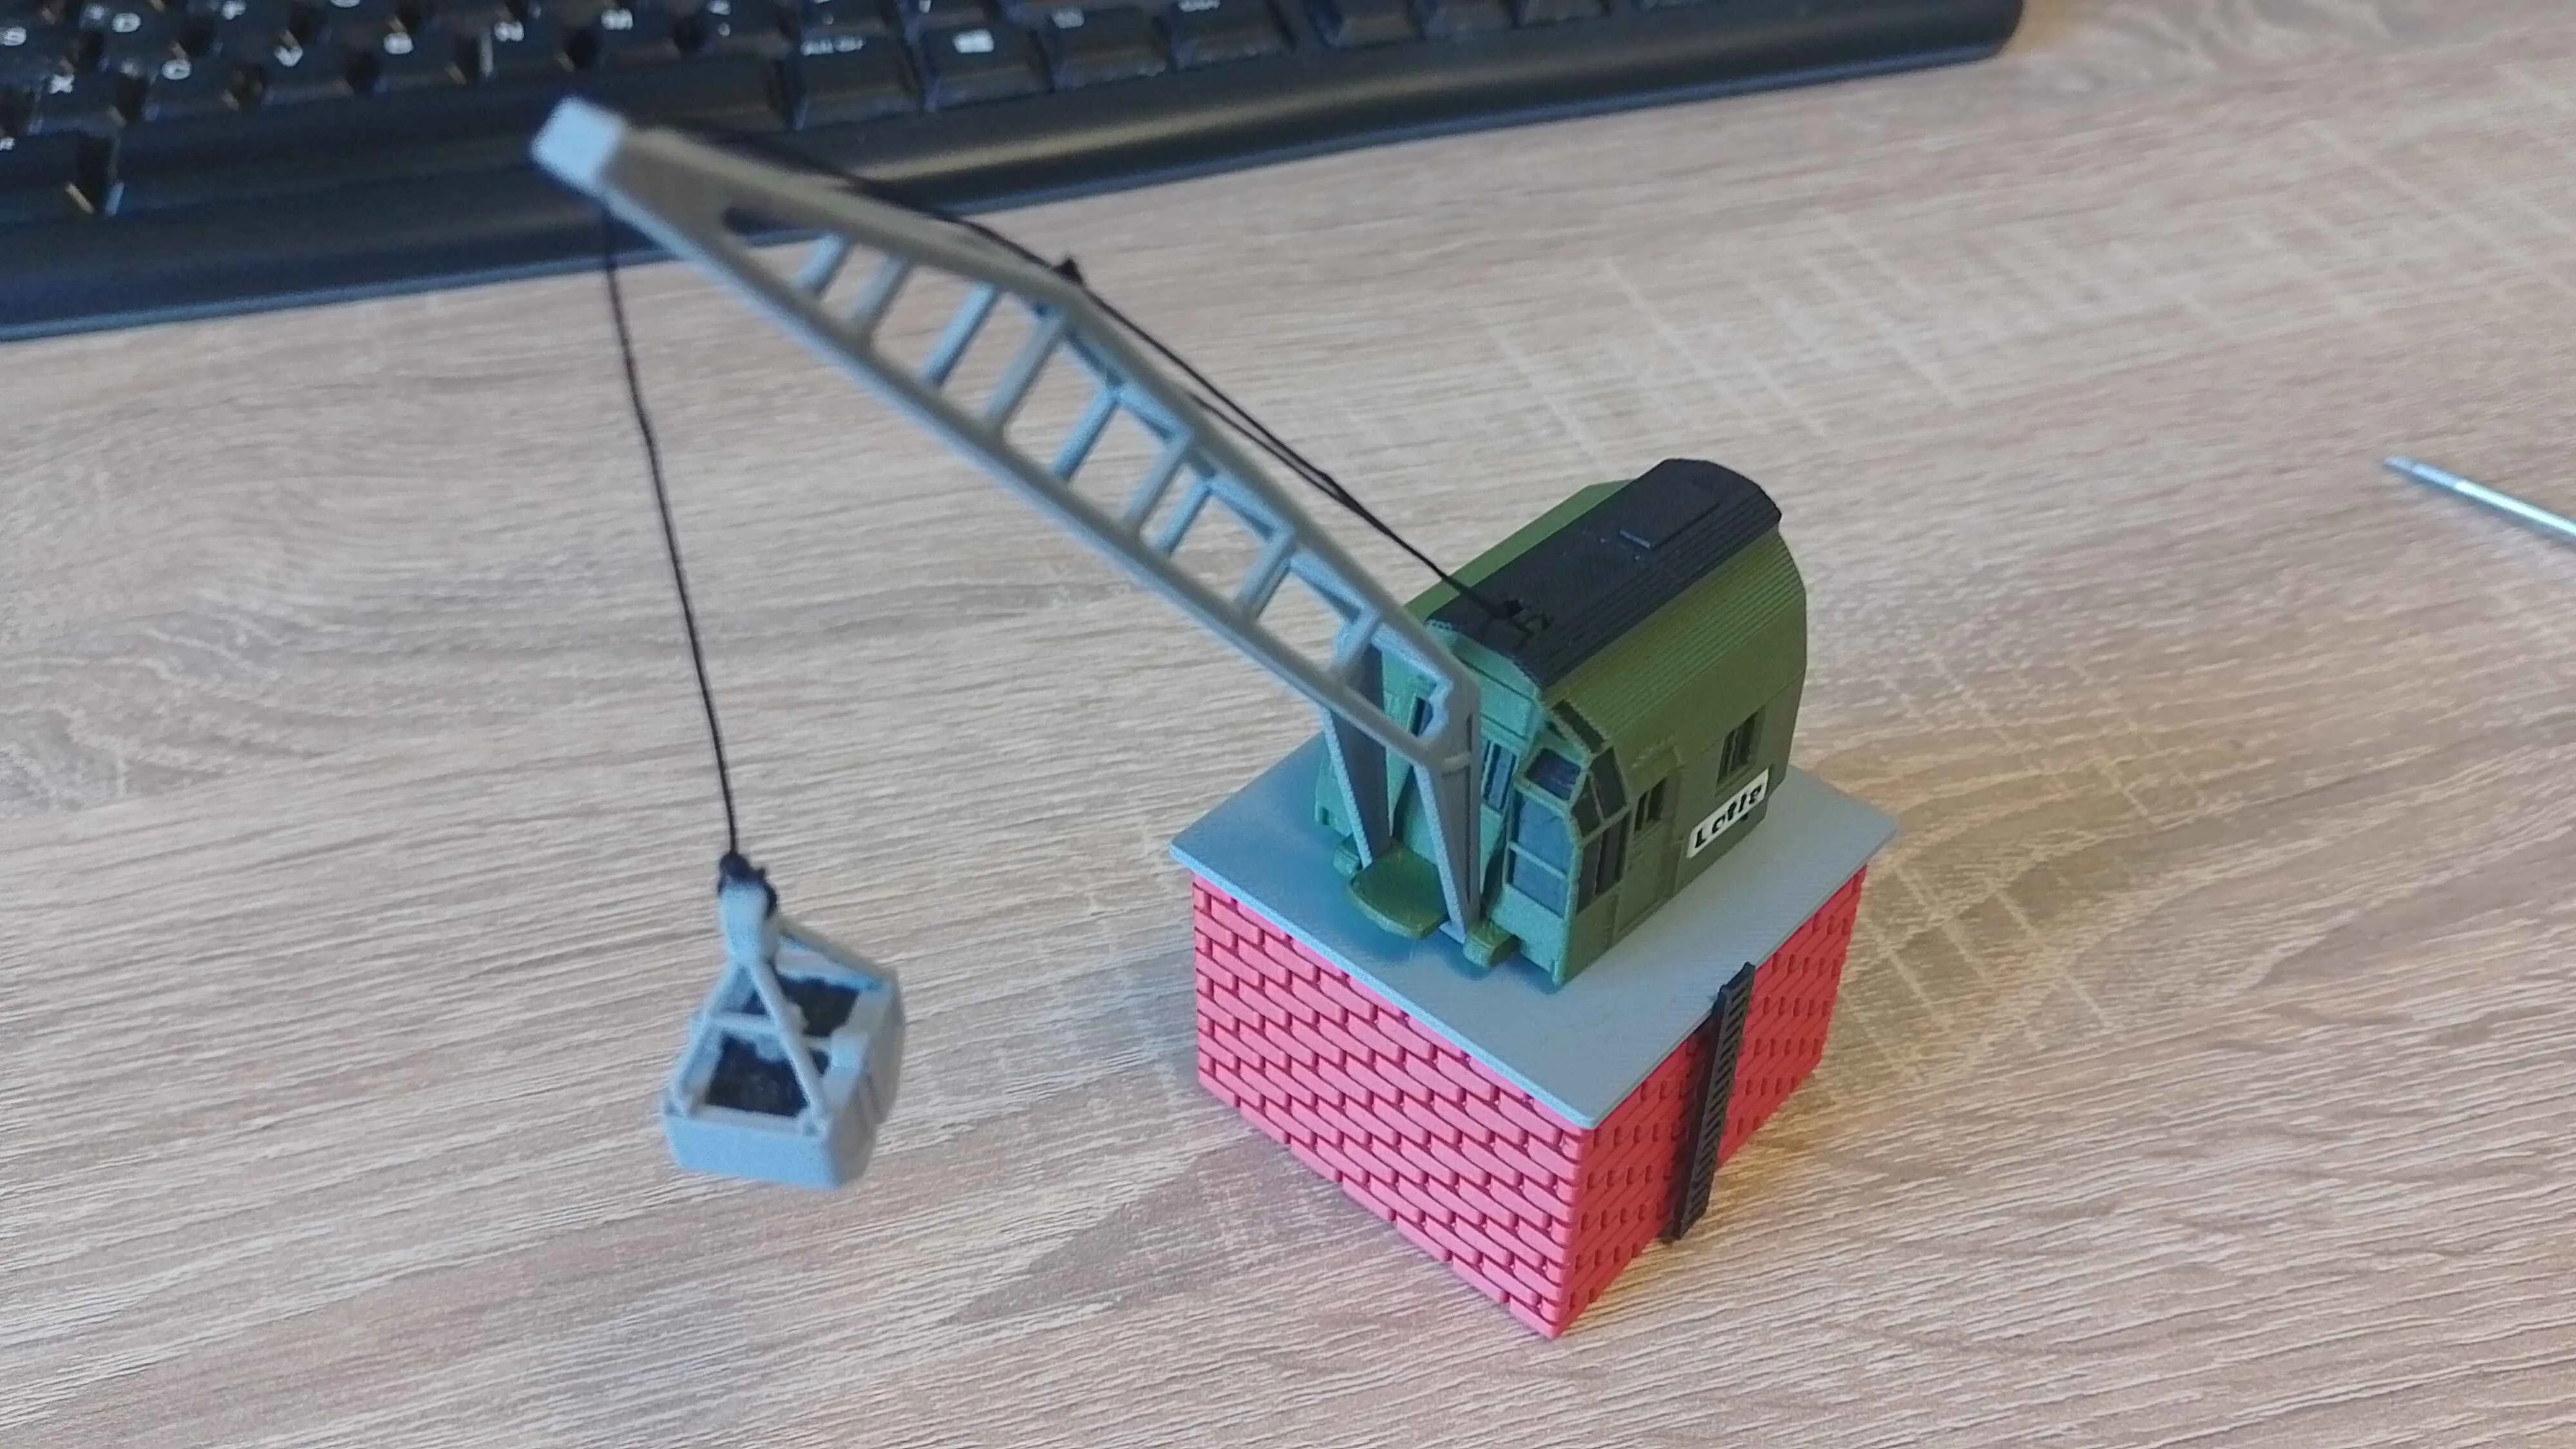
Attach the rope to the boom. One of the 2 booms should be around the last bar while the other goes over the roller and boom at the front. I recommend First connecting the bucket before looping it though the boom.
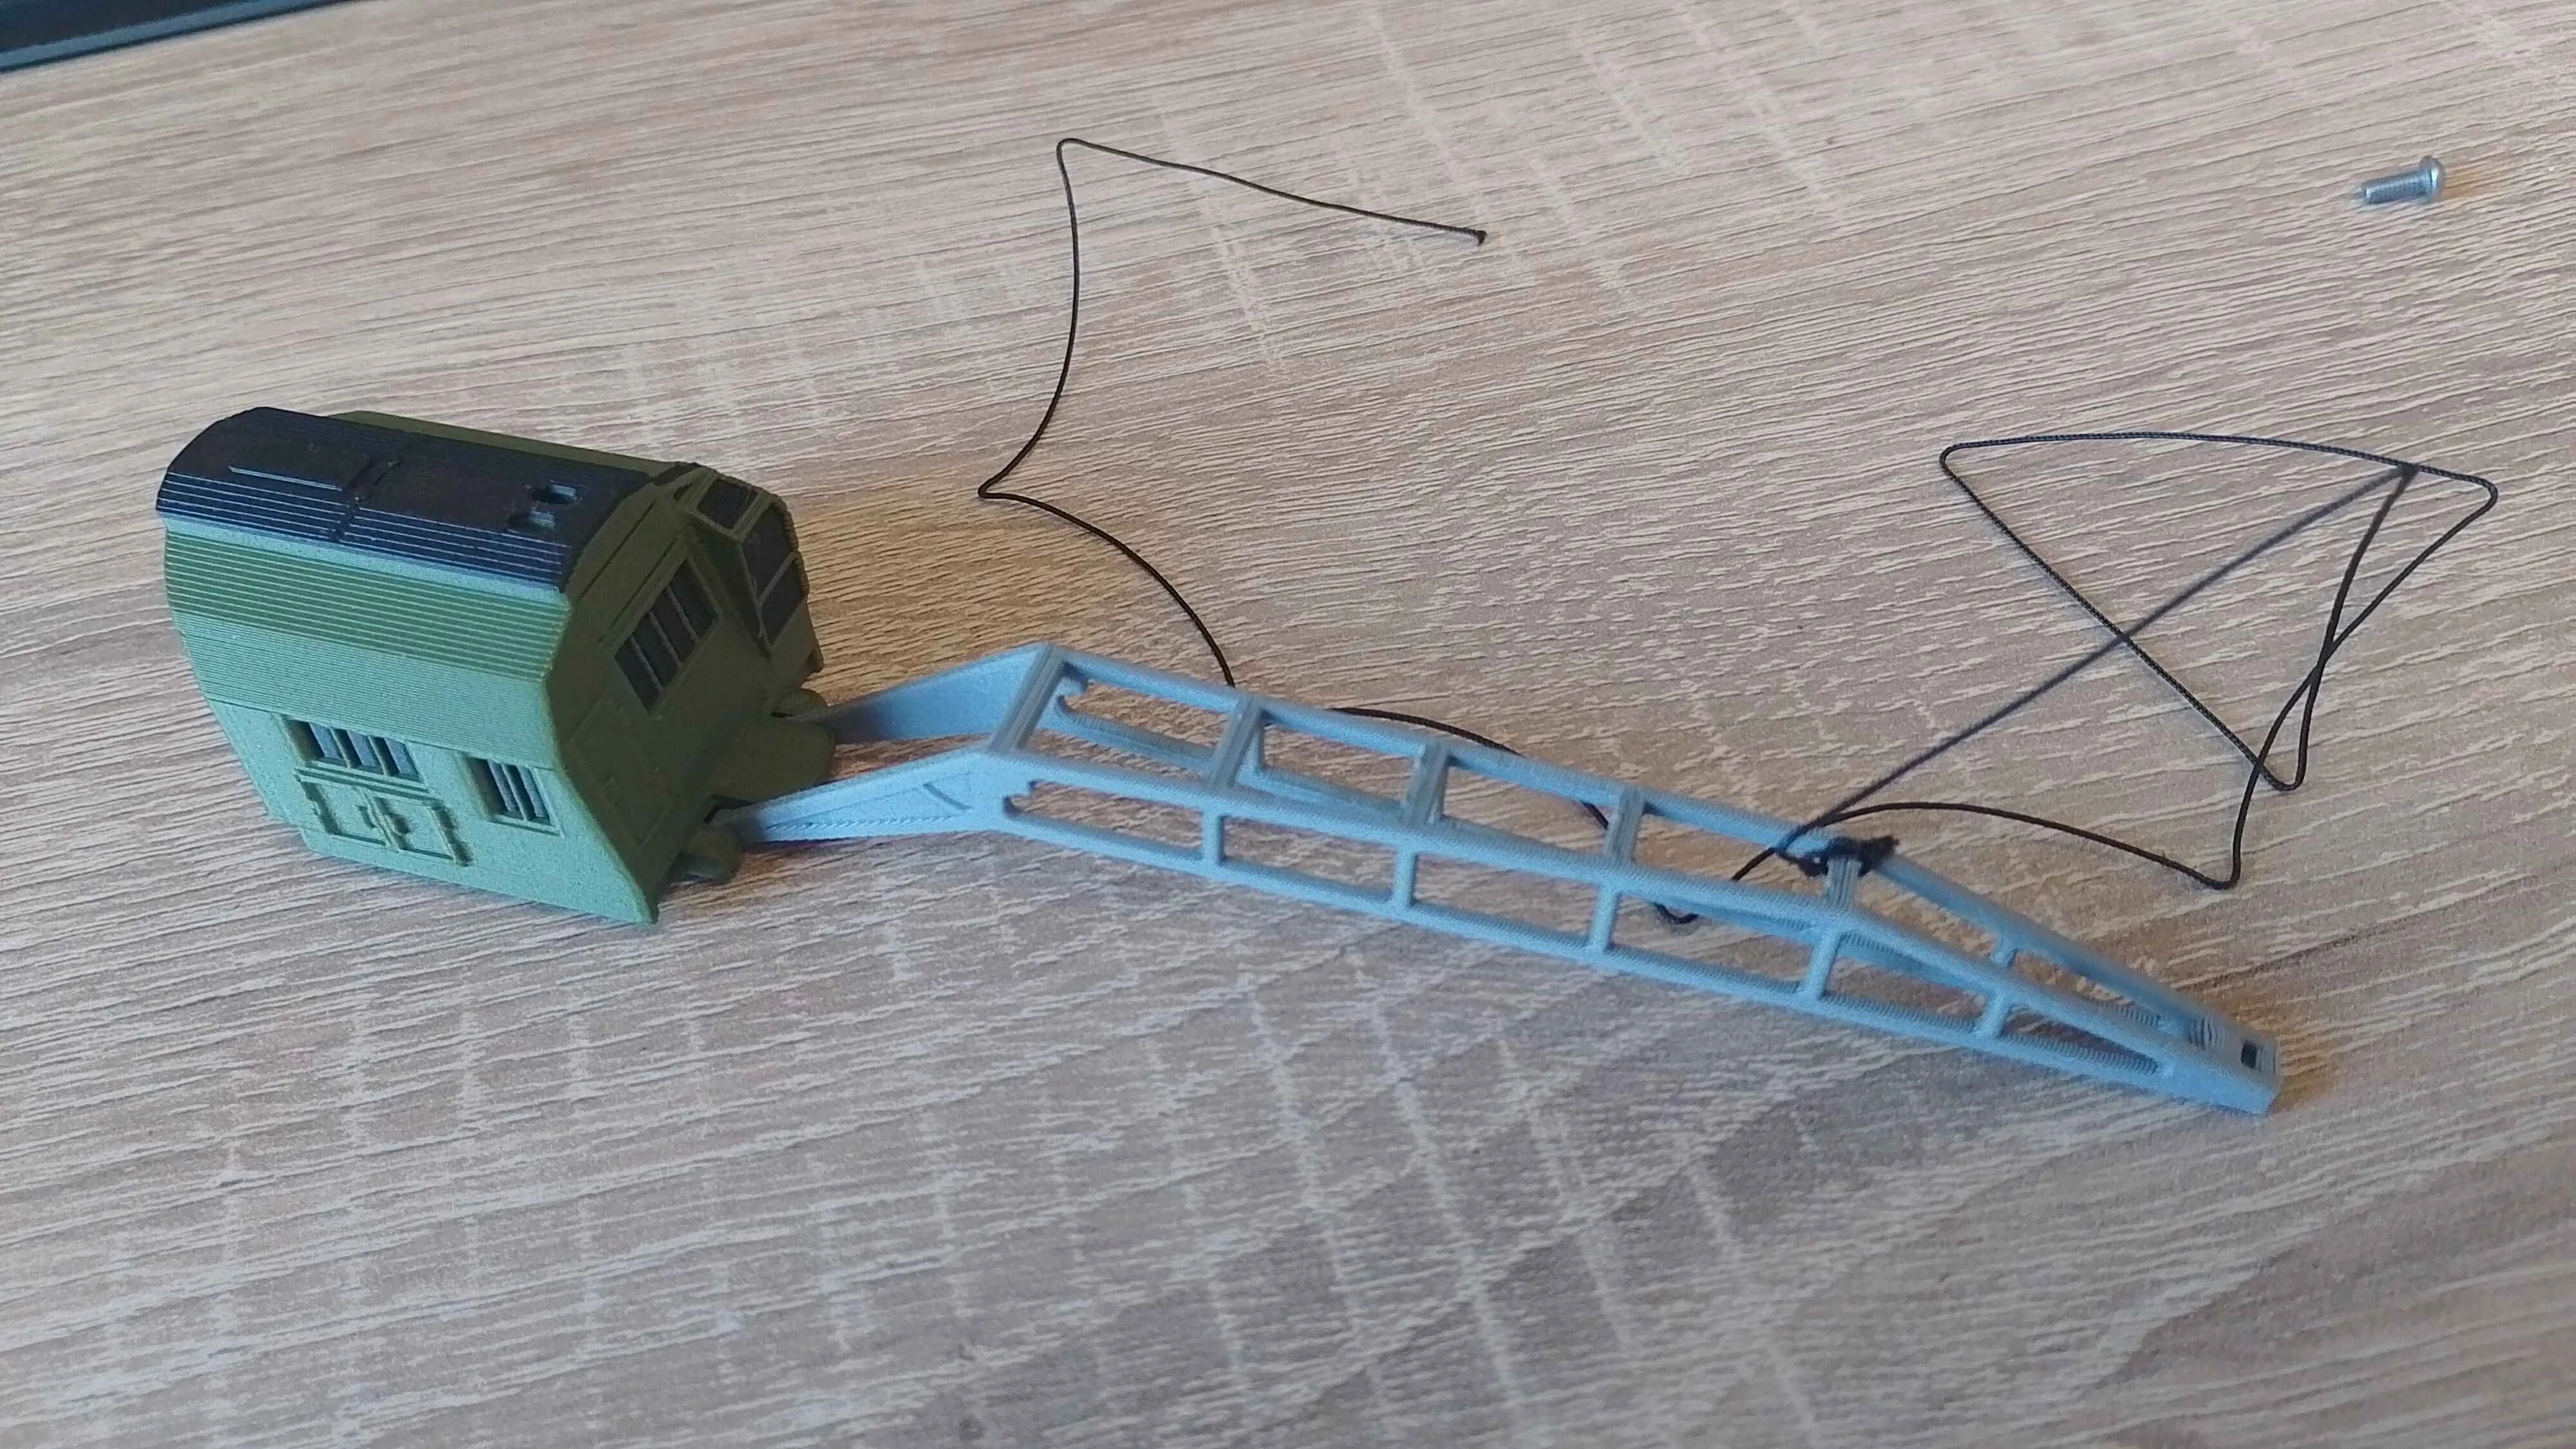
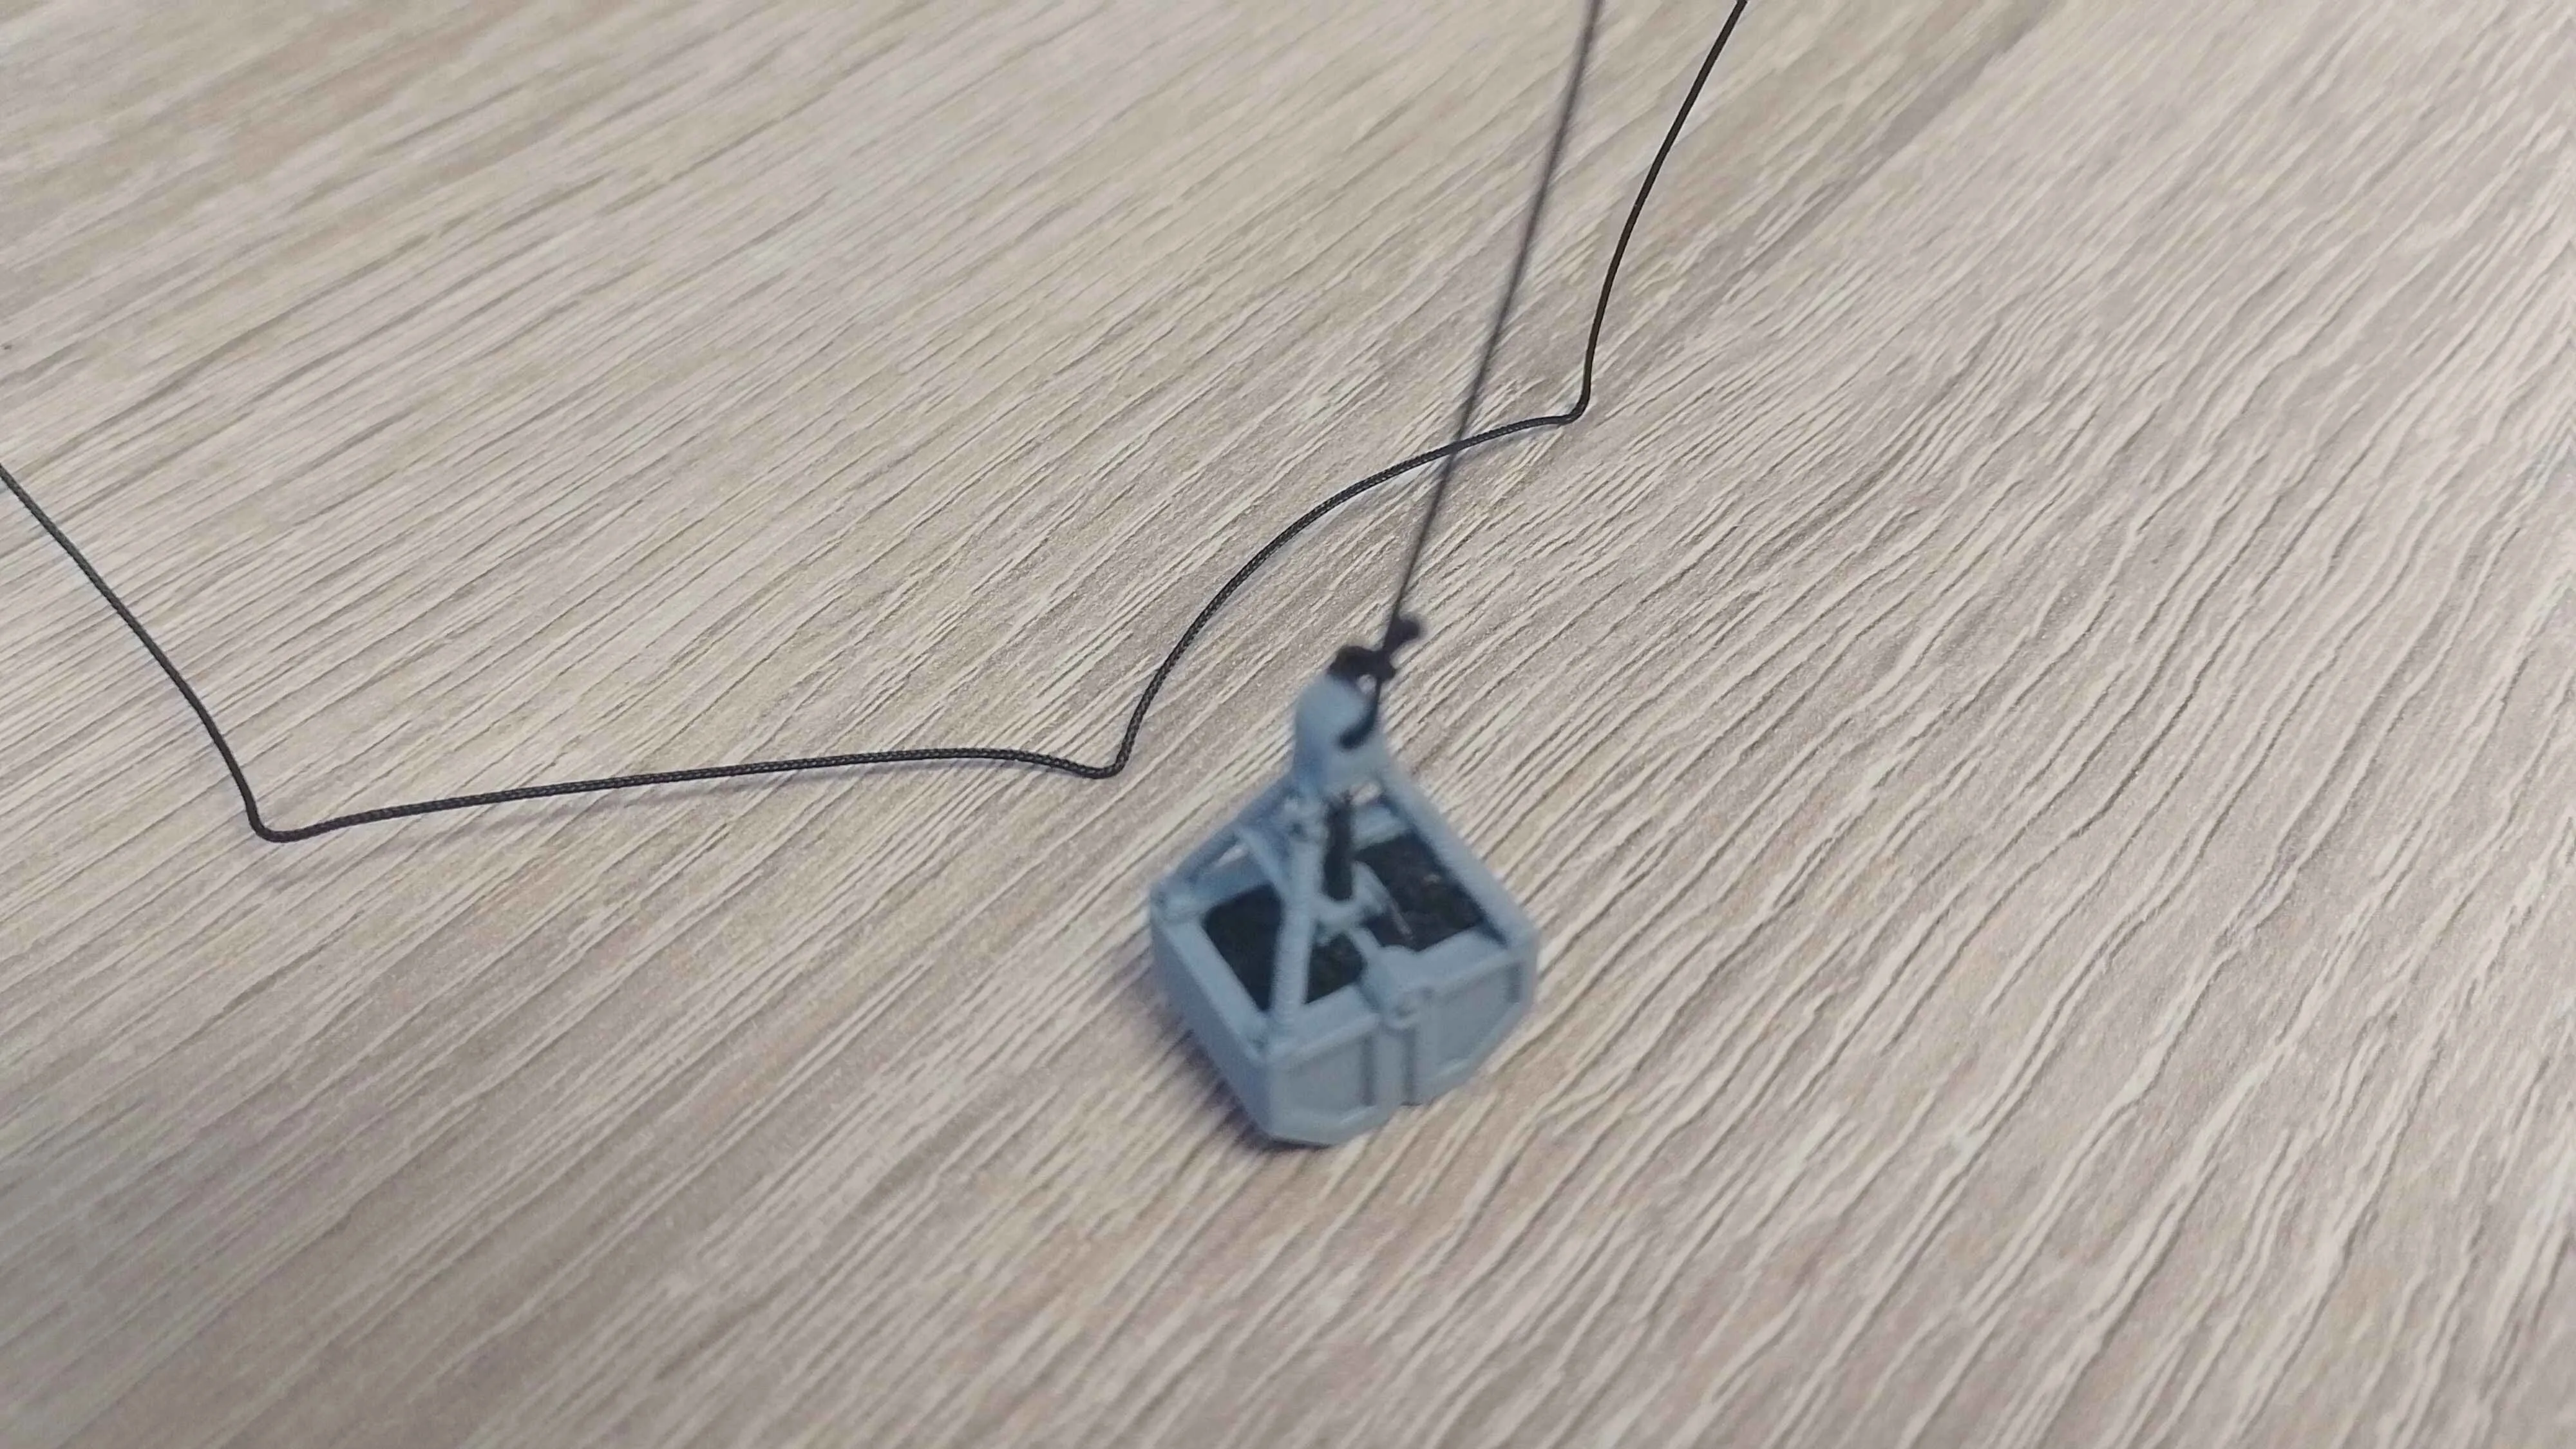
Insert the 2 nylon cords though the cranes cabin. On the bottom is place for 2 bambulab screws. Once the cord is pulled though you can use those to set them inplace. position the booms angle and bucket height as desired and thightly screw them inplace. Make sure they thightly thigtend as sometimes it can look its thightend all the way but in realist has still more space.
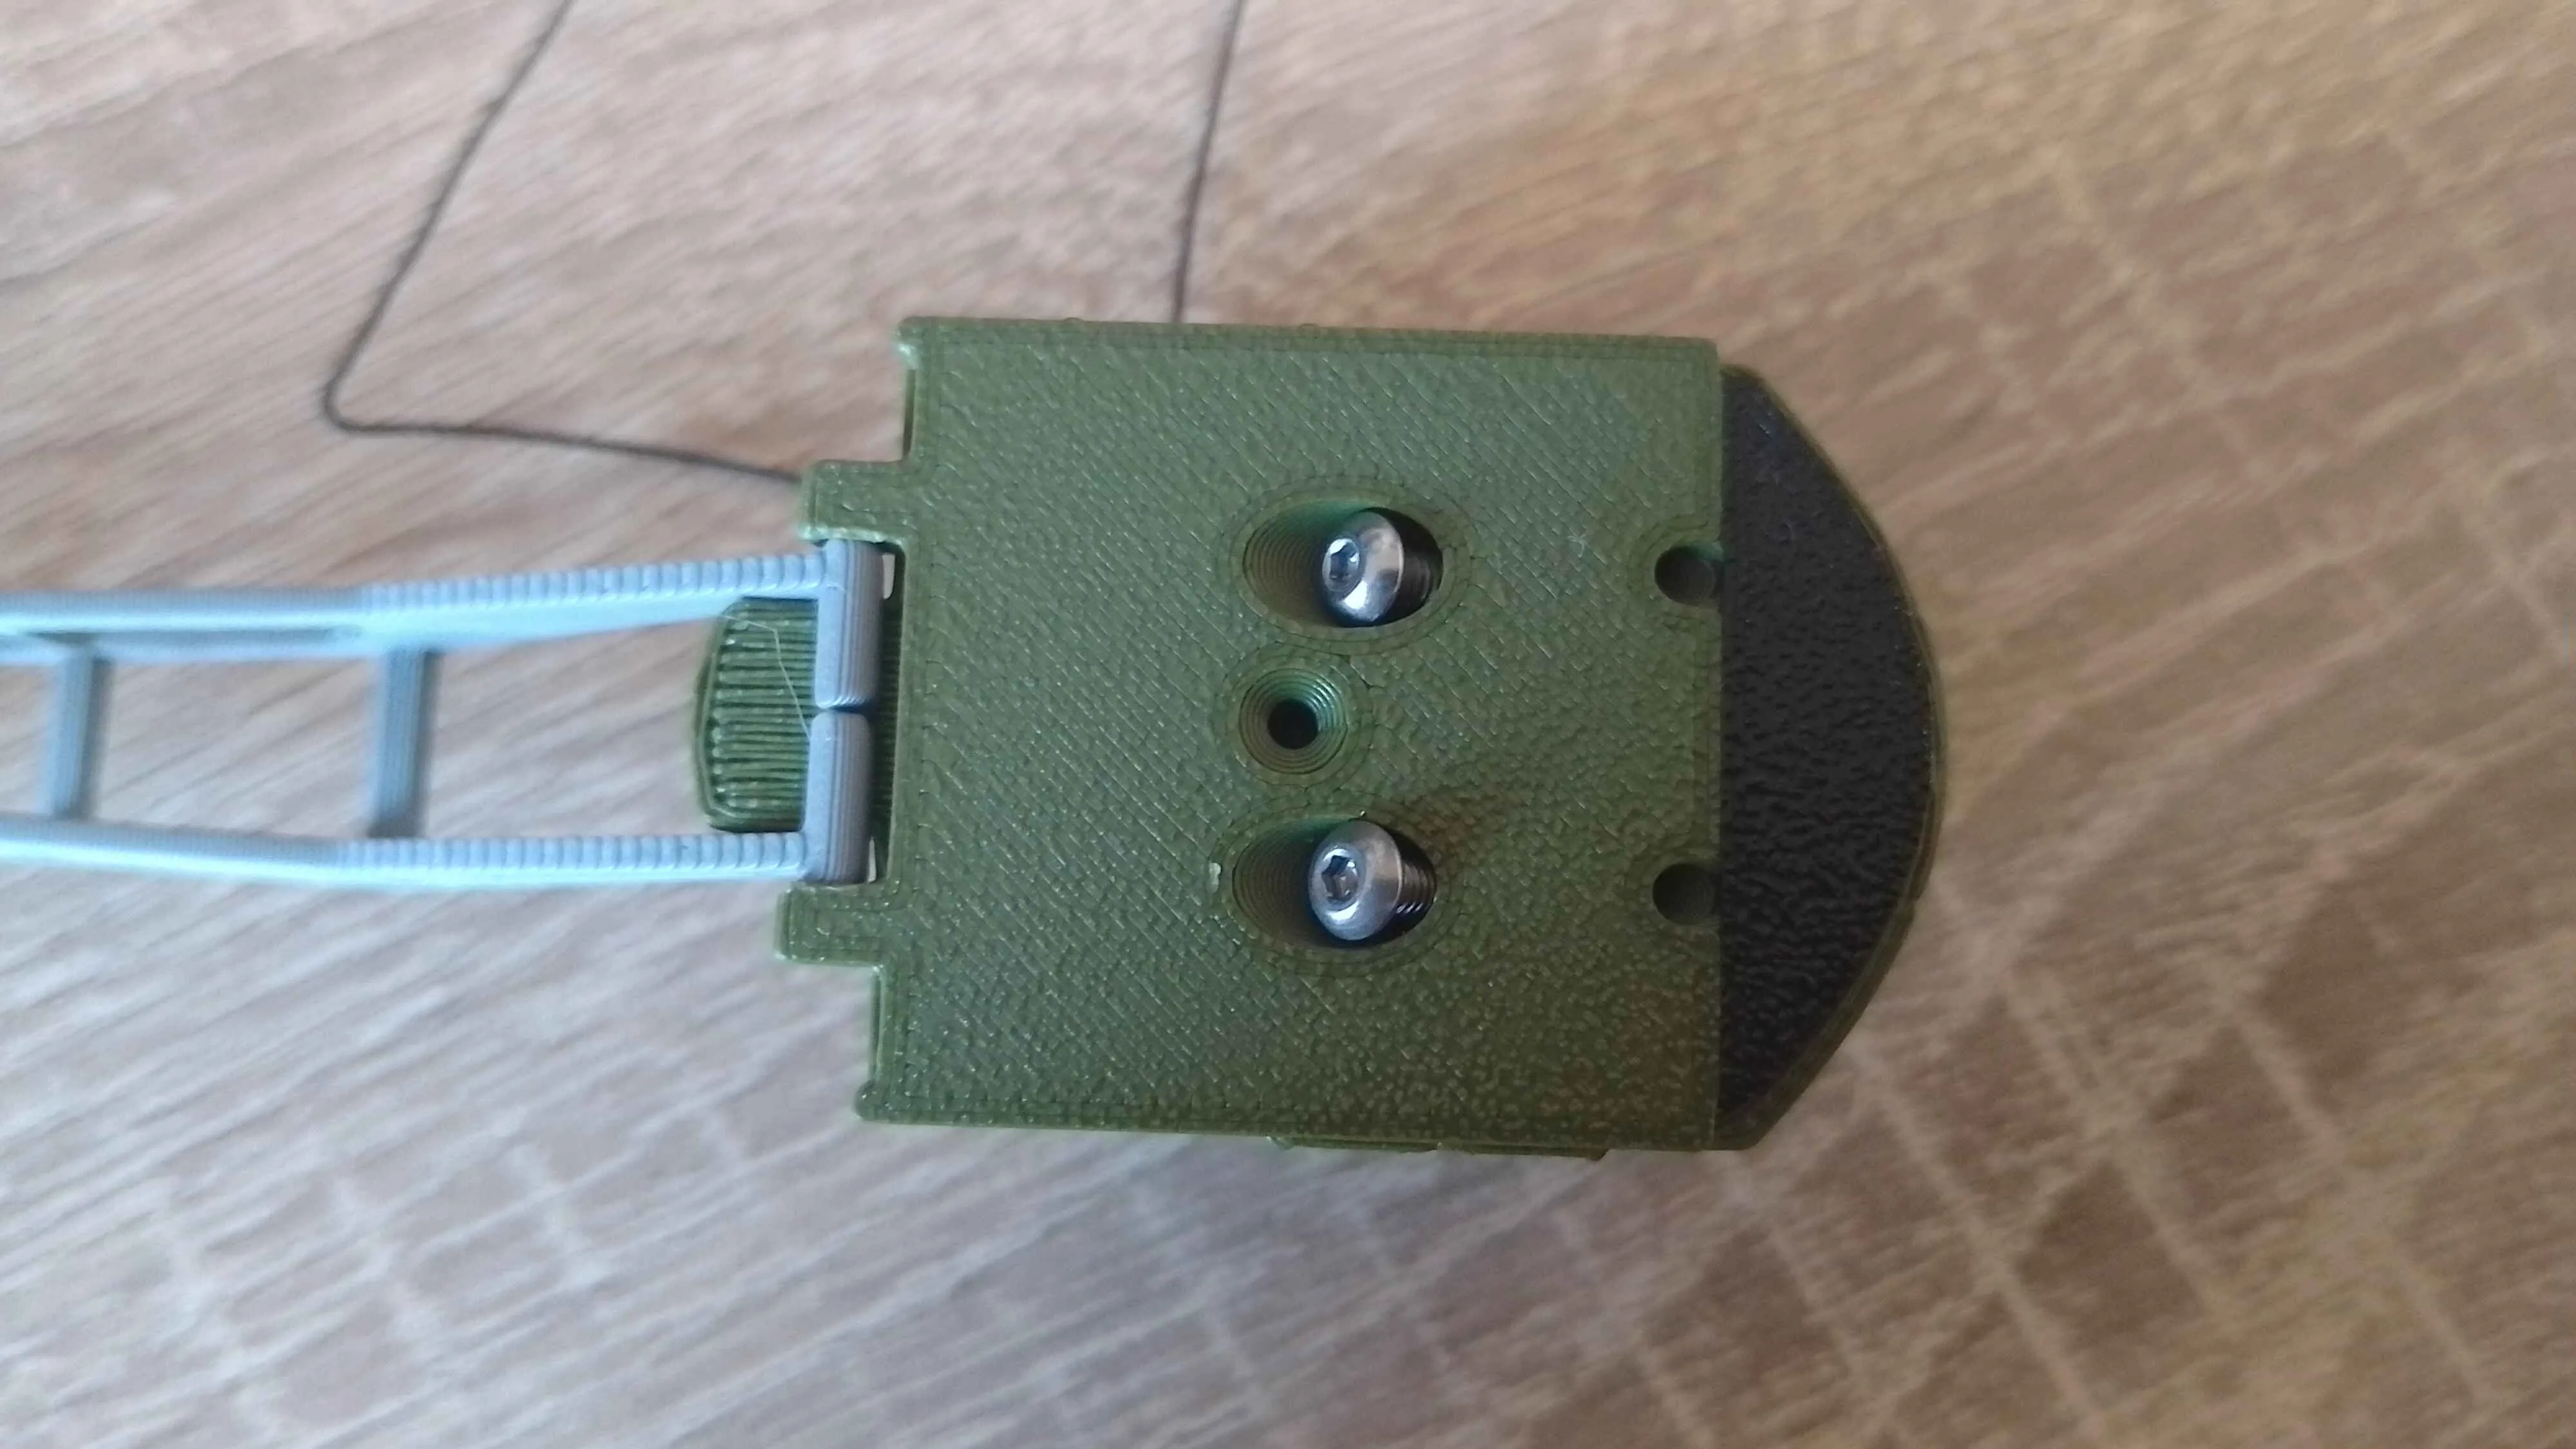
Thighten the cabin onto the platform with a 3th screw
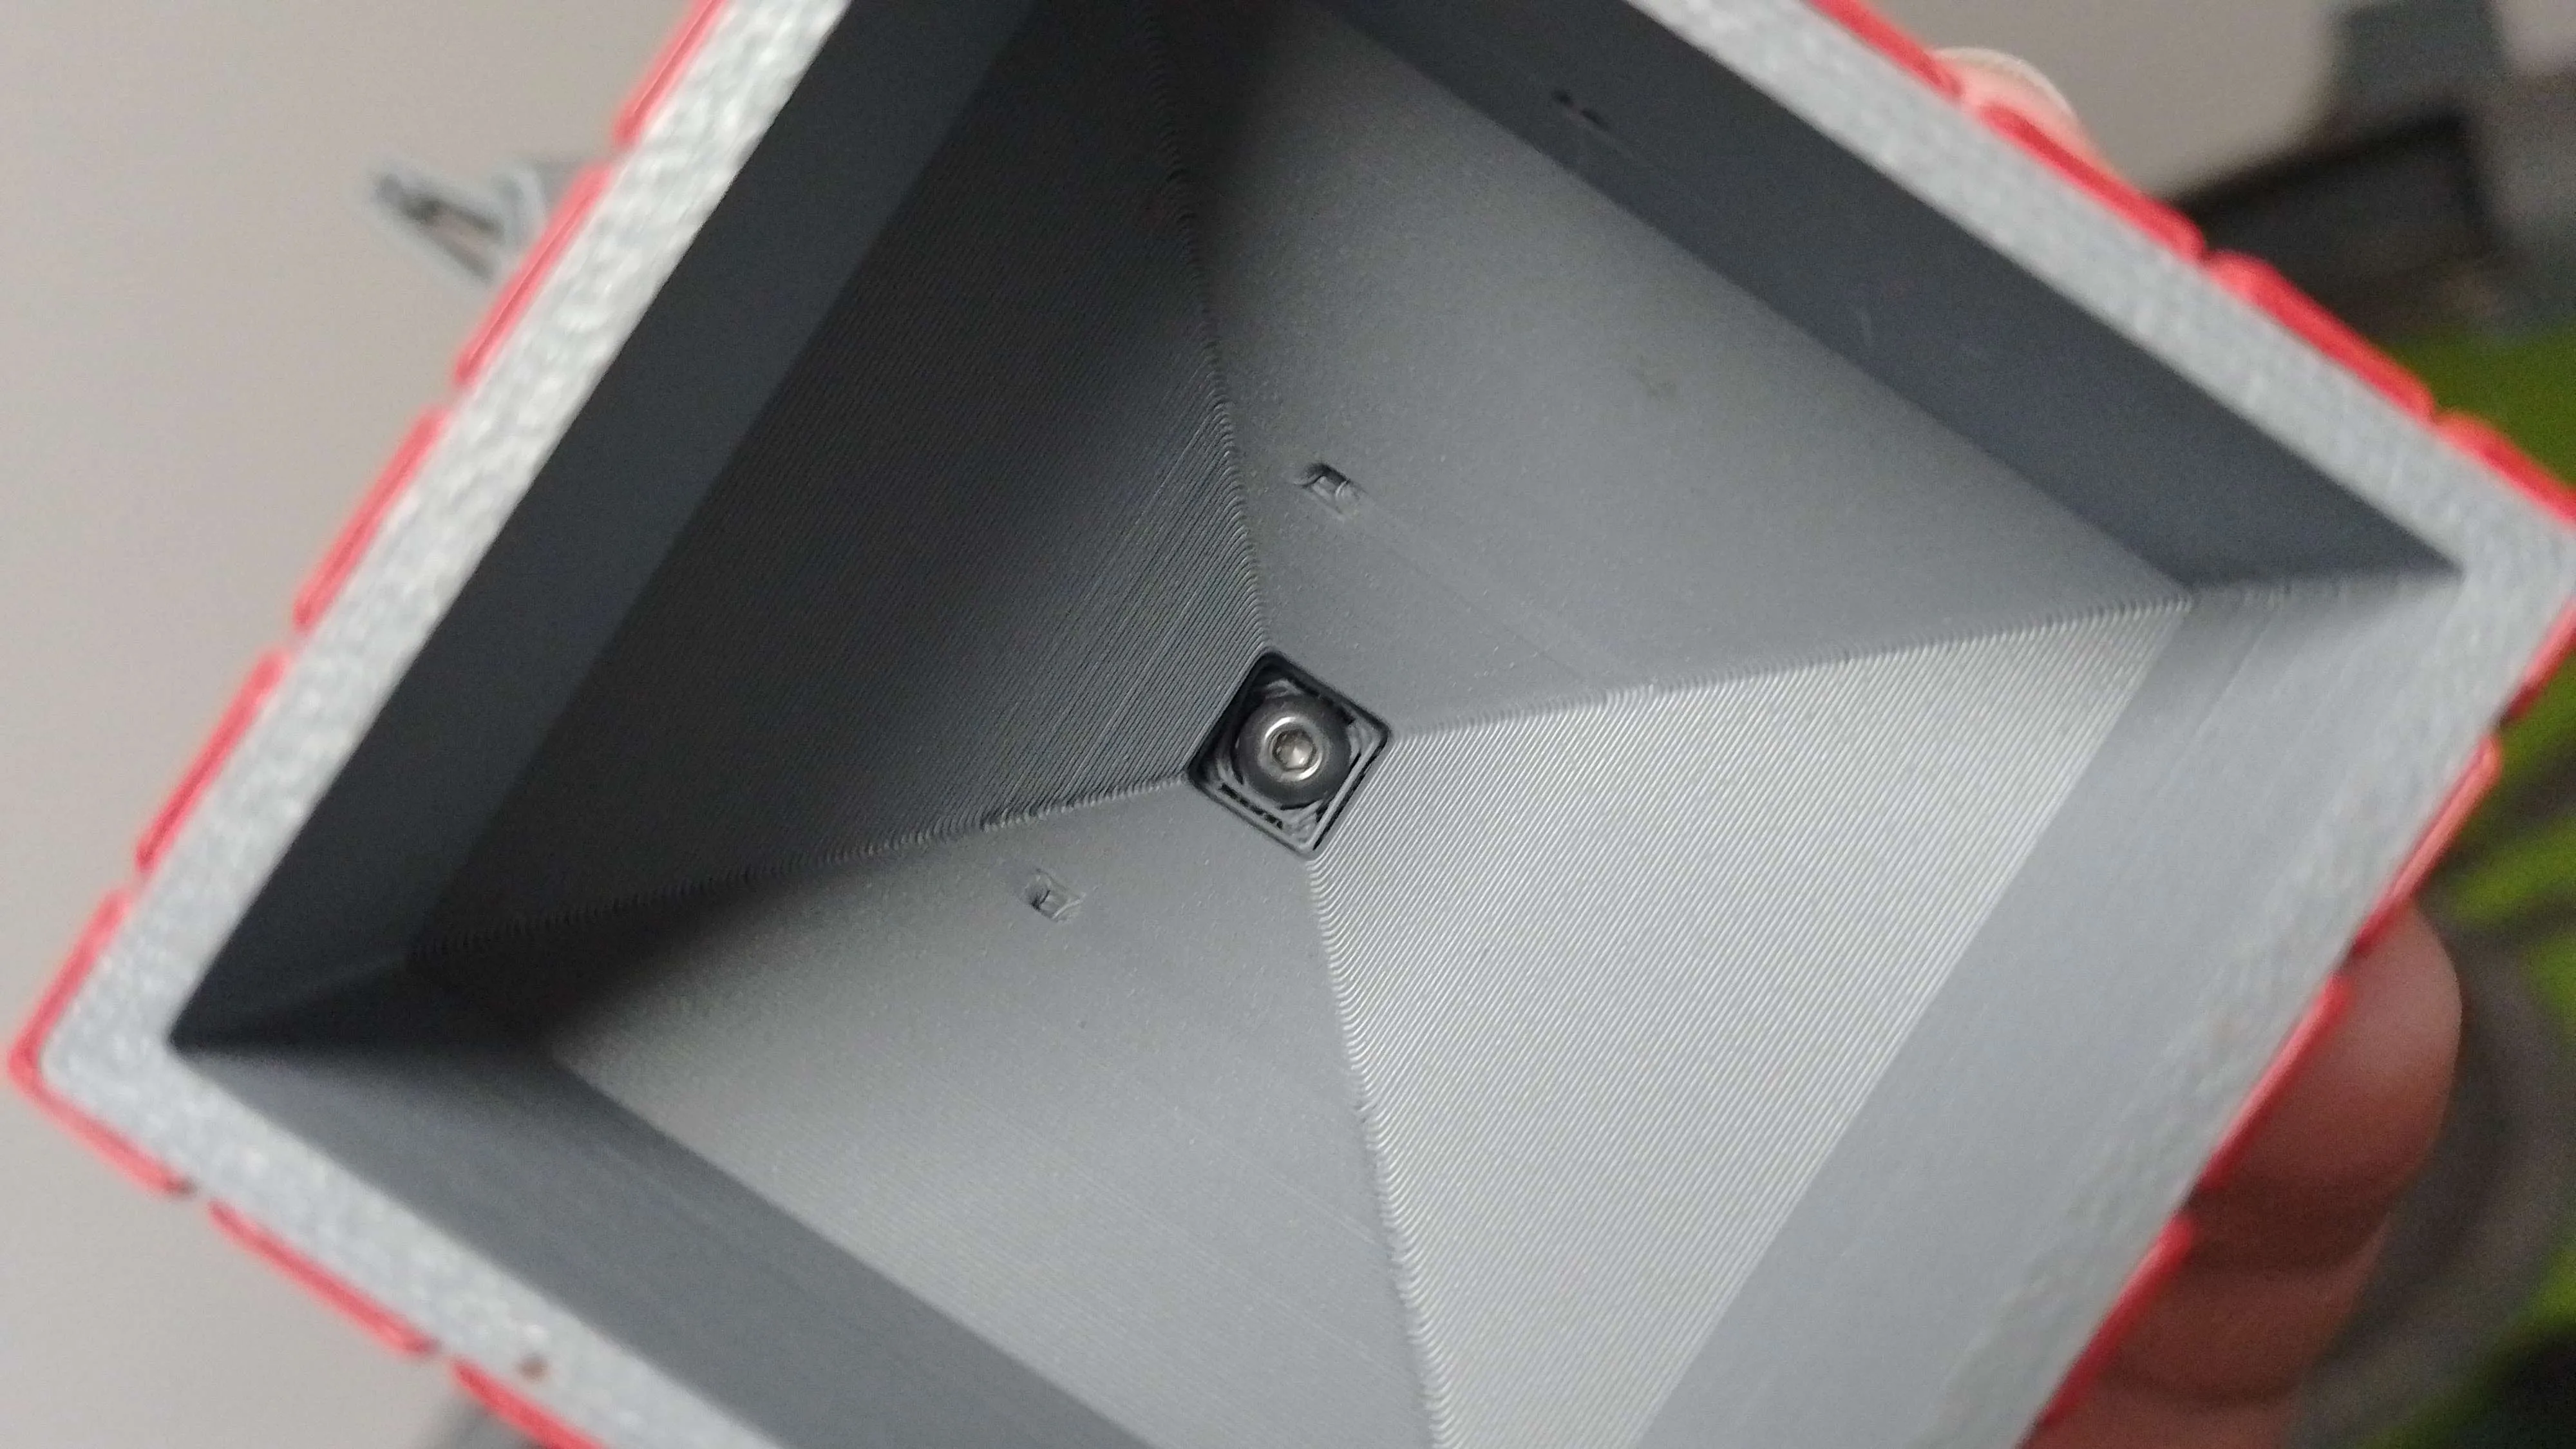
Glue the lader on the side of the platform. There 2 guiding holes to allign it but with the small size they extremly weak and break easly so shouldnt be used for more then just allighnment
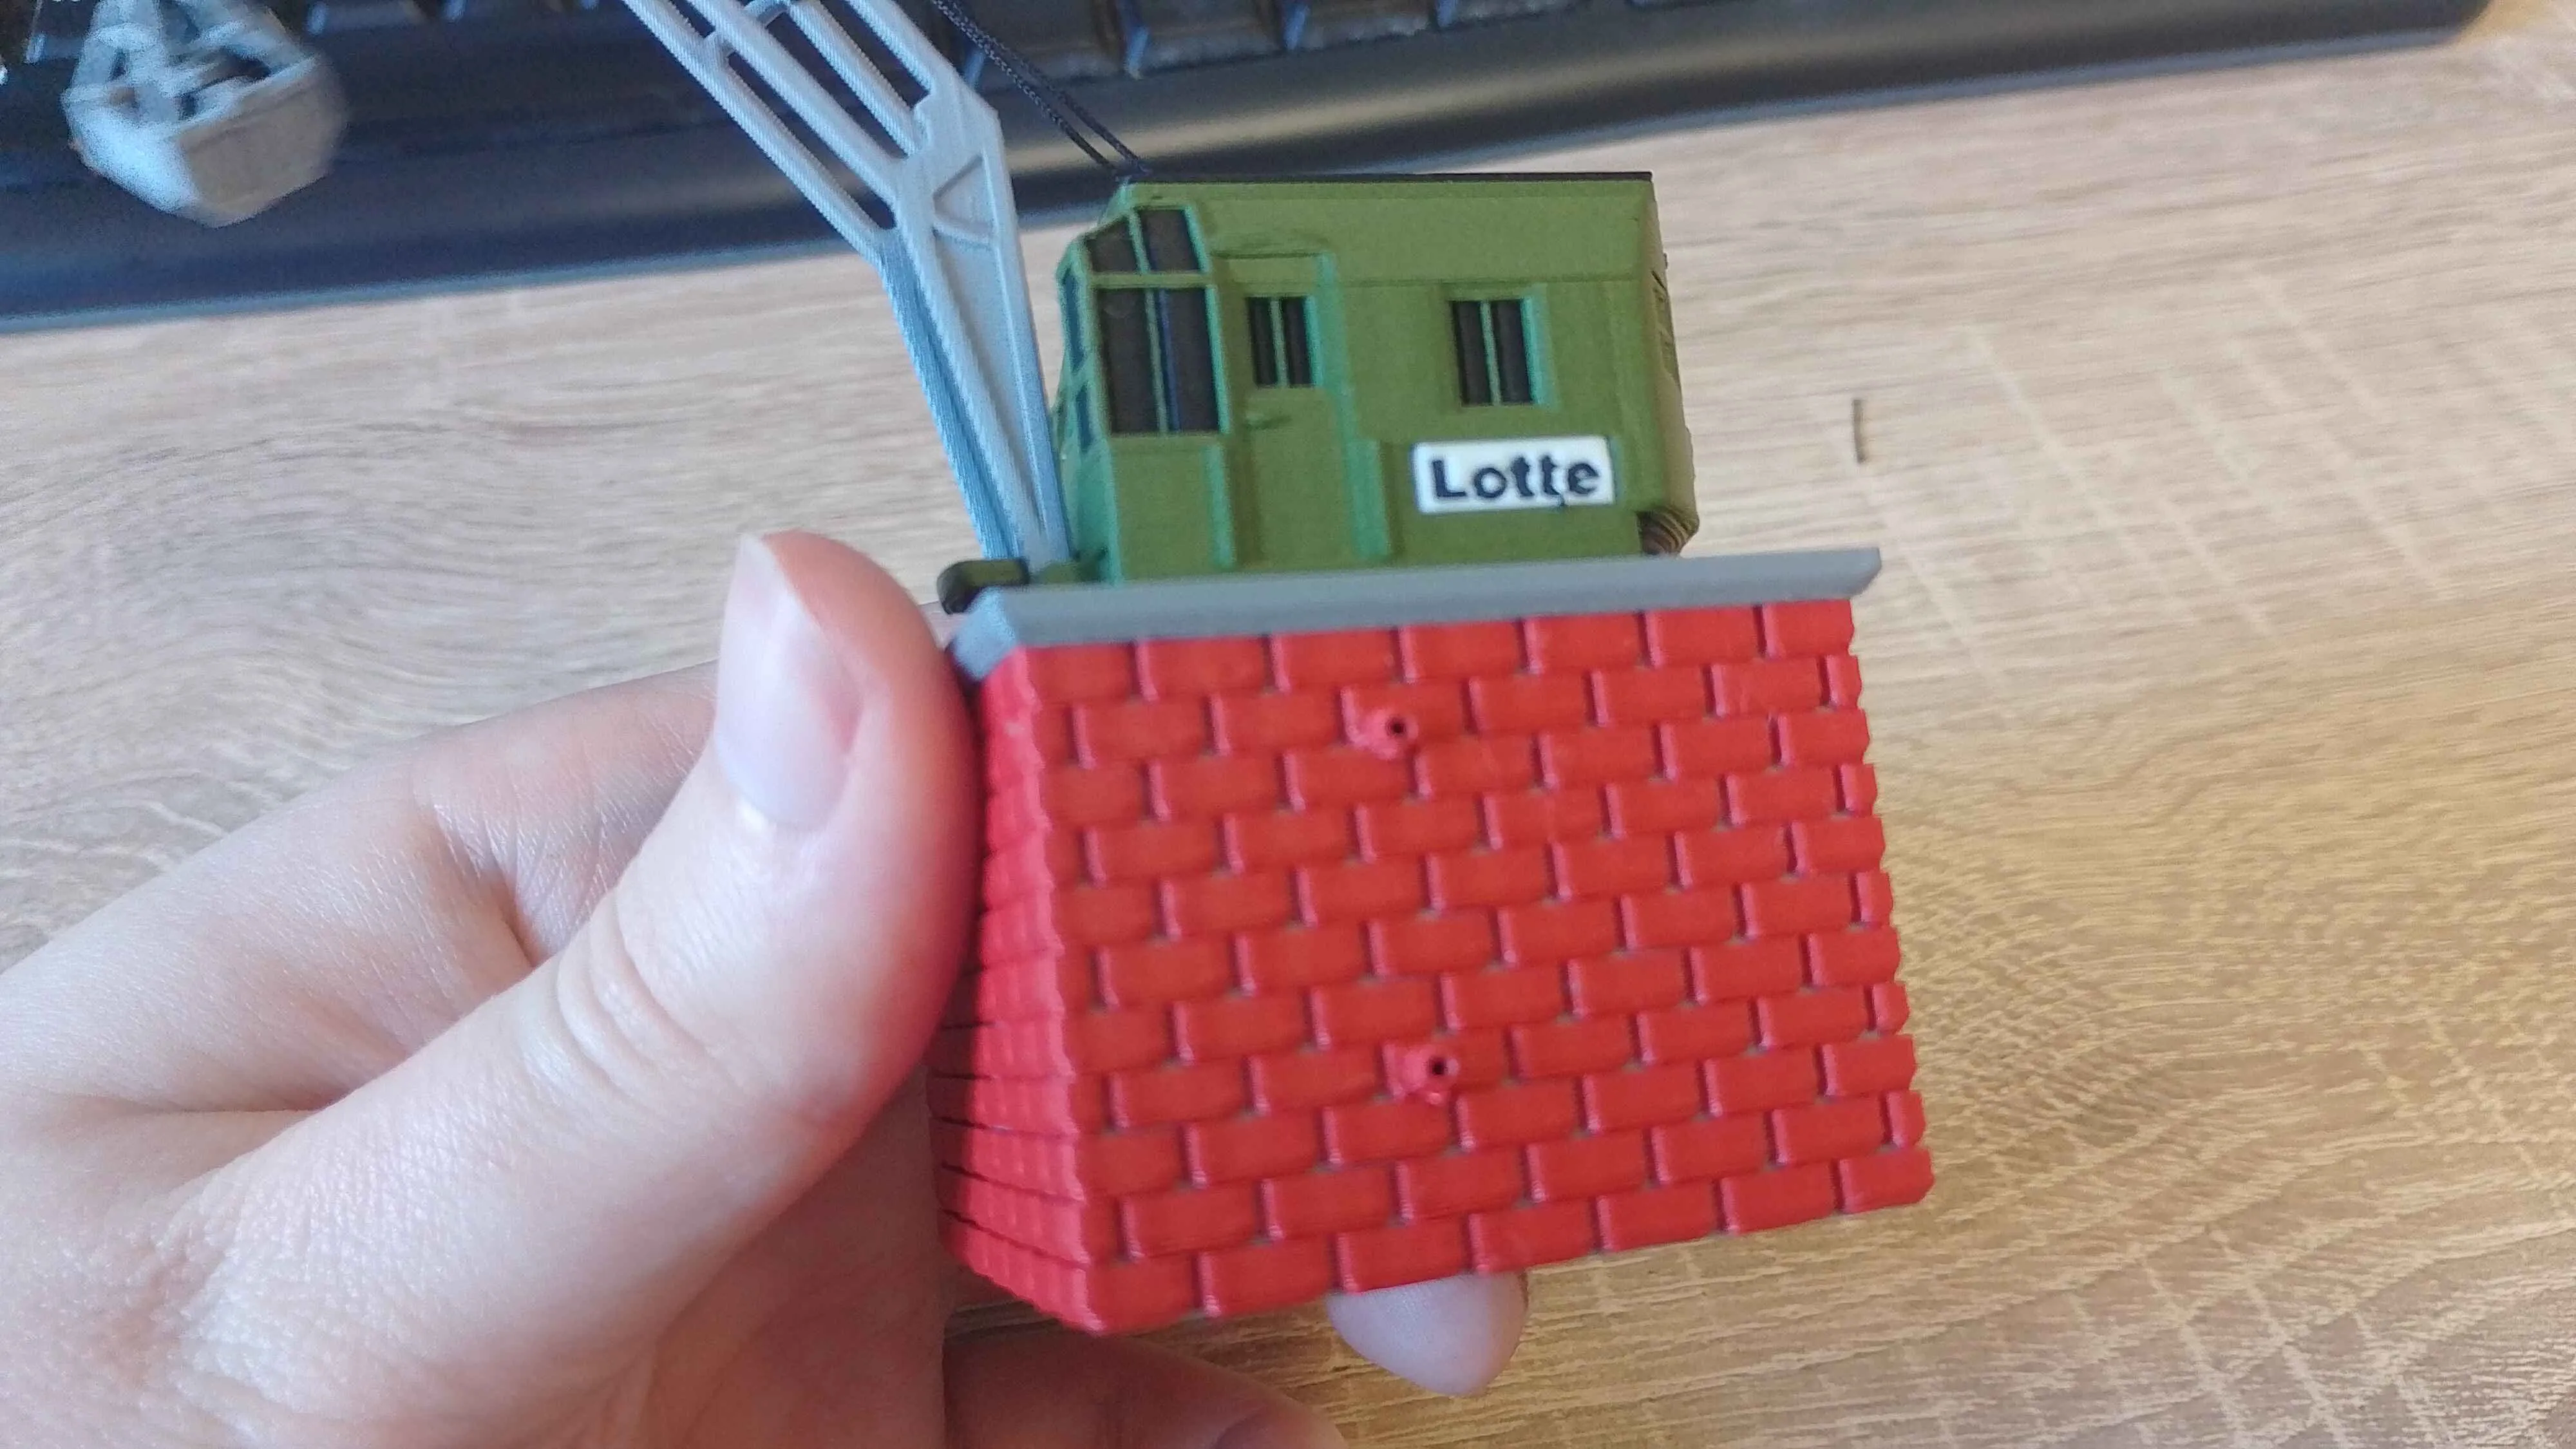
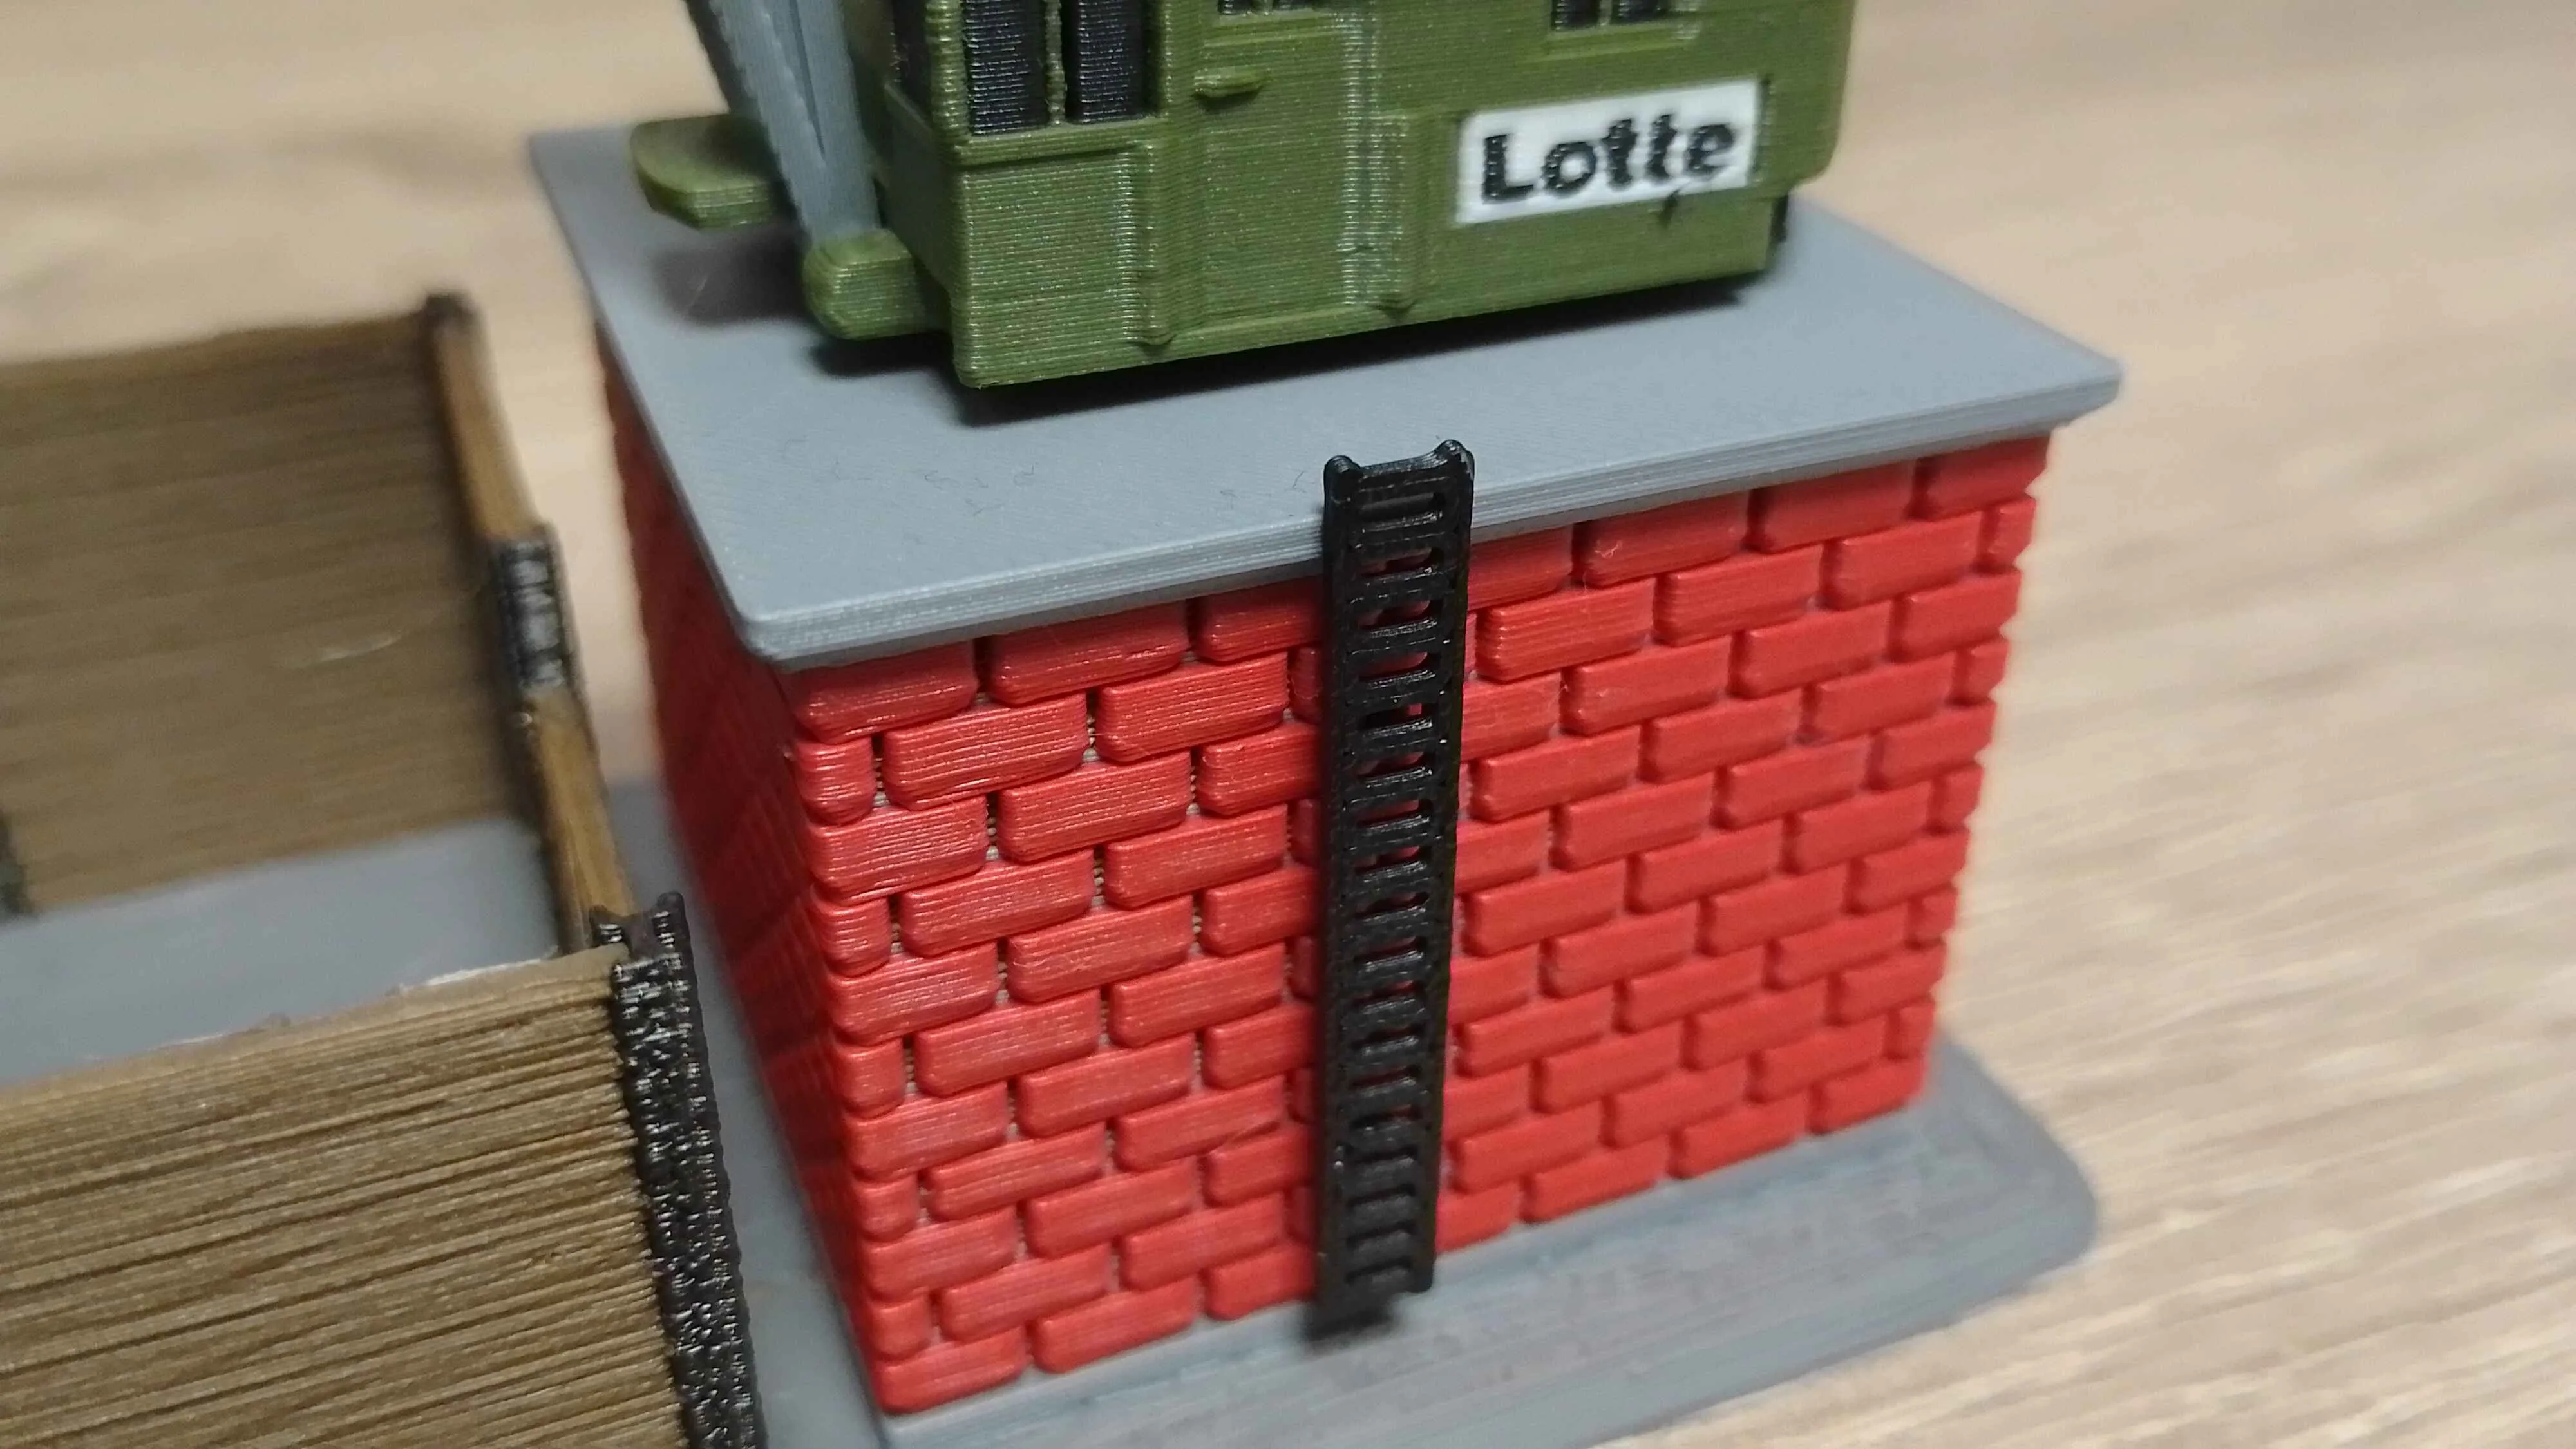
Your crane is now completed and can be put on the base plate!
Boost Me (for free)
Support my layout!
Need Support?

To help us assist you more effectively, please include which printer and filament you’re using, along with any modified settings. If a manual is available for your model, we recommend reading it and starting with the stock settings for best results.
❌ No AI Use: This model may not be used for AI training, dataset creation, or any other AI-related purposes under any circumstances.
❌ No Commercial Use Without Permission: This model may not be sold, redistributed, or used for profit (including reselling printed versions) unless a separate commercial license has been obtained from the creator.
Membership
Want to sell these models commercially? Buy a commercial license here!
License

You shall not share, sub-license, sell, rent, host, transfer, or distribute in any way the digital or 3D printed versions of this object, nor any other derivative work of this object in its digital or physical format (including - but not limited to - remixes of this object, and hosting on other digital platforms). The objects may not be used without permission in any way whatsoever in which you charge money, or collect fees.


Comment & Rating (19)