
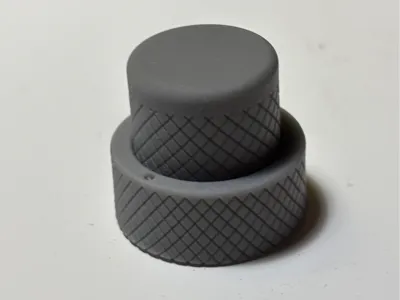
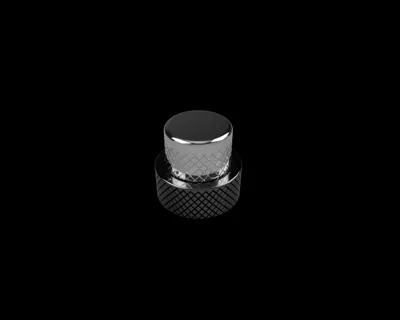
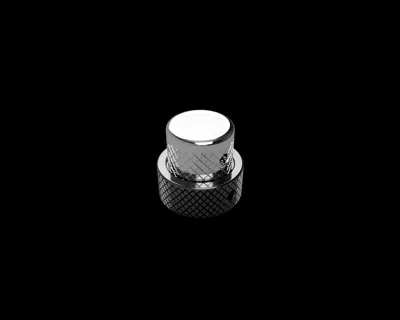
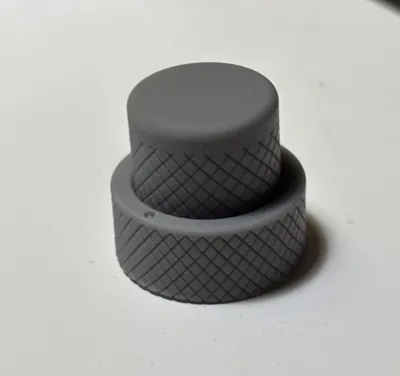
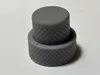
Fender Jazz Bass '62 Stacked Dual Knobs
Print Profile(1)
Description
🚀 Support My Creative Journey🚀
If you find my designs helpful or inspiring, there are two ways you can help me keep creating:
Boost Me (for free)
If you're on MakerWorld, a "Boost" helps me reach more makers and keeps the filament flowing! It's Free!!🚀
Buy me a coffee☕: For those who want to go the extra mile to support my work and my family.
📖 Description
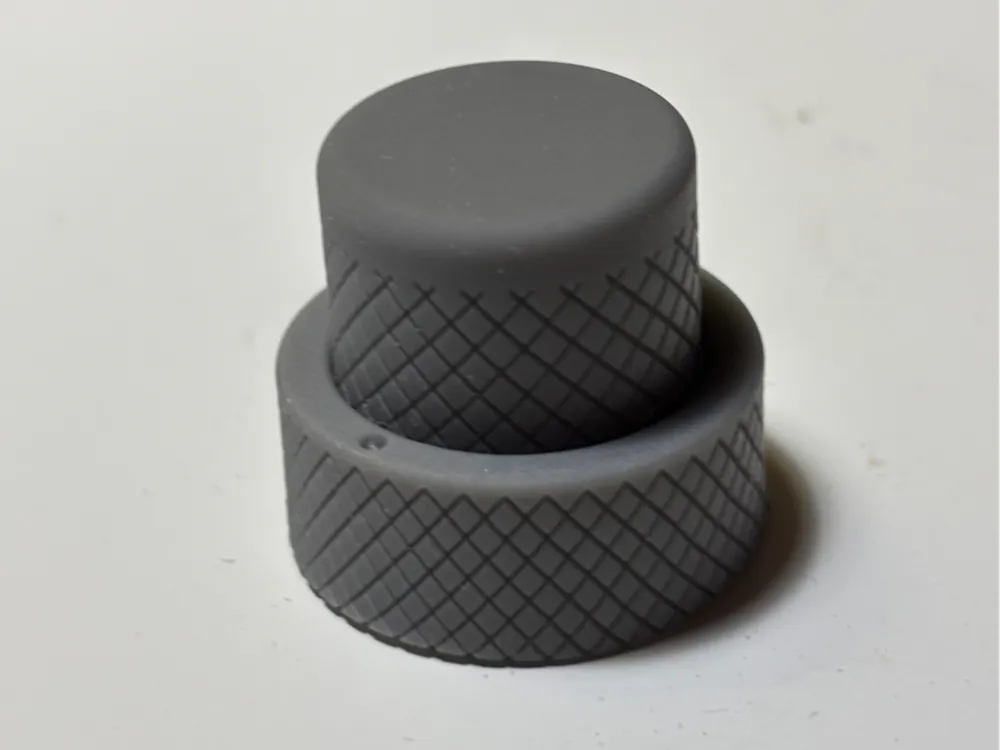
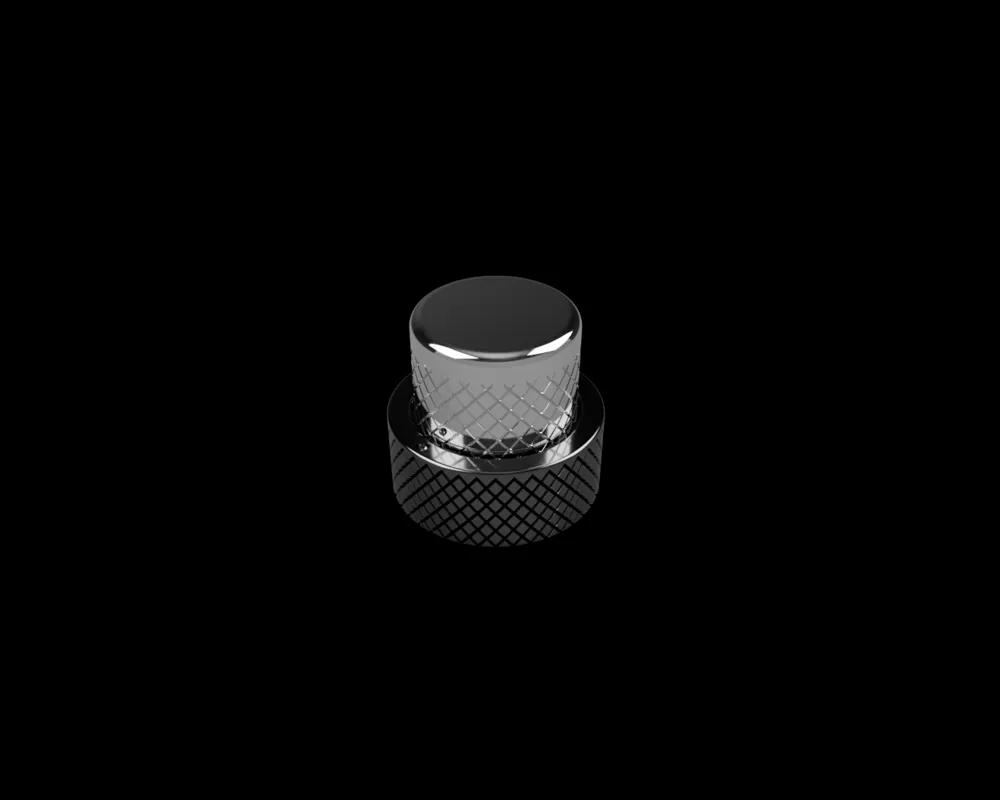
Bring the legendary 1960s aesthetic to your instrument! This Dual Concentric Knob Set is a faithful recreation of the "stacked" controls found on the 1962 Fender Jazz Bass Reissue and the iconic Flea Signature Bass.
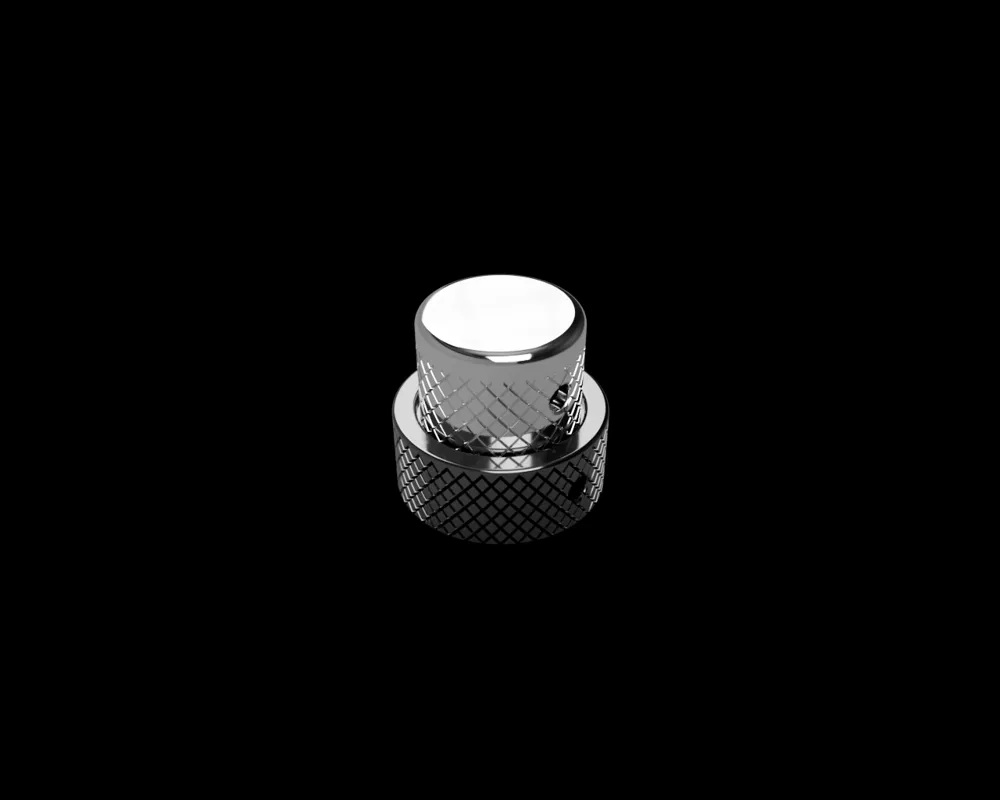
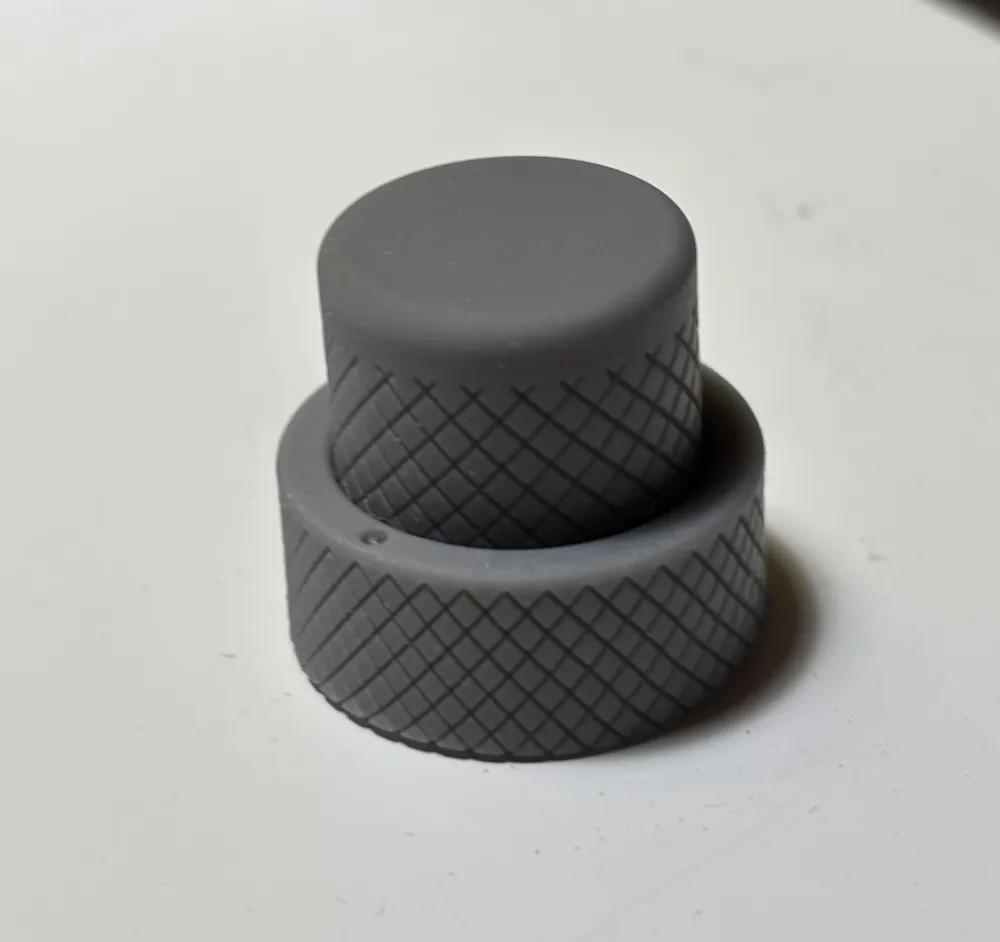
This design allows for independent control of Volume and Tone on a single potentiometer axis, saving space without sacrificing vintage style. I have also included a special version of the upper knob featuring the small indicator dot, staying true to the historic "early-60s" look. Perfect for restorations, boutique builds, or giving your modern bass that classic soul.
🛠️ Technical Specifications
This set includes two separate files designed to fit together with vintage-correct proportions:
Upper Knob (Top):
- Diameter: 19mm.
- Compatibility: Designed for 3/16" (approx. 4.76mm) potentiometer shafts.
- Fastening System: Set-Screw design for a professional, slip-free grip.
- Hardware Required: 1x M3 Nut + 1x M3 Set Screw (Grub Screw).
Lower Knob (Bottom):
- Diameter: 25mm.
- Compatibility: Designed for 1/4" (6.35mm) potentiometer shafts.
- Fastening System: Set-Screw design for a professional, slip-free grip.
- Hardware Required: 1x M3 Nut + 1x M3 Set Screw (Grub Screw).
🔧 Assembly Instructions
- Insert the Nuts: Slide an M3 Nut into the internal hexagonal slot of both the upper and lower knobs.
- Prepare the Screws: Thread the M3 Set Screws into the holes until they meet the nuts.
- Mounting the Lower Knob: Place the 25mm knob on the bottom 1/4" shaft first. Align and tighten the screw.
- Mounting the Upper Knob: Place the 19mm knob on the top 3/16" shaft. Crucial: Leave a tiny gap (0.5mm) between the two knobs so they can rotate independently without friction, then lock the screw.
🎨 Printing & Finishing Tips
- Resin (Best Result): Highly recommended for a smooth, "bakelite-style" finish and to capture the fine detail of the indicator dot.
- FDM (PLA/PETG): Use 0.1mm layer height. For the best look, print with the top face facing up and use supports for the internal cavity if necessary.
- The "Vintage" Look: Print the bottom in high-gloss Black and the top in high-gloss Silver. Use a white paint pen or white acrylic paint to fill the indicator dot and the side lines. Wipe away the excess immediately for a sharp, factory-fresh contrast.
License

You shall not share, sub-license, sell, rent, host, transfer, or distribute in any way the digital or 3D printed versions of this object, nor any other derivative work of this object in its digital or physical format (including - but not limited to - remixes of this object, and hosting on other digital platforms). The objects may not be used without permission in any way whatsoever in which you charge money, or collect fees.


Comment & Rating (1)