
Matte Box
Print Profile(3)
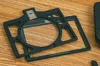
Bill of Materials





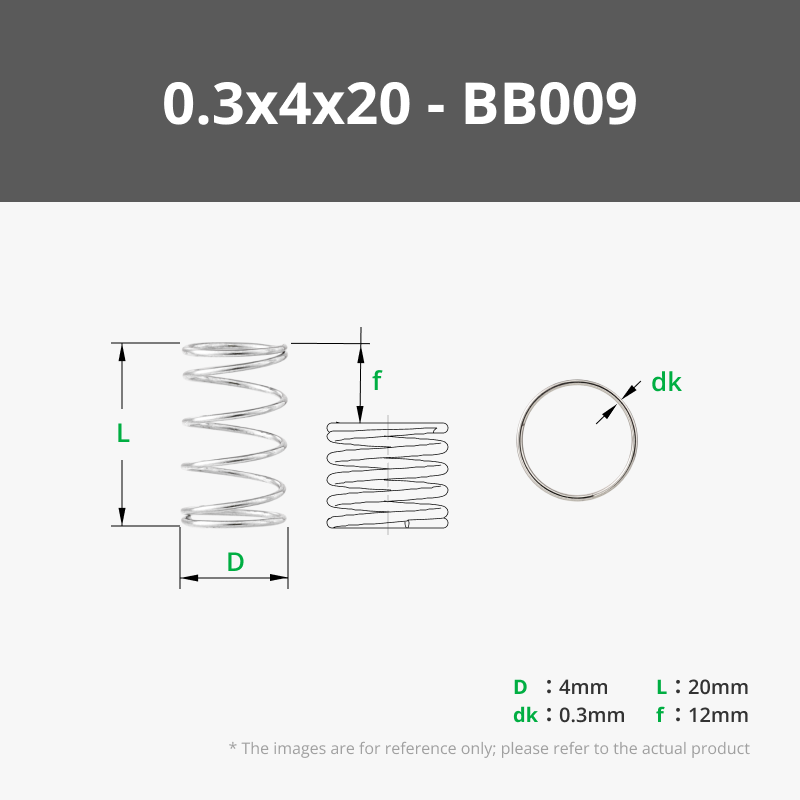



- Thread Locker x 1: Red or blue is fine, but I'd recommend red.
Description
Boost Me (for free)
These models can be a lot of work, so please consider giving a boost to help further the development of models like this, and many more! Also, don't forget to follow me for more work like this too!
[Update 04-21-2026: Added 110mm and 114mm lens mount sizes]
Introduction
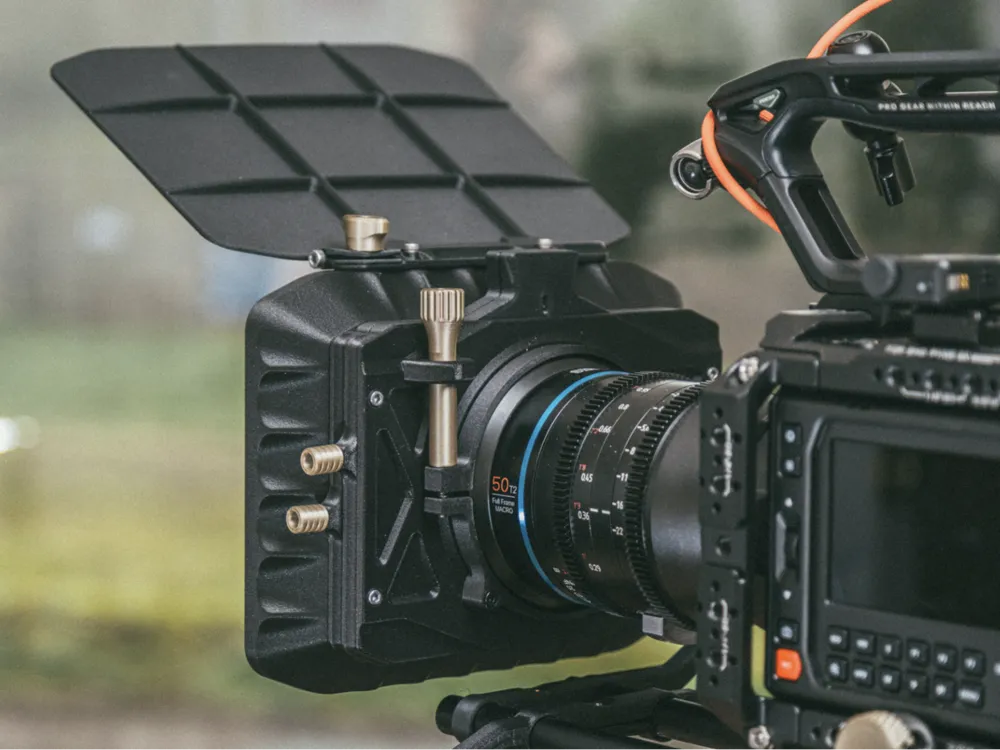
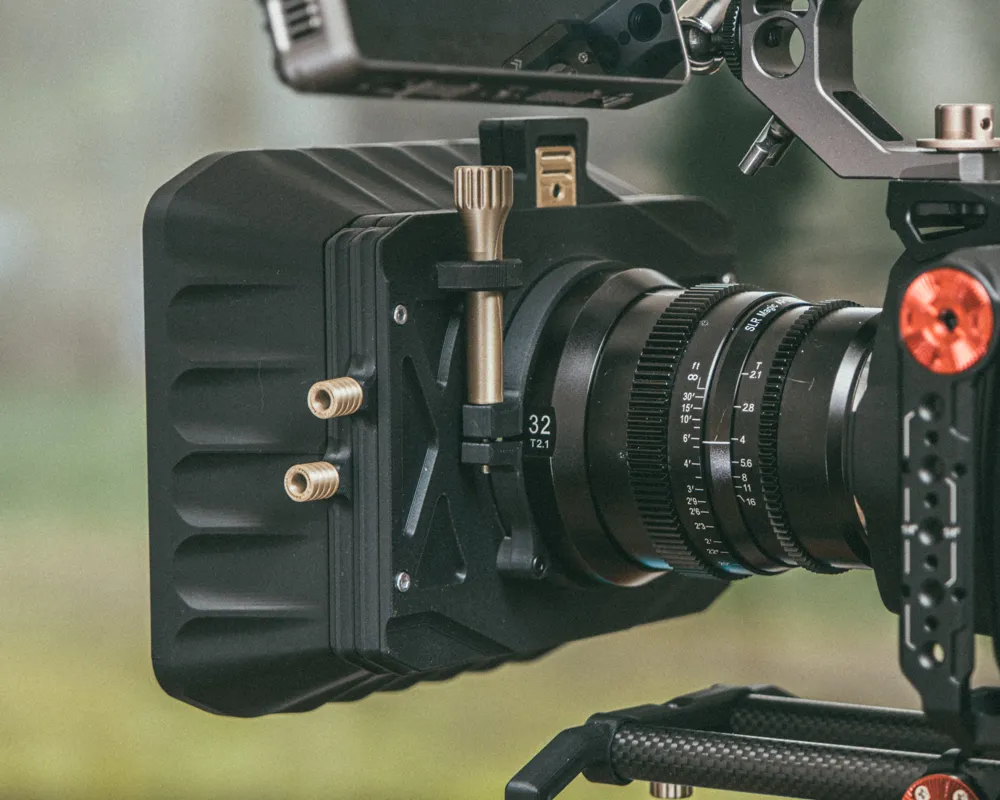
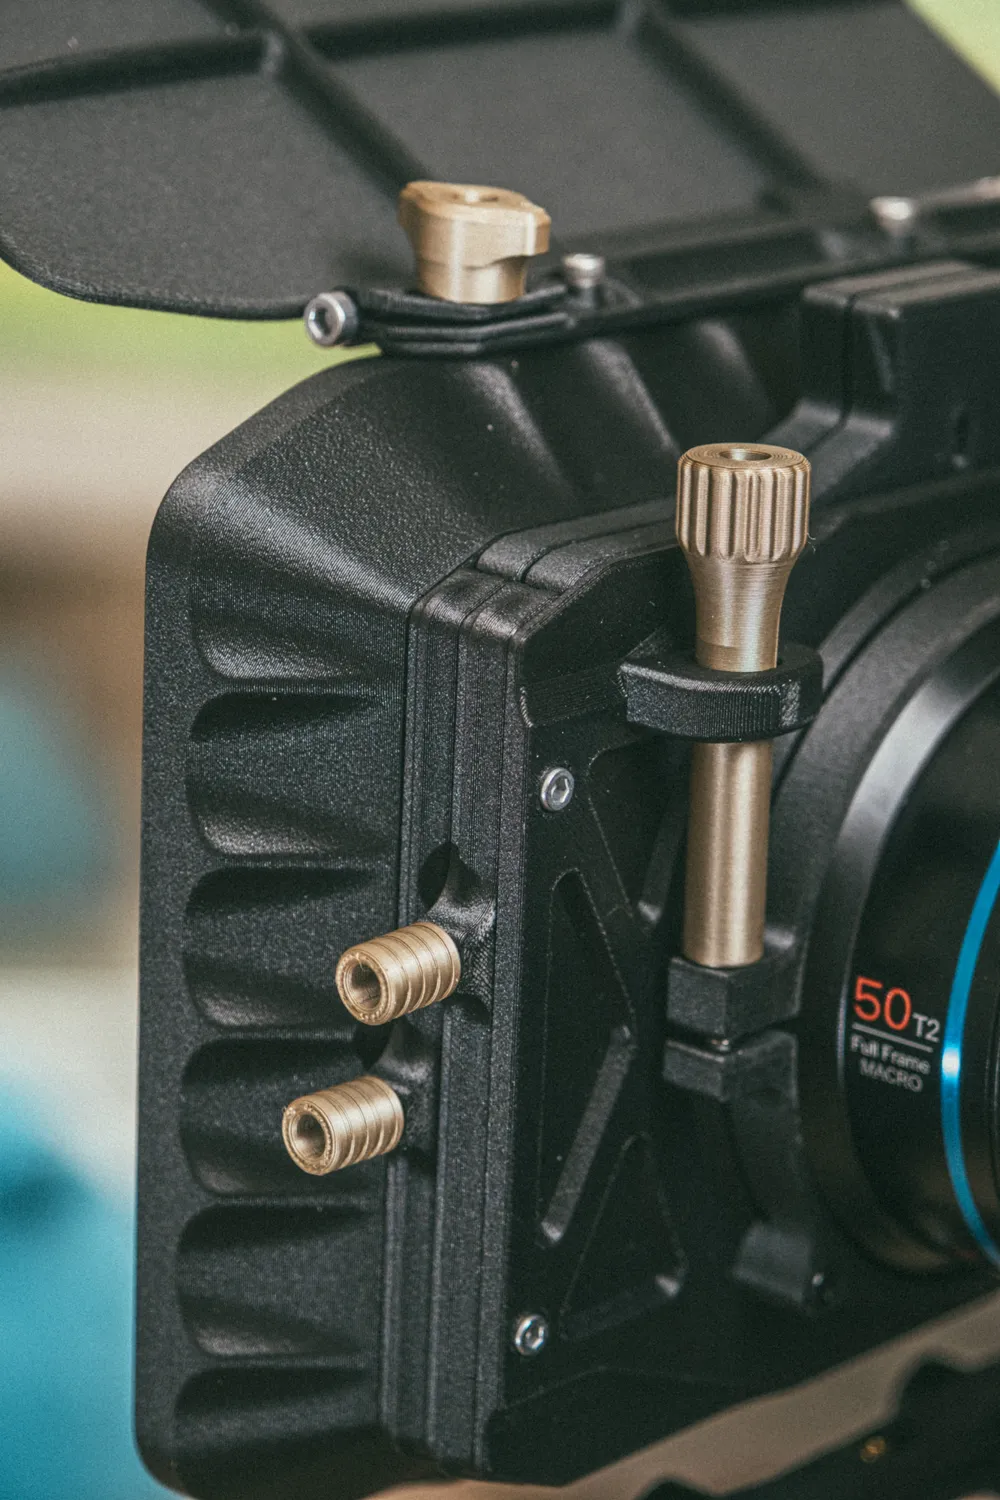
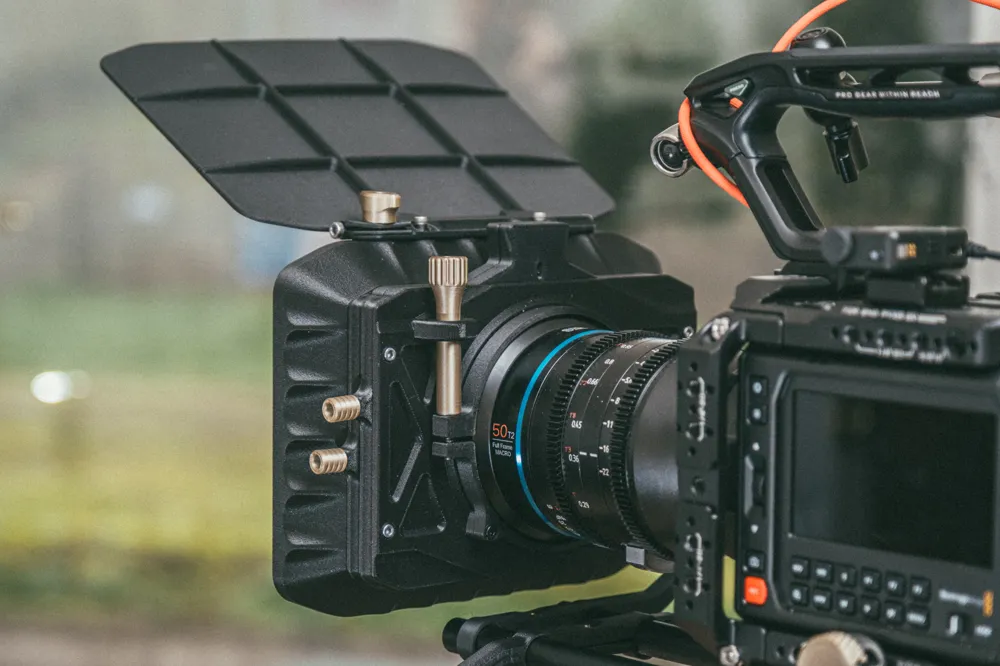
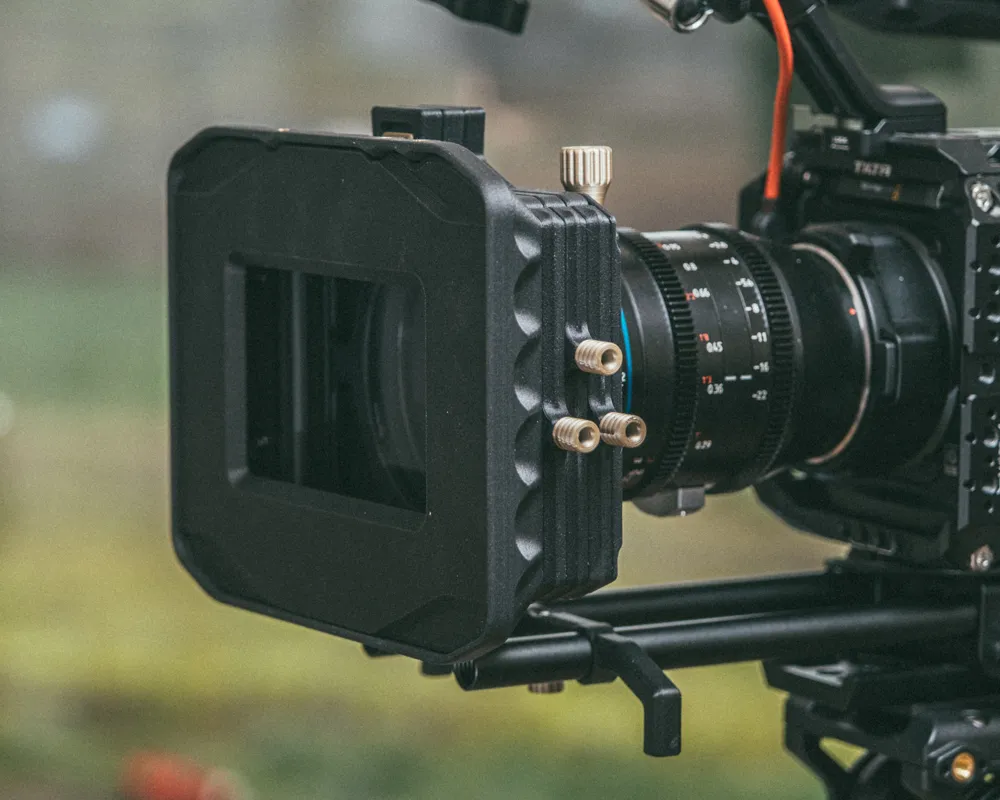
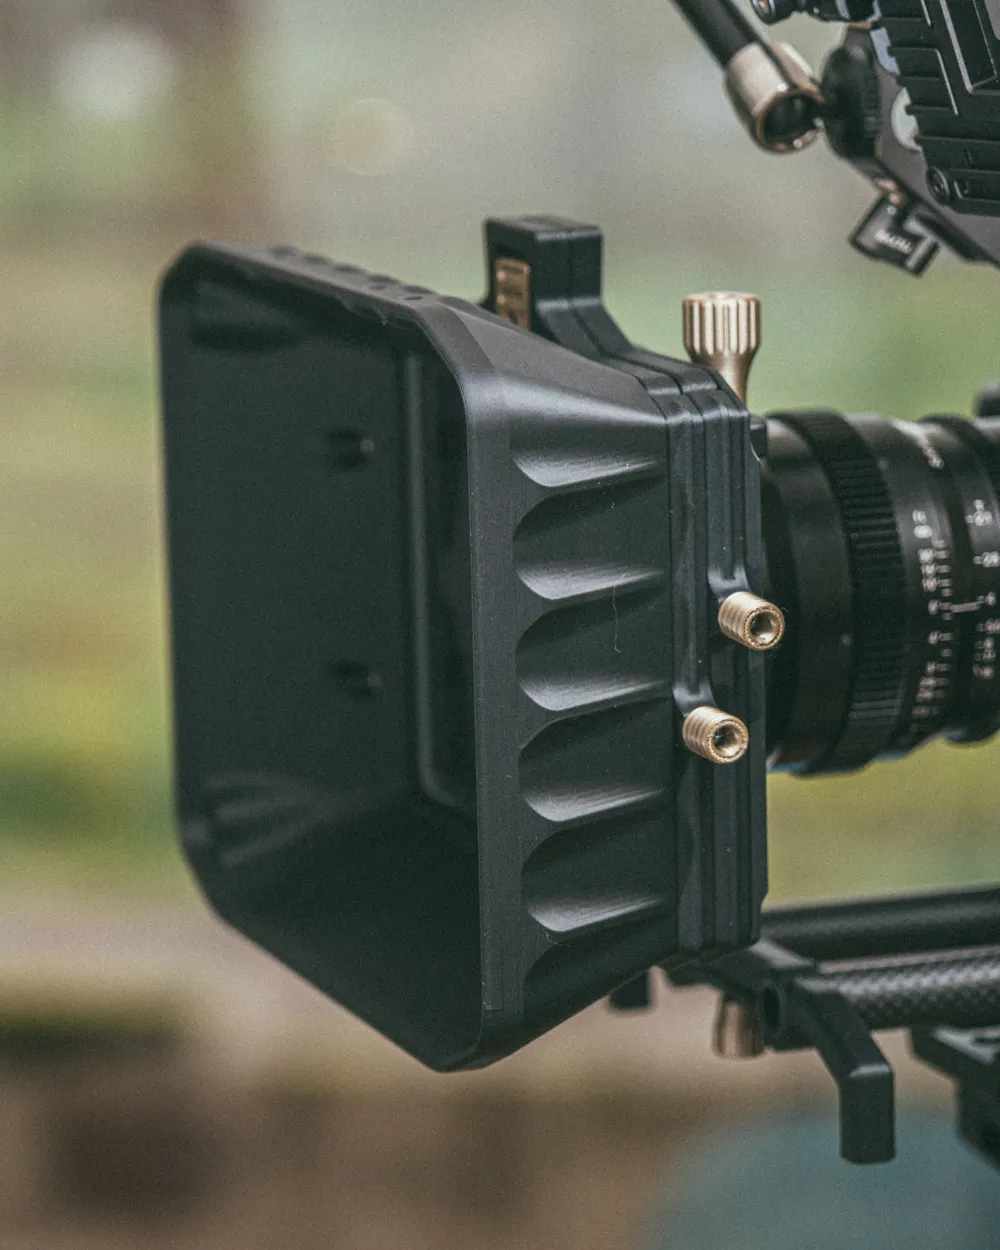
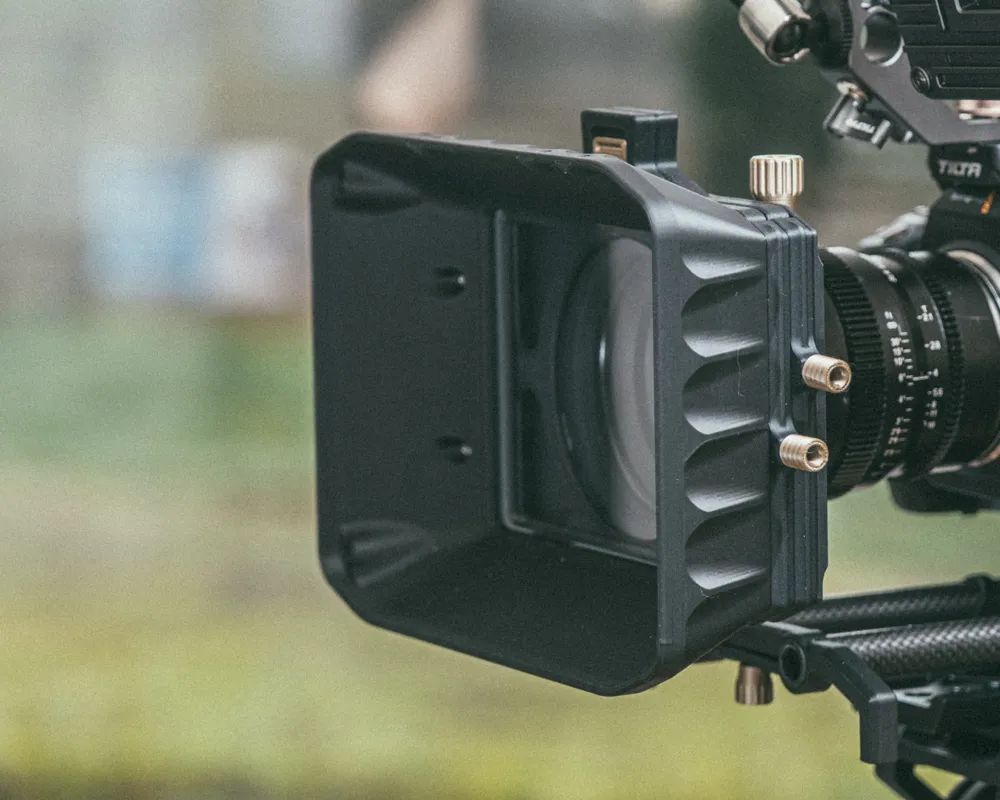
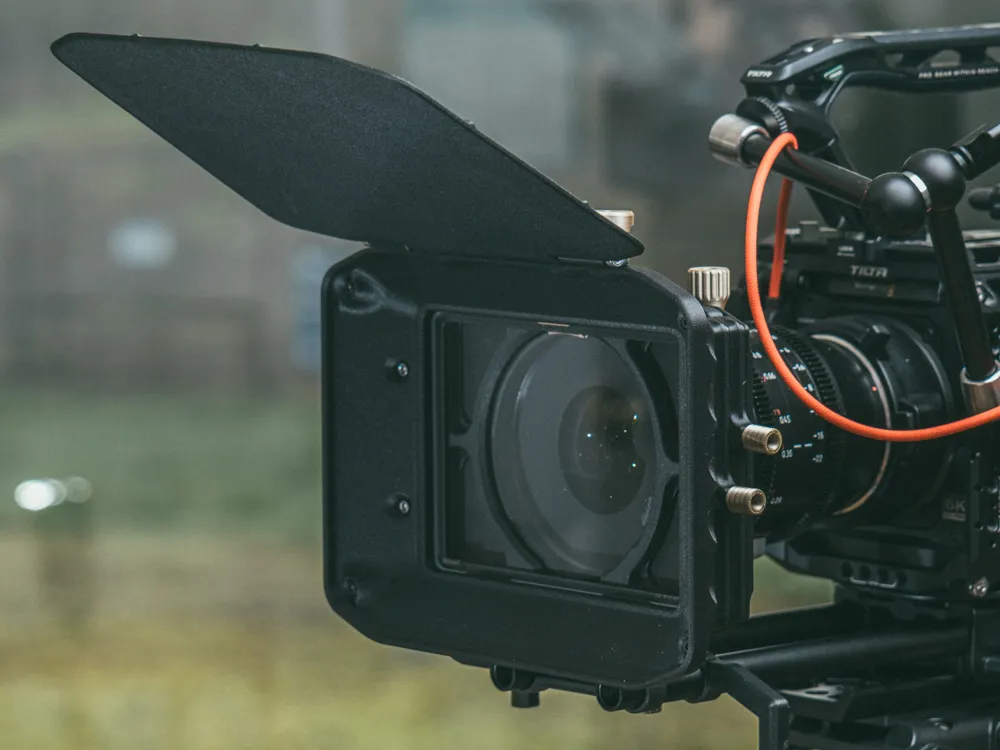
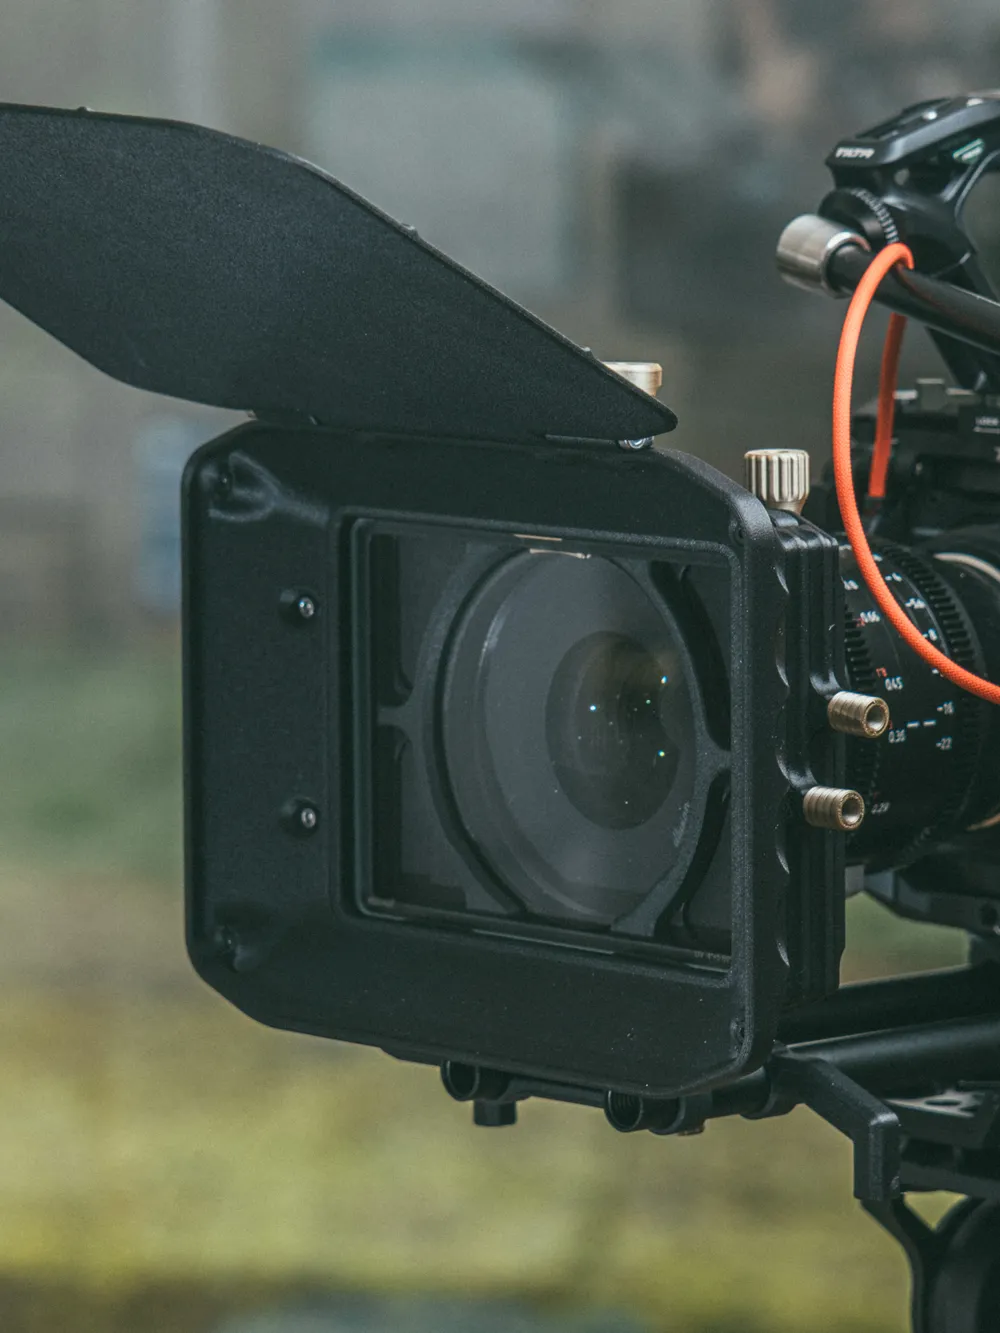
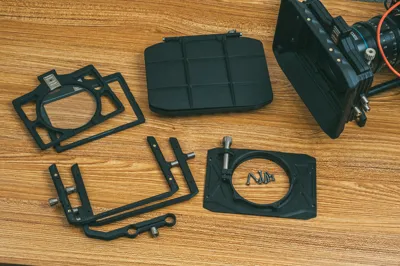
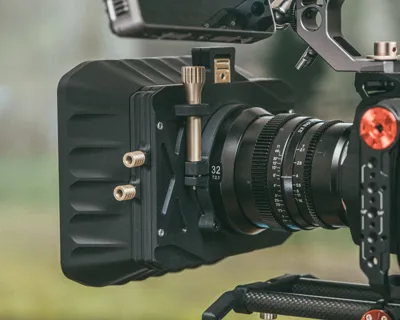
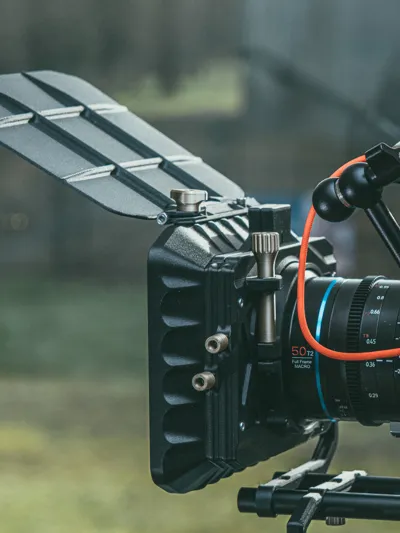
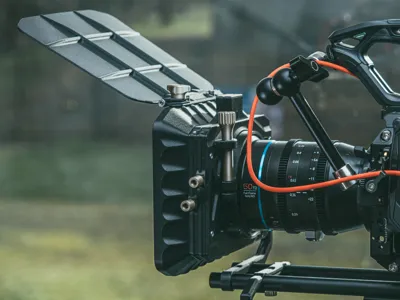
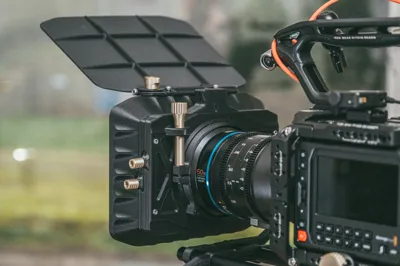
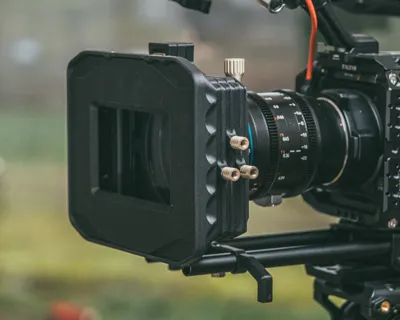
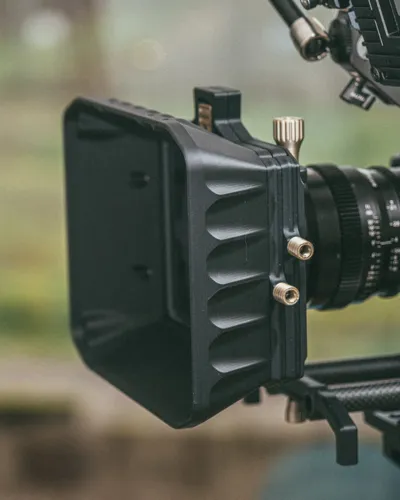
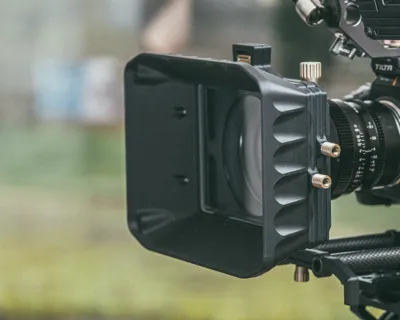
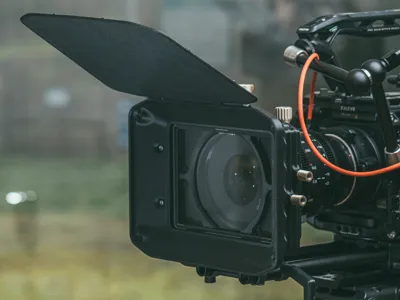
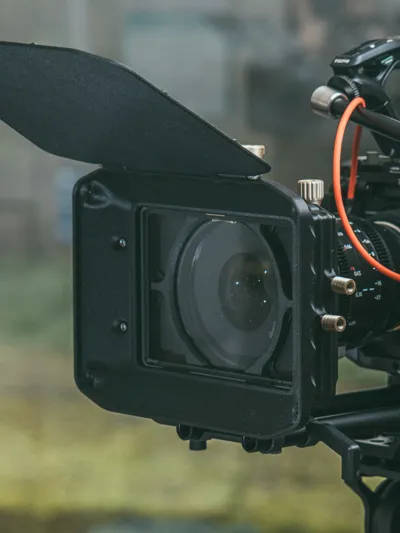
I present to you my 3d printable, configurable, Matte Box! I designed this matte box to be on par with budget friendly full sized options. I worked to make it configurable with a number of options so you can tailor it closer to your own personal needs. I have back plate options that allow for cine lines from 80 to 114mm, while filter adapter rings can be used along with the 95mm back to connect it to non-cine lenses (more info on that below)
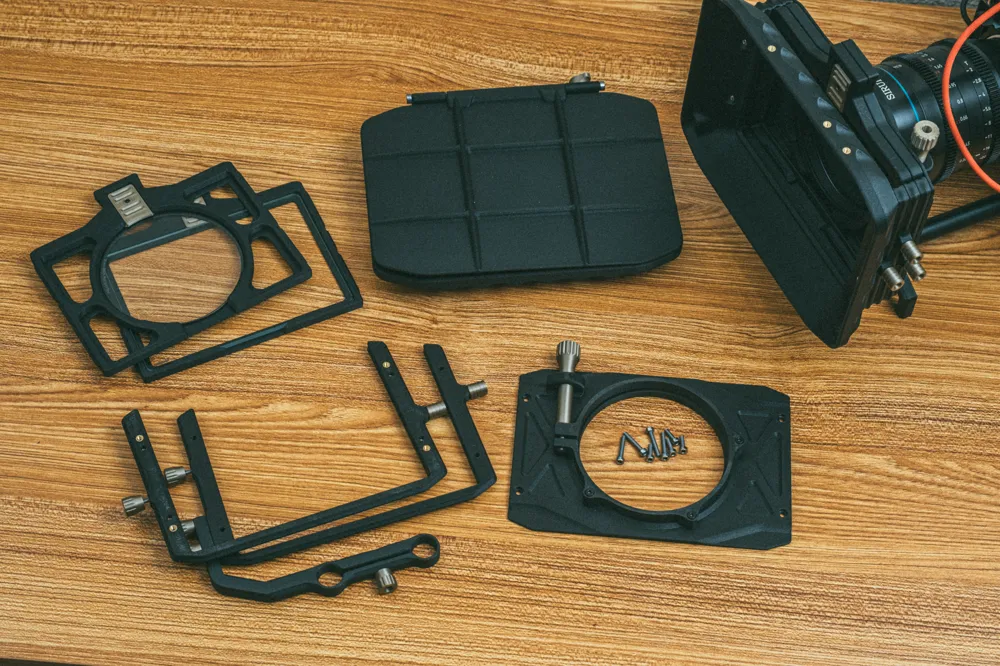
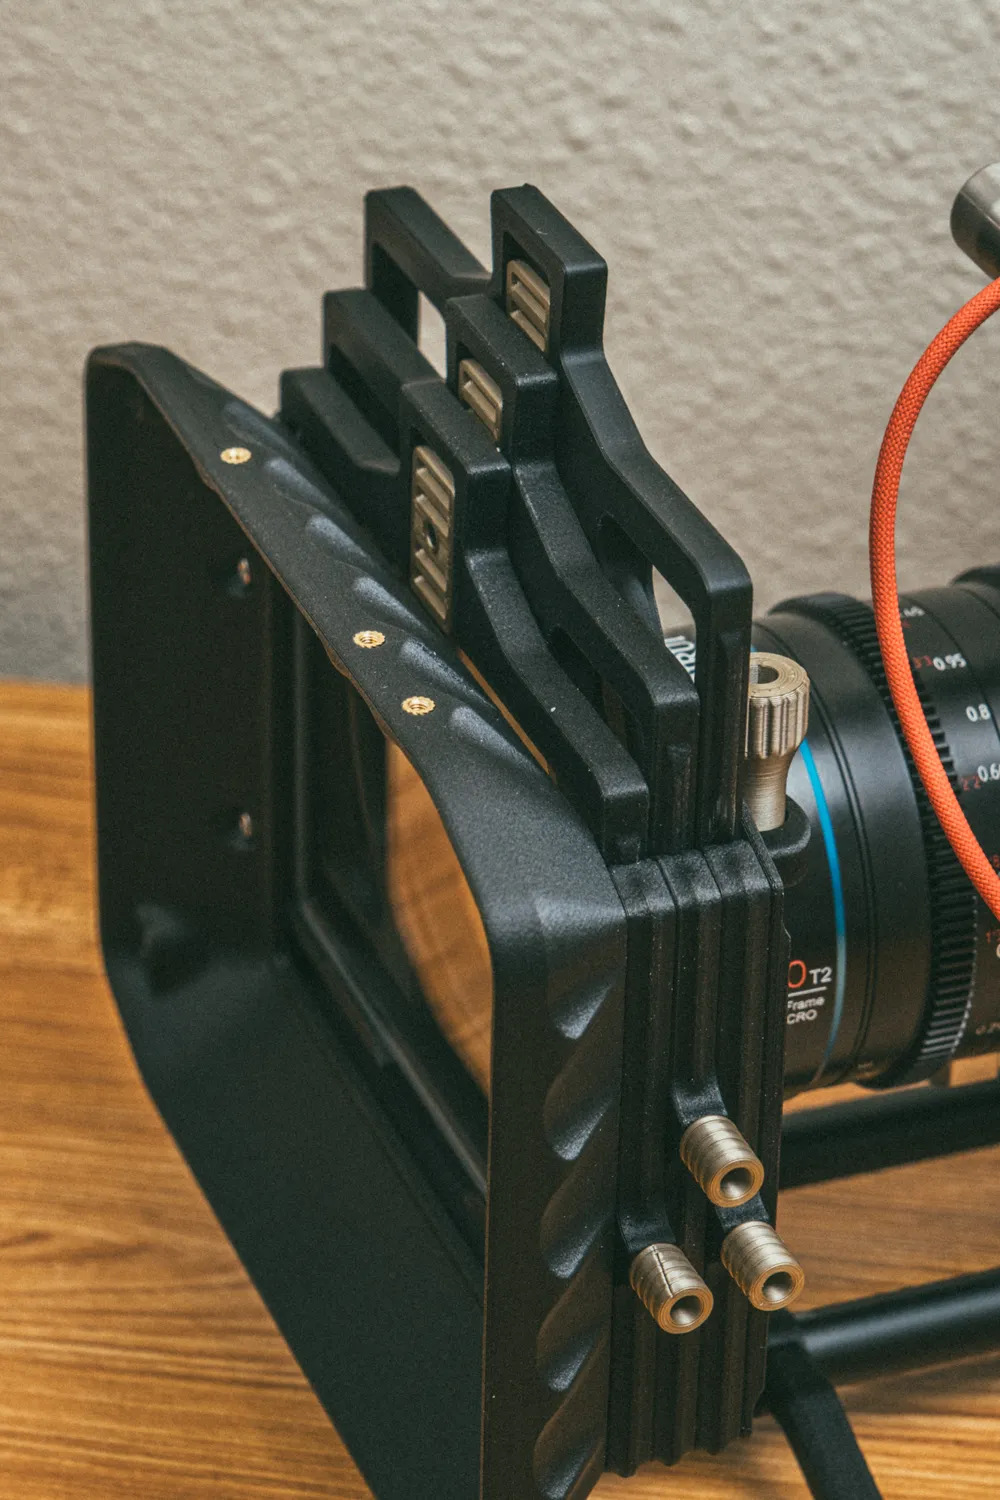
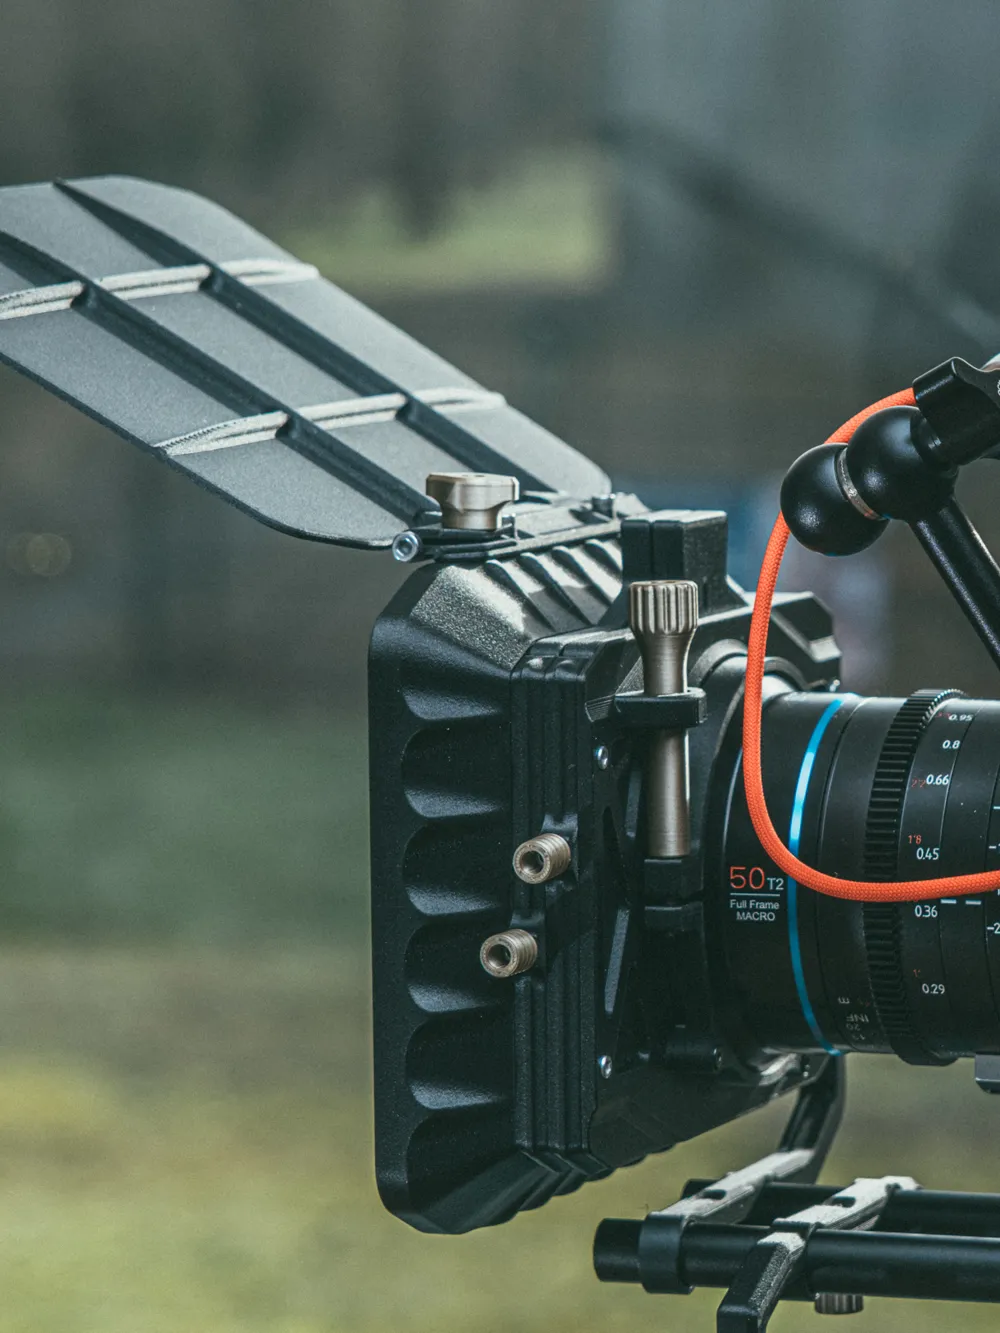
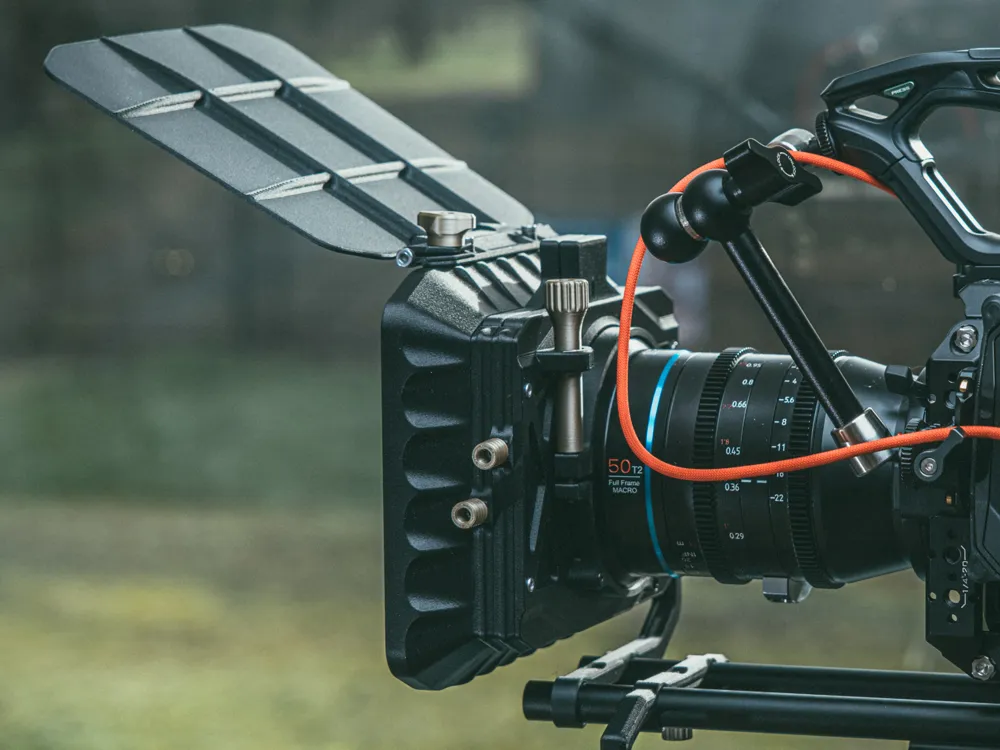
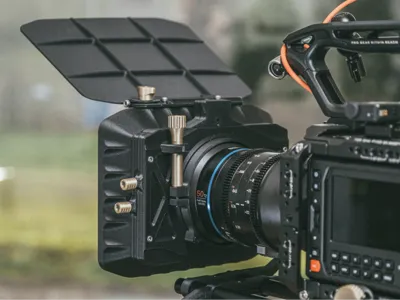
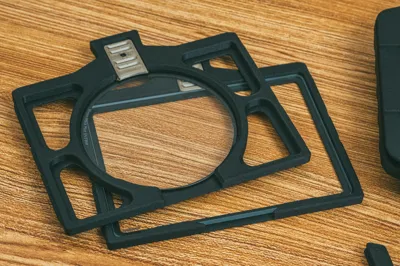
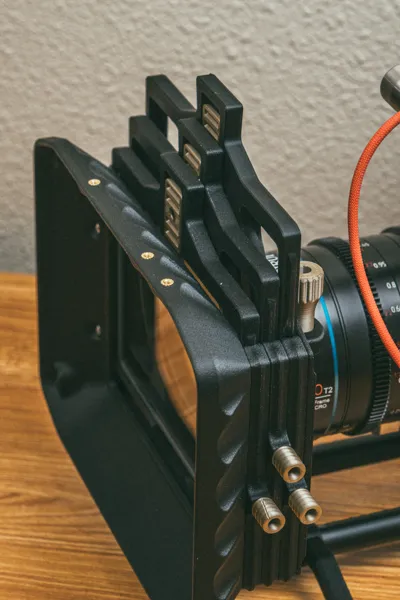
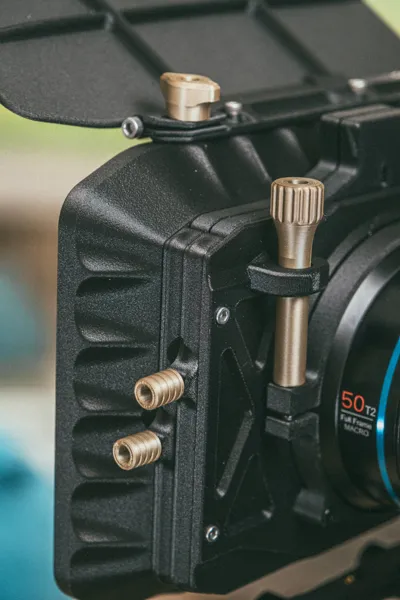
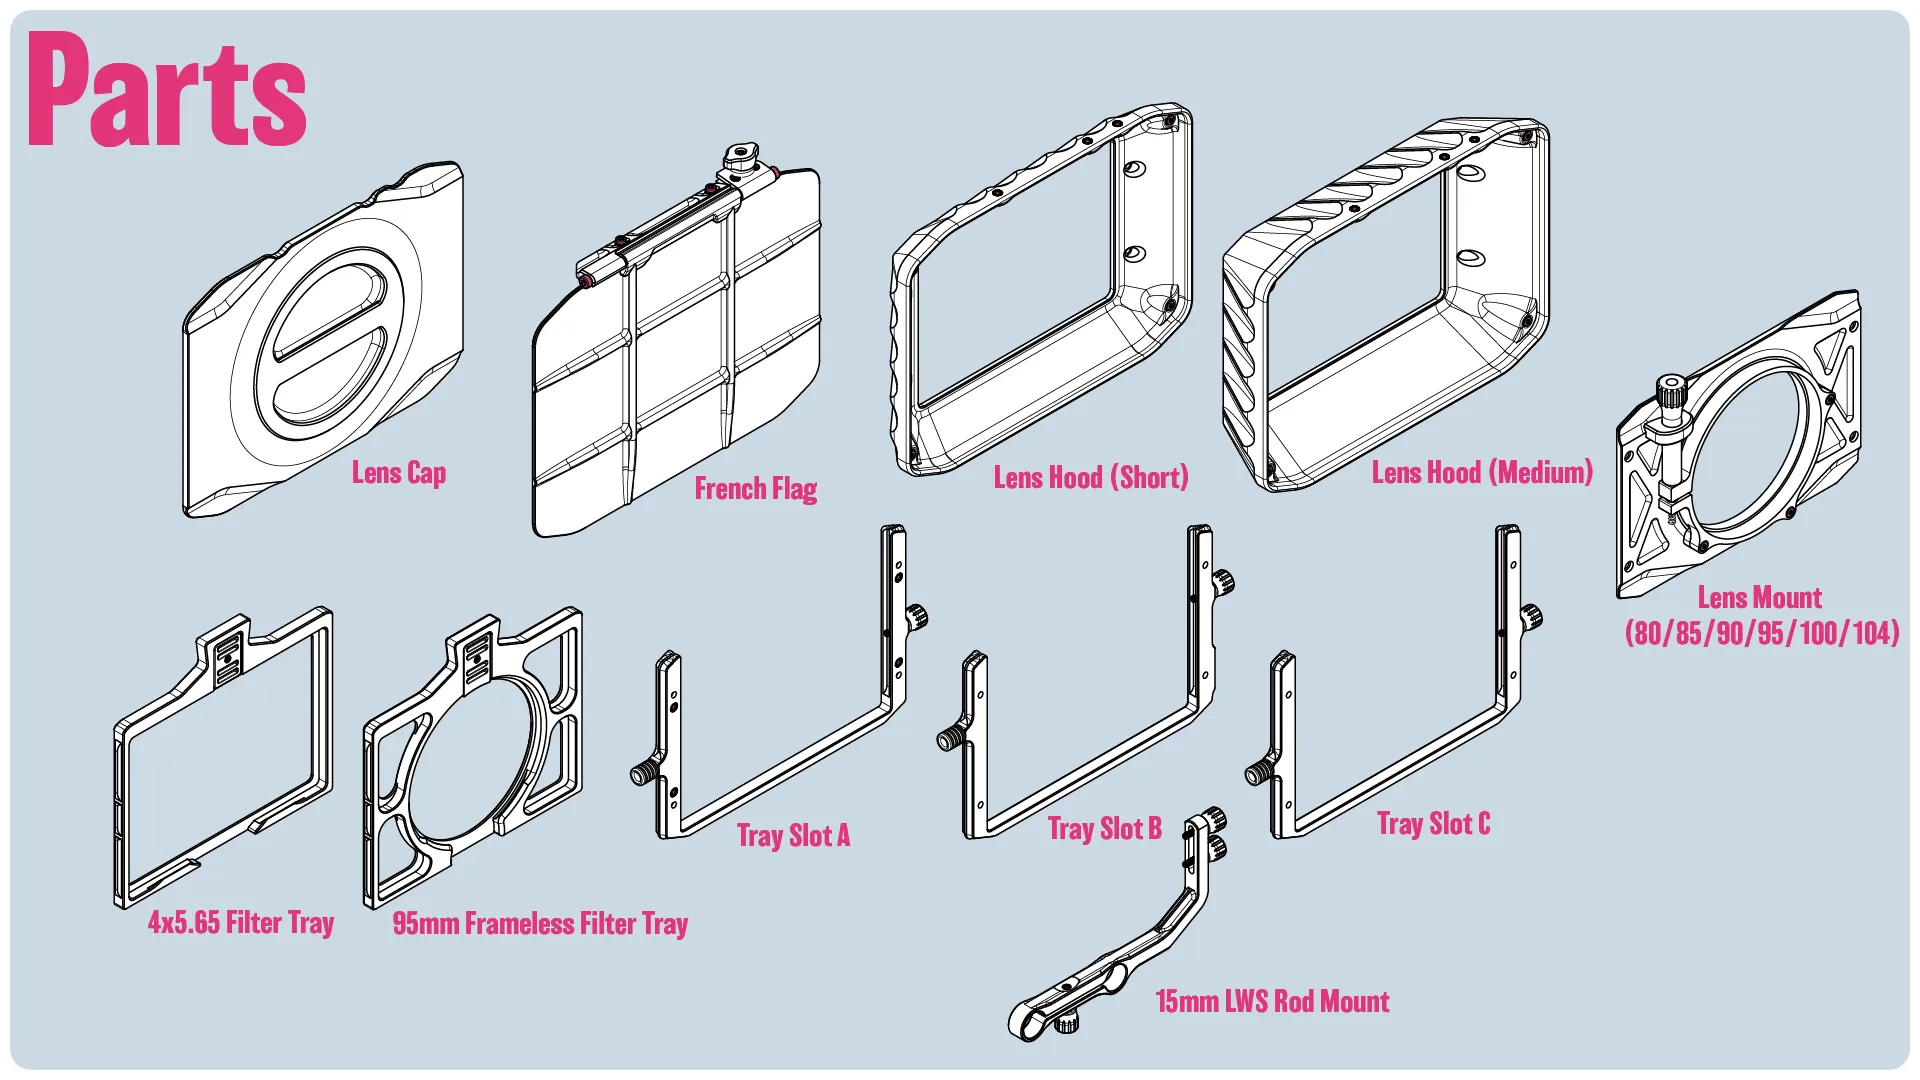
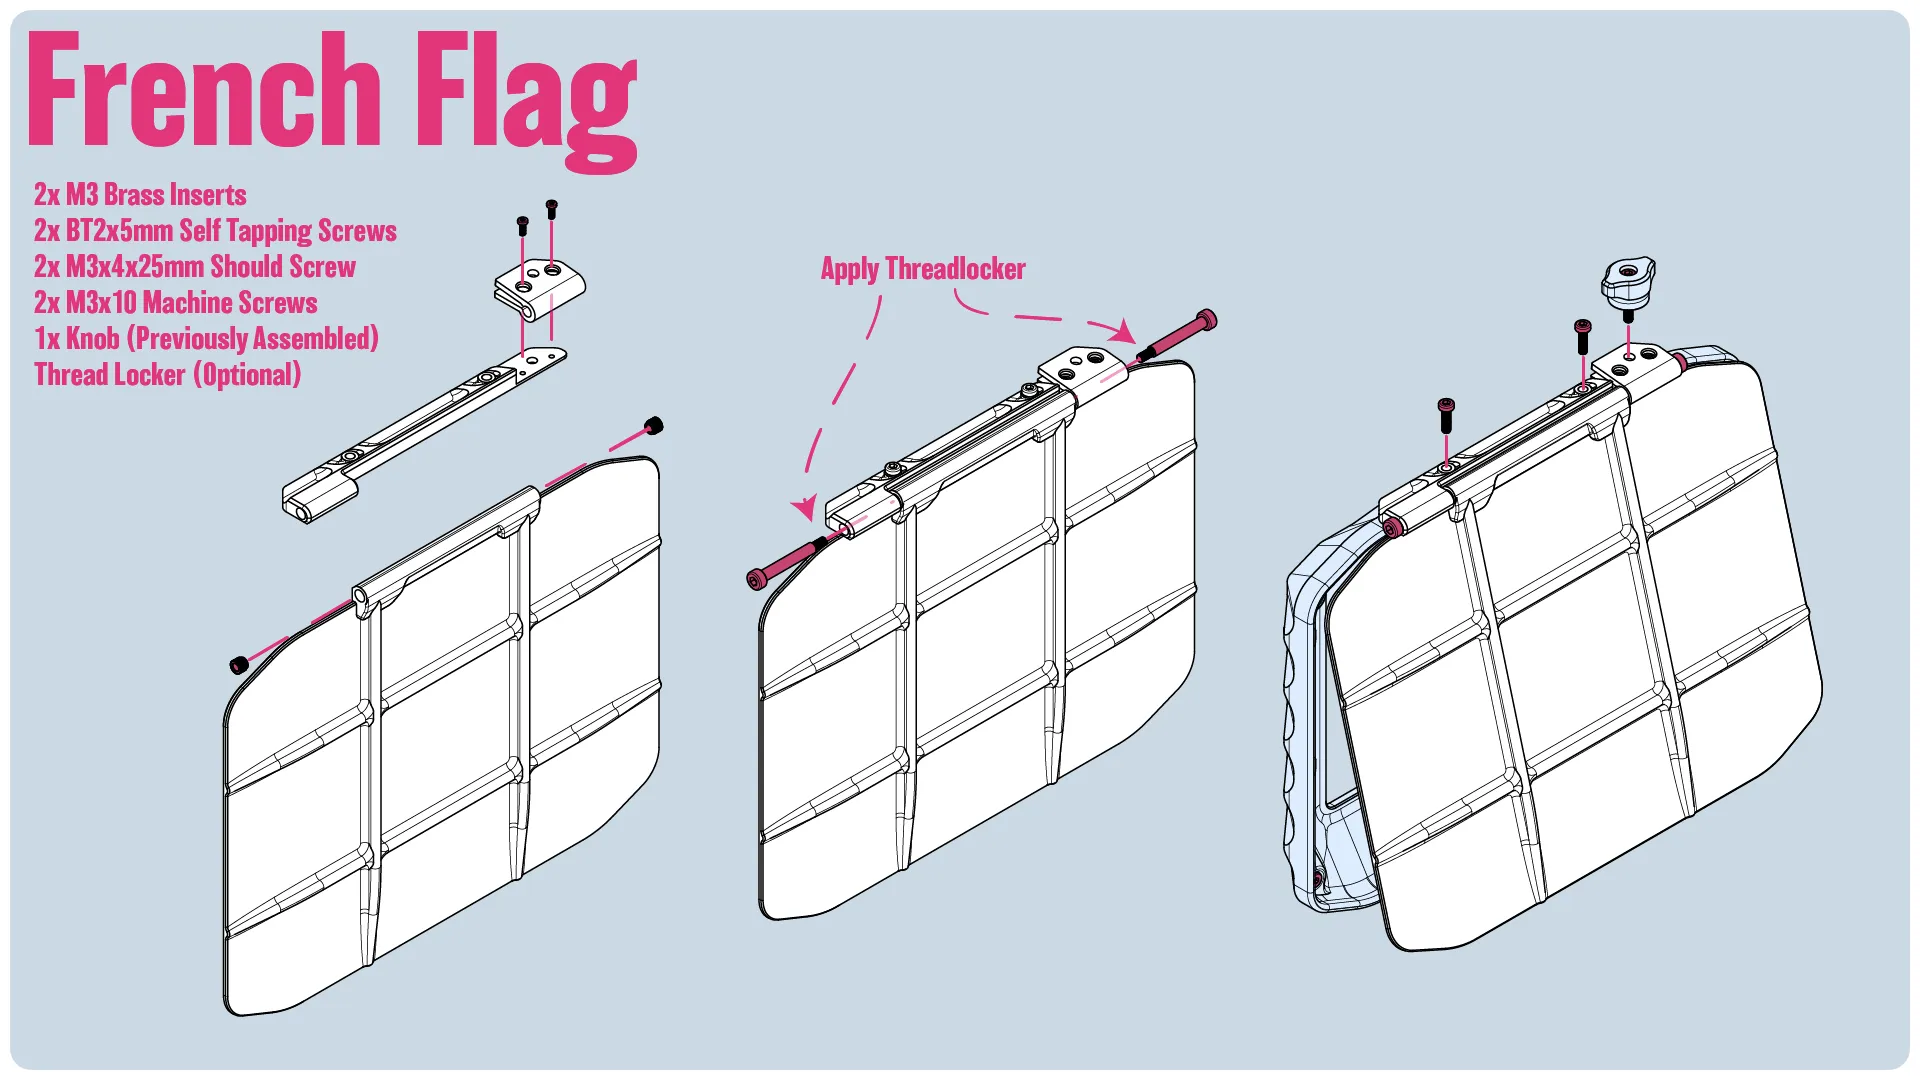
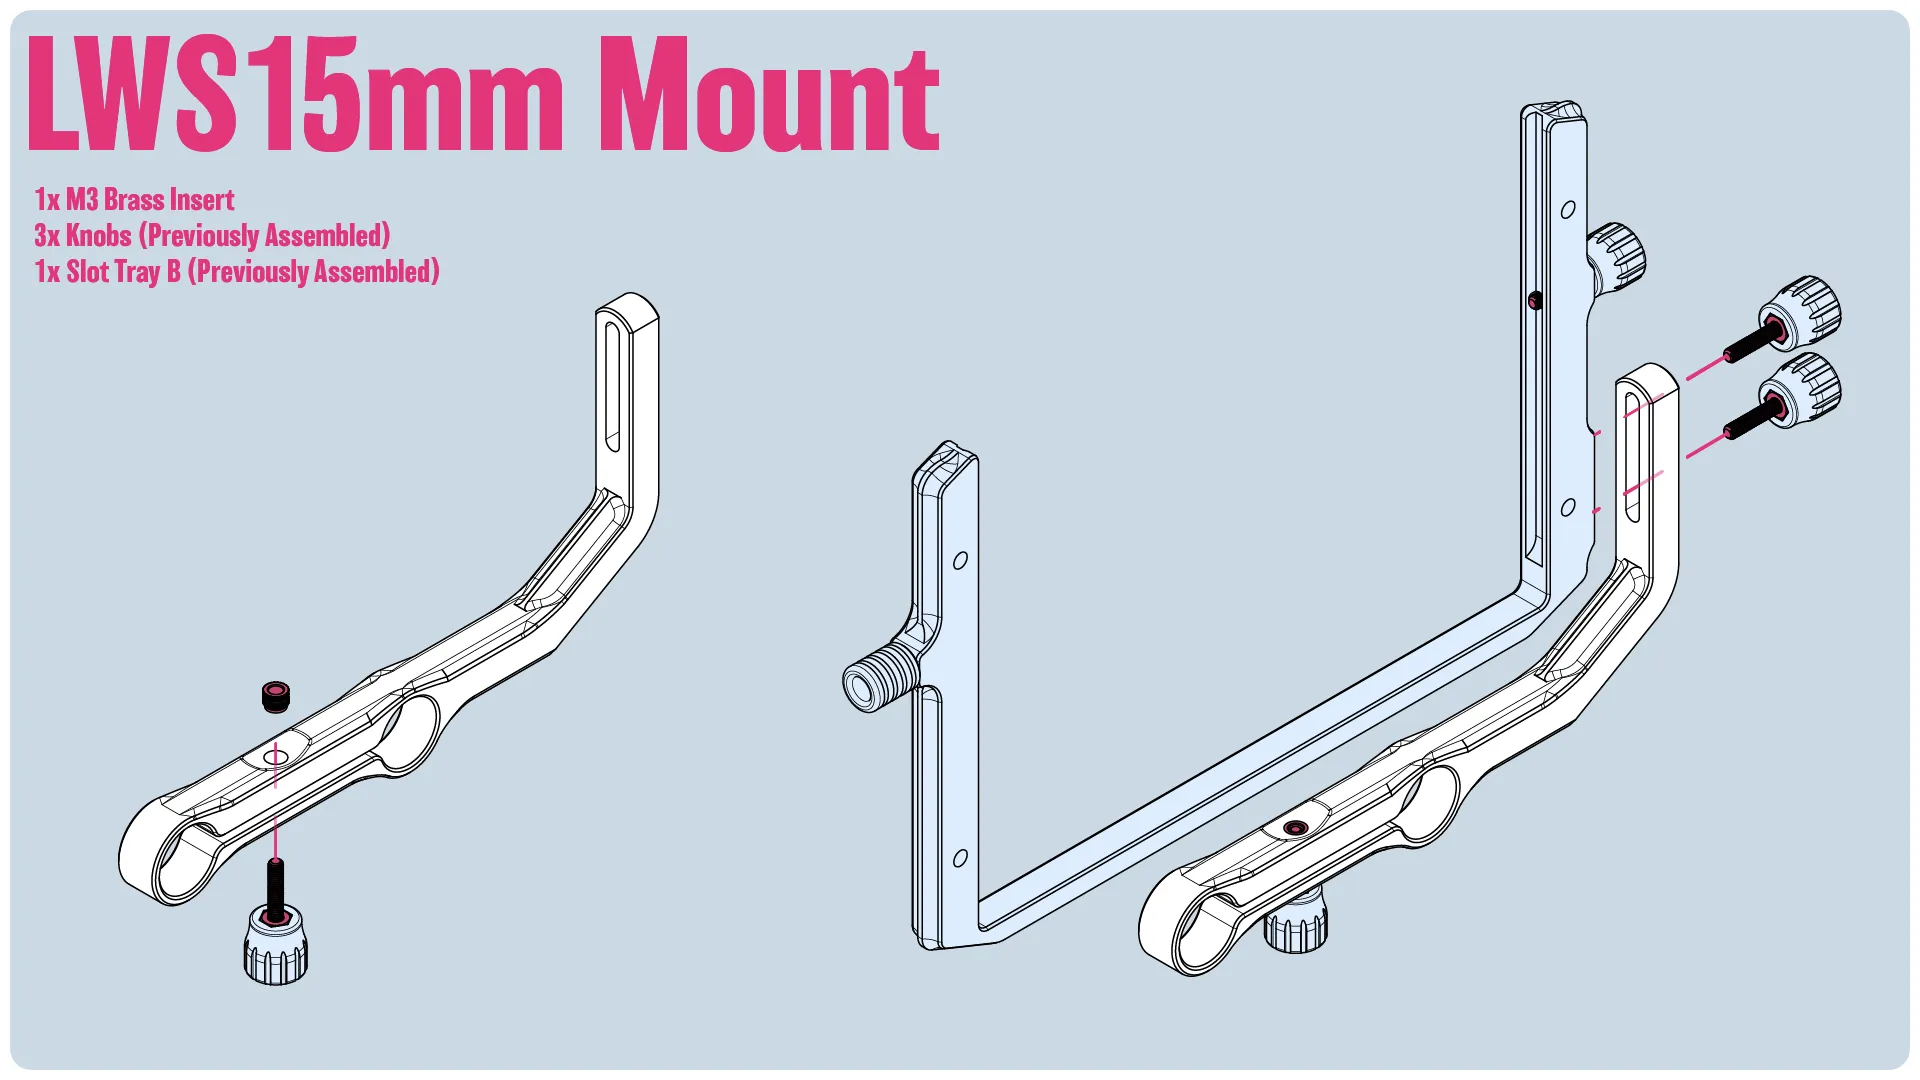
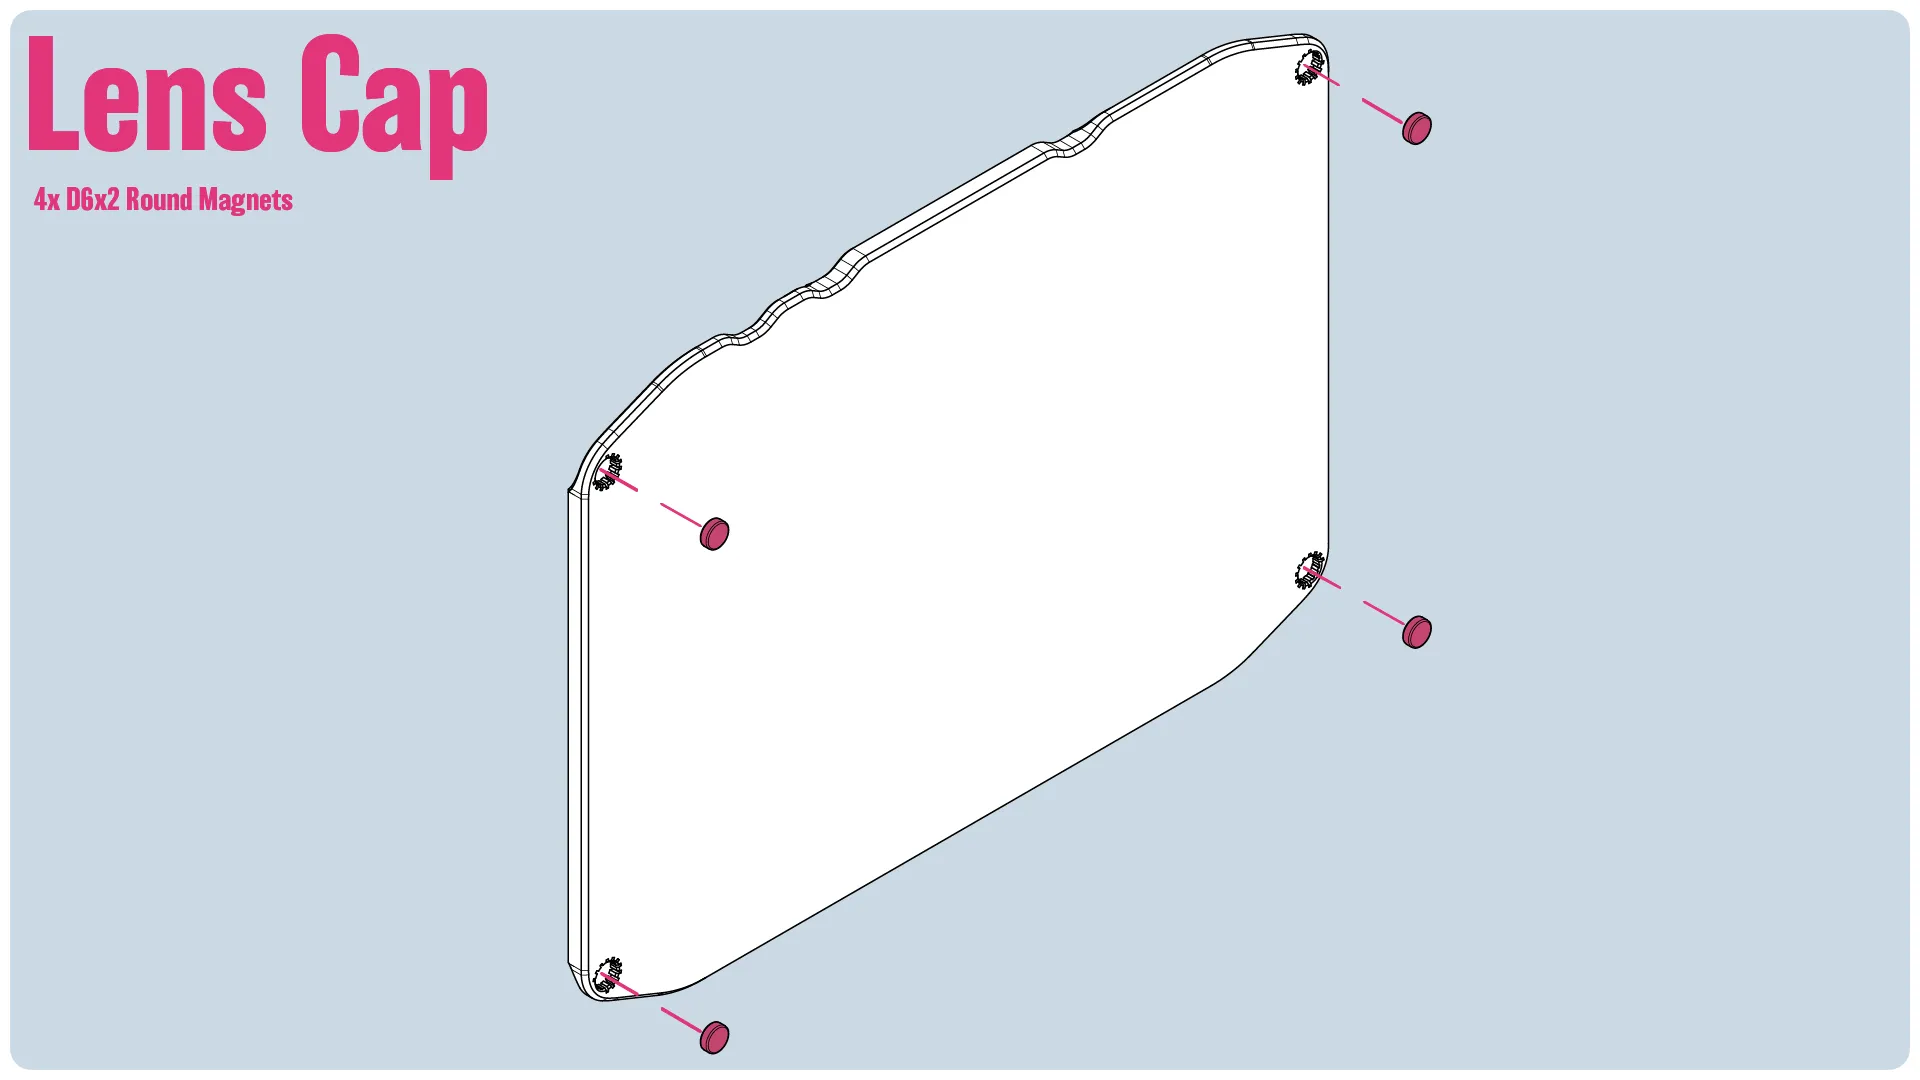
The Matte Box as a whole is designed to be mounted on the lenses. It can be configured with 3 tray slots, with the second tray slot carrying the mounting points for an optional 15mm LWS Rod support bracket. This is for a little added stability, but I wouldn't rely on it alone. There's also two hood options, a french flag that can be attached, and a lens cap (Which I forgot to picture in my photos).
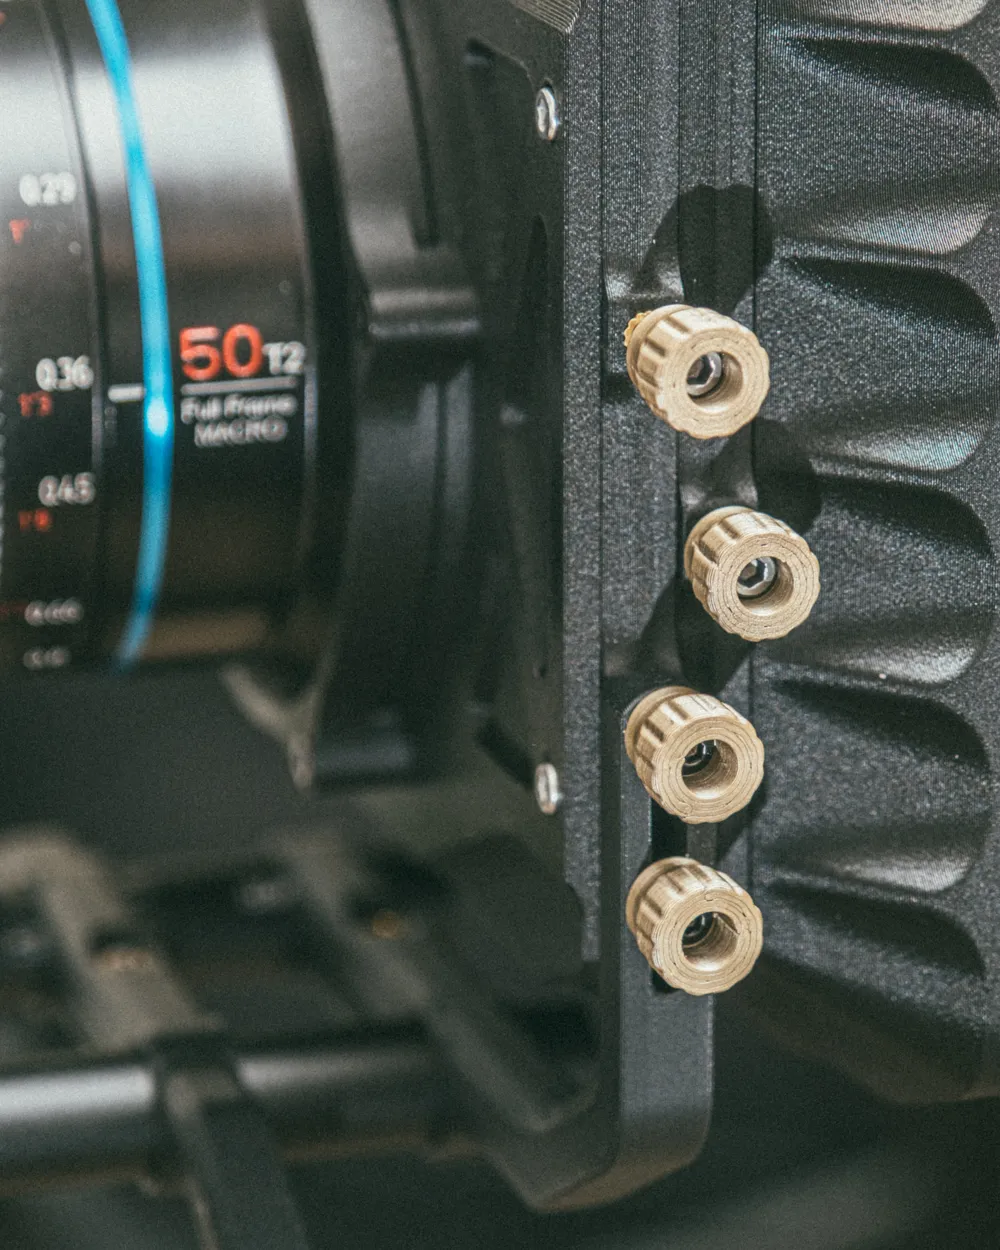
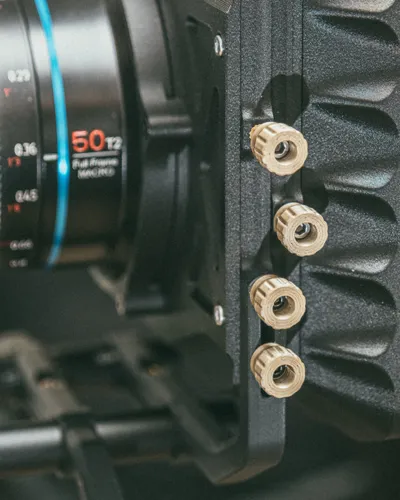
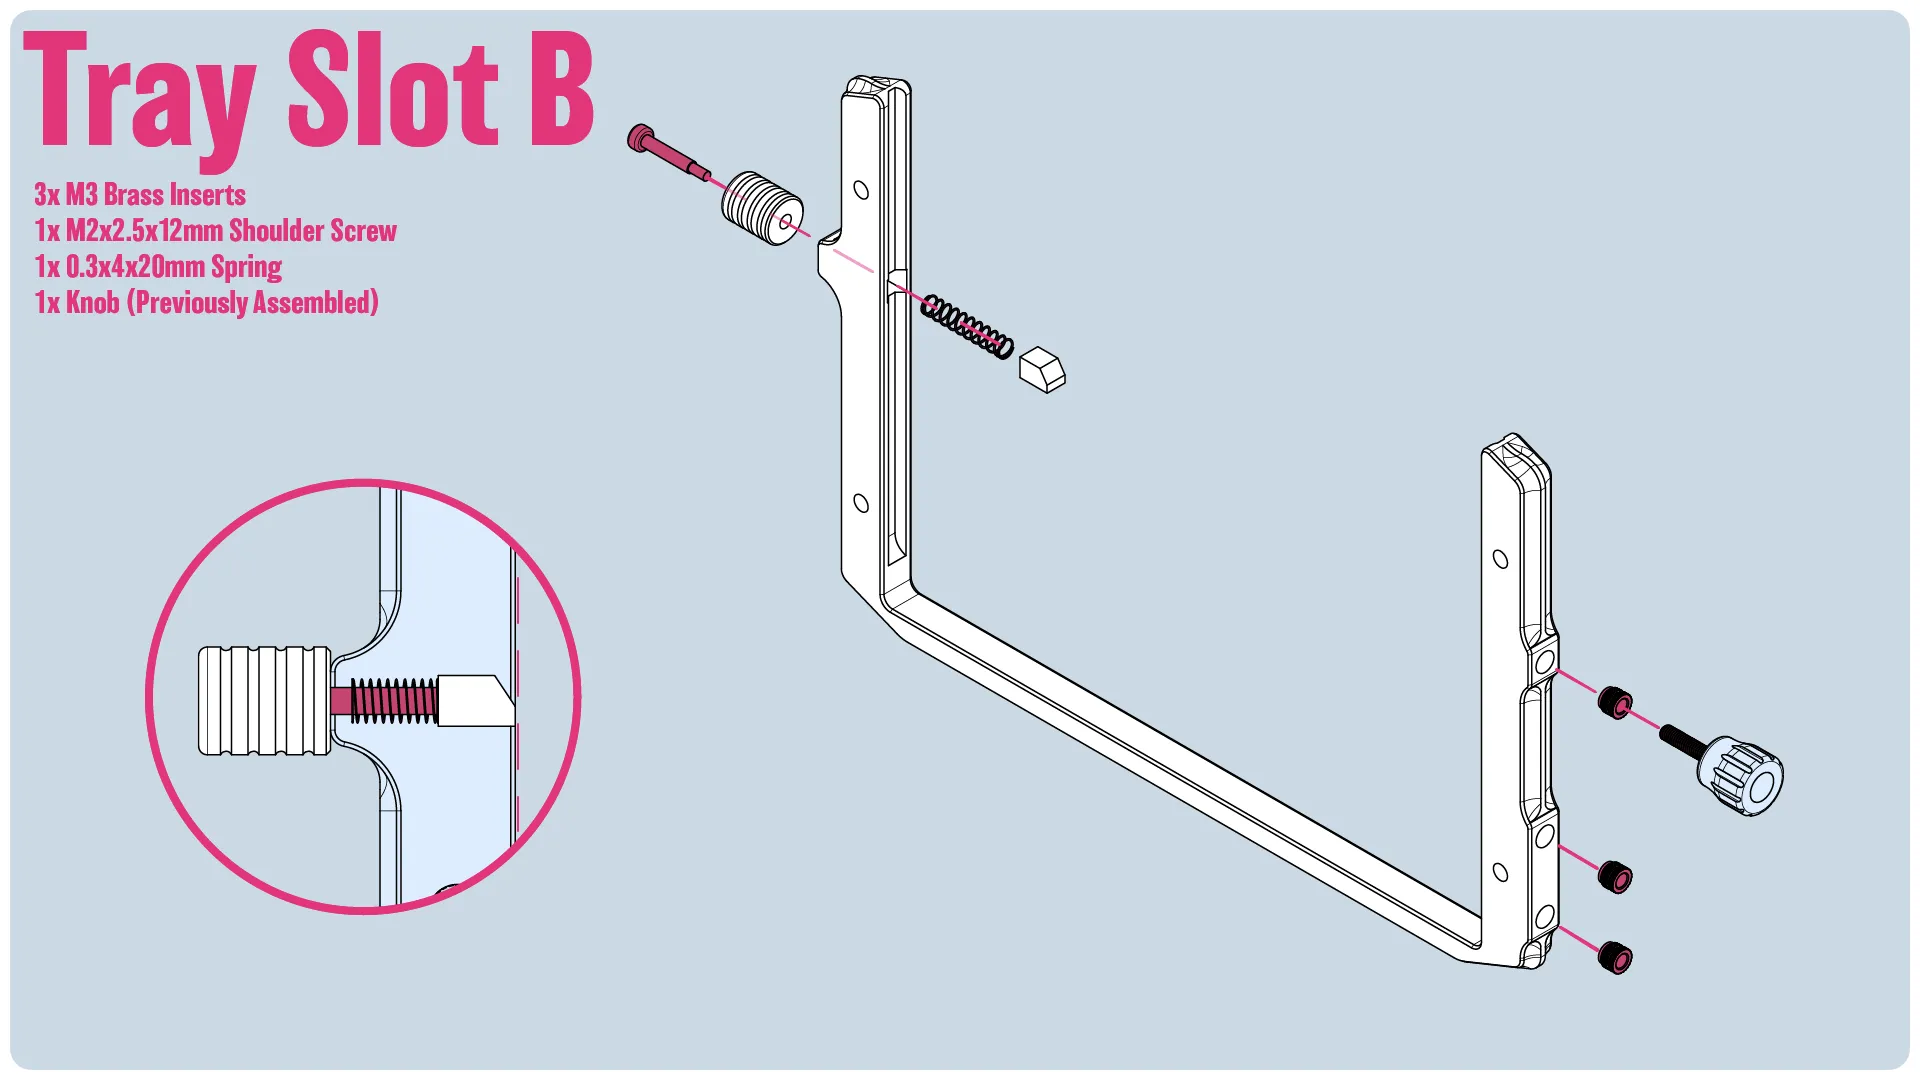
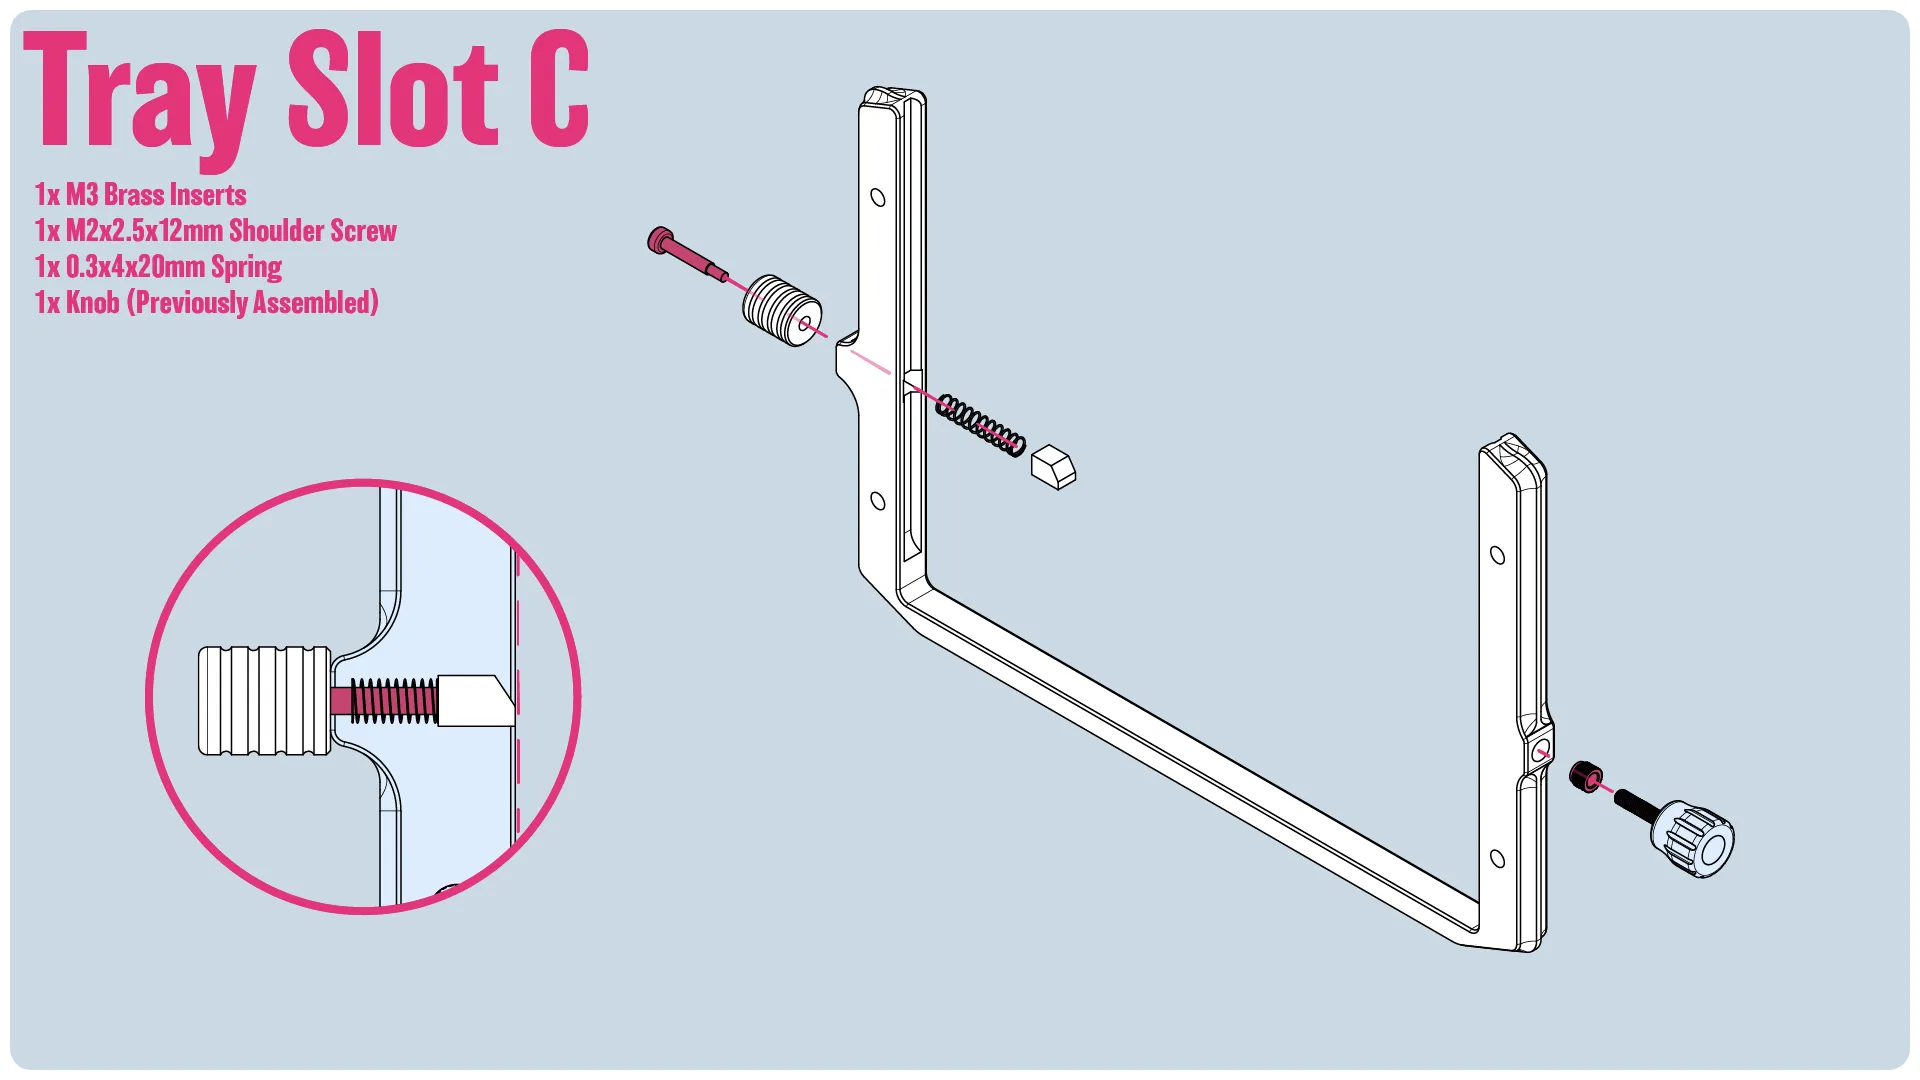
On the Tray Slots themselves there's a quick release knob on one side and a locking knob on the other, which allows you to lock the knobs in place for extra security.
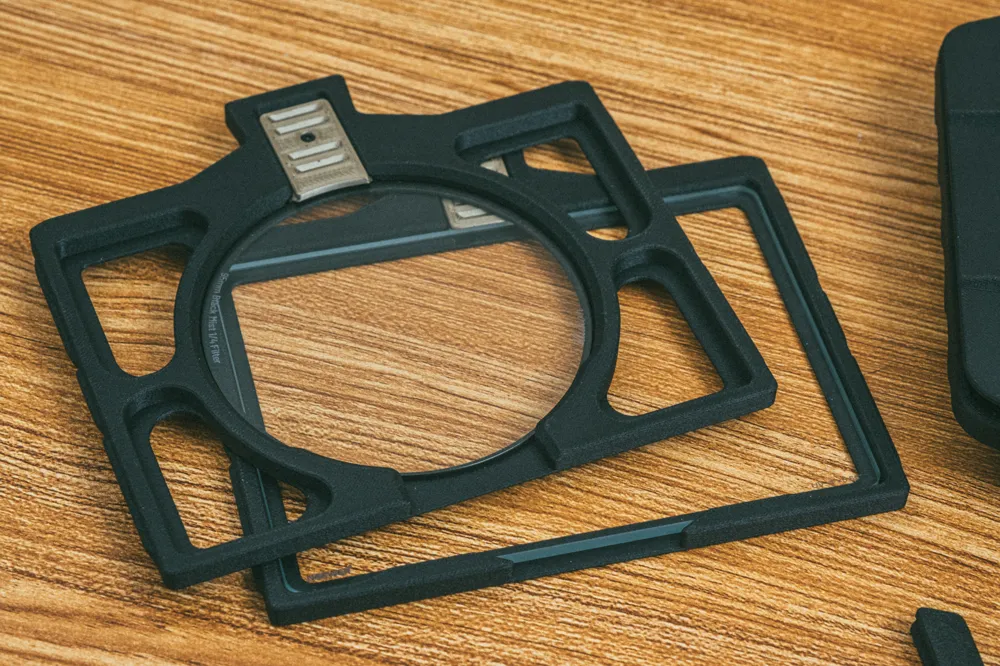
Standard 4x5.65 filters are supported along with Tilta's rimless 95mm filters. I like the idea of those 95mm filters, unfortunately there's only one matte box out there that actually supports it (as far as I'm aware), so I decided I wanted to support it too on mine.
Lastly, there's an optional customizable matte plate that can be attached to the front for further light blocking. You can find that HERE
Filaments & Hardware (Full disclosure, I am part of the Amazon Affiliate Program. All amazon links are affiliate links. I earn a small commission from these links without any added cost to you. These links help to support me so I can bring more content for free!)
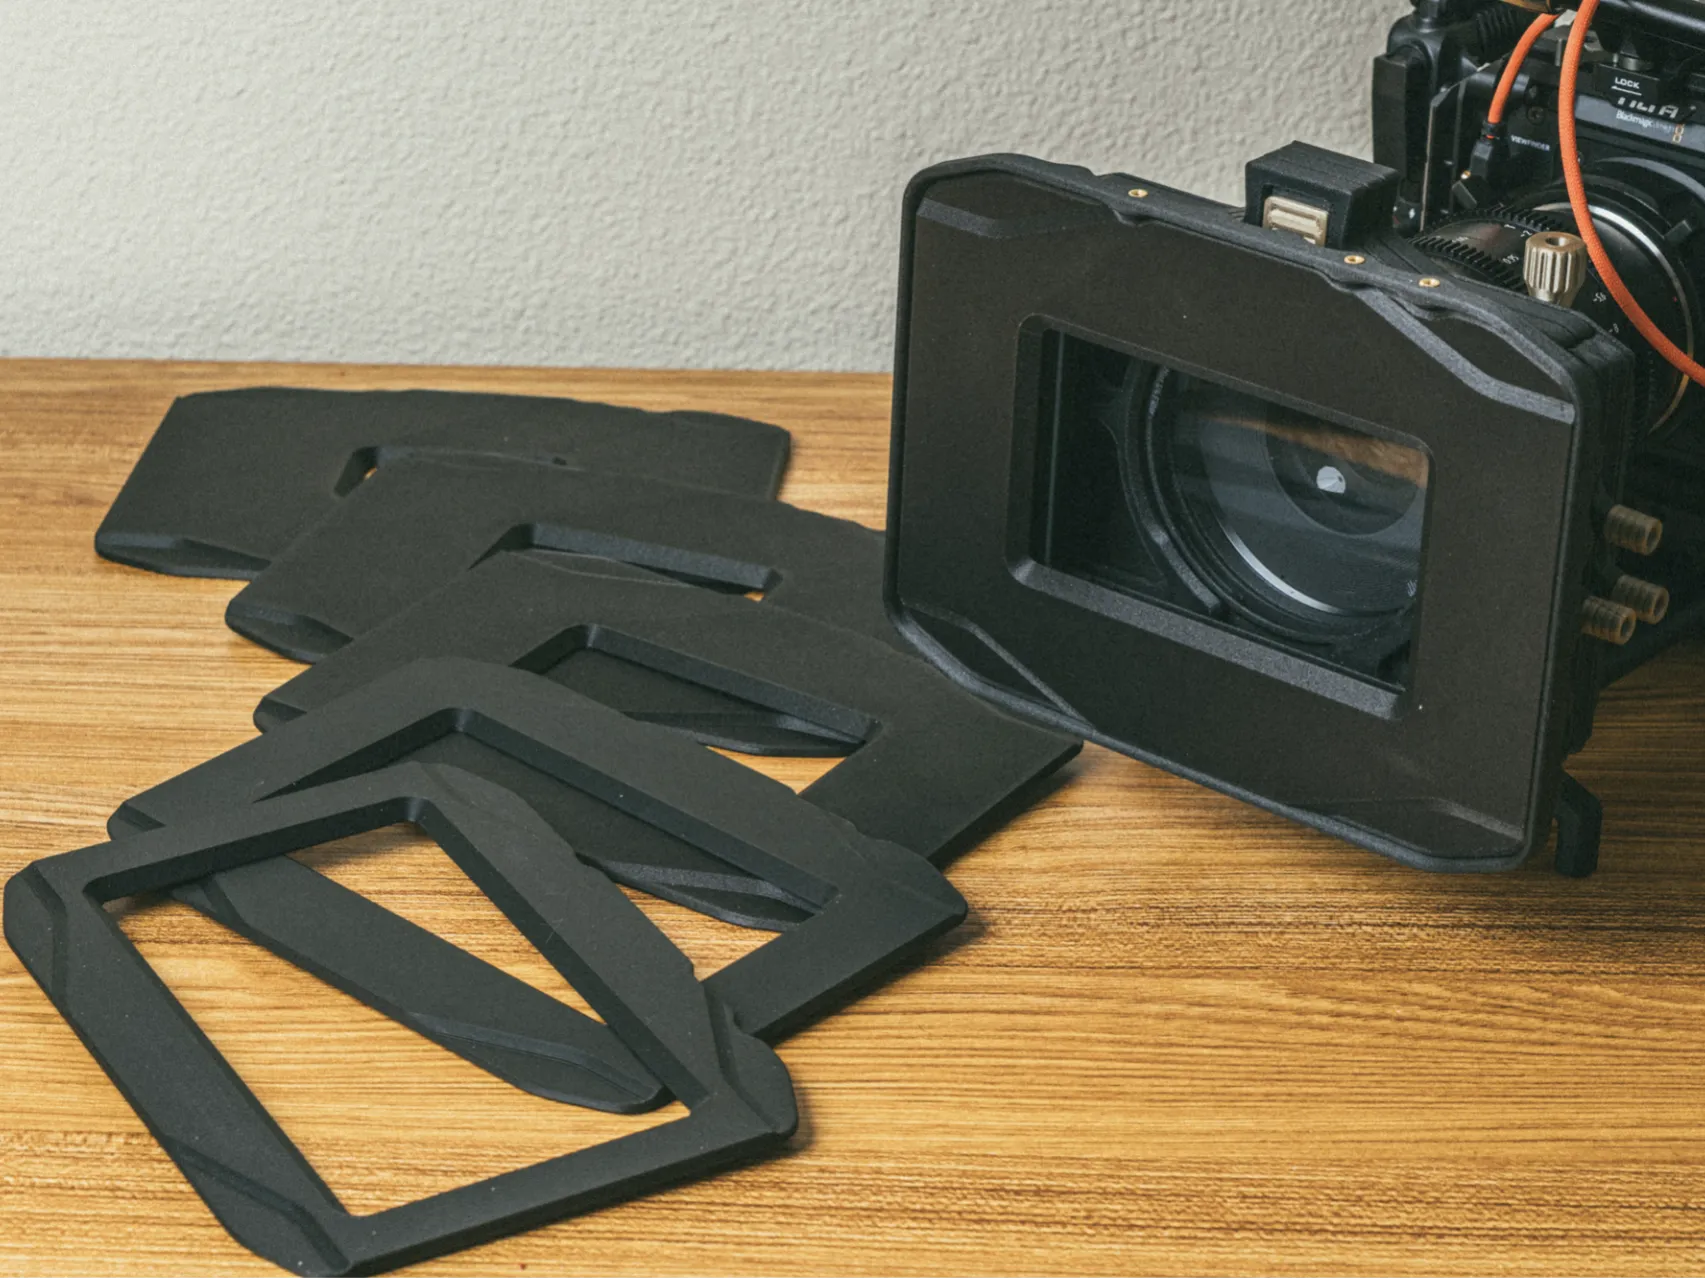
I Printed a couple of versions using PETG-CF, Matte Charcoal PLA, and ABS-CF. They all look nice, but I'd probably recommend the PETG-CF.
Featured Filaments:
Bambu PETG-CF Black
Bambu PLA Iridium Gold Metallic
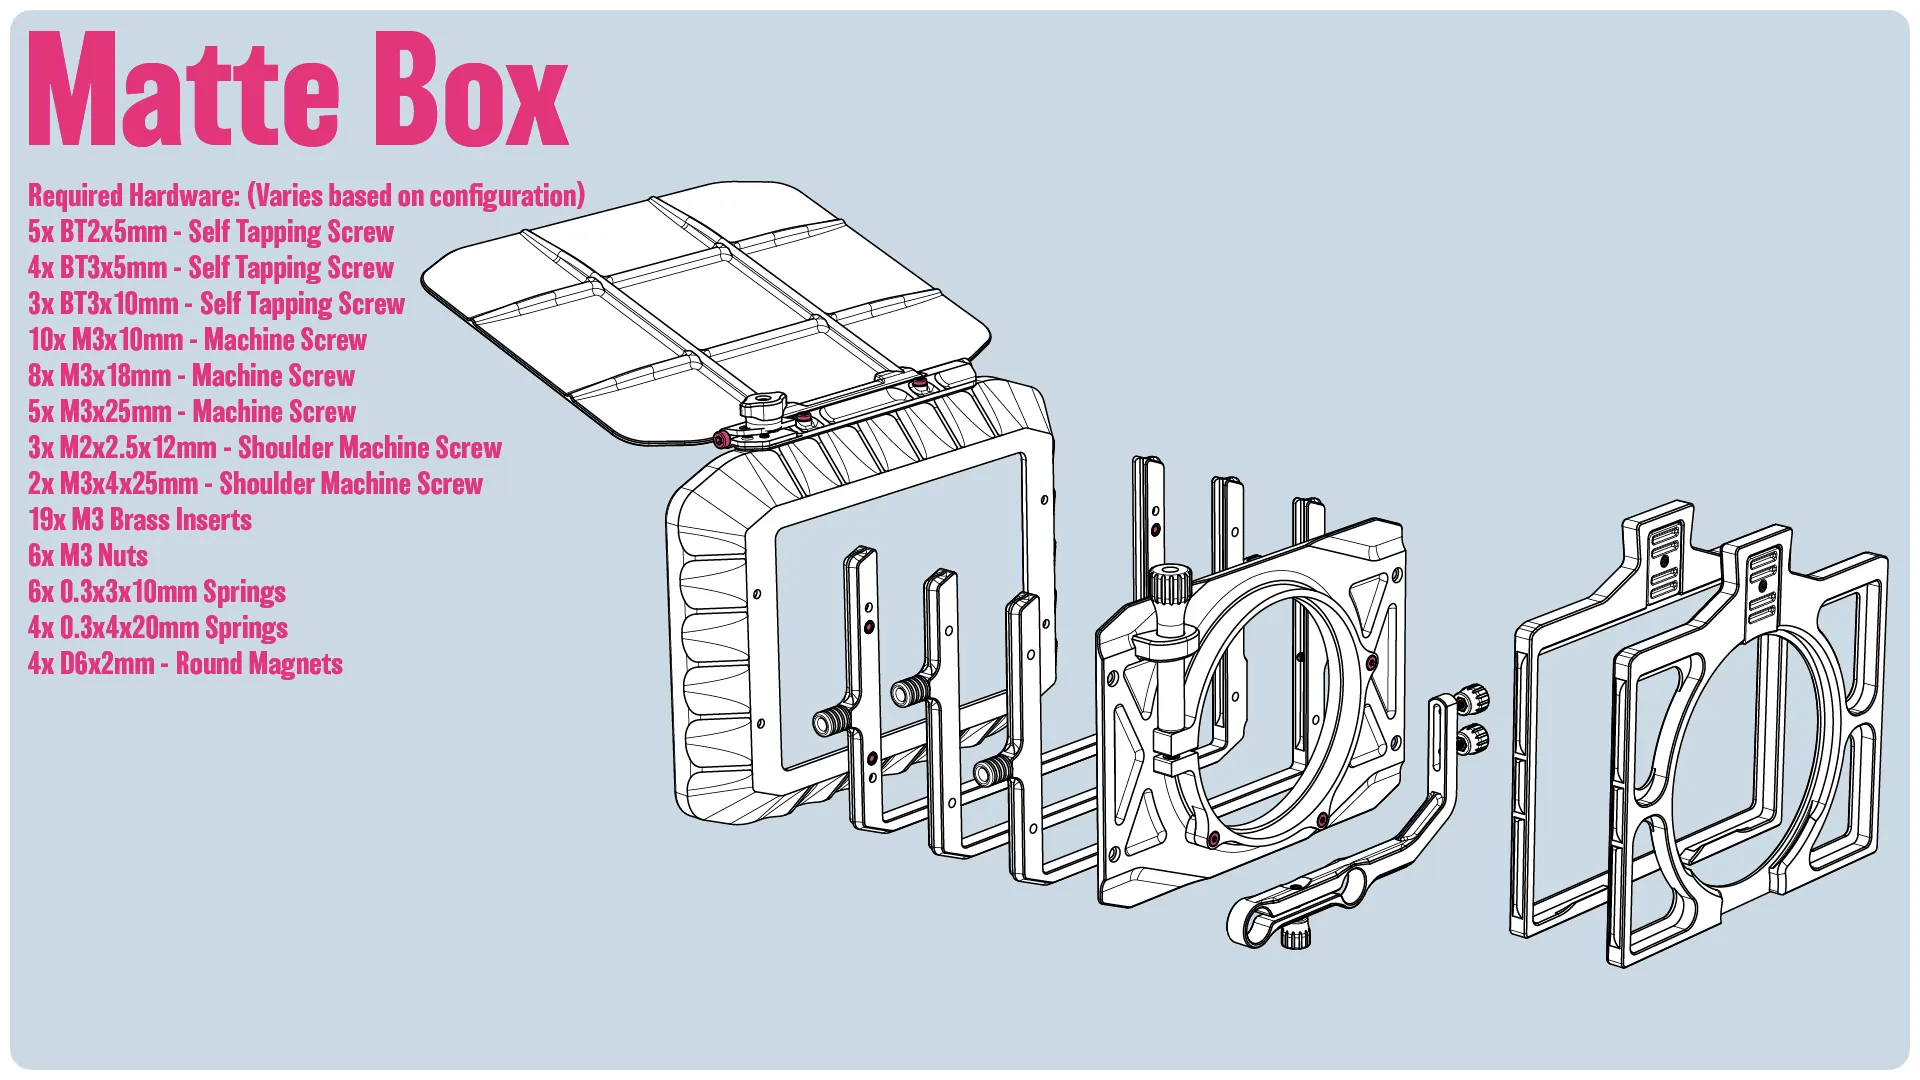
Hardware: (Hardware required varies based on your desired configuration. Listed hardware supports configuring a 1-3 tray slot matte box with the standard configuration options; one back, 3 trays, one hood, lens hood, and the 15 lws mount).
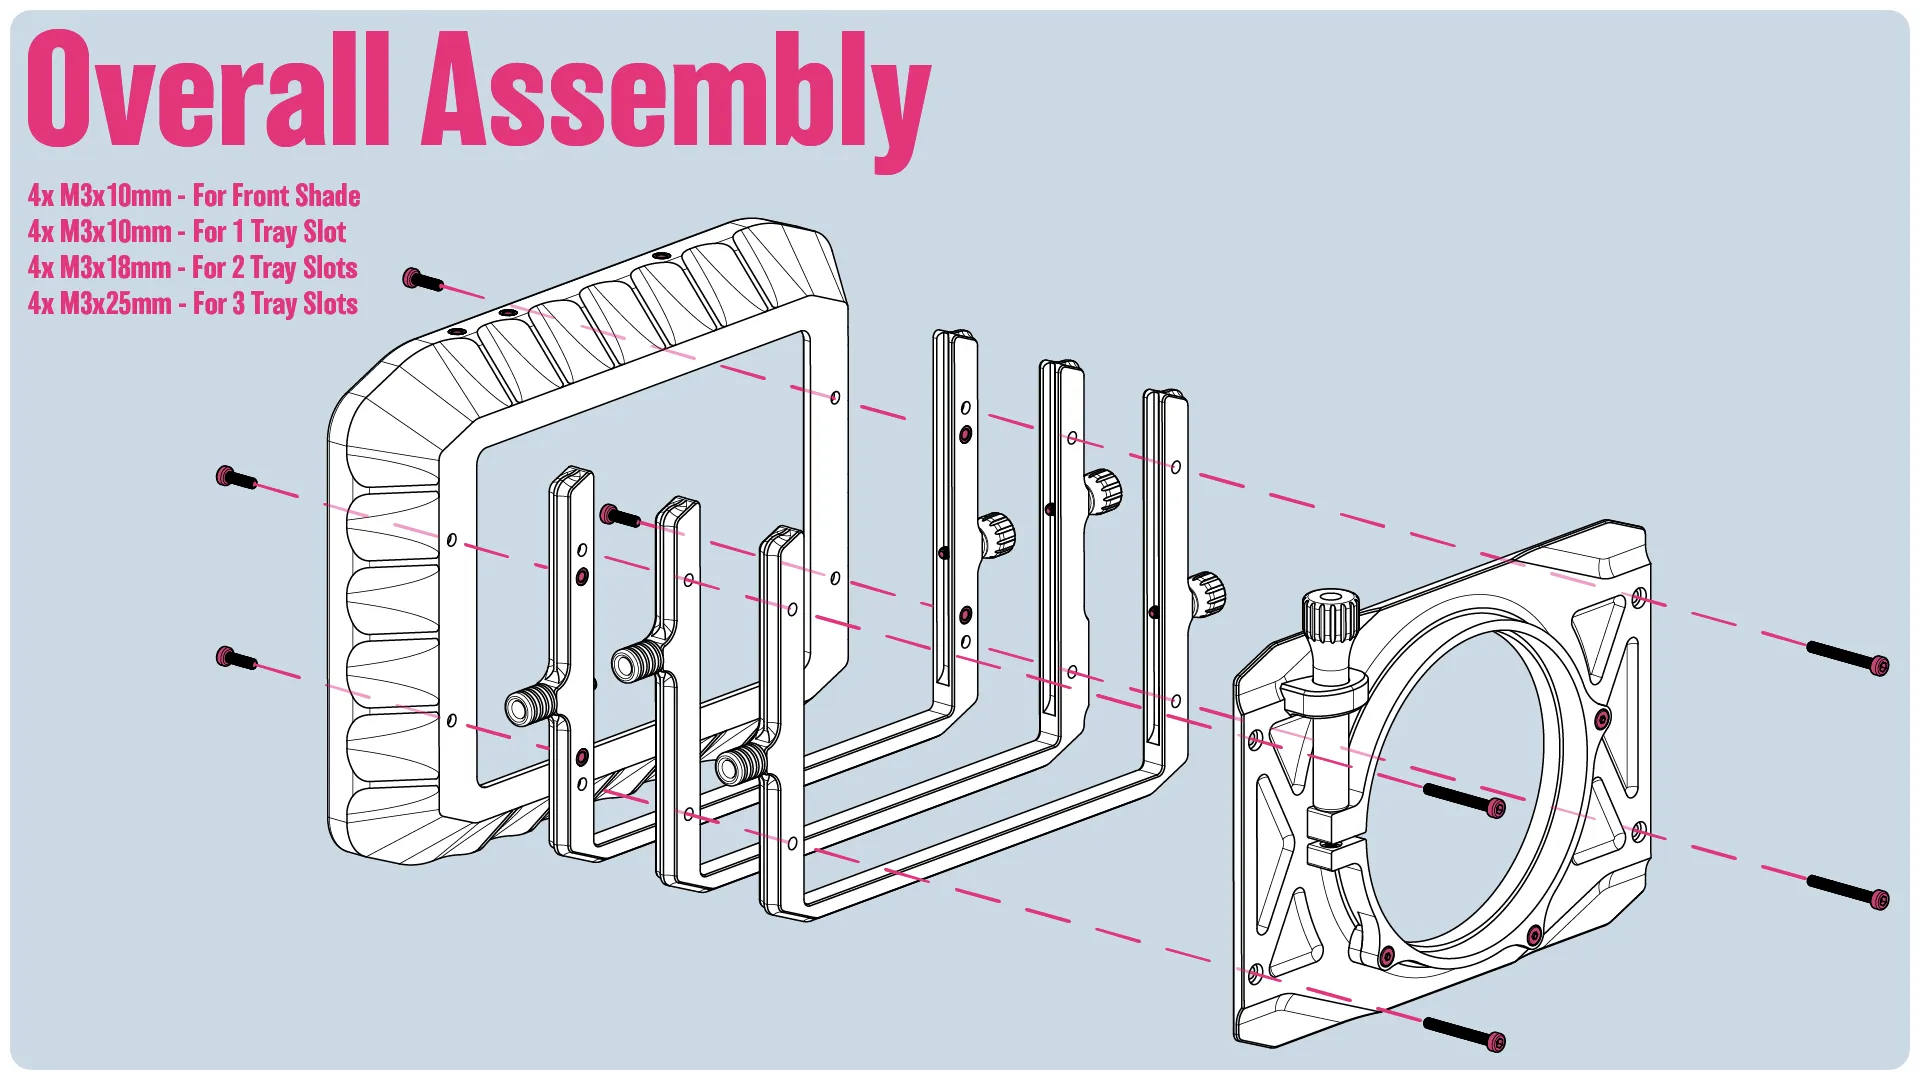
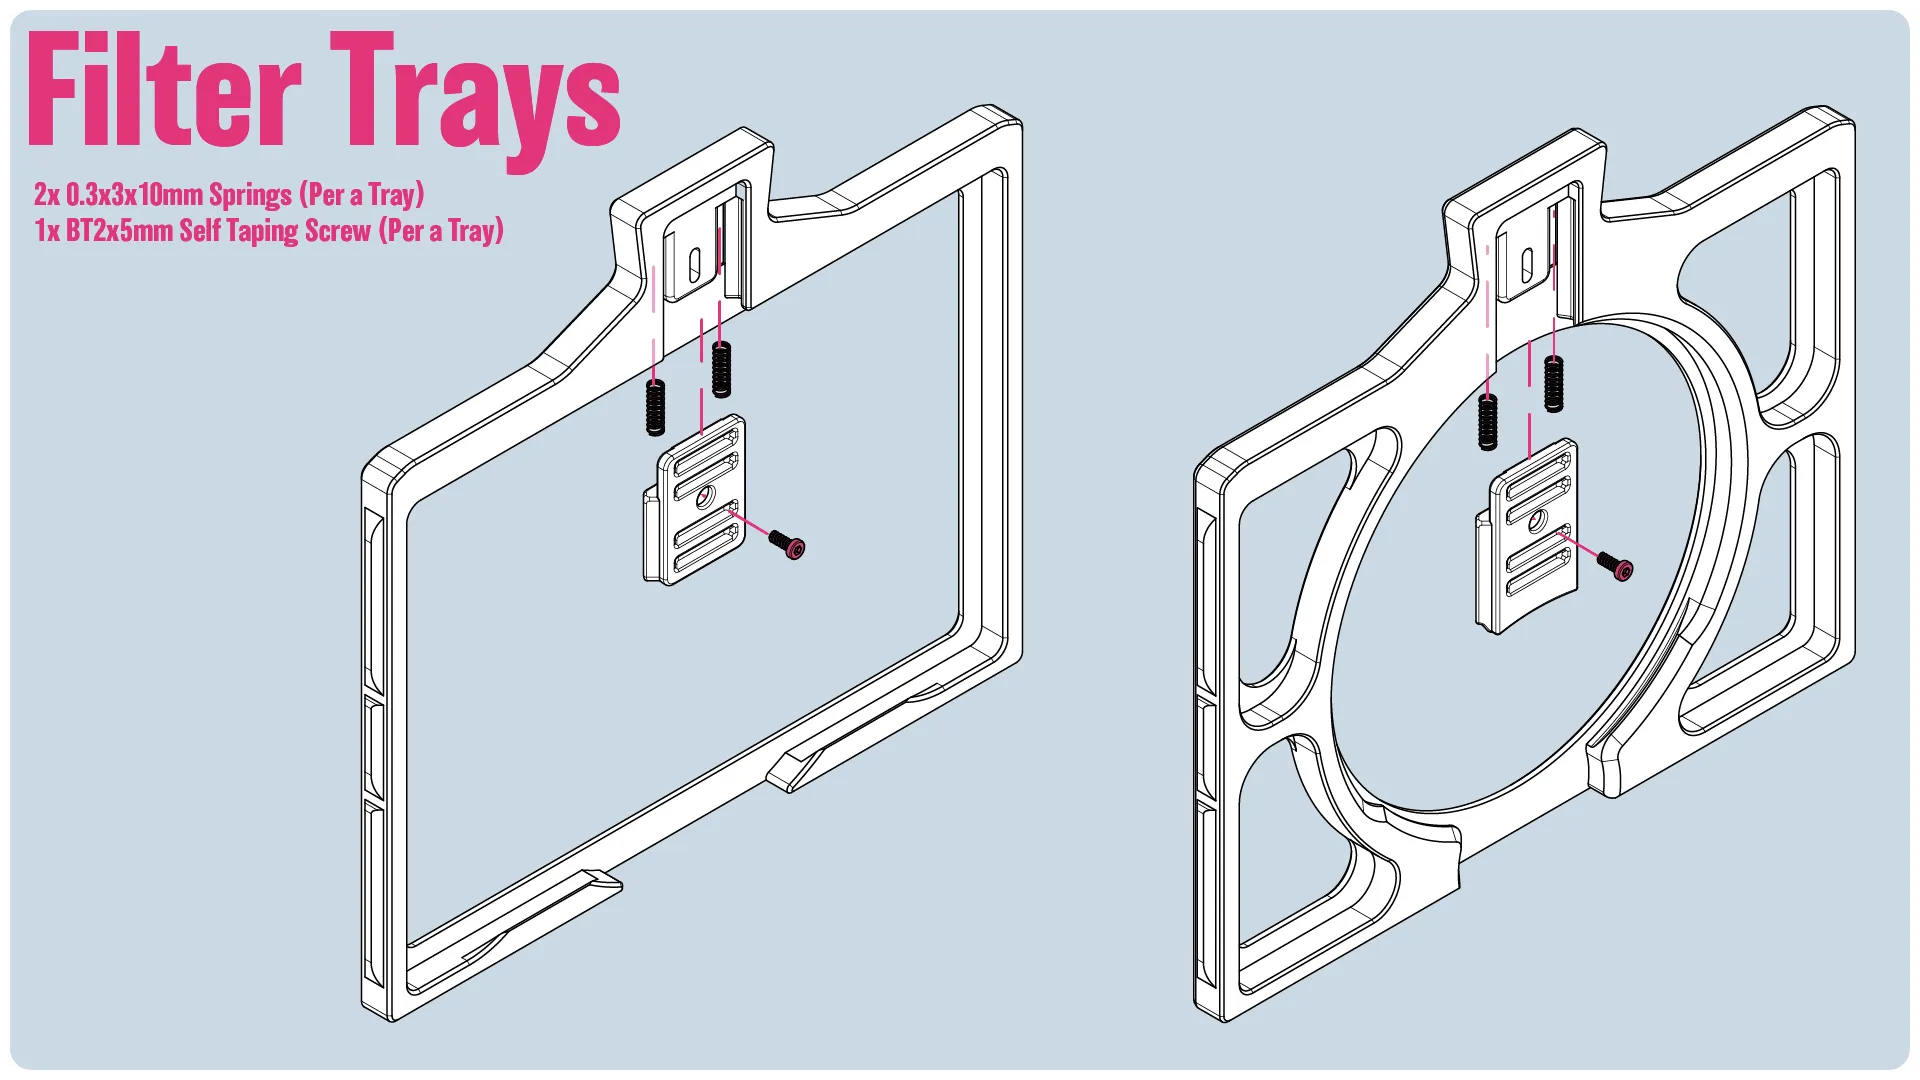
5x BT2x5mm - Self Tapping Screw
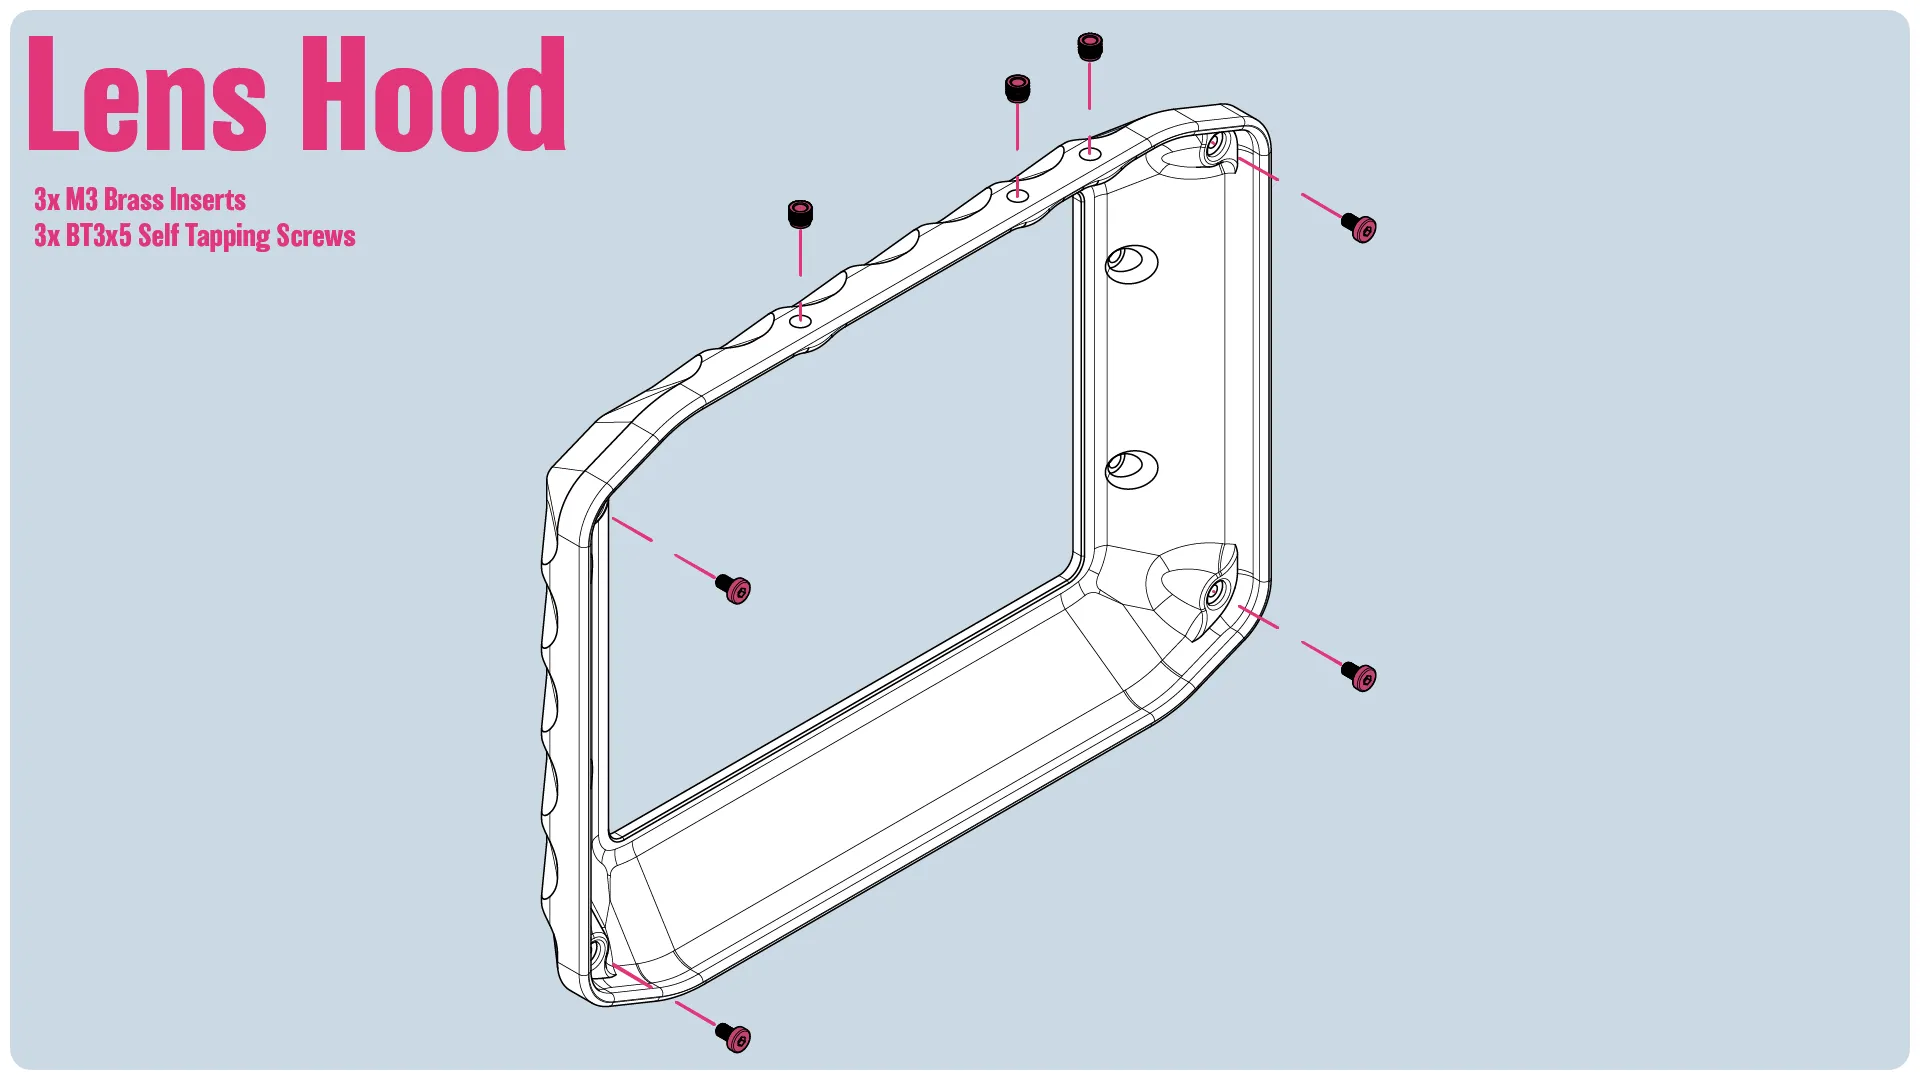
4x BT3x5mm - Self Tapping Screw
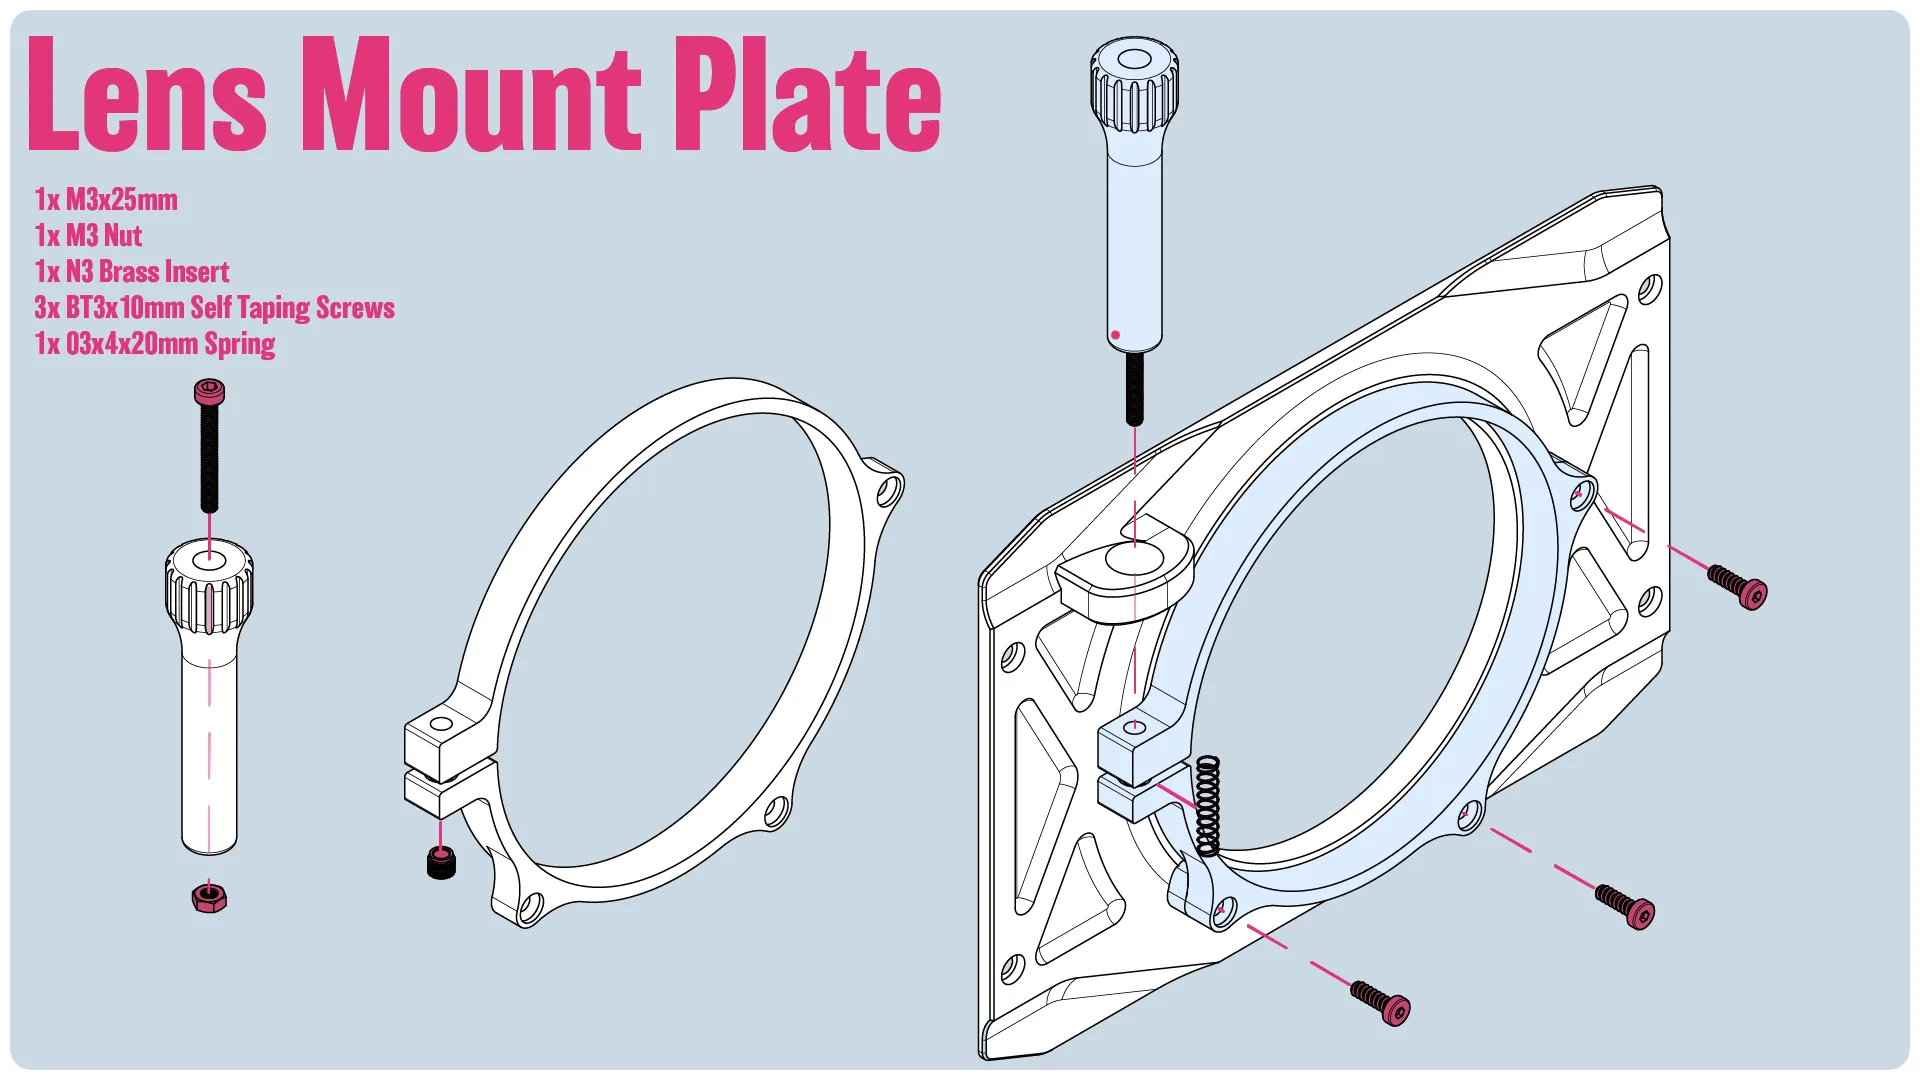
3x BT3x10mm - Self Tapping Screw
10x M3x10mm - Machine Screw
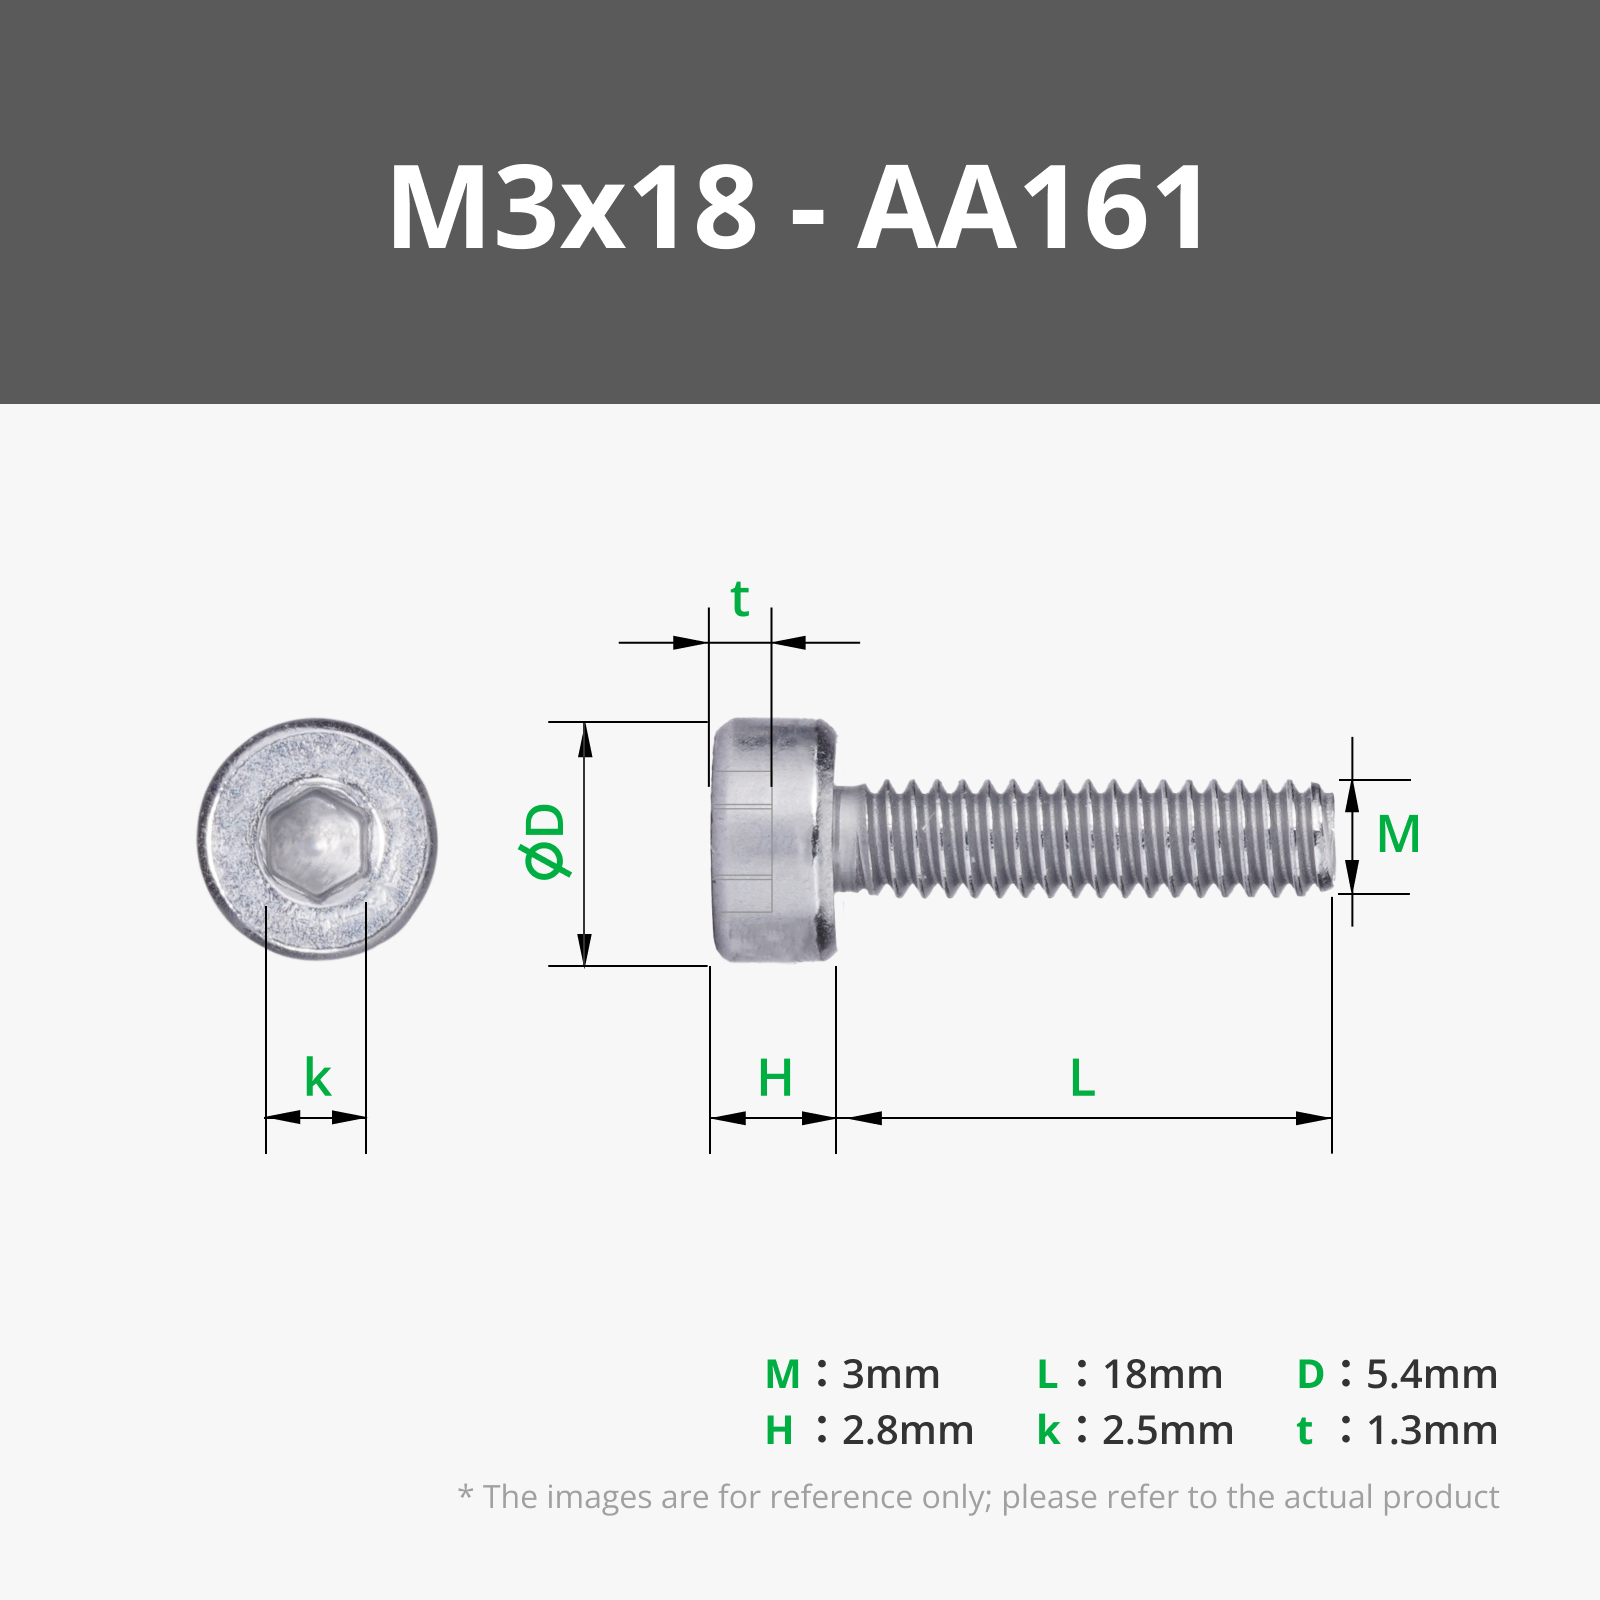
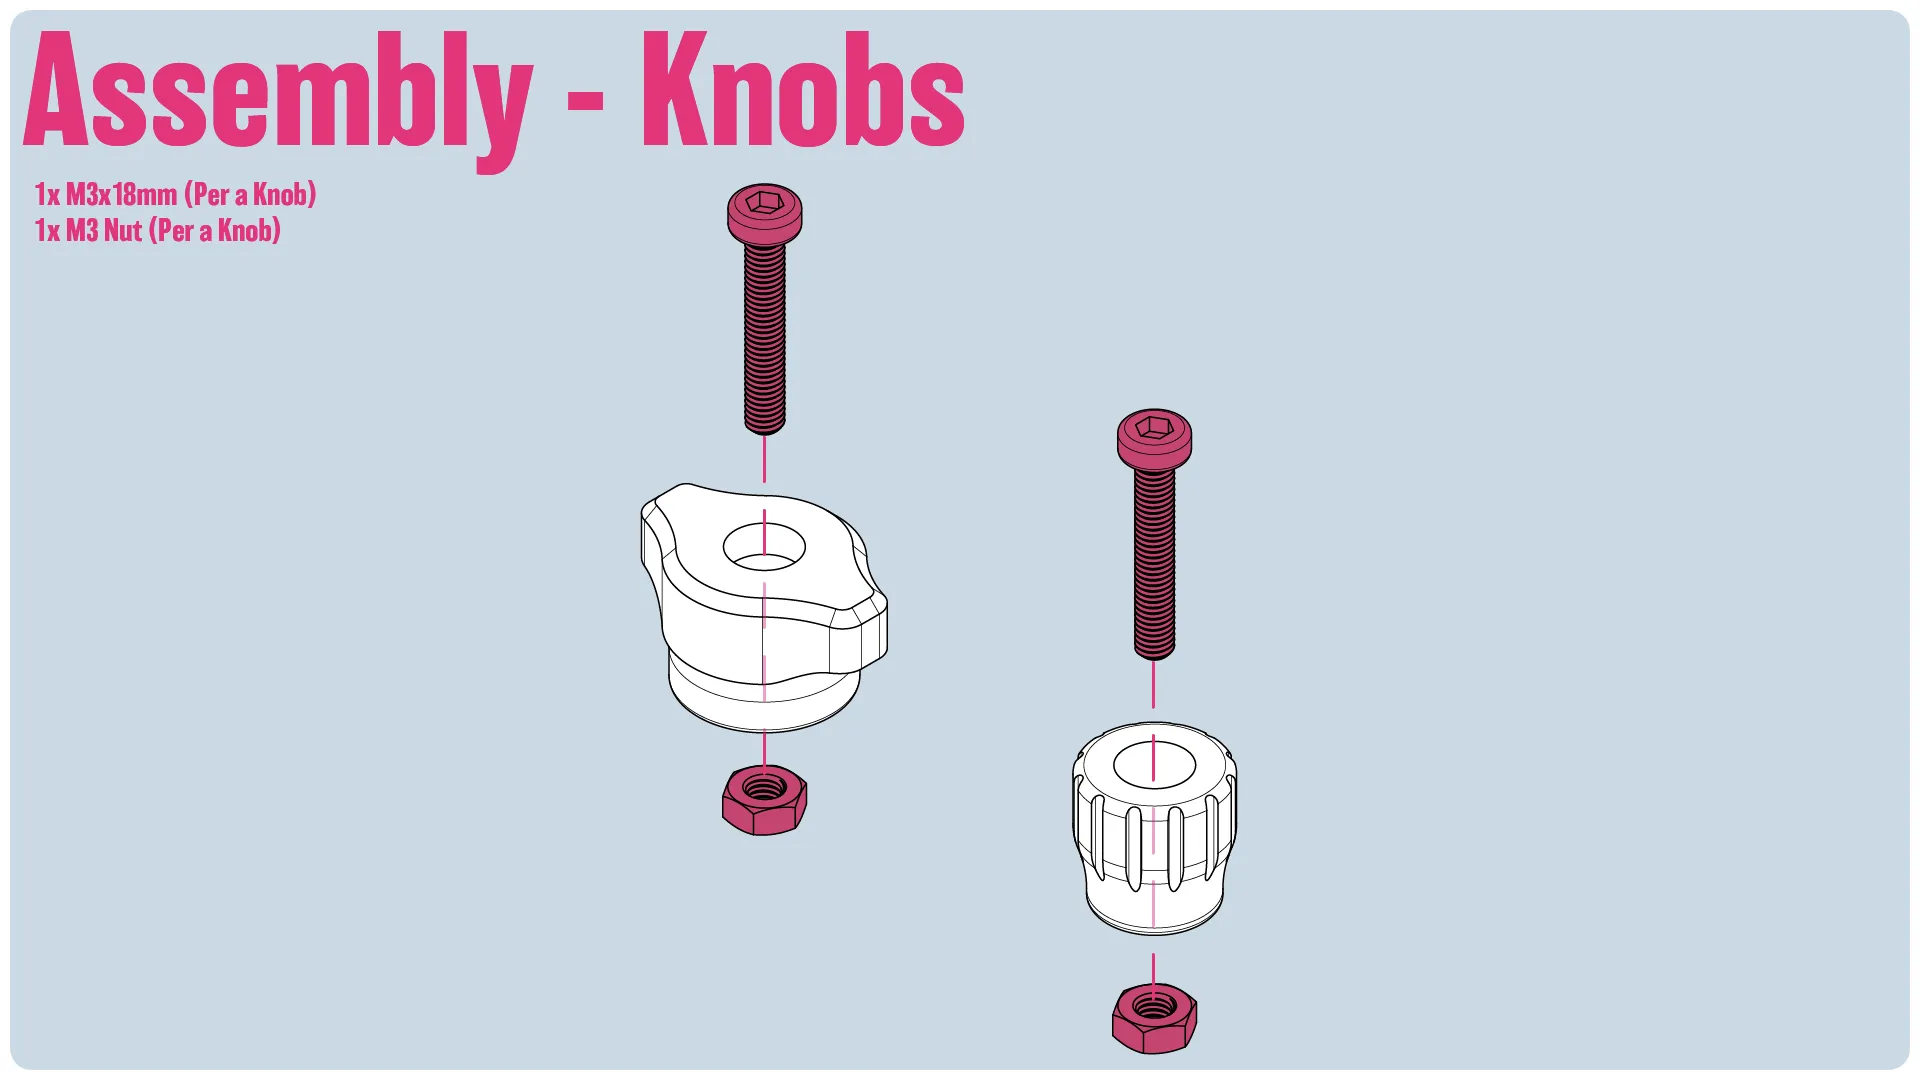
8x M3x18mm - Machine Screw
5x M3x25mm - Machine Screw
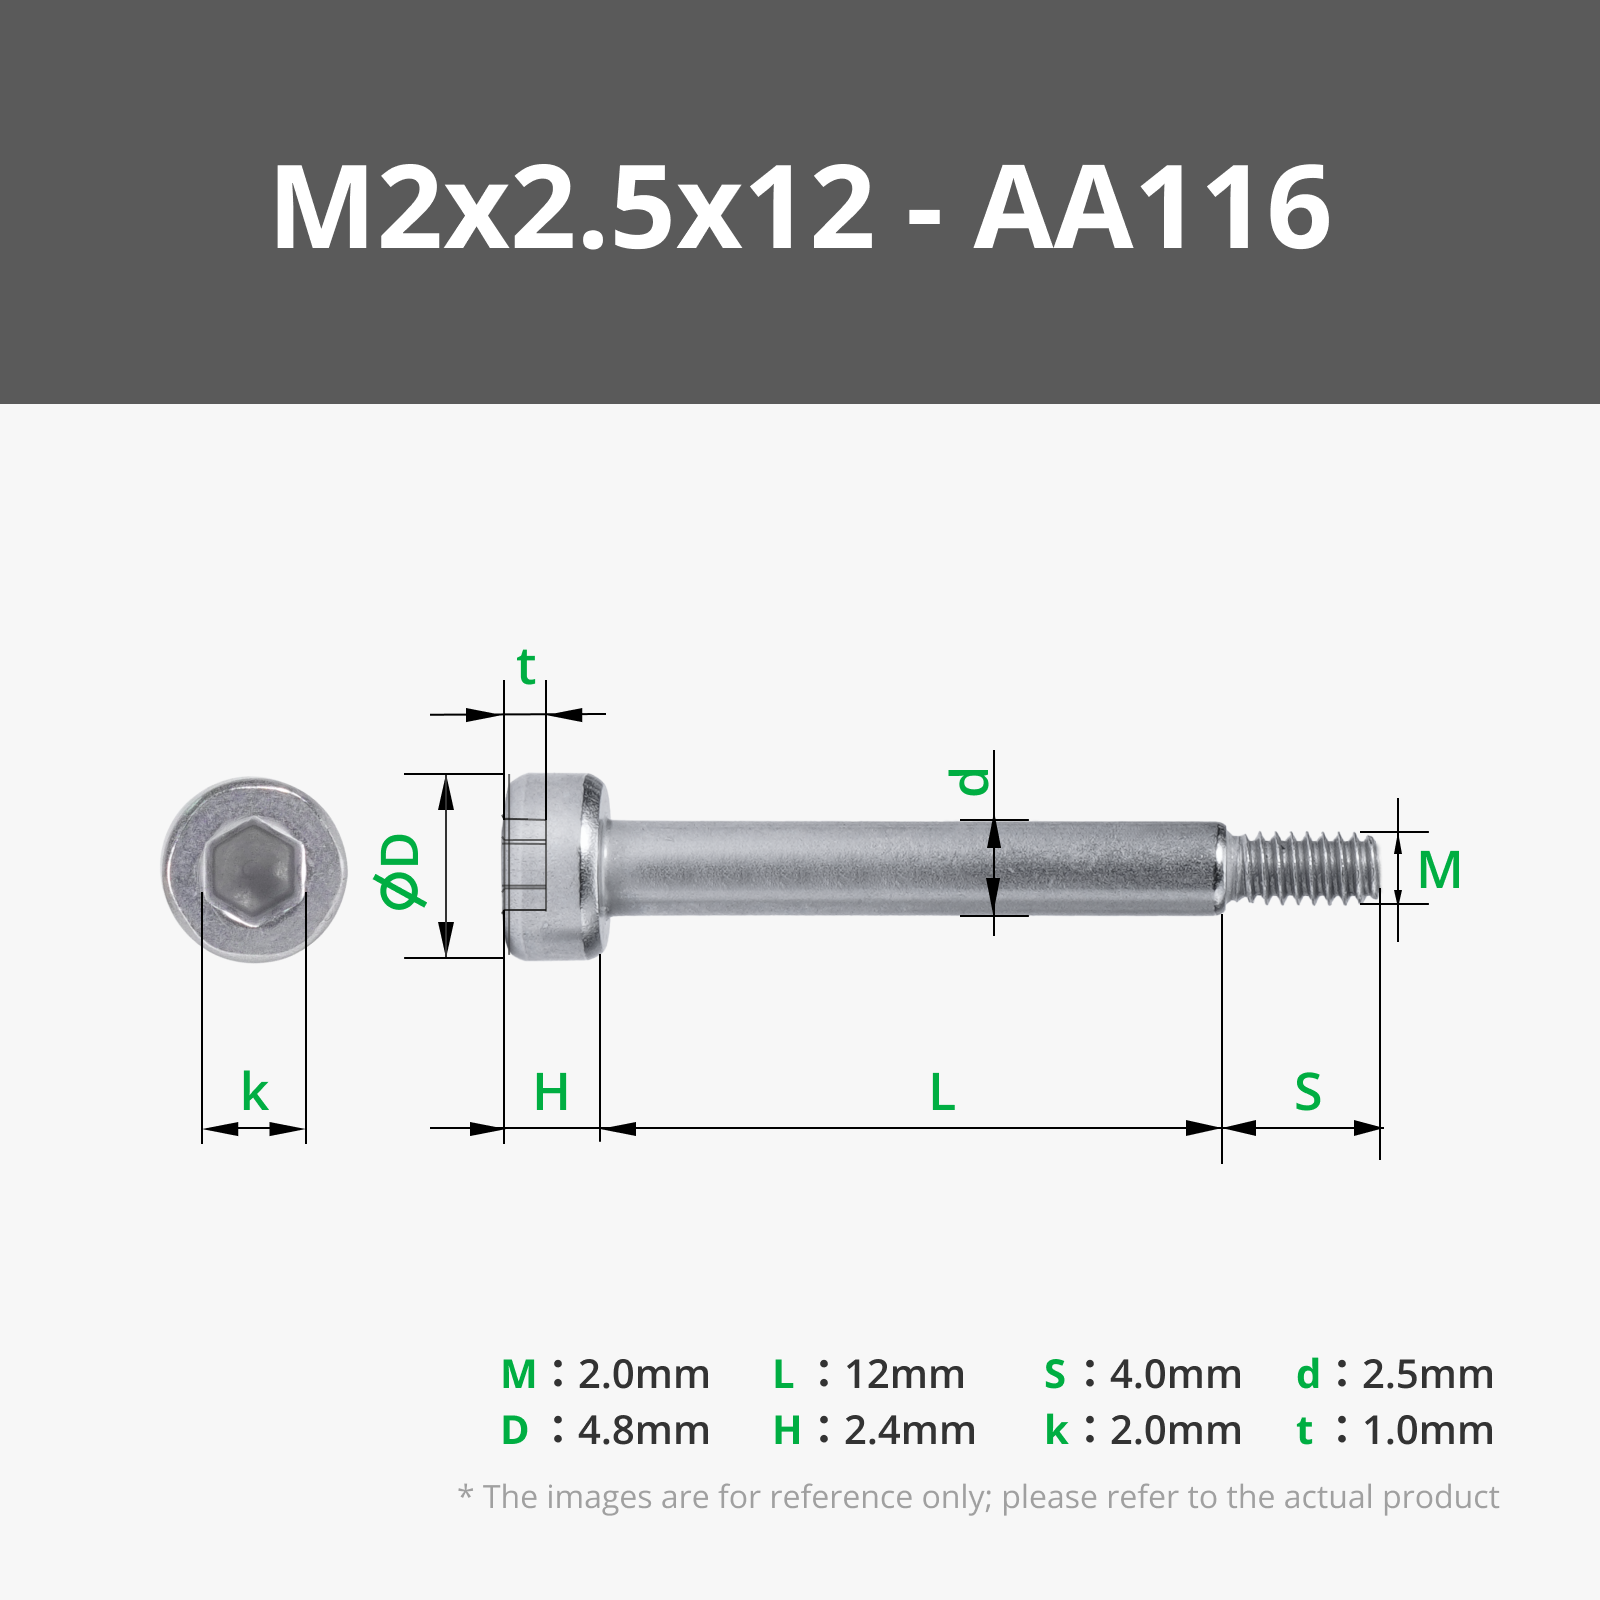
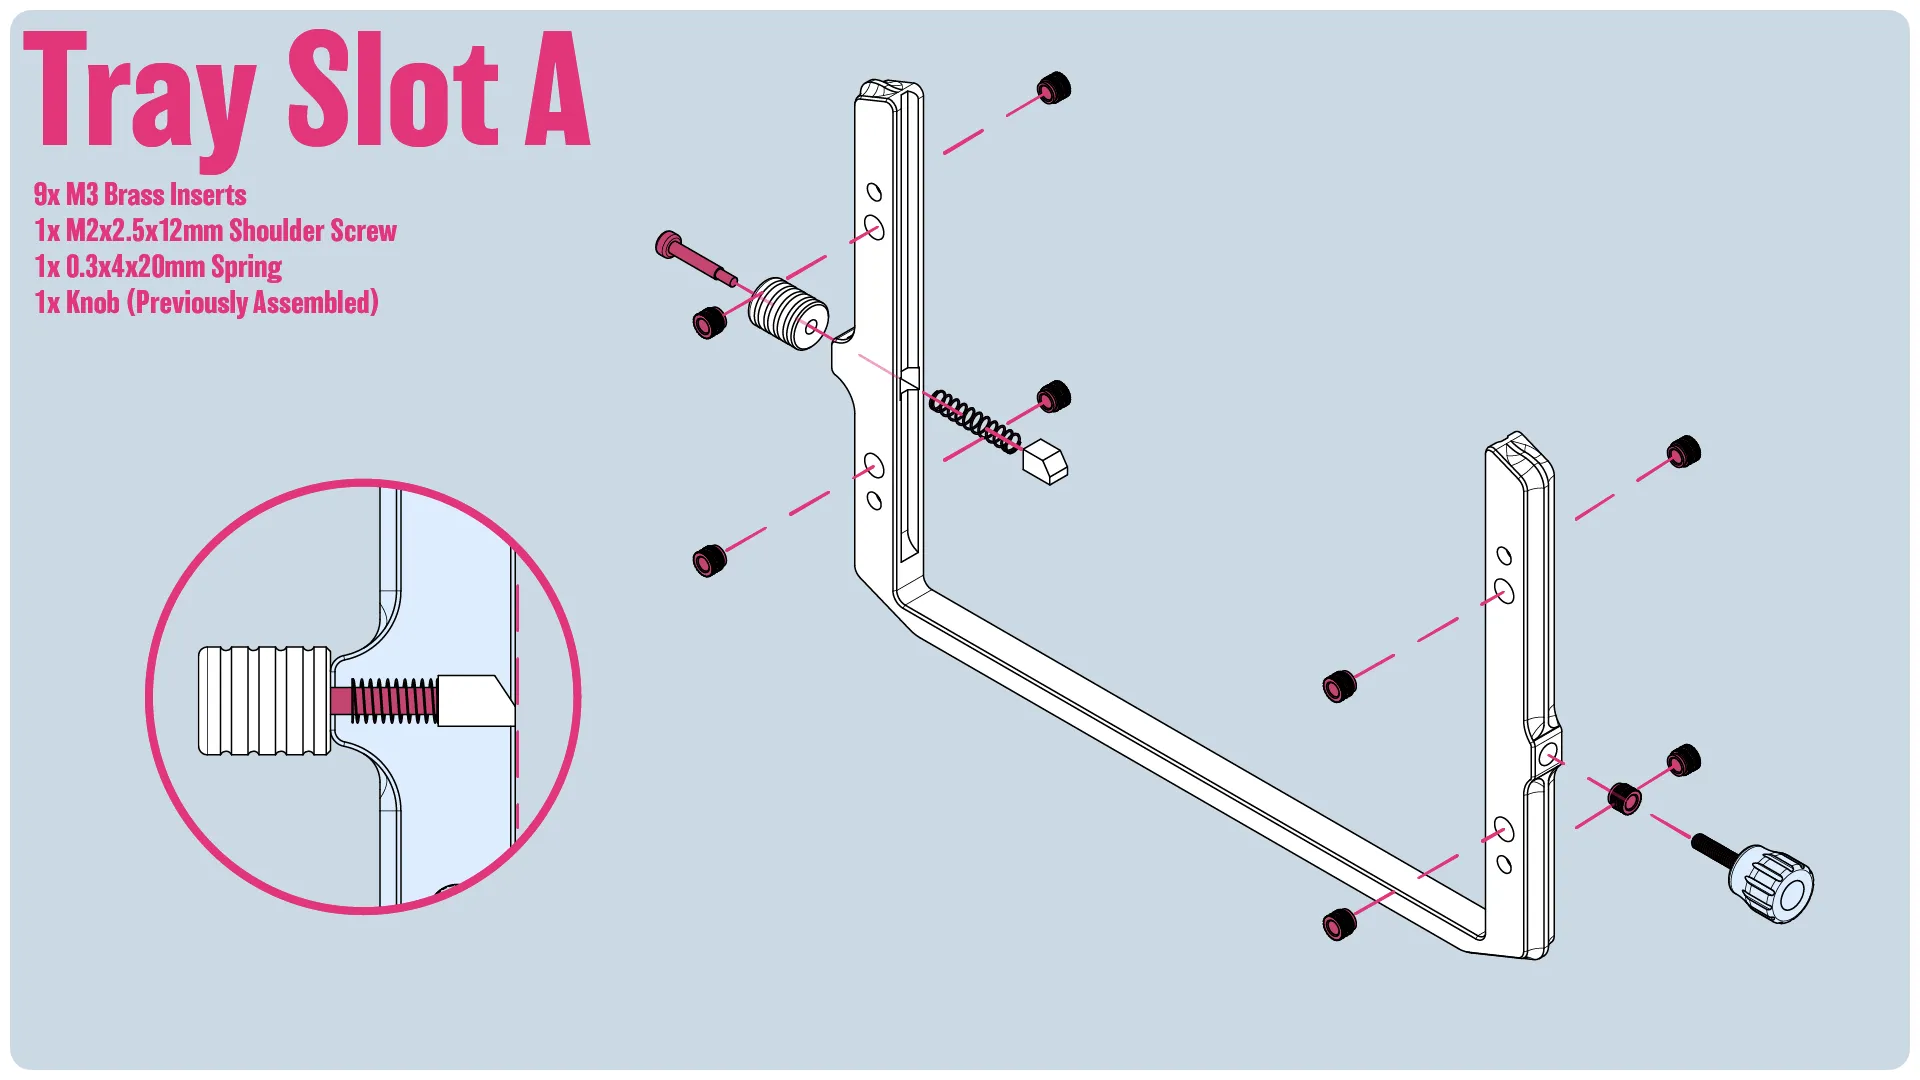
3x M2x2.5x12mm - Shoulder Machine Screw
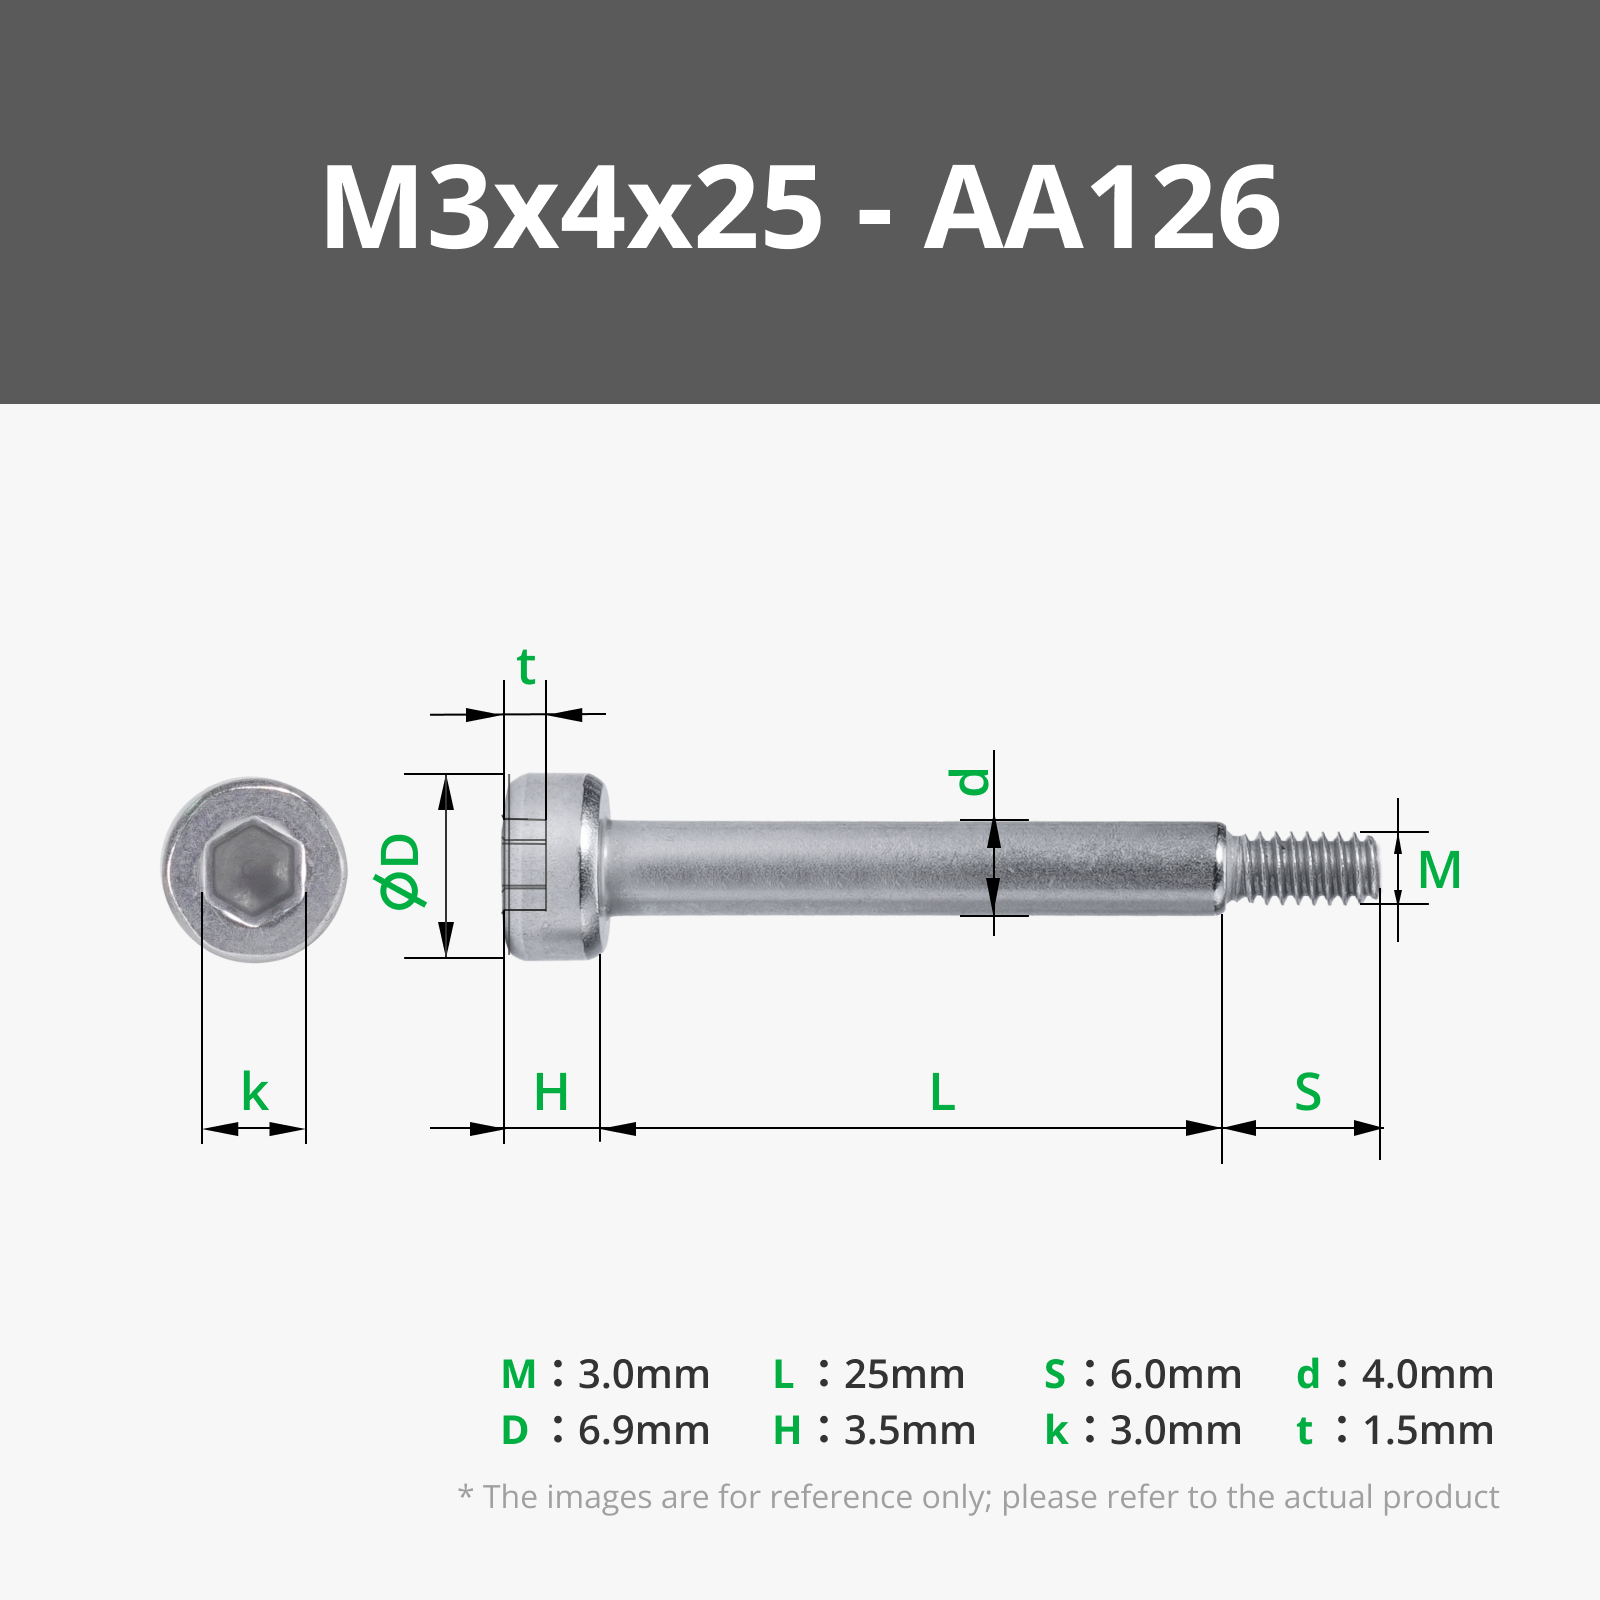
2x M3x4x25mm - Shoulder Machine Screw
19x M3 Brass Inserts
6x M3 Nuts
6x 0.3x3x10mm Springs
4x 0.3x4x20mm Springs
4x D6x2mm - Round Magnets
Additional Hardware:
(Optional) Thread Locker like this Red Threadlocker from Amazon - this is used for the french flag. You could use blue thread locker, but I think red would probably be better. Just don't break it!
Mounting to non-cine lenses.
The backs I've made are sized for a number of different cine lens options, but if you want to mount to a non-cine lens, you'll want to use an adapter that goes from filter threads to a 95mm outside diameter ring. These are pretty common and easy enough to get. Here are a few options from Amazon, HERE, HERE, or like these from Tilta
Assembly Instructions
-------
If you like my work, consider showing your love by Buying me a coffee. Additionally, if you're looking to sell prints of my design, please check out my Patreon page for more information. Additionally, you can follow me on Youtube for videos covering some of my models, and Instagram.
Documentation (1)
License

You may create derivative works based on this object, provided that all such derivative works are published exclusively on the MakerWorld platform and include proper attribution to the original creator. You may not share, upload, host, distribute, or publish this object—or any derivative work of this object—on any other digital platform, marketplace, or distribution channel. Commercial use of this object and any derivative works is strictly prohibited. This includes, but is not limited to, selling, renting, sublicensing, or using the object in any context in which you receive monetary compensation or other financial benefits.


Comment & Rating (22)