Iris Storage Vault – USB / SD / Bit Organizer


Print Profile(3)


Description
Iris Storage Vault – USB / SD / Bit Organizer
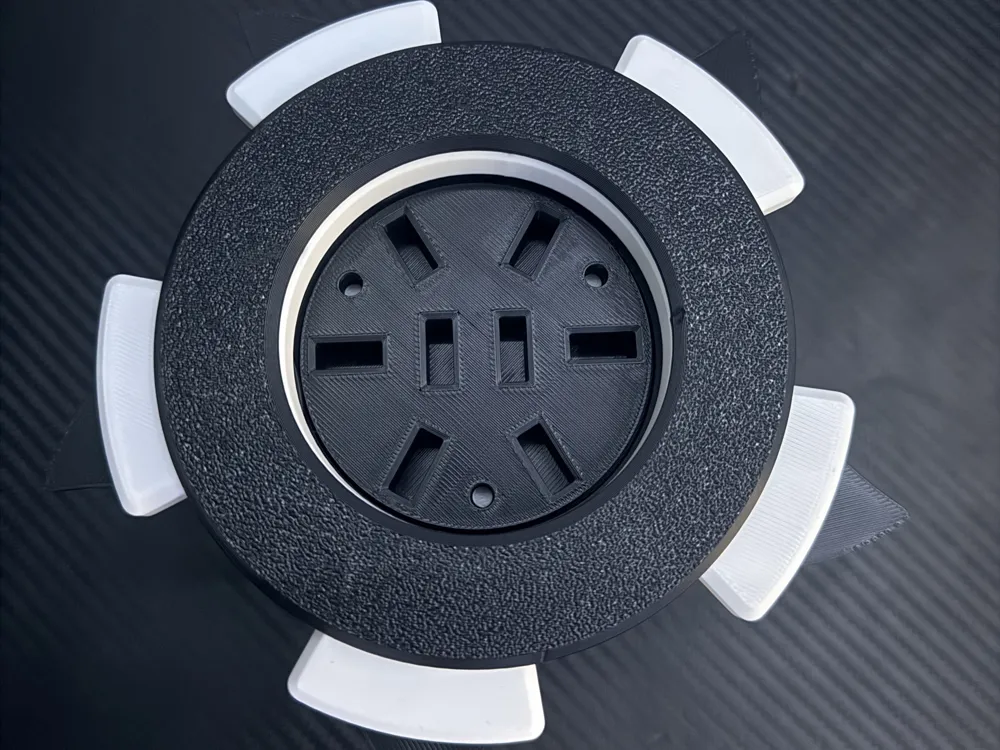
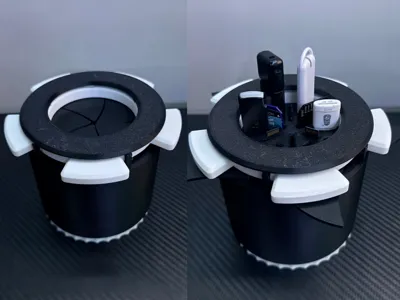
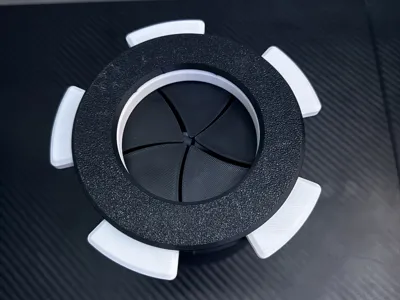
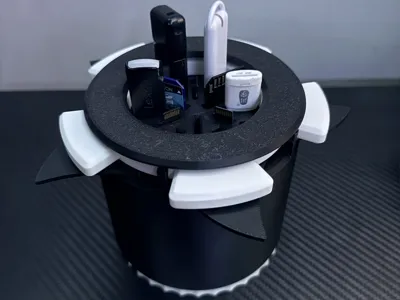
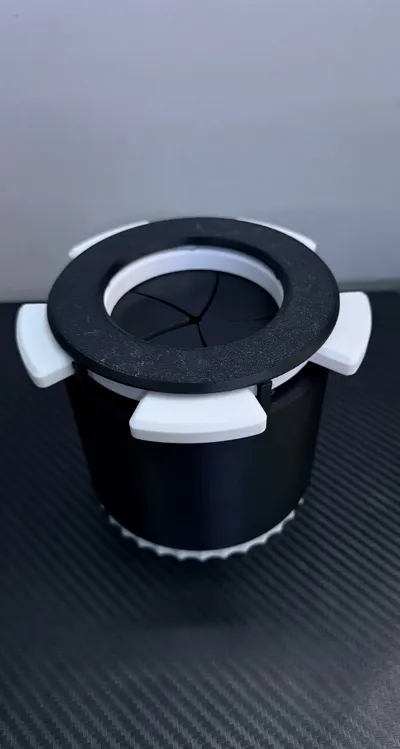
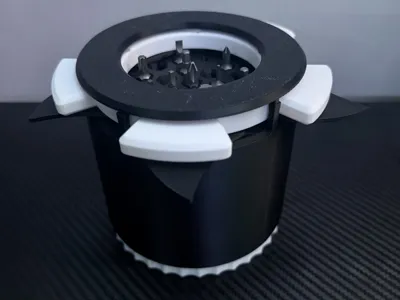
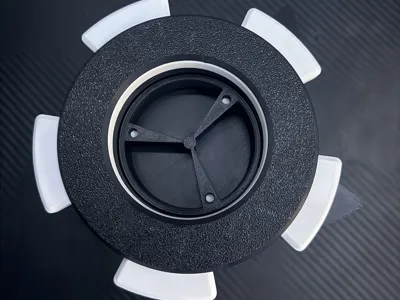
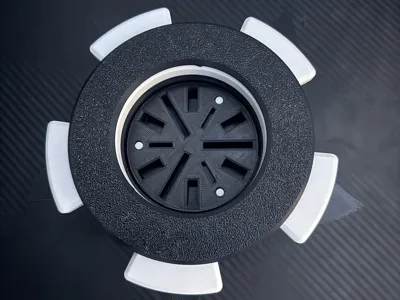
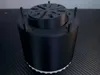
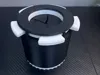
This is a mechanical iris vault that reveals a hidden rising storage system when opened. Turning the bottom raises the internal tray, making the stored items easy to access. The design is inspired by camera apertures and sci-fi mechanisms, creating a satisfying mechanical motion when opening and closing the vault.
This model is does not require any thing that is not 3d printed. You can 3d print everything you need for this vault right here. This model requires ~200g of filament, and take around 5 and a half hours to print. This model will require at most 2 plate to print unless you have a A1 Mini, then it would be at least 4 plates to print.
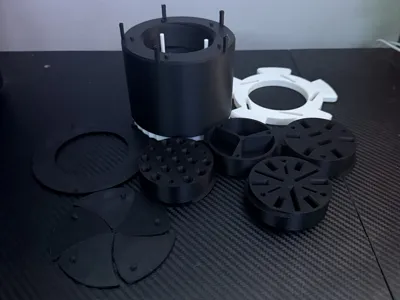
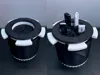
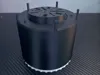
The capsule uses a rotating iris mechanism on top and a threaded lift system to raise the storage compartment. Multiple interchangeable storage trays are included so the vault can be used to organize different items.
This model have different storage layouts available, to print the different layouts choose the plate with the layout you want, then print the Rotating Parts Plate as that is needed no matter what storage layout you go with.
Storage Options Included
• USB drive holder

• USB + SD + MicroSD card holder

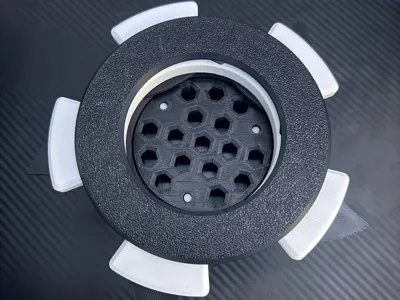
• Hex bit holder

• General storage tray

Each tray is designed to fit inside the Vault/Body and can be swapped depending on what you want to store.
If you print one, I'd love to see your make!
If you have any suggestions for new storage layouts/versions, please let me know
Boost Me (for free)
If you enjoyed this model please boost to make up for all the wasted filament while making this model.
Assembly
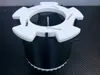
Get the Bottom Piece with ridges and push it into the bottom of the Body.

Get the Storage of your choosing and just thread it into the body. ONLY GET THE THREAD STARTED or you will break the poles

Twist the Bottom Piece with ridges until it either starts to turn the Storage or the Storage drops onto the poles. If it gets stuck when turning turn the Bottom Piece back and forth until it either gets unstuck or lines up with the storage. To make sure you did it right the storage should be flat and when turning the Bottom piece the storage lowers or rises.

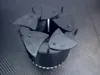
Carefully put the fins for the iris/door onto the short poles as shown in the following picture.

Put the Top Piece to the Iris on top of the fins as shown making sure it sits flat. Turn the Top Piece back and forth to ensure it is in place. Then test the Iris mechanism out by carefully turning the Top Piece to open and close the iris. Only if that works then move on.

Grab the top ring and position it so all the little poles are lining up with the holes in the poles on the body, then push with force.

Documentation (6)
License
You may create derivative works based on this object, provided that all such derivative works are published exclusively on the MakerWorld platform and include proper attribution to the original creator. You may not share, upload, host, distribute, or publish this object—or any derivative work of this object—on any other digital platform, marketplace, or distribution channel. Commercial use of this object and any derivative works is strictly prohibited. This includes, but is not limited to, selling, renting, sublicensing, or using the object in any context in which you receive monetary compensation or other financial benefits.
Comment & Rating (0)