
7530 Fan Adapter Enclosure - Printer Exhaust Component
Print Profile(1)
Description
Introduction
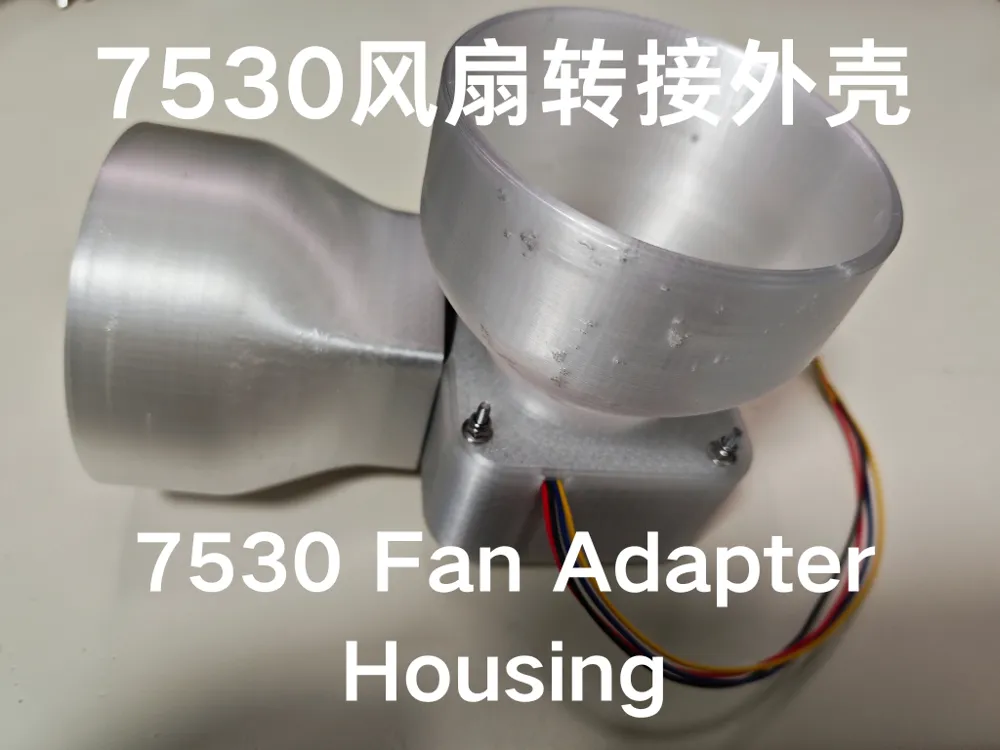
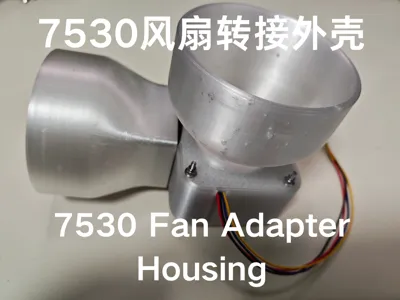
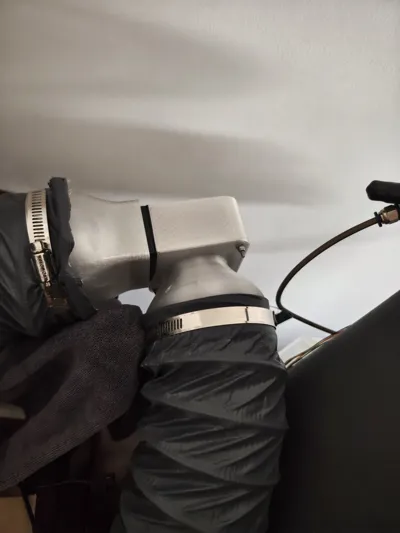
This is an adapter enclosure designed for a 7530 centrifugal turbo fan
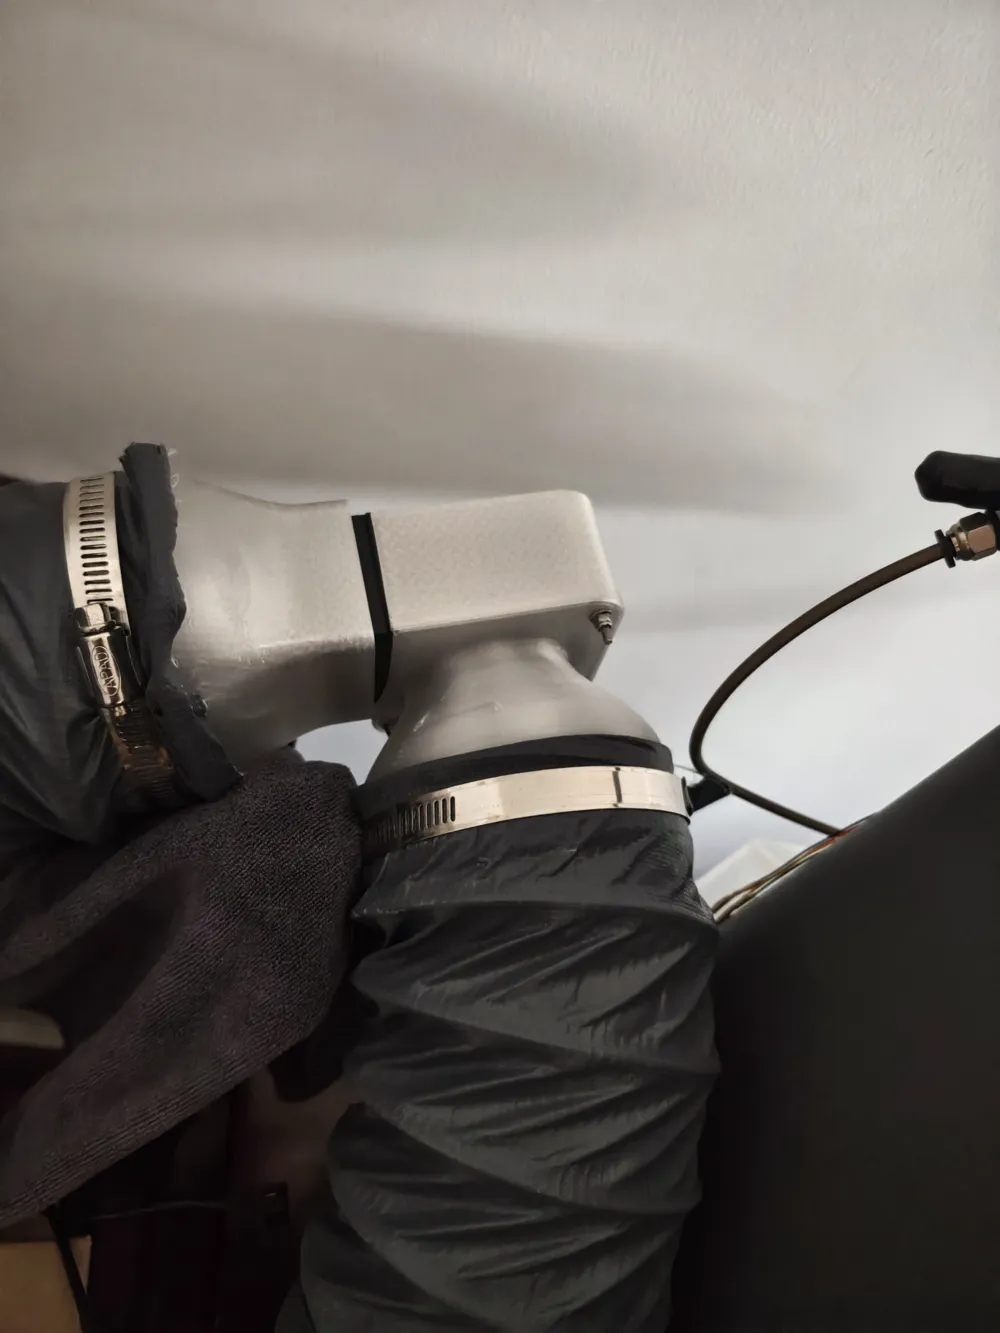
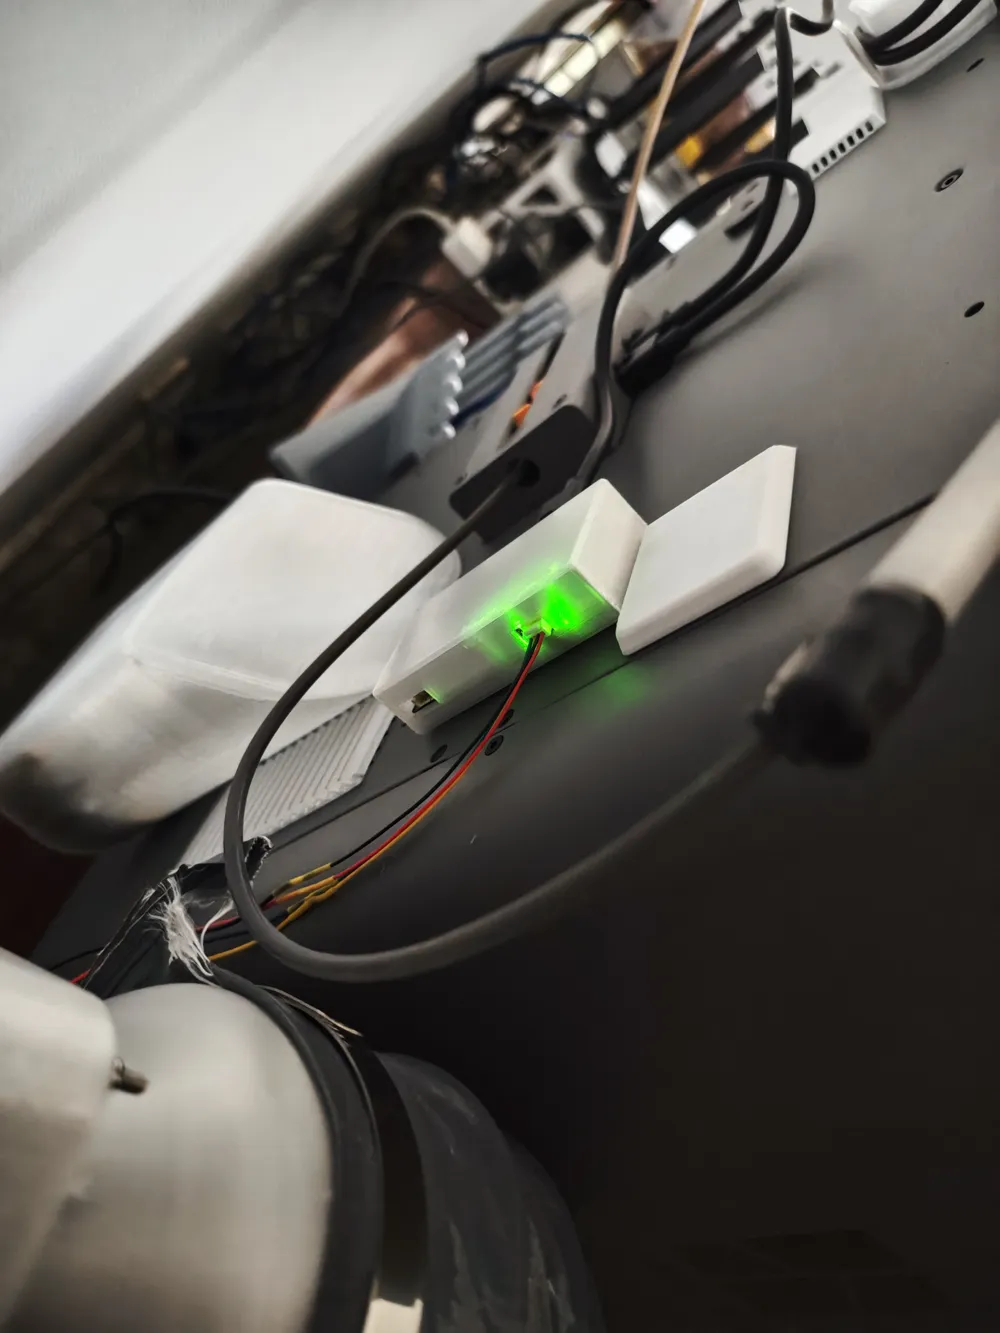
It can be connected to the exhaust ducting to extract air from within the 3D Printer chamber
There are 7530 centrifugal fans available that can match the parameters of the Bambu Lab official P2S external exhaust fan circuit board
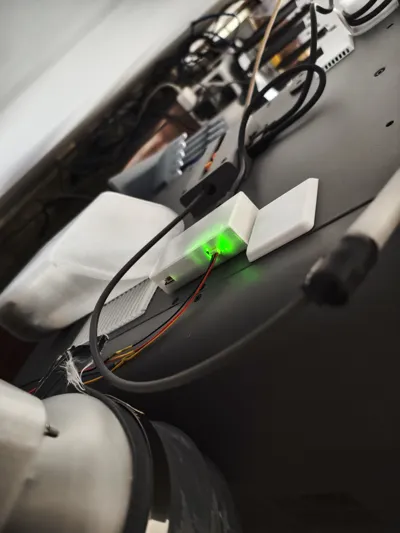
It can be controlled by the printer for external exhaust without needing independent power supply
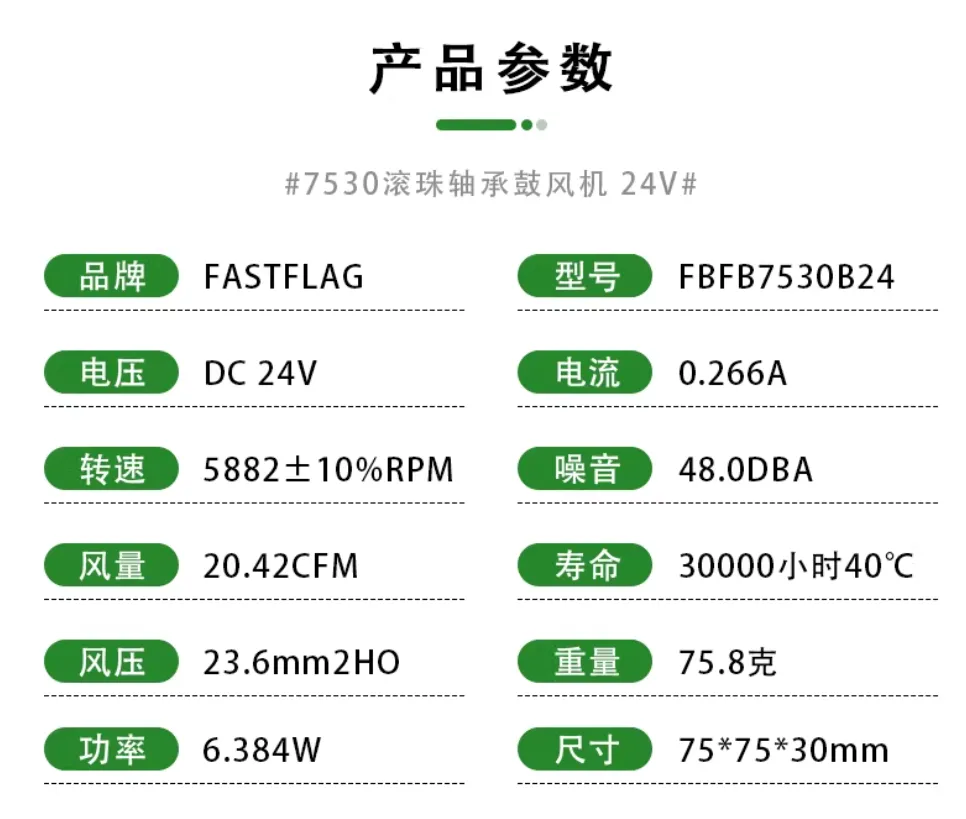
For example, this one with specifications of 24V 0.266A is similar to the 24V 0.32A in the official kit, and can be used after a simple circuit modification, offering stronger wind pressure
You can check out my designed P2S external exhaust circuit board enclosure for use together[CN Site][Global Site] for use together
This project is an open-source, parametrically generated model, allowing you to generate a model that meets your needs based on your installation environment, duct diameter, and other factors
Materials:
- 7530 Turbo Fan
- M3*50 Screws *3
- M3 Nylon Lock Nuts *3
- 2mm thick EVA foam
Parameter Description
- flange_inlet_od Inlet flange outer diameter, recommended to be slightly less than the inner diameter of the duct, e.g., 100mm-2mm
- flange_outlet_od Outlet flange outer diameter, recommended to be slightly less than the inner diameter of the duct, e.g., 100mm-2mm
- flange_wall_thickness Flange thickness, which is the thickness of the part used to connect to the duct, affecting its strength, and used for automatic calculation of the flange inner diameter, defaults to 3mm
- flange_length Flange length, defaults to 30mm
- flange_inlet_loft_trans_length Length of the lofted section from the flange inlet port diameter to the turbo fan inlet, defaults to 40mm
- flange_outlet_loft_trans_length Length of the lofted section from the flange outlet port diameter to the turbo fan inlet, defaults to 40mm. If the outlet is small, it is recommended to increase this length.
- flange_inlet_offset_x, flange_inlet_offset_y Offset of the inlet flange center from the fan inlet port center. Default 0 means concentric.
- flange_outlet_offset_x, flange_outlet_offset_y Offset of the outlet flange center from the fan outlet port center. Default 0 means concentric. These values can be modified to allow the enclosure to be placed horizontally or vertically, and it is recommended to increase the flange_outlet_loft_trans_length value to smooth the turn
Installation Steps:
1. (Optional) Confirm whether the wire sequence and connector match the P2S fan adapter board.
Generally, fans use a wire sequence of black (-) red (+) blue (speed control) yellow (tachometer), KF2510 or other connectors
The P2S external exhaust fan uses a GH 1.25 connector with a wire sequence of black (+) dark gray (-) light gray (tachometer) white (speed control). You can purchase a GH1.25 4Pin connector with wires and solder them together. It is not recommended to purchase a GH1.25 connector and crimp it yourself, as the fan wires might be too thick to fit into the connector.
You can refer to the description and comments section of another project on the site: [P2S Dedicated External Exhaust] Side Exhaust DIY Fan Mount
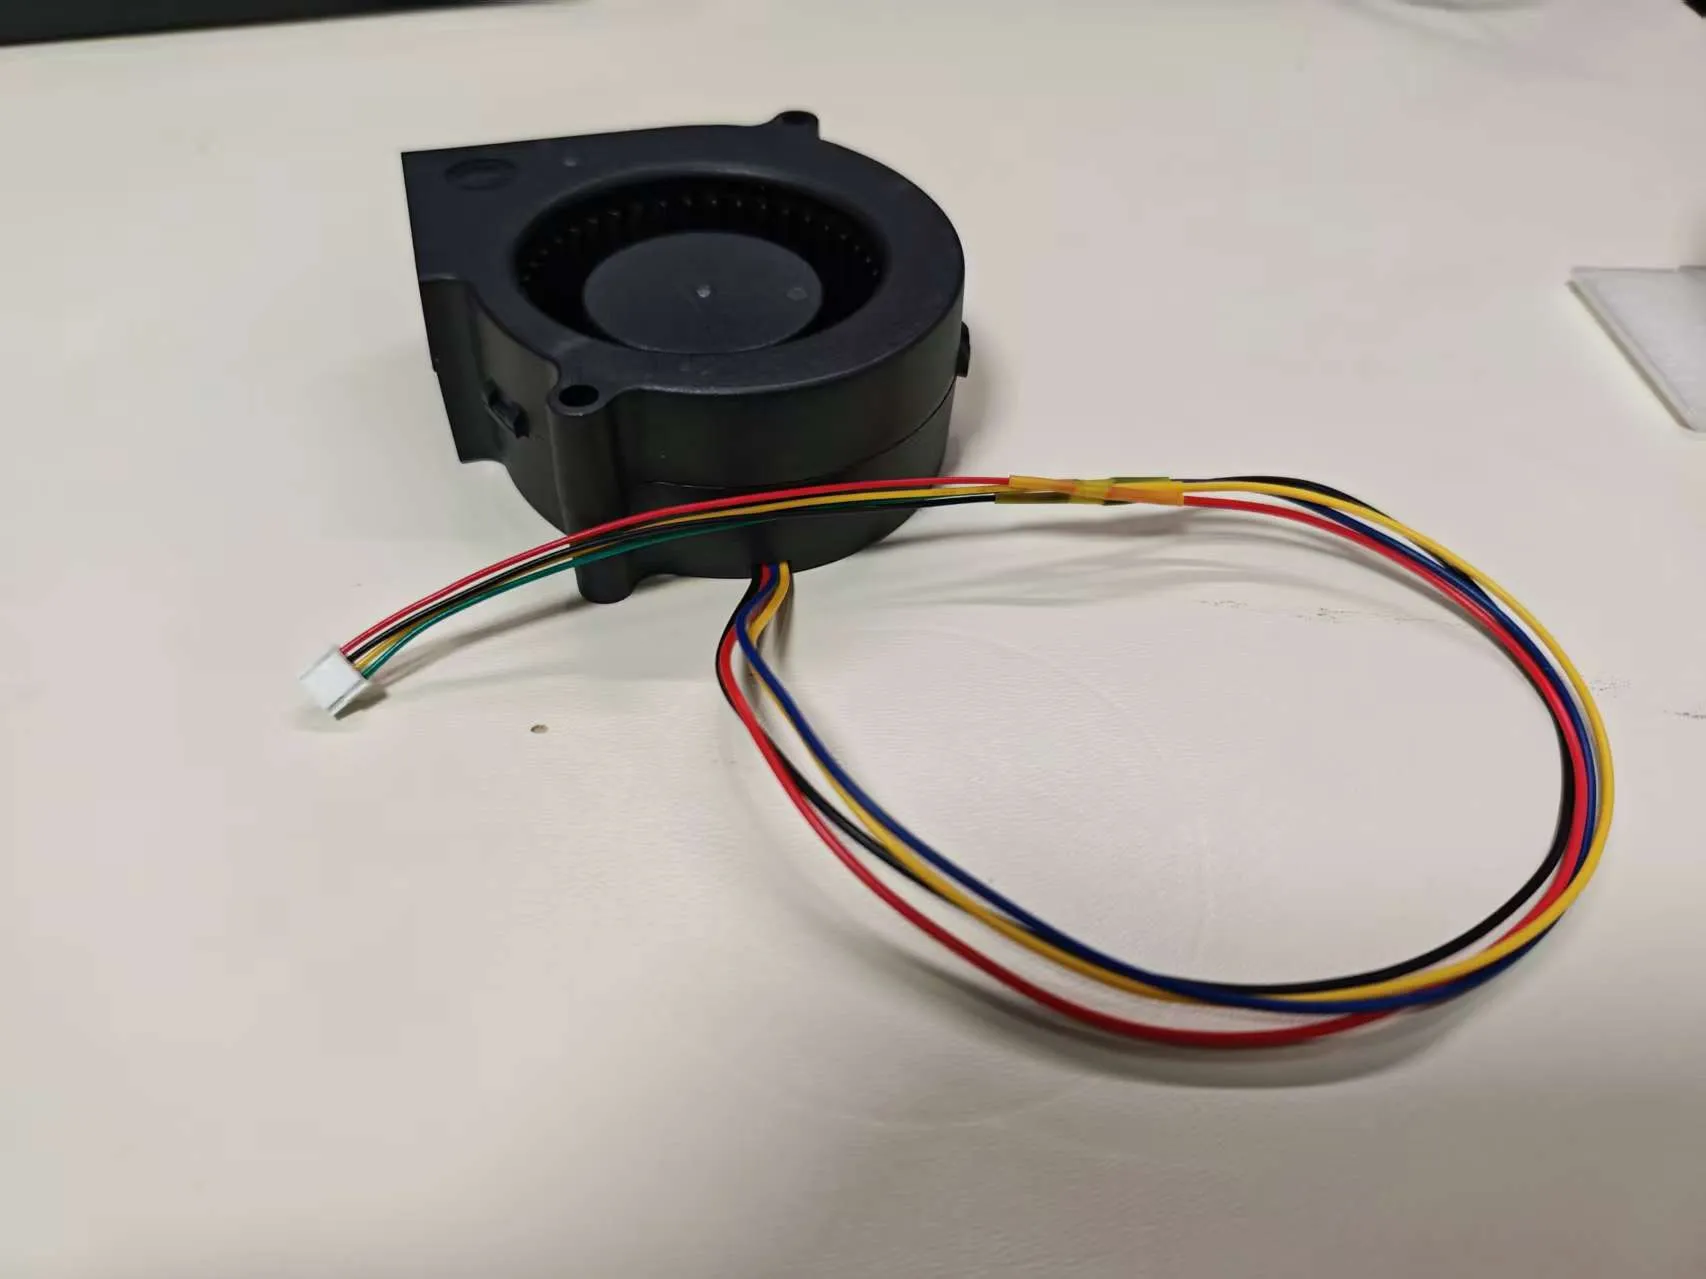
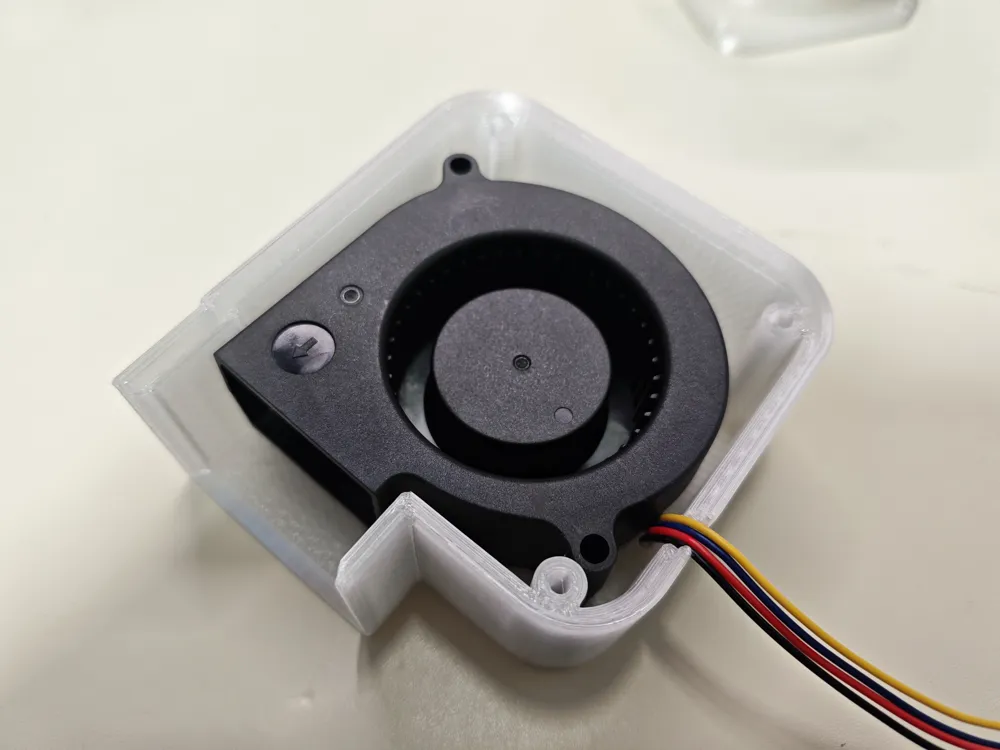
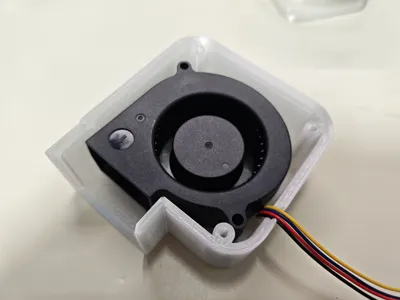
2. Wrap the part of the 7530 turbo fan's outlet that contacts the enclosure with 2mm thick EVA foam. Do not stretch it tightly around corners; try to accumulate more foam. This foam will serve to secure the fan within the casing and absorb vibrations.
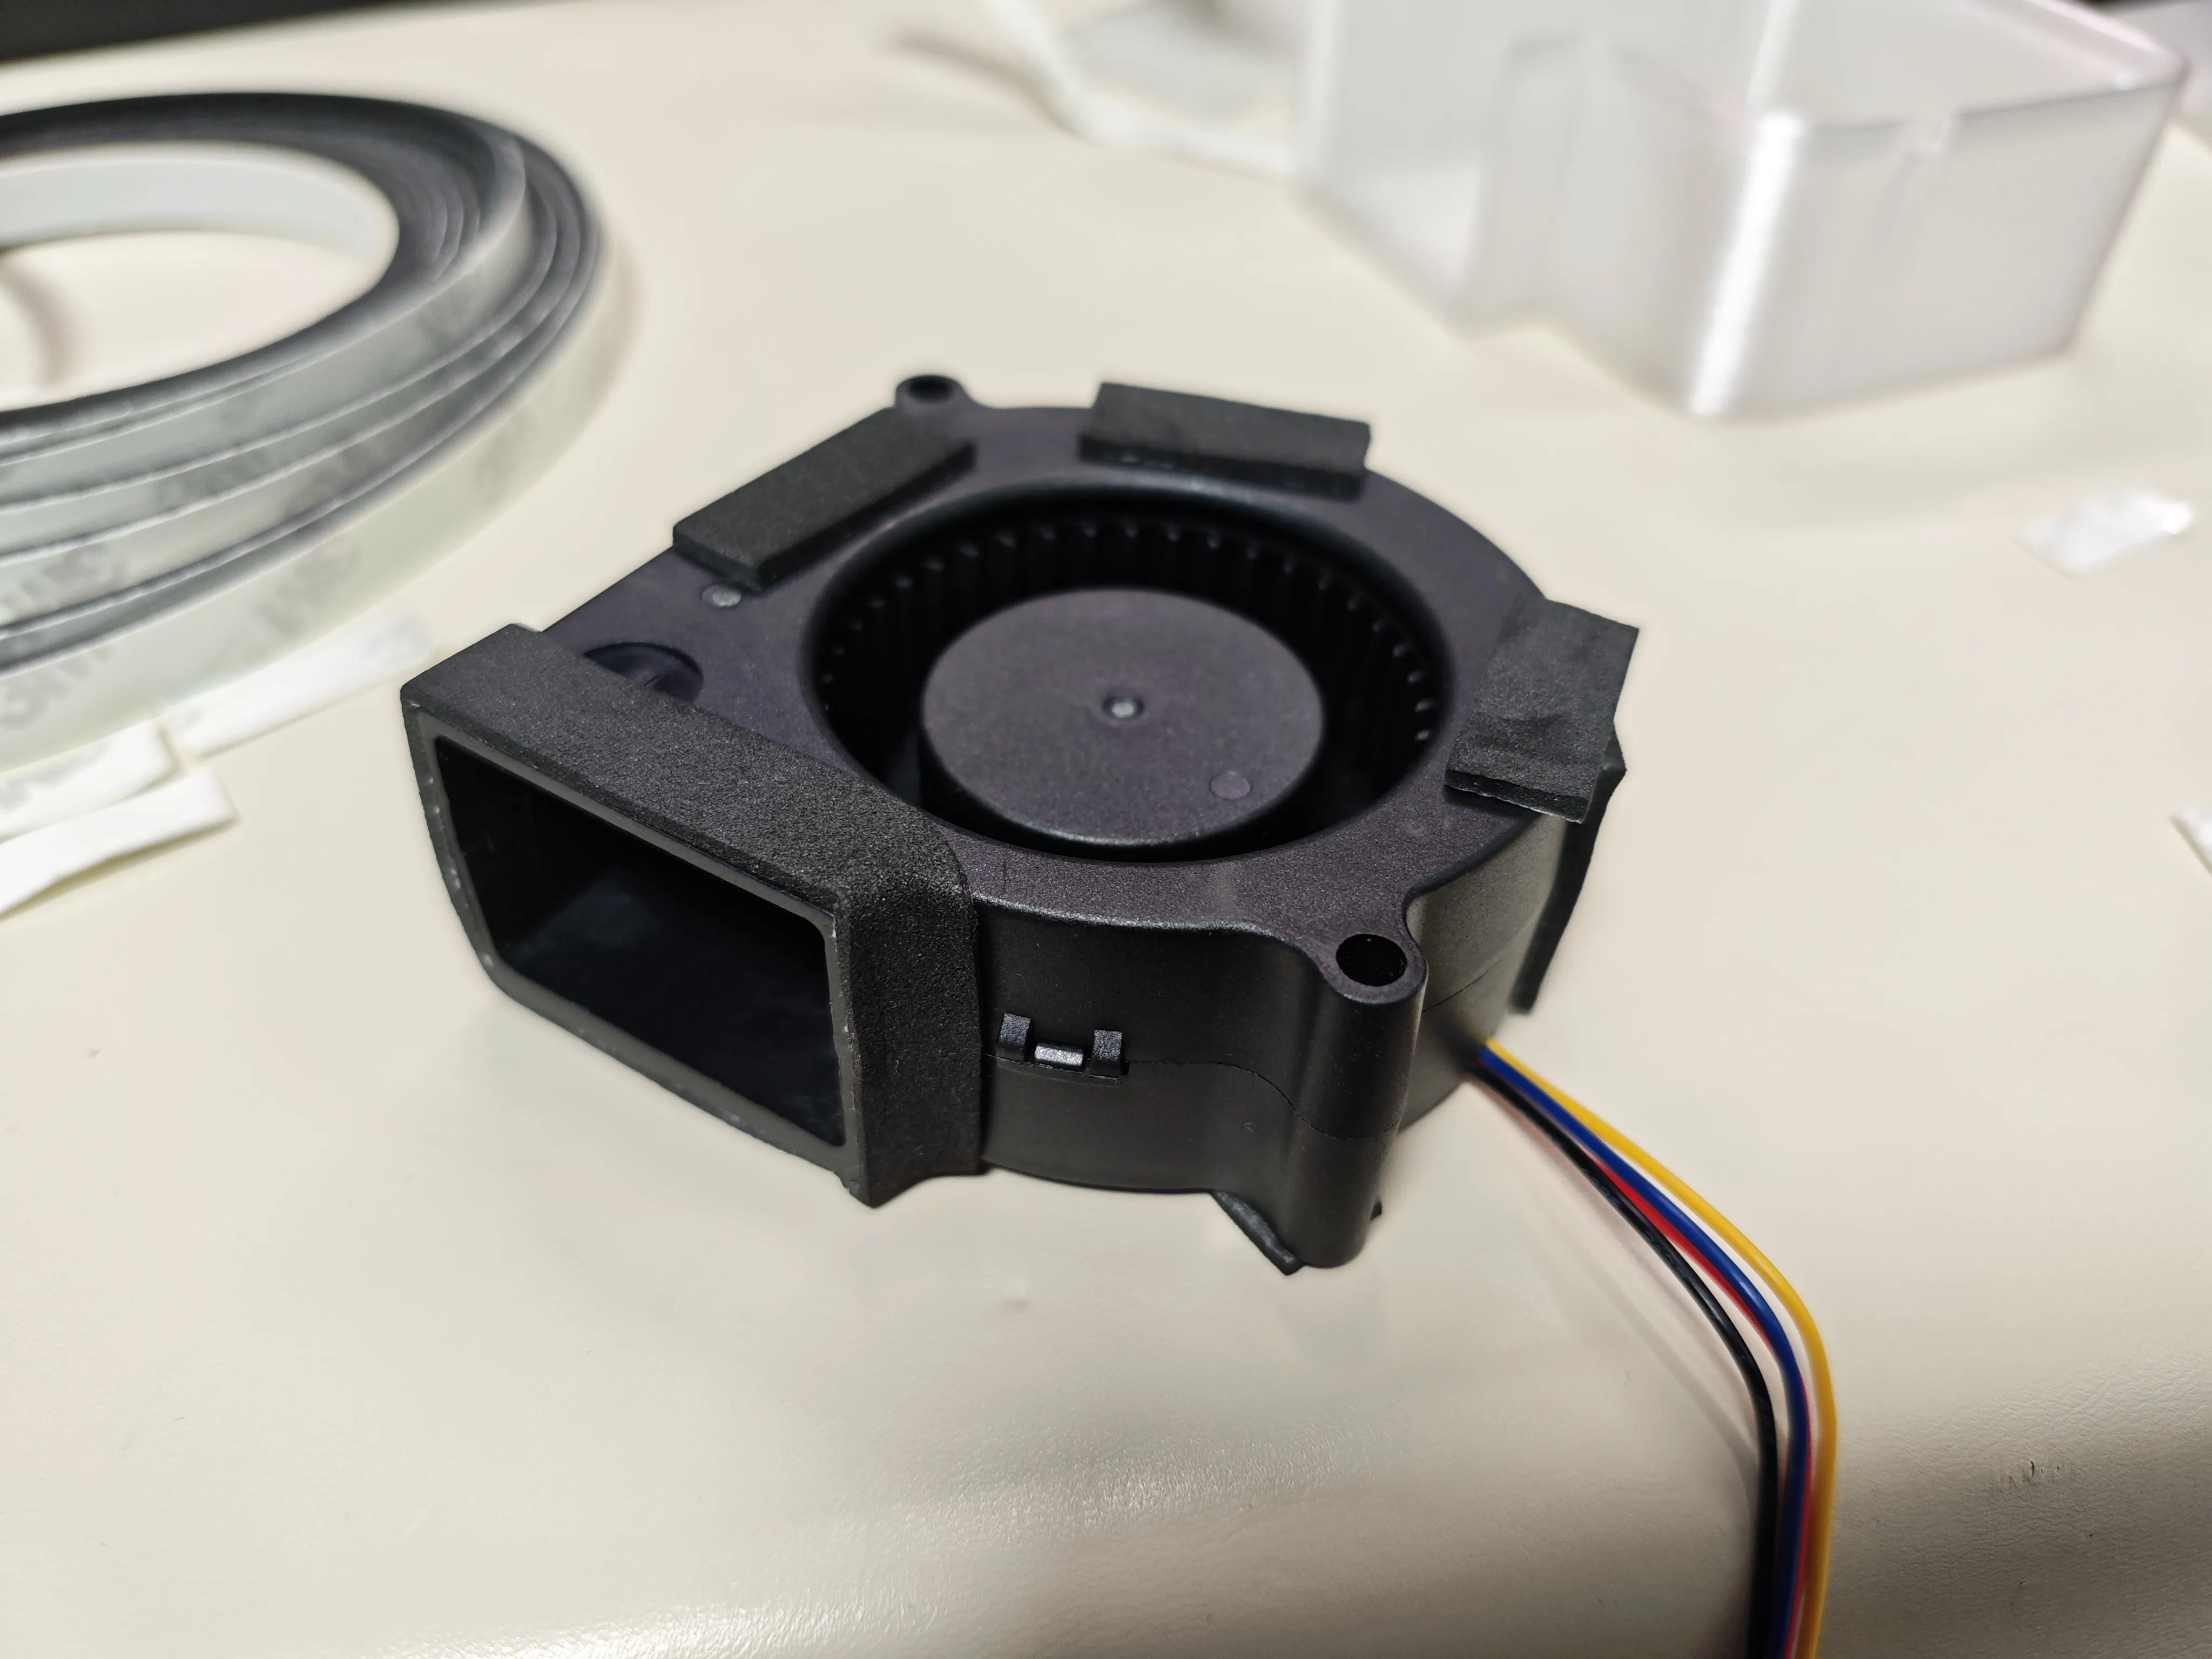
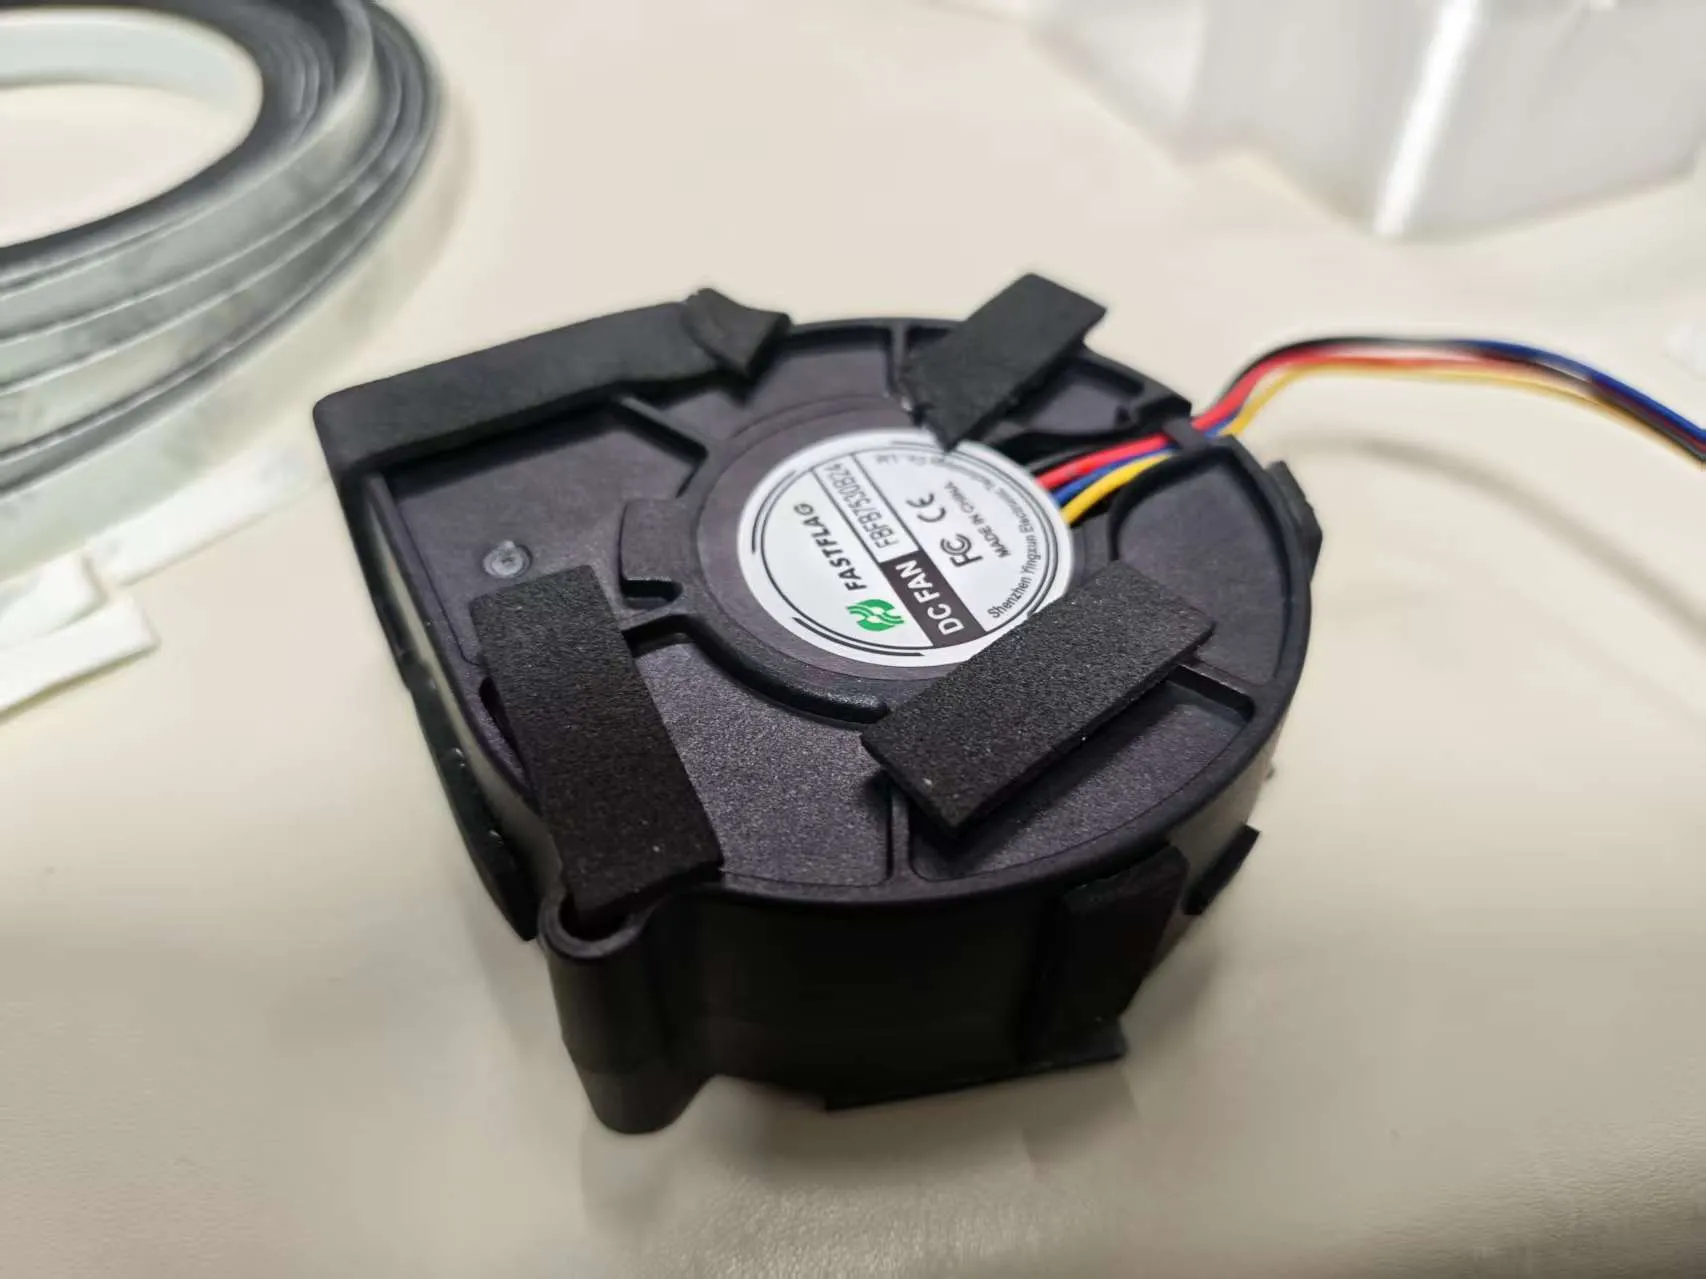
3. Place the fan into the casing, cover with the lid, and tighten the screws and nuts to secure it. Be careful not to pinch the fan wires. If it's a 2-wire fan or the wires are thinner, there might be a larger gap, in which case you can consider sealing it with electrical tape.
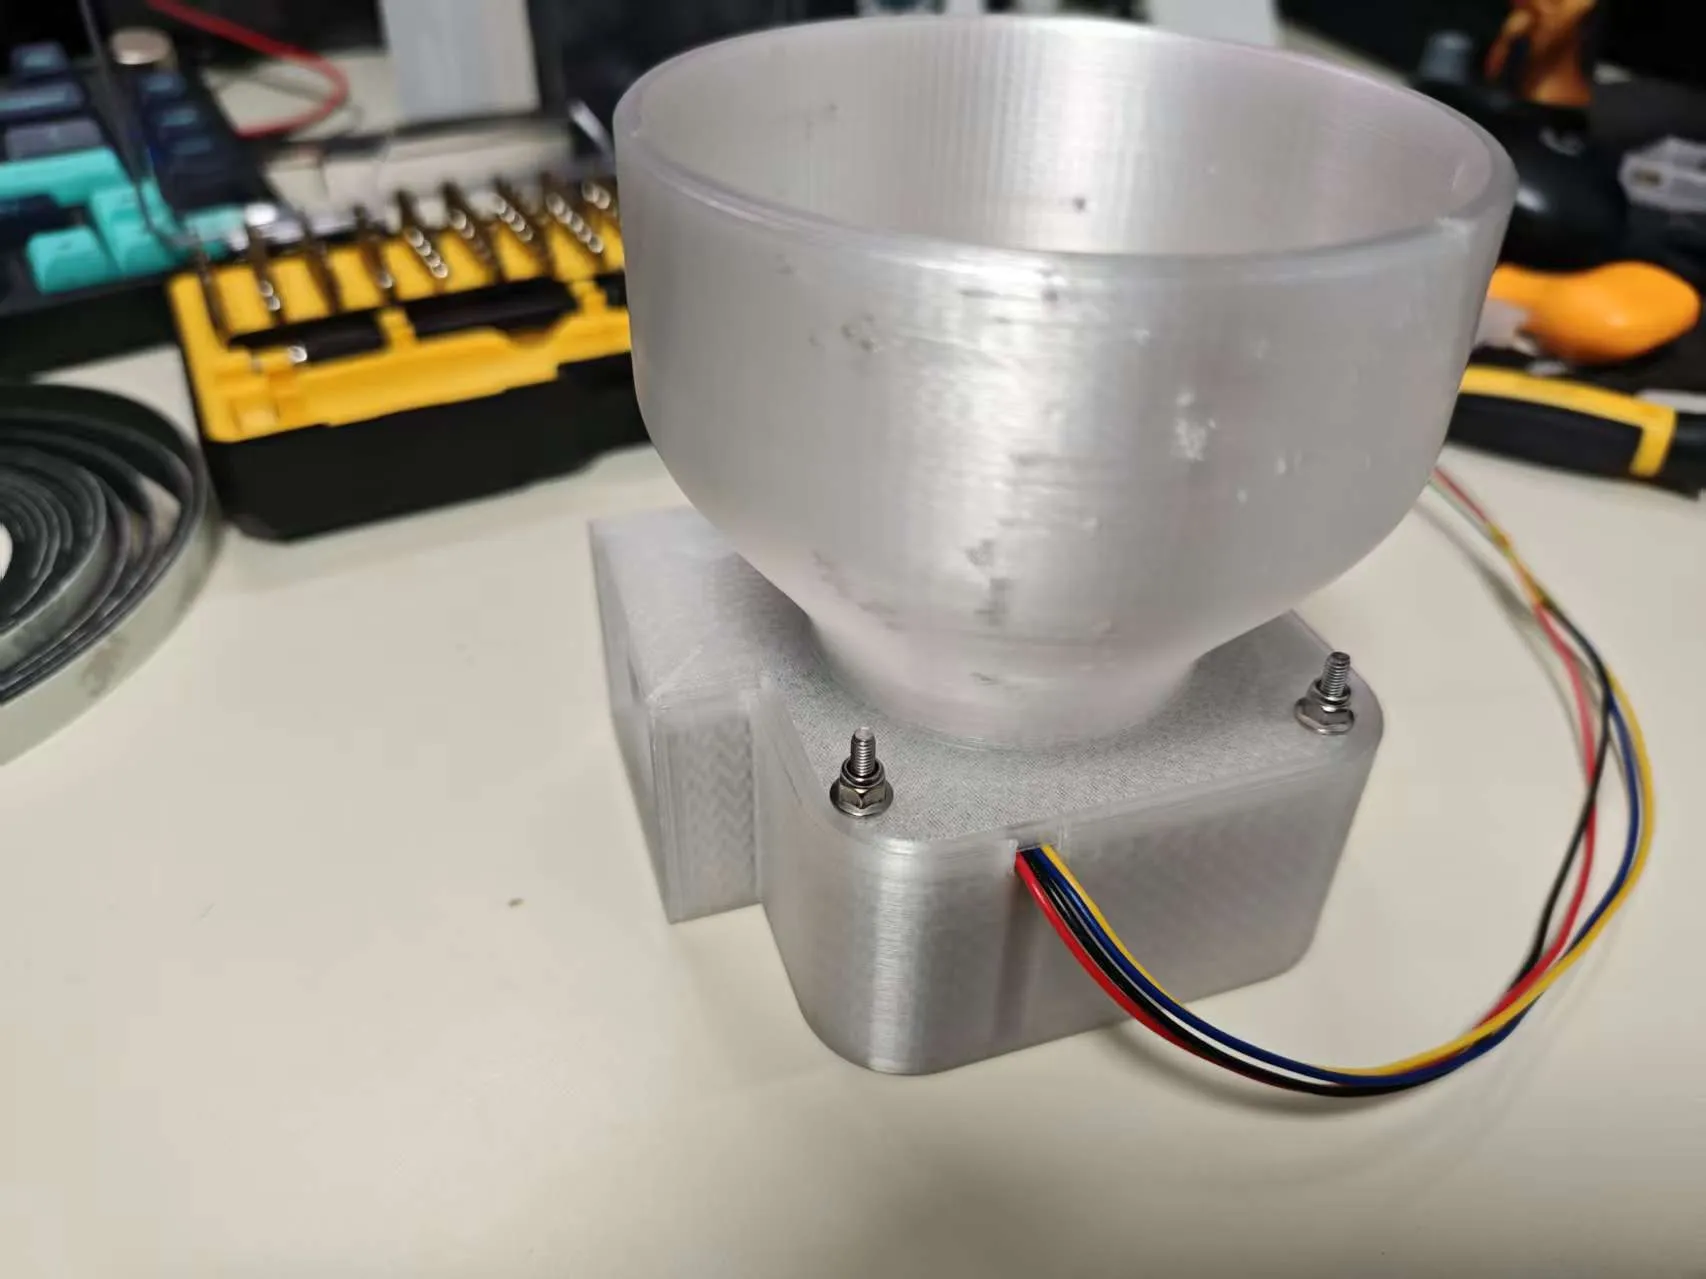
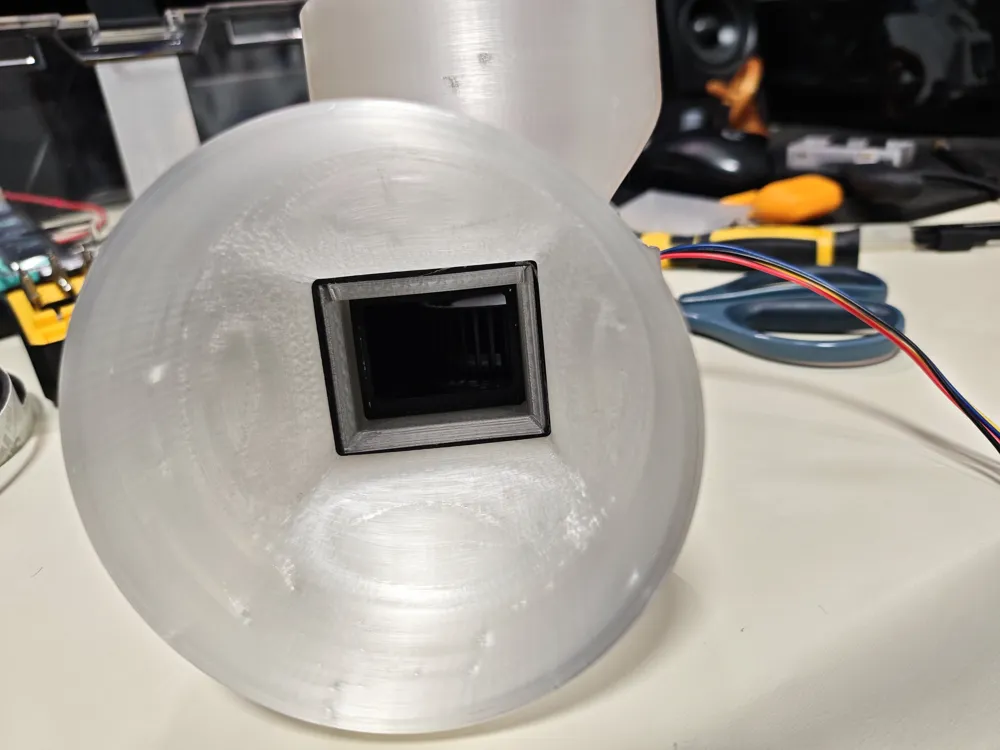
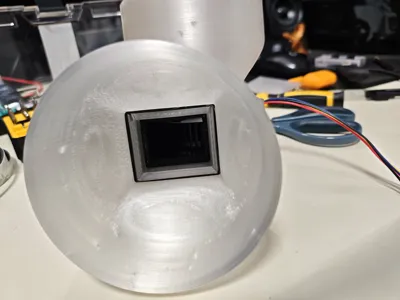
4. Seal the outlet with electrical tape and wrap it with EVA foam. This will be pressed against the outlet flange, sealing and securing it.
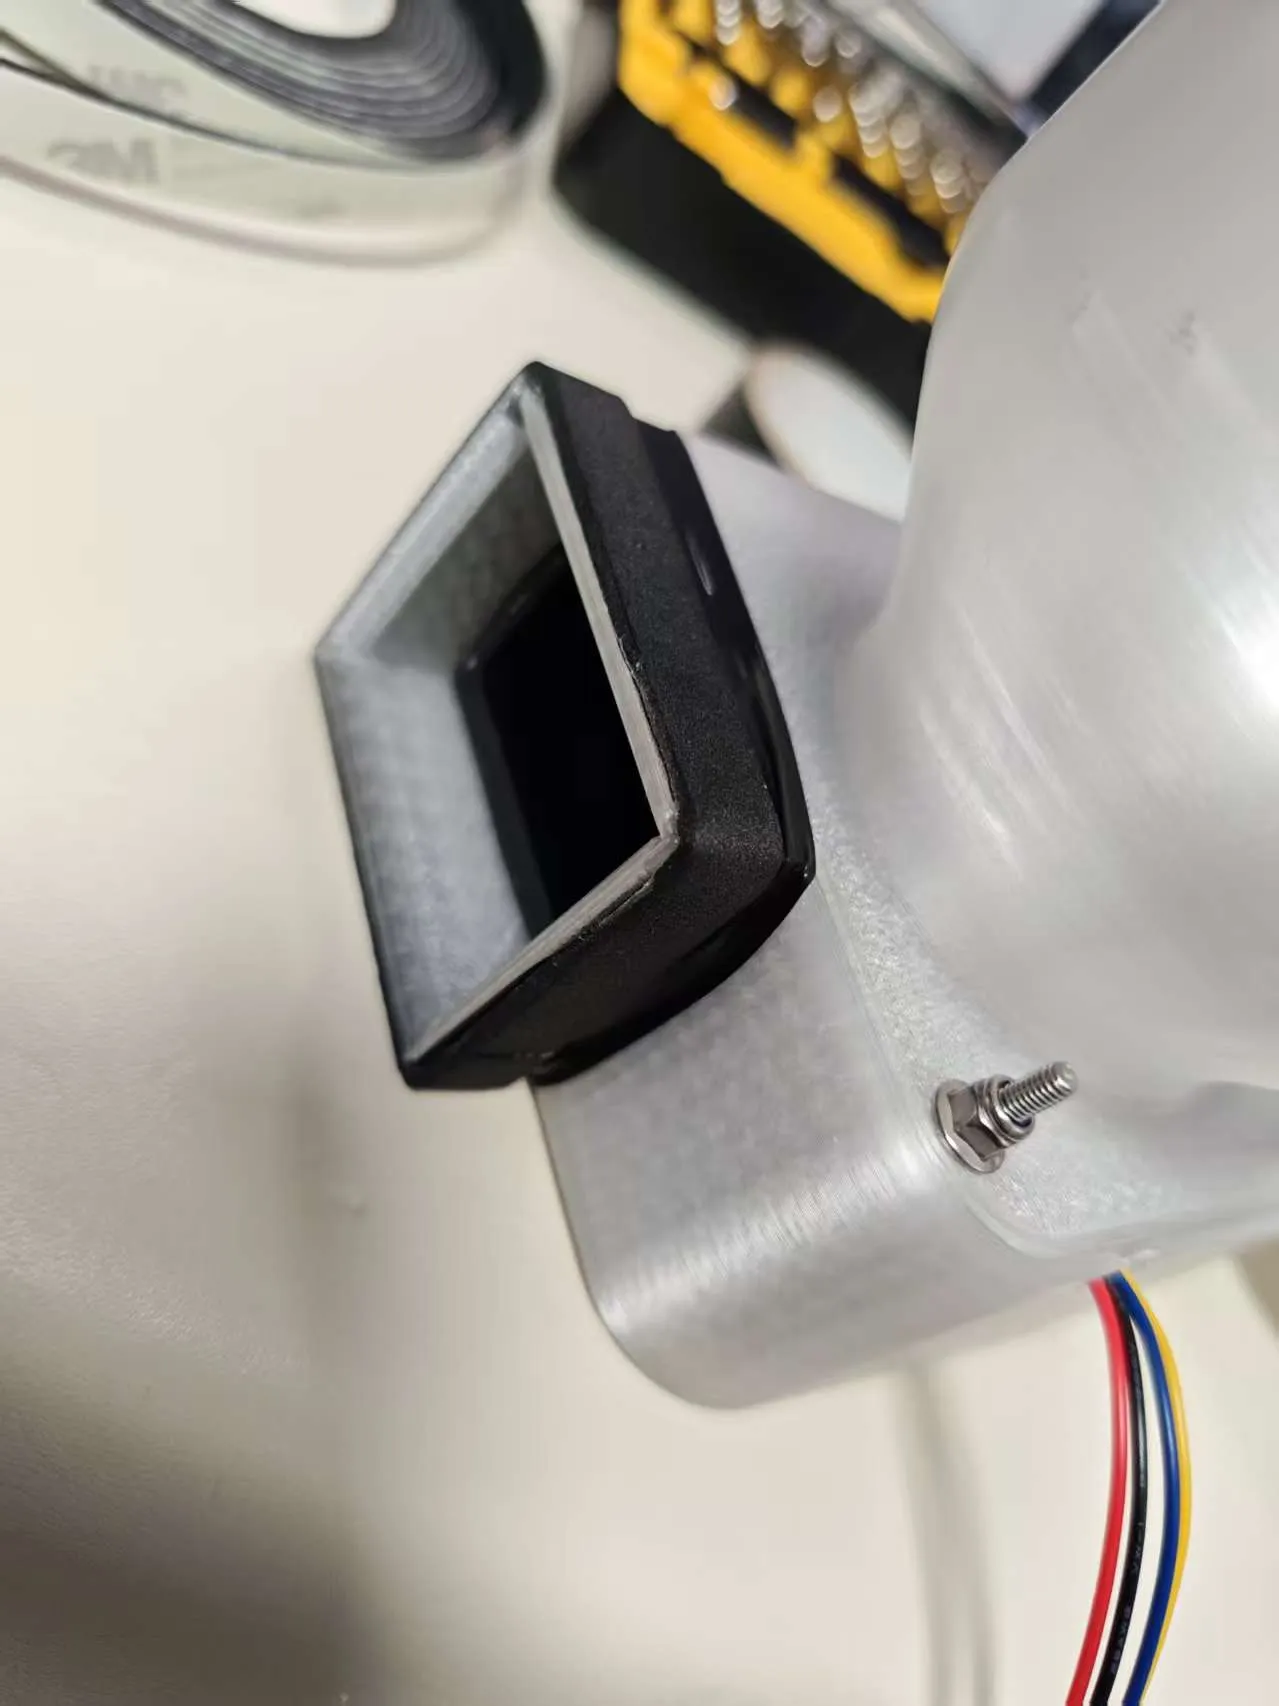
5. Insert the outlet into the outlet flange, paying attention to whether it is tightly sealed. A 1.2mm gap was left during design, which theoretically can be tightly filled by electrical tape + 2mm EVA foam.
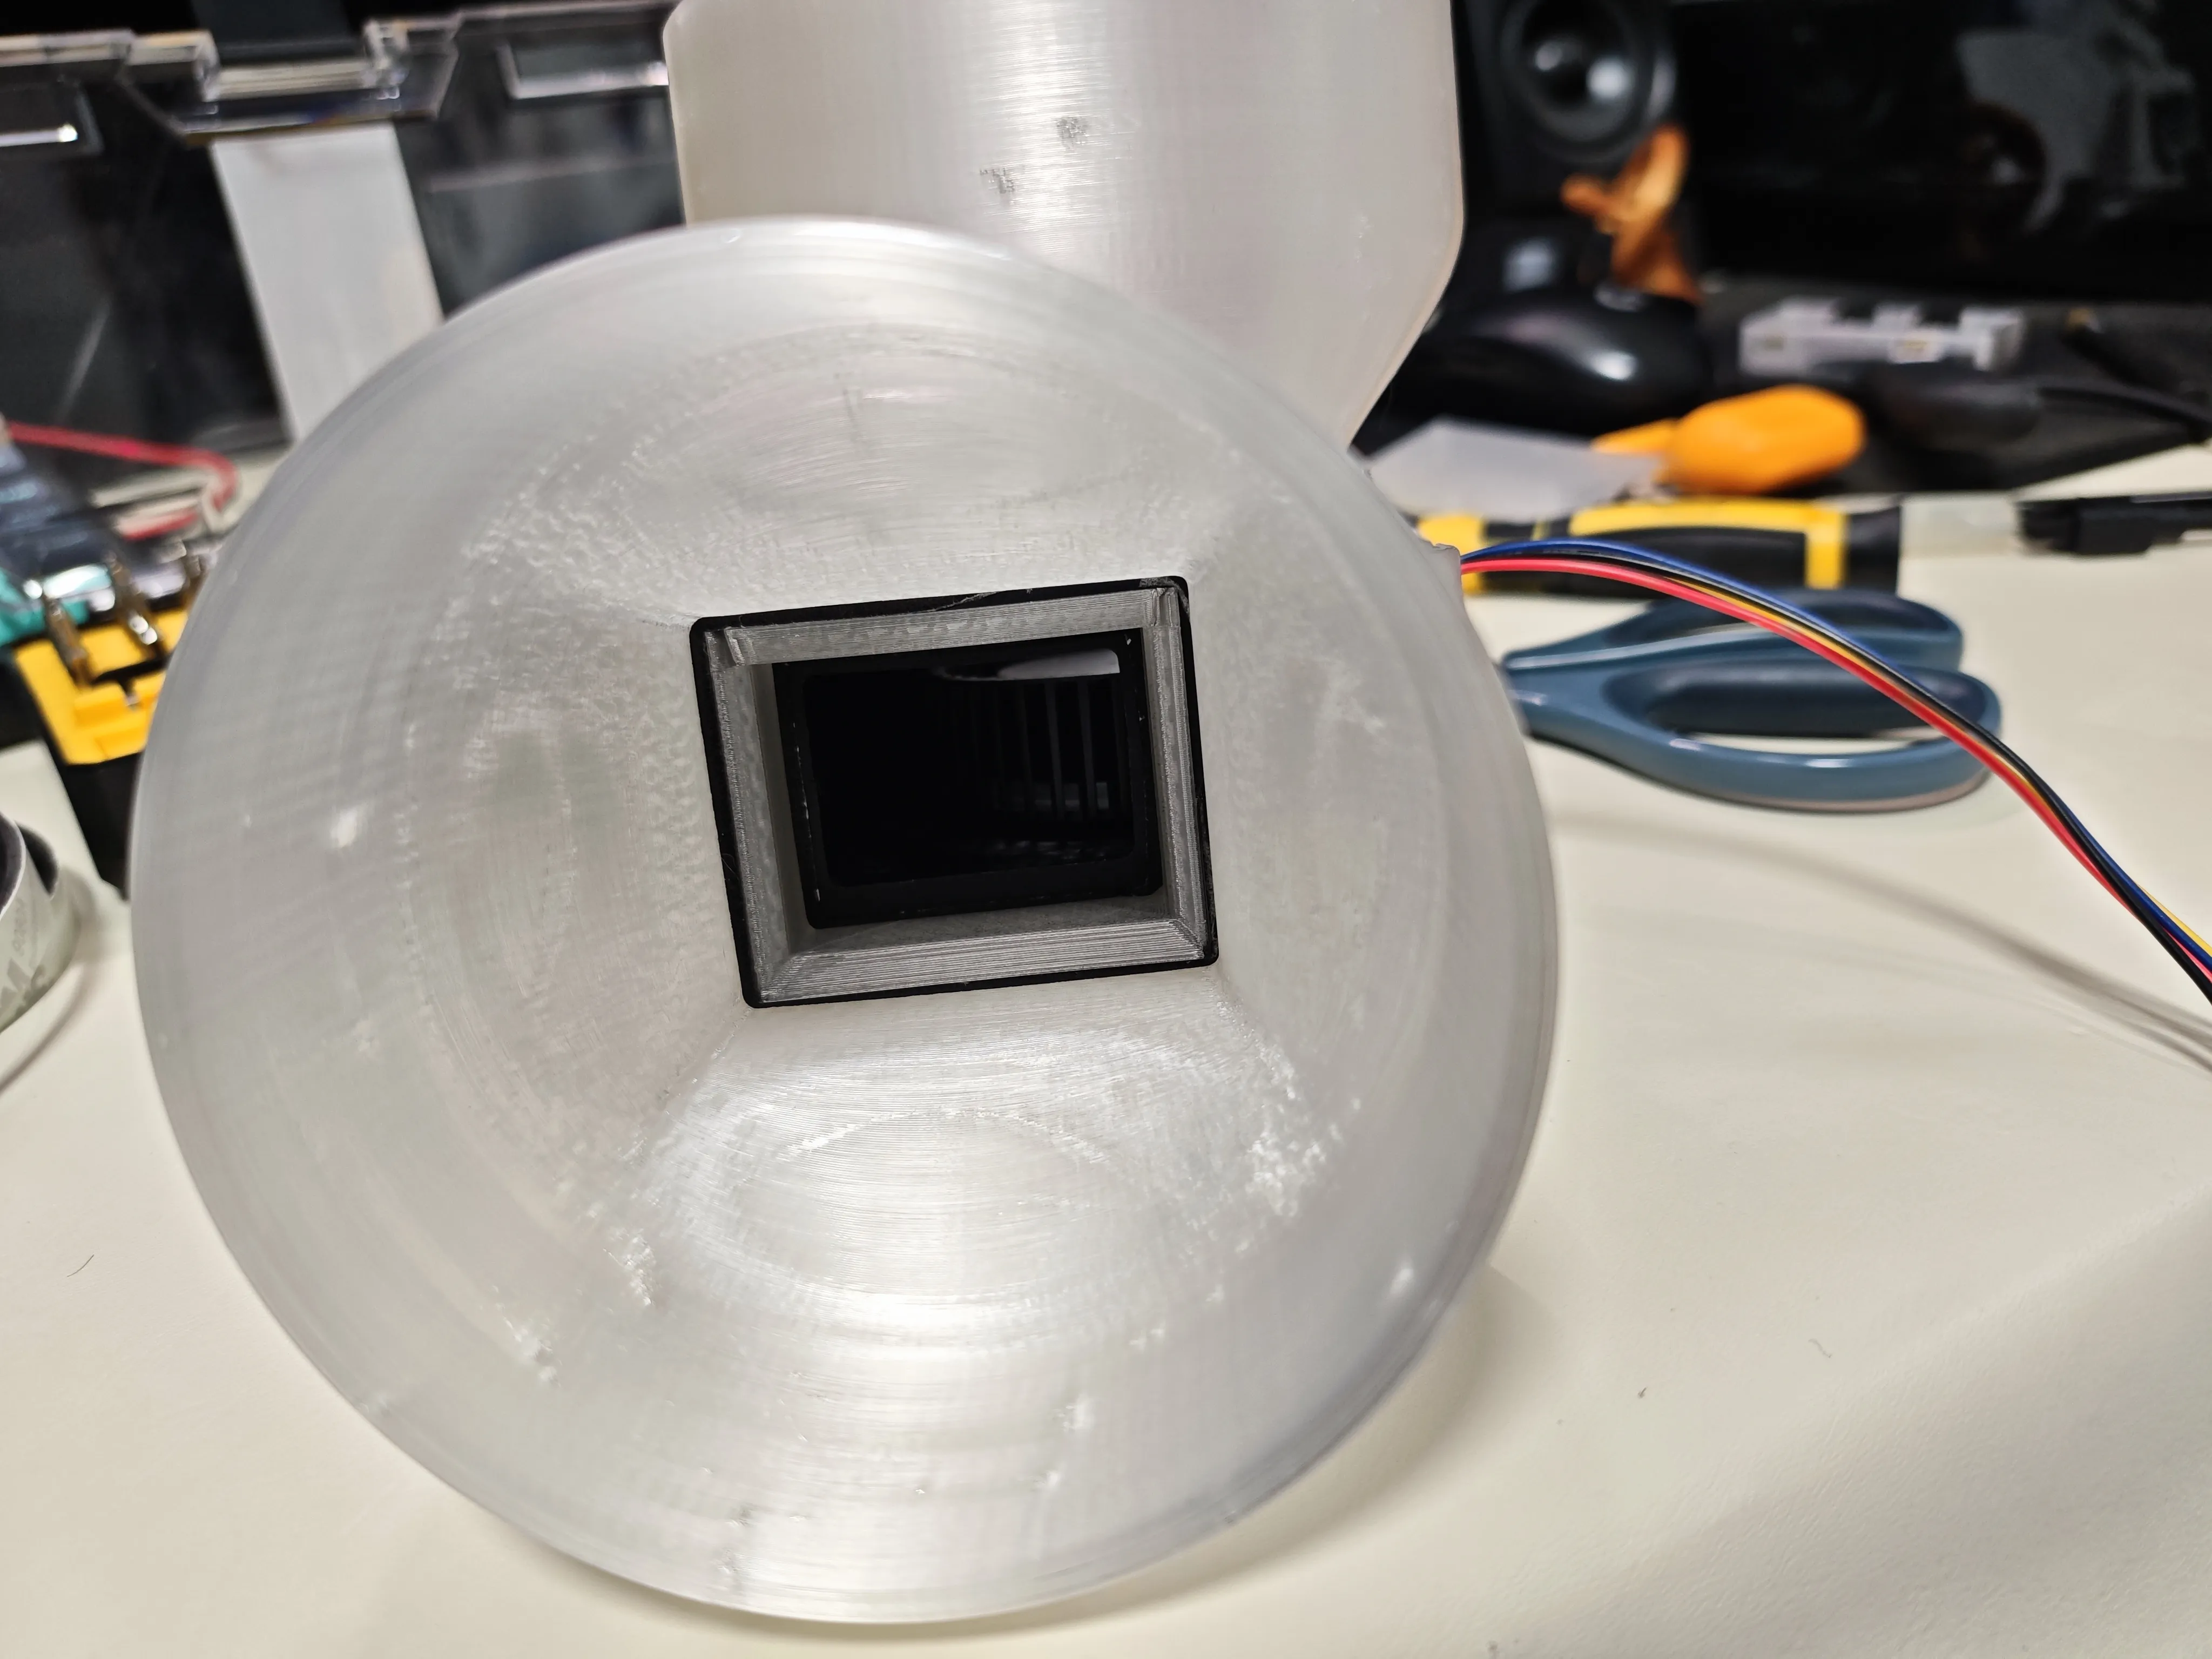
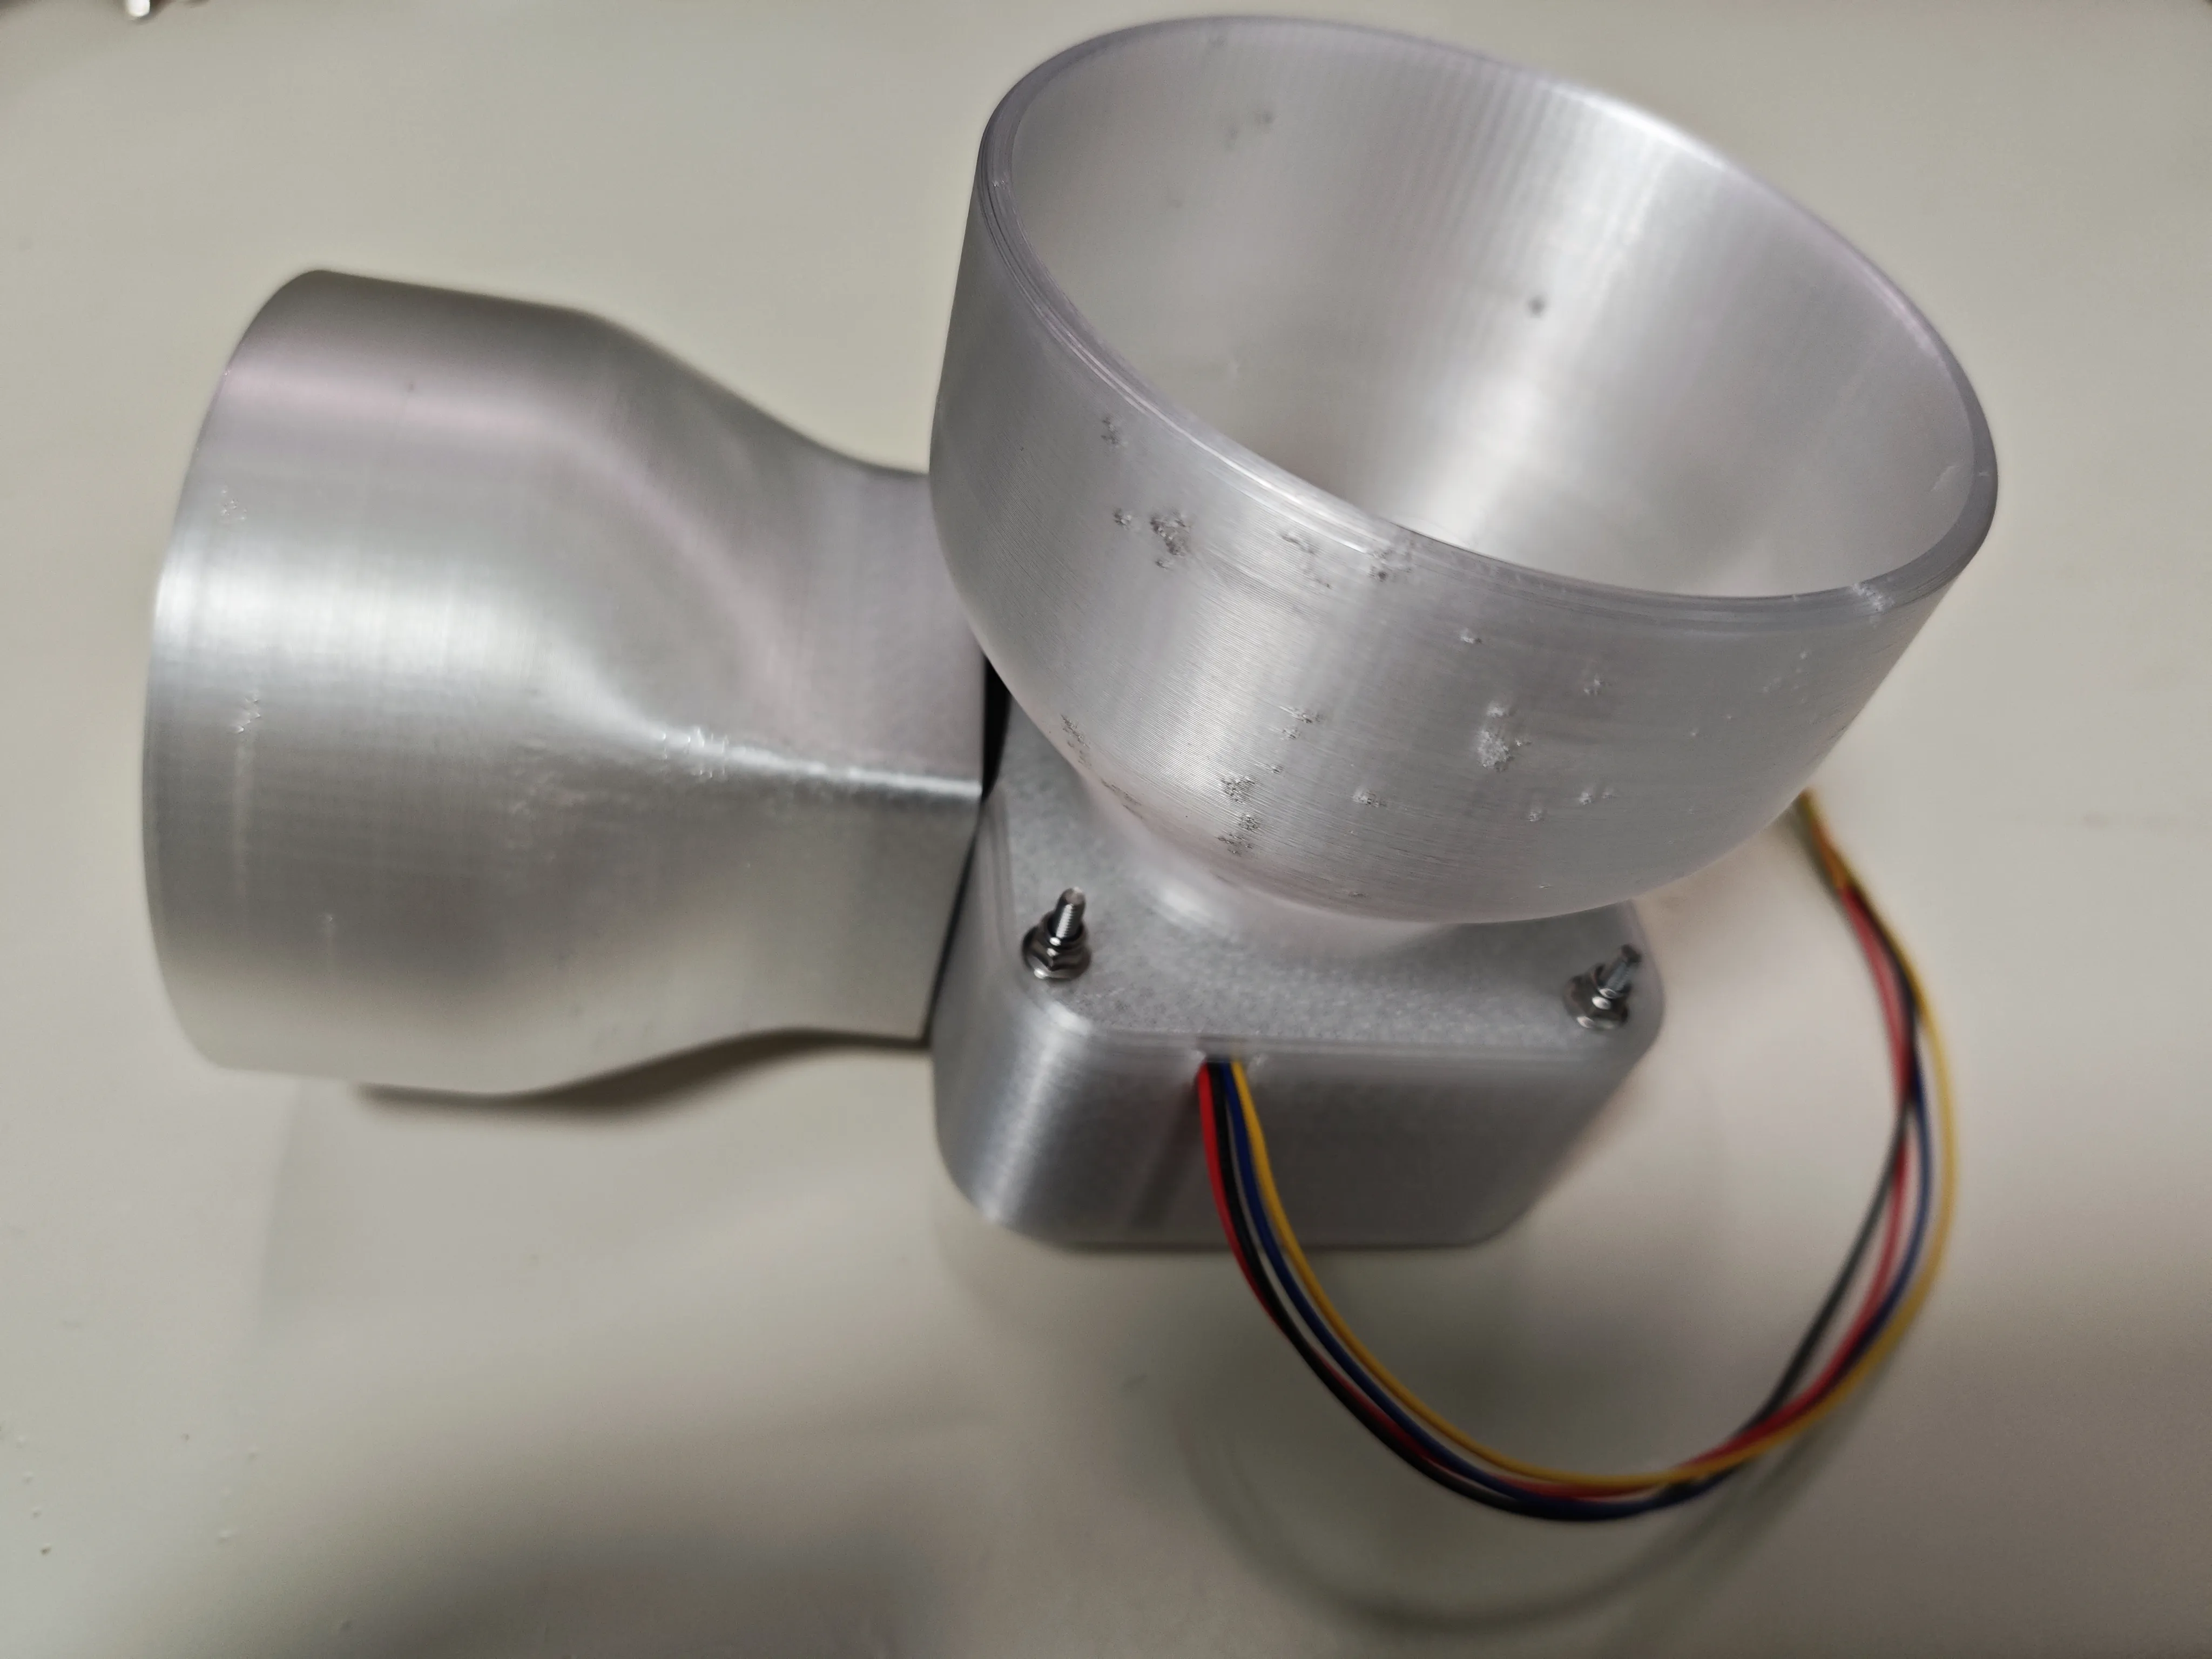
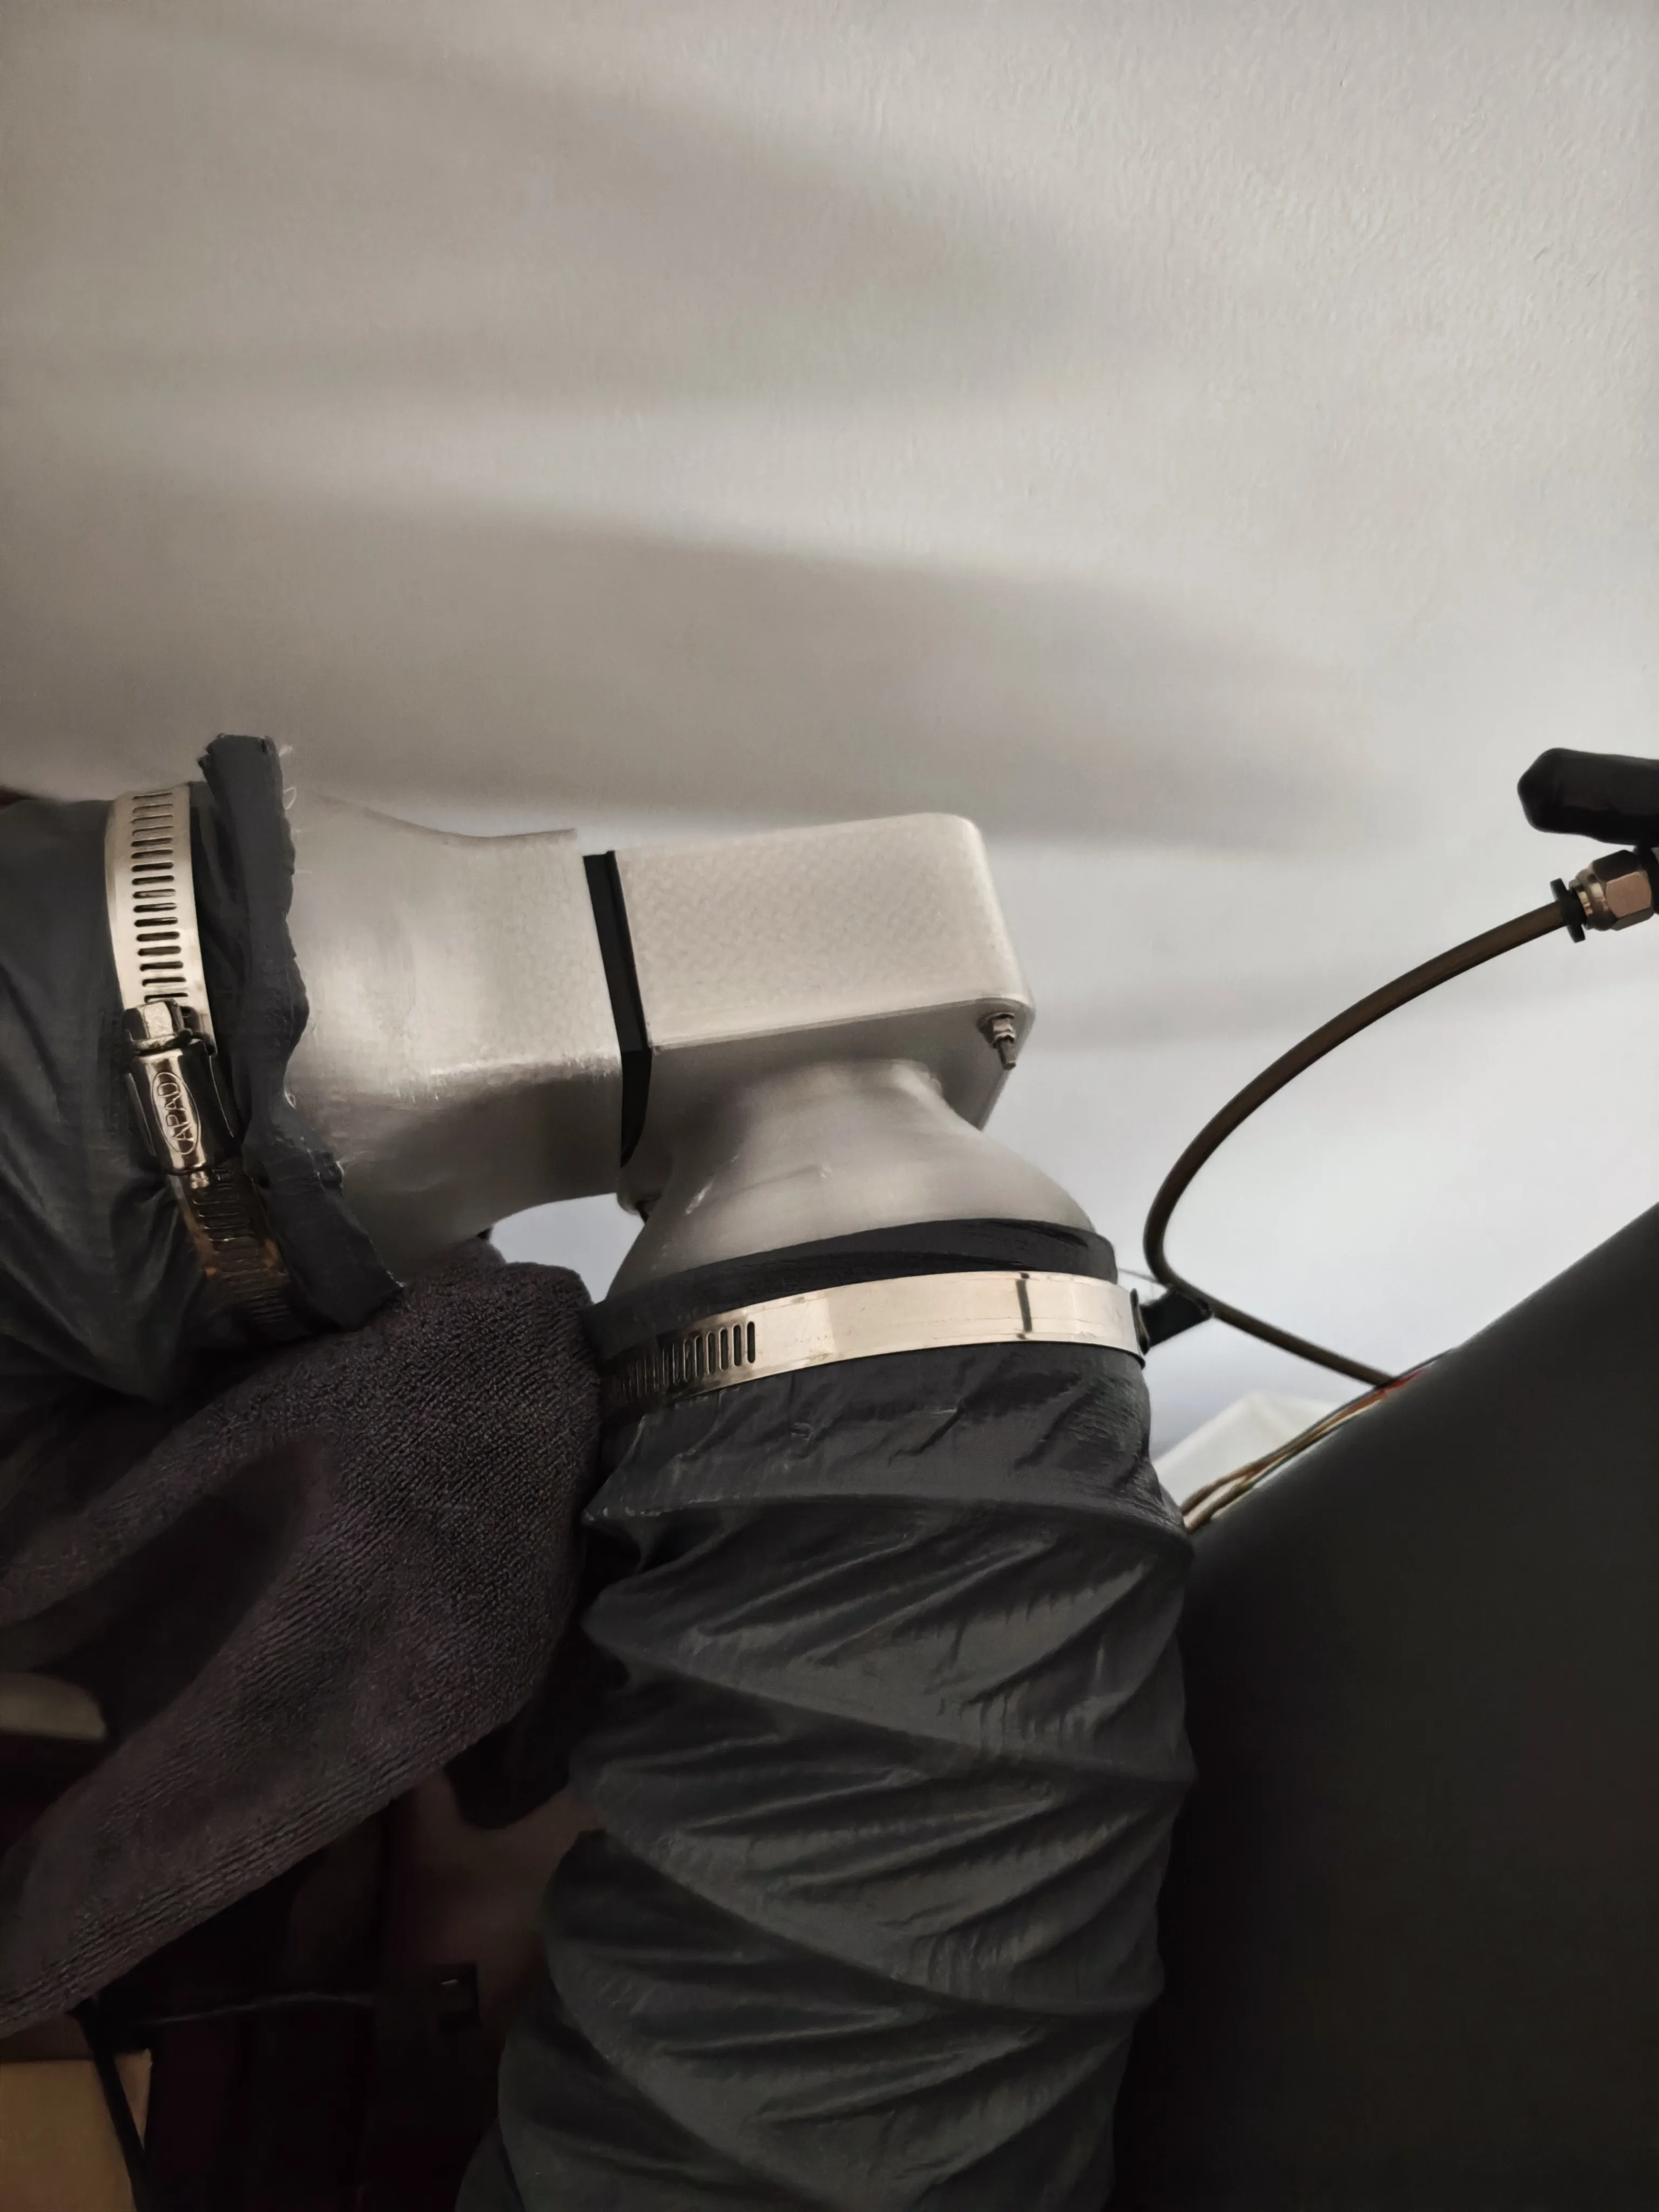
Assembly is complete; it can now be connected to the exhaust ducting
License



Comment & Rating (1)