
WINWING WINCTRL Throttle Desk Mount5 - MCDU Stand
Print Profile(2)
Description
Hi,
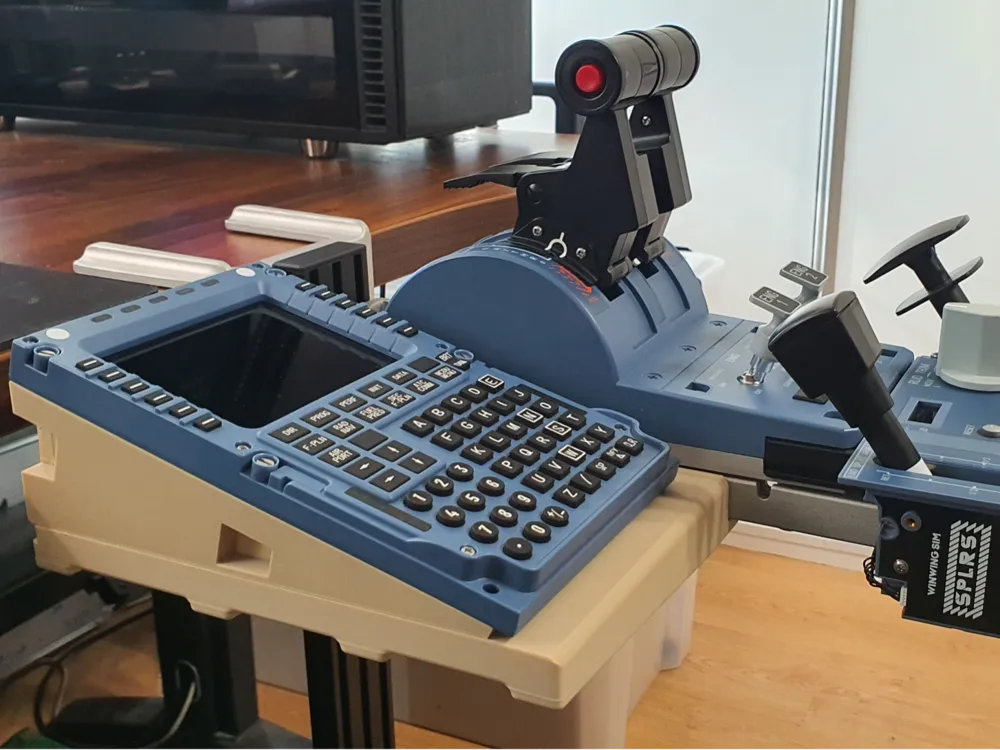
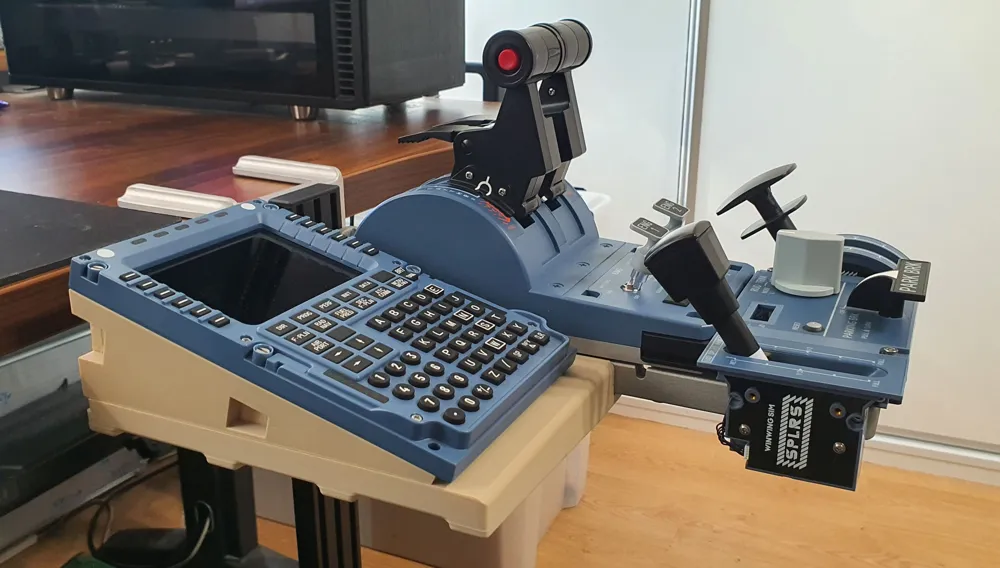
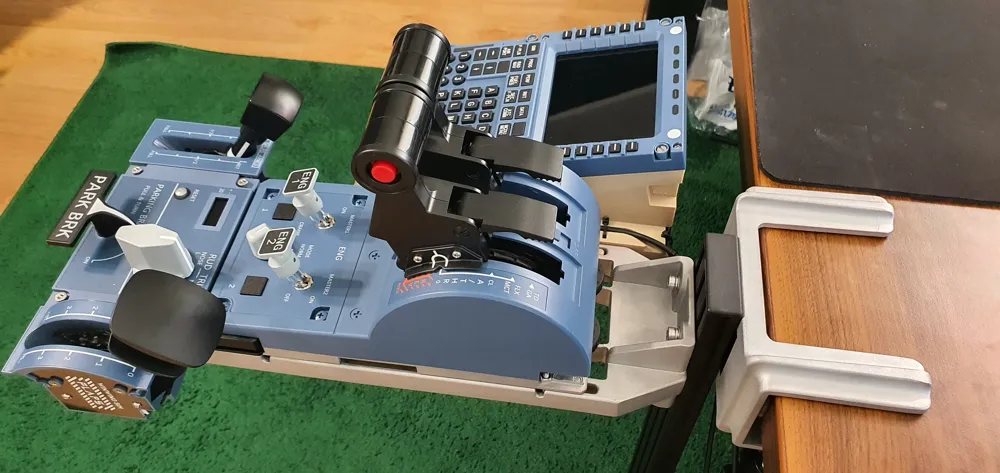
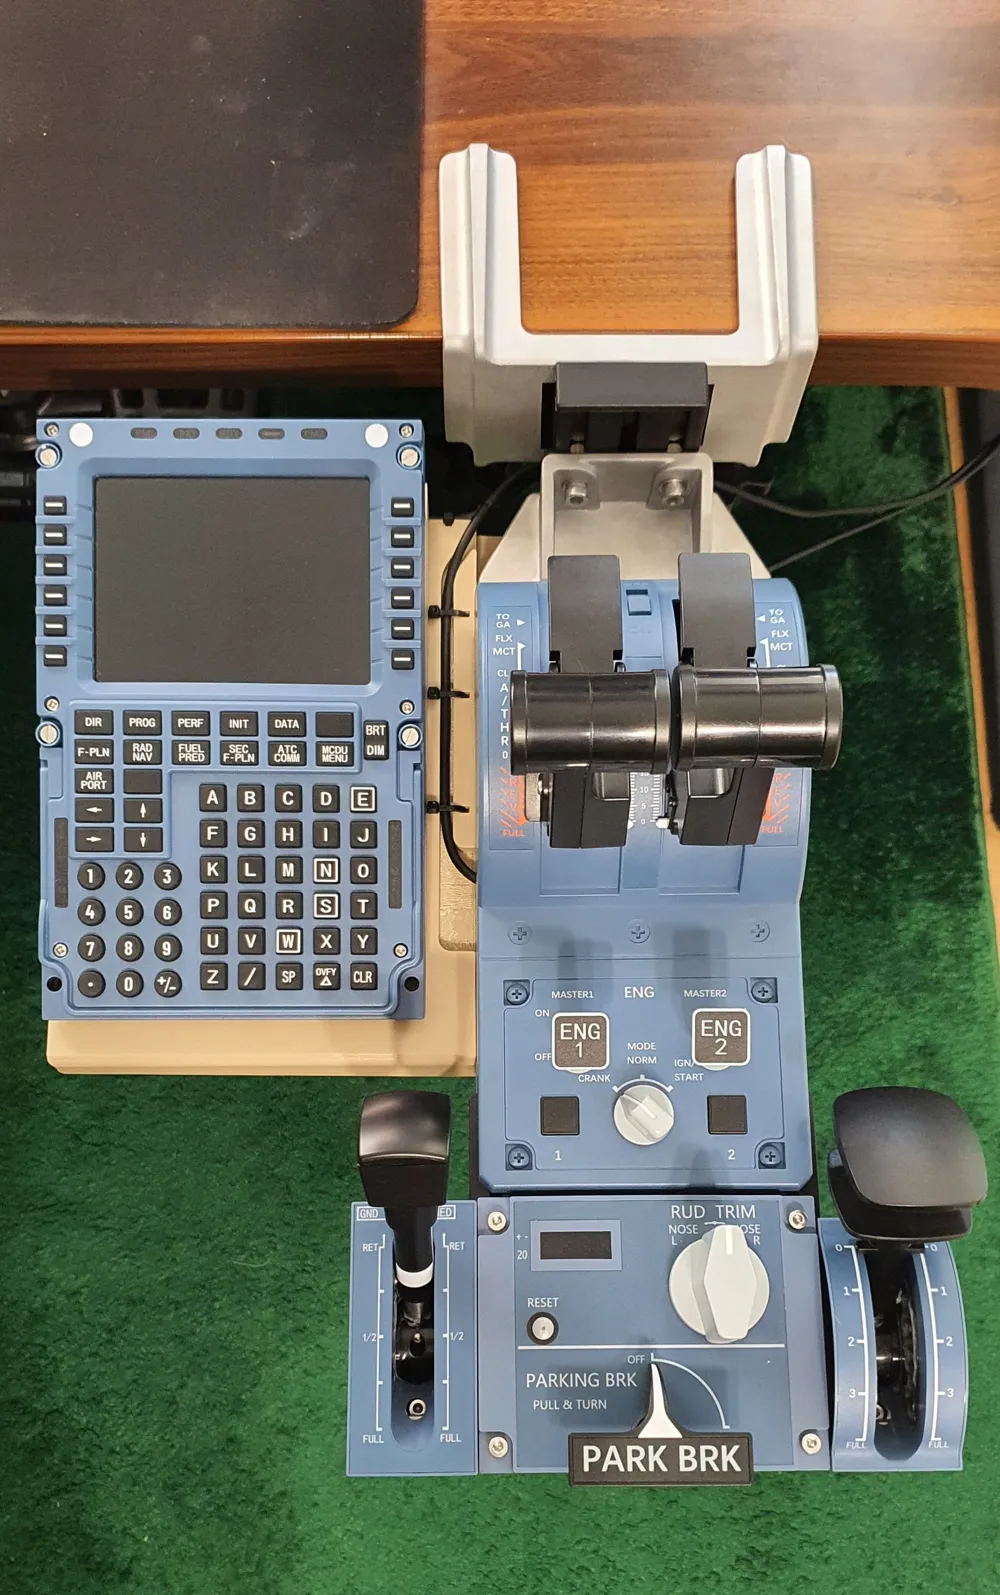
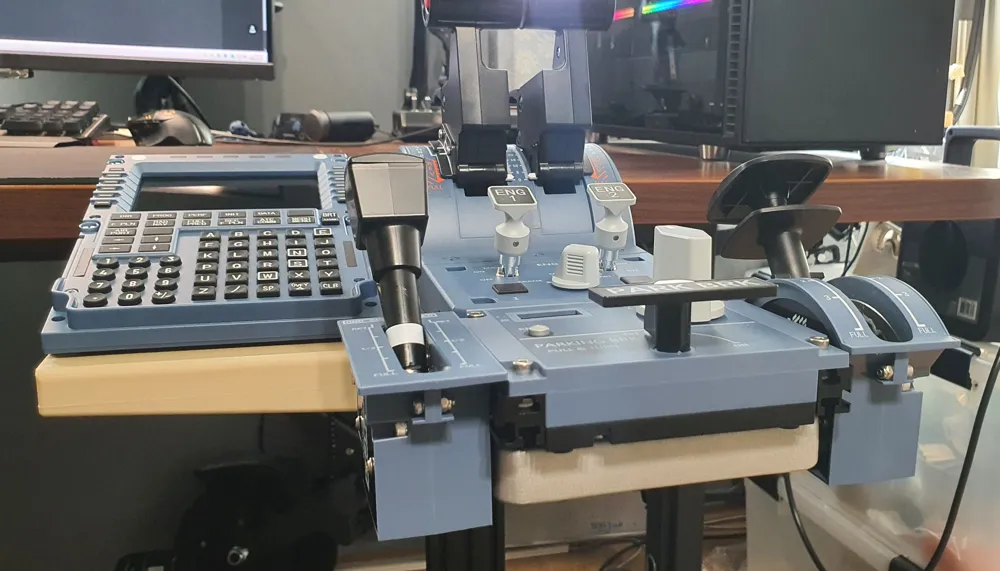
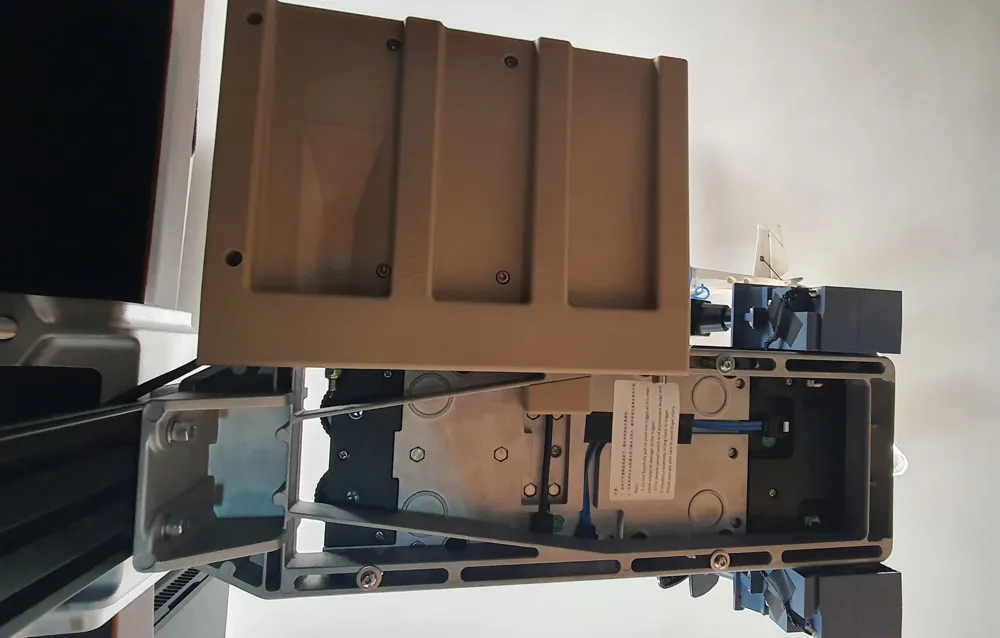
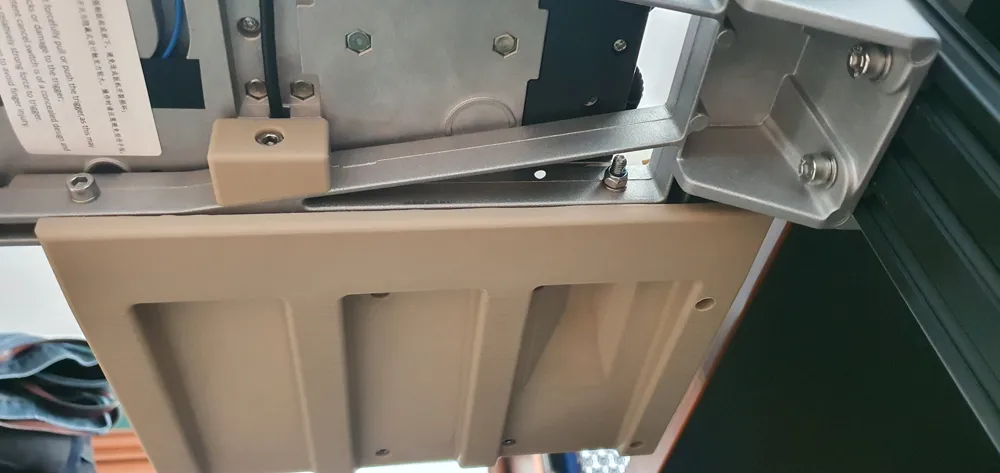
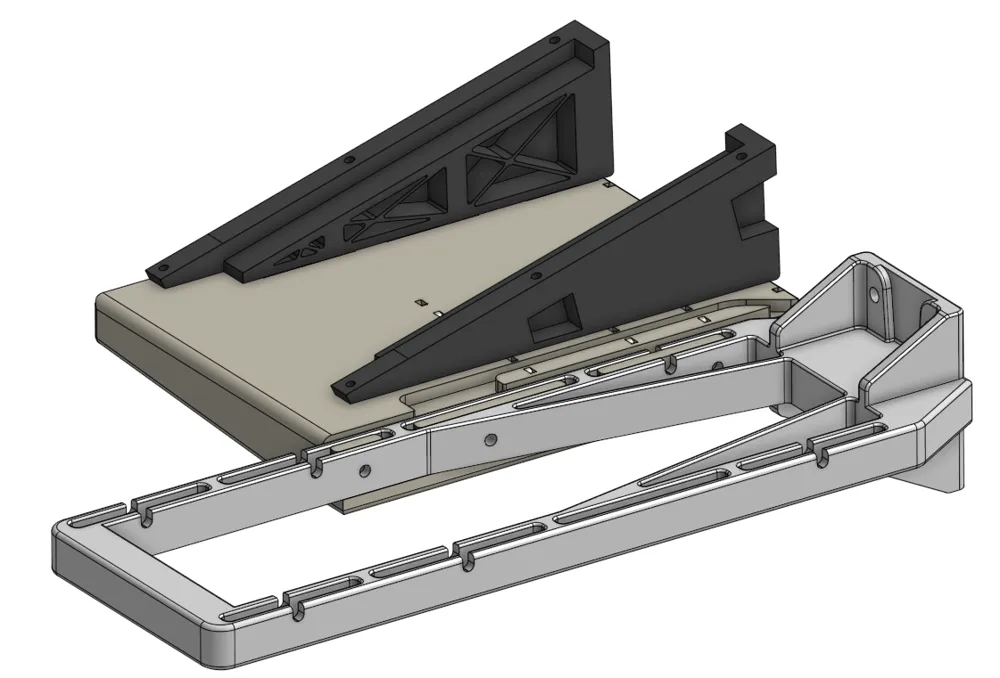
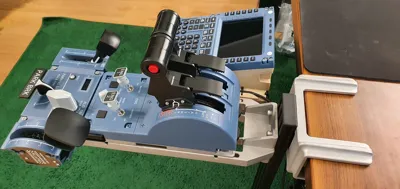
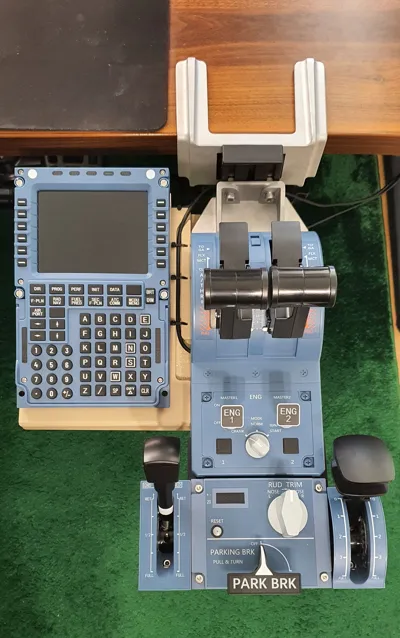
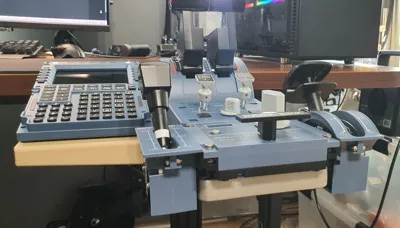
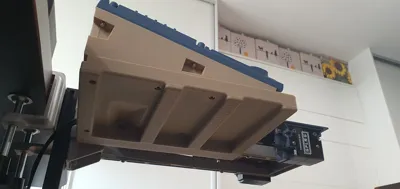
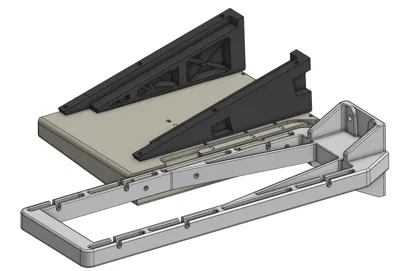
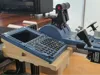
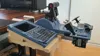
I designed a mounting system for the MCDU/PFP 3N/4/7 to fit the original WINCTRL (WINWING) Throttle Desk Mount5 with Profile Bar 1.
The entire assembly is very stable; there is no wobbling, vibration, or flexing under pressure. To achieve this, I used several heat-inserts, though not all of them are critical for stability.
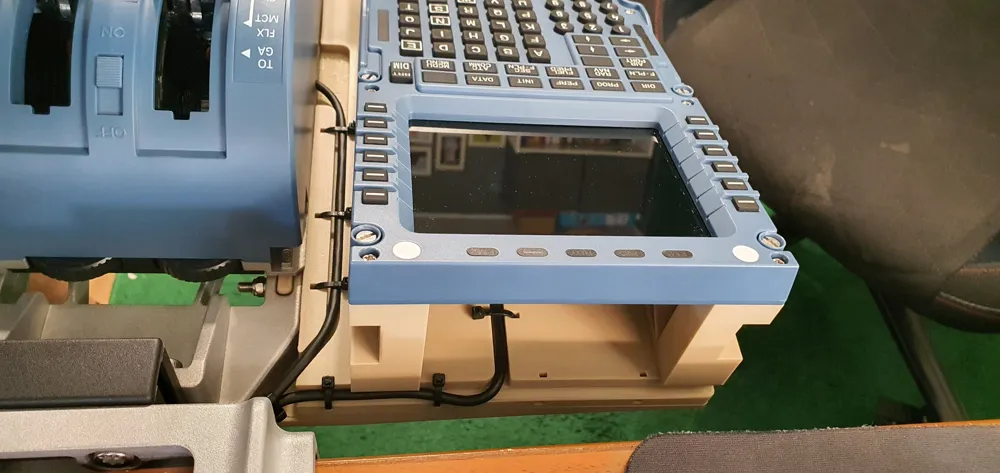
The MCDU is mounted to the brackets using the original screws and nuts (x4).
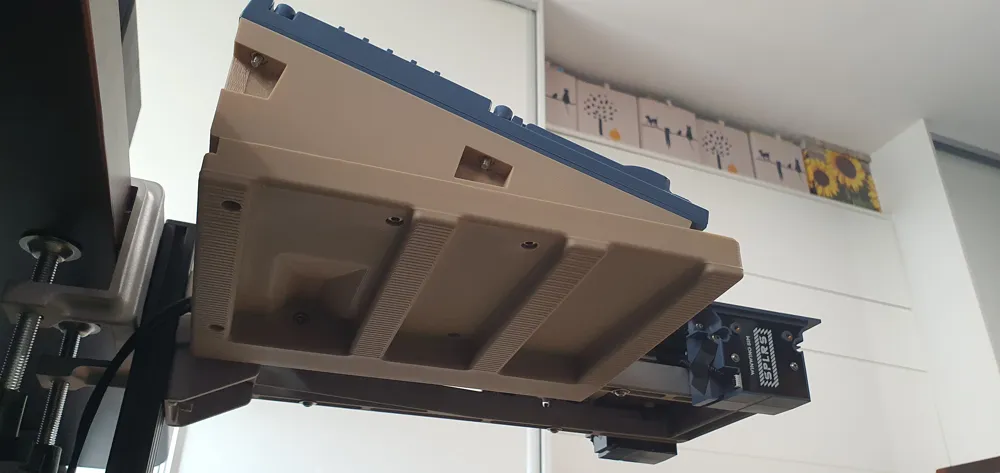
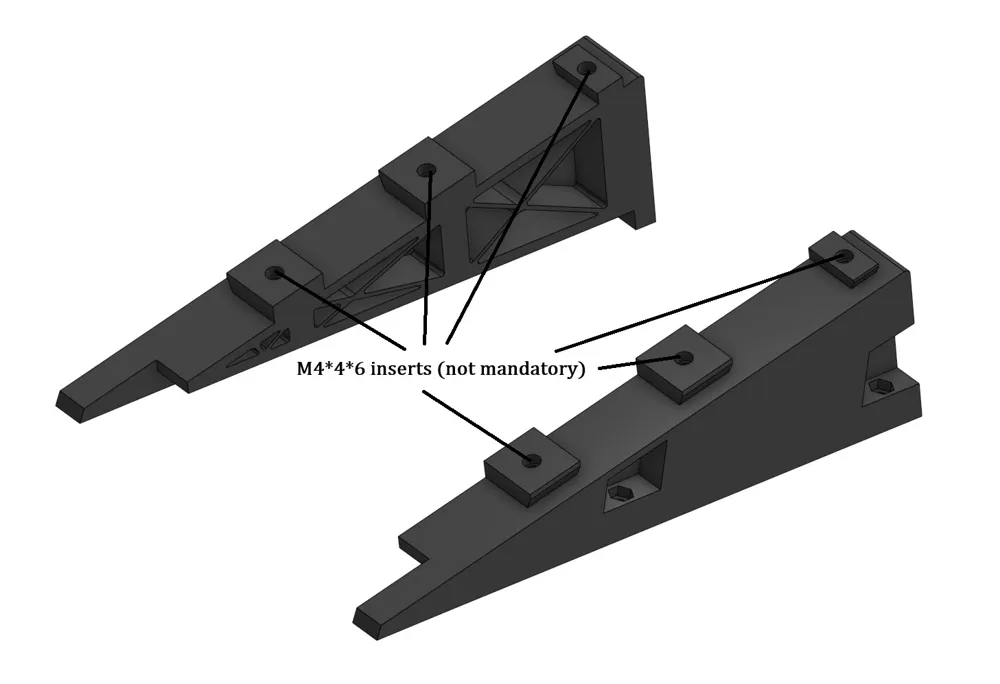
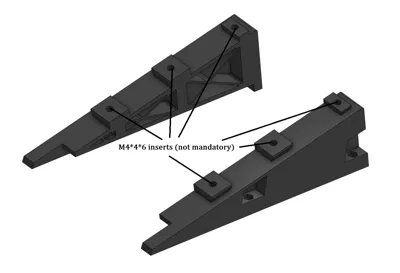
The MCDU Brackets are attached to the mounting plate using M4x20 (x2) and M4x15 (x4) screws. Generally, using heat-inserts is not mandatory here. I had a few spares, so I used them, but if you print everything using my main print profile, the fit will be tight enough that the brackets will simply 'click' into place... or you can secure them with one or two M4 screws without using heat-inserts. If you decide to use heat-inserts, use M4x4x7.
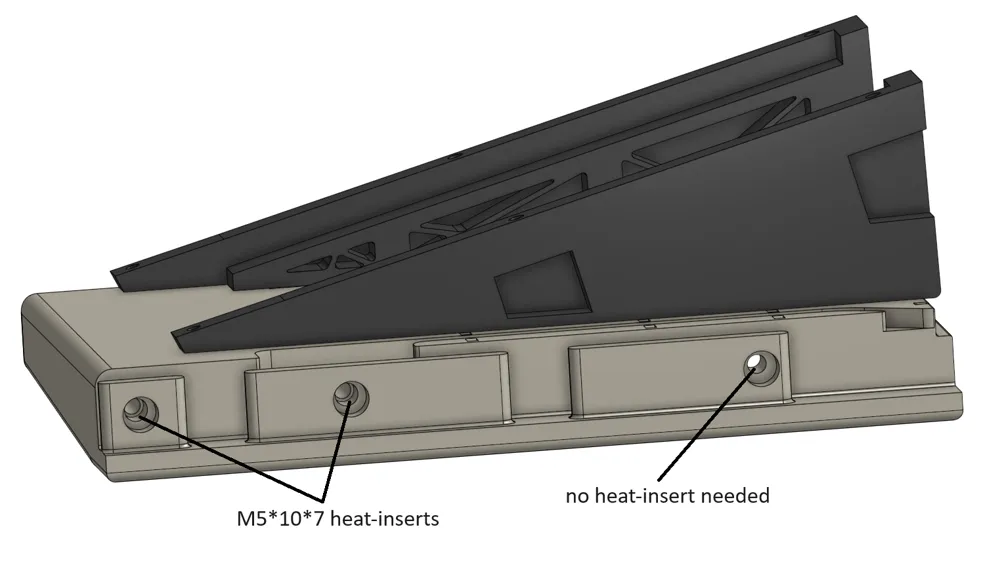
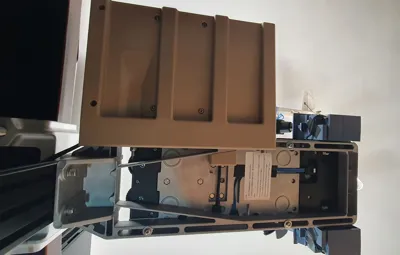
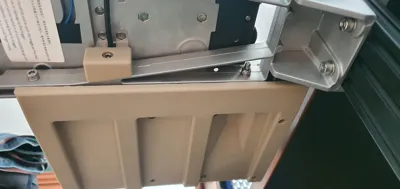
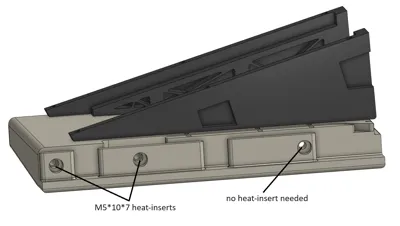
The mounting plate is attached to the WINWING (WINCTRL) Throttle Desk Mount using: 1x M5x30 screw with an M5x10x7 heat-insert, 1x M5x45 screw with an M5x10x7 heat-insert, and 1x M5x35 screw with a self-locking nut (no heat-insert needed). In this case, the heat-inserts are critical, so you must have at least these two: M5x10x7.
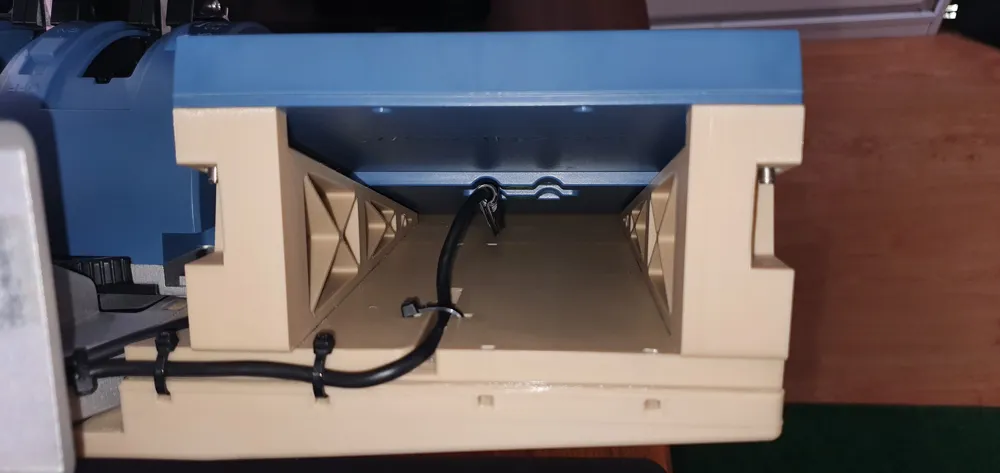
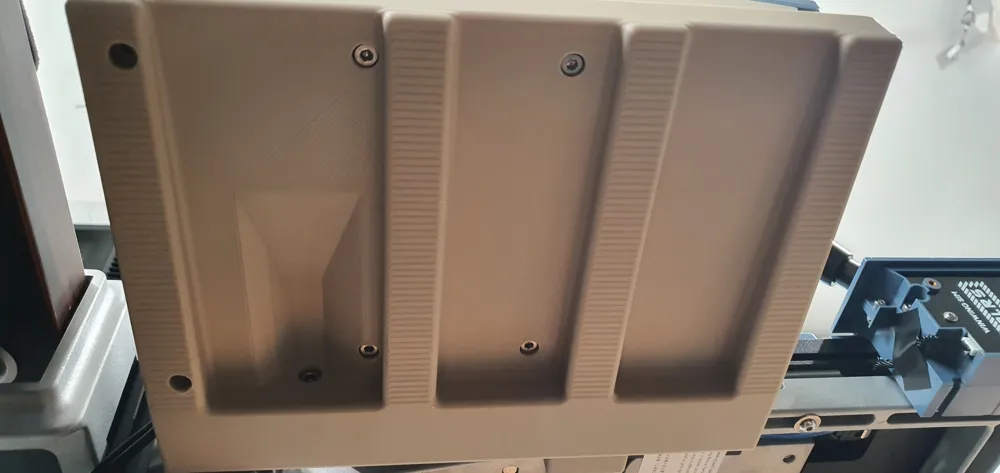
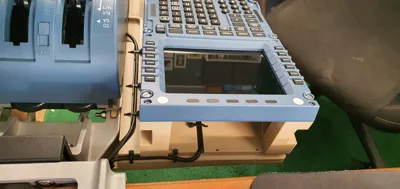
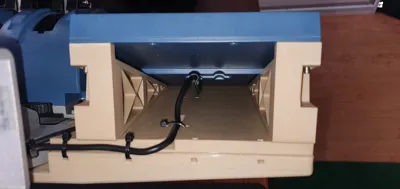
I have also included several cable routing holes for the throttle and MCDU USB cables, as well as slots for zip ties to keep the wiring neat.
The project also includes a small fragment of the mounting plate that can be used as a drill guide to mark the holes for drilling in the WINWING Throttle Desk Mount.
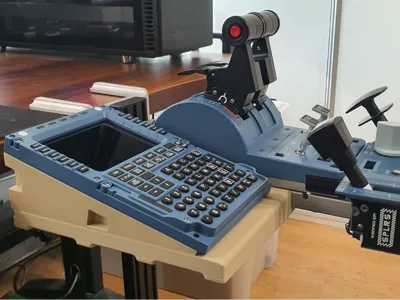
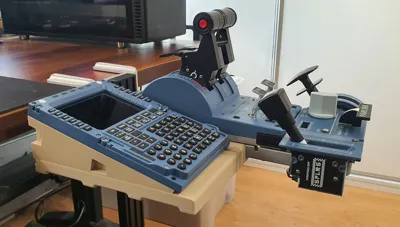
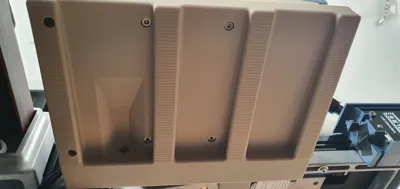
The photos show the print from the main print profile, which is the one I used.
Assembly order:
- Print the drill guide and drill the holes (using a 5mm drill bit) in the WINWING (WINCTRL) Throttle Desk Mount.
- Print the mounting plate and heat-set the heat-inserts according to the photos.
- Place the mounting plate into the WINWING Throttle Desk Mount (you may need to tap it in gently as it is a very tight fit).
- Secure the mounting plate to the WINWING Throttle Desk Mount with M5 screws (use the printed spacer in the middle hole).
- Measure and arrange the USB cables from the throttle and MCDU, securing them with zip ties (it will be difficult to do this later due to limited space).
- Print the brackets and heat-set the M4 heat-inserts (optional), then bolt the MCDU to the brackets.
- Slide the MCDU with the brackets into place until they lock.
- Secure the brackets to the mounting plate (using at least two M4 screws).
If you have any questions or feedback, please don't hesitate to contact me.
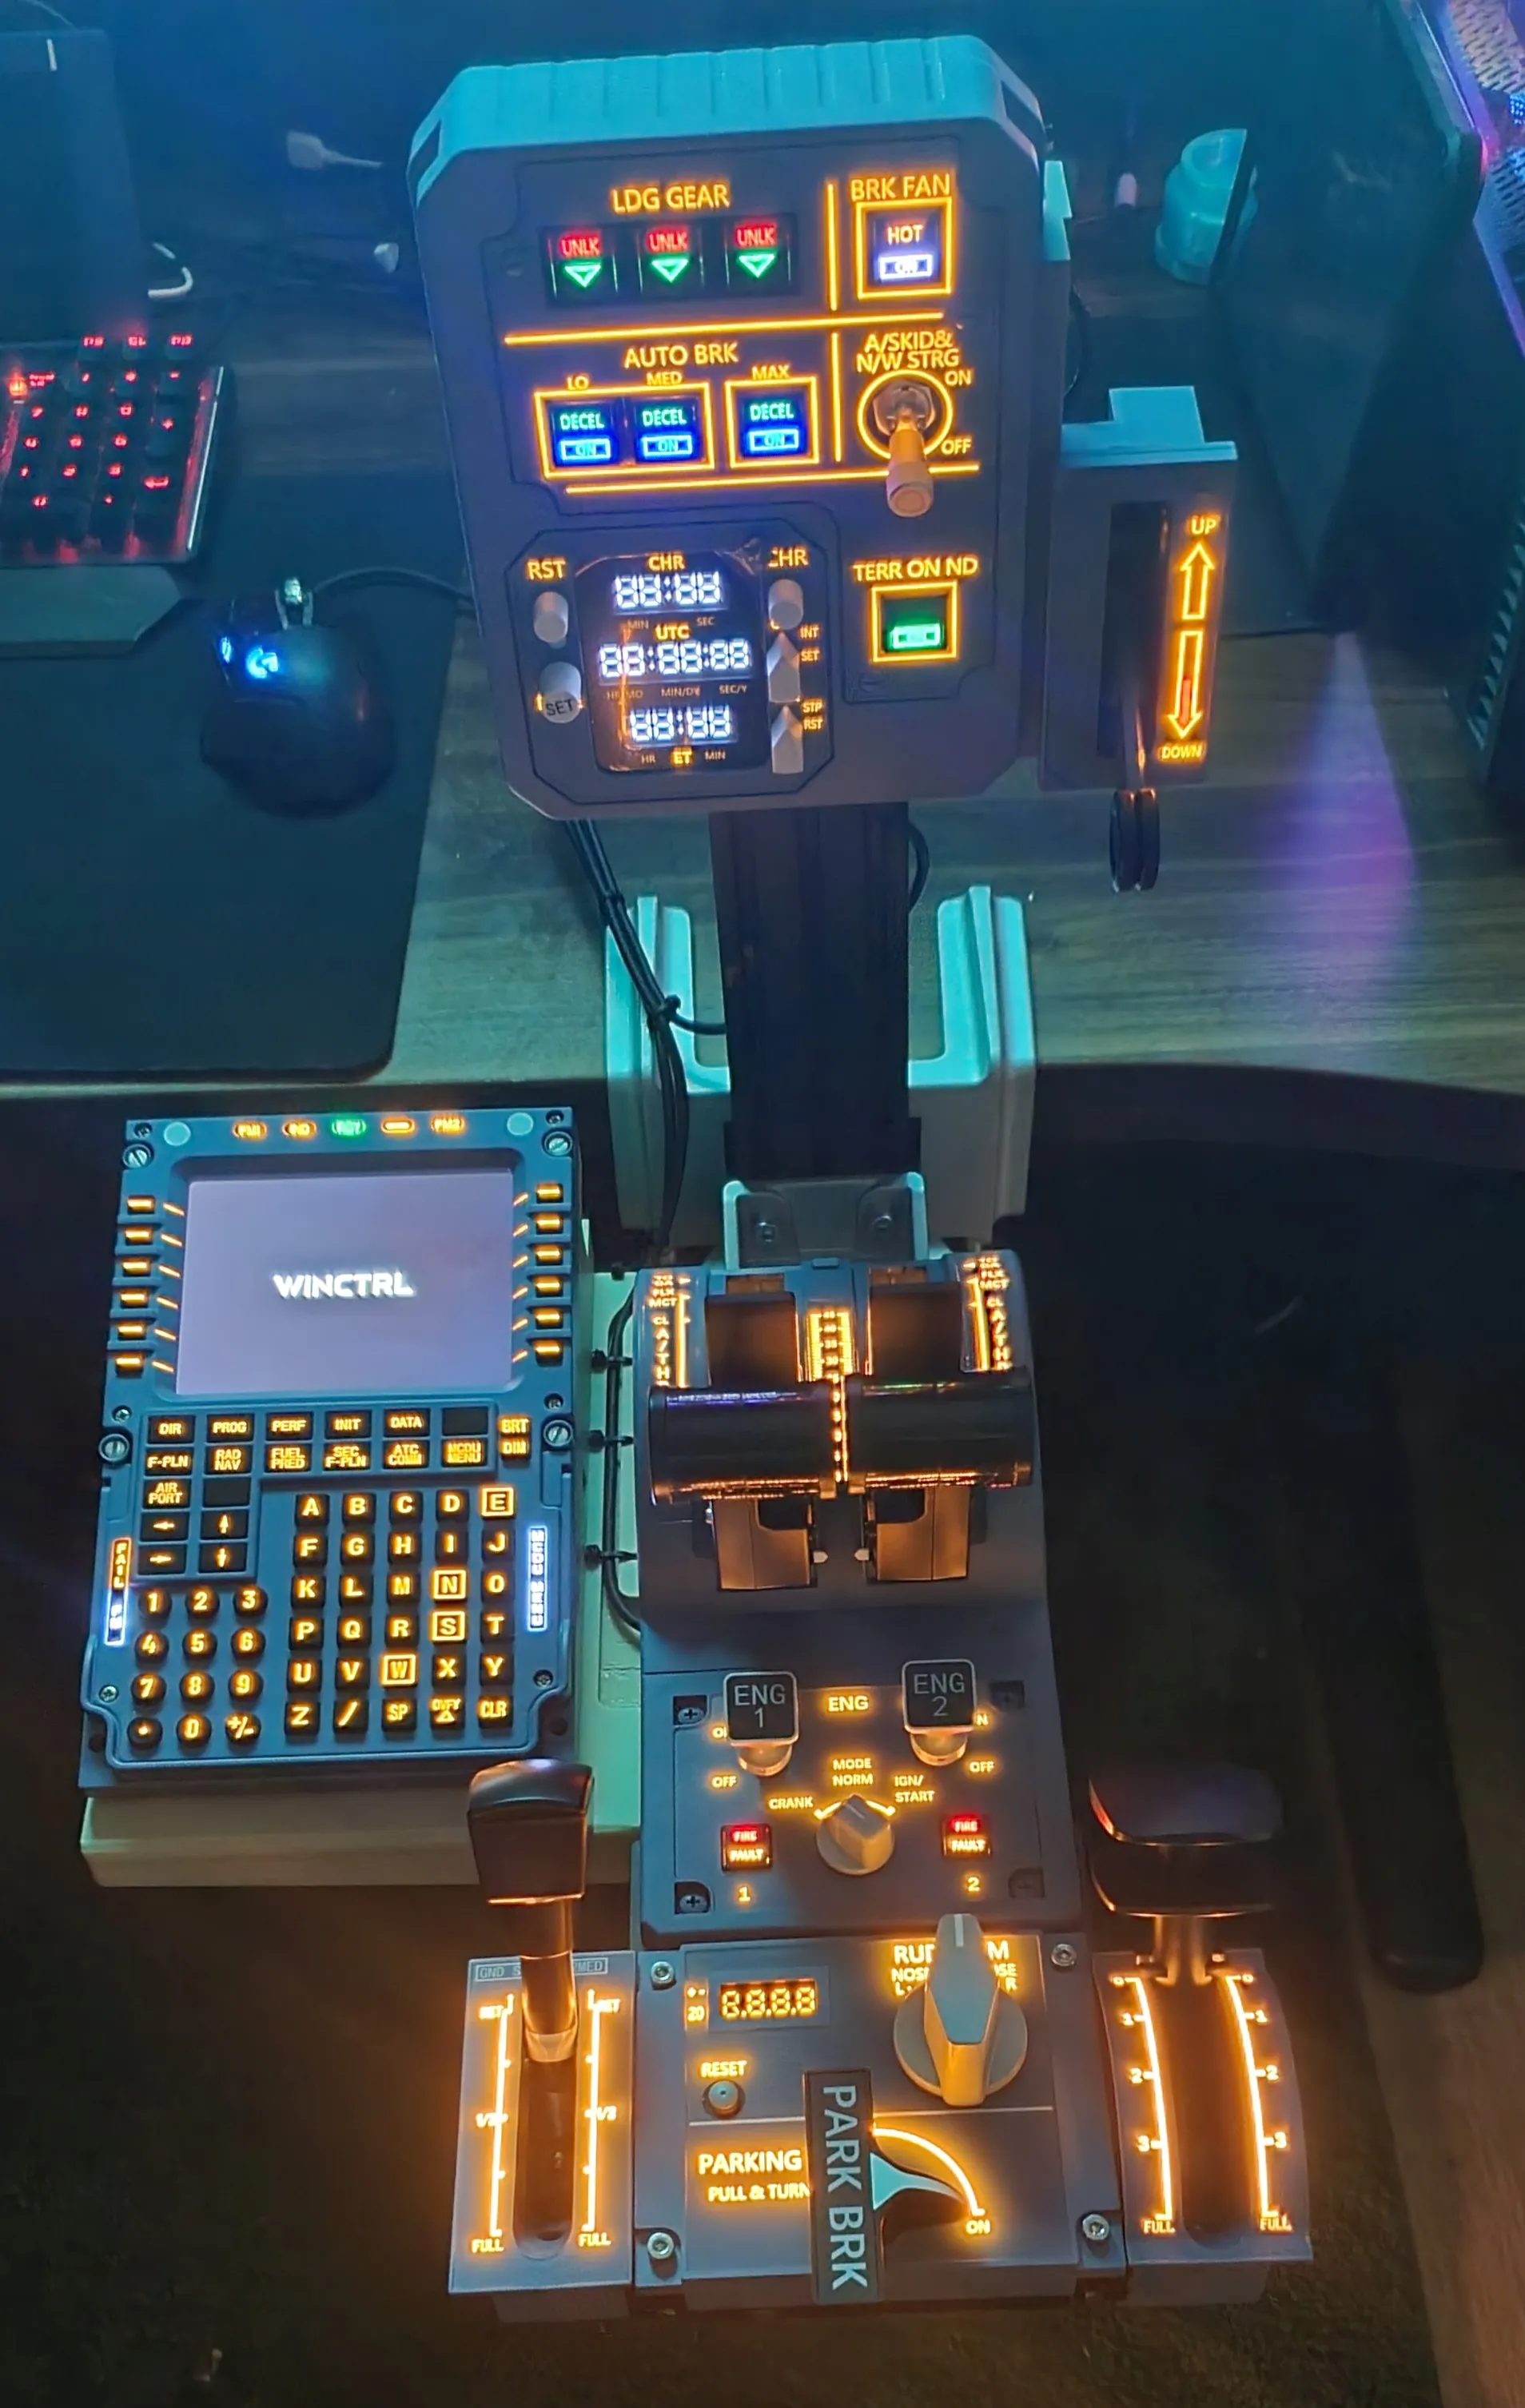
Check also my WINCTRL 32 AGP adapter with gear lever at right side for Throttle Desk Mount5
License

You shall not share, sub-license, sell, rent, host, transfer, or distribute in any way the digital or 3D printed versions of this object, nor any other derivative work of this object in its digital or physical format (including - but not limited to - remixes of this object, and hosting on other digital platforms). The objects may not be used without permission in any way whatsoever in which you charge money, or collect fees.


Comment & Rating (21)