
3D Printed LED Light Box for Video Recording
Print Profile(1)
Description
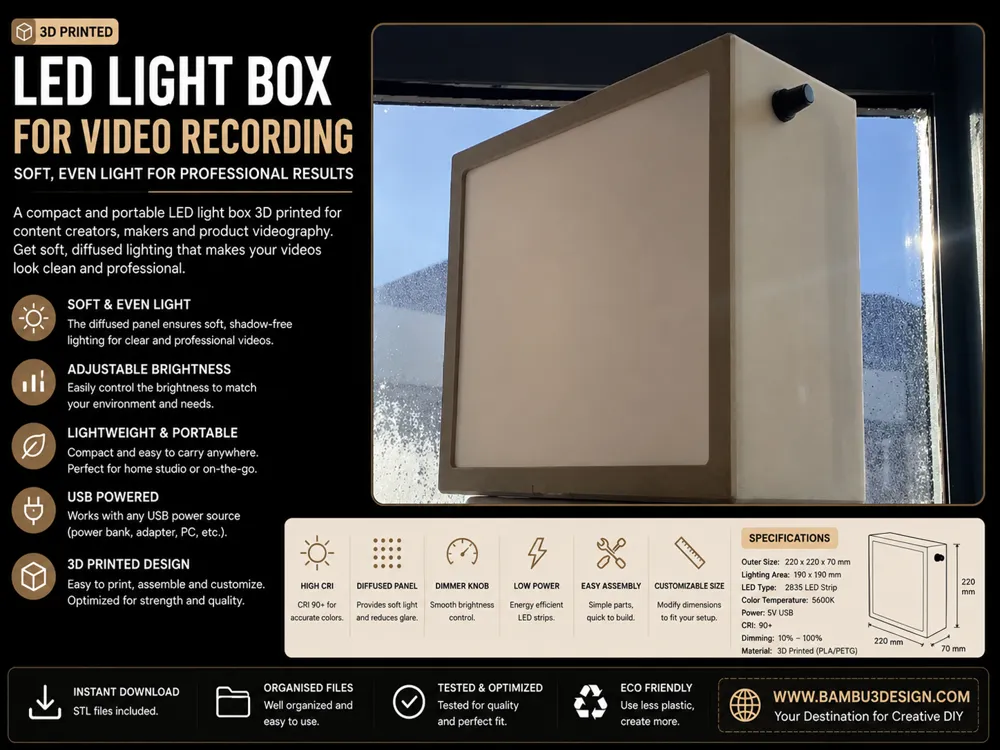
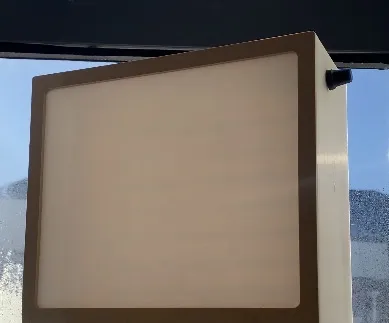
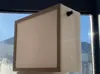
This project is a 3D Printed LED Light Box designed for video recording, photography, and content creation. It produces soft and uniform illumination, making it ideal for recording tutorials, product videos, or creating a small desktop studio.
The enclosure size is 200 × 235 × 100 mm. Inside the box, internal guides hold seven 200 mm LED strips in parallel. This arrangement helps distribute light evenly across the front diffuser panel and reduces harsh shadows.
To improve heat management, the enclosure includes ventilation holes at the top and bottom. These openings allow natural airflow (passive cooling) to prevent overheating during long recording sessions.
The brightness of the LEDs is controlled using a PWM dimmer module, allowing smooth and efficient brightness adjustment.
Required Components
• 12V LED Strip (SMD 2835) – used as the main light source
https://s.click.aliexpress.com/e/_c3luGgkX
https://s.click.aliexpress.com/e/_c3UPCePd
• PWM Dimmer Module (10A DC Motor Speed Controller(hw-070)) – used to control brightness
https://s.click.aliexpress.com/e/_c3uu9UJ5
• 12V DC Power Adapter – used to power the LED strips
https://s.click.aliexpress.com/e/_c3fl2YlZ
• Frosted Milky Diffuser Sheet (about 1.5 mm thick) – used to spread the light evenly
https://s.click.aliexpress.com/e/_c4EjEU4X
• 5.5 mm × 2.1 mm DC Power Jack Socket
• 3D Printed Enclosure – holds the LED strips and electronics
The LED strips are connected to the PWM dimmer output, and the dimmer input is connected to the 12V power adapter. The brightness can be easily adjusted using the knob on the PWM controller.
Connect all positive terminals of the LED strips together, and connect them to Output + of the PWM module. Connect all negative terminals together and connect them to Output − of the PWM module. Then connect the positive and negative wires of the DC jack to Power + and Power − on the PWM controller.
The model consists of four parts: the main body with the front frame and diffuser holder, and a nylon sheet used as the diffuser panel.
This project provides a simple and affordable DIY lighting solution for video recording and content creation.
A full assembly guide is available on YouTube. You can watch the video using the link below.
License

You shall not share, sub-license, sell, rent, host, transfer, or distribute in any way the digital or 3D printed versions of this object, nor any other derivative work of this object in its digital or physical format (including - but not limited to - remixes of this object, and hosting on other digital platforms). The objects may not be used without permission in any way whatsoever in which you charge money, or collect fees.


Comment & Rating (0)