Adjustable Dumbbell Extension


Print Profile(1)

Description
Adjustable Dumbbell Extension
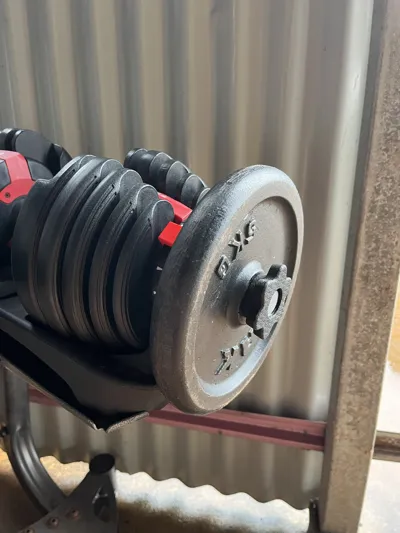
Adjustable dumbbells have been a valuable and space saver in my home gym setup however with my progress, I was finding I was starting to need more than the dumbbells max weight. I didn't want to buy a heavier set or start buying individual weights, so I created a mount to allow for additional weight to be added. This extension has allowed me to gain at least an additional 10kg per dumbbell.
Details:
- I have included 2x models -
1. A model that permanently mounts the extension to the dumbbell, maintaining full original functionality, &
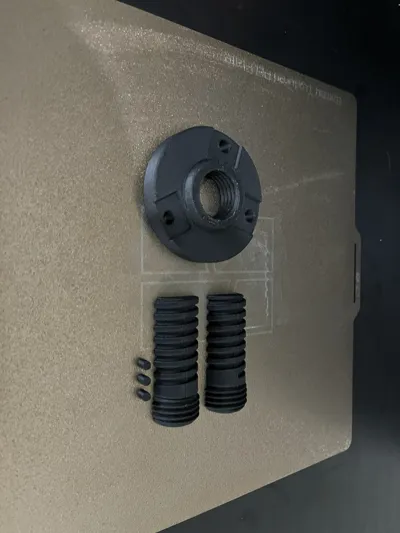
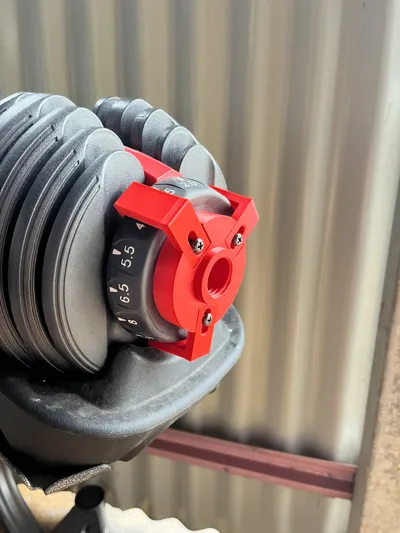
2. A 2nd model that is removeable using claws for the mounting. This mounting option does impact your ability to adjust the dumbbells weights and is more time consuming when using. - Each of the options comes with a mount base and a 2x removable rod sizes. This keeps the rods out of the way when not in use.
Hardware required:
- For the permanent mounting option, 3x 30-35mm screws or bolts of your choosing (your adjustable dumbbell brand may allow for different screw lengths). I have utilised some cam lock screws to ensure they don't fail under the weights they will be subjected to.
- For the removeable mounting option, 3x M5*16 bolts. A hexagonal cut out in the back of the mounting base allows the nuts to be fitted.
- For both applications, 4x bar/weight lock nuts. I have assumed that if you have weight plates lying around to utilise this model, that you will also have the lock nuts. If you require the bar lock nuts, there are many models available on Maker World.
Install:
Permanent Mount -
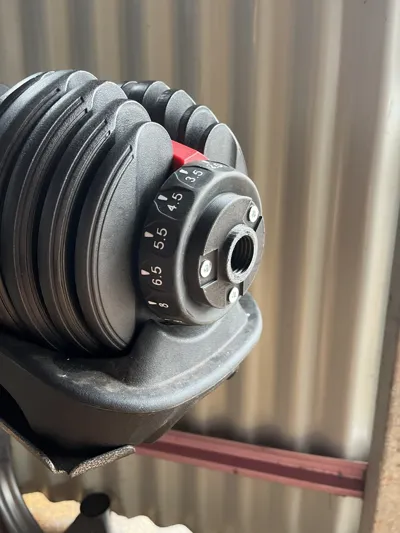
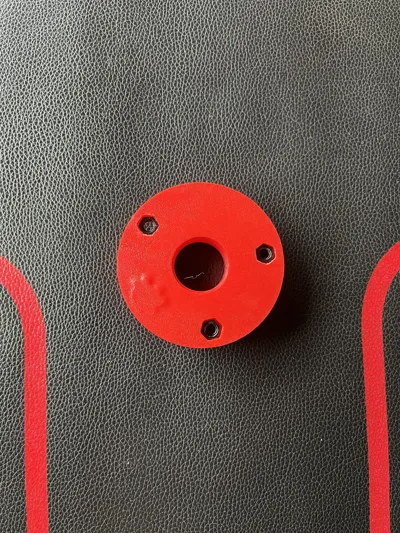
- Place the mounting base on the end of the adjustable dumbbell.
- Use 3x screws to attach the mount to the end of the dumbbell.
- Assemble the rod by inserting the dowels and gluing the rod halves together.
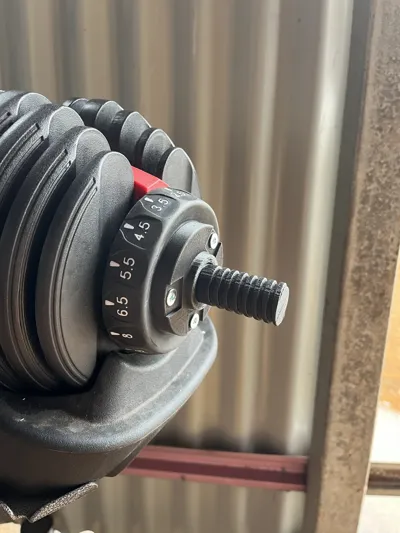
- Screw the assembled rod into the mounting base.
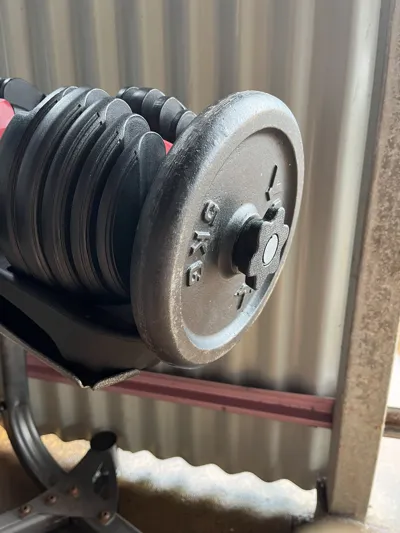
- Add your plate weight and utilize a dumbbell lock nut to secure.
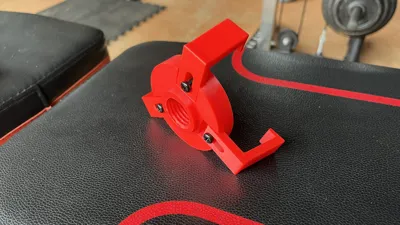
Removeable Mount -
- Using your 3x M6 nut and bolts, insert the nuts into the back of the mounting plate.
- Attach the 3x claws using the M6 bolts. Do not fully tighten at this stage as you want some movement to assist attaching the mount to the dumbbell.
- Attach the mounting base to the end of the dumbbell and once in place tighten the bolts to keep the claws secure.
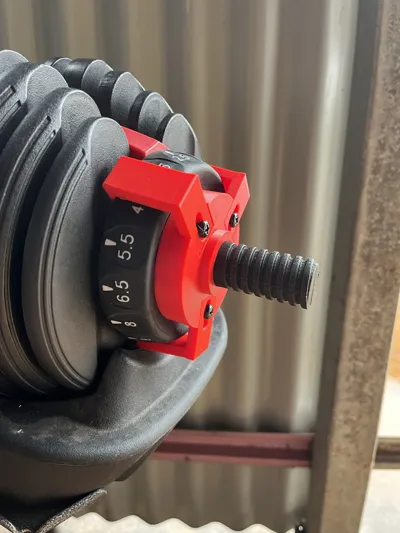
- Assemble the rod by inserting the dowels and gluing the rod halves together.
- Screw the assembled rod into the mounting base.
- Add your plate weight and utilize a dumbbell lock nut to secure.
Printing:
I have used PETG-CF with a 0.4mm nozzle for strength. In my concept trials I used PLA, which did seem sturdy however, I don't know how long it will last.
Note: I found PETG-CF was less accommodating to thread and dowel fittings, so in the model file the rods have been scaled to 97% and the dowels to 90%. If you find the fittings are too loose with your chosen printing material, you may wish to scale these back to 100%.
Boost Me (for free)
License
You shall not share, sub-license, sell, rent, host, transfer, or distribute in any way the digital or 3D printed versions of this object, nor any other derivative work of this object in its digital or physical format (including - but not limited to - remixes of this object, and hosting on other digital platforms). The objects may not be used without permission in any way whatsoever in which you charge money, or collect fees.
Comment & Rating (0)