A1 Mini Bambu Reusable Spool Full-Size


Print Profile(1)
Description
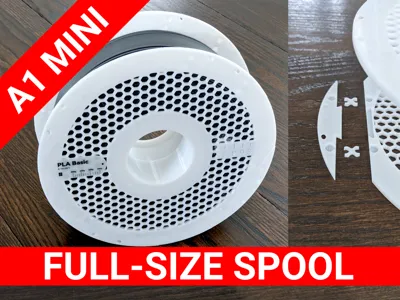
A1 Mini Compatible!
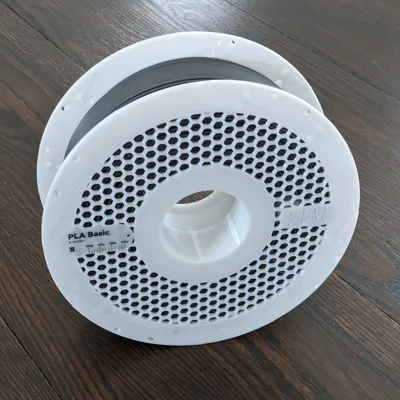
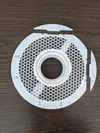
Reusable Modular Full‑Size Spool for Bambu Lab Filament
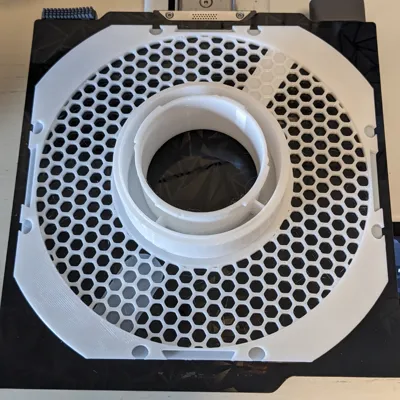
Finally. a reusable, full‑size modular spool designed specifically for Bambu Lab filament - and designed to print on the 180 mm print bed of the A1 Mini.
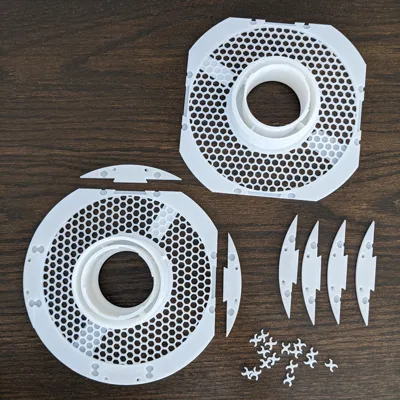
Because the A1 Mini’s build volume can’t accommodate a one‑piece spool at full diameter, this design reaches full size through a clever multi‑part system that assembles securely using robust, integrated snap clips. No glue, screws, or extra hardware required—just print, click, and spool!
Key Features
- Full‑Size Spool on an A1 Mini
Designed in sections that print within the A1 Mini’s 180 mm bed, then lock together for a standard full-diameter spool. - Strong Modular Clip System
Durable snap‑fit clips provide a tight, reliable hold - no adhesive needed. Easy to assemble and disassemble. - PETG Recommended
For maximum strength, longevity, and heat resistance, especially if you plan to use the spool in a filament dryer. - Reusable & Eco‑Friendly
Reduce waste and save money by refilling instead of tossing empty spools. - Compatible With Bambu Lab Filament
Sized and aligned to match Bambu’s standard filament cores for smooth, consistent unwinding.
Why You’ll Love It
Whether you're aiming to cut down on plastic waste, streamline your storage, or just want a tough, reusable spool that your A1 Mini can actually print, this modular design delivers the perfect blend of strength, utility, and clever engineering.
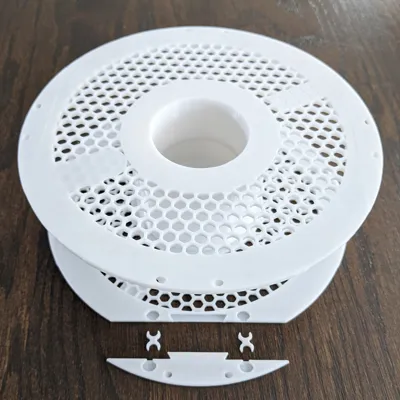
How to Assemble
This spool is designed to snap together securely with no glue or screws. Follow these steps for a smooth assembly:
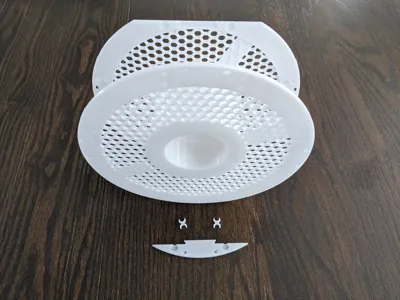
1. Join the Spool Sections
Each part of the spool connects using a dovetail slip‑fit:
- Align the dovetail rails on each section.
- Slide the pieces together until the seams close fully.
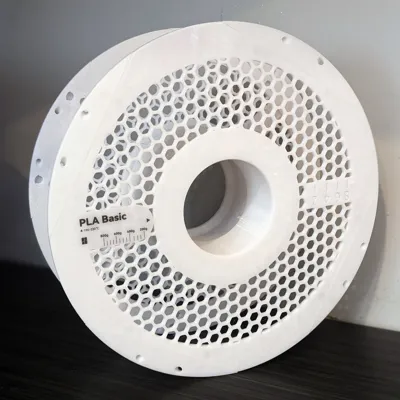
- Ensure all sections are flush—this keeps the spool perfectly round.
The dovetails should fit snugly, but if you experience resistance, lightly clean any stringing before sliding.
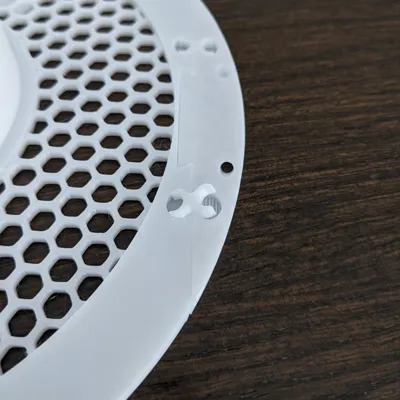
2. Install the Tapered Locking Clips
After the main body is assembled, strengthen the spool using the included snap‑in tapered clips.
Important:
The clips must be oriented the same way they were printed.
- Top side stays up (the smooth, visible printed top).
- Bottom side stays down (the side that touched the print bed).
This ensures the taper locks correctly.
Clip Installation Steps
Start the clip at an angle
Insert the narrow end of the clip into the small slot at a slight angle.
Press firmly to seat the clip
Once the tip is engaged, push straight down with firm pressure. The clips are strong and may require force to snap into place.
Fully snap the clip into its recess
When properly installed, the clip will sit flush, locking the dovetail securely.
Repeat for all clip positions around the spool.
Boost Me (for free)
I hope you find this design useful! 😀
License
You shall not share, sub-license, sell, rent, host, transfer, or distribute in any way the digital or 3D printed versions of this object, nor any other derivative work of this object in its digital or physical format (including - but not limited to - remixes of this object, and hosting on other digital platforms). The objects may not be used without permission in any way whatsoever in which you charge money, or collect fees.
Comment & Rating (5)