
500mm Glider - Glue-Free, Clicks Together in 2 min
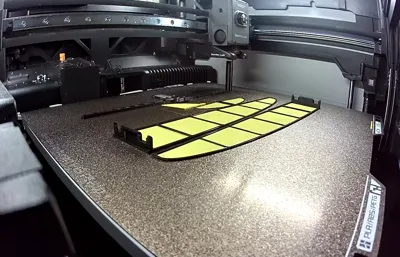
Print Profile(7)
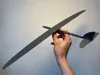
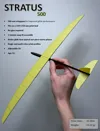


Description
5,000 prints in just a few weeks — a glider that other makers say is easy to print and glides surprisingly well.
I recommend checking out the complete lineup and save your favorites for later.
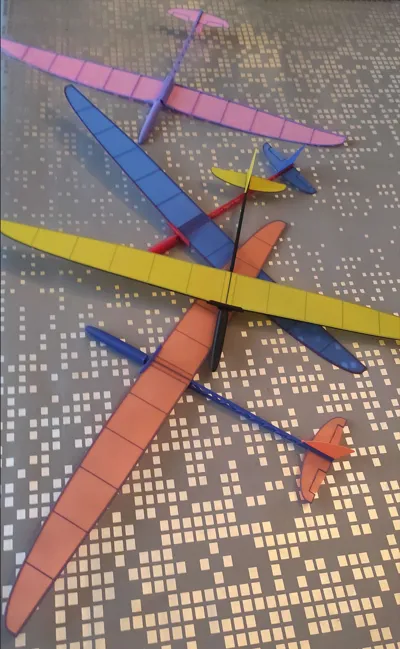
Complete Lineup
Ultralight Series
- NEW Super Leggiero - 9 g
Experimental Series
- Canard Glider — Experimental Series #1
- Gossamer Albatross Glider — Experimental Series #2
Sky Series
- Cumulus 680 — slow, smooth, relaxed glides
- Cumulus 400 Speed Wing — faster flights
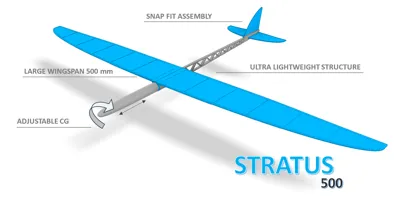
- Stratus 500 — balanced and versatile
- Stratus 500 A1 mini version - Original size
If you enjoy building or flying it, a Boost 🚀 really helps and lets me keep improving these designs!
----------------------------------------------------------------------------------
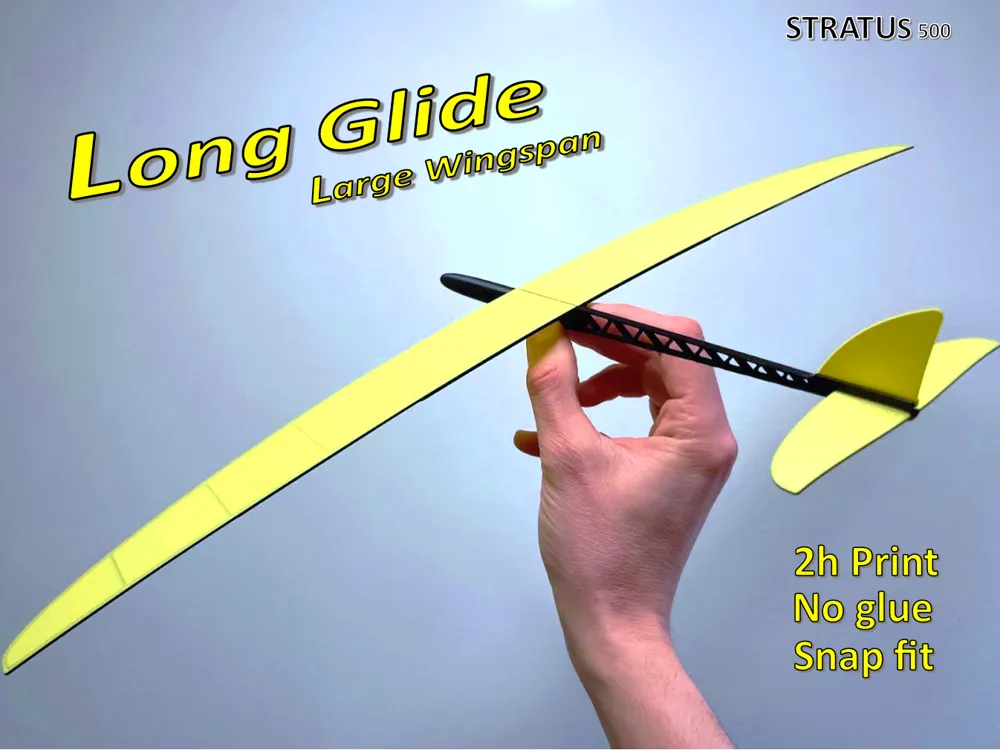
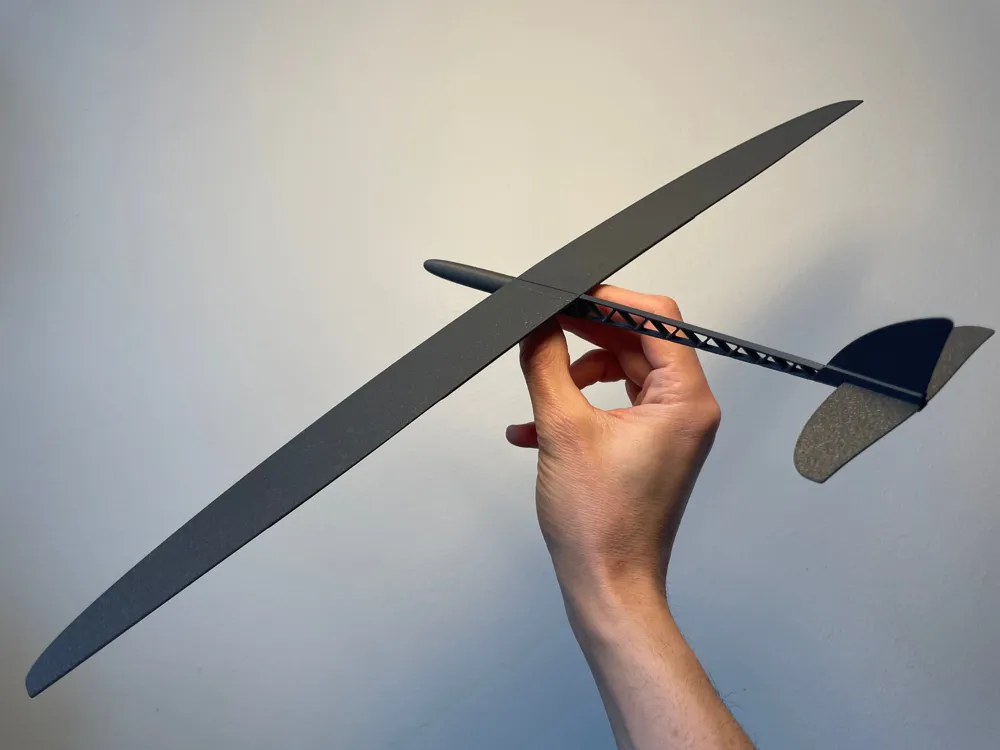
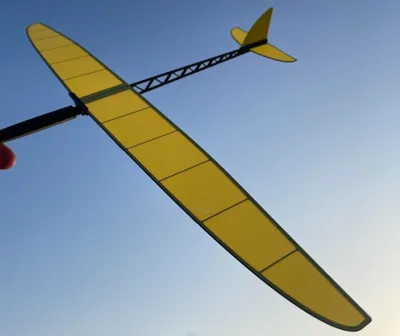
I wanted to design something that flies well and has a reasonable wingspan.
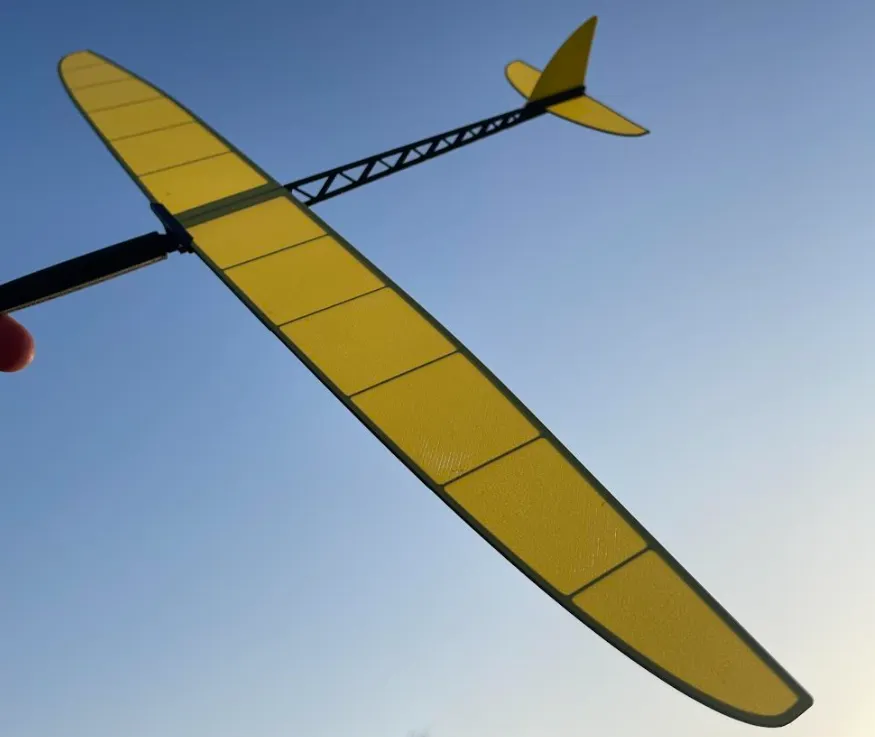
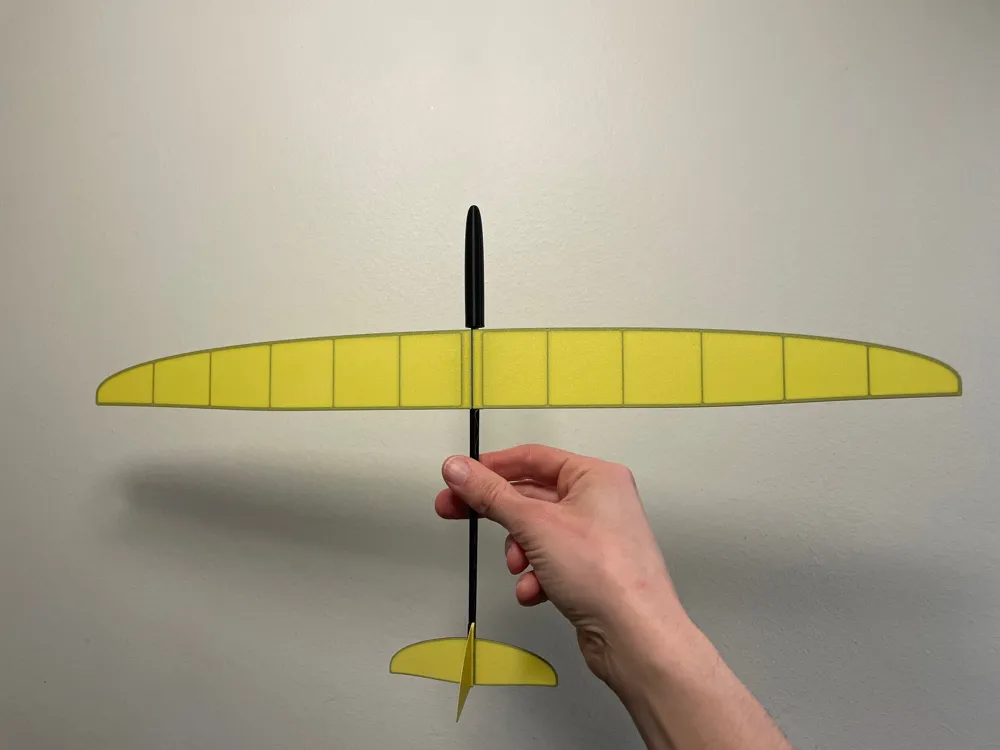
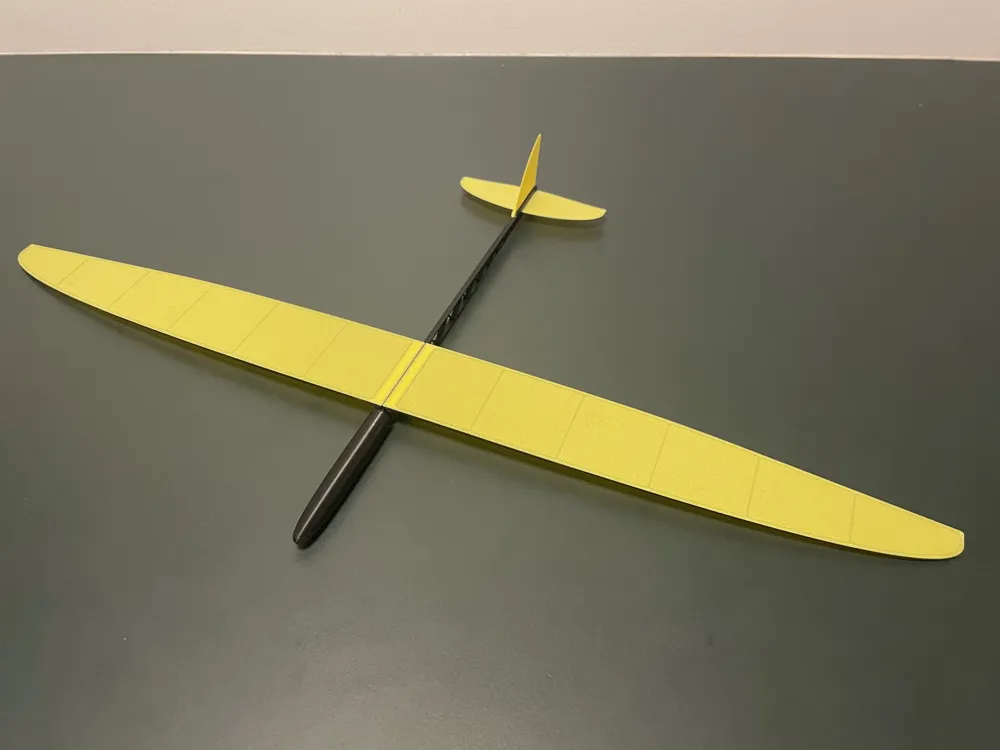
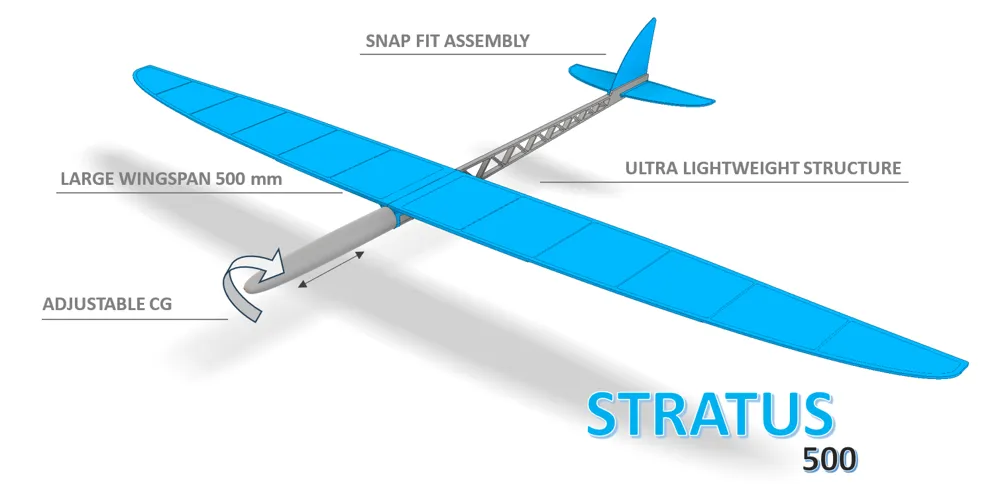
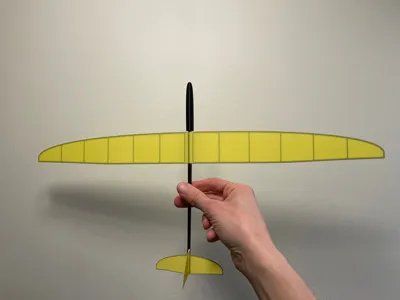
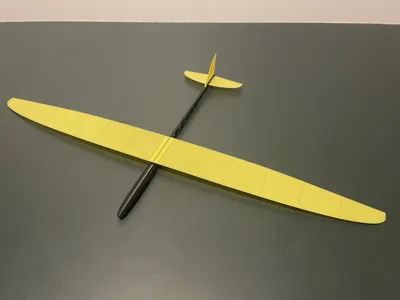
- 500 mm wingspan for improved glide performance
- Ultra lightweight < 20 gram
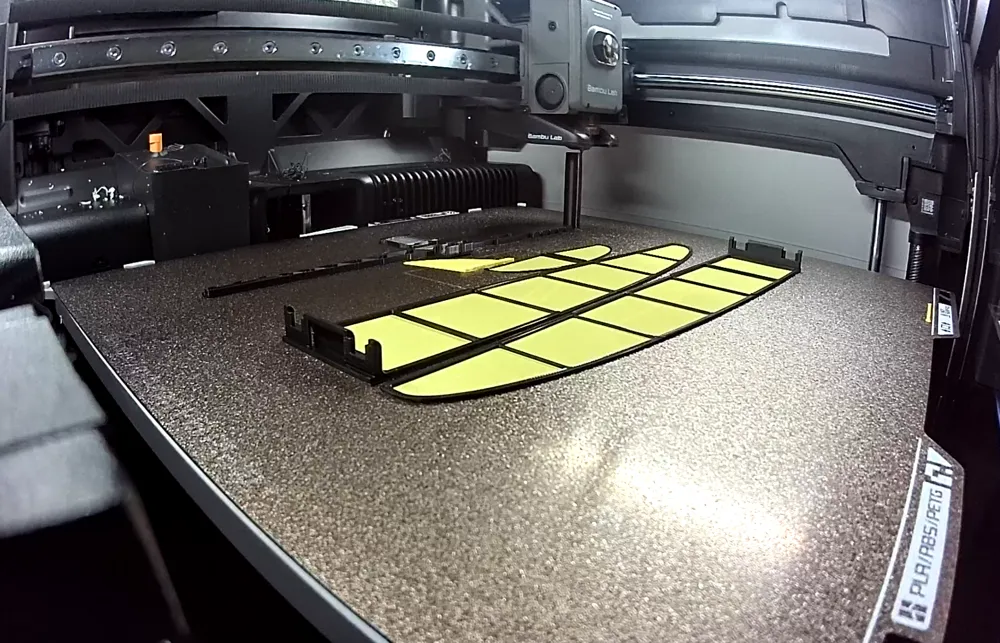
- Fits on a 250×250 mm print bed
- No glue required
- snaps together in 2 minutes
- Far better glide than typical one-piece micro planes

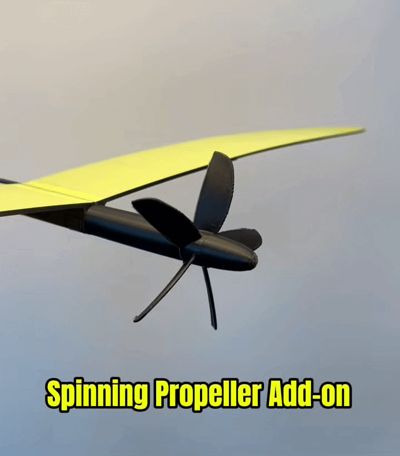
ADD-ONS:
(click on picture for more)
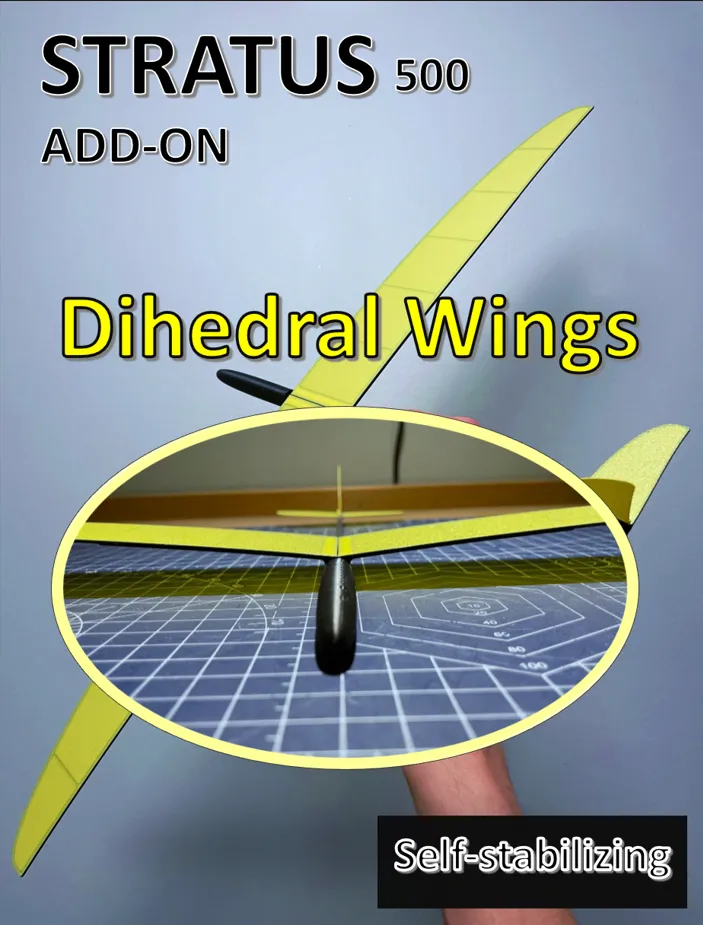
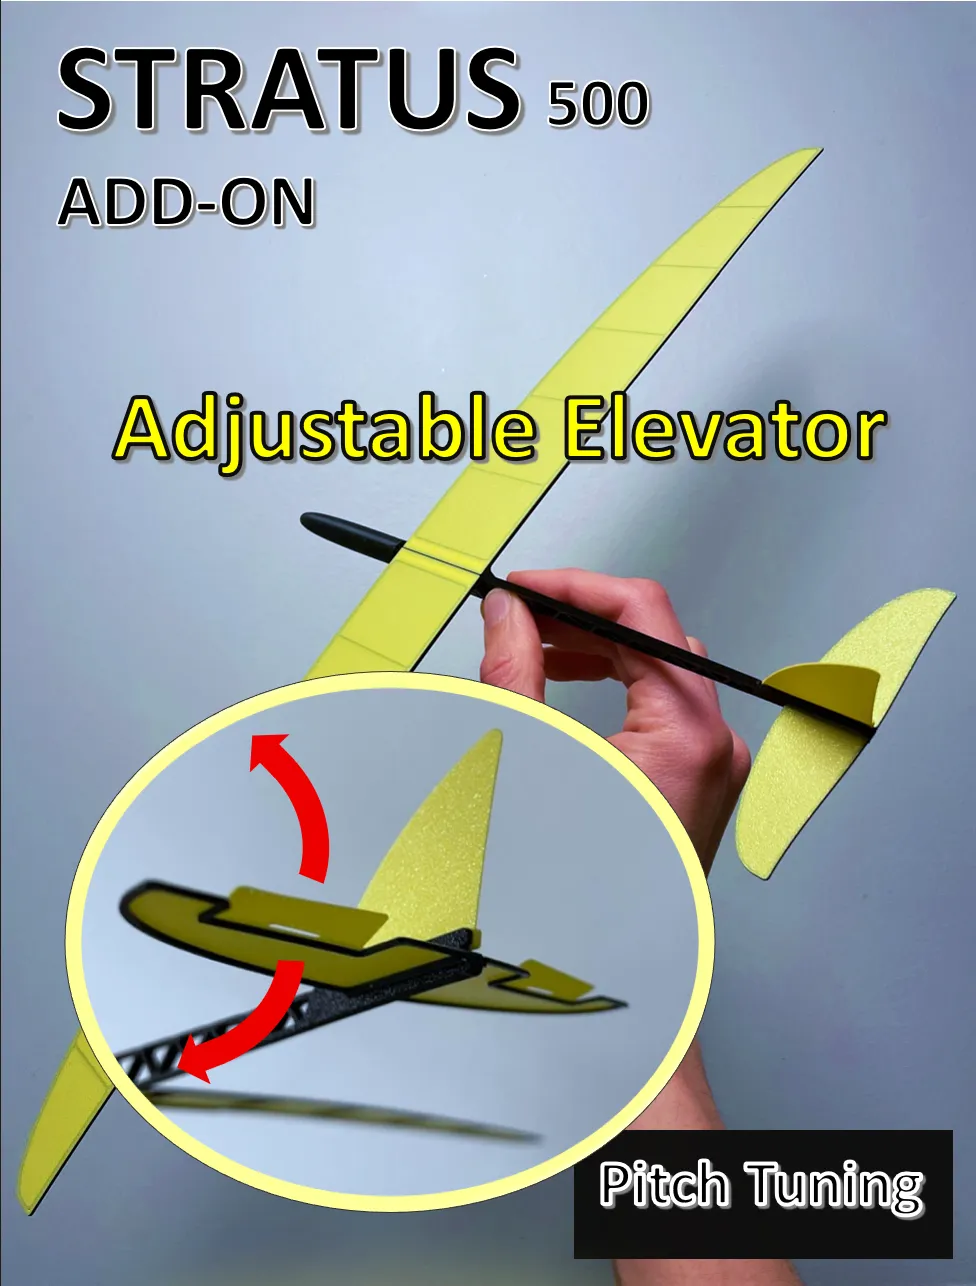
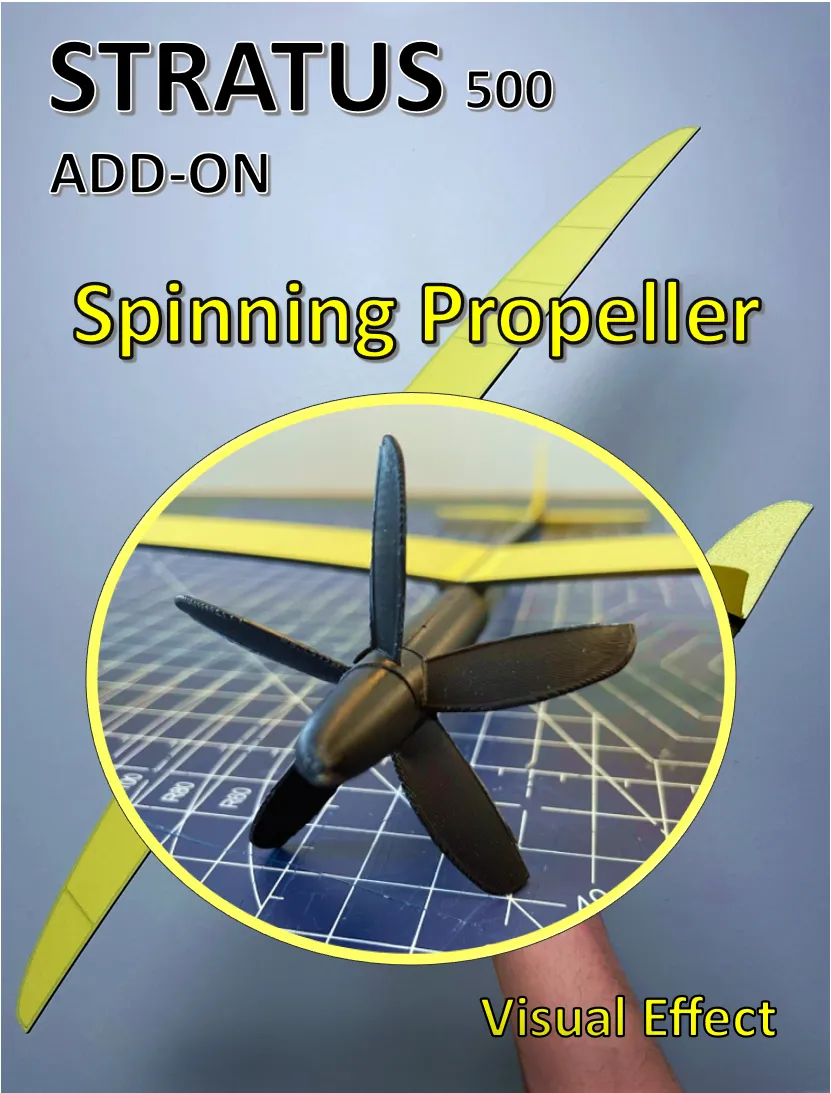
Update log:
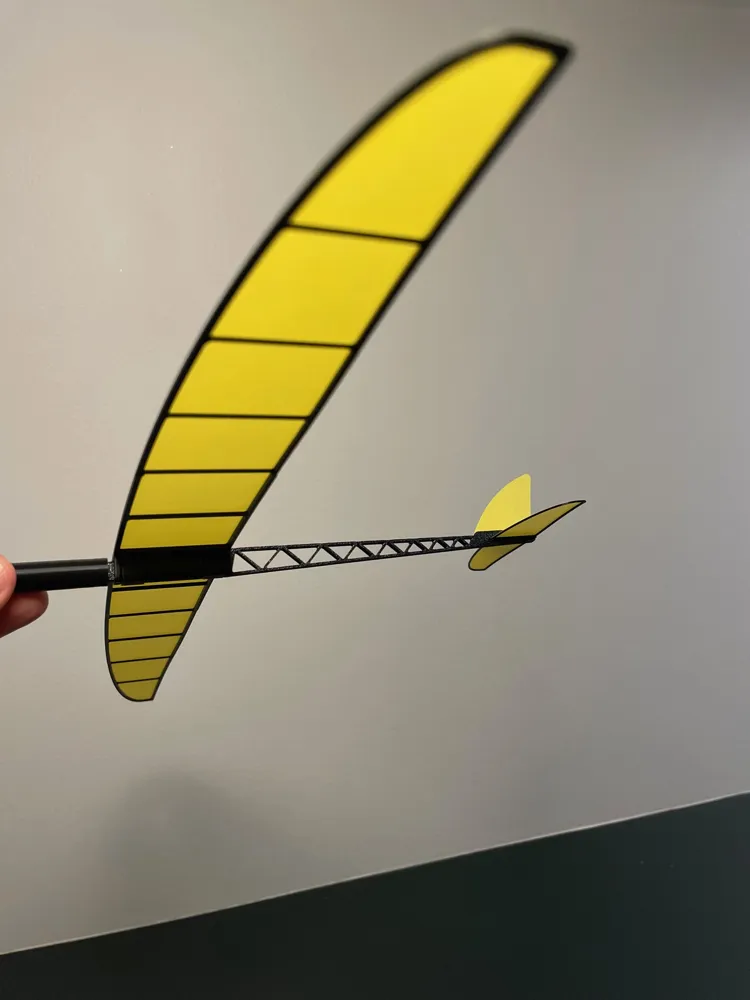
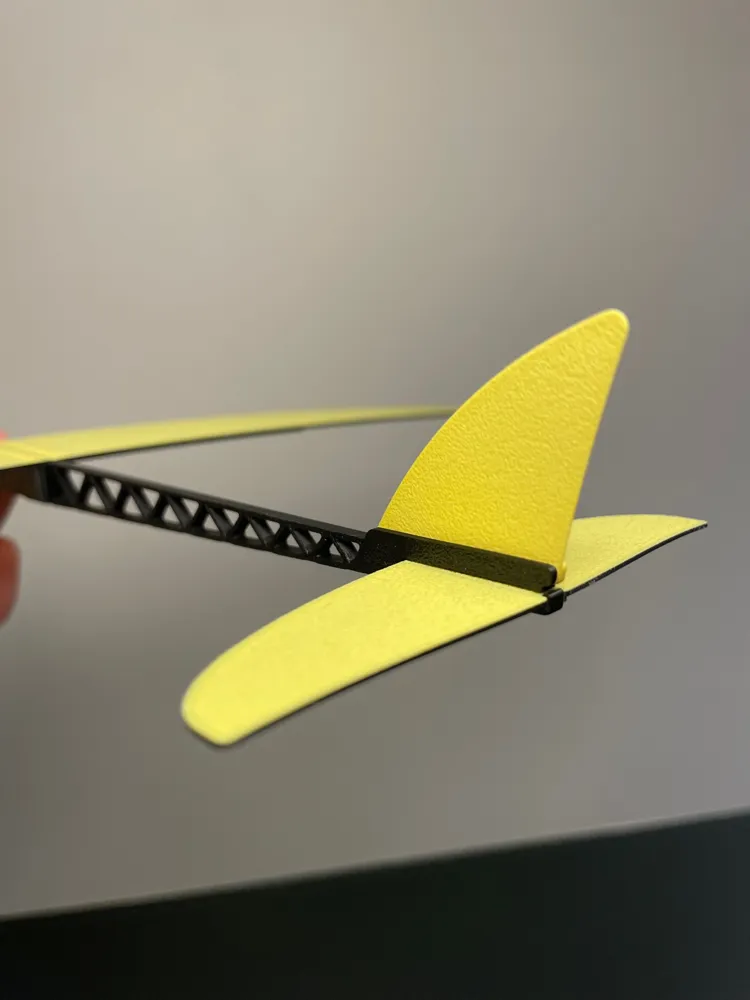
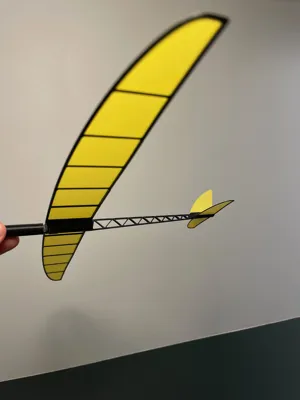
- V1.1 Wing stabilizer shape. (Compatible with V.1.0)
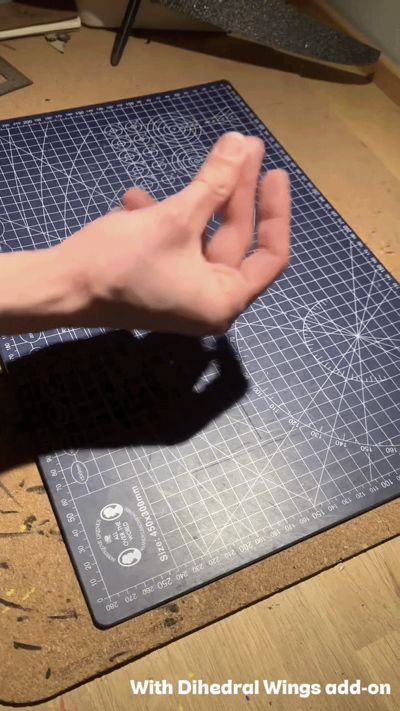
- Gives dihedral to the wing improving stability
Special Note
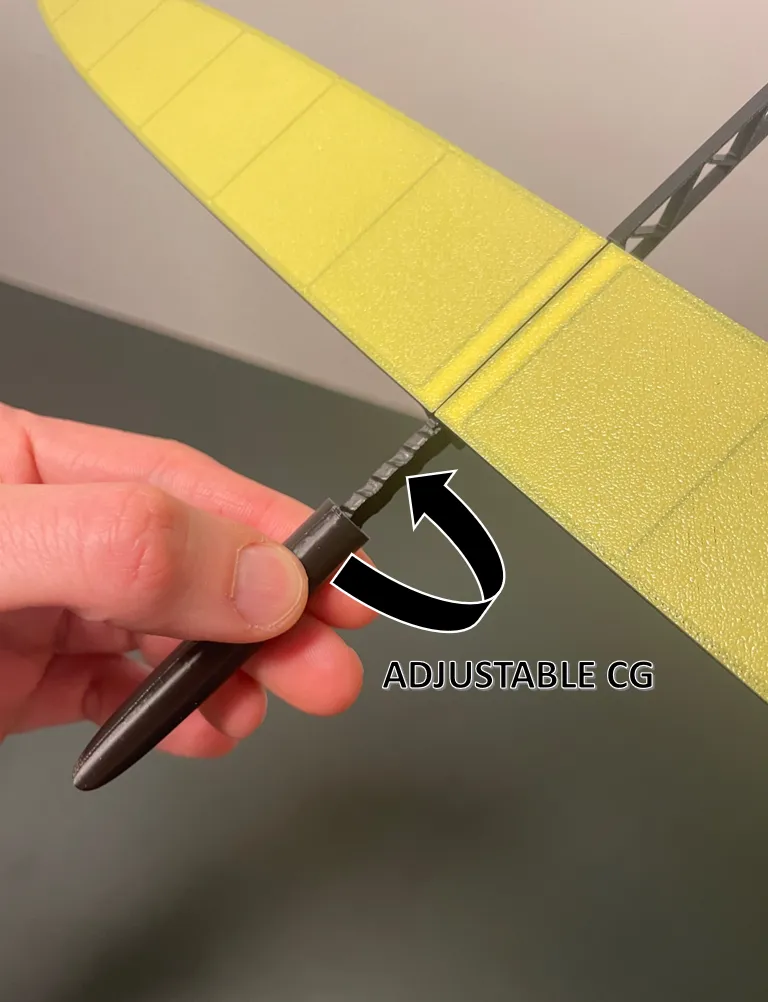
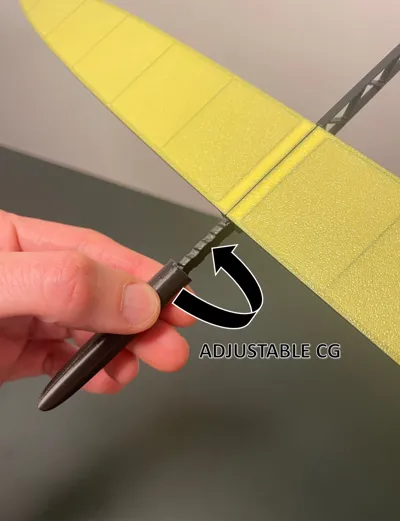
Hope you enjoy it as much as I enjoyed creating it! My 11-year-old son deserves full credit for the idea of a screw-adjustable center-of-gravity mechanism, a feature that makes fine-tuning the glide easy.
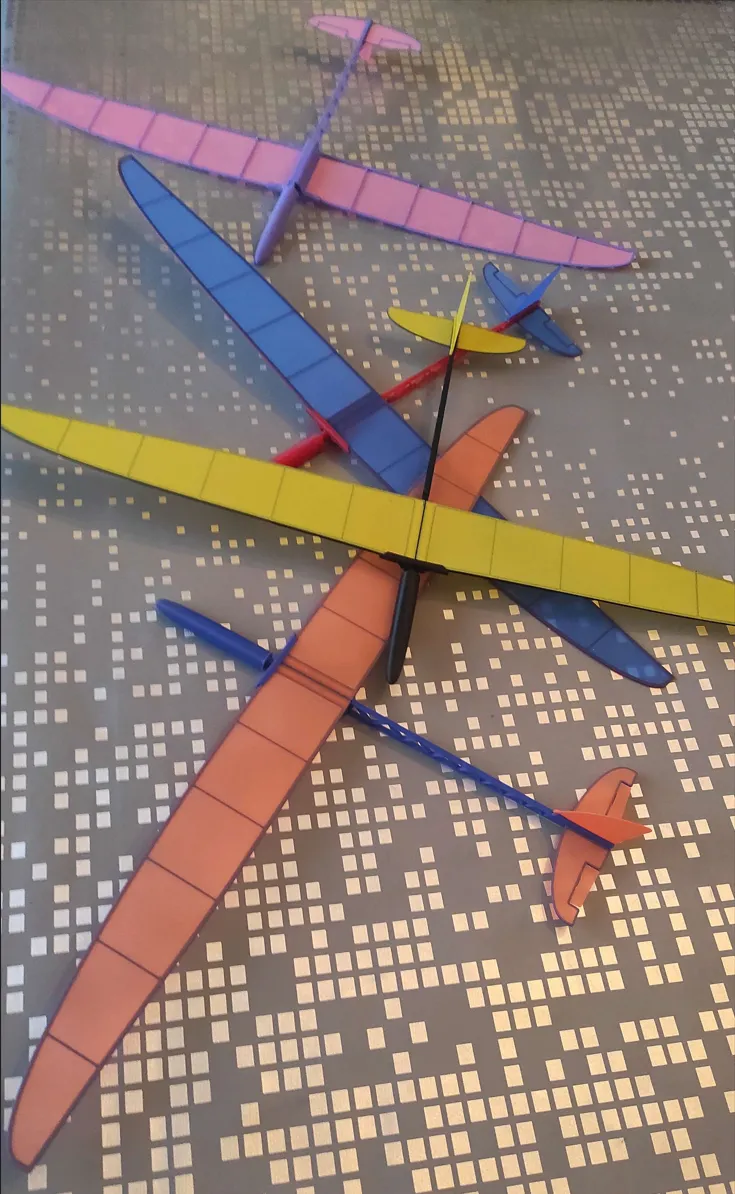
Feel free to upload a picture of your color choice or finished print—I'd love to see your glider in action.
Boost Me (for free)
Enjoying the design? Tap Boost 🚀 and follow me to see new planes and add-ons as soon as they’re released!
Assembly guide:
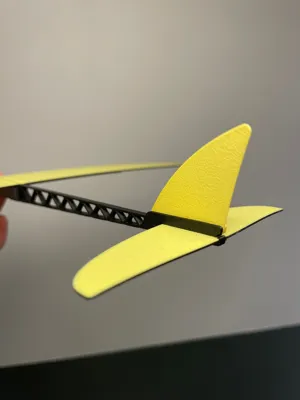
1.Rudder: Press the rudder firmly into the counterparts on the fuselage.
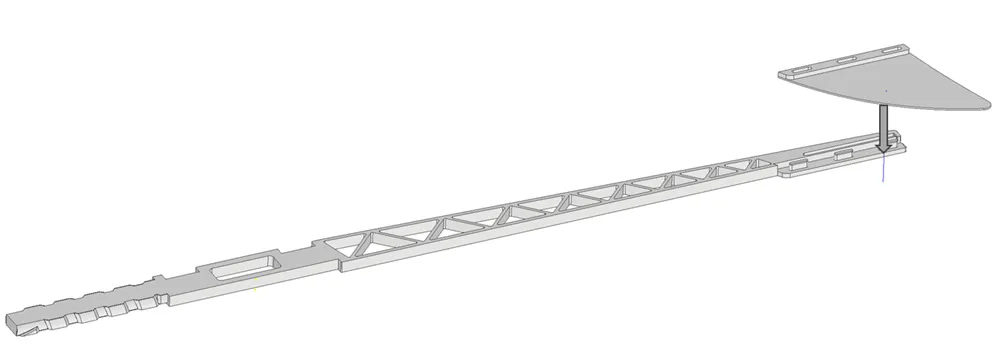
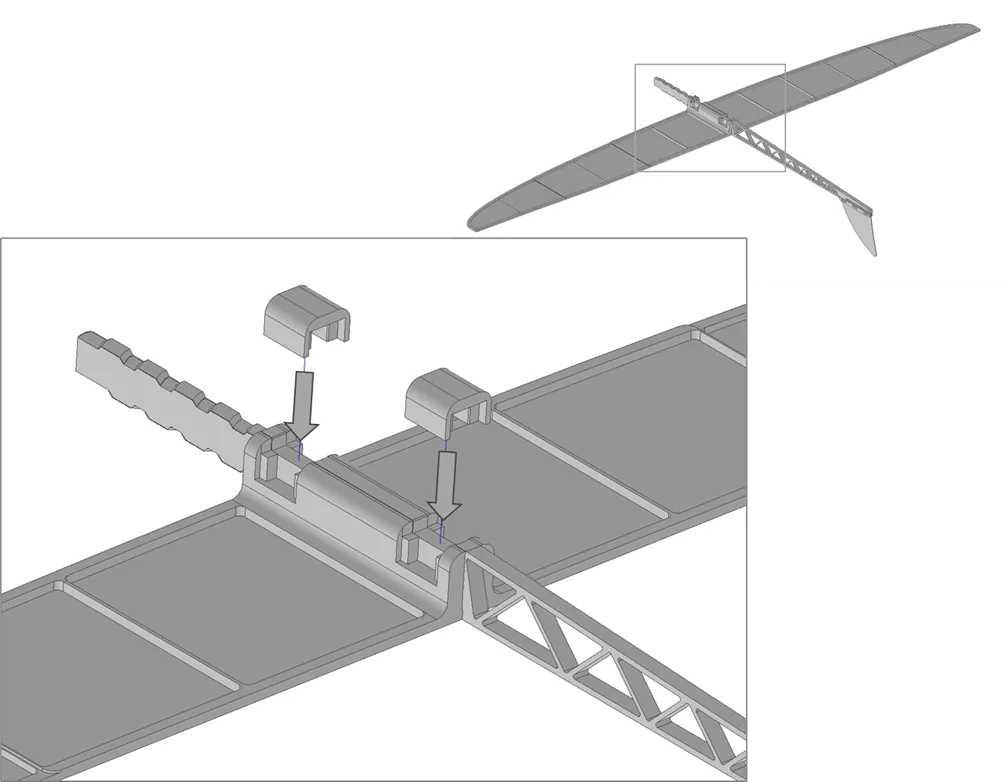
2. Wings: Lay the fuselage upside down on a table. Align the two wings with the fuselage slots and insert the wing clamps. Press until they are fully inserted.
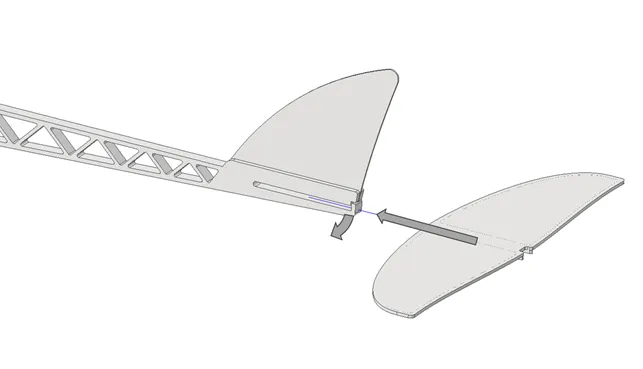
3. Elevator: Insert the elevator by gently opening the slot. When fully inserted the snap lock will keep the elevator in place.
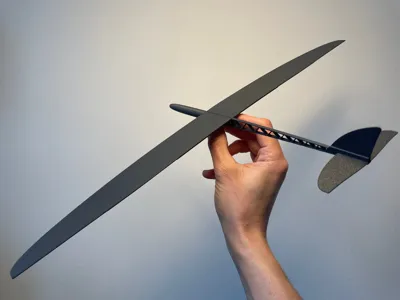
4. Wing stabilizer shape: The stabilizer shape is pressed onto the wings adding some dihedral to the wings giving increased stability.
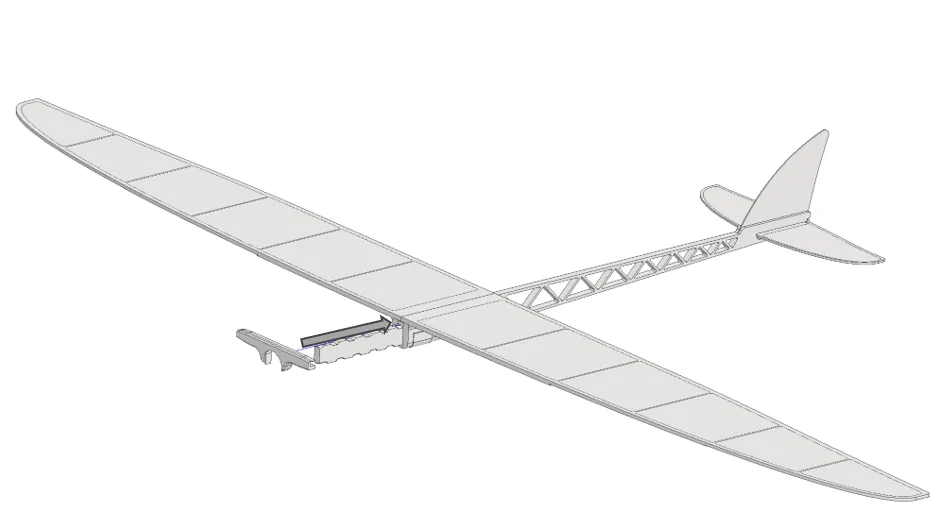
5. Front conus: The front conus is screwed on the front of the fuselage. Note: There might be some resistance the first time it is mounted. The CG can be adjusted by screwing and unscrewing the conus.
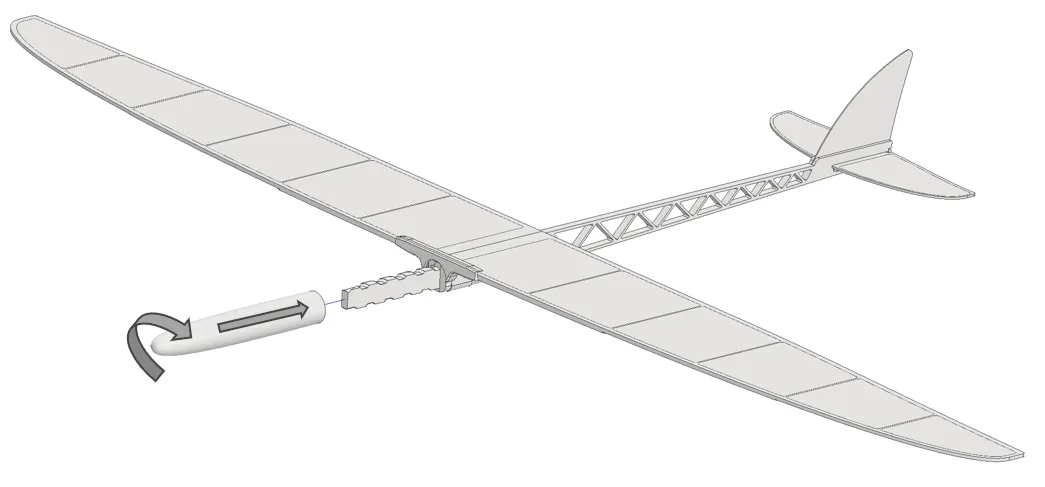
Adjustments of center of gravity (CG):
Planes may not fly exactly the same because differences in filament, infill, and conditions can affect their weight and balance. For this reason, the CG can be adjusted to optimize flight performance.
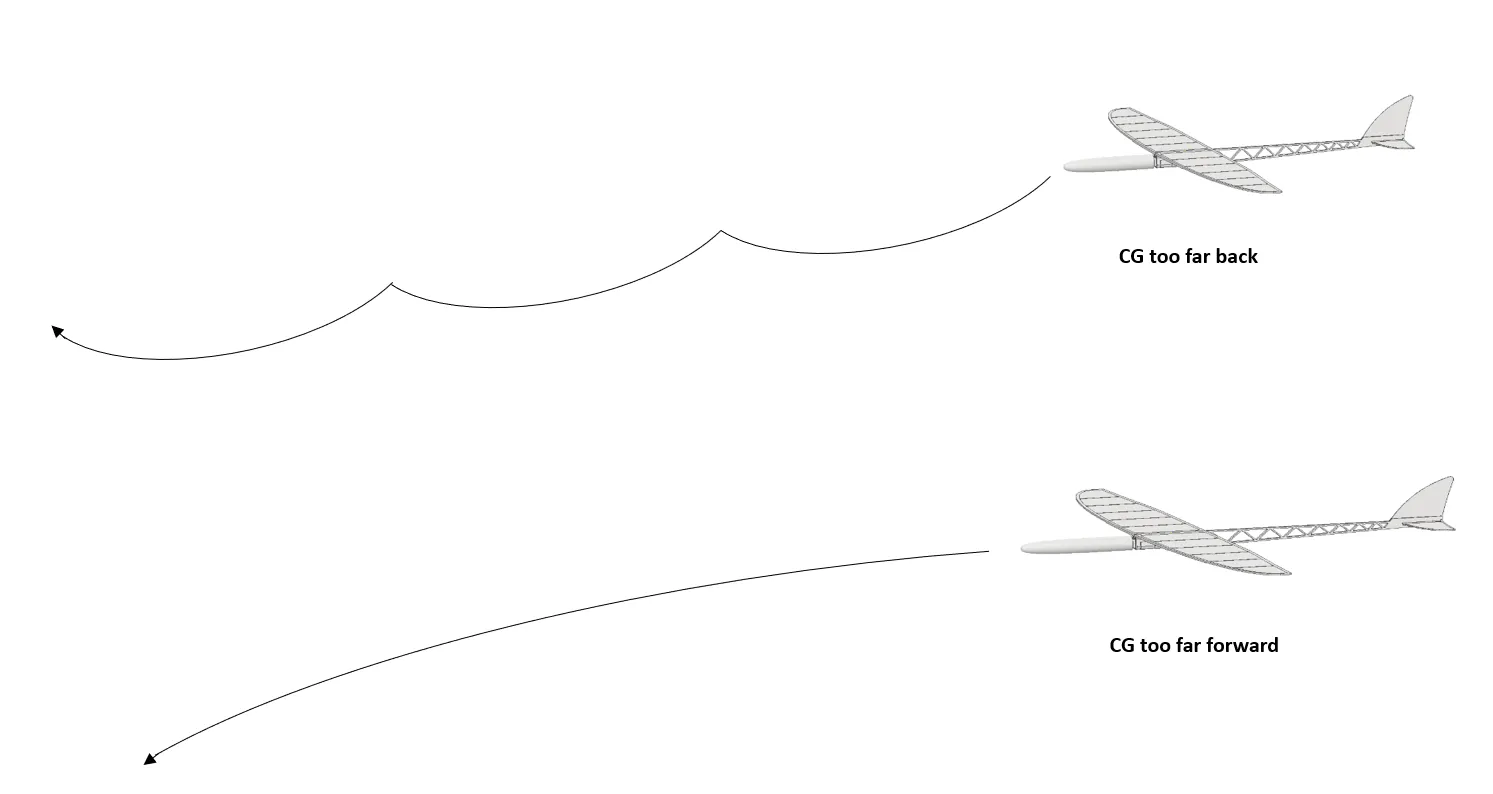


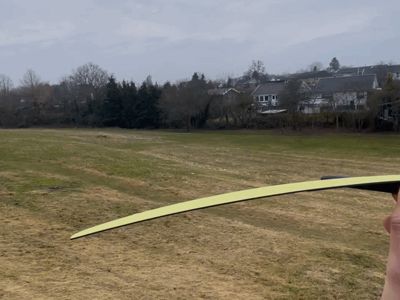
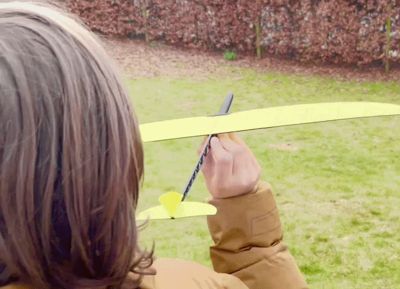
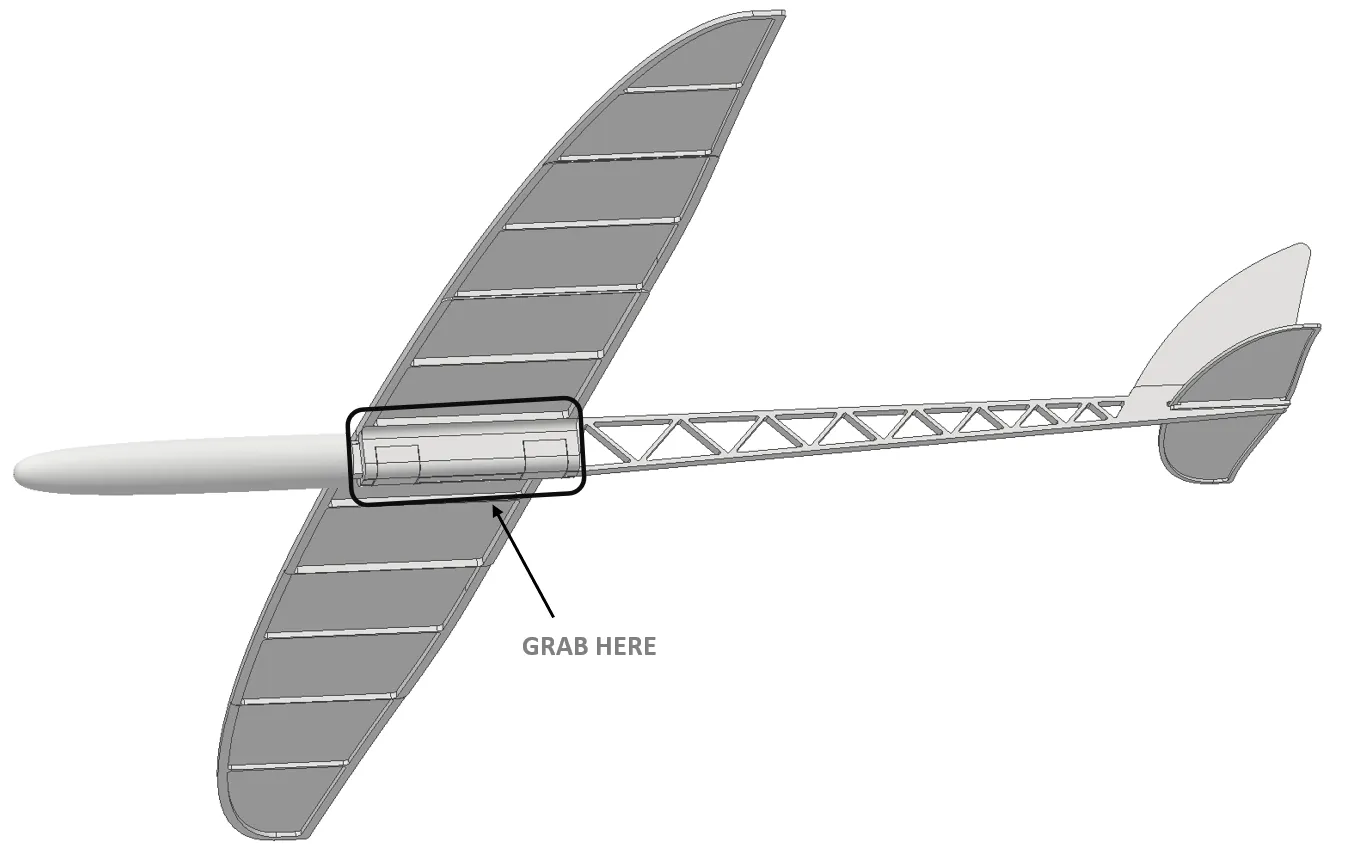
To get it to fly: Grip the airplane lightly and toss it straight forward with a gentle push, not a hard throw.
Membership
Want to sell printed versions of my planes? Join the membership to get commercial usage rights and support future aircraft development, testing and new releases.
Documentation (1)
License

You shall not share, sub-license, sell, rent, host, transfer, or distribute in any way the digital or 3D printed versions of this object, nor any other derivative work of this object in its digital or physical format (including - but not limited to - remixes of this object, and hosting on other digital platforms). The objects may not be used without permission in any way whatsoever in which you charge money, or collect fees.


Comment & Rating (579)