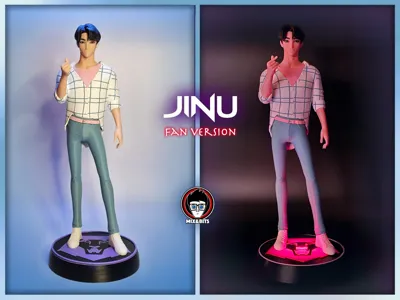
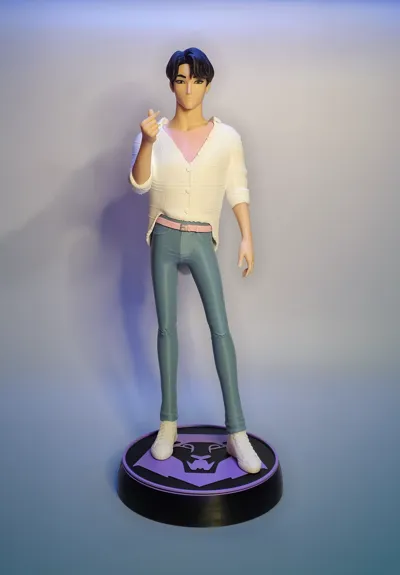
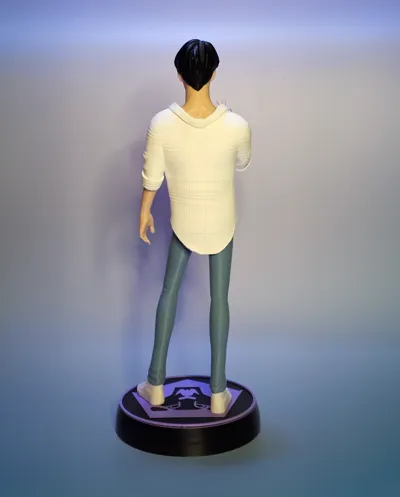
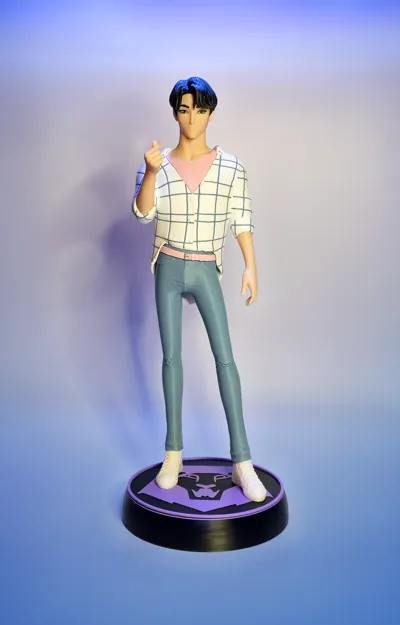
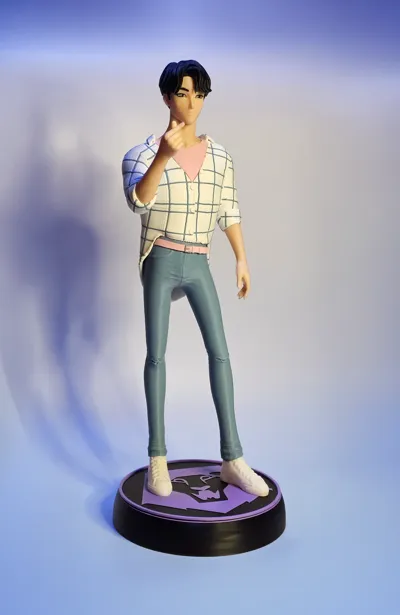
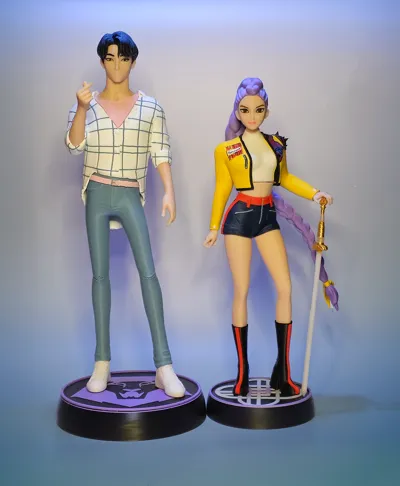
Thank you 21k! Jinu Fanart! (44 cm tall)


Print Profile(3)

Bill of Materials


Description
Boost Me (for free)
Thank you everybody!!! Would you like to continue the collection? At 80 we will make a poll for next character and at 150 we will start preparing the model!


WOW! 21k followers! Thank you so much!! Let's celebrate!
As promised Jinu arrived to join Rumi!
Please, take a minute to read and check the different profiles that we have uploaded.
The checked colored version of the shirt has been uploaded as a separate profile and the print is suggested for the ones that have an H2d or H2C as the print is very long.
- The jeans piece is sooo tall that we had to tilted it to make it fit on the x1c. If you have a H2D or H2C you can put the the piece perfectly standing on the connector part

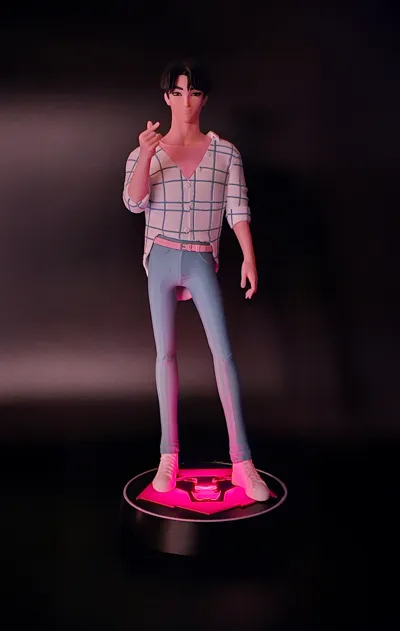
The base with lights has been uploaded as a separate profile

Assembling instructions!
For your happiness the model is quite easy to assemble!
Not many pieces and simple connections. Just needs some glue.
First of all assemble the face parts …add the sideburns (glue them), the brows and the eyes.
Once the glue is dry insert the face on the hair.
Now mount the pink part of the t-shirt on top of the shirt and then the head. Push until the pieces are well connected.
Add the 2 arms!
Now mount the belt inside the jeans hole. This part is quite tight, push it until it reaches the back wall.
You can now mount the jeans to the shirt.
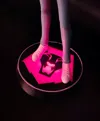
Add the sneakers and the base and the figure is ready.
The Base with lights works exactly as the previous ones in this collection.
Find the lights type and the filaments used in the BOM!!!
For the eyes color you can use caramel or terracotta (check the links in the BOM) depending on your preference.
P.S. unfortunately I couldn't find a good choice of Pla colors for skin and jeans in the Bambu shop so I used:
Jeans: OVERTURE PLA+ Blue Grey
Skin: PLA MAX PLA + Beige Evenning Sand
License
You shall not share, sub-license, sell, rent, host, transfer, or distribute in any way the digital or 3D printed versions of this object, nor any other derivative work of this object in its digital or physical format (including - but not limited to - remixes of this object, and hosting on other digital platforms). The objects may not be used without permission in any way whatsoever in which you charge money, or collect fees.
Comment & Rating (49)