GoPro Extended Battery (21700) – 3D Printed


Print Profile(1)
Description
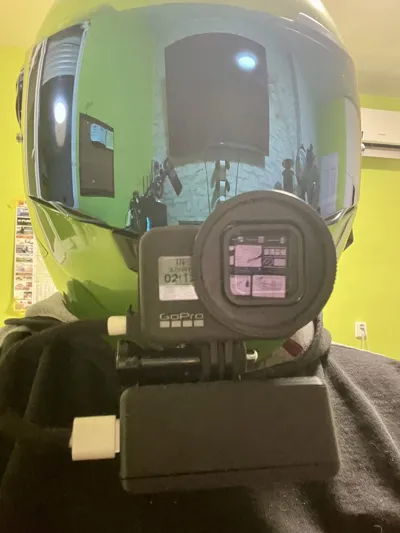
This project is a 3D printed extended battery pack for GoPro cameras, designed to increase recording time using 21700 lithium-ion cells.
The system uses a powerbank module with USB-C input and USB-A output, allowing the camera to be powered continuously while recording.
Two versions of the case are included.
Versions
1-Cell Version
Battery capacity
- 5000 mAh
Dimensions
- 83 mm × 45 mm × 37 mm
Weight
- 144 g
Battery
- 1 × 21700 Li-ion cell (LG INR21700-L50)
Estimated runtime: around 3.5 hours of recording.
This version is lighter and more suitable for helmet mounting.
2-Cell Version
Battery capacity
- 10000 mAh
Dimensions
- 84 mm × 68 mm × 37 mm
Weight
- 240 g
Battery
- 2 × 21700 Li-ion cells (LG INR21700-L50)
Estimated runtime: around 7h hours of recording.
This version is overkill for most situations, but because of the weight it is not ideal for helmet mounting.
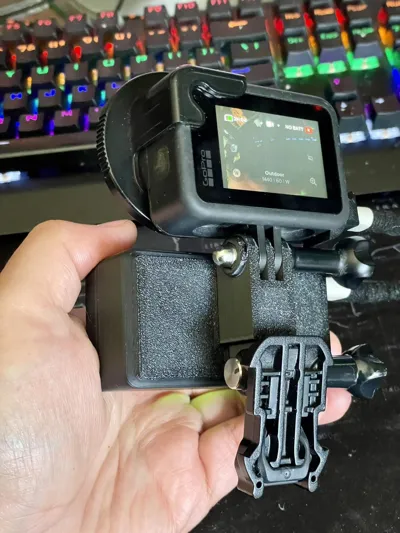
Real Recording Test (2-Cell Version)
Test 1 – 2.7K Recording
Recording duration: about 2 hours
After recording the battery indicator still showed 4 bars.
Test 2 – 1440p Recording
Recording duration: about 4.5 hours
Recording stopped because the SD card filled up, while the battery indicator still showed 1 bar remaining.
Conclusion
Total tested runtime was about 6 hours, and the battery still had charge left.
With a larger SD card, recording time could be even longer.
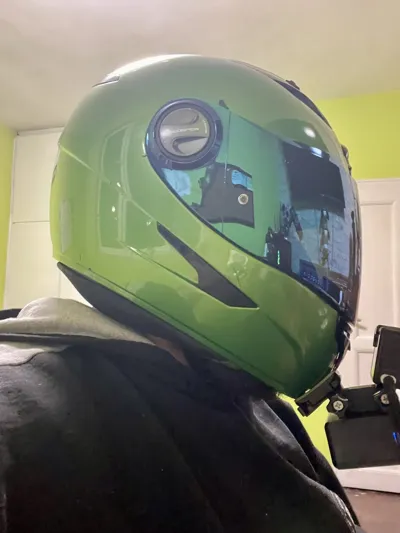
Weight Note
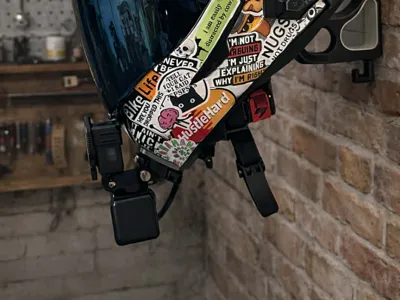
The 2-cell version weighs about 240 g, which may make the front of the helmet heavy.
Recommended setup:
- Mount the battery pack on the back of the helmet
- Mount the GoPro on the chin
- Connect them with a cable
This provides better balance and comfort.
Batteries Used
LG INR21700-L50
Type: 21700 Li-ion
Capacity: 5000 mAh
Used in this project:
Small version → 1 battery
Large version → 2 batteries
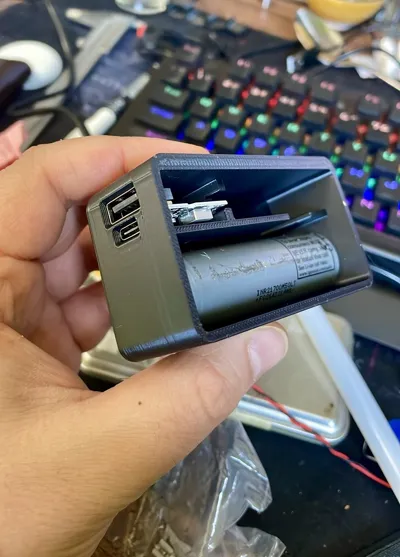
Powerbank Module
Chip: IP5306 Power Bank Module

Input
- USB-C
Output
- USB-A (5V / 2A)
Battery indicator

- 4 LED charge indicators
This module is widely available on AliExpress.
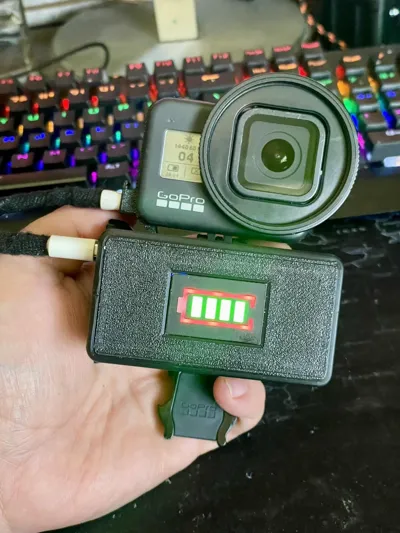
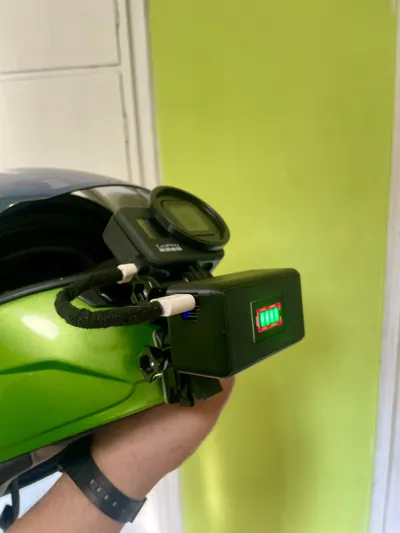
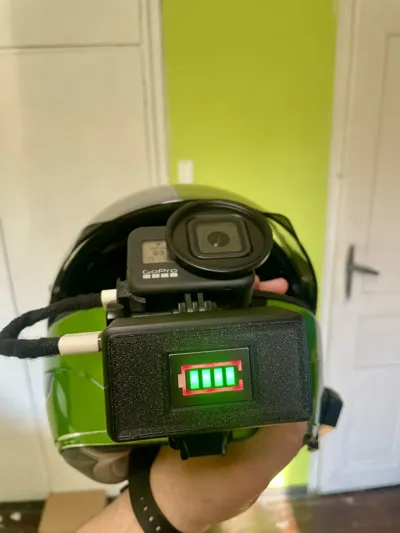
Battery Level Display
⚠ THE BOARD MUST BE SOLDER-BRIDGED ON THE PAD MARKED "1S" FOR A SINGLE LI-ION CELL (3.7V).
Type

- 1S–8S Lithium Battery Level Indicator
Display
- 4-bar LED battery icon
Connection
- Connected directly to battery + and − terminals
The display is used to show the battery level on the front of the case.
Assembly
- Print all parts.

Place the electronics inside the housing first (without soldering) to check:
- if everything fits correctly
- if the case closes properly
- where the cables will pass
- After checking the layout, solder the wires.
Recommended wire lengths:
- Powerbank module → about 8–9 cm wires
- Battery wires → about 8–9 cm
- Battery level display → shorter and thinner wires
- Wiring scheme:
Battery +
- goes to battery display +
- goes to powerbank module +
Battery −
- goes to battery display −
- goes to powerbank module −
- Insulate all wires properly.
- Place the wires inside the cable channel designed in the model.
- Insert the powerbank module into the housing.
Important when securing the module:
When fixing the module with hot glue, be careful not to apply glue near the USB-A port.
The USB connector has small holes inside, and hot glue can flow through the port and come out the front, blocking the cable from being inserted.
Recommended method:
- First secure the module lightly with electrical tape or another temporary support so it does not move.
- After positioning it correctly, apply a small amount of hot glue only on the back side of the PCB, away from the USB port.
- Install the 21700 batteries.
- Glue the battery display to the 3D printed front cover so it aligns with the window.
- To close the case:
- apply glue on the inner edge of the housing
- press the front cover in place
Make sure the glue does not squeeze out on the outside.
A multi-purpose adhesive was used for this build.
Some glues come with activator spray, but using the spray is not recommended, because it can leave white marks on the plastic.
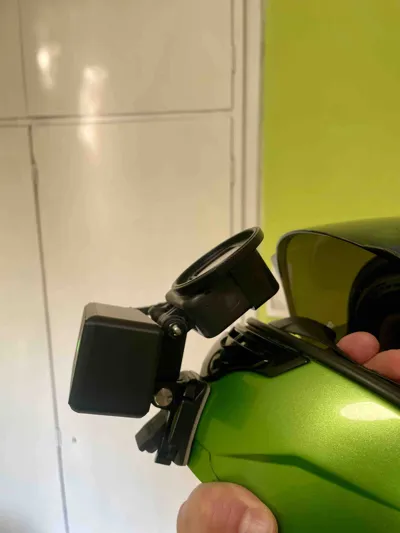
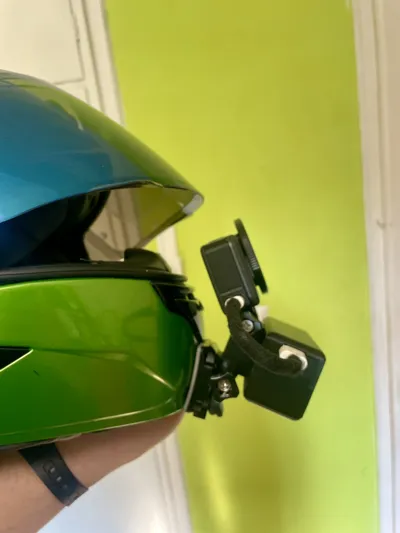
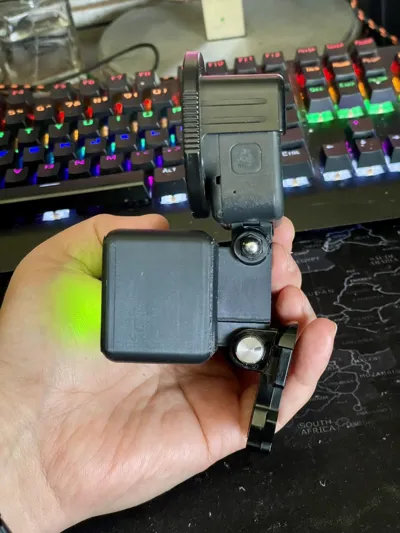
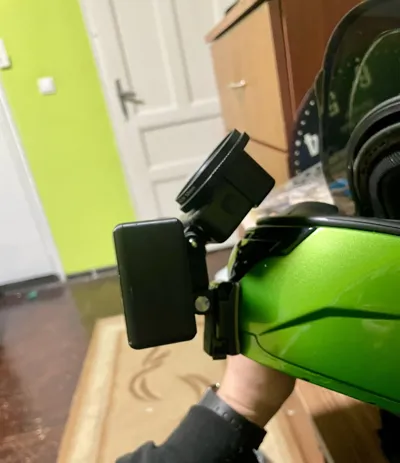
Rear Mount Piece
The rear mount is a GoPro-style 3-prong mount, compatible with standard GoPro accessories and thumb screws.
This piece is a separate part that must be glued to the back of the housing.
Inside the 3MF / plate files there are two mirrored versions of the mount so you can choose the correct orientation depending on which side you want the GoPro thumb screw to enter from.
Select the version that matches your setup before printing.
Print Settings
Printer used: Bambu Lab A1
Layer height
- 0.20 mm
Walls
- 4 wall loops
Top layers
- 5
Bottom layers
- 3
Infill
- 15 %
Supports
- Tree supports (auto)
Support threshold
- 50°
Initial layer speed
- 30 mm/s
Outer wall
- 100 mm/s
Inner wall
- 160 mm/s
Files Included
- STL files
- STEP files
STEP files are included so the model can be modified or improved.
If someone improves the design, I would be happy to see new versions of the project.
License
You may create derivative works based on this object, provided that all such derivative works are published exclusively on the MakerWorld platform and include proper attribution to the original creator. You may not share, upload, host, distribute, or publish this object—or any derivative work of this object—on any other digital platform, marketplace, or distribution channel. Commercial use of this object and any derivative works is strictly prohibited. This includes, but is not limited to, selling, renting, sublicensing, or using the object in any context in which you receive monetary compensation or other financial benefits.
Comment & Rating (0)