
Huawei SuperCharge 66W/88W/100W Fast Charging Desktop Organizer Charging Station
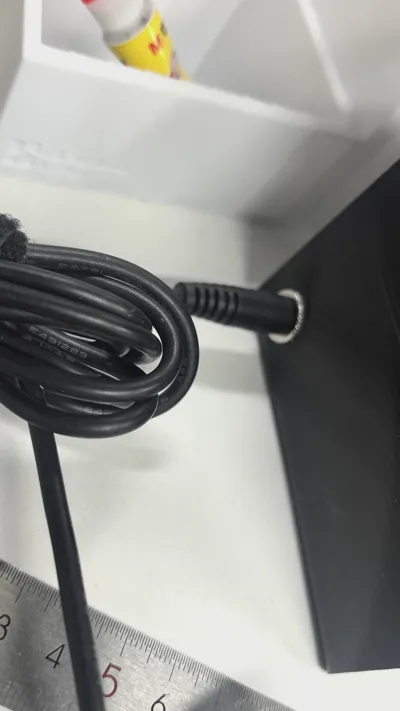
Print Profile(1)
Description
Boost Me (for free)
Help me complete more designs!
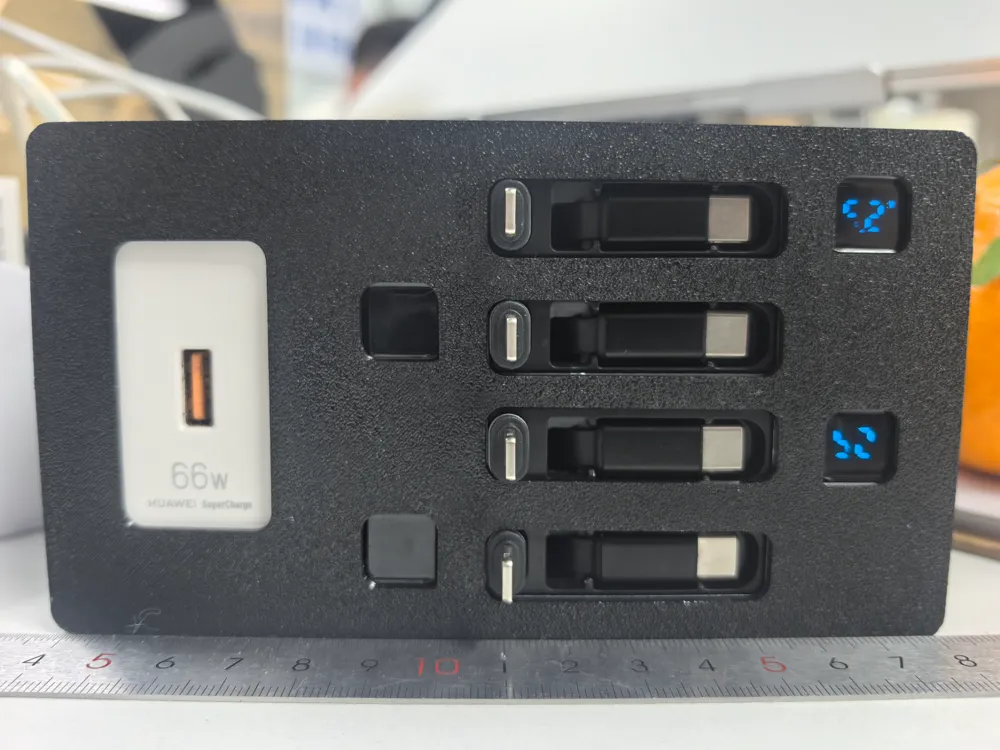
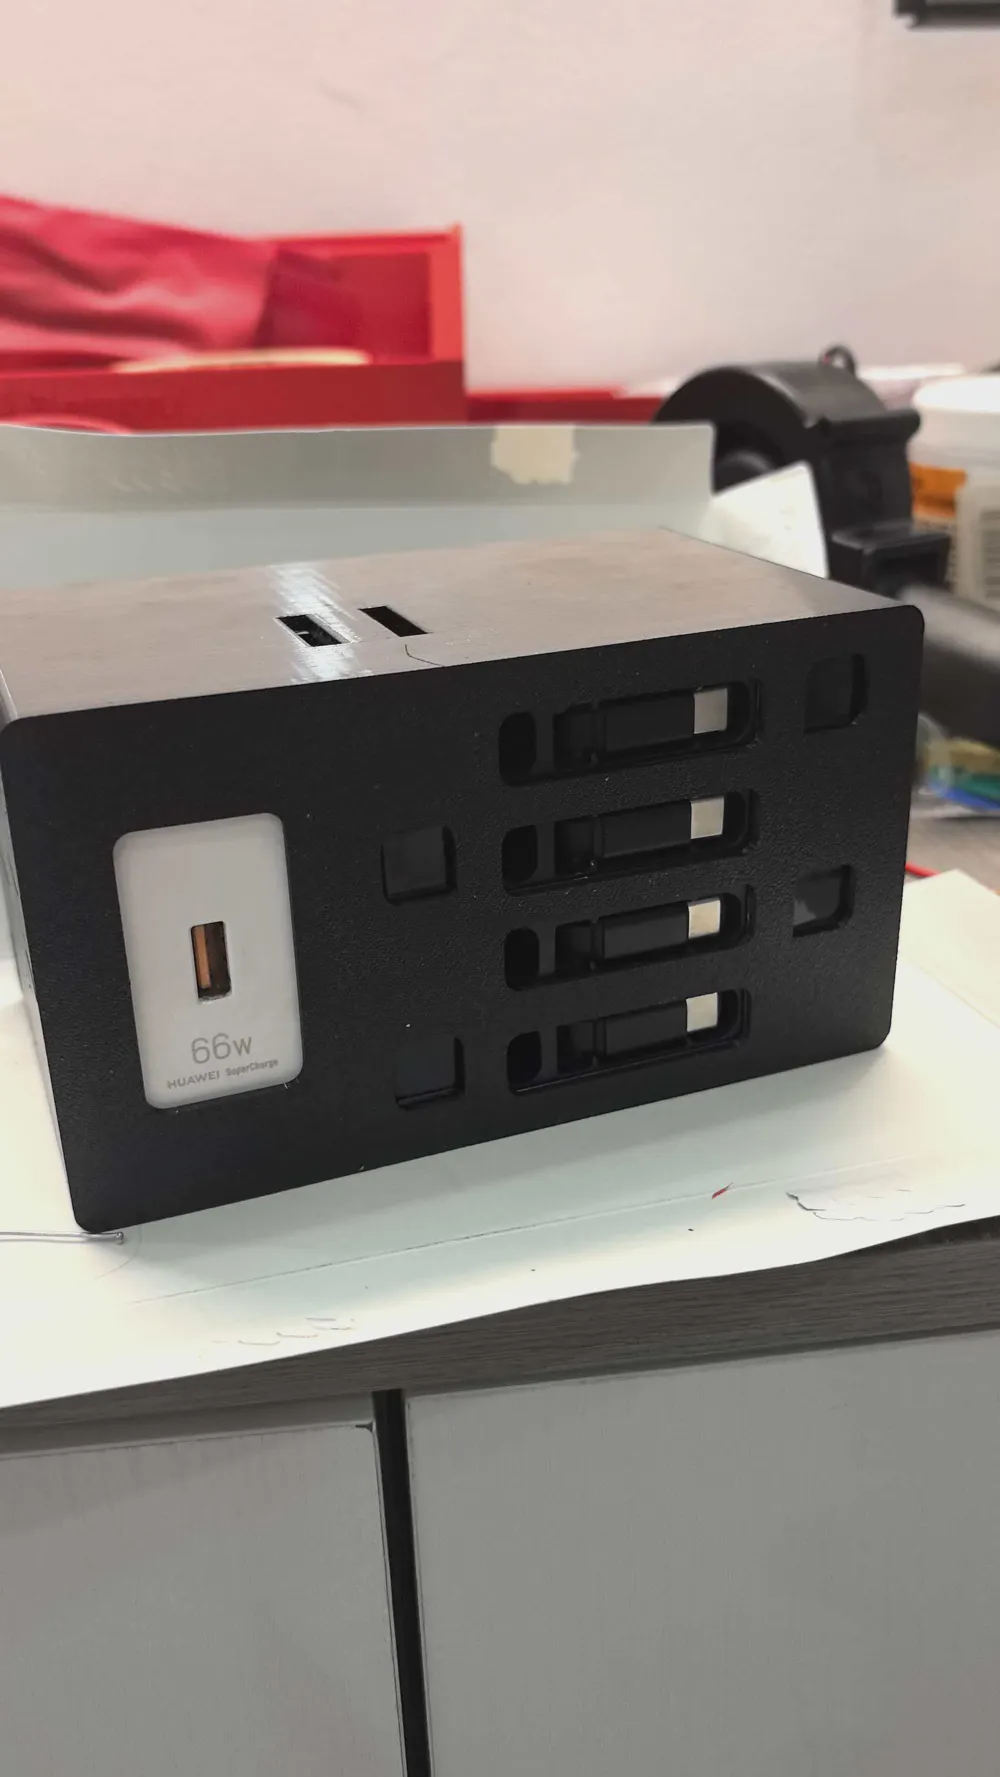
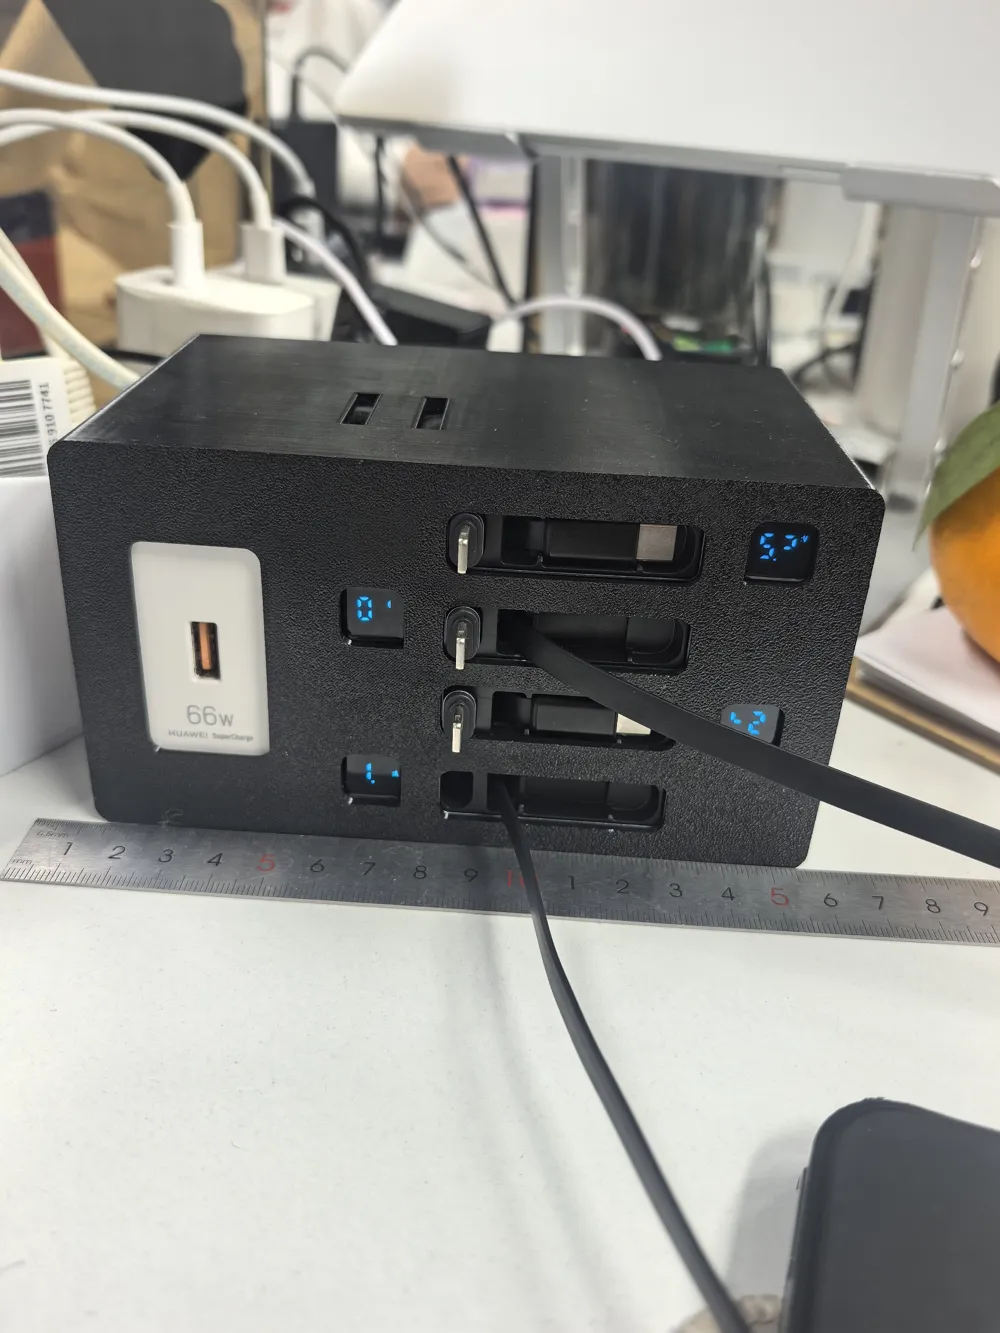
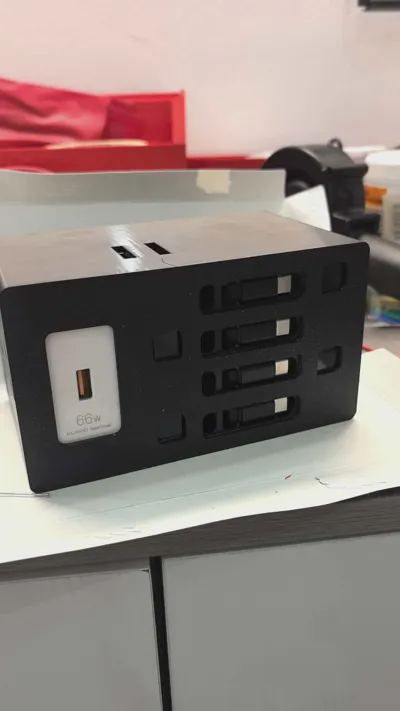
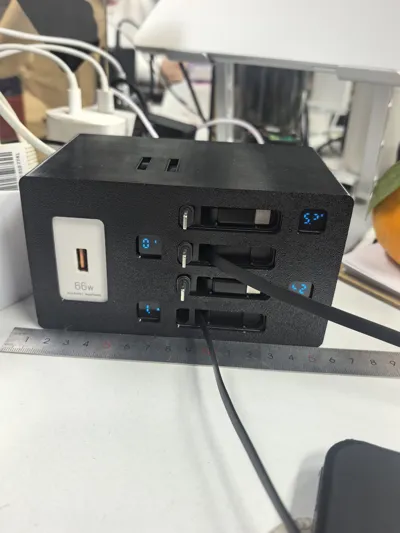
Desktop Charging Station Supporting Huawei SuperCharge (Building Block Version)
Due to the need to charge phones and other electronic devices, the desktop inevitably ends up with a large number of chargers and data cables. The need for a charging station is very strong. I have successively tested desktop charging stations from brands like Kuu Taa Ke, Ugreen, and Baseus, but none of them could activate Huawei's SuperCharge, most were stuck at the 30W threshold.
After research, it was found that Huawei uses its proprietary SCP fast charging protocol (Xiaomi, OPPO, and vivo also have their own proprietary fast charging protocols), and it is not open to third-party manufacturers like Kuu Taa Ke and Ugreen. Only by using its own universal charger “SuperCharge + 5A/6A data cable with embedded Huawei SCP protocol” can SuperCharge be activated.
After some trial and error, I finally adopted a modular approach using a [Huawei charging head] + [charging module (PD+QC board) + unidirectional retractable cable] to achieve fast charging for Huawei phones and solve the problem of desktop cable clutter.
I believe there are many users like me whose entire family uses Huawei phones (the same brand) and who have a large number of electronic devices to charge, leading to a cluttered desktop. Therefore, I have organized and shared my solution, hoping it will be helpful.
I. Supports the use of 66W/88W/100W Huawei SuperCharge chargers (If 40W support is needed, please contact me to modify the model)
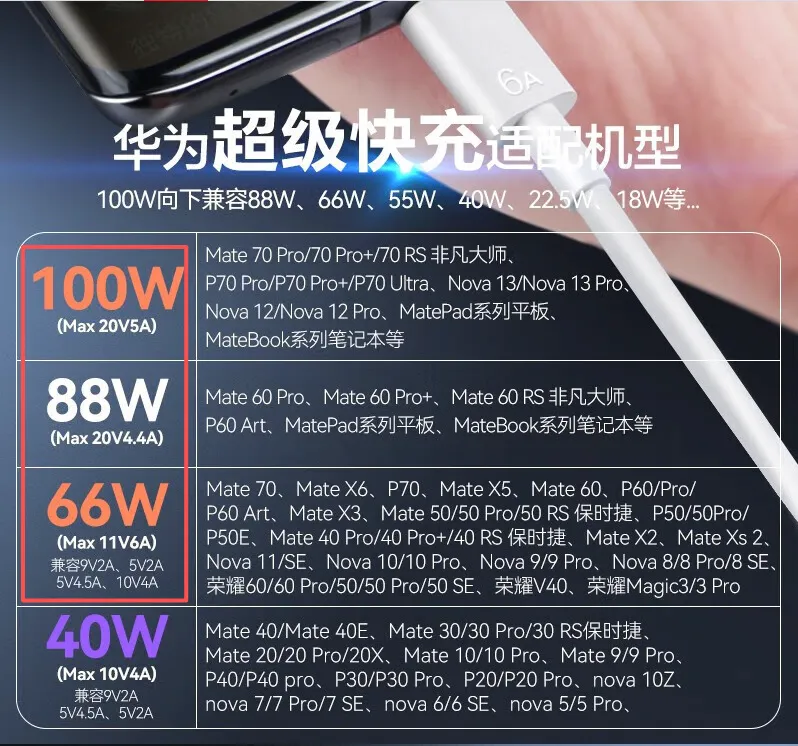
II. Accessories
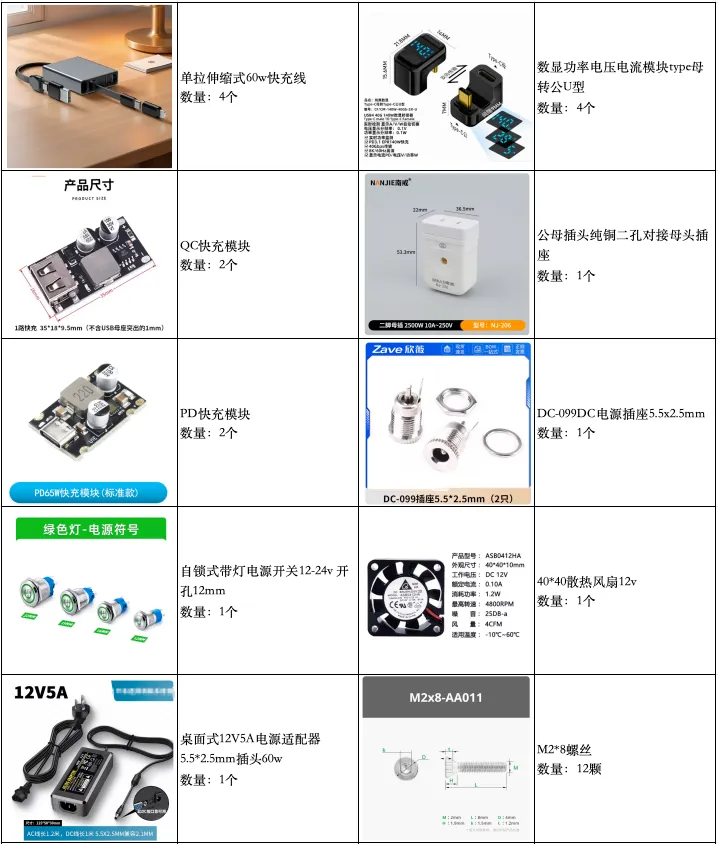
Accessories to purchase: Unidirectional retractable fast charging cable, QC fast charging module, PD fast charging module, U-shaped digital display power USB adapter, Female plug, DC power socket, Self-locking switch (optional), Cooling fan (optional), 12V*5A power adapter (can be a self-provided laptop power supply)
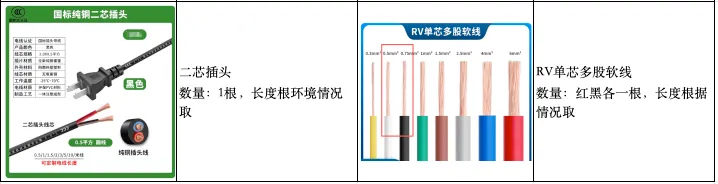
Self-prepared accessories: M2*8 screws, power plug with cable (length chosen according to your environment), several 0.5/0.75mm² wires
III. Soldering and Assembly
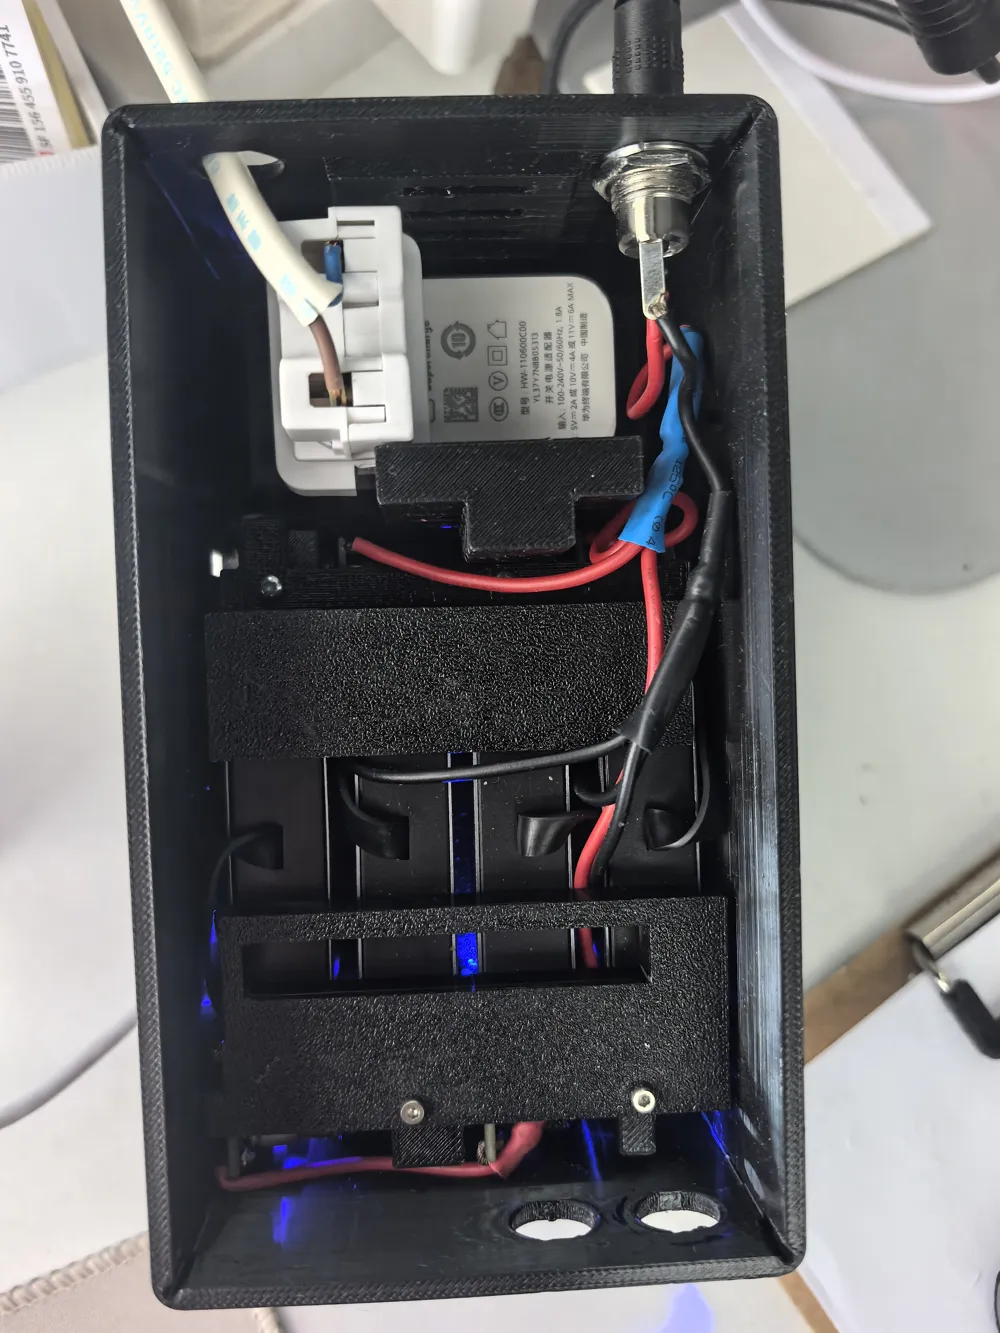
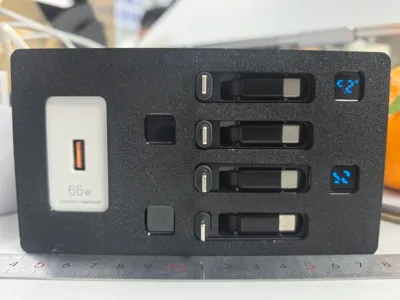
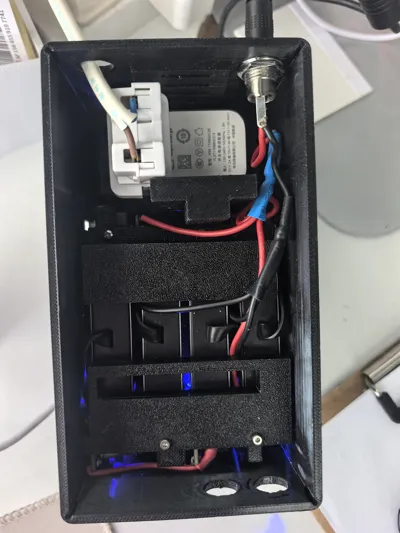
1. Parallel solder the QC module, PD fast charging module, and cooling fan (optional) (You can first use the U-shaped digital display adapter to connect the “charging module” with the “retractable charging cable” and place them into the slot to determine the required wire length. The digital display window has an unrounded corner for orientation; please install it in the designated grid position with PD on the left and QC on the right). When soldering wires to the circuit board, the soldering iron temperature must not exceed 300℃, and the contact time between the soldering iron tip and the circuit board must not exceed 3 seconds. Then, connect the self-locking switch circuit in series (optional. If needed, please install it in the pre-reserved 16mm mounting hole on the right side).
2. Use the fasteners from Plate 2 for fixing. There are separate PD fast charge fasteners and QC slow charge fasteners, which are not interchangeable.
3. Insert the Huawei SuperCharge charger into the pre-reserved slot in the main body and connect it for power using a female plug (the female plug connects to a two-core power plug with a cable for power). The main body has pre-reserved wire routing holes (upper hole on the left side).
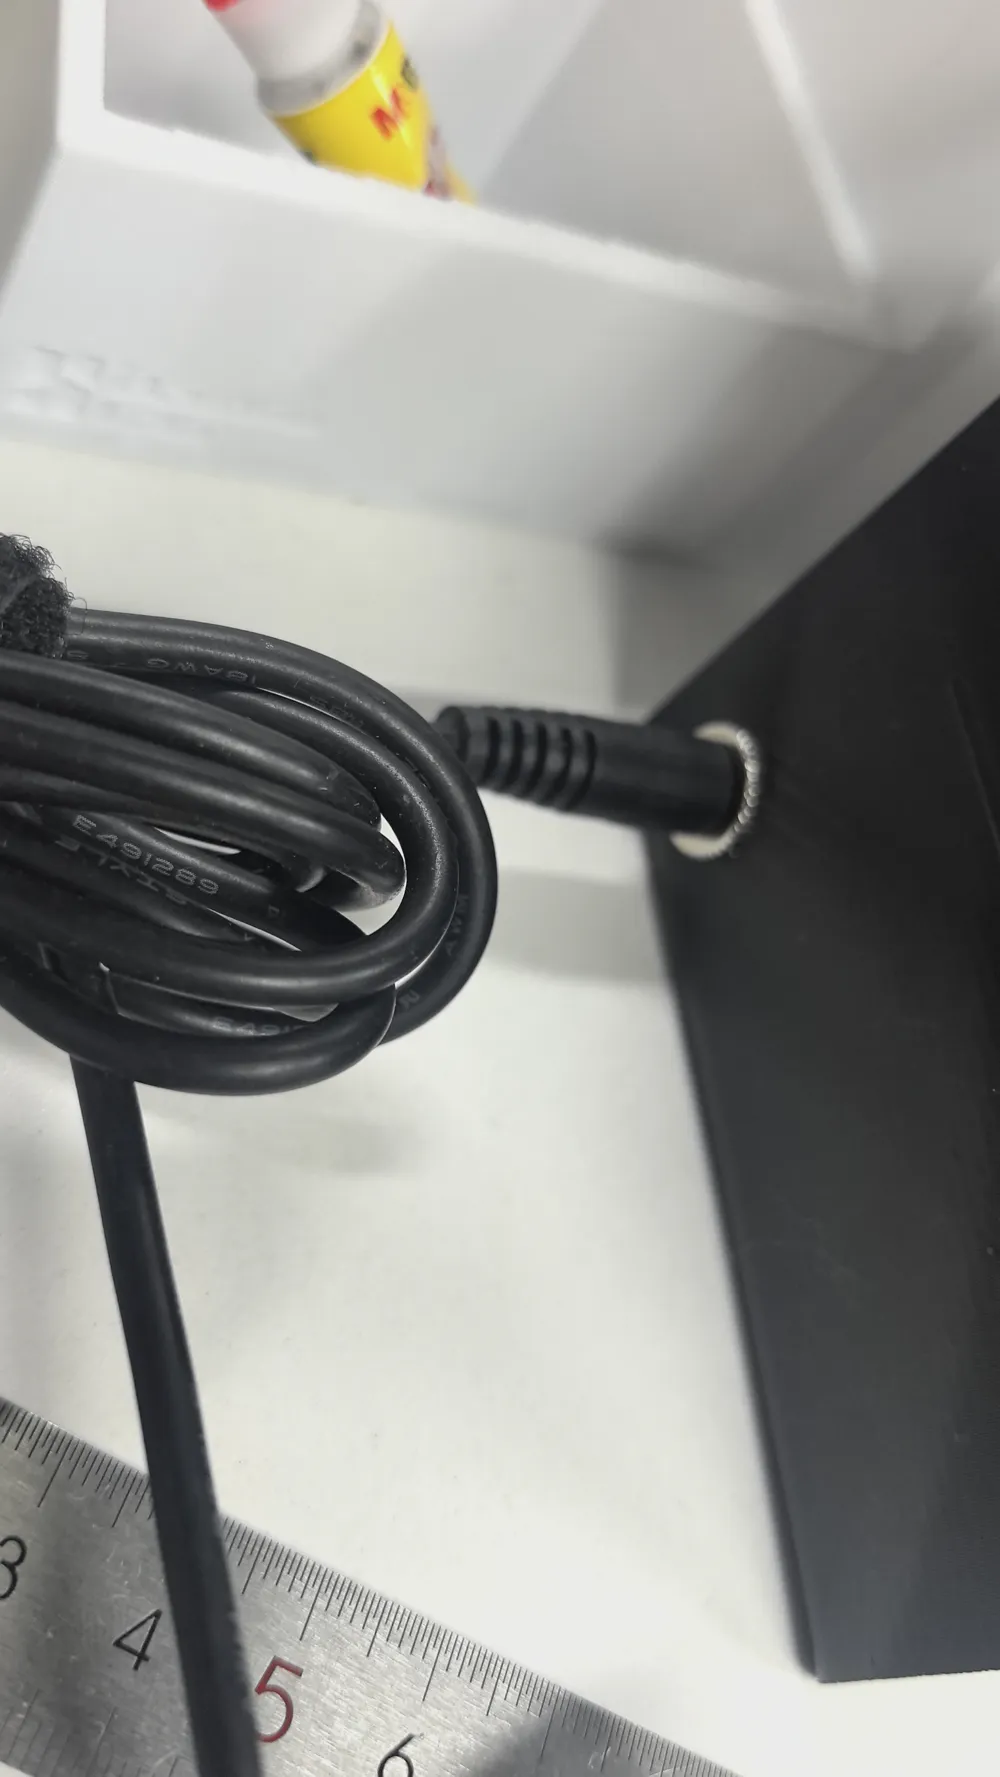
4. Install and solder the DC power socket (lower hole on the left side).
5. Fix the cooling fan to the back panel (optional) and secure the back panel with M2 screws.
Note:
1. The chargers, retractable charging cables, and other accessories used in this solution are installed using a non-destructive modular assembly method, allowing for secondary reuse.
2. This solution requires some circuit knowledge and soldering experience with a soldering iron; please replicate it according to your own capabilities!!!
Boost Me (for free)
Help me complete more designs!
License

You shall not share, sub-license, sell, rent, host, transfer, or distribute in any way the digital or 3D printed versions of this object, nor any other derivative work of this object in its digital or physical format (including - but not limited to - remixes of this object, and hosting on other digital platforms). The objects may not be used without permission in any way whatsoever in which you charge money, or collect fees.


Comment & Rating (0)