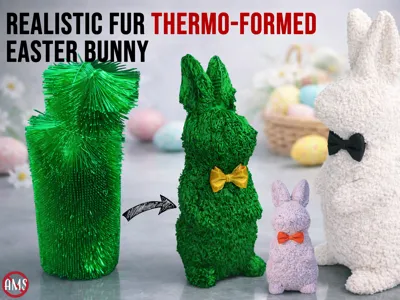
Thermo-Formed Realistic Furry Easter Bunny


Print Profile(1)


Description
Membership
All Commercial License Memberships are currently SOLD OUT. The next opportunity to join is expected in 2027, unless availability changes earlier. Thank you for your interest and support.
Follow me on MakerWorld for more of my designs, drops, and future releases! : makerworld.com/en/@3DMakerSpace/upload
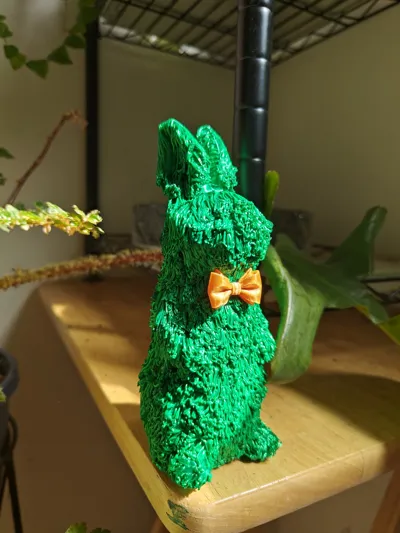
INTRODUCING THE FIRST, COMPLETELY FURRY ANIMAL ON THIS PLATFORM!
This model uses a unique thermo-forming technique that turns printed filament strands into a dense fur-like texture, creating a soft, lifelike surface unlike typical smooth prints or the fake fuzzy effect. The design intentionally leverages bridge structures during printing to generate hundreds of fine filament strands that act like hair. These strands are connected to a thin support cylinder around the perimeter of the model during printing to keep them stable. After printing, the cylinder is removed and the strands are sculpted using controlled heat to create the final fluffy texture.
Because the fur is shaped after printing, the final appearance depends on how gently heat is applied and how carefully and well the strands are sculpted by you. Every bunny ends up with its own character and texture.
Boost Me (for free)
If you enjoyed this model and the idea behind it, I would truly appreciate a BOOST. Designing and experimenting with new techniques like this - especially developing what is likely the first fully furry 3D printed animal on MakerWorld - takes a lot of time, testing, and failed prints before arriving at something that works.
Your Boost really helps support the effort that goes into creating and sharing designs like this with the community. It also encourages me to continue exploring new ideas !
ASSEMBLY INSTRUCTIONS
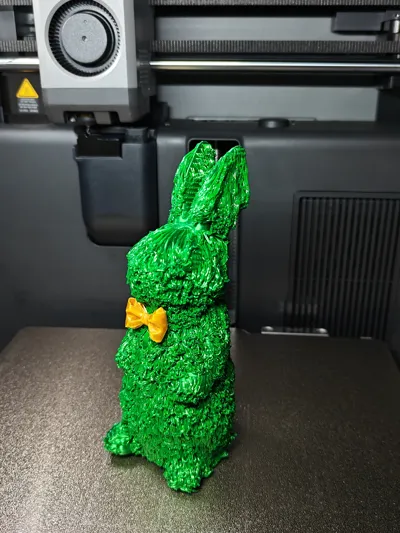
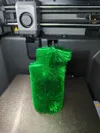
Step 1 — Print the Model
Print the bunny as provided. During printing, the model generates bridge strands that become the bunny’s fur, temporarily attached to a perimeter cylinder for stability.

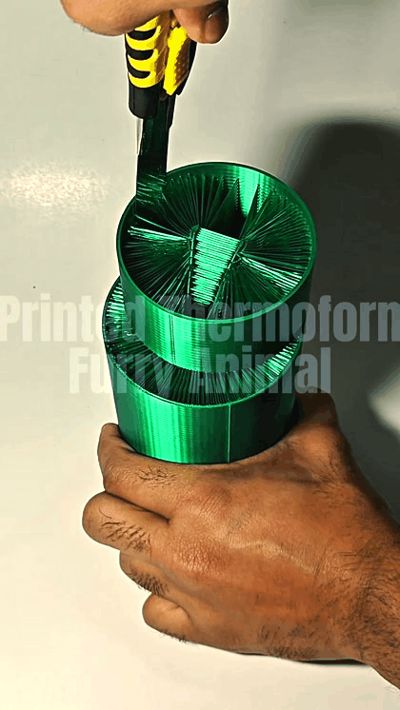
Step 2 — Remove the Support Cylinder
Once the print is complete:
- Use a long knife or blade to carefully cut the strands away from the outer cylinder.
- Work slowly around the perimeter.
- Some strands may break or pull out during this process — this is completely normal and will not affect the final result.
After the strands are fully separated, remove and discard the outer cylinder. Also, make sure to split the strands in between the ears.
 |  |
Step 3 — Clean the Model
For the best final look:
- Remove any loose strands or broken filament pieces.
- Lightly shake or brush the model to clean the surface.
A clean model will produce a much better fur finish during the shaping process.
Step 4 — Apply Gentle Heat
Use either:
- Hair dryer, or
- Heat gun on LOW setting
Since the model is printed in PLA, always start with low heat and keep the heat source at a safe distance. Warm small areas gradually. Start in small areas from the bottom and eventually proceed towards the top.
Step 5 — Sculpt the Fur
Once the strands soften slightly:
- Gently press and shape the strands to create a fluffy coat.
- Work in small sections around the model.
The final result depends heavily on how gently the heat is applied and how carefully the strands are sculpted by you.

Step 6 — Optional Styling
You can experiment with different textures:
- Lightly press the strands for a dense fluffy look
- Use a comb to create slender, directional fur lines
- Style sections individually to create natural variation
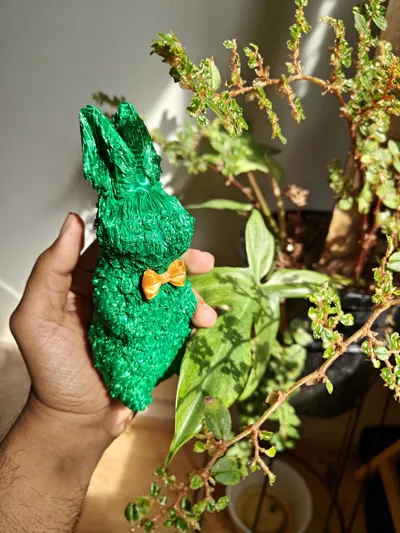
Step 7 — Let It Cool and add the bowtie
Allow the filament to cool after shaping so the strands hold their new form. Now gently heat the small area where u want the bowtie and melt that tiny patch lightly, and press the bowtie against the molten platic.

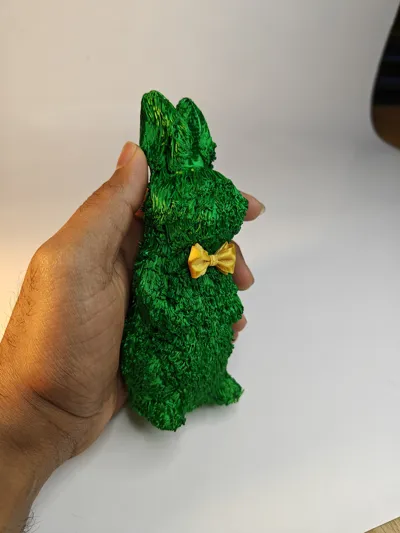
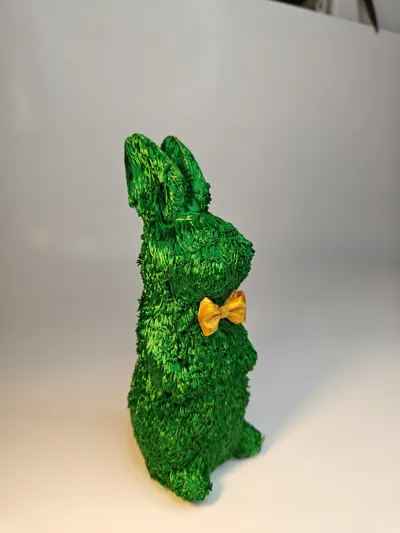
Final Result
The bunny transforms from a rough print with filament strands into a soft, realistic furry sculpture. Because the fur is styled manually, every print will look slightly different, making each one unique.
HOPE YOU LIKED MY CREATION! Don't forget to BOOST :)
Boost Me (for free)
Please consider boosting this model if you liked it!
License
You shall not share, sub-license, sell, rent, host, transfer, or distribute in any way the digital or 3D printed versions of this object, nor any other derivative work of this object in its digital or physical format (including - but not limited to - remixes of this object, and hosting on other digital platforms). The objects may not be used without permission in any way whatsoever in which you charge money, or collect fees.
Comment & Rating (22)