Book-style case for the XTEINK X4


Print Profile(1)
Description
Intro
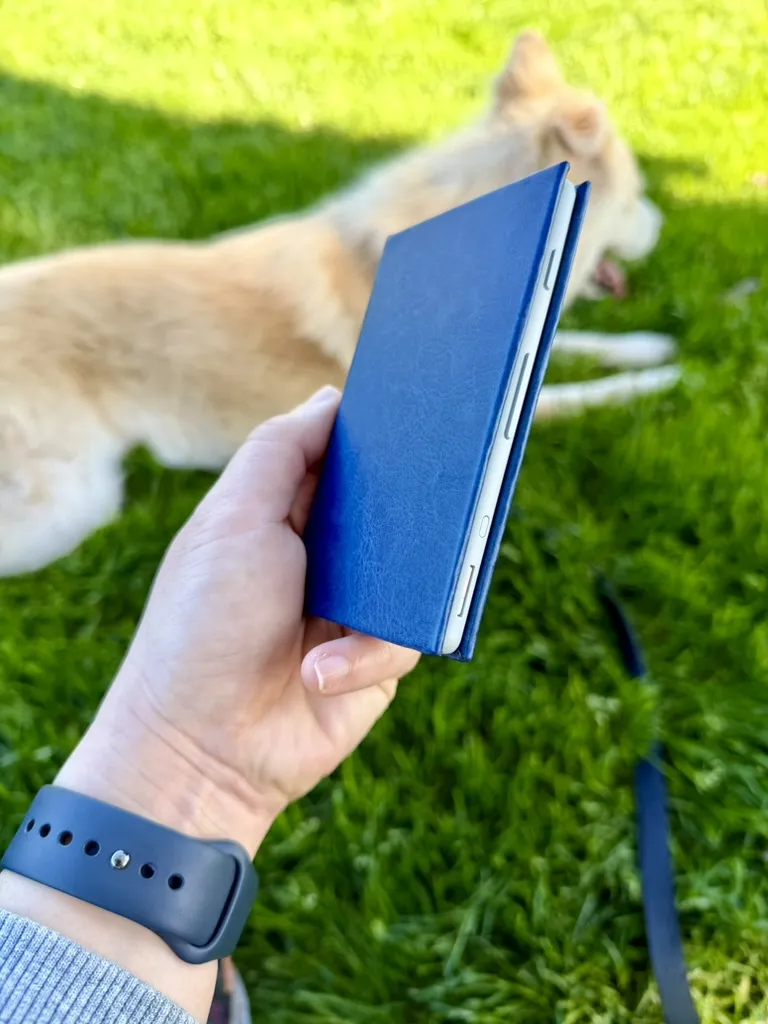
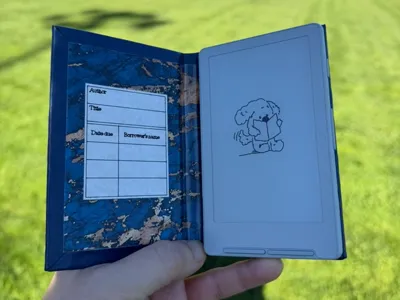
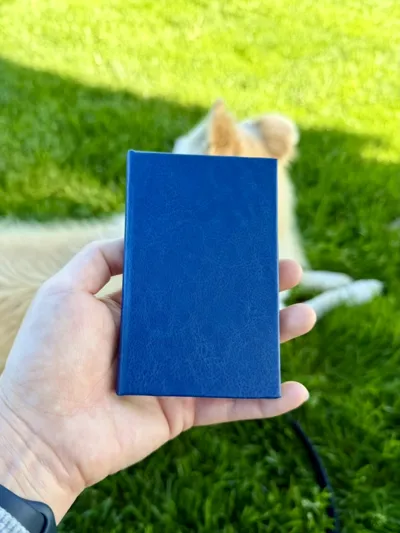
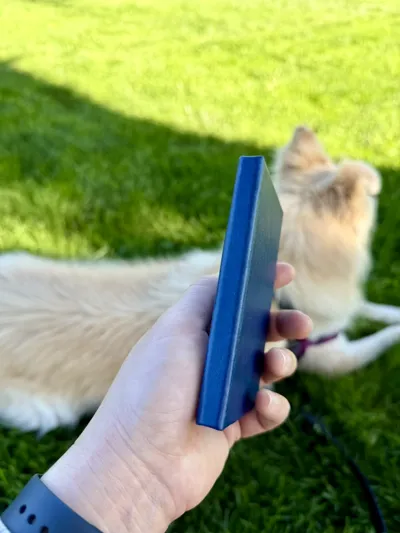
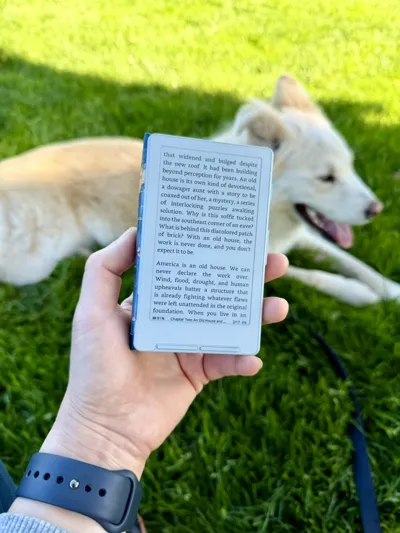
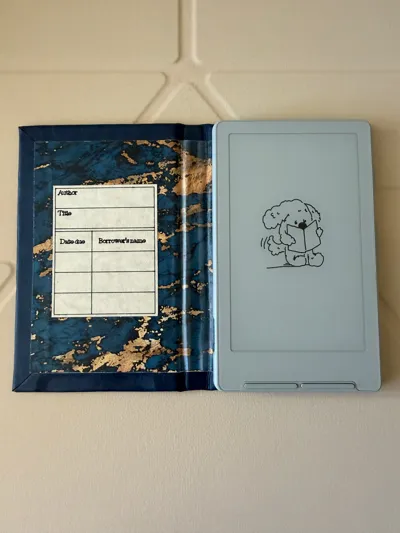
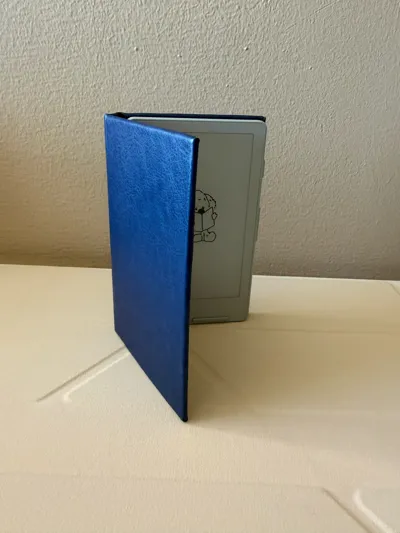
This project combines 3D printing and simple bookbinding techniques to create a slim, book-style case for the XTEINK X4. The main goals were to keep the case thin and comfortable to hold, while mimicking the feeling of reading from a small hardcover book. Additional magnets can be added to help keep the case closed and allow the cover to snap into place when folded back.
Materials
Required
- XTEINK-provided metal ring
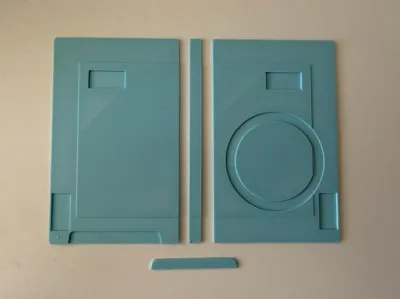
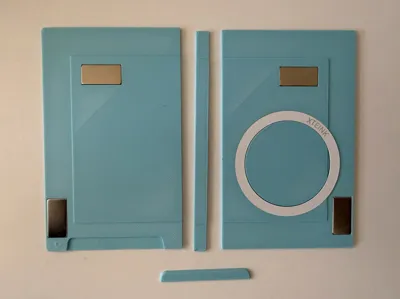
- 3D printed front, back, and spine pieces
- Fabric for the outer wrap
- Fabric glue or all-purpose contact cement
- Decorative paper, fabric, or vinyl for the inner liner
- Scissors or a craft knife
Optional
- Four 20×10×1mm neodymium magnets (N52 recommended)
- PVA glue (recommended when using paper liners)
- Super glue (for small corner tabs)
Notes
- There is an STL provided called cover_stencil. The use of this is completely optional and mainly provided as a reference to show the bookbinding method I personally use. However, there are many valid ways to wrap a case. Feel free to adapt the approach to whatever works best for you.
- If converted to an SVG, it can be:
- Imported into Cricut Design Space for cutting, or
- Printed on paper and used as a manual cutting stencil
- The dimensions of this STL assume:
- Fabric thickness: ~0.6mm
- Spine gaps: 5mm
- If your material is thicker or thinner, you may need to adjust the template slightly. You can also modify the spine gap spacing if you want the case to open differently.
- If converted to an SVG, it can be:
- PETG is recommended over PLA because it is slightly more flexible and durable.
- The 20×10 magnets are optional. If you omit them, you may want to use something like a rubber band or elastic strap to keep the case closed.
- Outer materials between 0.4mm and 0.7mm thick work best.
- If using paper for the inner liner, avoid opening the cover all the way back until the glue has fully cured. Paper can tear if it is stretched during this motion before the adhesive sets. For better durability, a thin fabric liner is often a good alternative; just be aware that thicker liner materials can weaken the magnetic hold of the ring magnet.
Instructions
- Print the parts
- Print the front, back, and spine pieces.
- Cut the outer wrap
- Cut the outer fabric using the template or your preferred bookbinding layout.
- The template measurements assume:
- - ~0.6mm thick material
- - 5mm spine gaps
- Adjust as needed if your materials differ.
- Install the metal ring and magnets
- Stick the metal ring into the recess on the back plate.
- If using magnets, glue them into the magnet pockets in the printed parts.
- Glue the bottom edge
- Apply fabric glue or contact cement to the bottom edge of the printed parts, stopping at the recessed edge.
- Fold the fabric upward so the corners of the fabric form a diagonal with the raised corners of the front and back plates.
- Glue the face surfaces
- Flip the case over. Apply glue or cement to the backs of the printed sections, then press the fabric firmly into place.
- Using a roller or rolling pin helps ensure good adhesion.
- Glue the top edge
- Apply glue or cement to the top edge of the printed parts. Fold the fabric down so the corners again form a diagonal with the raised corners of the plates.
- Fold the corner tabs
- Cut a small notch in each square tab, perpendicular to the side edges.
- Fold the tabs inward so they tuck into the recessed side gaps of the front and back plates. The folds should land on the sides of the case, not the top or bottom. When gluing these small corner tabs down, it can help to apply a tiny dot of super glue with a toothpick for quick adhesion. Repeat for all four corners.

- Fold and glue the side edges
- Apply glue or cement to the side edges of the printed plates, then fold the remaining fabric over and press firmly.
- Add the inner liner
- Glue the inner liner material in place. Try to avoid applying glue directly over the metal ring to prevent uneven surfaces.
- Press while curing
- Place the case under something flat and heavy while the glue sets.
Optionally, insert the button cutout placeholder to help maintain the shape of the button recess during curing.
Tips
- Work slowly when folding corners to keep edges clean.
- A bone folder or roller can help achieve sharper edges.
- If using contact cement, allow both surfaces to become tacky before joining.
Comment & Rating (21)