
Magic the Gathering (MTG) Deck Box 350 (Book)
Print Profile(4)
Bill of Materials









Description
Please note the different print profiles for the Ribbon, Body & Details! (they need different settings)
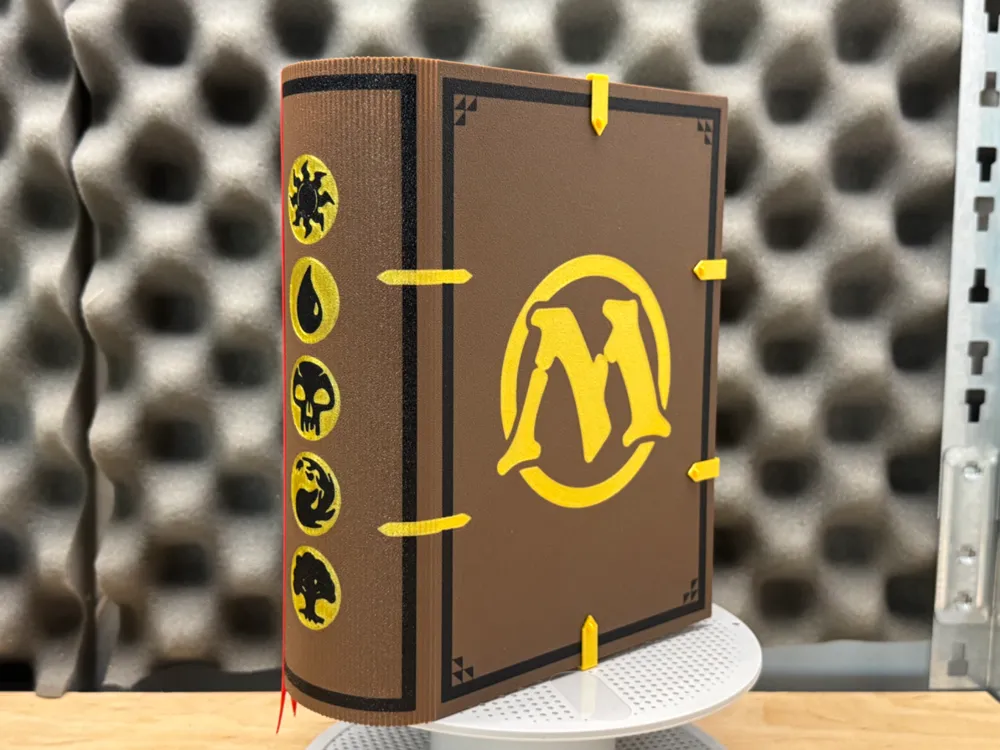
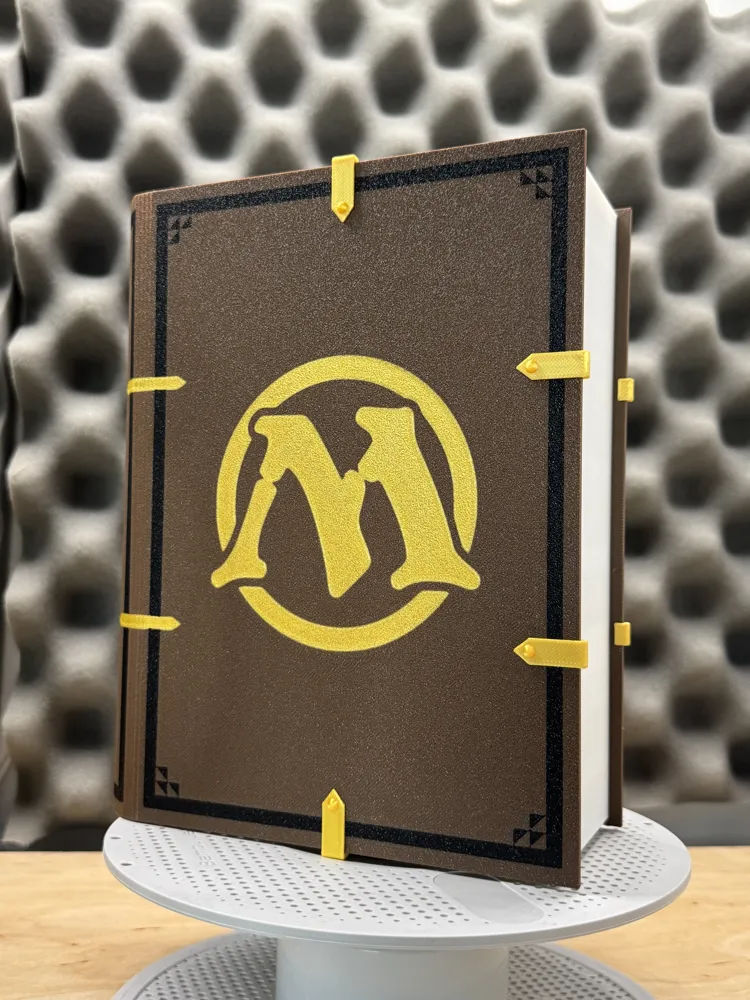
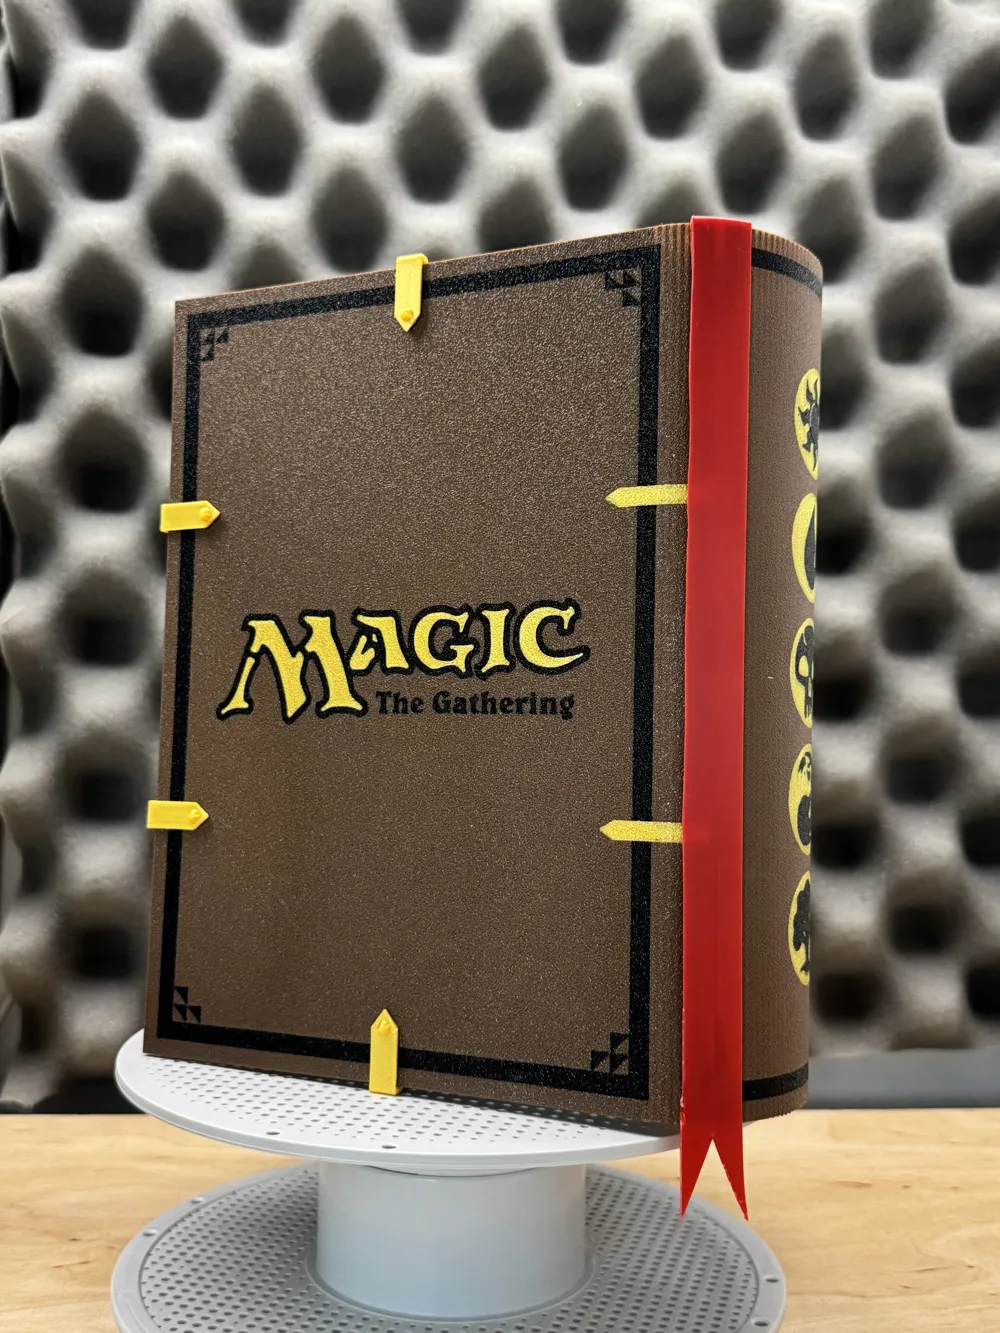
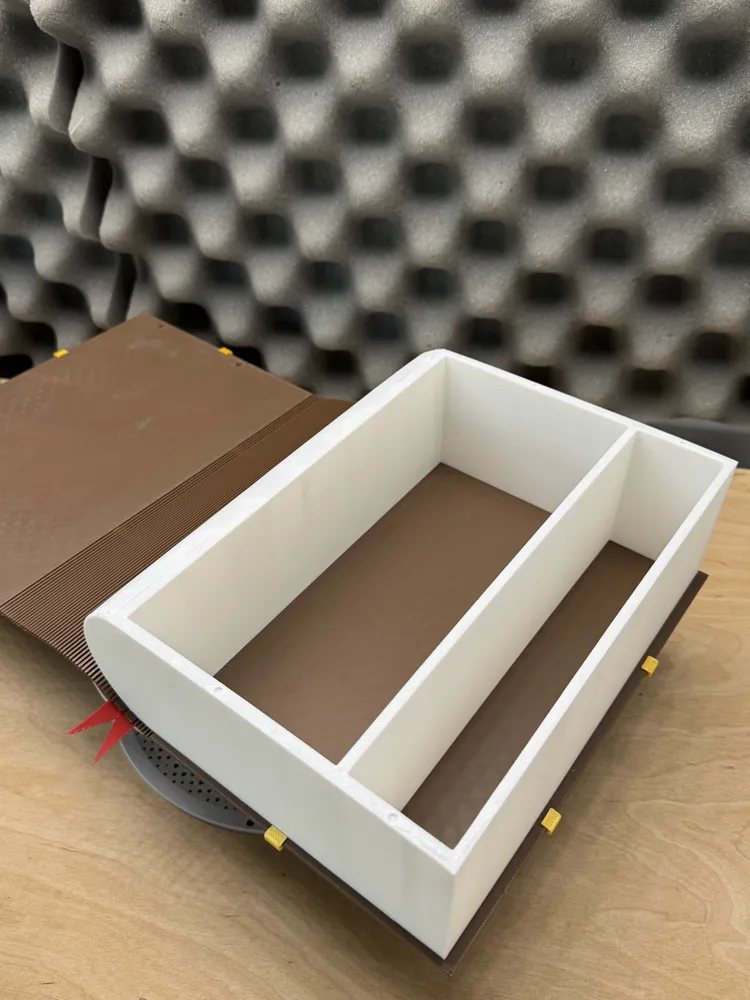
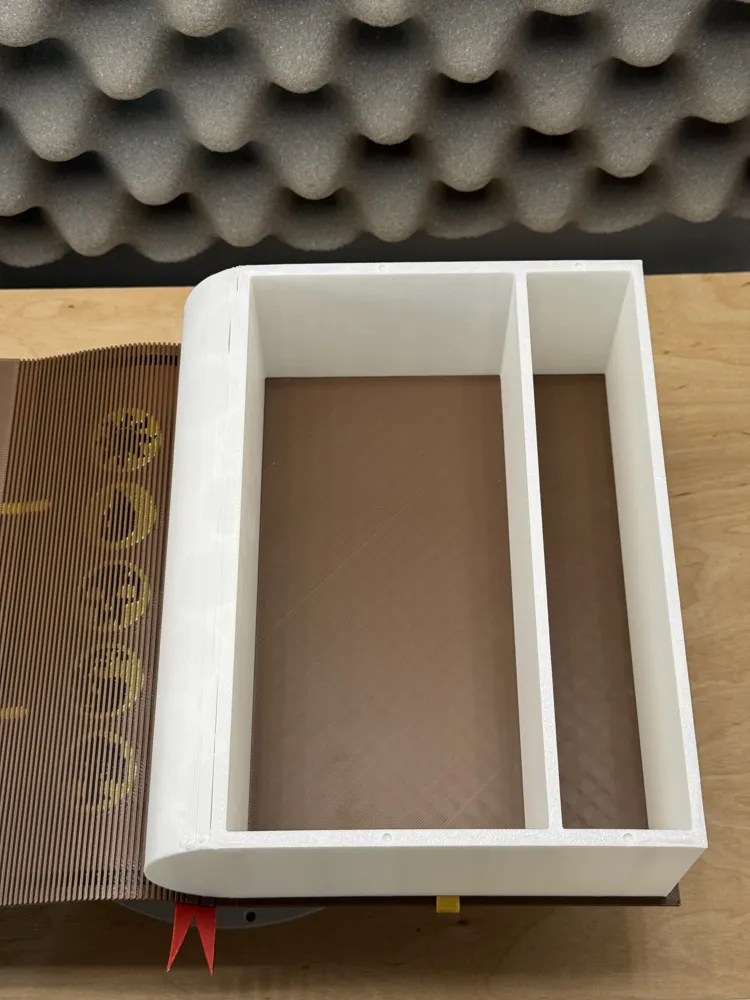
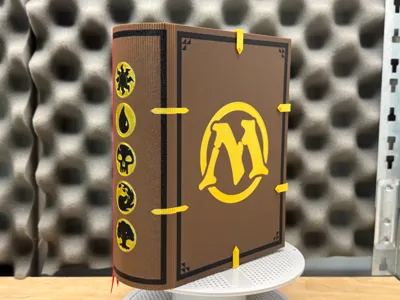
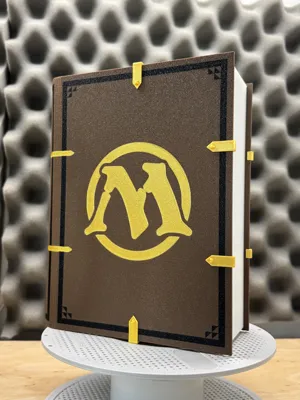
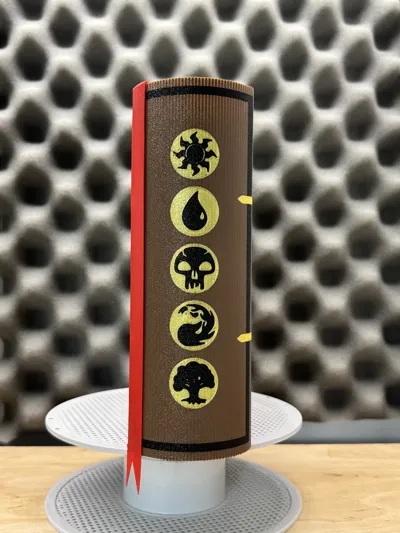
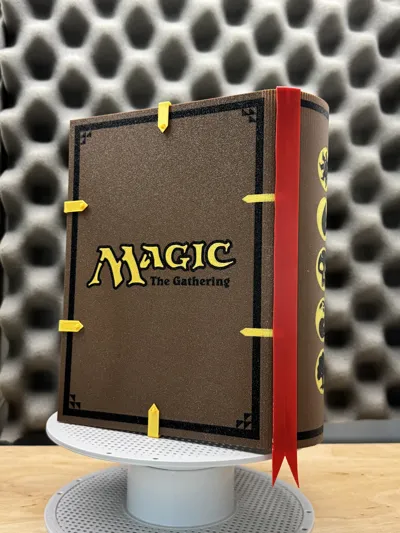
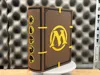
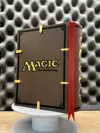
THE MTG CARDBOOK
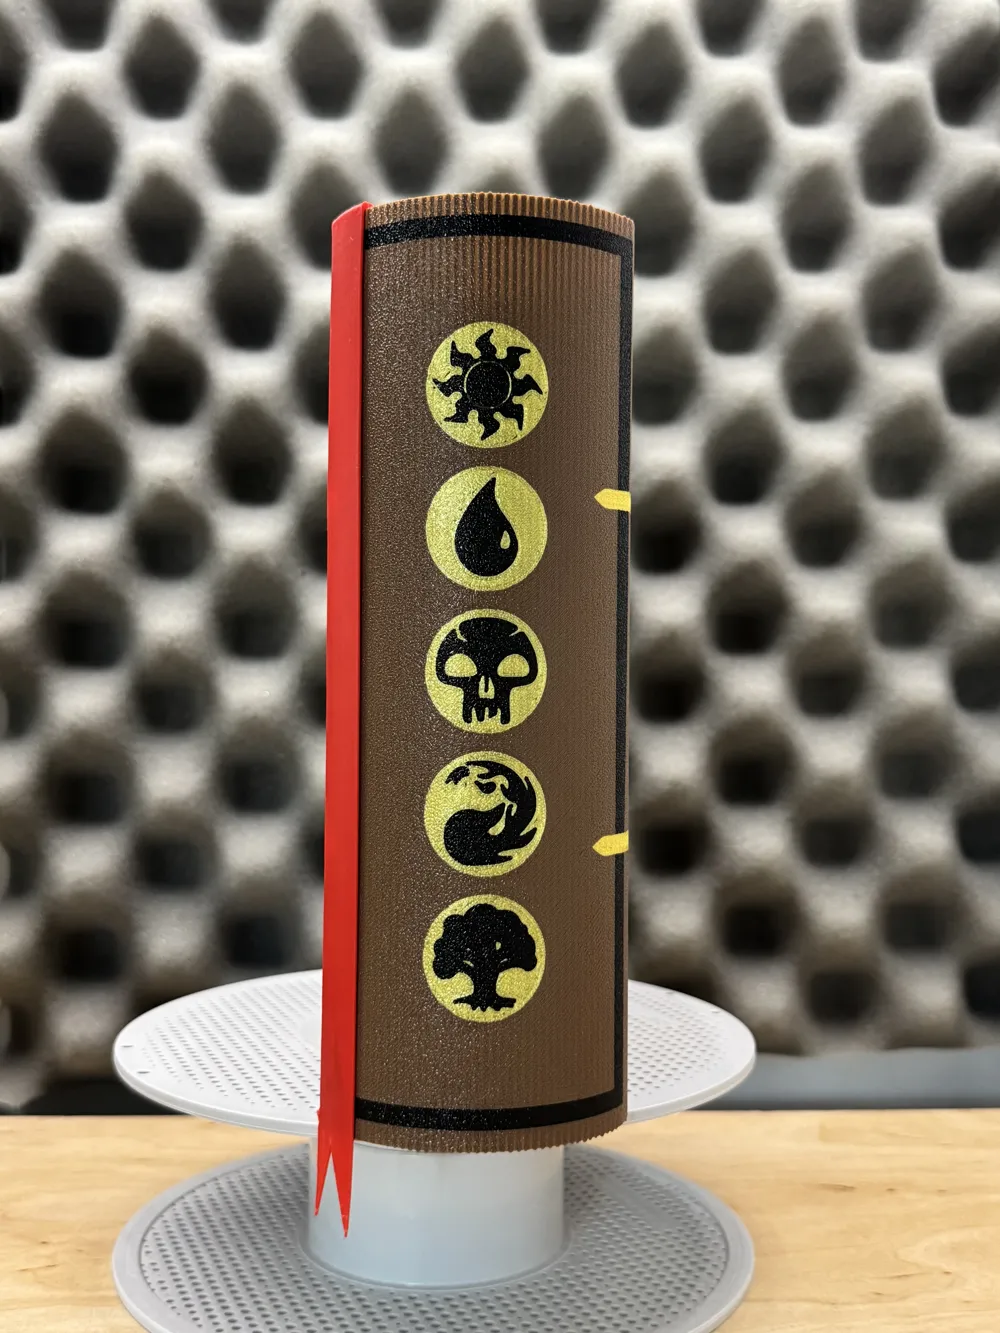
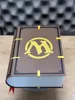
I designed this Magic The Gathering card box, so you can carry your deck, dice & more! Inspired by a mystical book I settled for this design with the Mana Symbols.
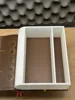
Compatible with standard cards & sleeved cards. (up to 98mm x 72mm)
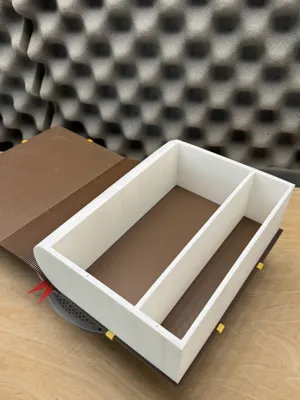
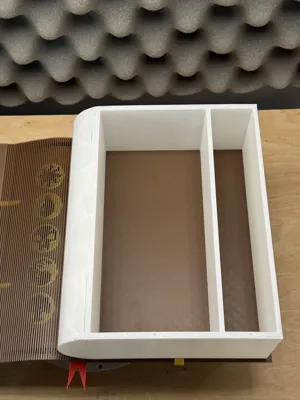
Capacity: approximately 350 sleeved cards
Recommendations/Tips:
- The model in the pictures was printed with a 0.4mm nozzle and AMS 2 Pro on A1 (without purge tower).
- Dry your filament beforehand and clean the build plate with dish soap and warm water.
- Printing this requires some knowledge and tweaking with the settings, so I would not recommend it as your first print ;)
- Make sure to choose the right purge volumes as the build plate on A1 is not big enough to fit the part and a purge tower.
- I recommend using a 0.4mm nozzle because it’s a good balance between speed and detail. Especially for the Silk+ parts the .4 nozzle should be used, so that the gold has a satin look to it.
- Further I recommend using the textured PEI plate and printing the front and back face down for a textured and even surface. For the ribbon and other parts I used the Cool Plate Super Tack for better bed adhesion.
Required parts:
- 8 magnets (3x1mm)
- Glue
Instructions:
- Print all parts (make sure to clean the build plate before printing the back and front part!)
- Remove supports / post-processing of parts / cleanup
- Glue in the magnets and let the glue dry (be aware of the right polarities!)
- Insert the front and back to the base and push them in (some force might be required, the fit can be quite tight depending on the accuracy of your printer)
- Glue the golden decorative elements on
- Put the ribbon over the gap on the side and glue it down
- Enjoy your new Cardbook!
- Like/boost/rate my model (optional)
Boost Me (for free)
Like my work and printed the MTG Cardbook? A Boost is greatly appreciated. Thank you for the support!
License

You shall not share, sub-license, sell, rent, host, transfer, or distribute in any way the digital or 3D printed versions of this object, nor any other derivative work of this object in its digital or physical format (including - but not limited to - remixes of this object, and hosting on other digital platforms). The objects may not be used without permission in any way whatsoever in which you charge money, or collect fees.


Comment & Rating (7)