
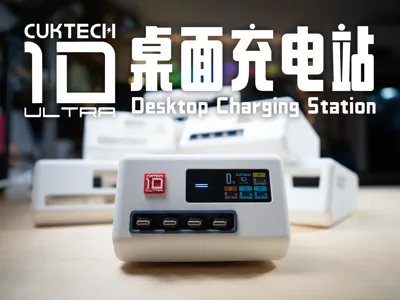
CUKTECH 10 Ultra Desktop Charging Station
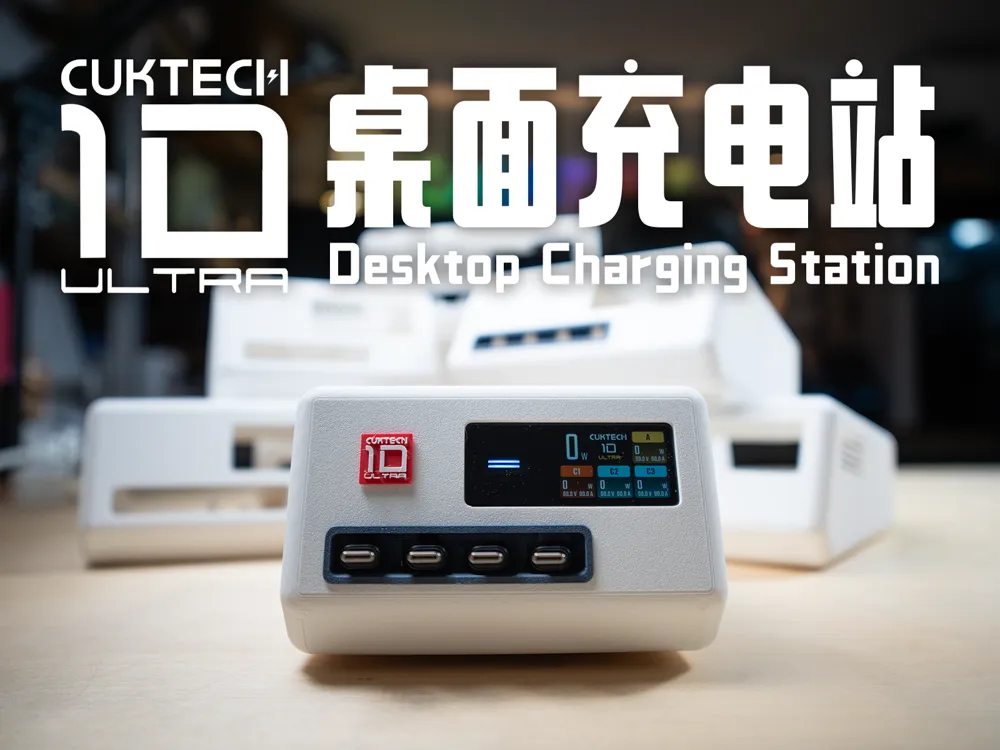
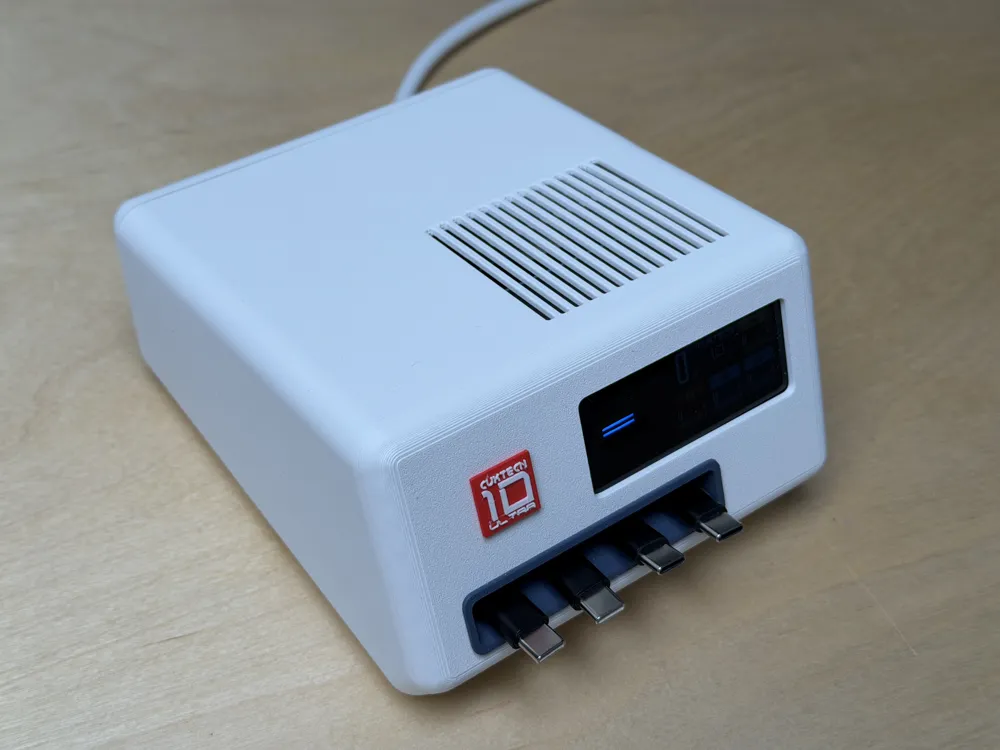
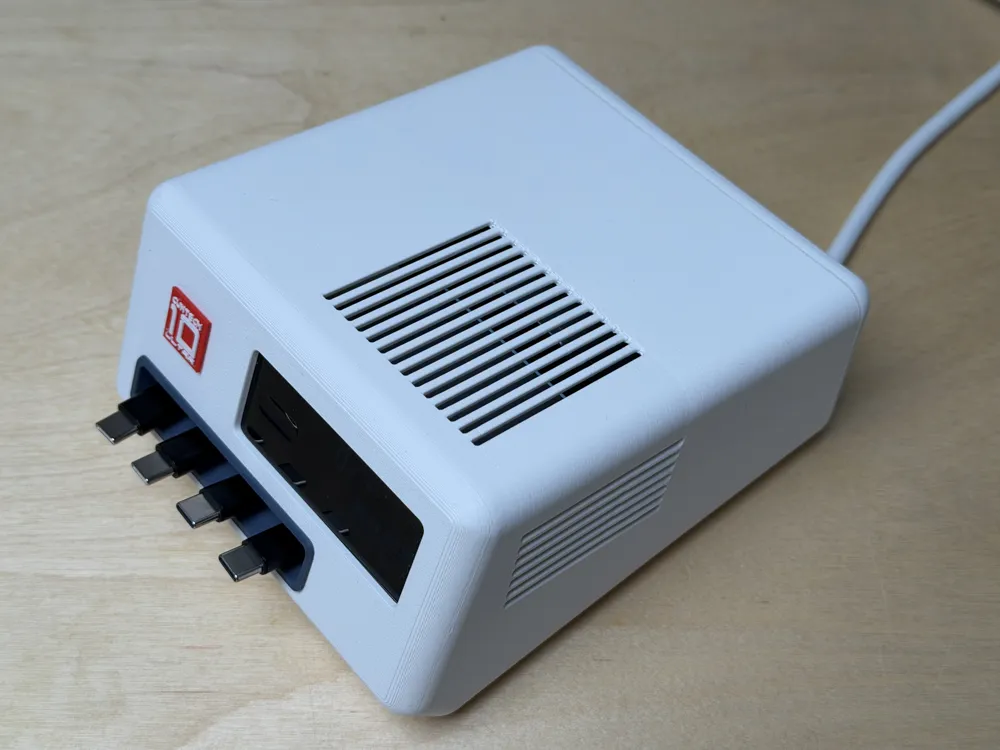
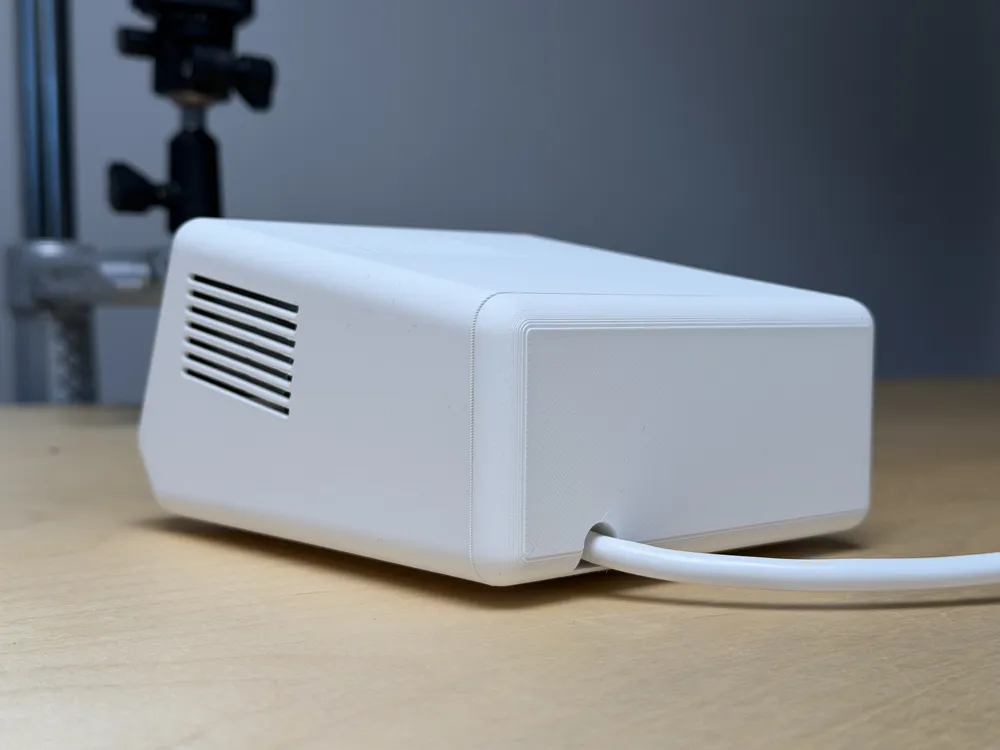
Print Profile(1)
Description
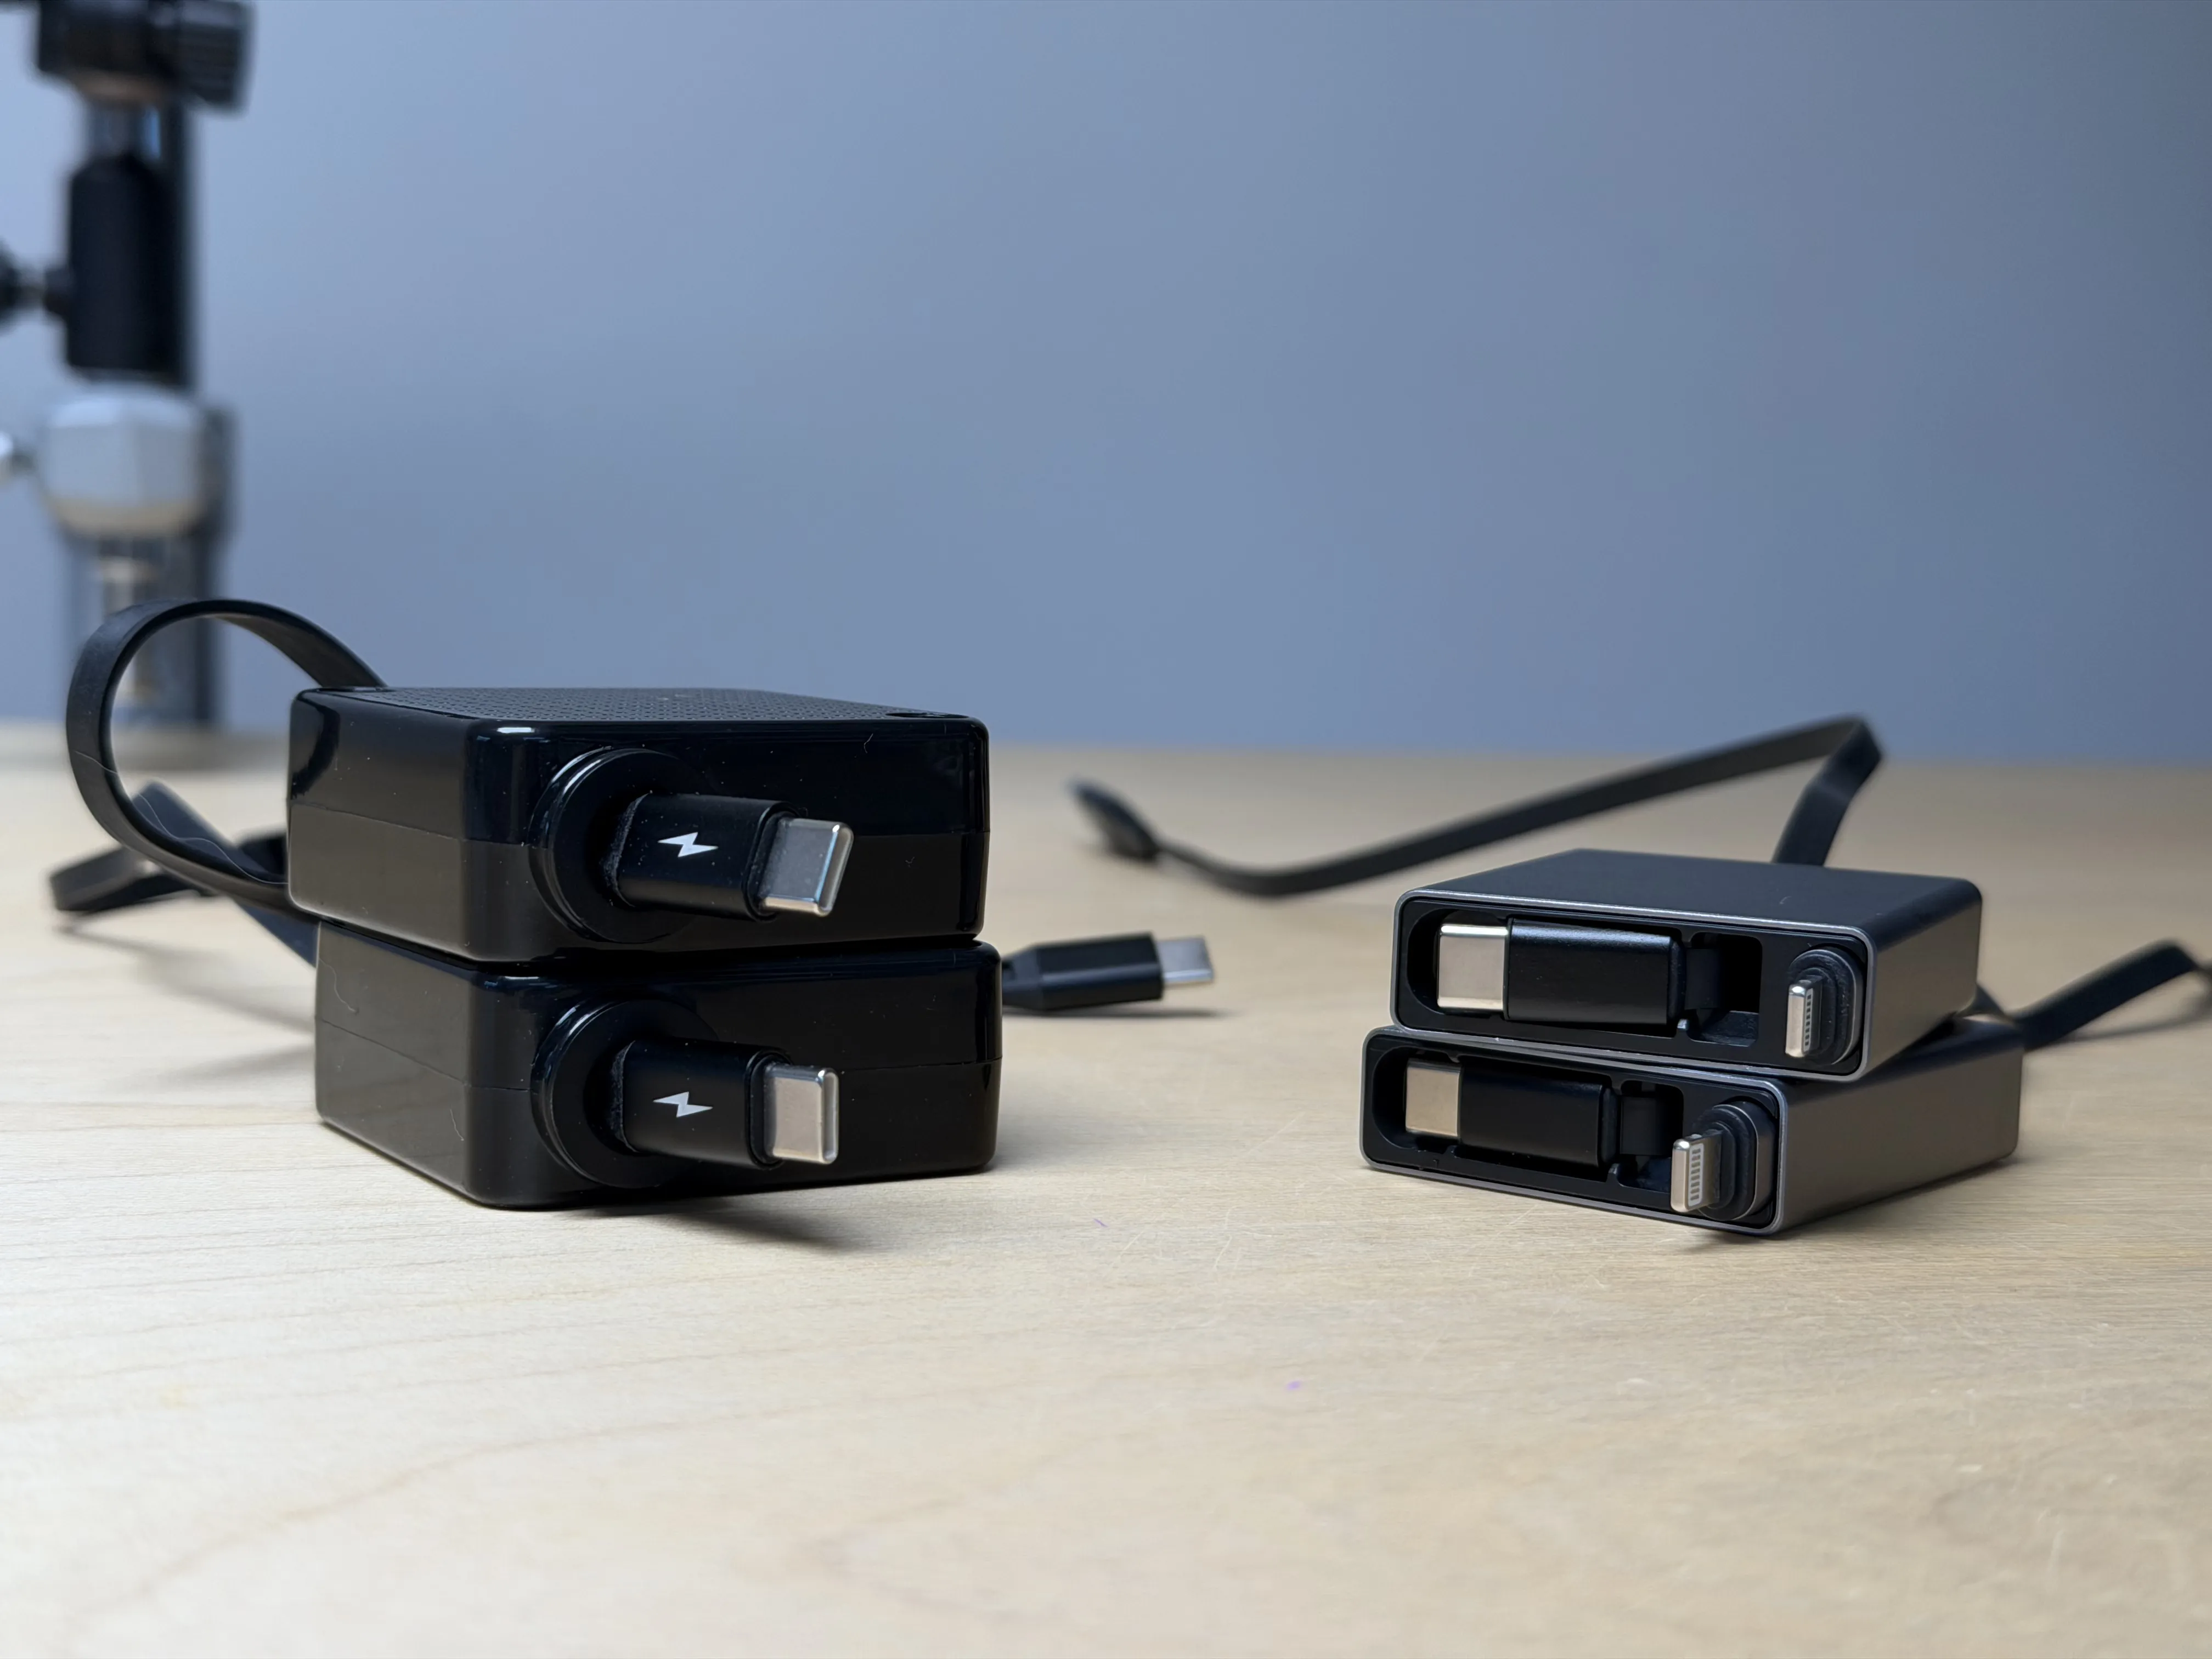
This model requires two 100W single retractable cables and two 60W single retractable cables
Purchase links
https://detail.1688.com/offer/991955301434.html
https://detail.1688.com/offer/976863690222.html
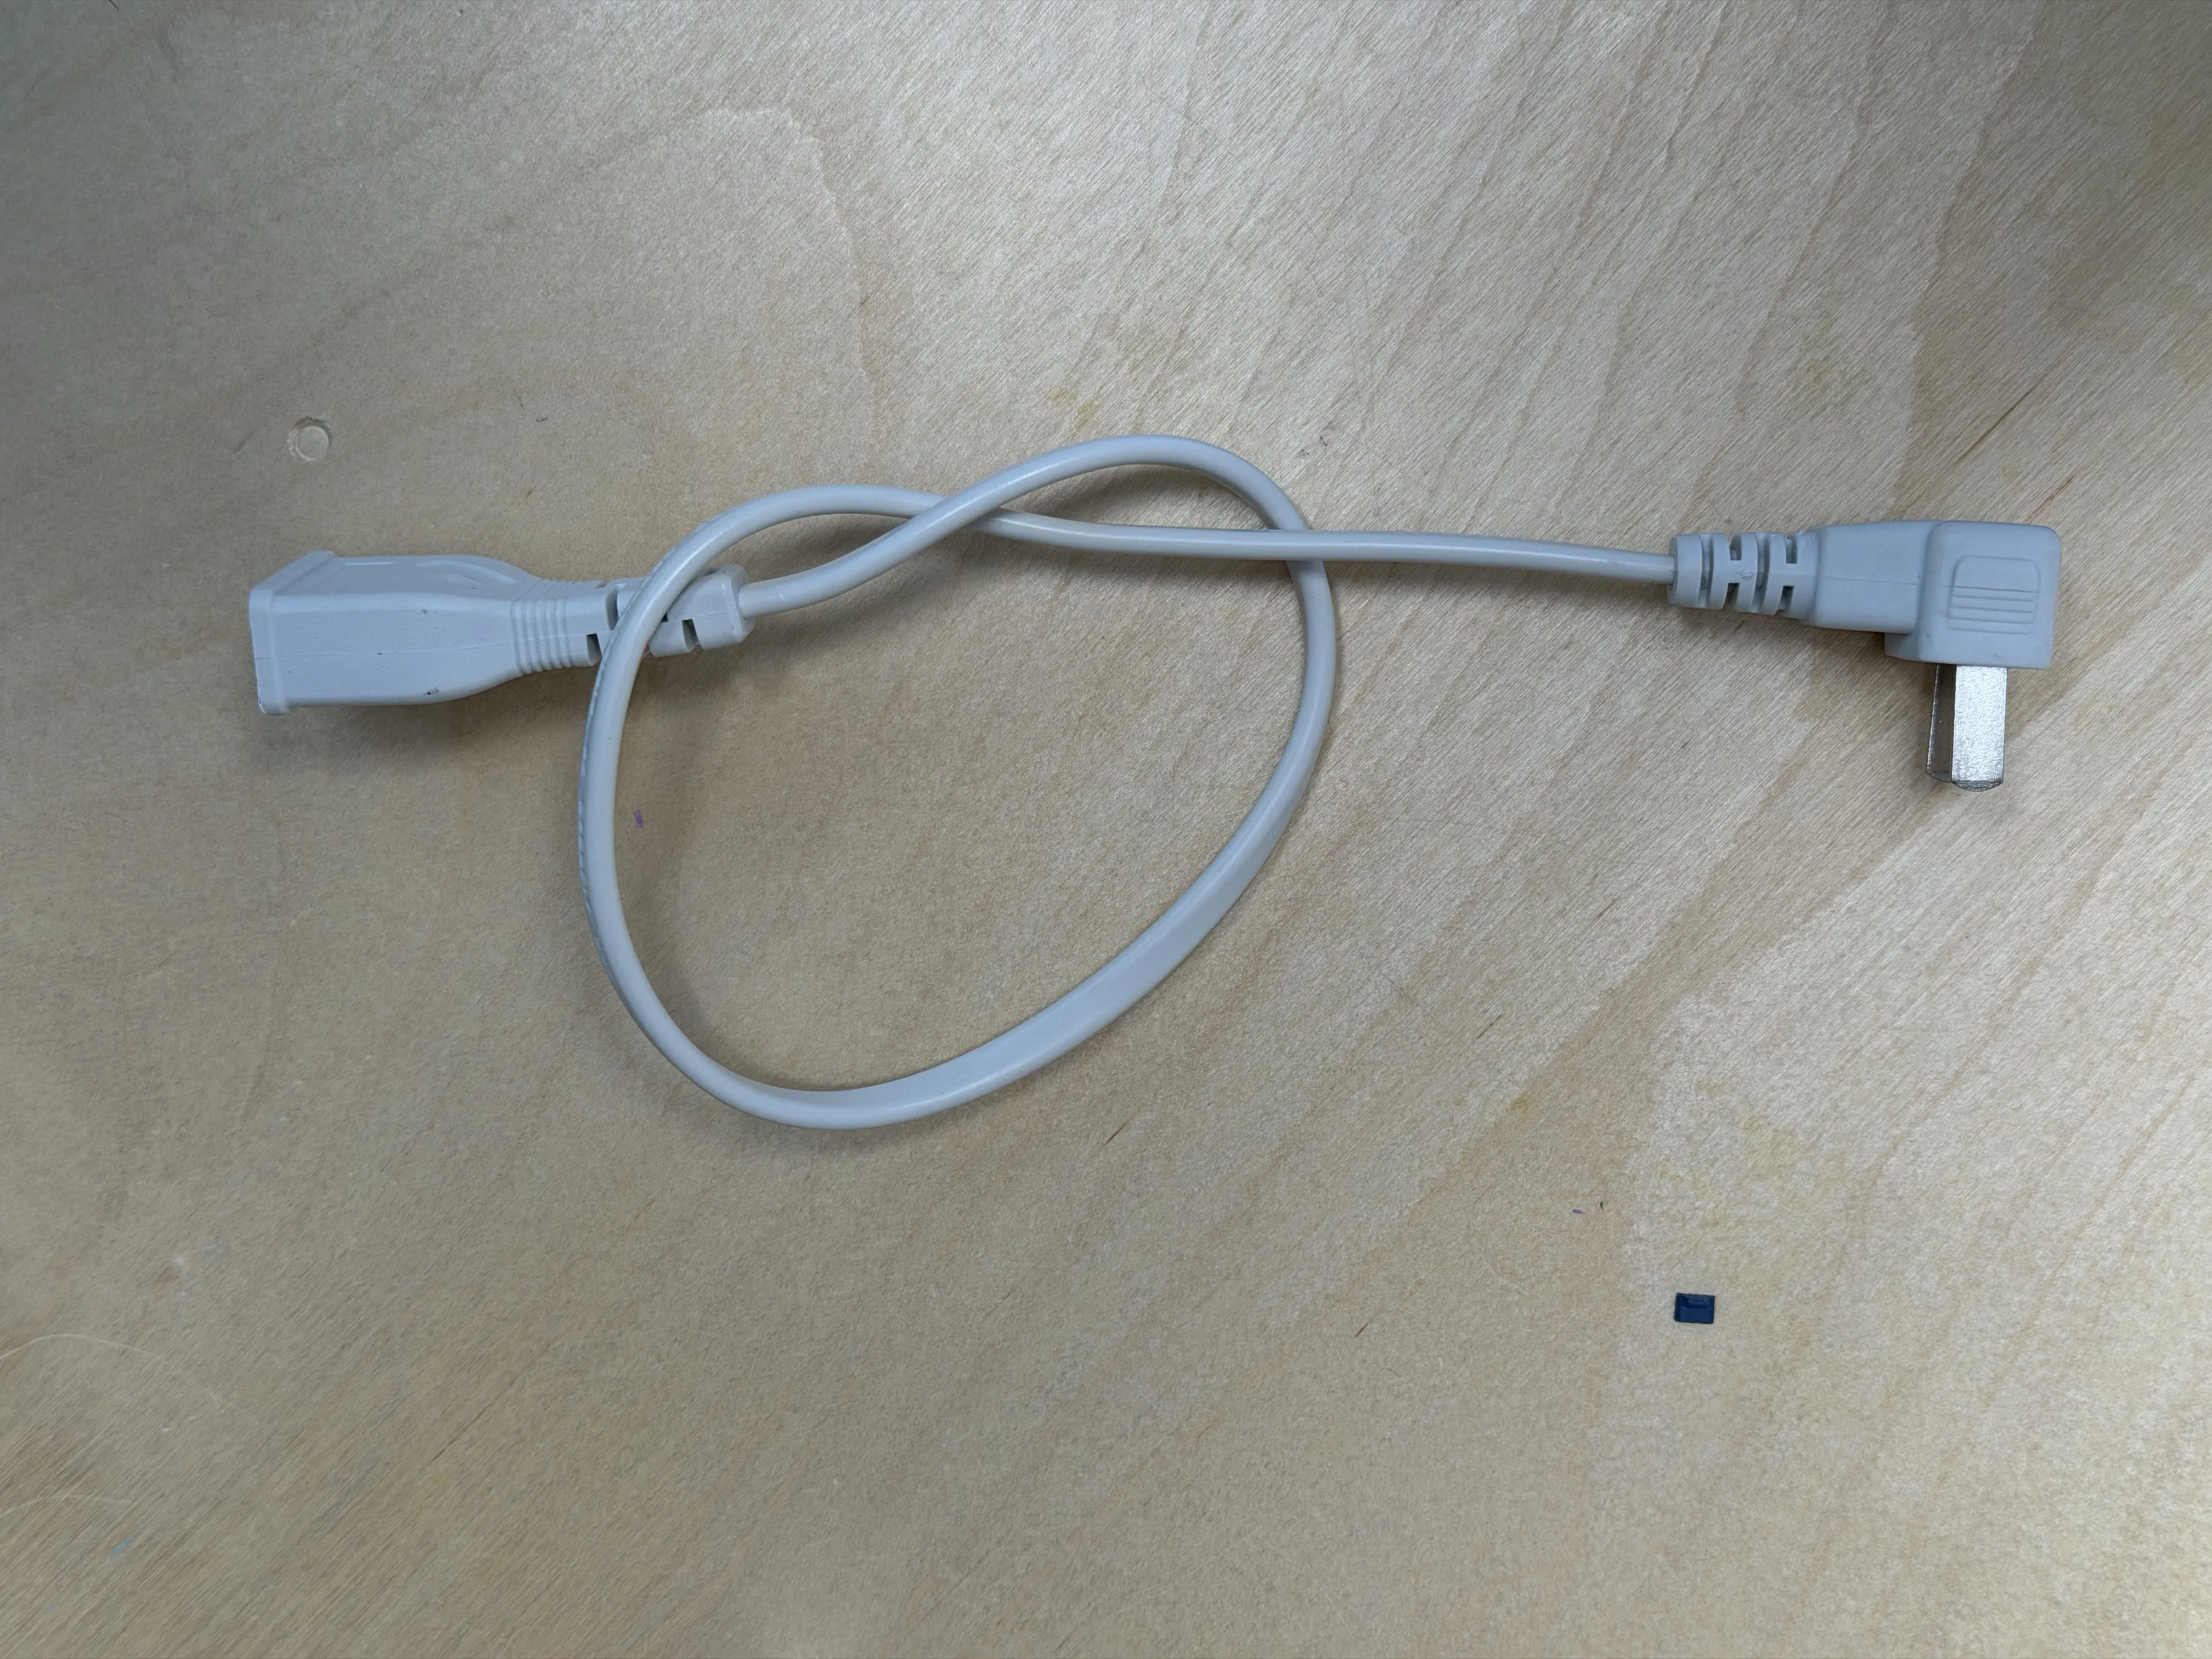
In addition, a two-pin extension cord is also needed
There are two options for the main body printing in the configuration, plate 1 is for PLA and PETG as mutual supports
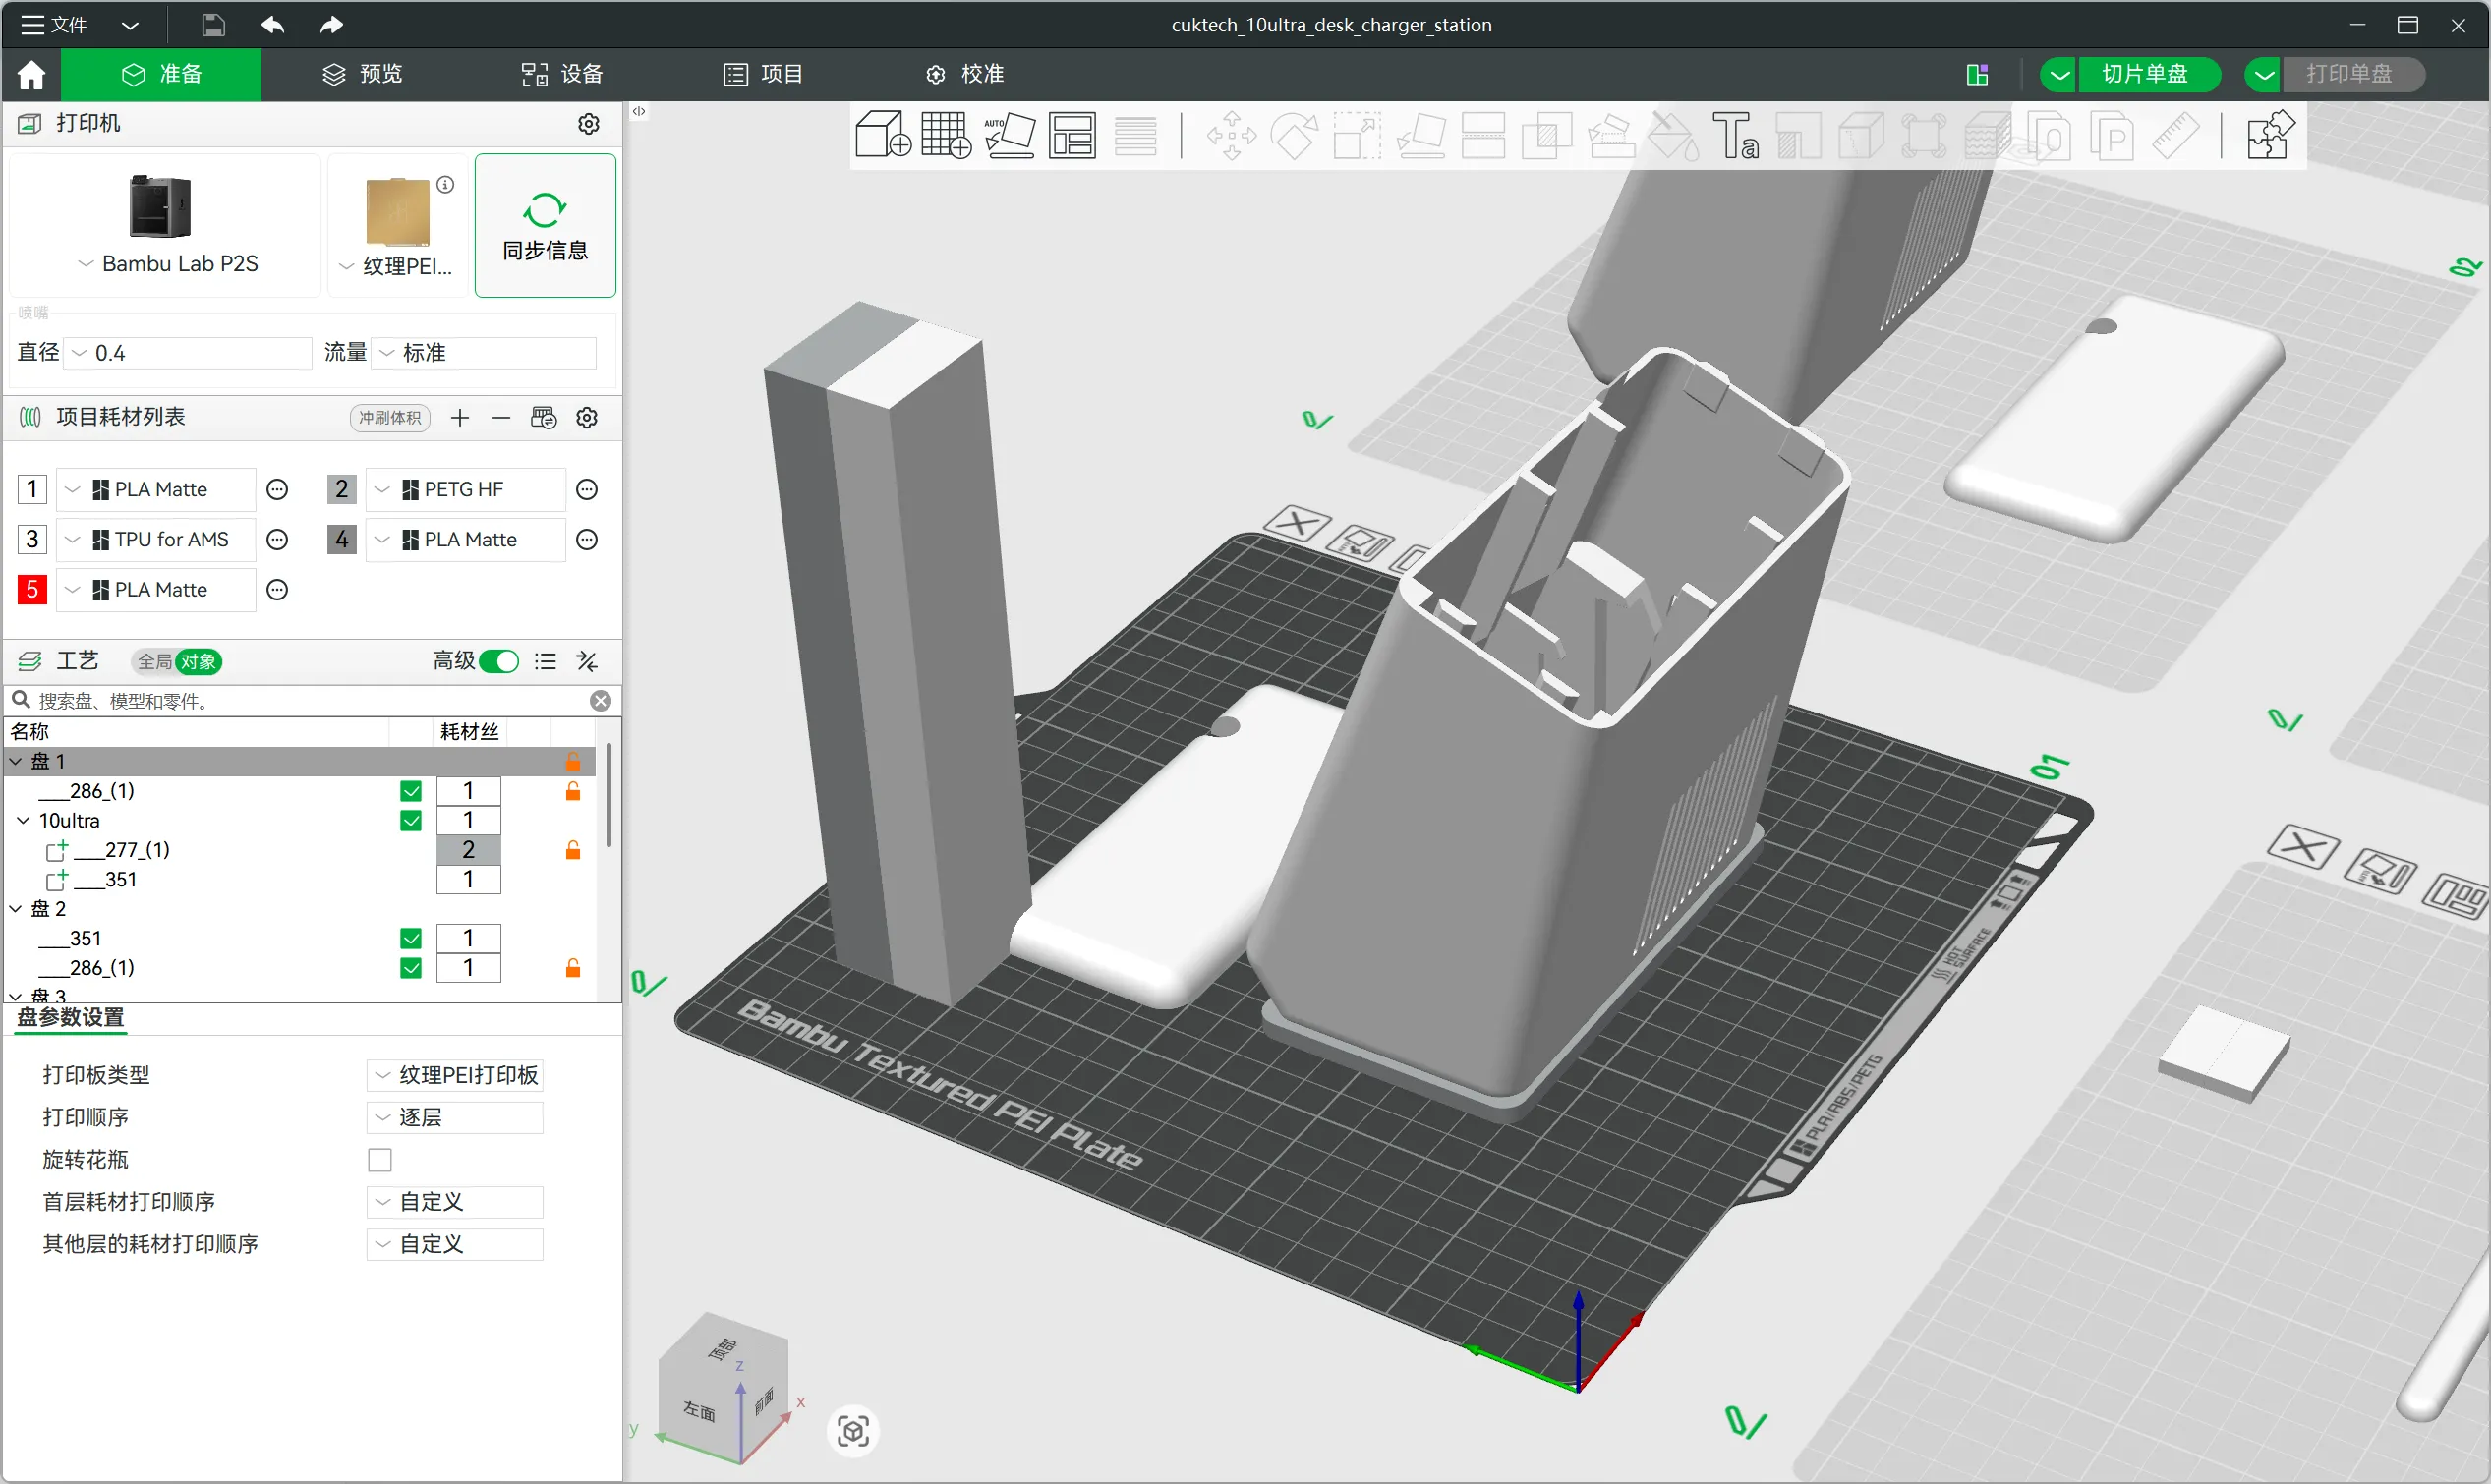
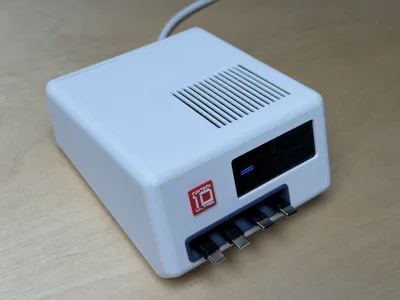
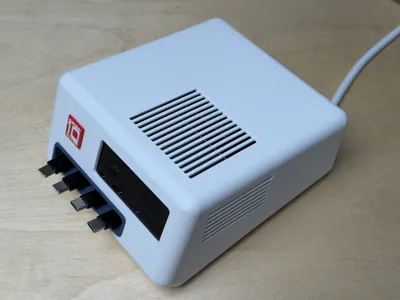
In this configuration, the main body uses filament 1, and the bottom support uses filament 2 The two filaments need to be of different types, meaning if filament 1 is PLA, filament 2 will be PETG; if filament 1 is PETG, filament 2 will be PLA (Considering that the charger will generate heat during use, especially under continuous high-power conditions, it is recommended to print with high-temperature resistant materials such as PETG/ABS) Printing this way, we can achieve relatively beautiful rounded corners
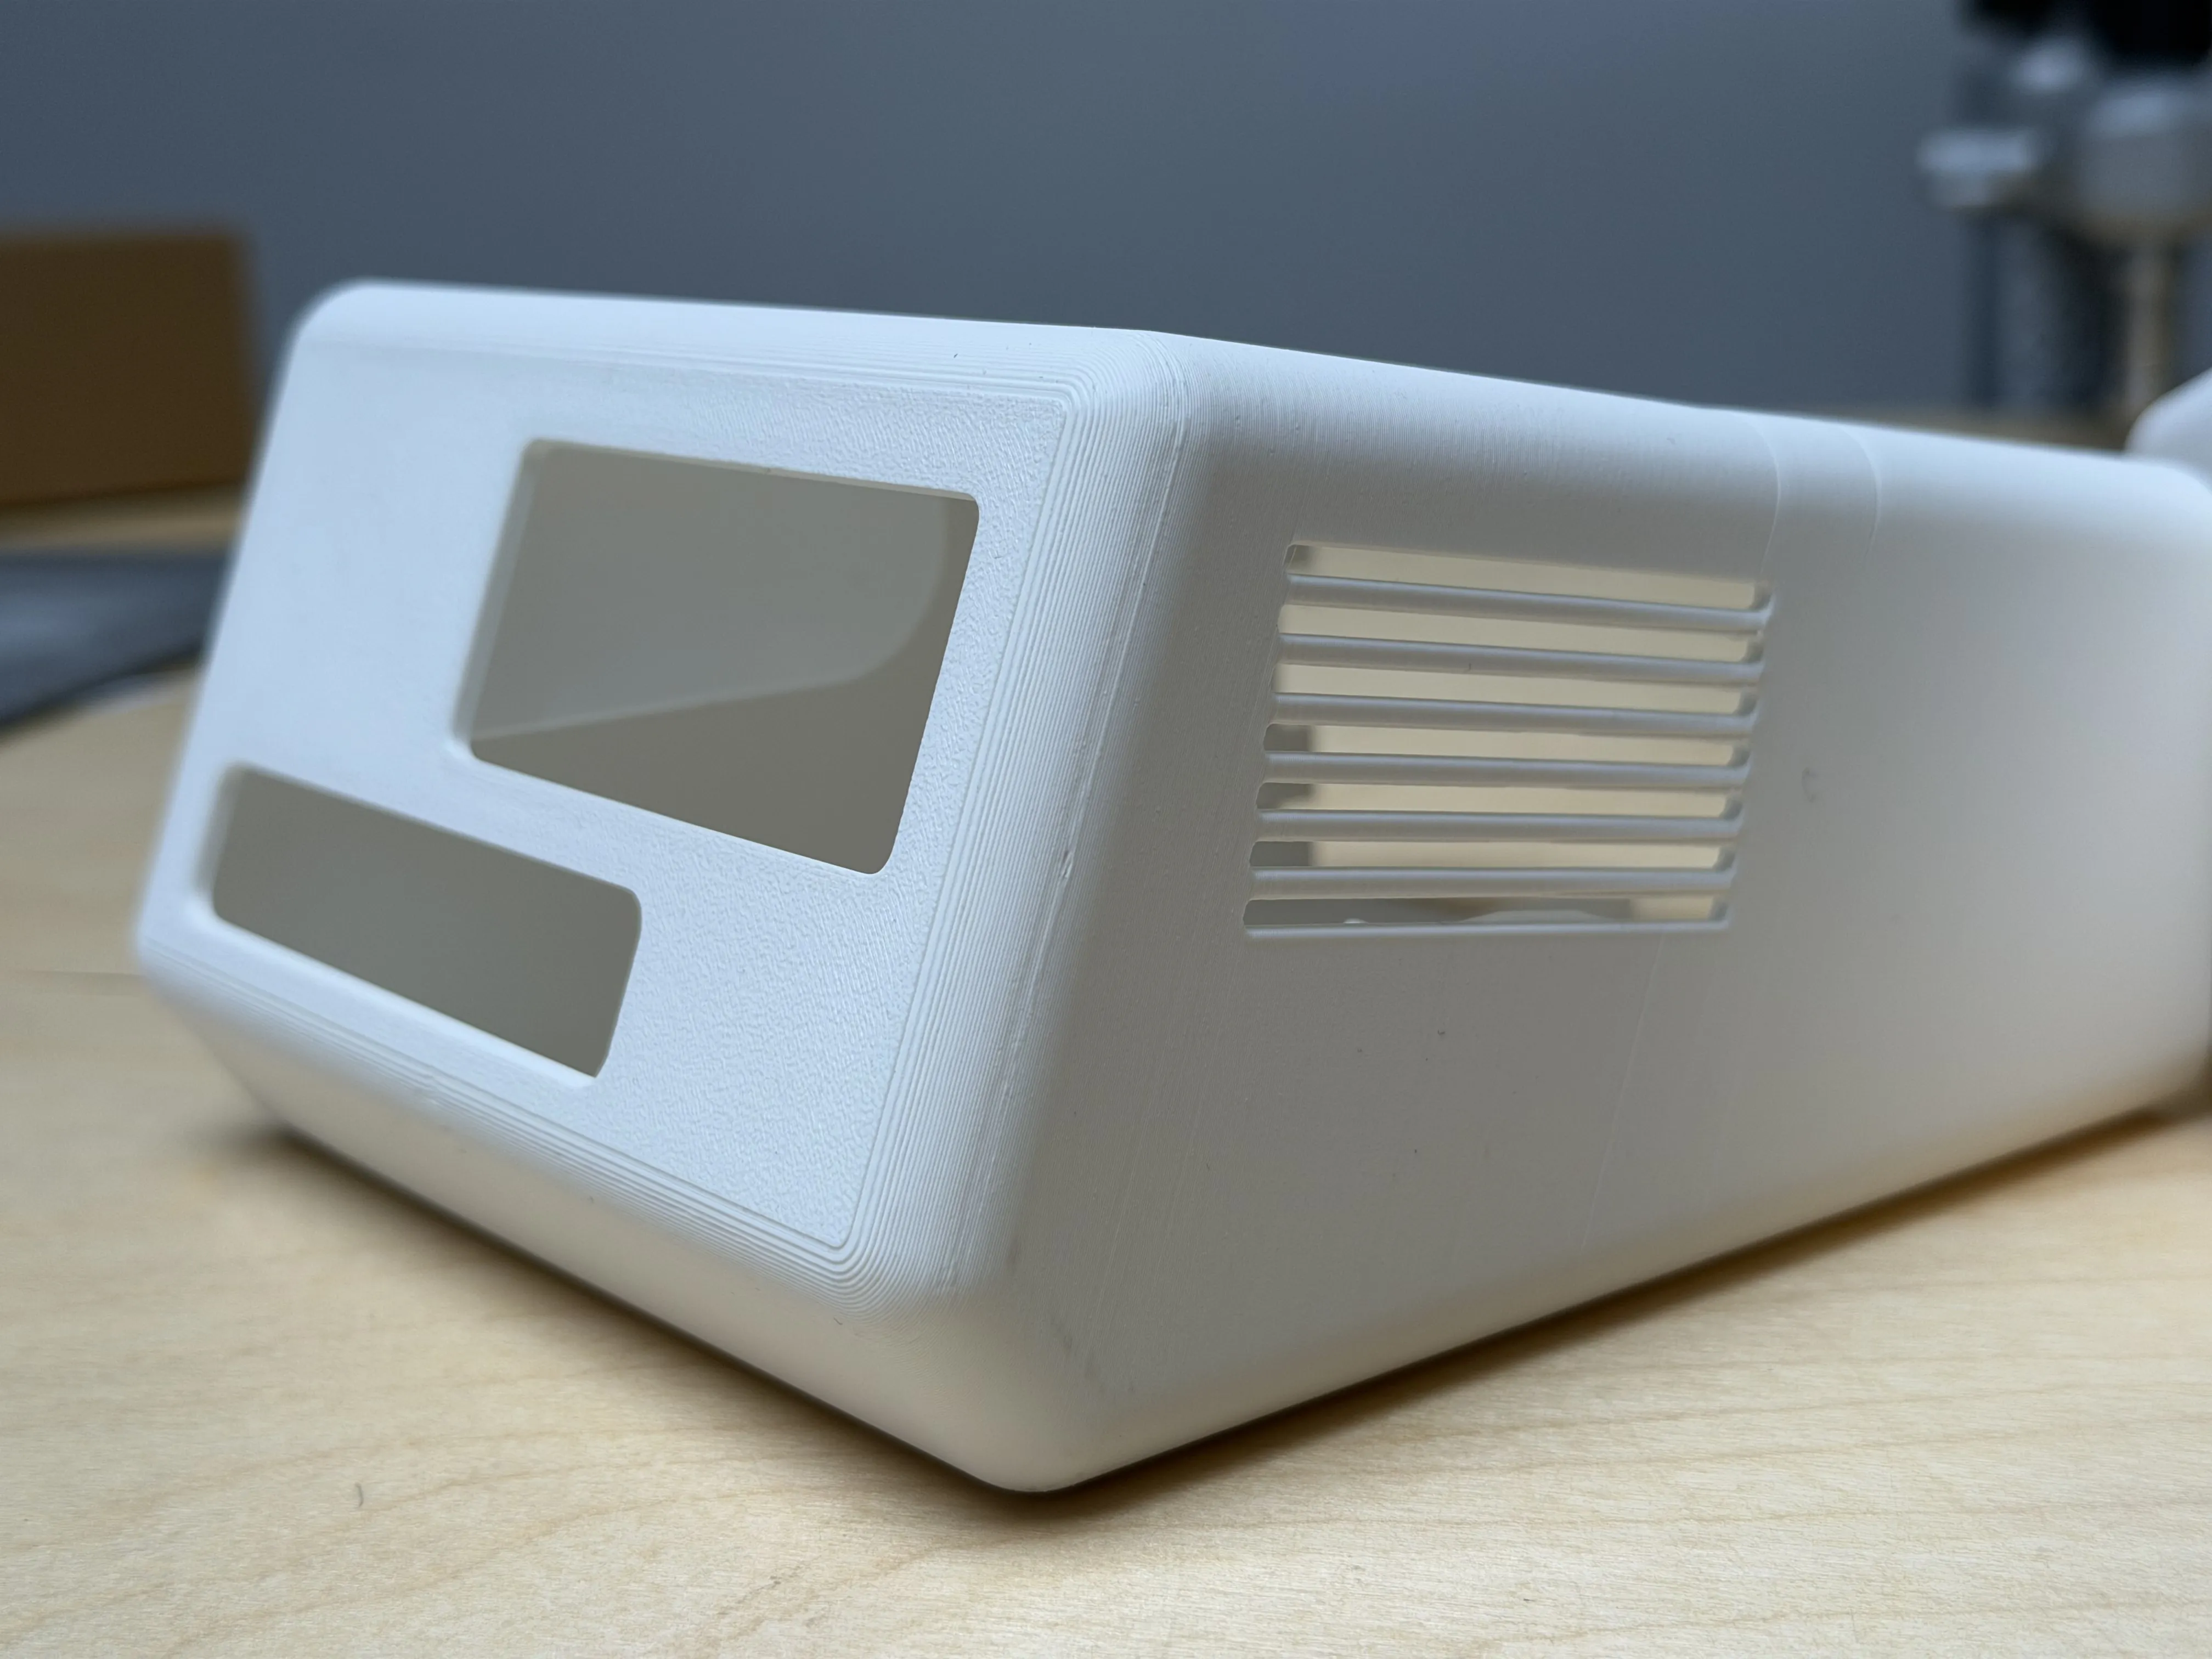
Of course, the trade-off is that it will add extra printing time and filament consumption on single-nozzle printers
plate 2 is a printing configuration using a single material with default supports, and the printing results will be noticeably worse
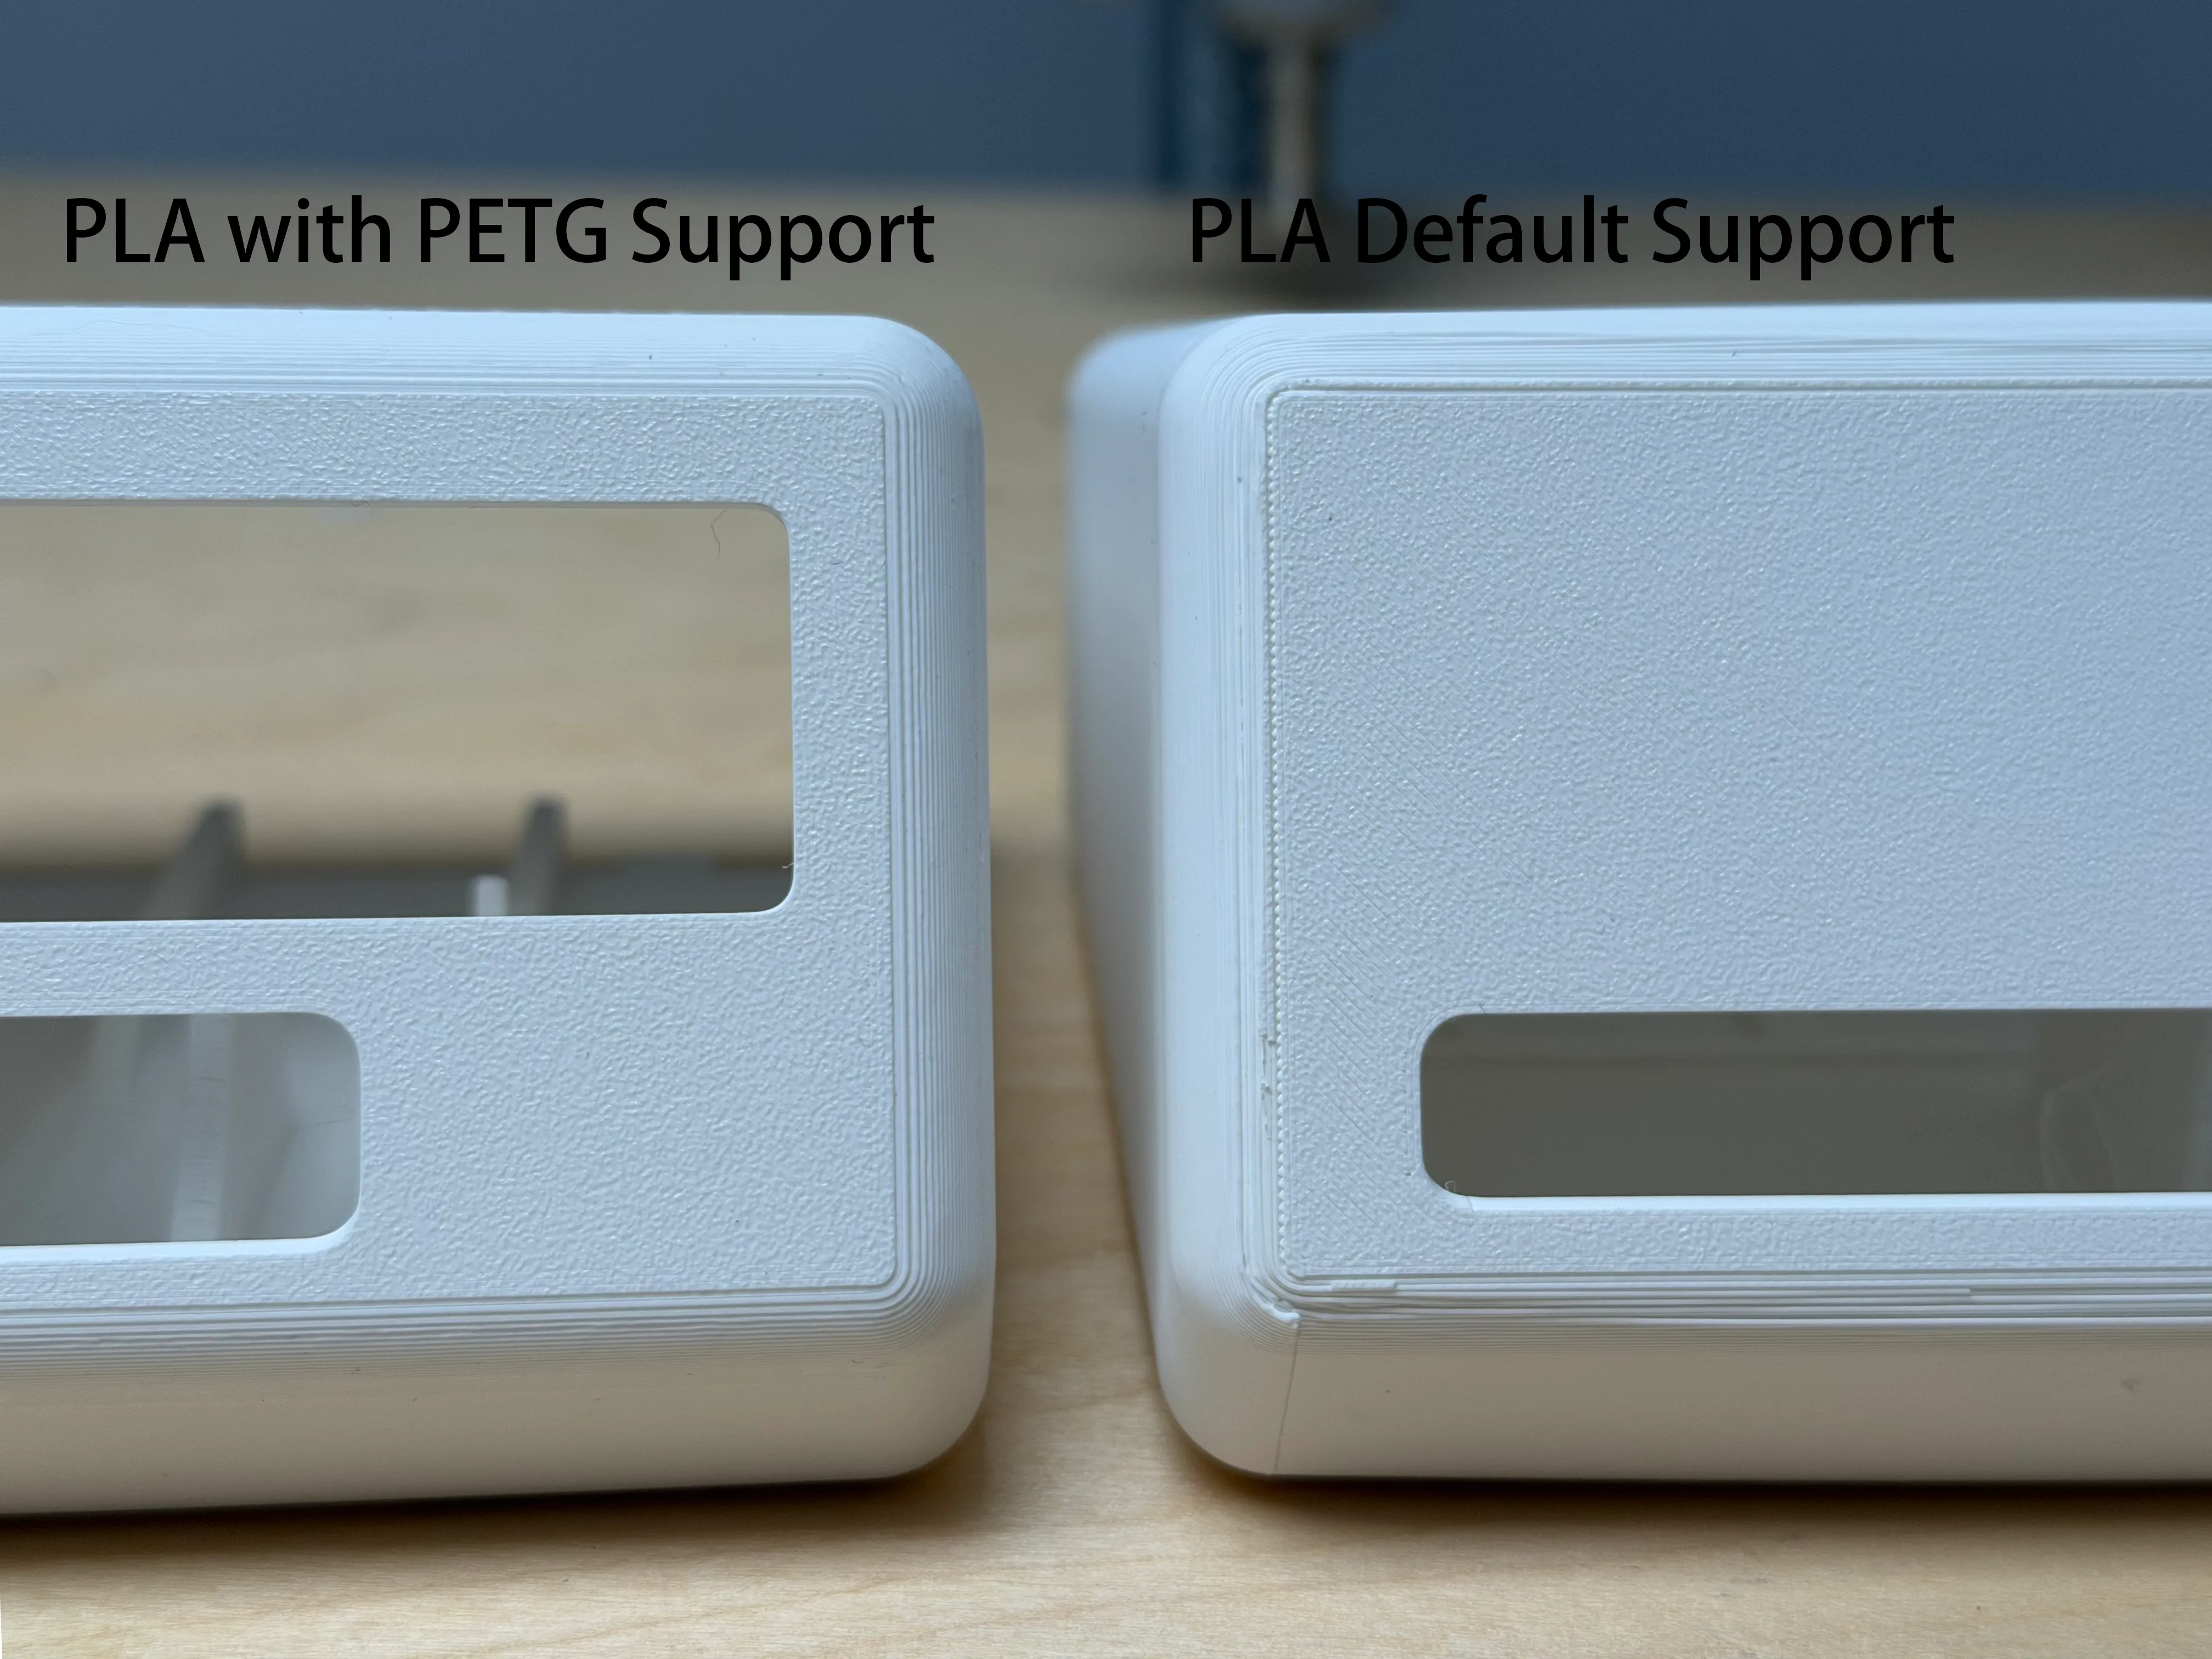
plate 4 is for the bottom feet, and it needs to be printed using TPU material The original intention was to enhance the anti-slip effect of the charging station, but its actual effect is negligible, so it can be omitted
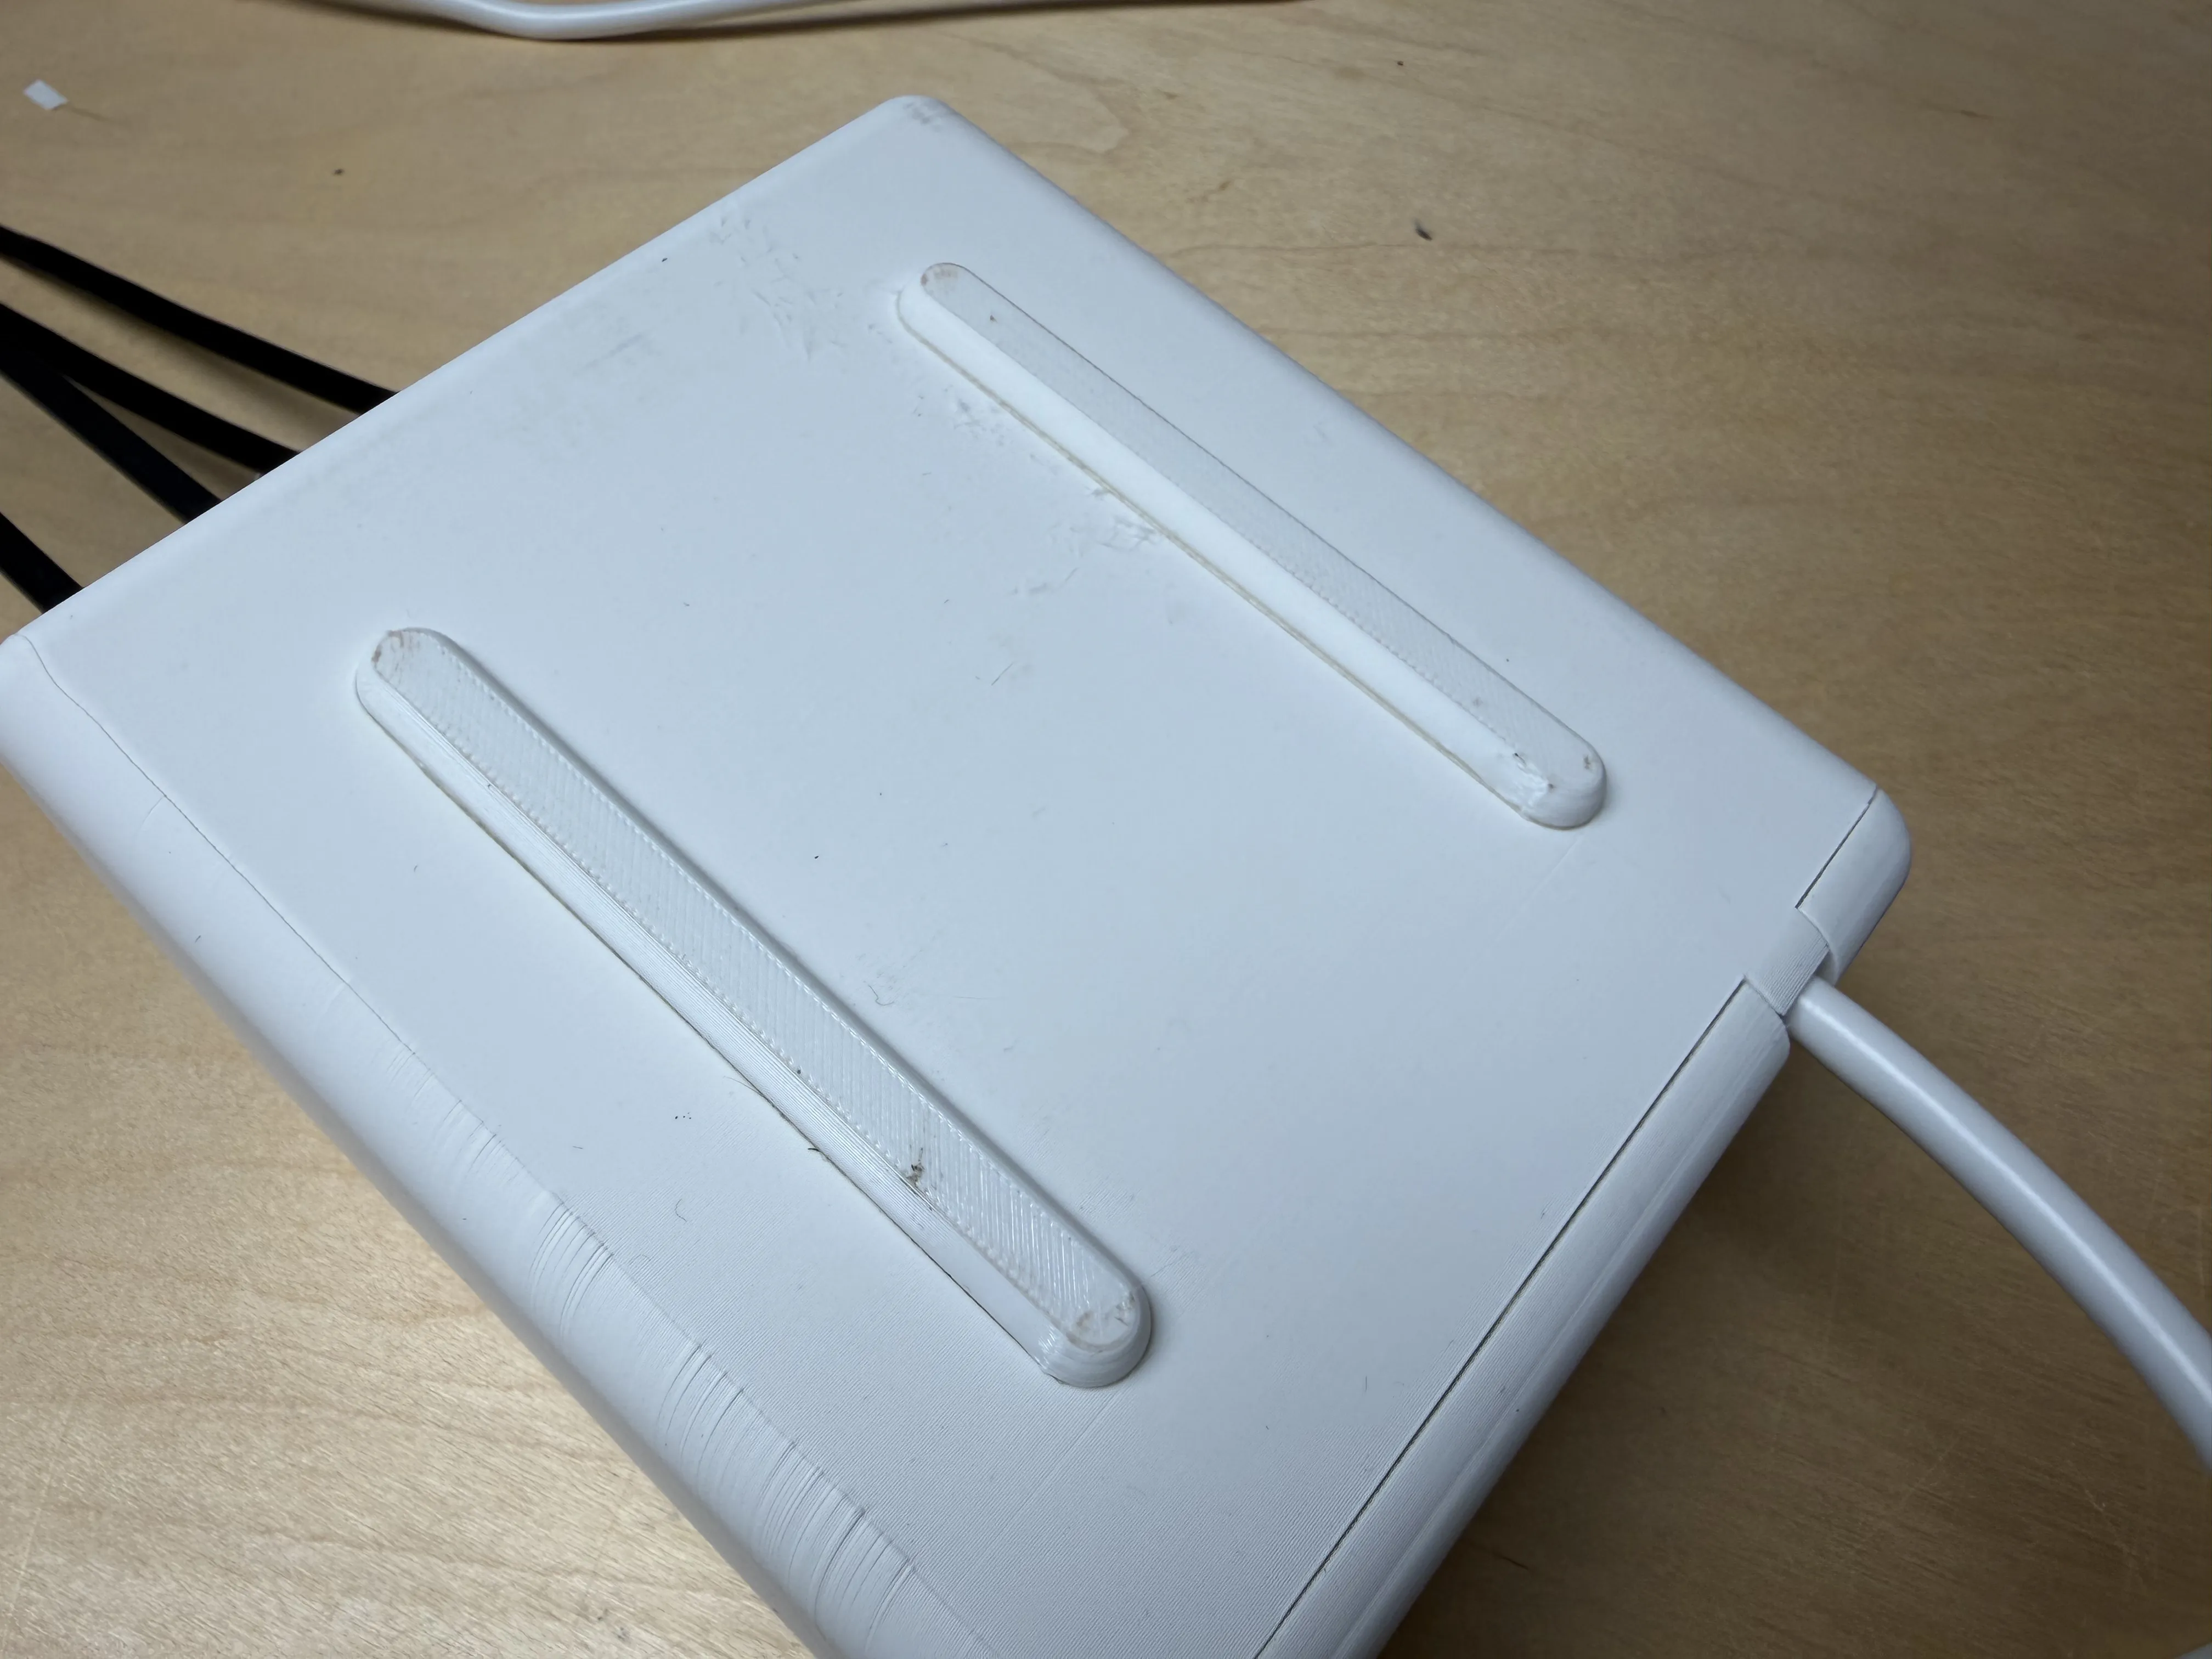
plate 5 is for the decorative logo, and a 0.2mm nozzle is required to achieve better printing results
Assembly is actually very simple, with a few key points
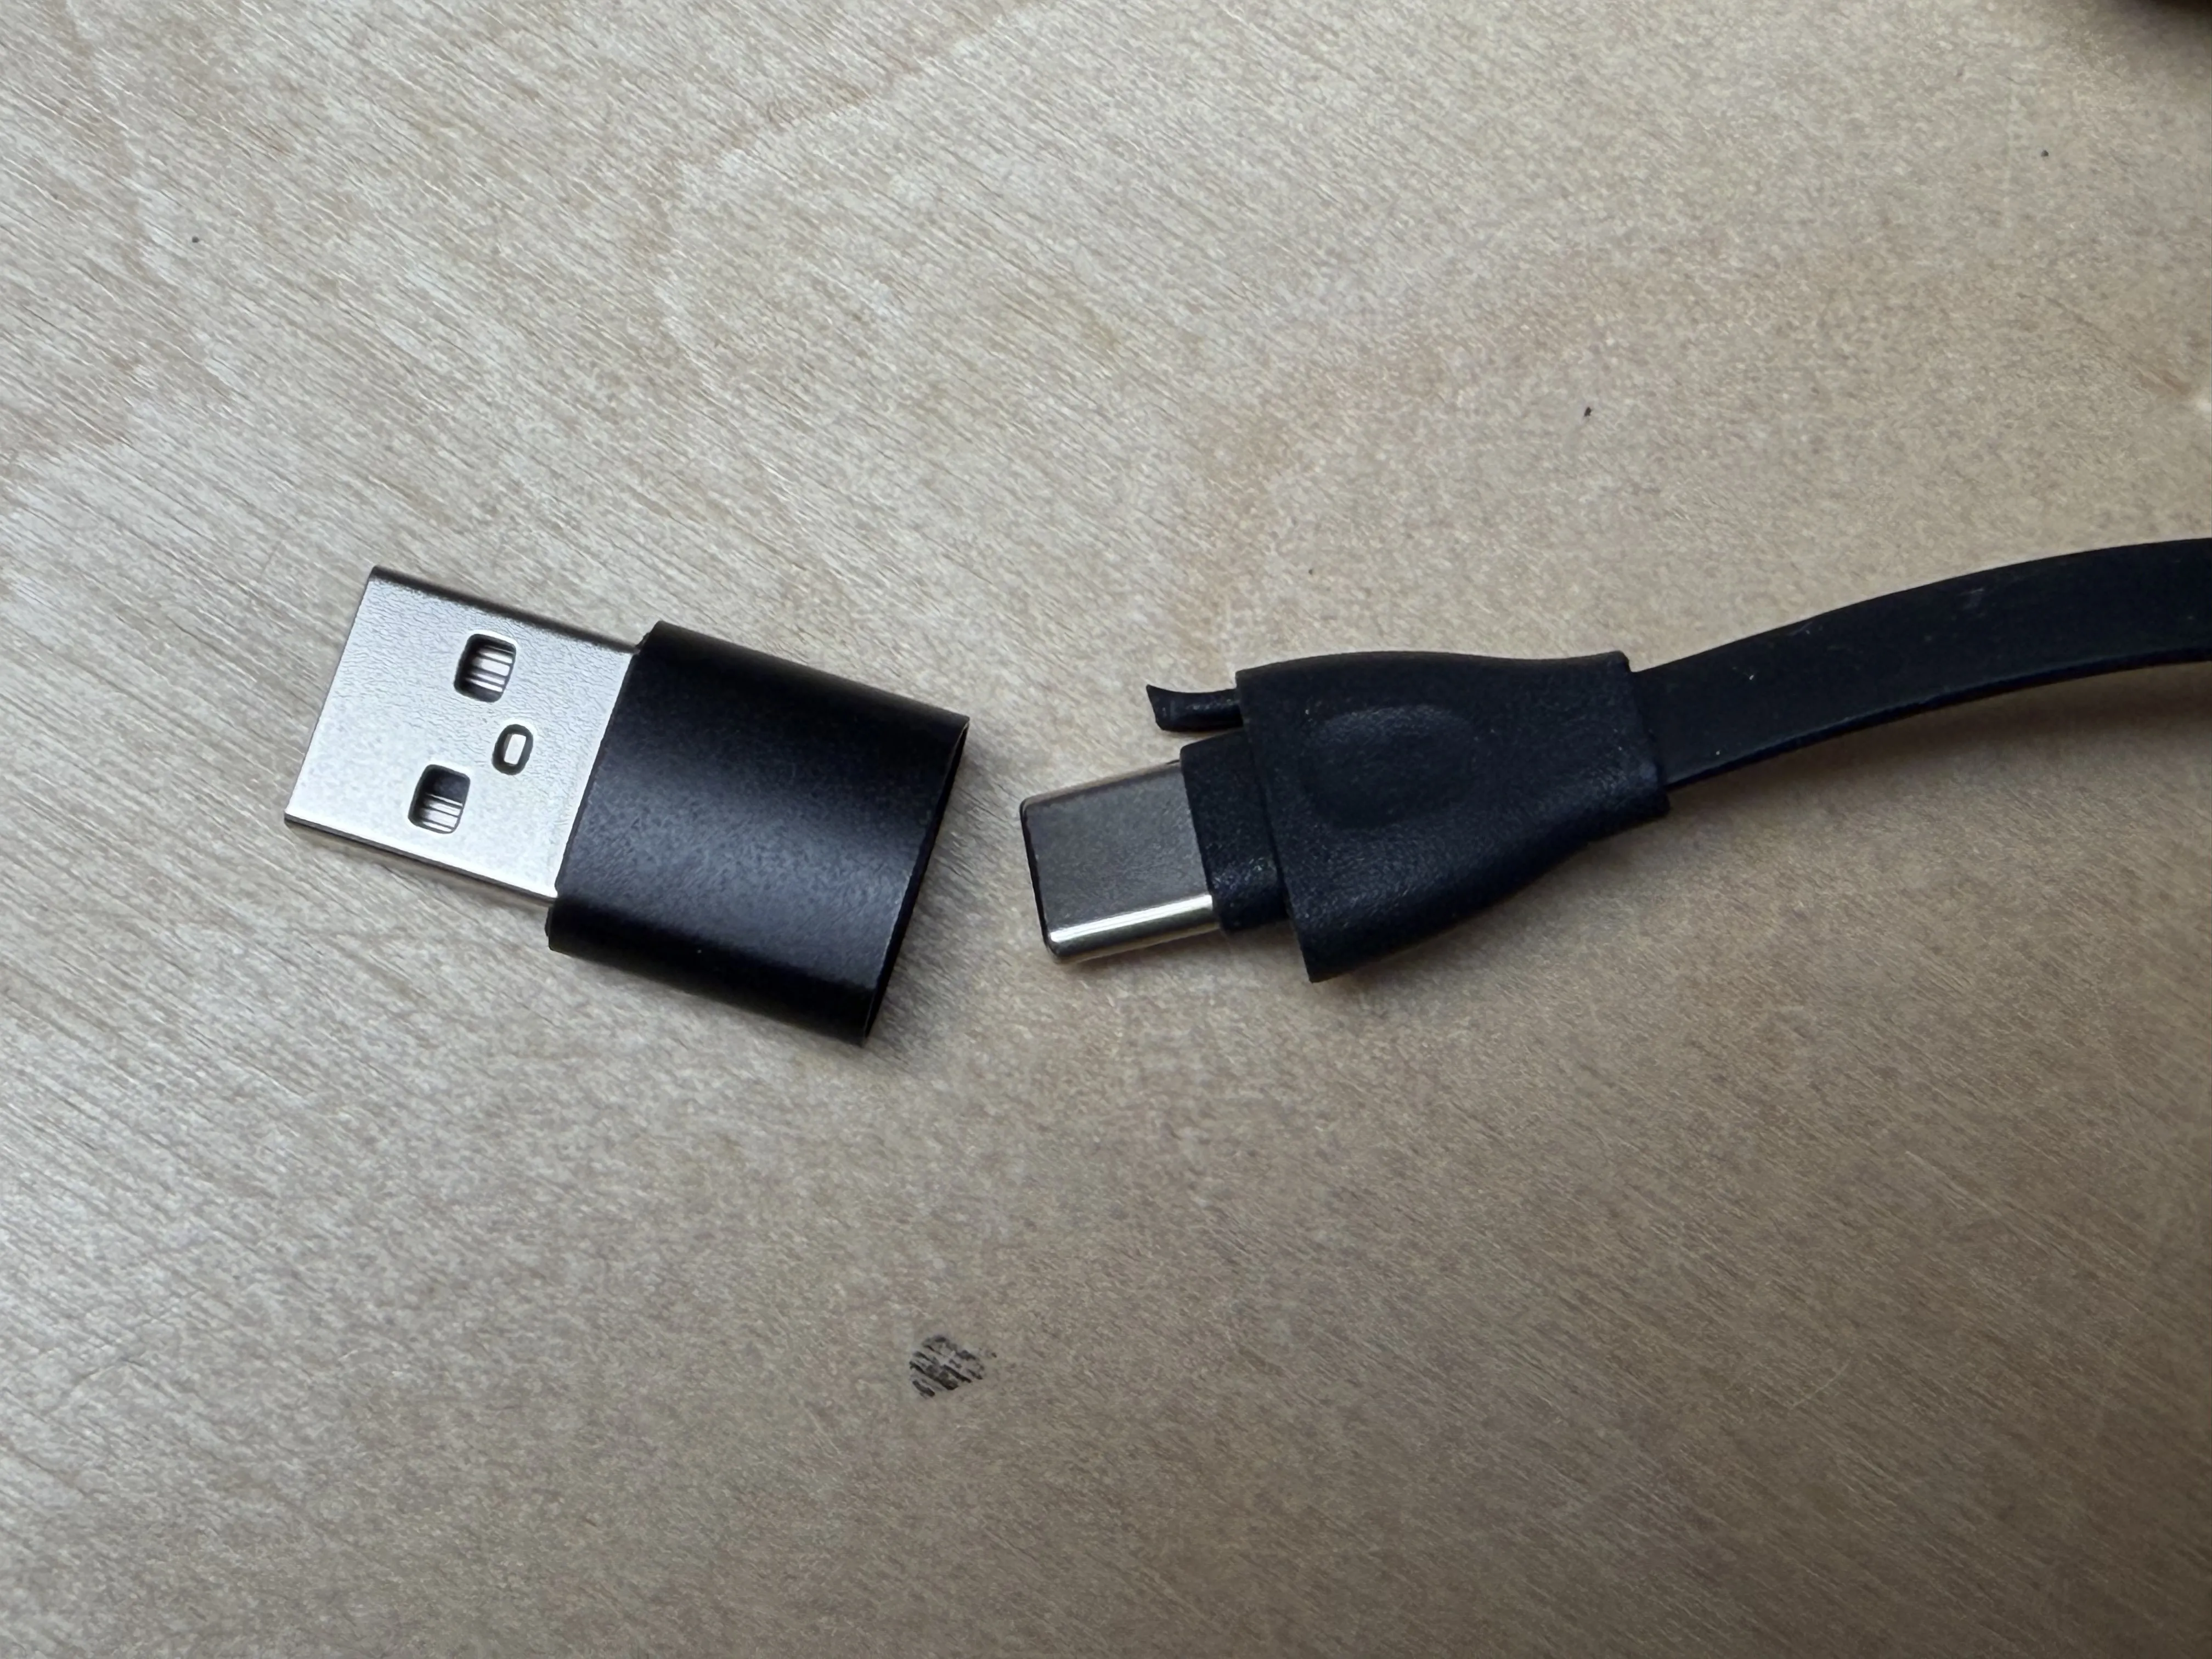
The USB A module of the retractable cable connected to the C3 port needs to be cut off, otherwise it won't fit into the casing
When installing, first plug the retractable cables into the charger, then place the charger into the casing
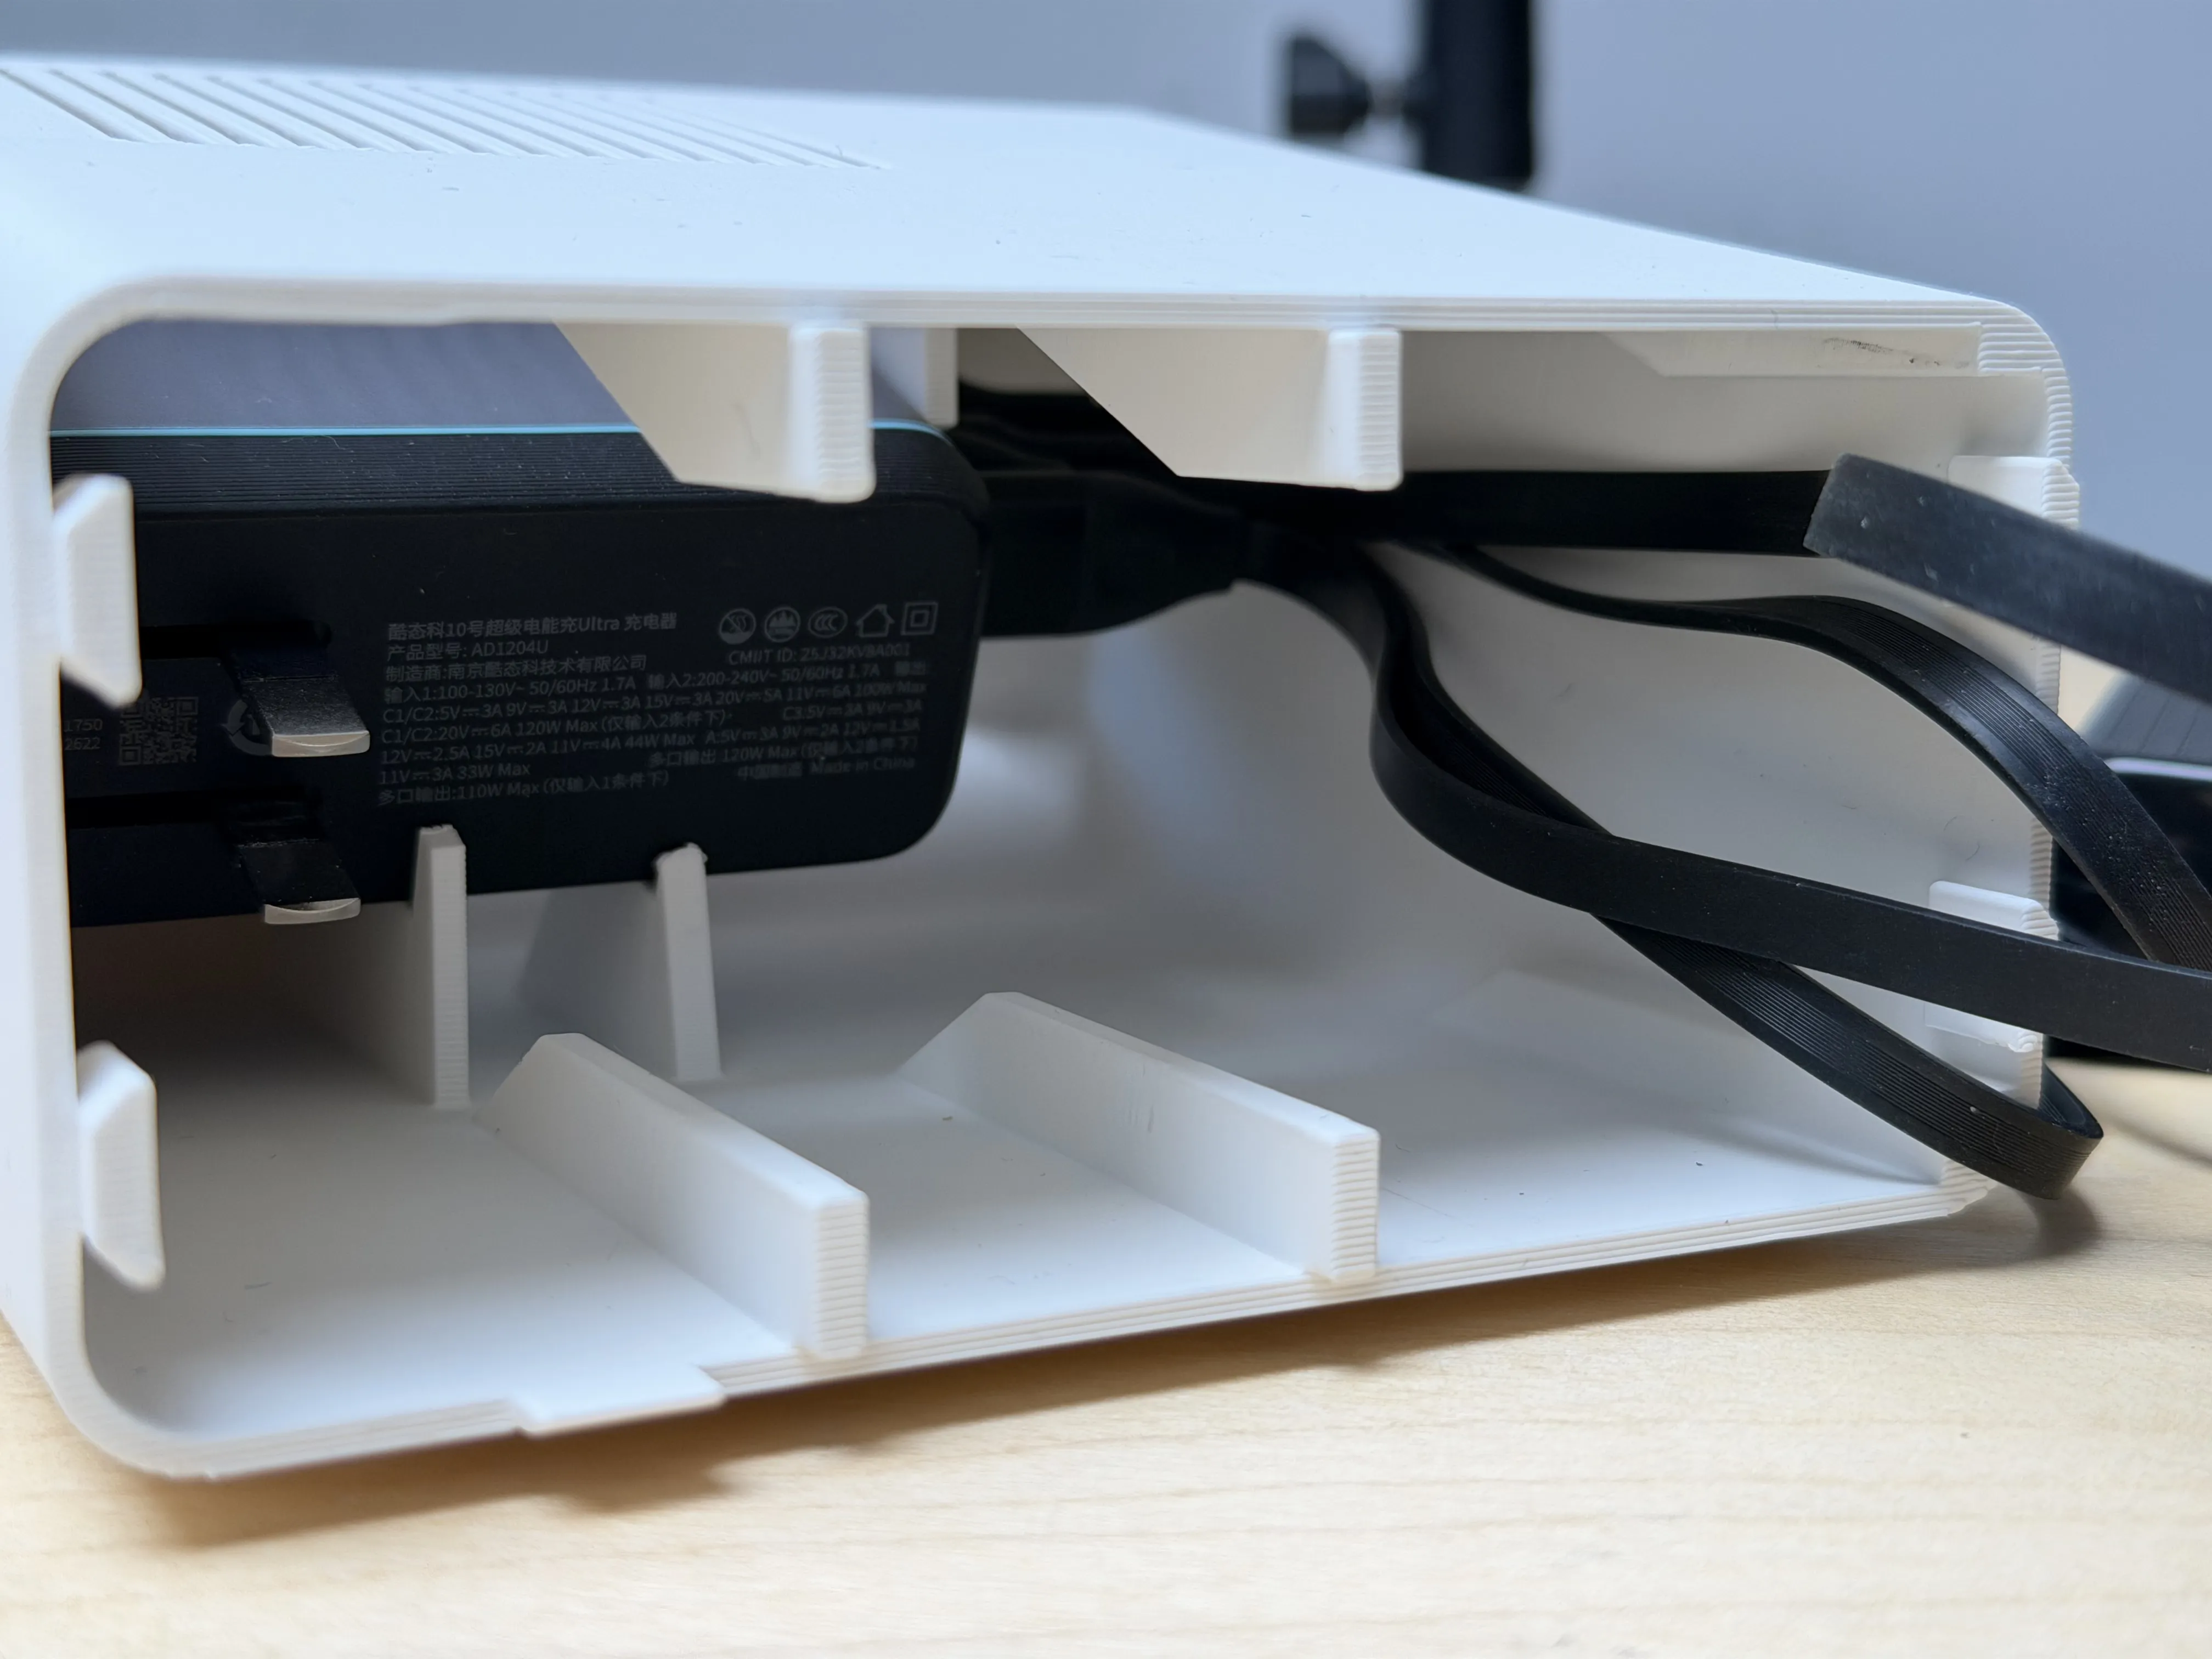
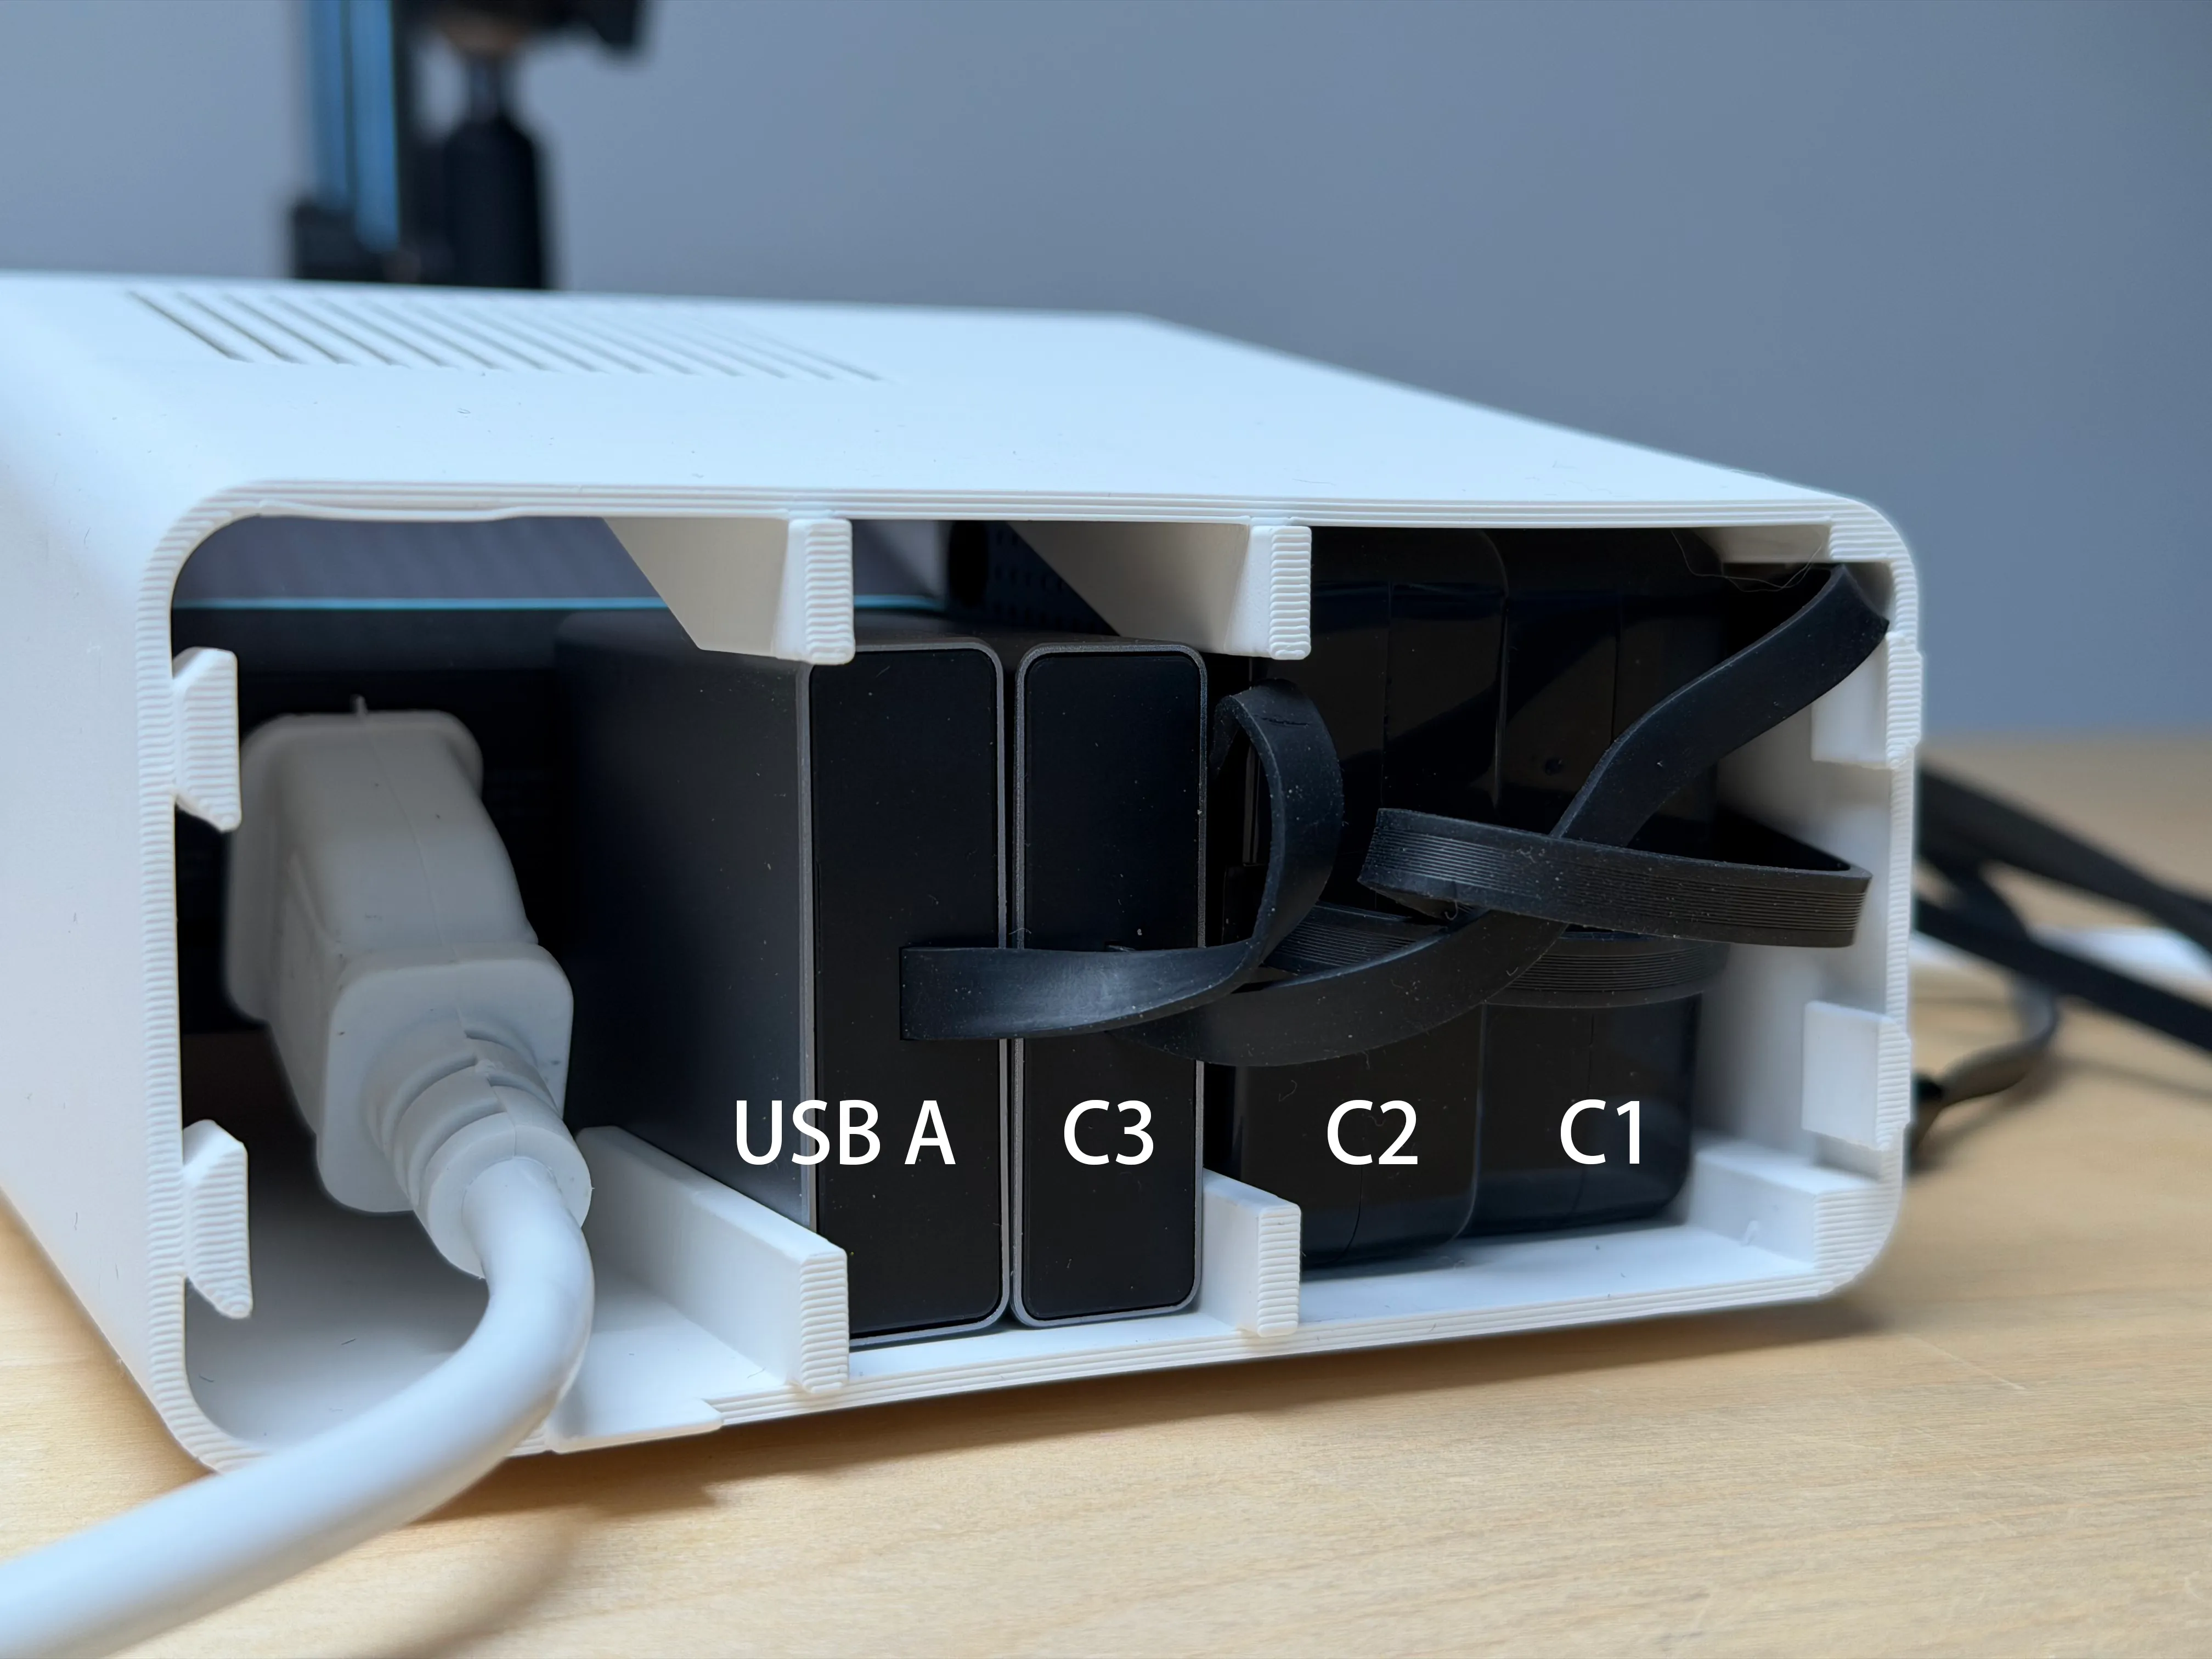
Viewed from the back, the order of the retractable cables from left to right is USBA→C3→C2→C1, where C1 can be pushed to a more forward position, with the cable placed behind it
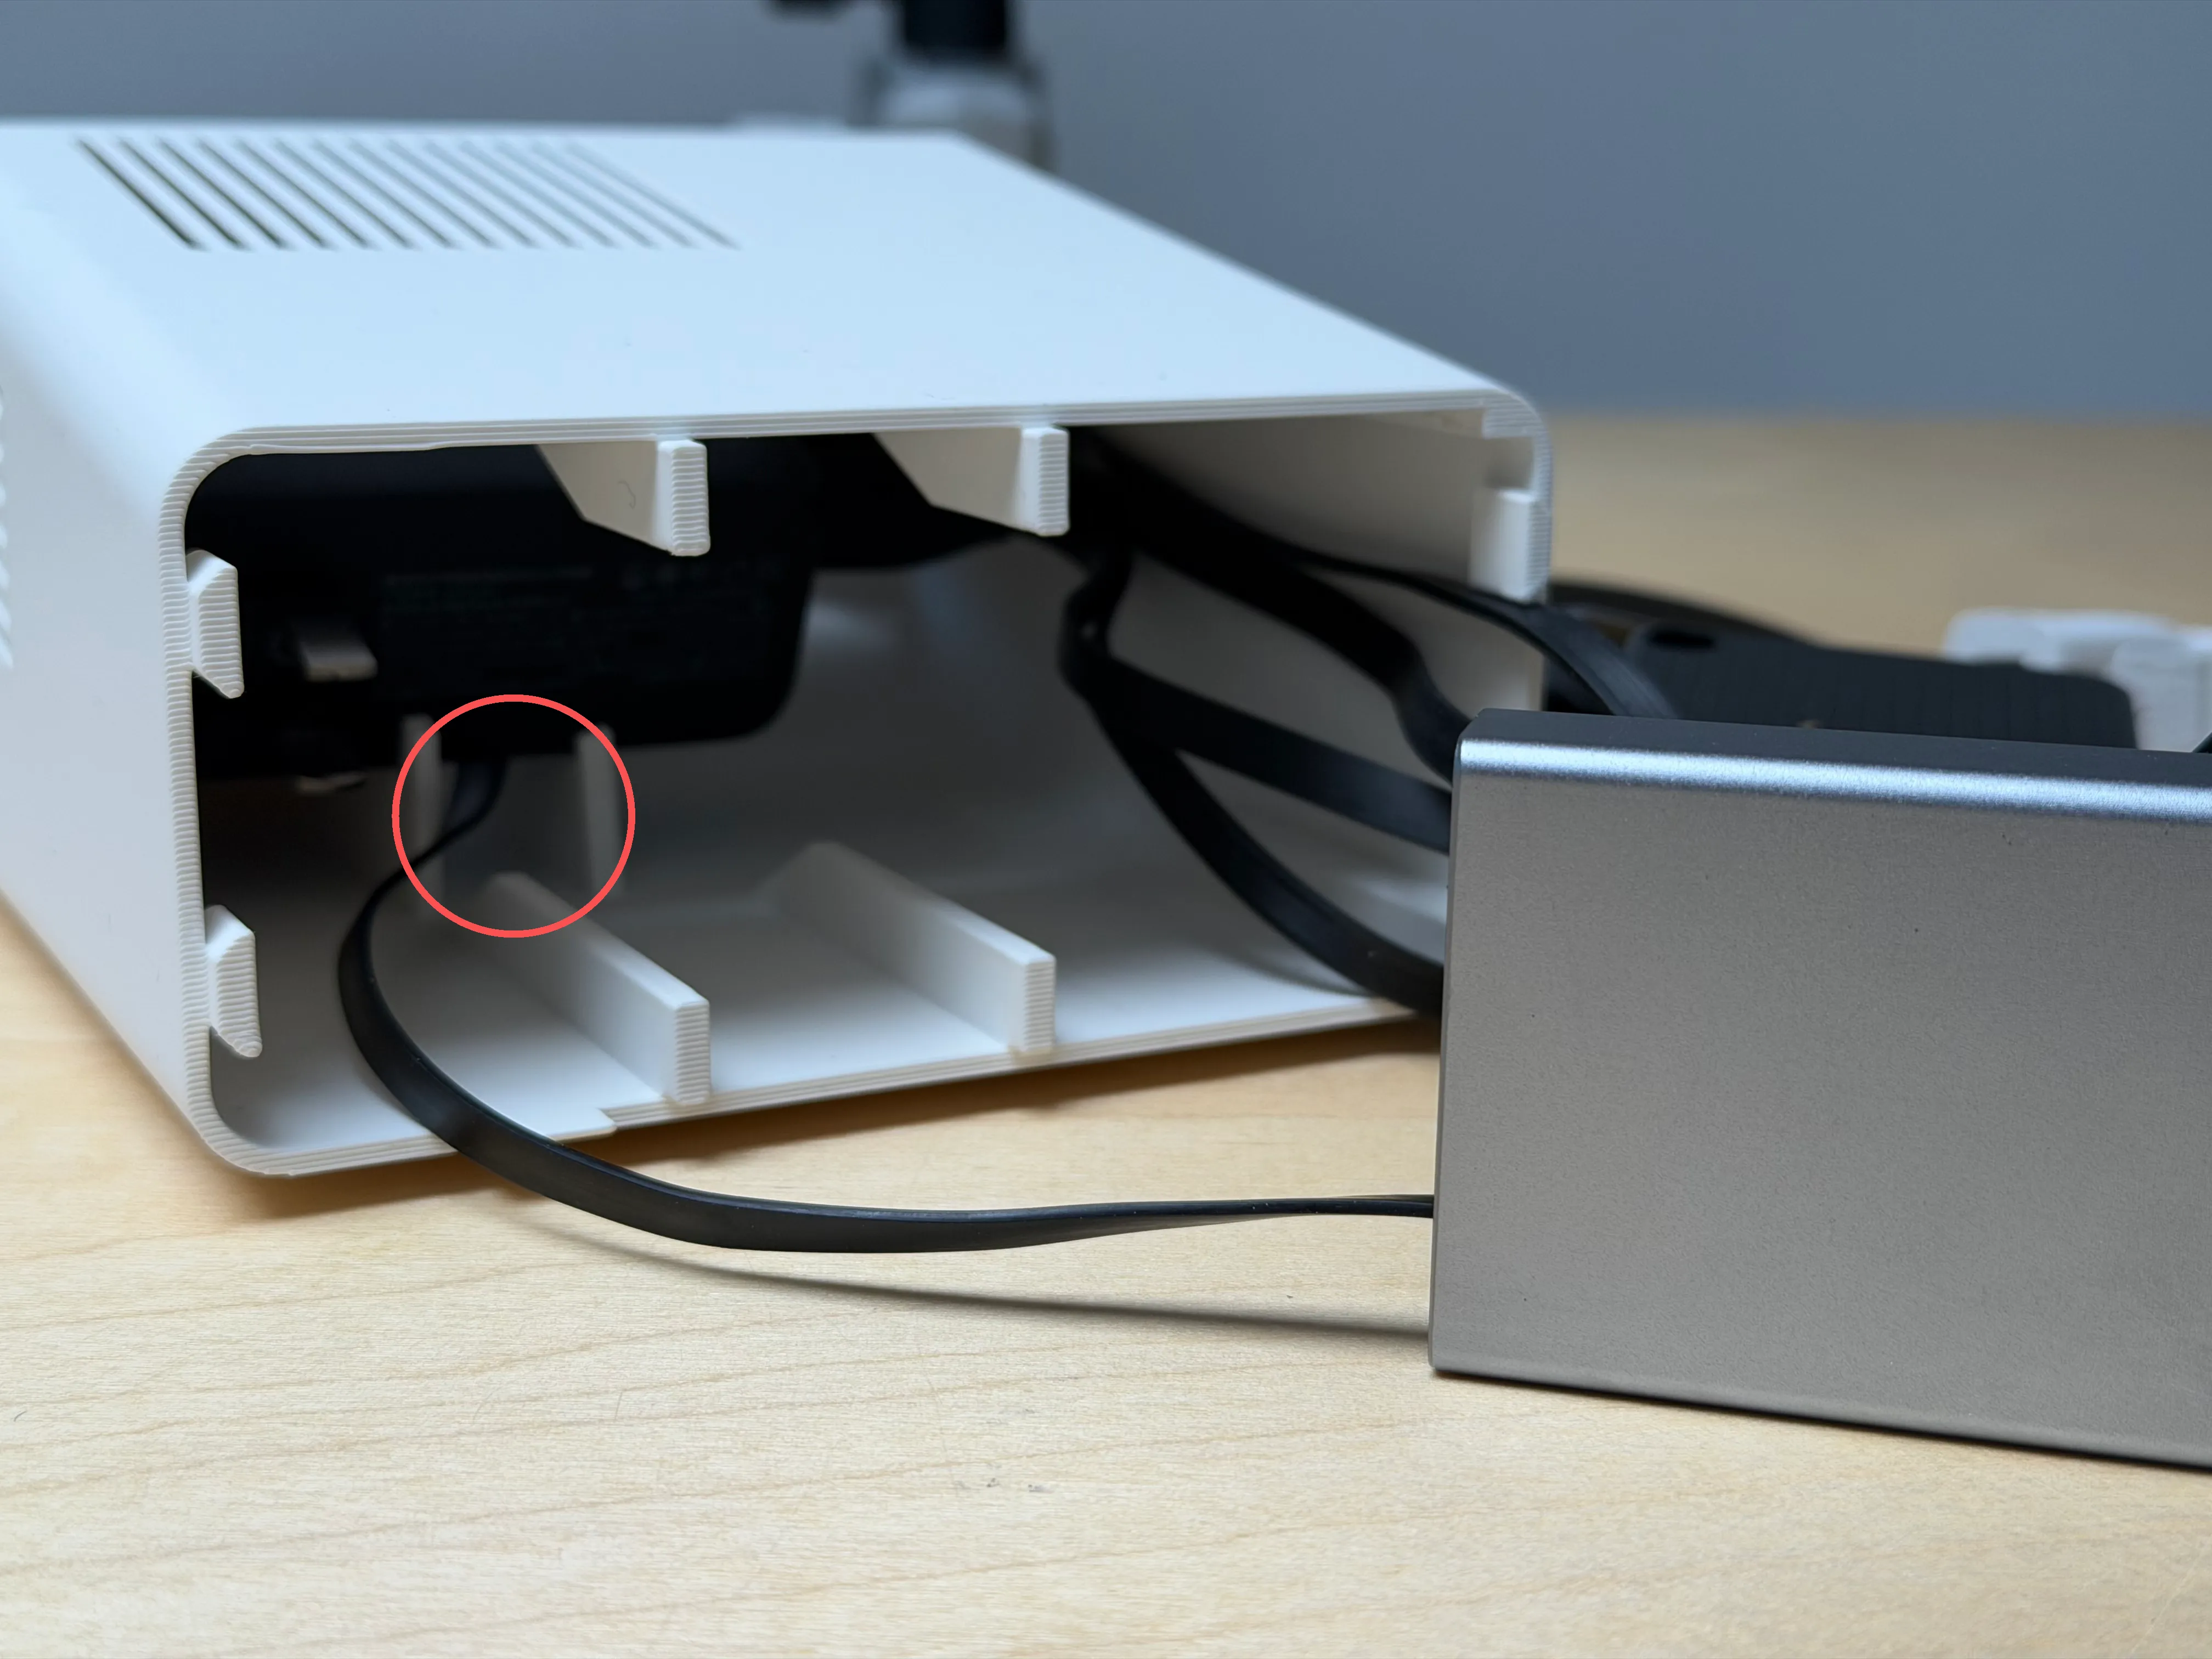
The USB A cable needs to extend out from between the two support feet of the charger
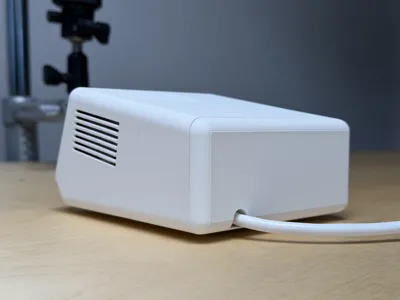
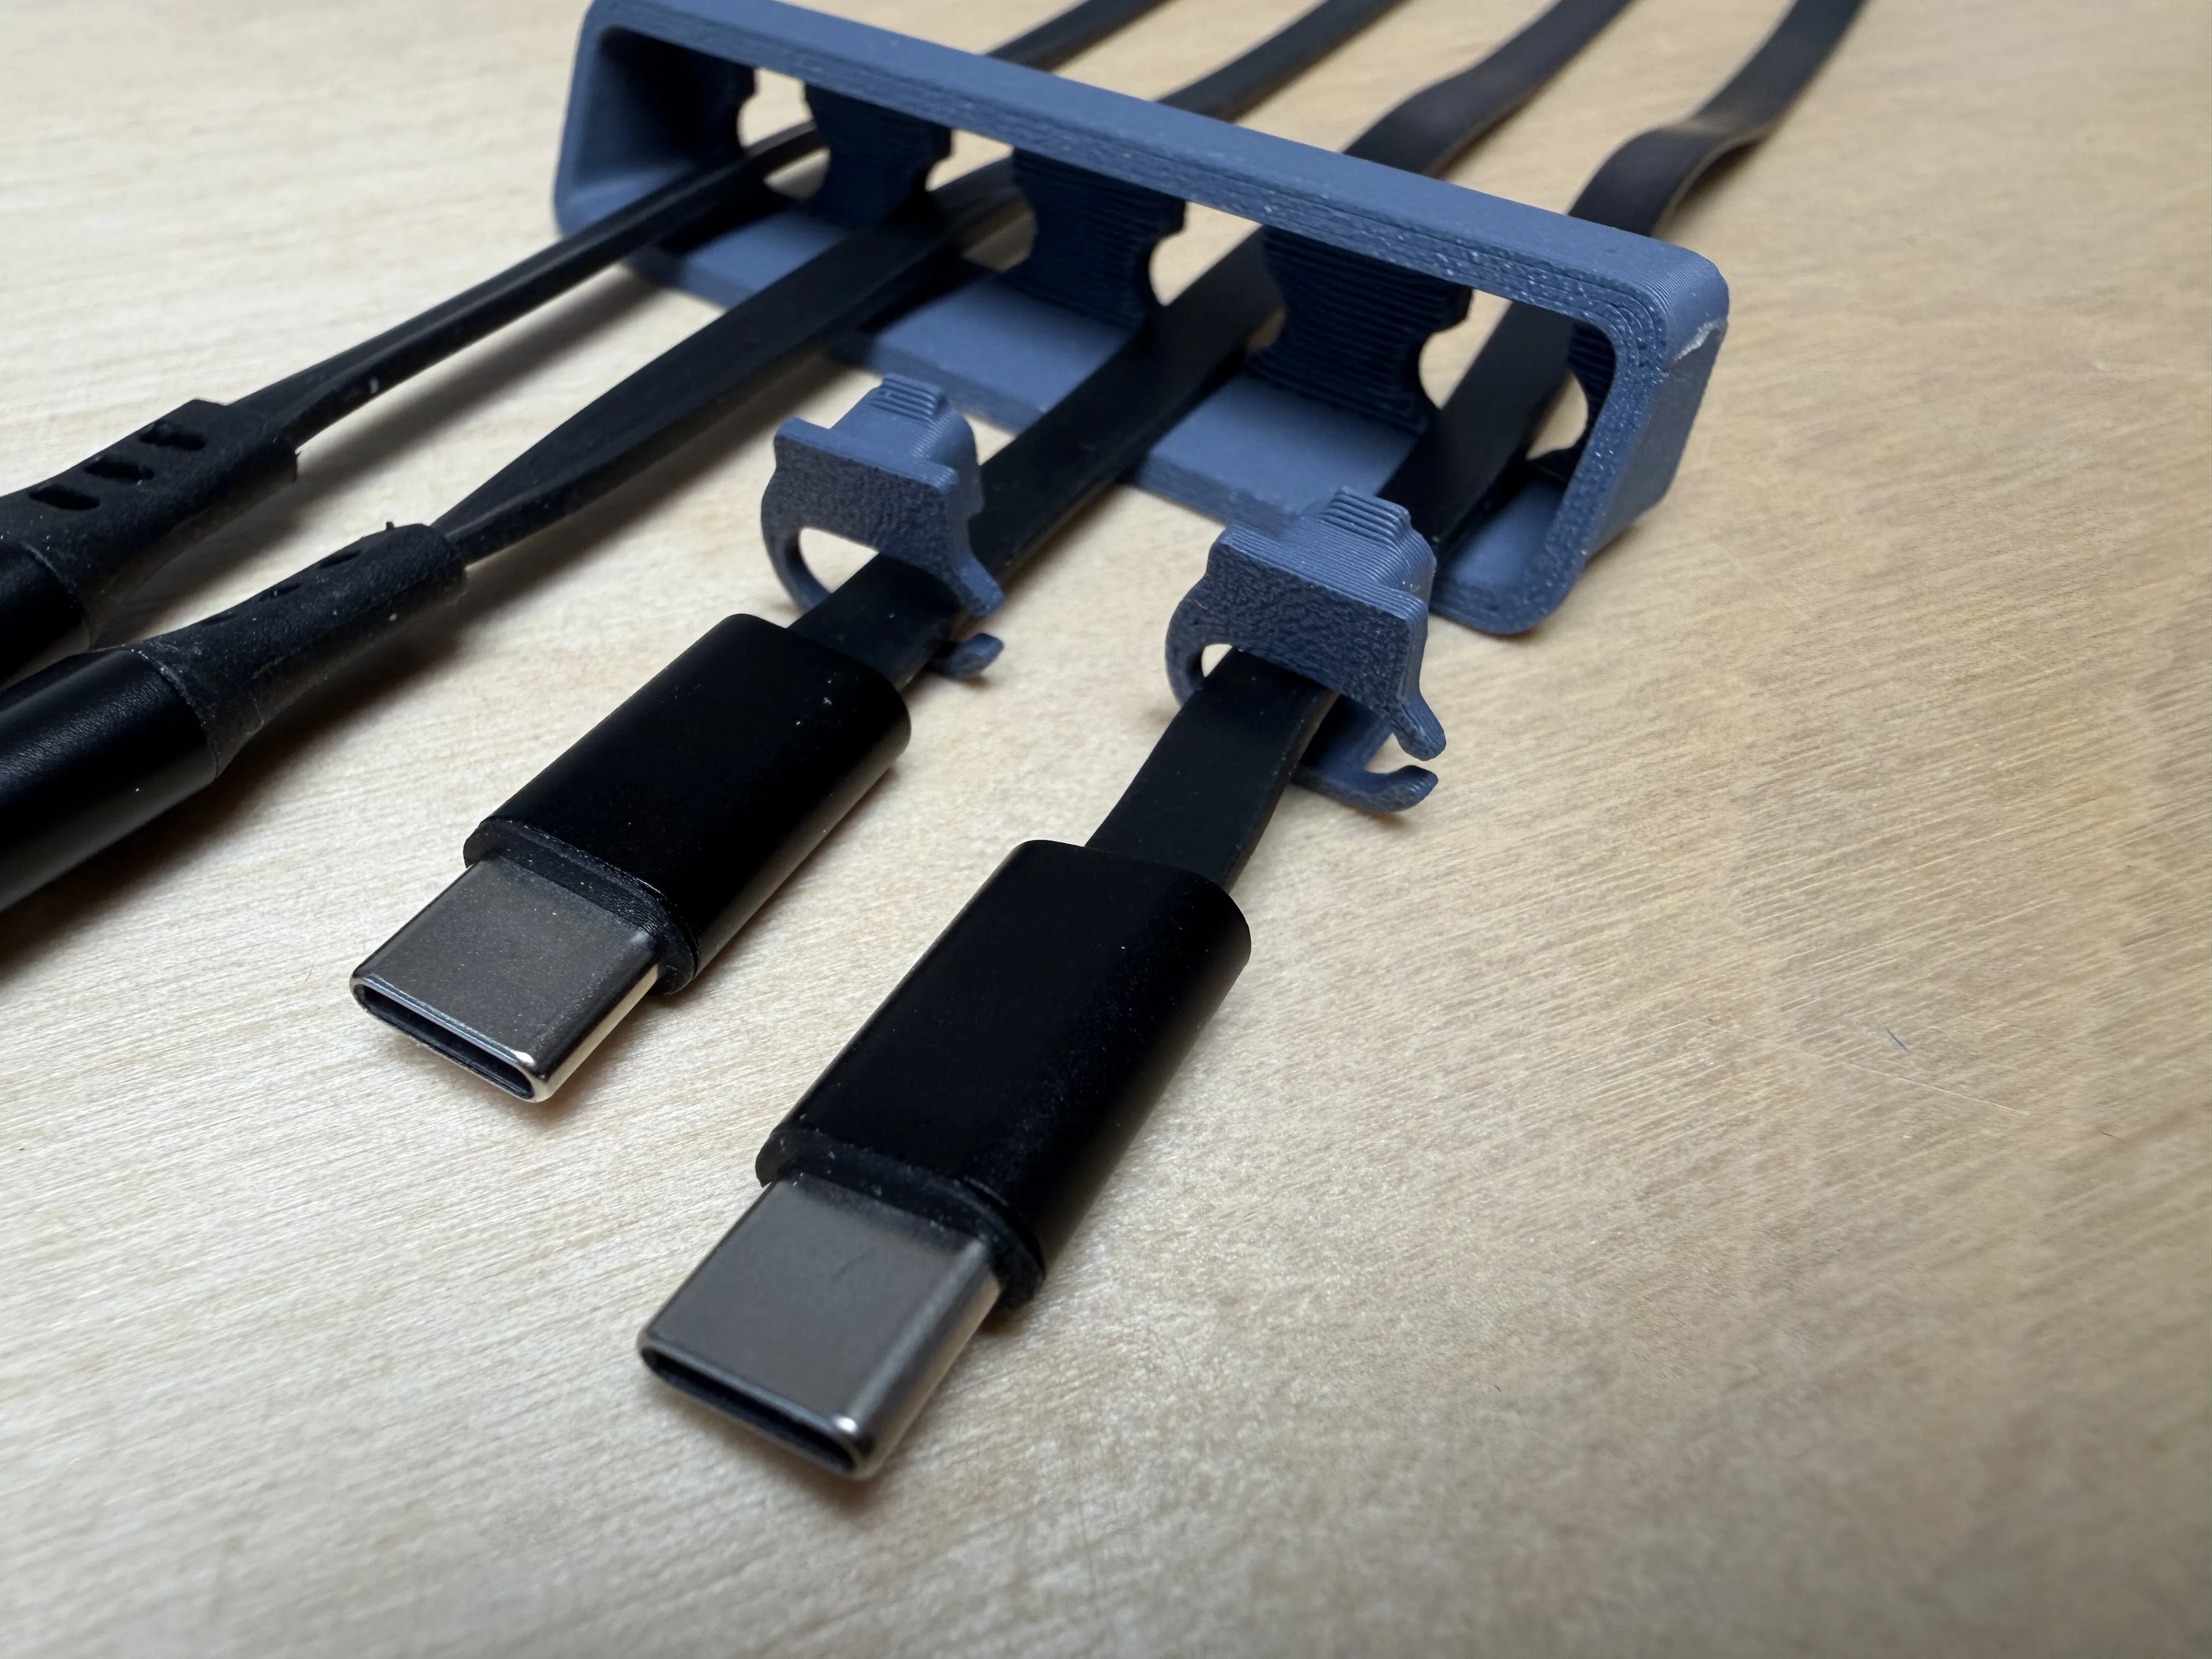
Make sure to arrange the cables neatly, especially the fixed end connected to the charger, and ensure it does not intertwine with the retractable cables After installing the retractable cables, first test their retraction and charging functionality, then install the cable clips and back panel
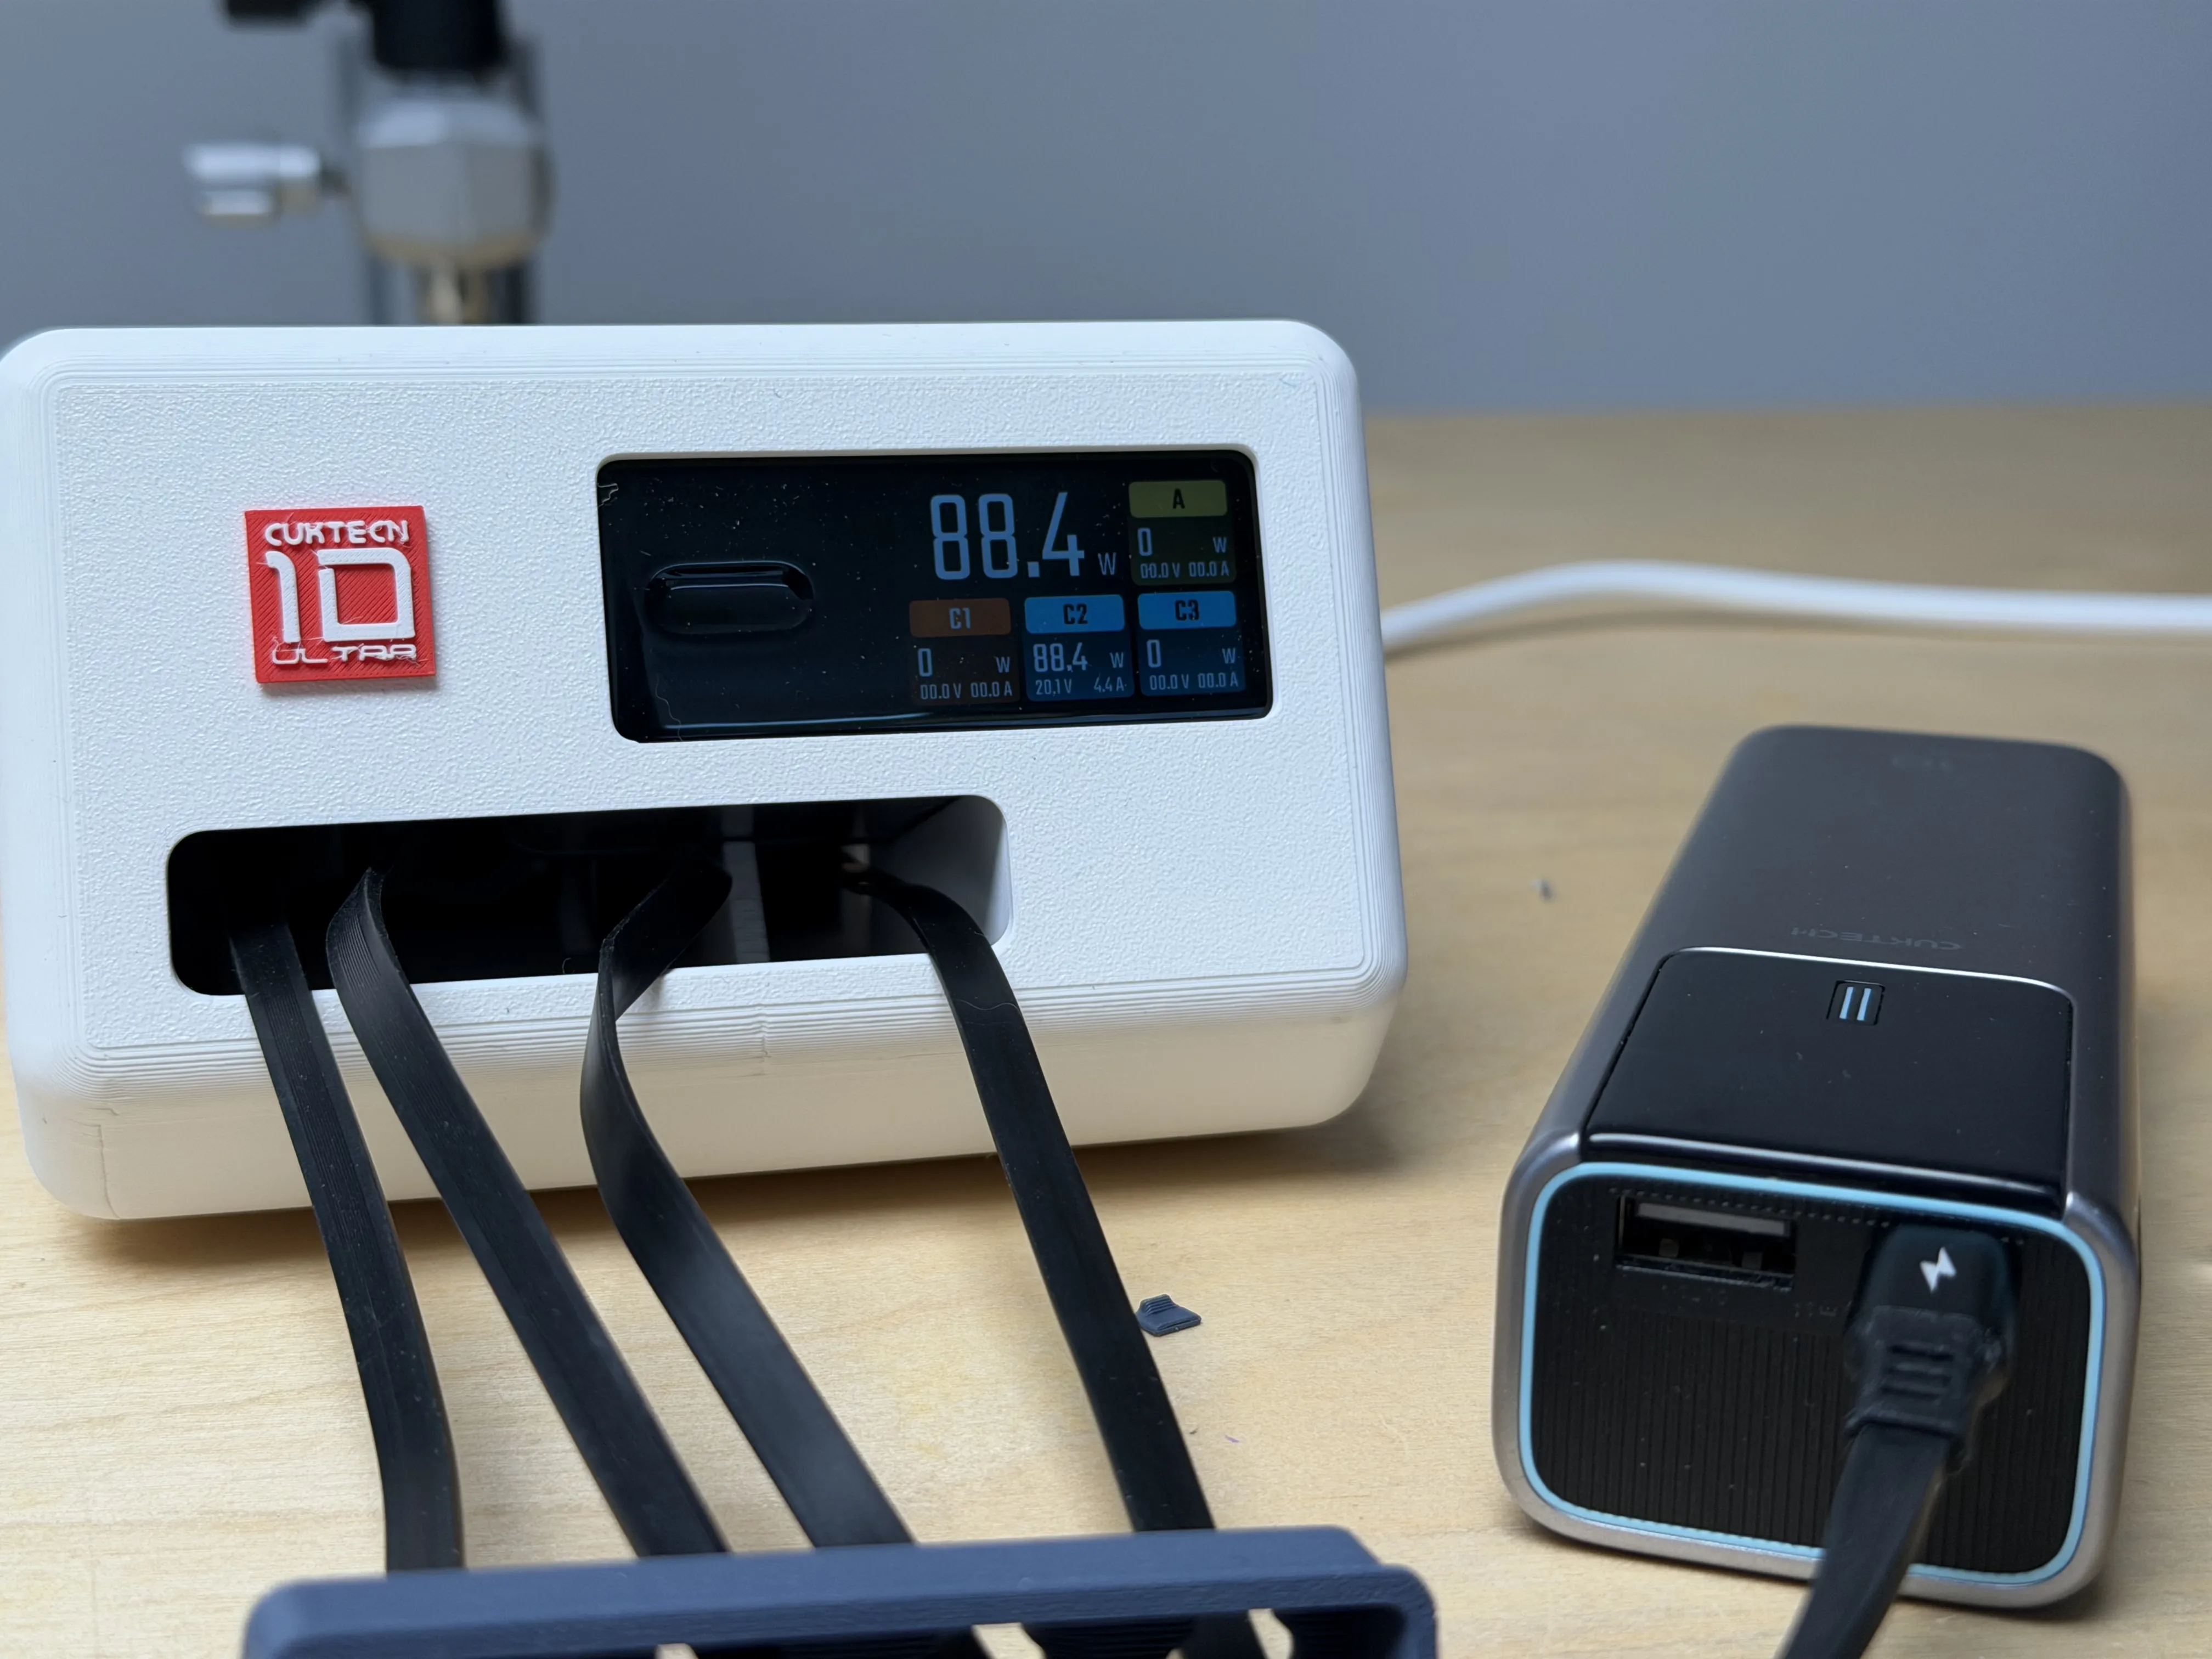
A fixing bracket can be optionally installed for the USB A and C3 port cables
License

You shall not share, sub-license, sell, rent, host, transfer, or distribute in any way the digital or 3D printed versions of this object, nor any other derivative work of this object in its digital or physical format (including - but not limited to - remixes of this object, and hosting on other digital platforms). The objects may not be used without permission in any way whatsoever in which you charge money, or collect fees.


Comment & Rating (18)