Search models, users, collections, and posts

MagSafe Charger to 17mm Ball Adapter and Mount

Print Profile(1)

All
A1 mini
H2D Pro
P1S
A1
H2C
P2S
X1 Carbon
X1
H2S
P1P
H2D
X1E
X2D
A2L

0.2mm layer, 7 walls, 15% infill
Designer
1.1 h
1 plate
5.0(1)

Open in Bambu Studio
Boost
71
221
8
0
119
58
Released 

Description

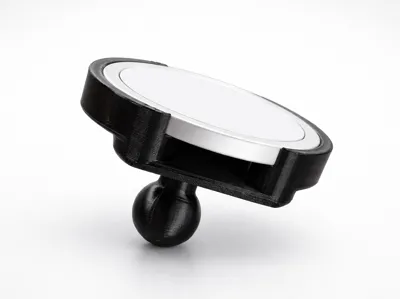
This adapter lets you use a MagSafe charger with any 17mm ball socket mount — an industry-standard interface that has become widely adopted across a large ecosystem of aftermarket mounts. Compatible brands include Garmin, iBolt, Arkon, Tackform, ProClip/Brodit, Bulletpoint, and Fanaue, among others. 


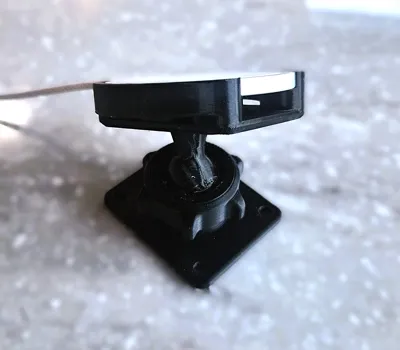
Dashboard, windshield, vent, and adhesive mounts with 17mm compression sockets will work with this adapter.  This adapter will also work with my own 17mm AMPS-compatible socket mount, which further adapts to the common 30x38mm hole pattern used by many car mounting accessories.


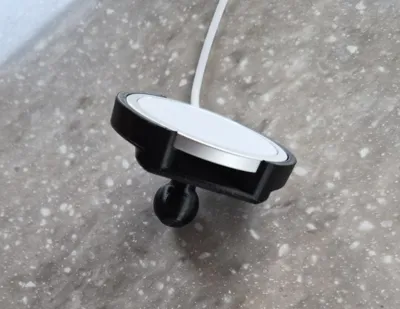
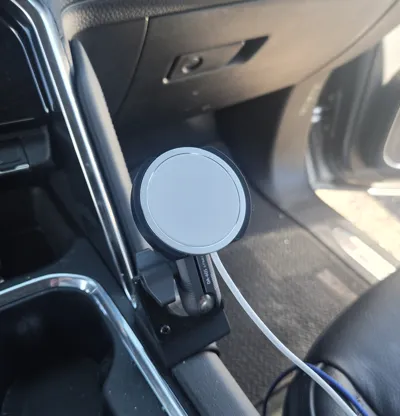
I believe the Magsafe charger may have a couple different versions.  This adapter was made for the charger I bought at this link, which is 55.6mm diameter and about 4mm deep.  It has a textured or braided USB-C cable.


I am also working on a version of this adapter that will bolt directly to an AMPS 30x38mm hole pattern, while omitting the ball attachment.


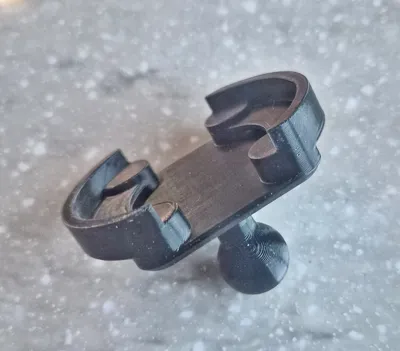
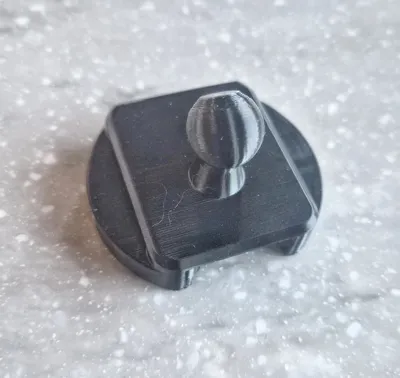
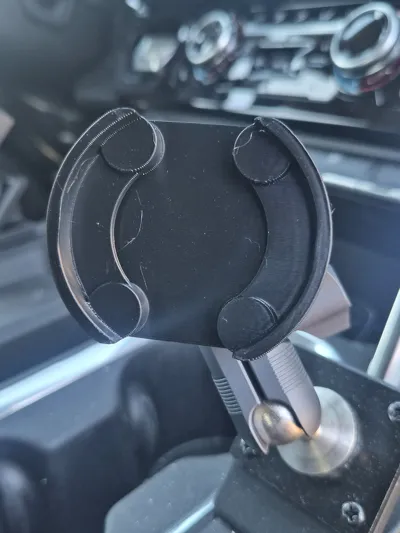
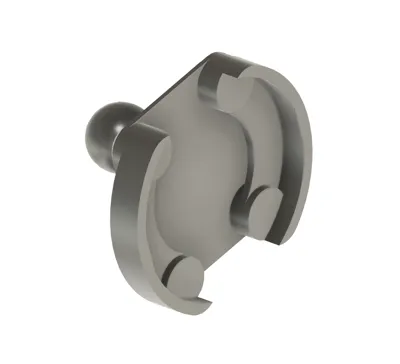
The charger clips in and is secured by small, non-interfering retaining tabs that keep the charger sitting high, encouraging contact with the back of your phone for good magnetic attachment. The geometry is designed to allow airflow around the rear of the charger, to dissipate heat during use.


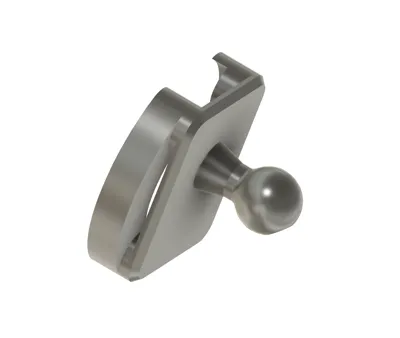
The model prints as a single piece at a 45° angle.  The 45° printing angle increases the strength of the ball post and helps with overhang issues, allowing printing with no brim or supports.

Comment & Rating (8)

(0/1000)

Hey @chronicity, I'm having some trouble getting this to print right. This sunlu high speed PETG. I'm using the strength profile and printing in the orientation you have it in with no supports or brim. Left is standard 0.2 mm layer height and right 0.1. Any ideas on what may be causing these defects? What are you seam settings? I've dried my PETG and have desiccant in the AMS so i think filament wise it should be okay.
The designer has replied
0
Reply
@willyv124 Hi! Sorry, I'm not especially good at troubleshooting quality issues, but I suspect your issue might be with filament settings. I had printed these with sunlu HS Petg Matte, but I had downloaded their print profiles and used them. I just now did a couple test prints with the Sunlu filament on my portable A1 Mini. I first used "generic Petg" as the filament profile. It was not great, but it was better than your prints. I then used the Sunlu profile and it turned out nice, like my pictures, other than a little bobble from a power interruption (I'm currently travelling in an RV) and some artifacts from my filament being stored carelessly for weeks and not dried. I am attaching a pic. For this print, I just opened to Studio from Makerworld and I didn't change anything but the filament preset. Let me know if you have trouble getting the Sunlu profiles and maybe I can help later. Currently sitting at a pool with my grandkids, lol.
(Edited)
0
Reply
Replying to @chronicity :
Digging a little further, I'm actually not sure where I got the Sunlu filament profile (although I am reading then some are now built into Studio), but the main difference seems to be a 245 degree nozzle temp rather than 255 for generic PETG. So you might try lowering nozzle temp. That is in the filament settings. More cooling might also help. This is all at a 45 degree overhang, which the Bambu printers should be able to do without problem.
(Edited)
0
Reply
Replying to @chronicity :
So after I reading you say A1 mini and mention more cooling it made me realize that me having a p1s with it fully enclosed might be the issue. So i reprinted on default settings (did strength) only choosing the sunlu petg filament profit and had the front door open and top off and the print is pretty much perfect!
0
Reply
unfortunately the print would stick to my plate. I cleaned it properly and printed with reduced speed and multiple times but I couldn‘t get it to work
The designer has replied
0
Reply
You might try enabling a brim if it is not sticking.
0
Reply
Print Profile
0.2mm layer, 7 walls, 15% infill
0
Reply
No more

License

This user content is licensed under a Standard Digital File License.

You shall not share, sub-license, sell, rent, host, transfer, or distribute in any way the digital or 3D printed versions of this object, nor any other derivative work of this object in its digital or physical format (including - but not limited to - remixes of this object, and hosting on other digital platforms). The objects may not be used without permission in any way whatsoever in which you charge money, or collect fees.