
Mathematicus Imperial Dozen Times Tables
Print Profile(1)
Description
Boost Me (for free)
💚 If you like my model, support me with a Boost!
Every Boost helps me create more models, updates, and print-optimized designs for the community. Thanks for your support! 🙏
🧮 Mathematicus Imperial Dozen
The 12×12 Multiplication System
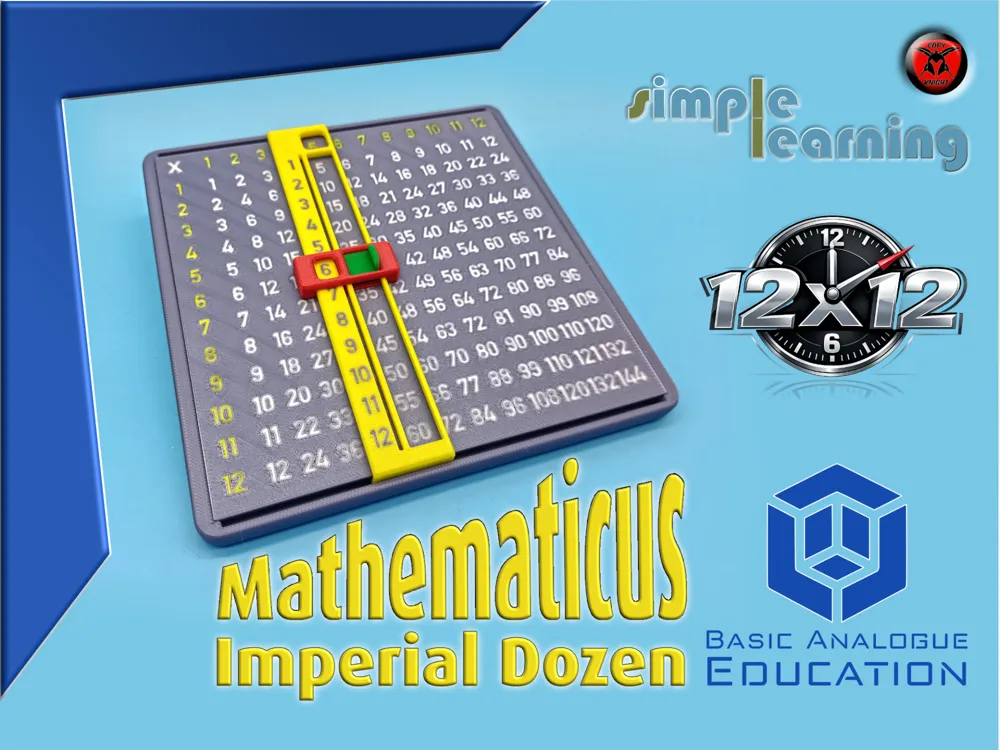
The Mathematicus Imperial Dozen expands the proven mechanical learning concept to a complete 12×12 multiplication system. Instead of the traditional 10×10 table, this version covers the extended number range up to 144 — making it ideal for deeper arithmetic practice and for working within the dozenal (base-12) mindset.
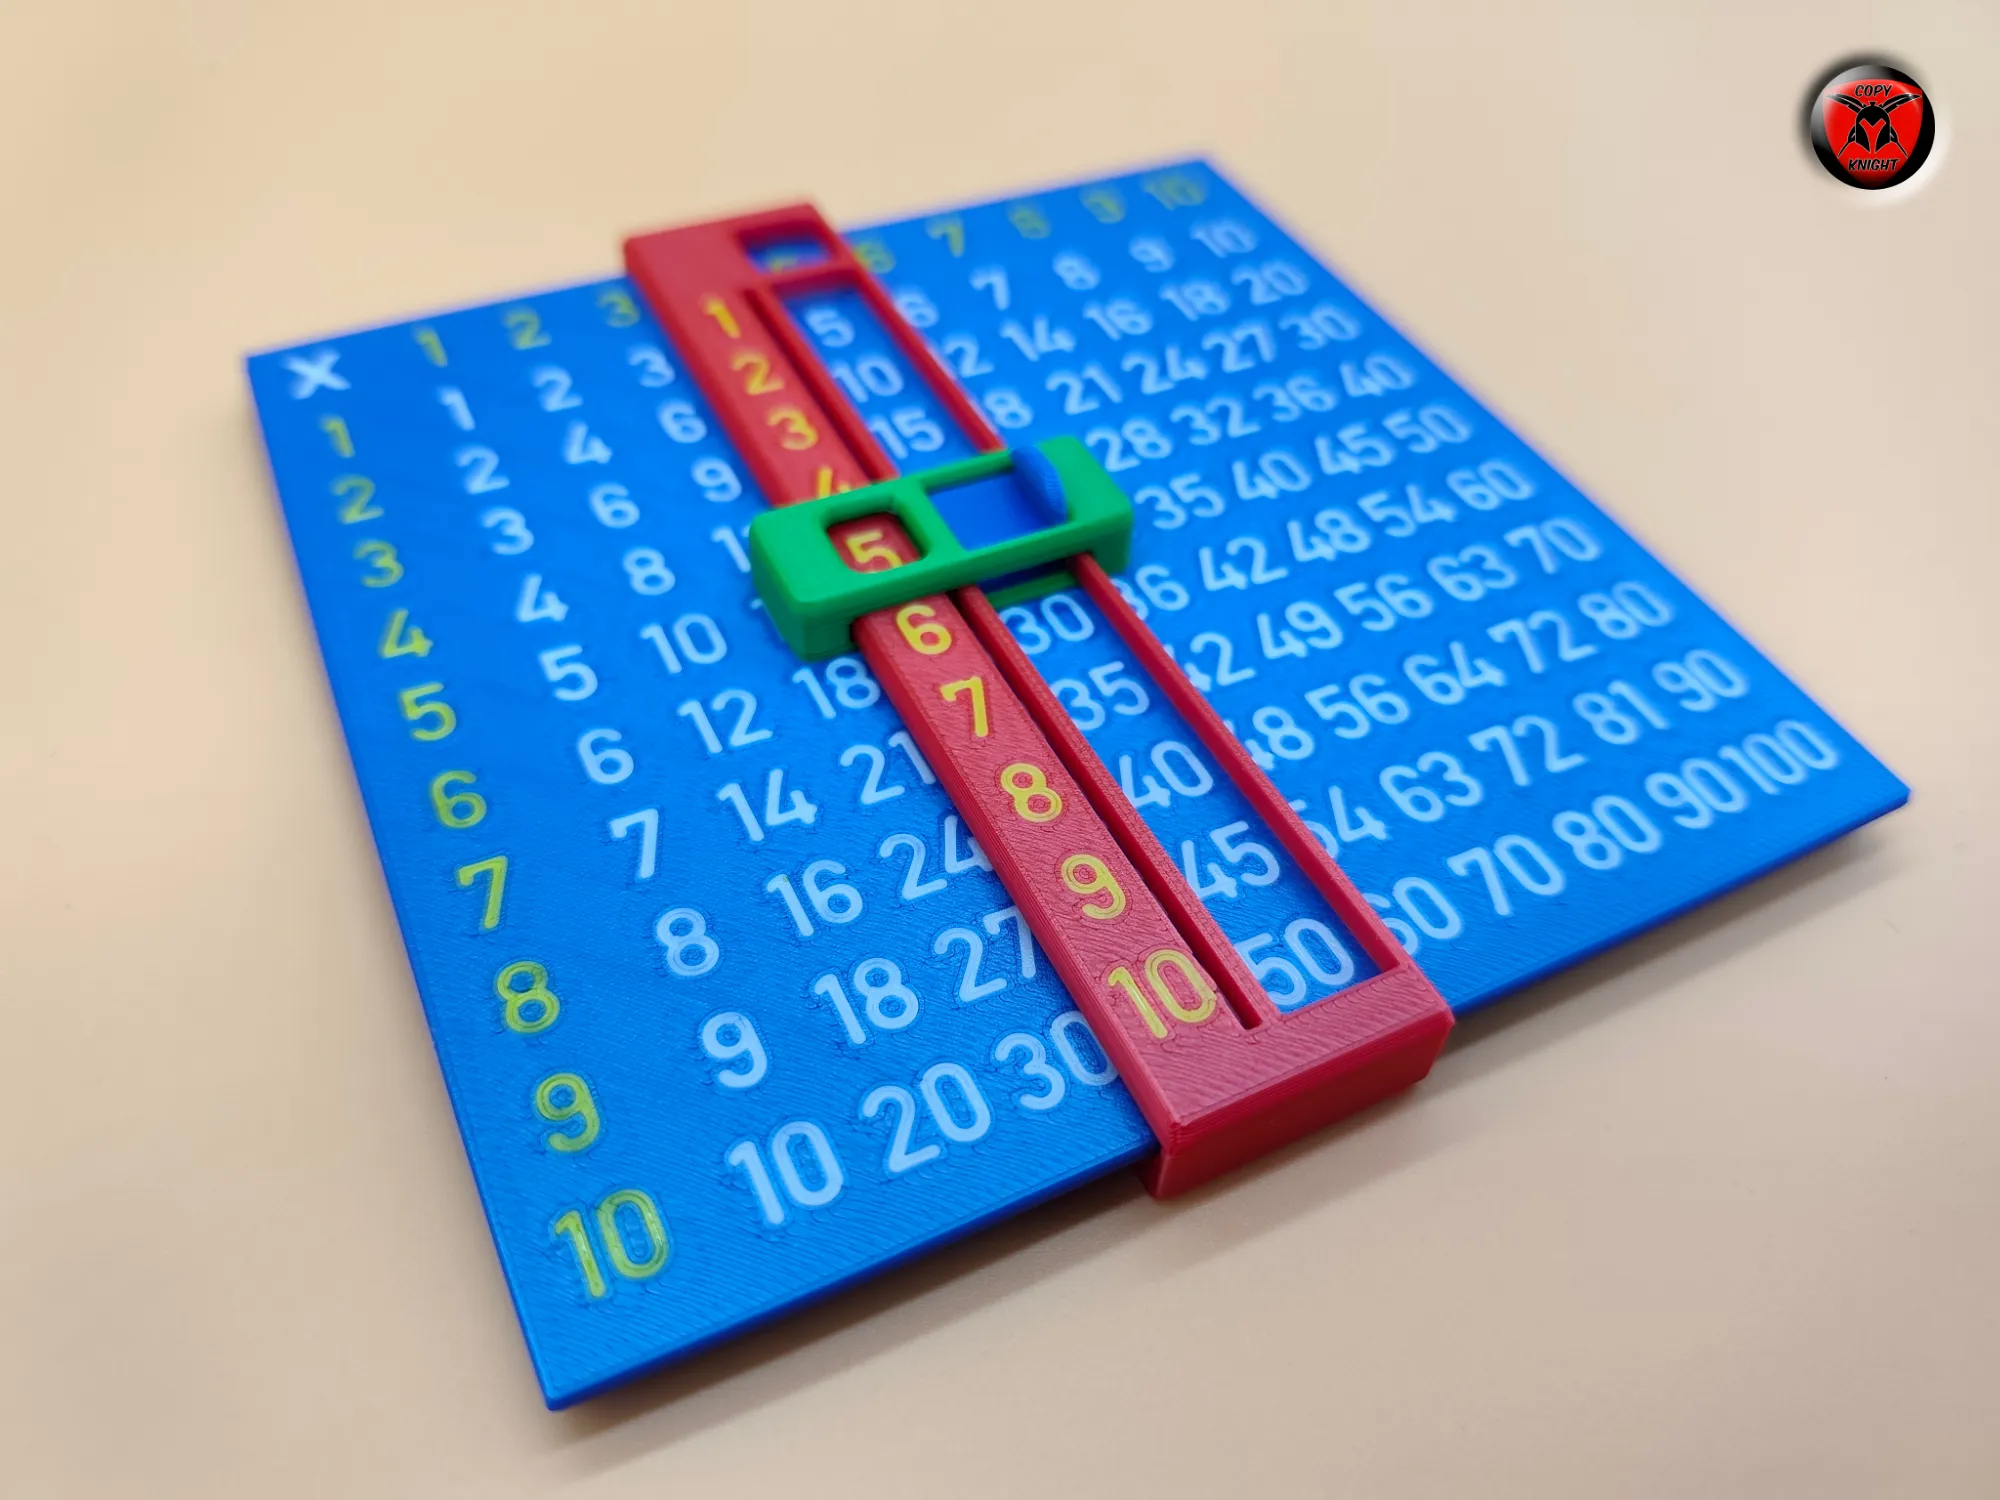
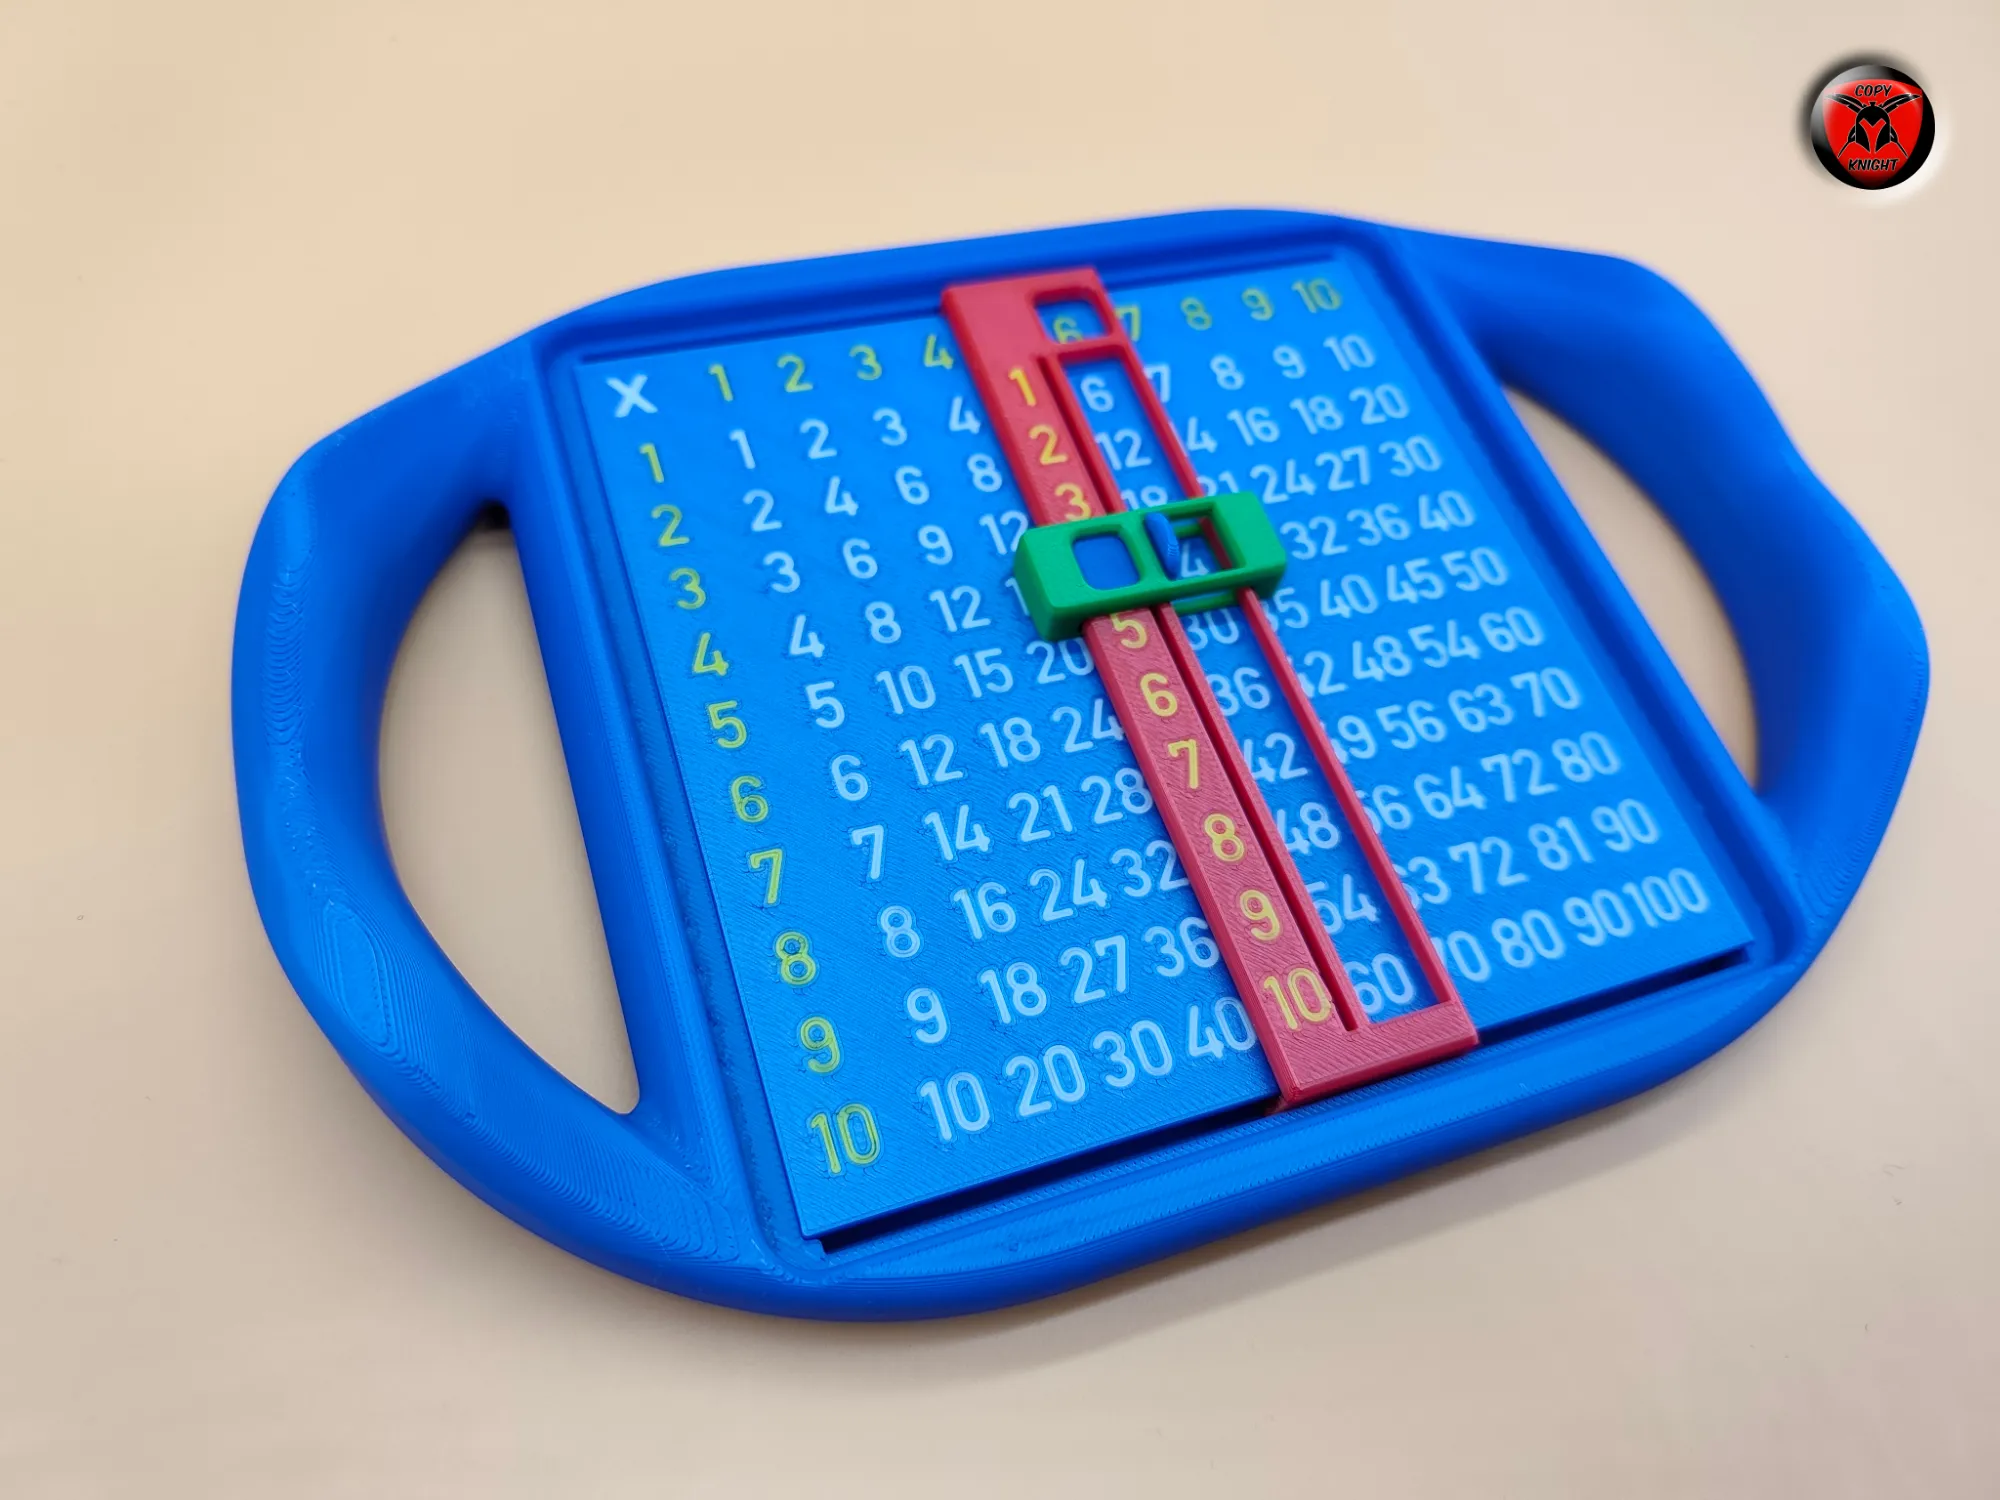
This compact mechanical calculator makes multiplication visible and tangible. By adjusting two sliding scales, the selected factors intersect and the result can be read instantly — no batteries, no display, no apps required.
🔢 What makes the Imperial Dozen special?
✔ Extended range up to 12 × 12 = 144
More comprehensive than standard 10×10 multiplication tables.
✔ Designed for dozenal thinking
Perfect for mathematical concepts involving the 12-based (Imperial / Dozenal) system.
✔ Hands-on learning
The mechanical sliding mechanism reinforces understanding instead of simple memorization.
✔ Compact & durable
A sturdy design suitable for classrooms, homeschooling, or any maker’s desk.
✔ 3D-print optimized
All components are designed for clean, reliable printing and easy assembly.
🎯 Who is it for?
- Students progressing beyond the basic 10×10 multiplication table
- Educators and parents seeking tactile learning tools
- Makers who appreciate functional mechanical designs
- Enthusiasts of the 12-based number system
The Mathematicus Imperial Dozen combines classic arithmetic with modern 3D design — expanded, thoughtful, and fully committed to the 12×12 format.
Note for STL Files
For those who download only the STL files:
The engraved numbers on the plates must be manually colored in your slicer so that they become visible in the final print.
This means the color assignment for the numbers must be done manually, since STL files do not contain color information.
In my prepared print profiles, I have already completed this work for you.
There, the numbers are properly colored and optimally prepared.
Therefore, it is recommended to use the 3MF file (one of my prepared print profiles).
This saves time, prevents mistakes in color assignment, and ensures that the model looks exactly as intended.
Assembly Instructions
The assembly process for the Mathematicus Imperial Dozen is identical to the Mathematicus Compact Deluxe.
For this reason, I have adopted the existing assembly instructions from the Compact Deluxe version, as the Imperial Dozen follows the same construction and mounting principle.
All components, guide rails, and the sliding mechanism are based on the proven design — the only change is the expanded multiplication range from 10×10 to 12×12.
Anyone who has already assembled the Compact Deluxe or any other Mathematicus model of mine will be able to build the Imperial Dozen without any modifications or additional guidance.
Step1:
Step 2:
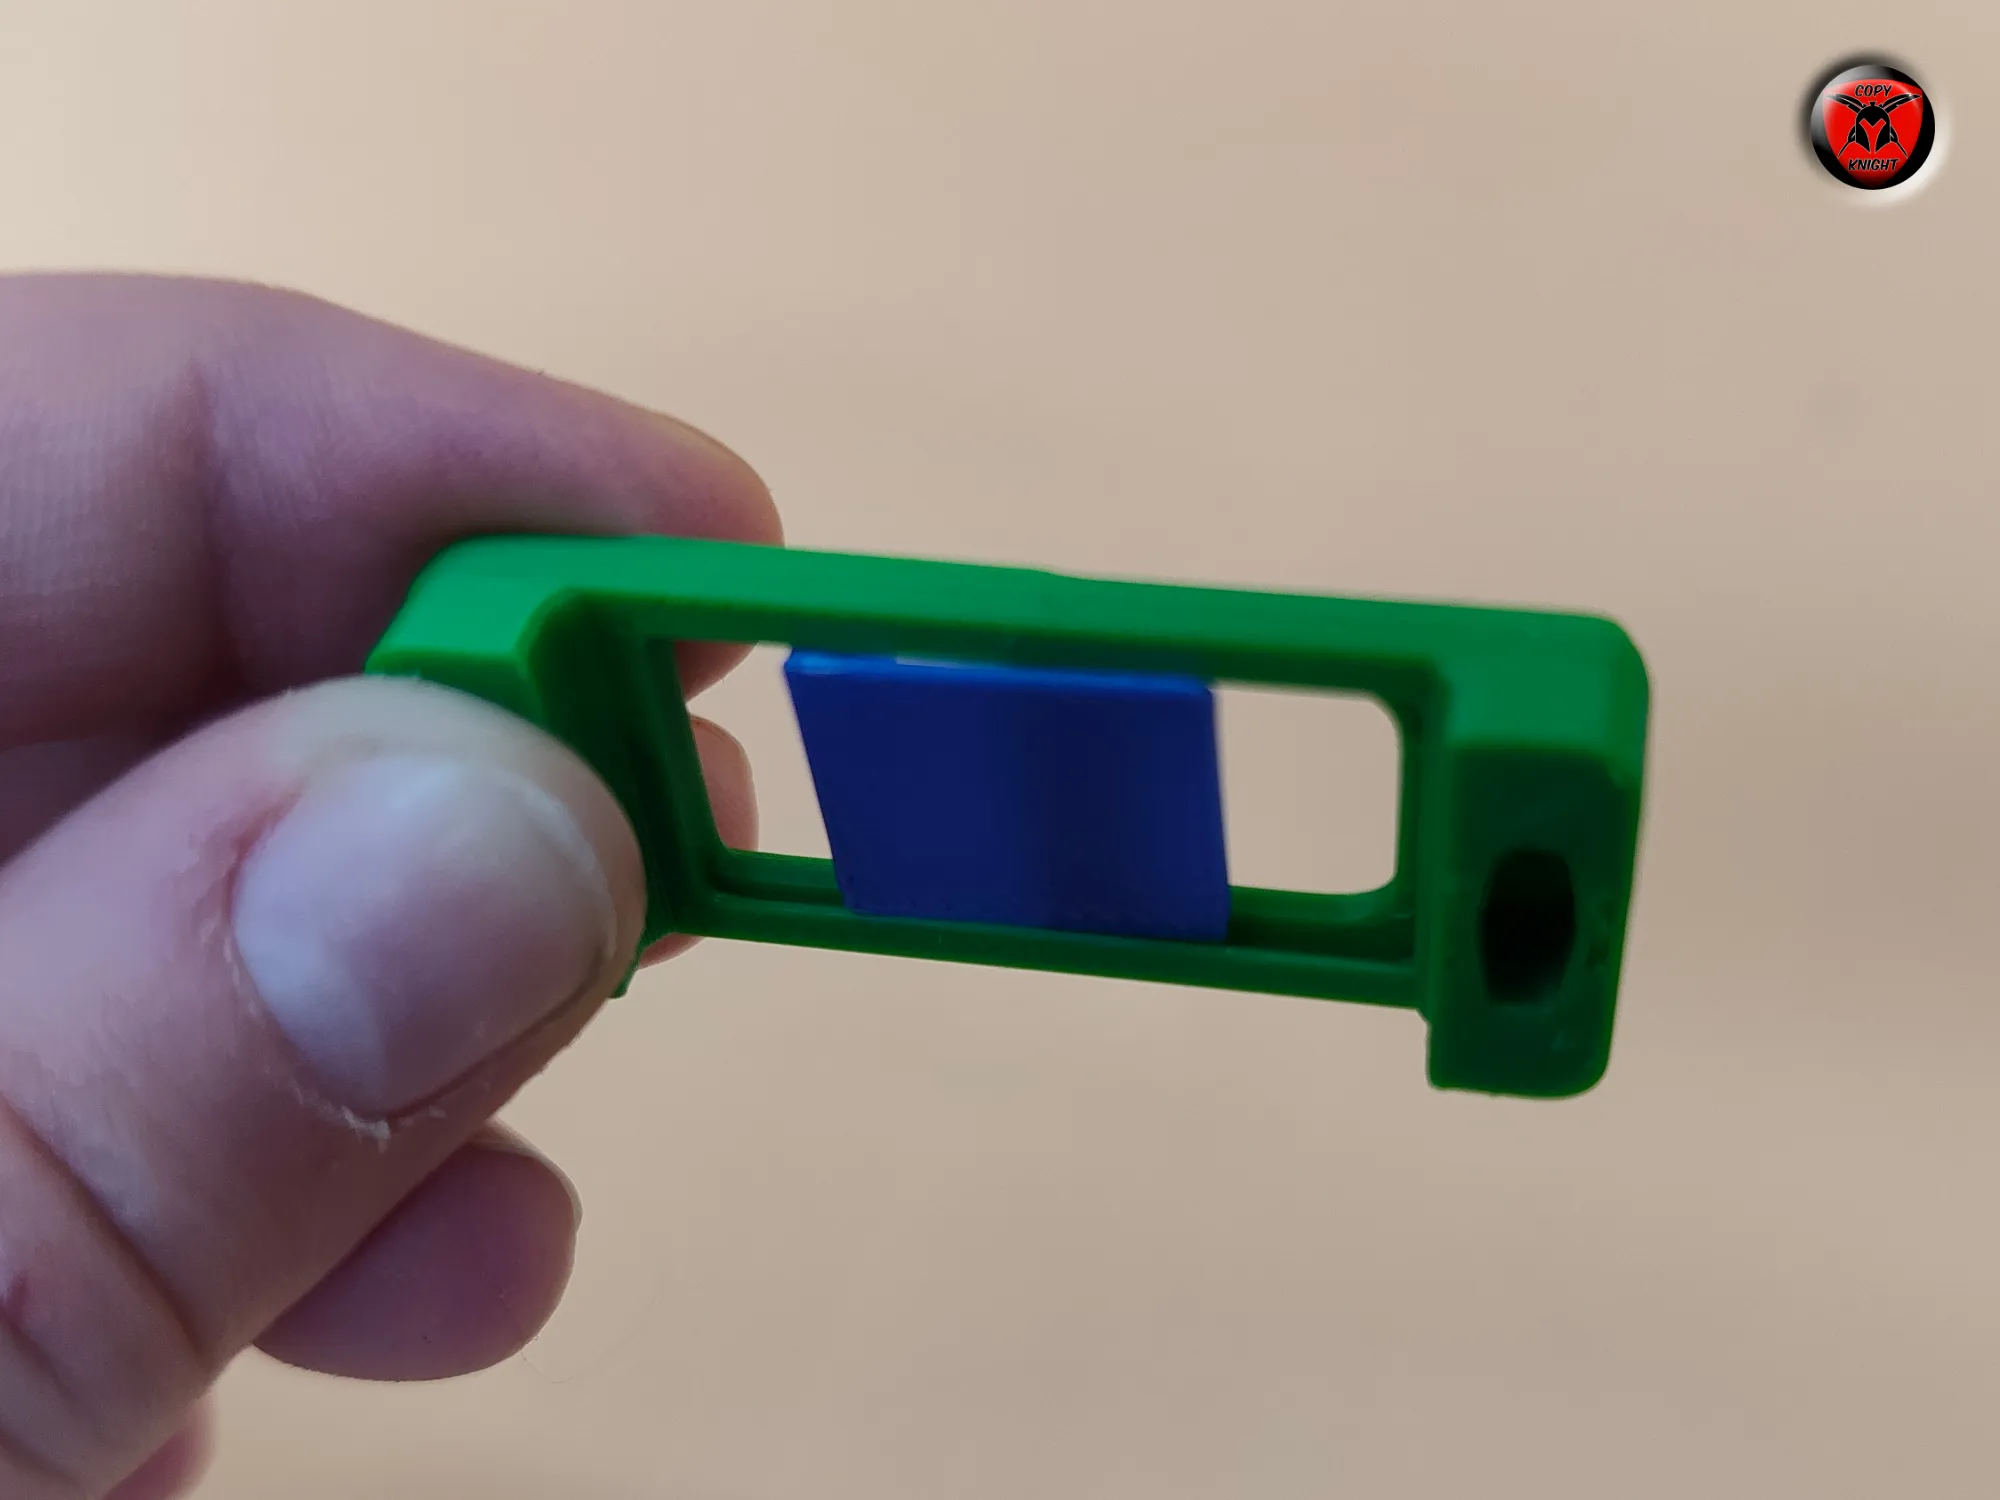
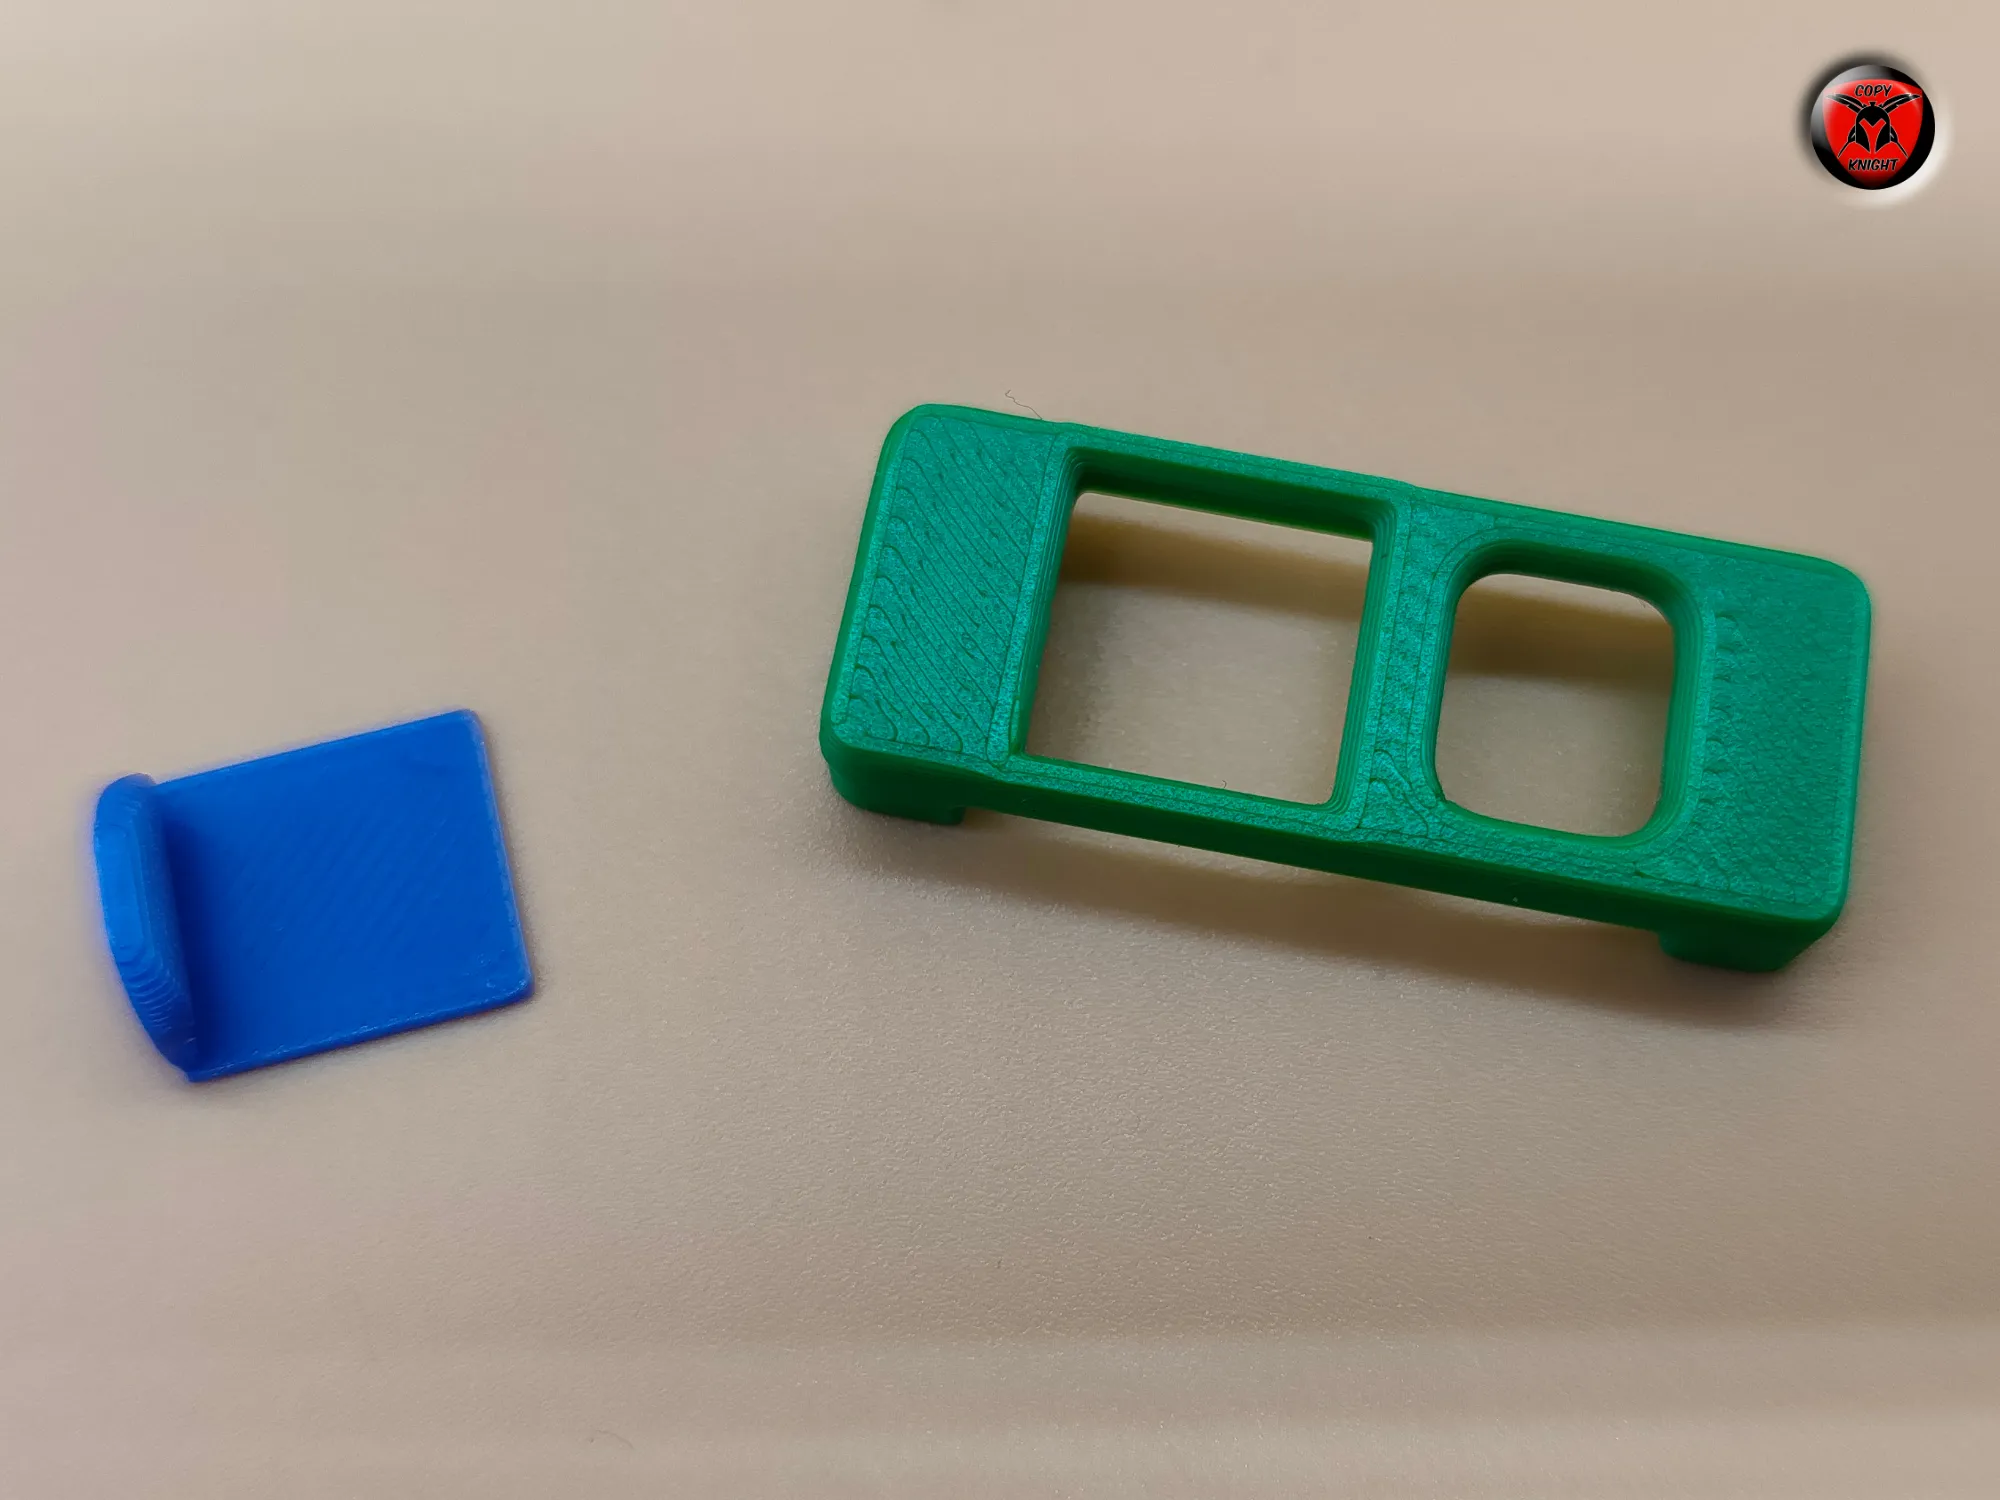
Important Assembly Step – Sliding Window & Top Transverse Bar
The most important step during assembly is installing the sliding window into the top transverse bar.
Please take your time with this step, as proper installation ensures smooth and long-lasting functionality.
Step-by-Step:
- Insert the sliding window into either the upper or the lower recess of the transverse bar first.
- Once one side is positioned correctly, apply gentle but firm pressure to press the other side into place.
It is completely normal for the sliding window to sit relatively tight at first. This is intentional to ensure stability and durability.
Very Important:
Before continuing with the next assembly step, you must manually loosen the sliding window by moving it back and forth several times.
Slide it repeatedly from one side to the other until:
- It moves smoothly
- It travels from one side to the other on its own when you tilt or move the part
- The motion feels effortless and even
This ensures optimal performance and prevents friction issues later.

As shown in the GIF below, the sliding window should glide freely from side to side after proper loosening.
Taking a little extra time here guarantees a perfectly functioning model in the end.
Step 3:
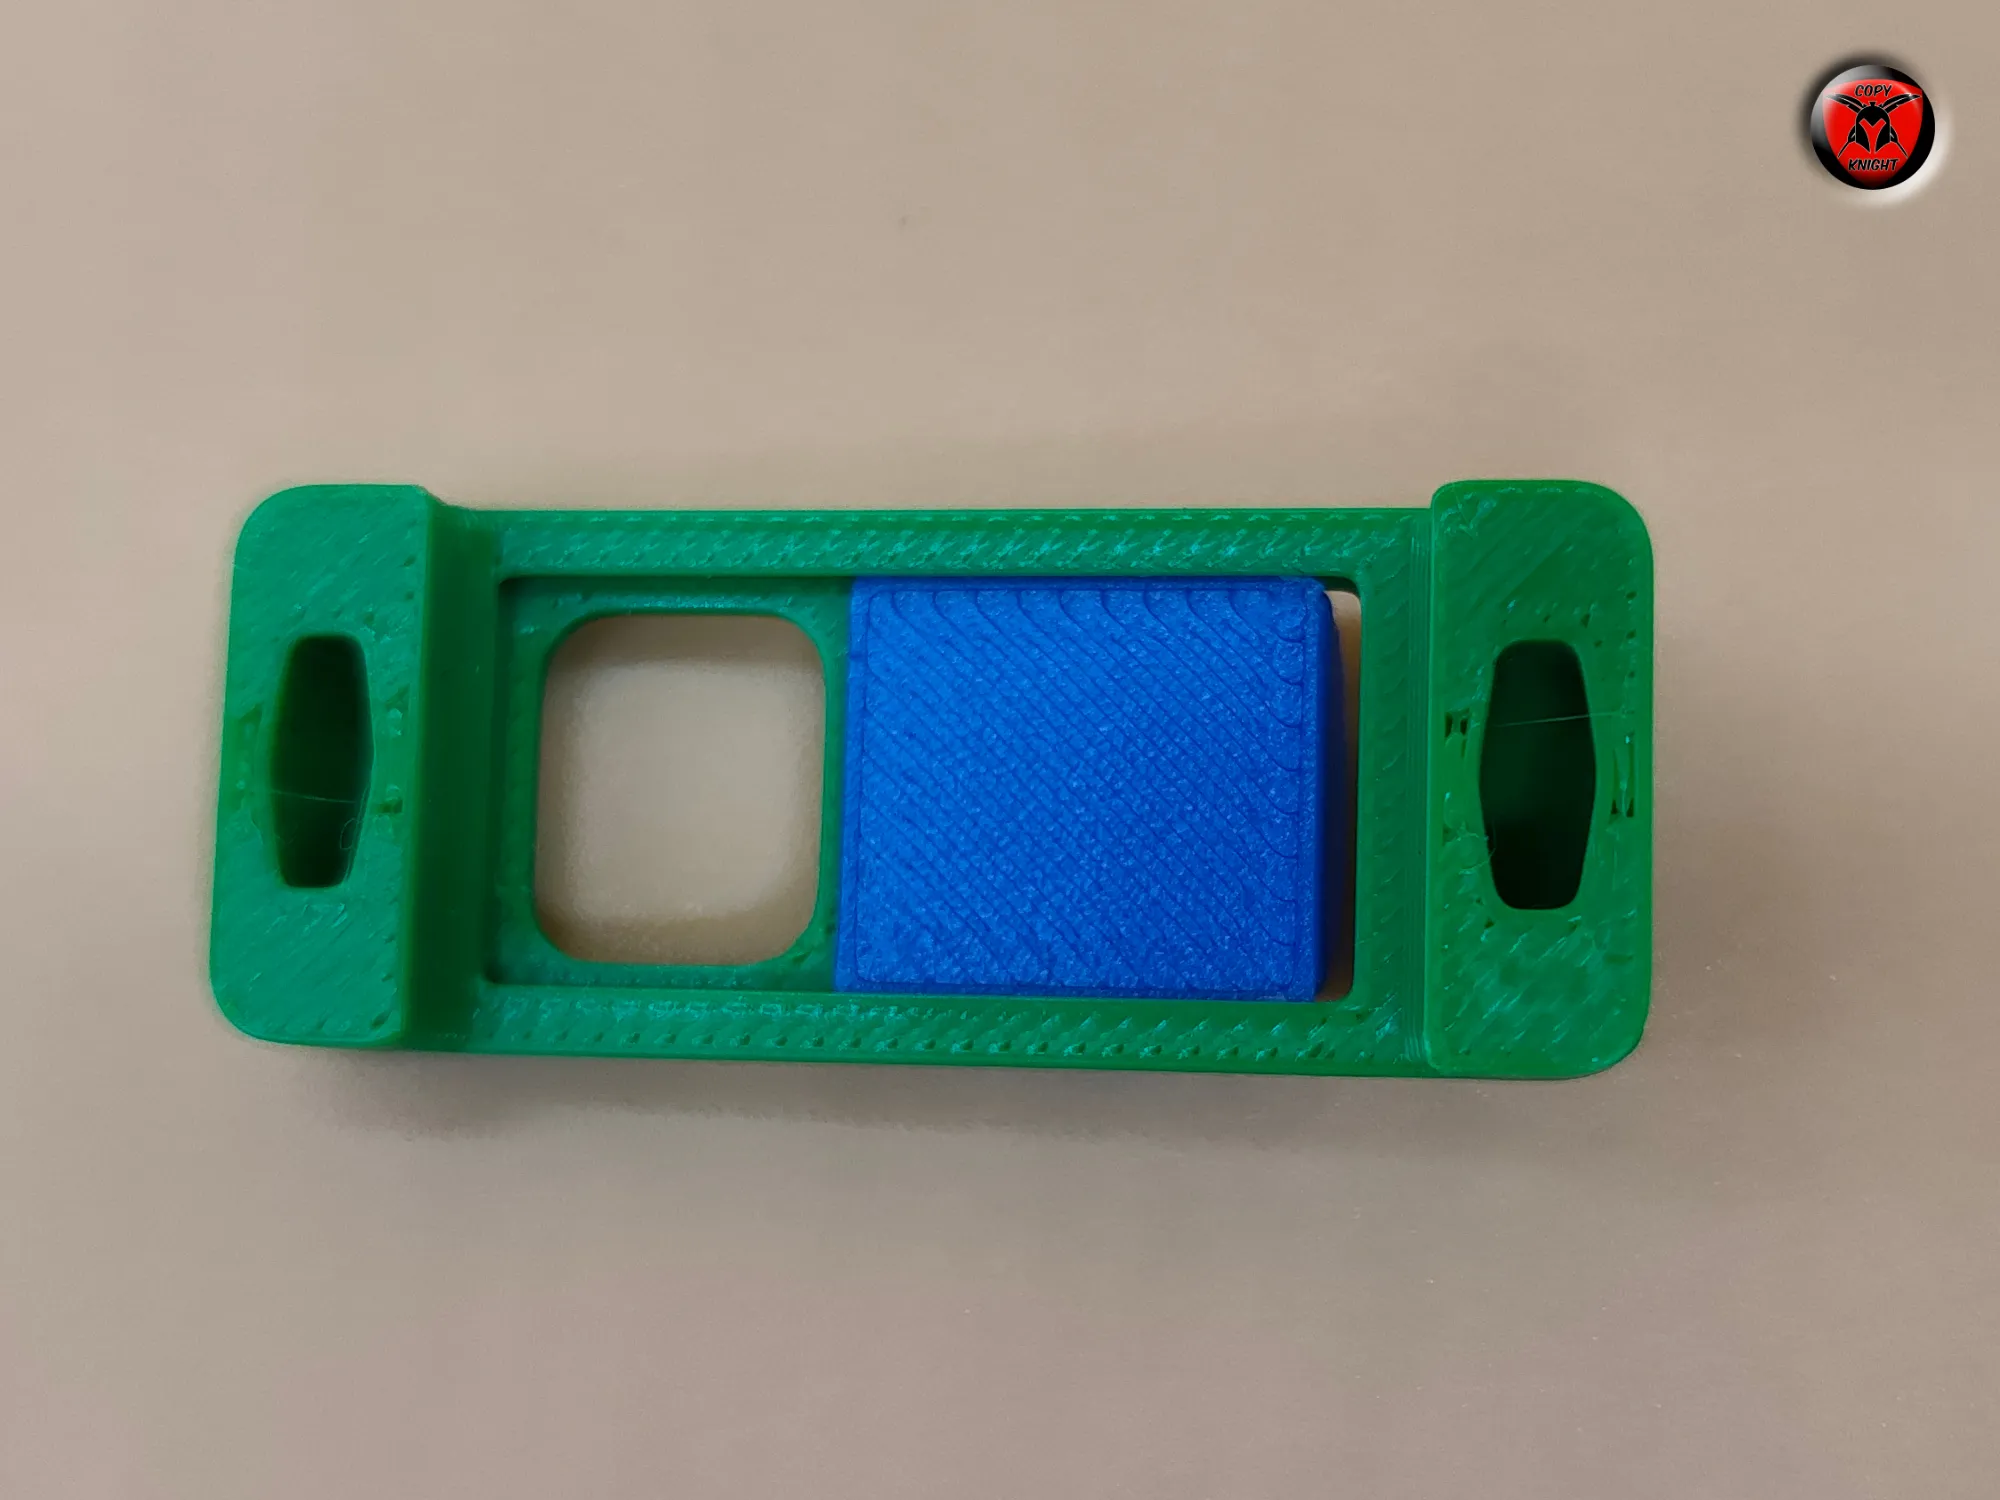
Step 4:
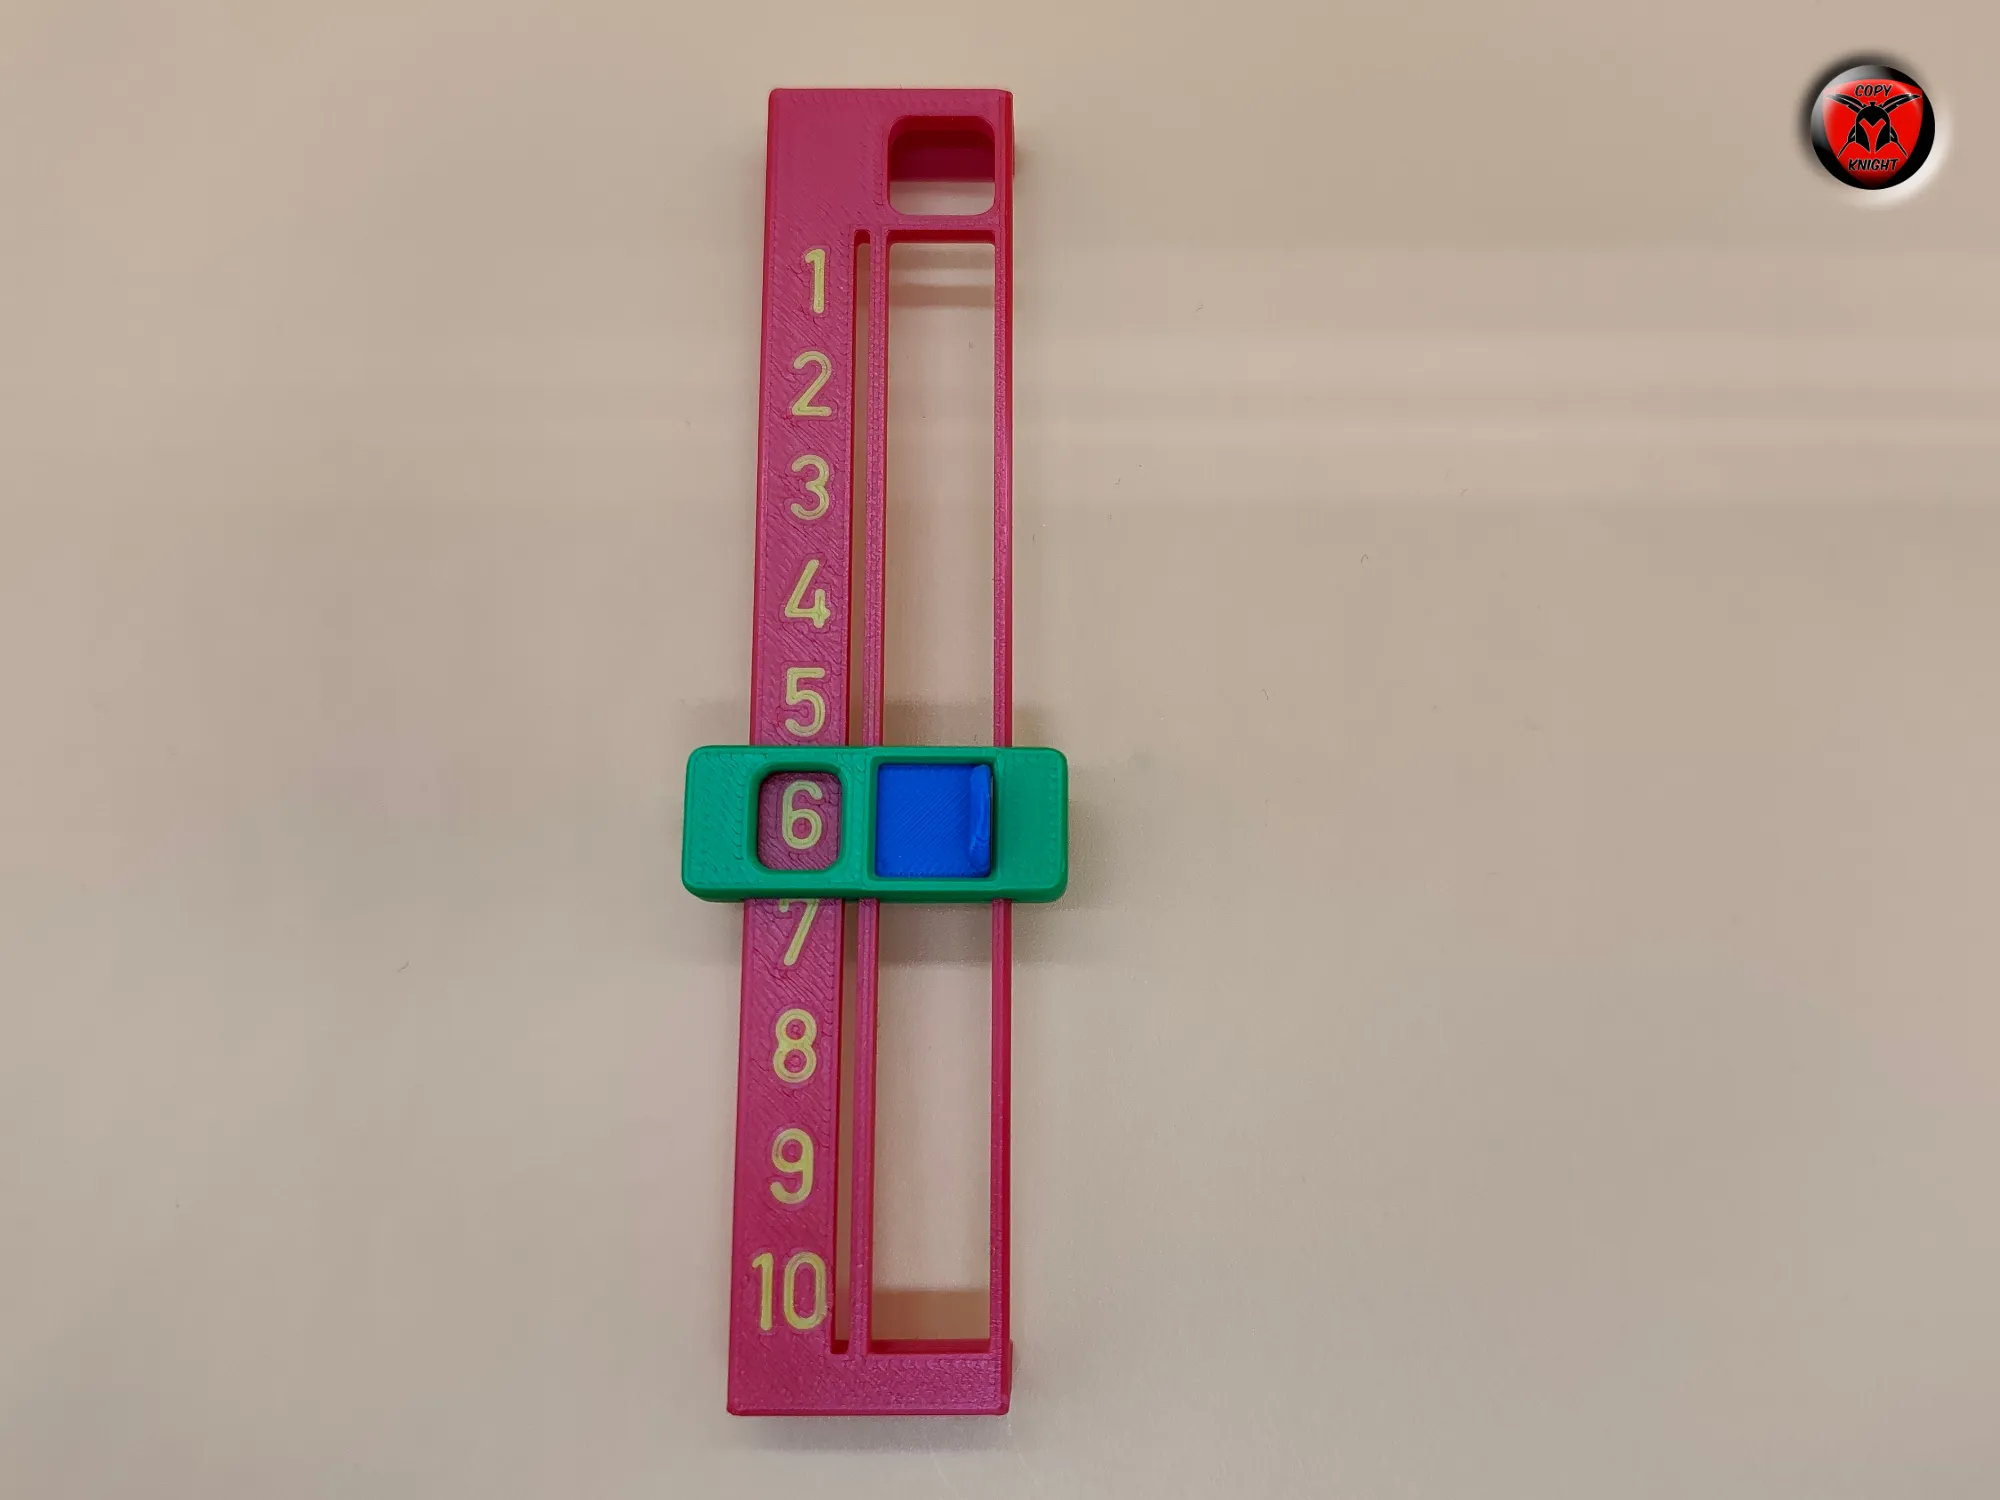
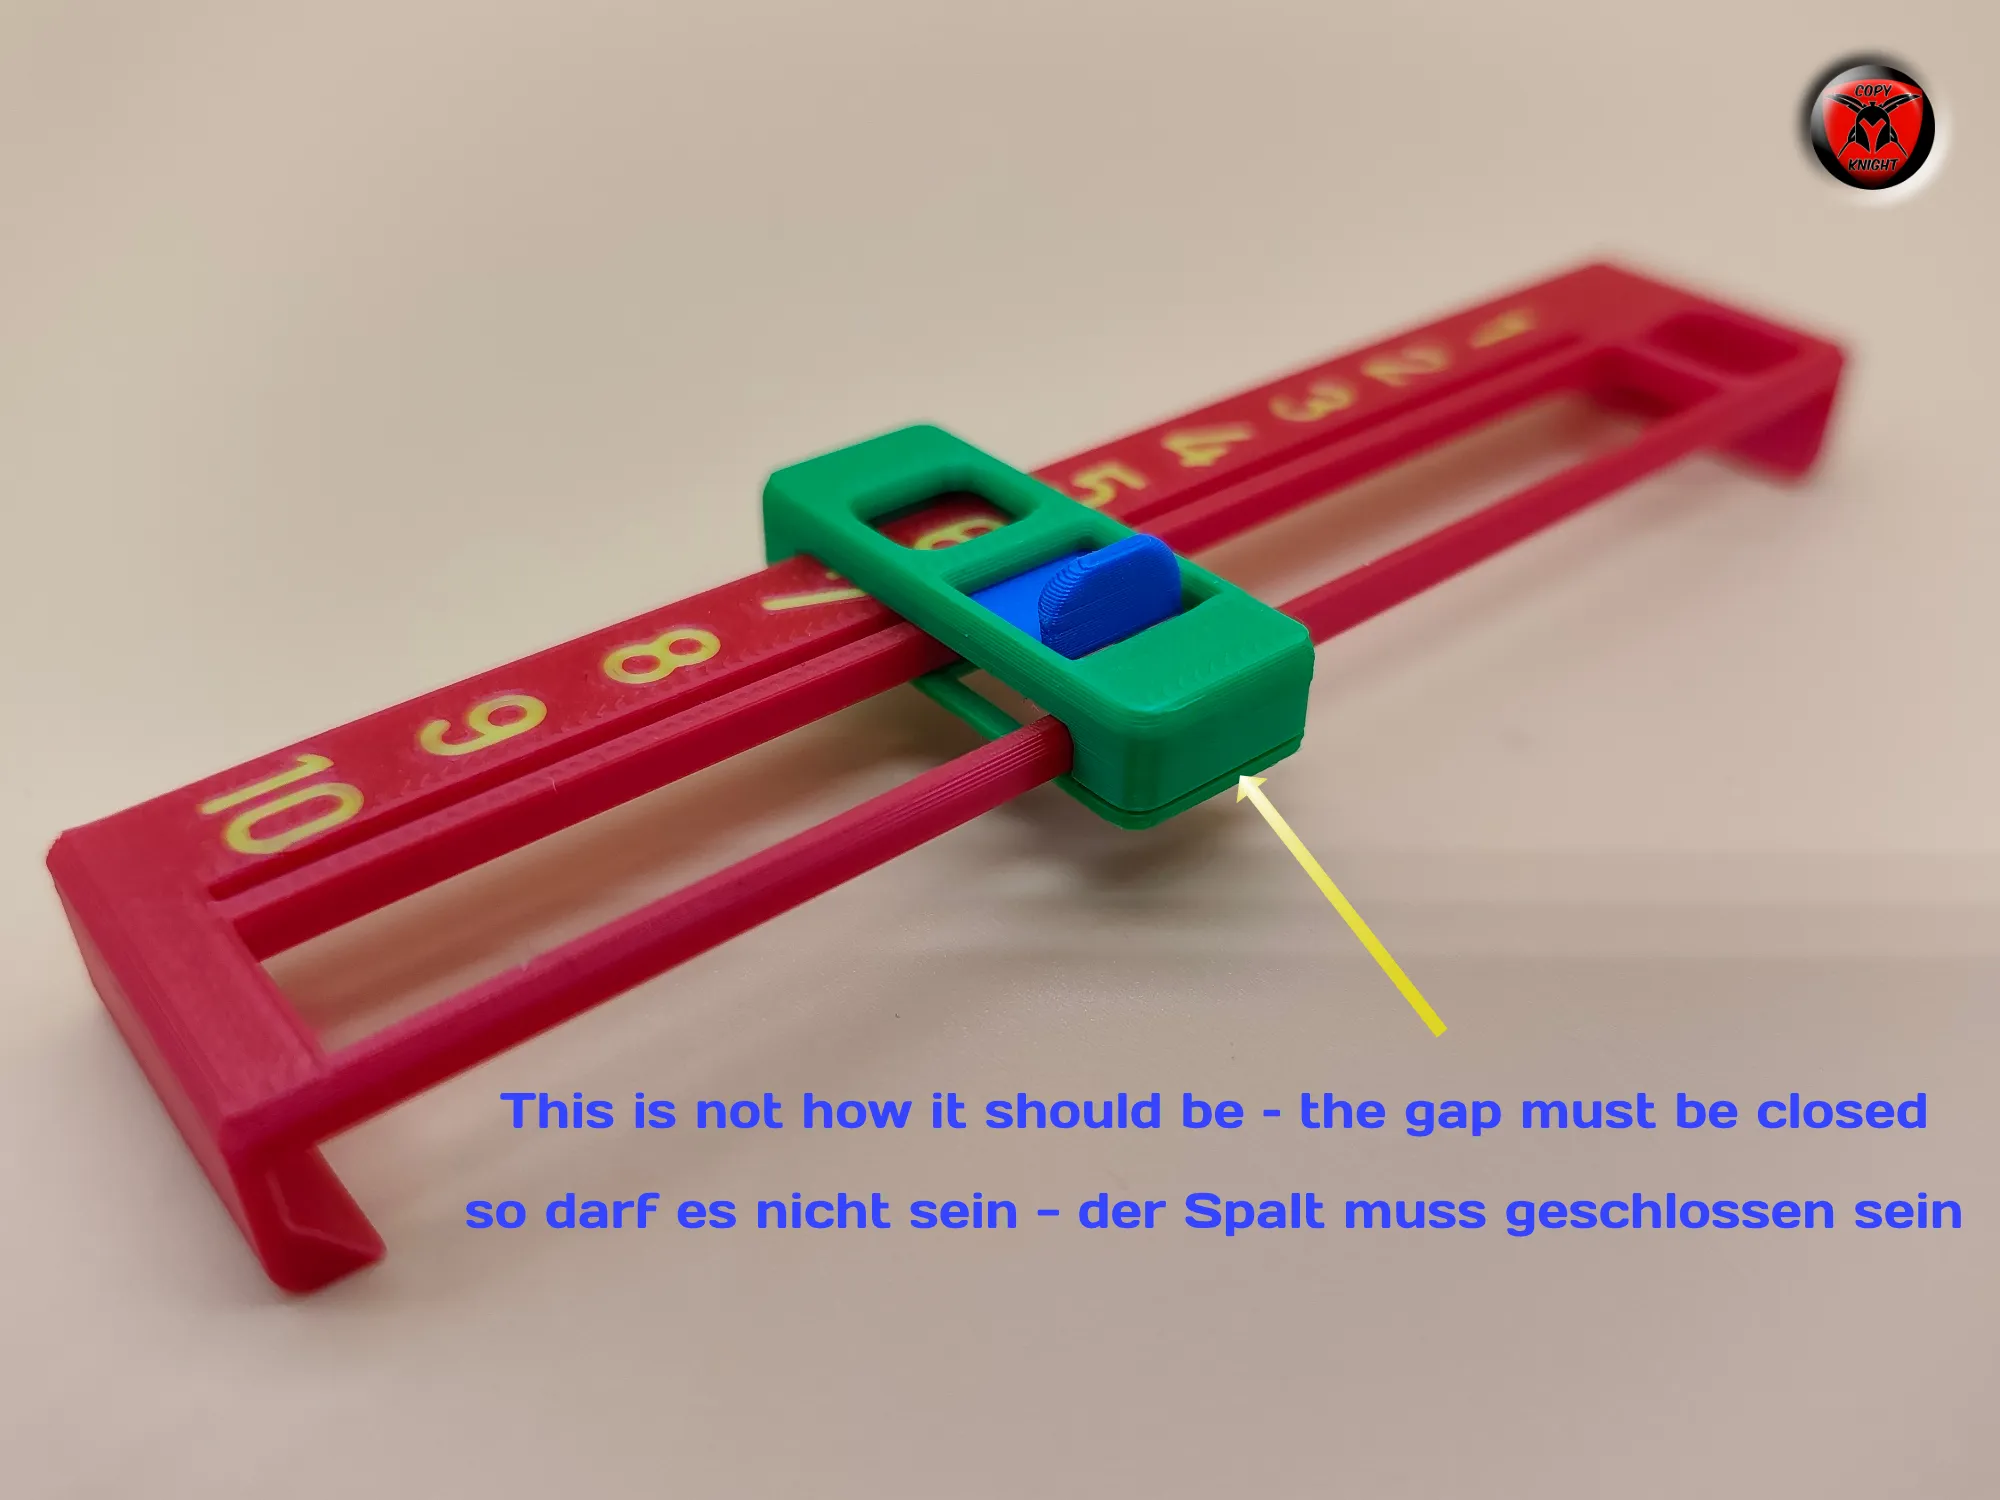
Step 5:
Step 6:
License

You shall not share, sub-license, sell, rent, host, transfer, or distribute in any way the digital or 3D printed versions of this object, nor any other derivative work of this object in its digital or physical format (including - but not limited to - remixes of this object, and hosting on other digital platforms). The objects may not be used without permission in any way whatsoever in which you charge money, or collect fees.


Comment & Rating (40)