Kitchen Plinth Corner Trim, Finishing Strip


Print Profile(1)
Description
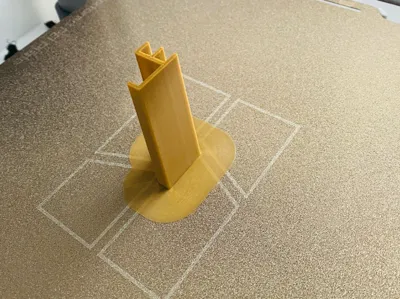
Kitchen Finishing Strip / Profile Strip (Vertically optimized)
Description:
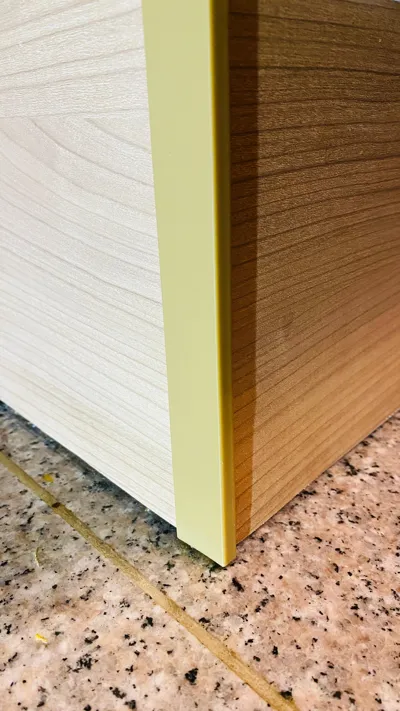
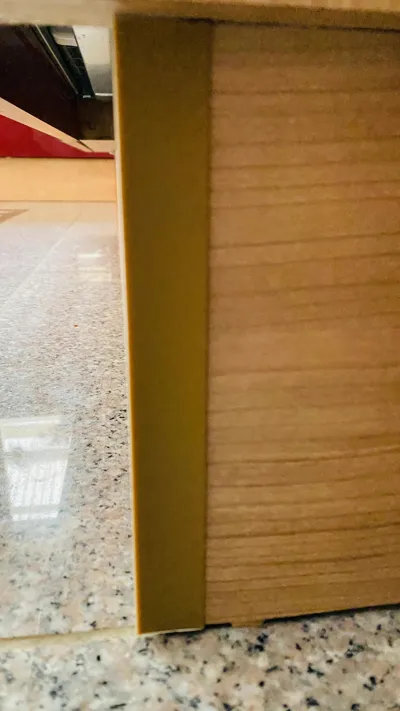
This finishing strip is the perfect replacement for damaged or missing profiles in the kitchen. The design is simple, functional, and can be easily adapted to your needs by scaling in the slicer.
Since these strips are often hard to repurchase in their original form, and three of them have already fallen victim to our puppies, I designed this model so that it stands stably and snaps in cleanly.
Technical Details & Dimensions:
- Length in model: 167 mm (Arbitrarily scalable on the Z-axis in the slicer! But caution: Don't overdo it with the height. At 167mm, however, the print worked flawlessly several times)
- Cross-section: Under 20 mm (Compact and discreet)
- Material recommendation: PLA+
IMPORTANT PRINT SETTINGS (for success at 17cm+):
Since the component is tall and narrow, please use the following settings so that it does not tip over on bed slingers like the A1:
- Brim: At least 15 mm (Outer brim, 0 mm distance).
- Z-Hop: Activate (approx. 0.4 mm) so that the nozzle does not hit the component during layer changes.
- Speed: Throttle outer walls to approx. 50-60 mm/s to avoid vibrations.
- Orientation: Align the long side of the base in the Y-direction (bed travel direction).
Tip: First print a 10 mm high test piece to check the fit of your rail before printing the full length!
It's best to use my print profile, then the print will work!
Comment & Rating (0)