
Ram Lalla LED Mantap - Altar - USB-C Powered
Print Profile(1)
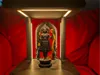
Description
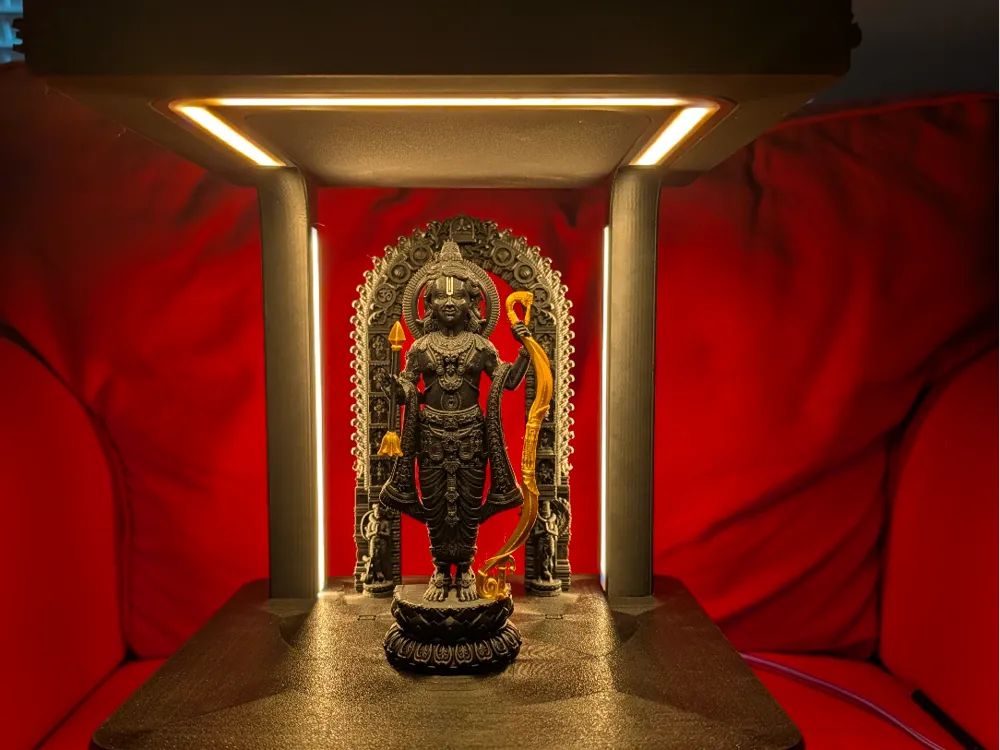
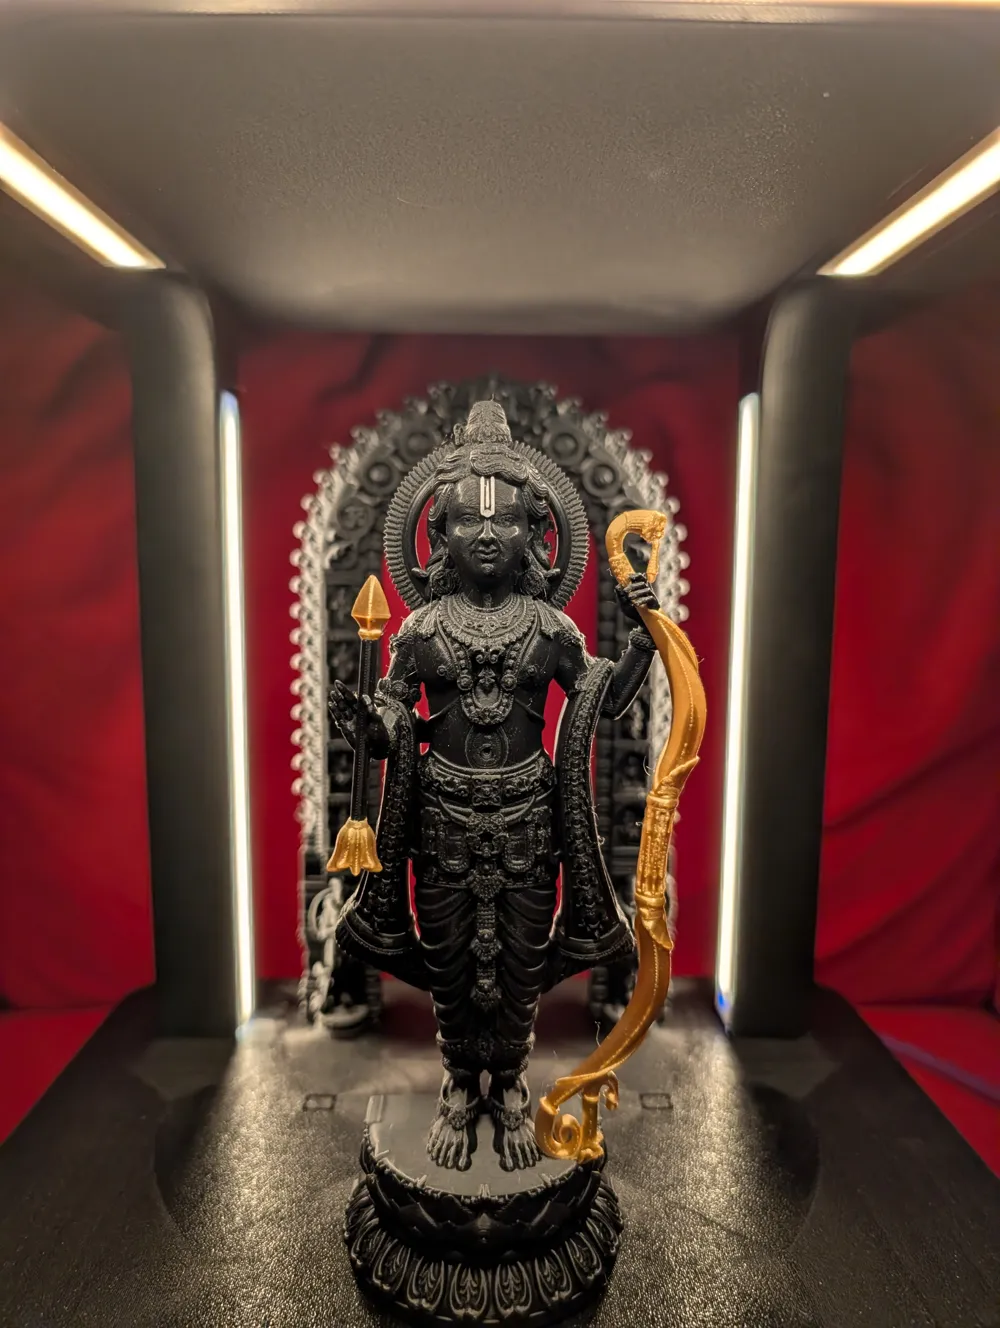
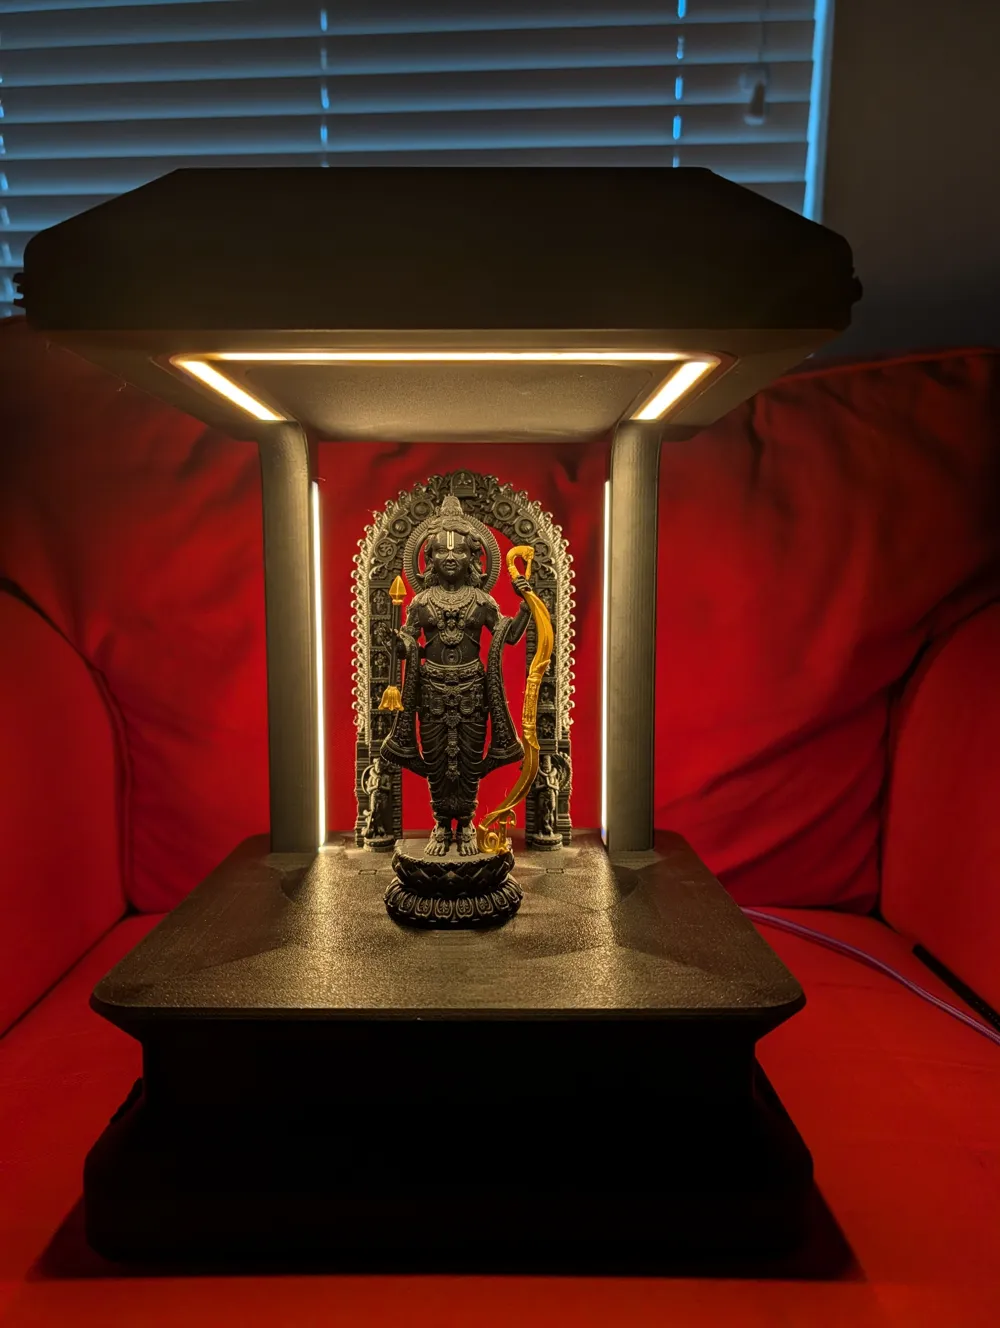
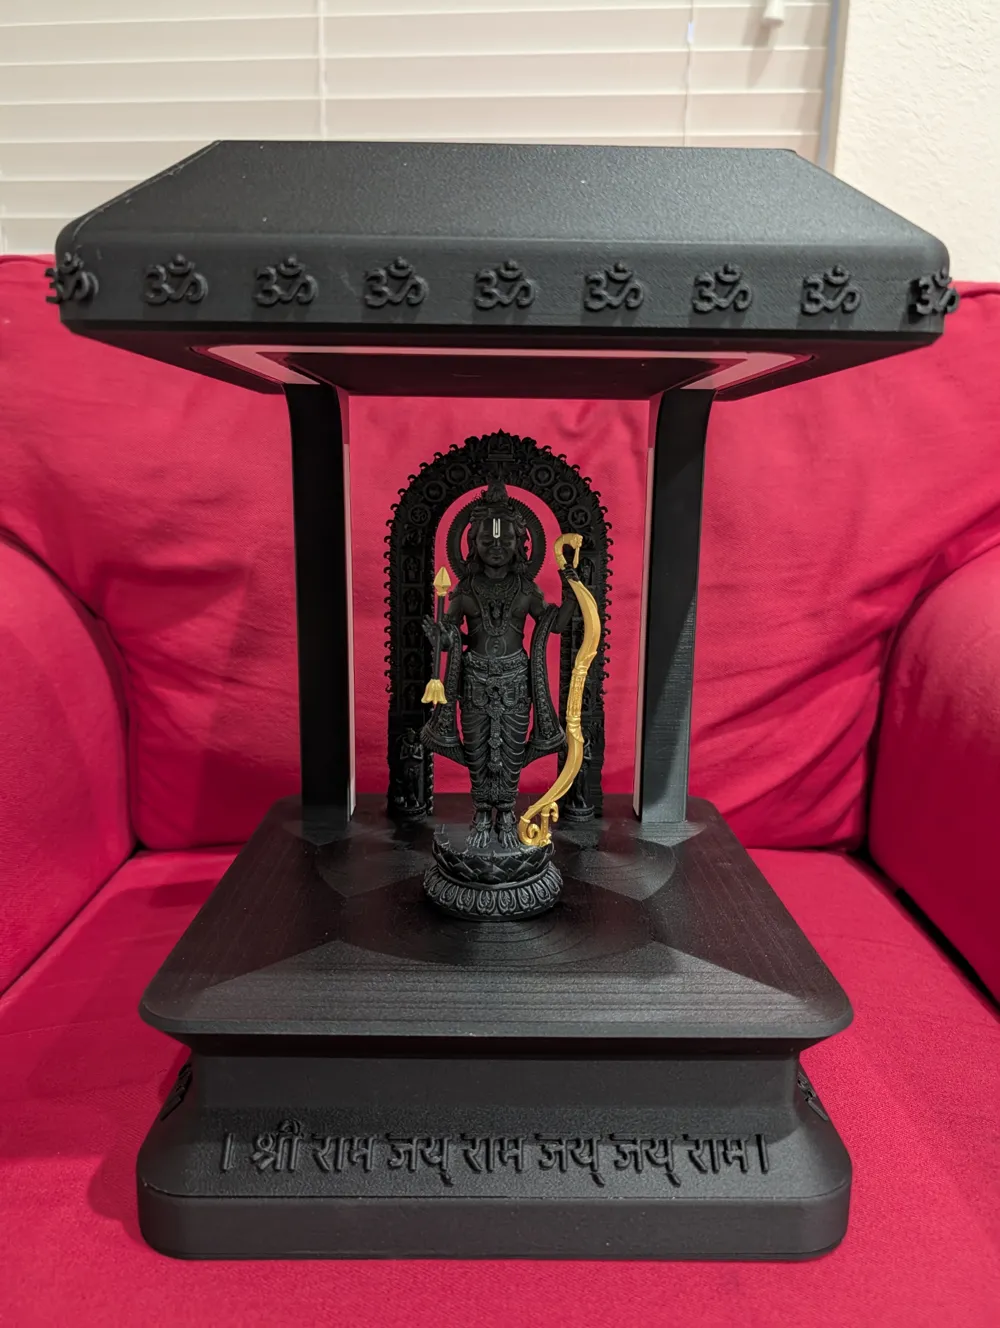
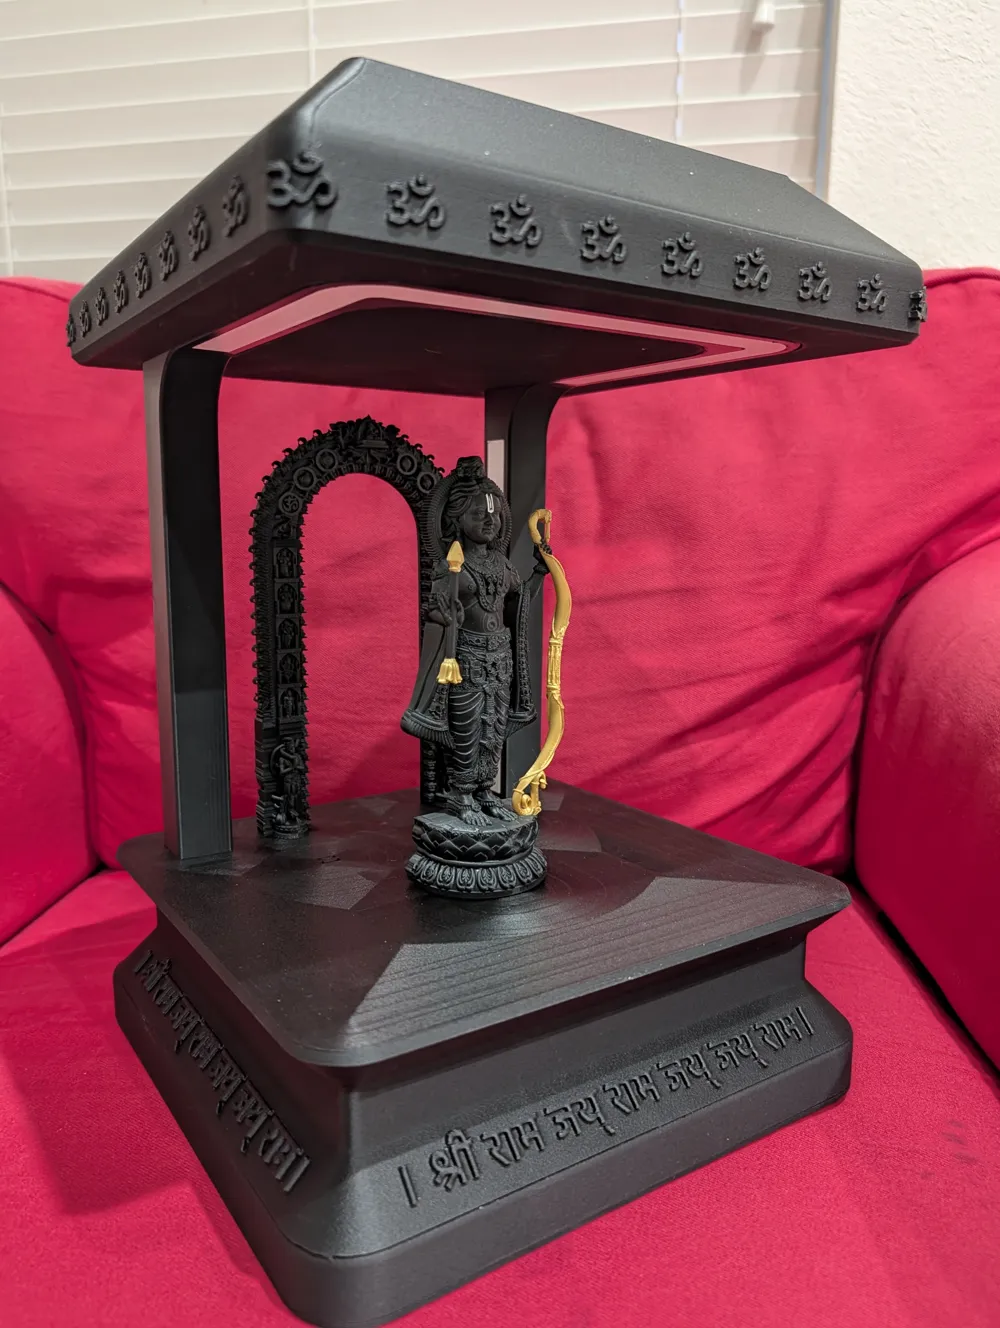
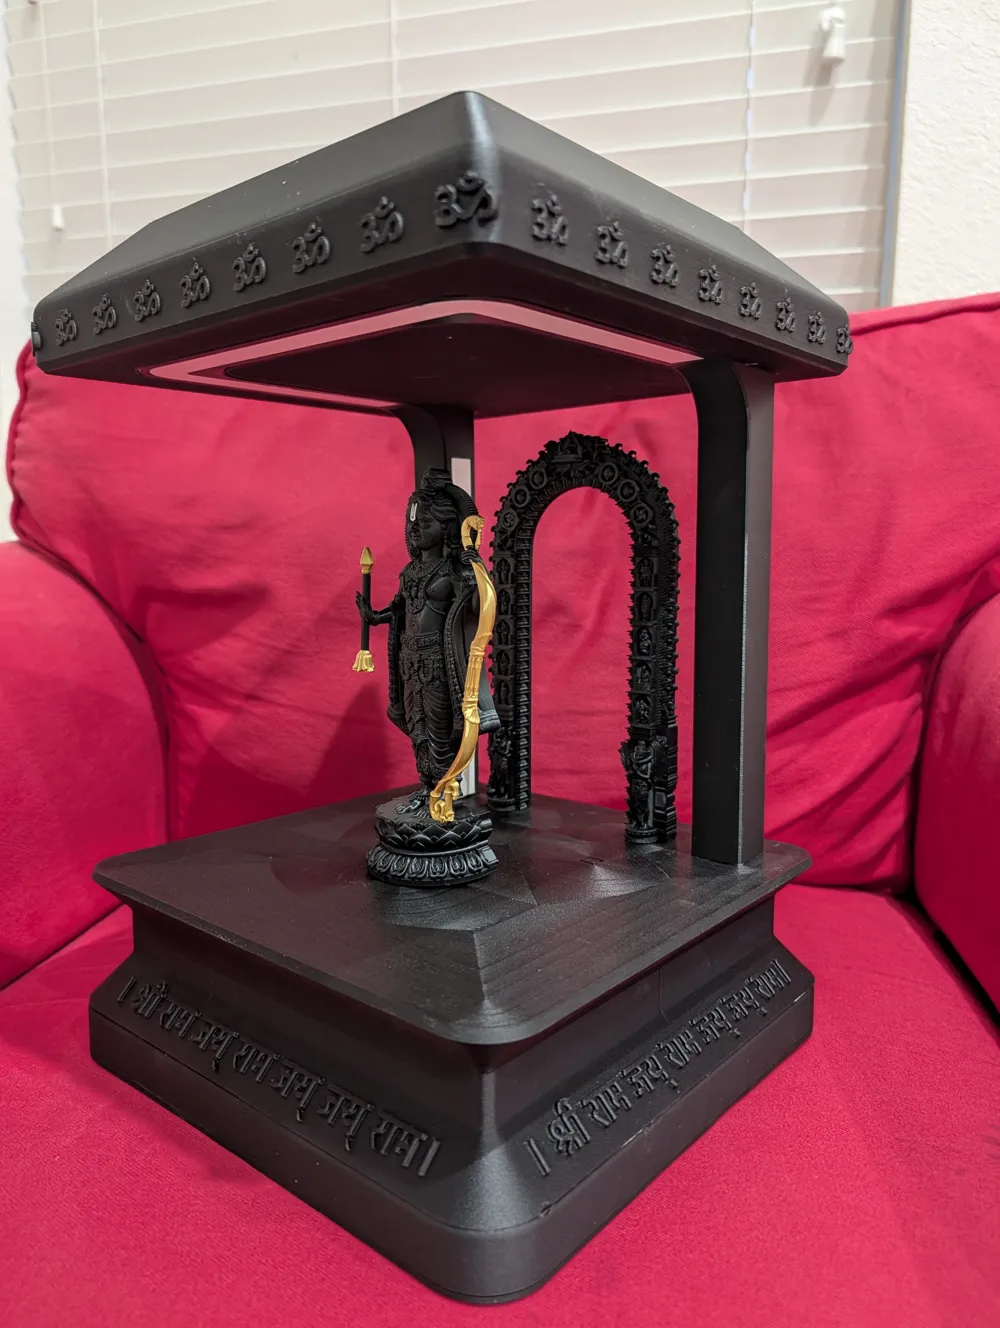
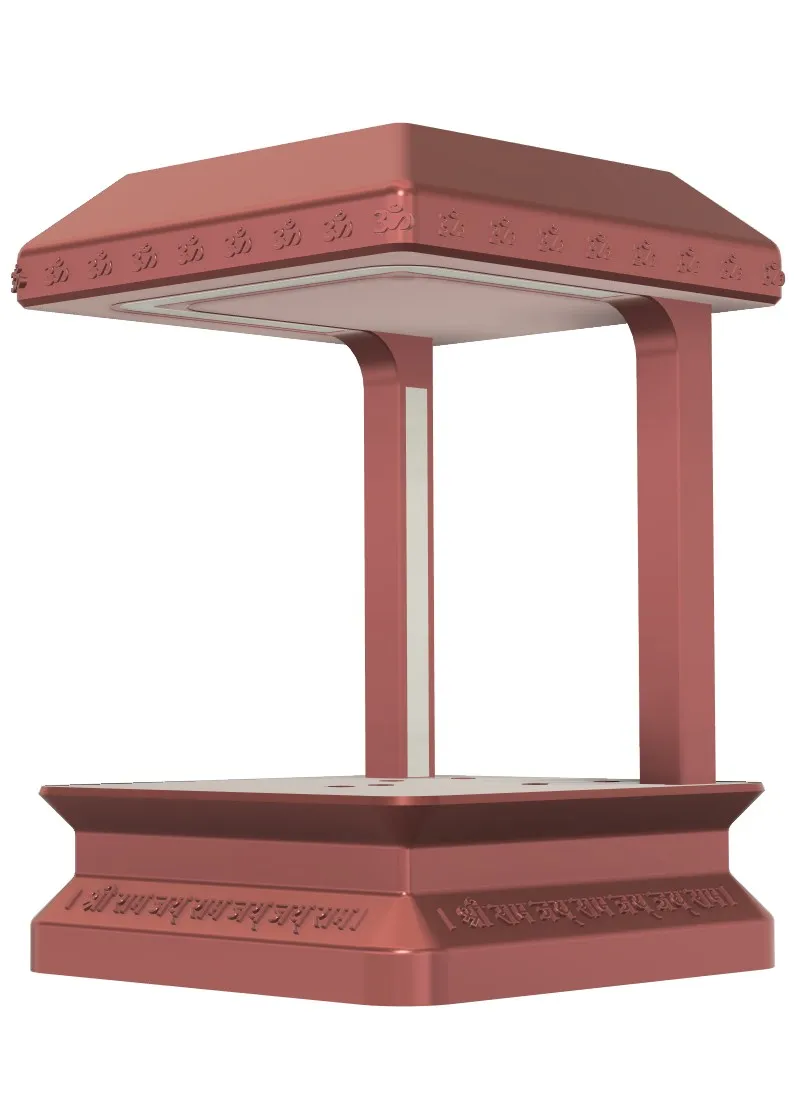
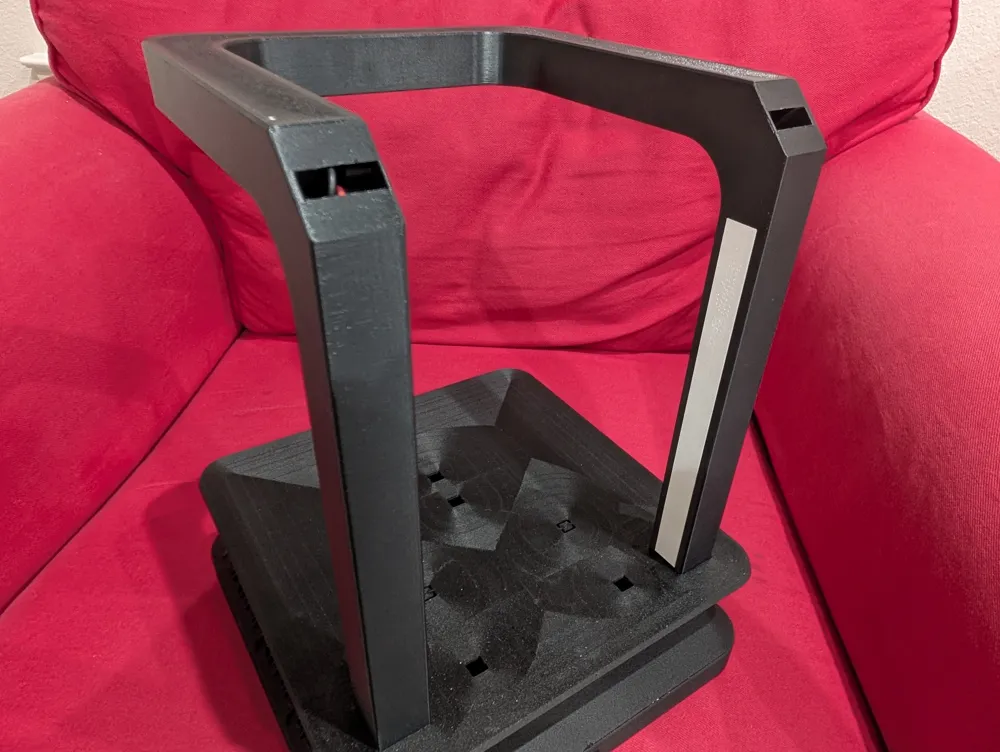
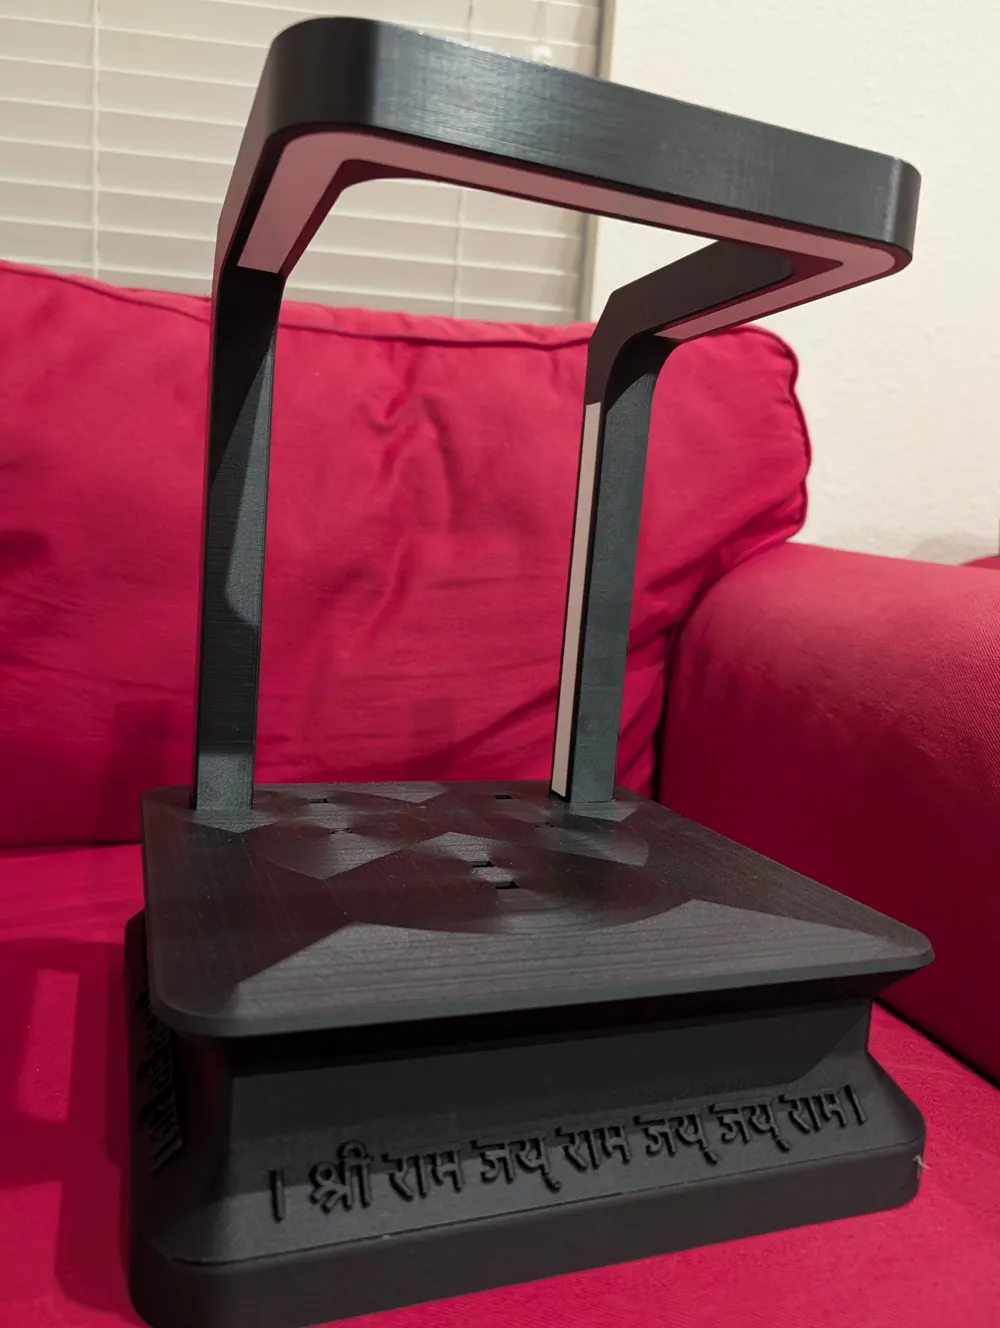
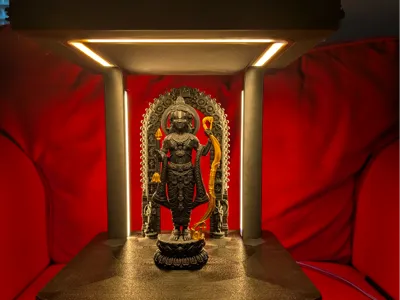
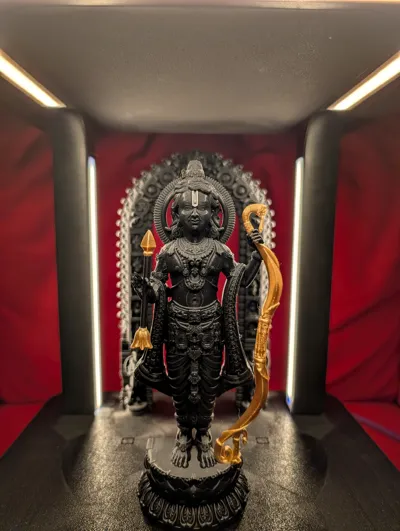
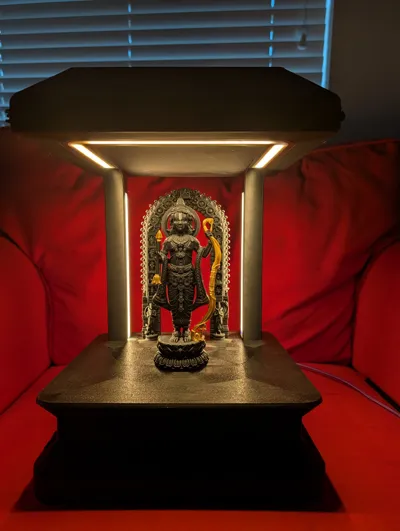
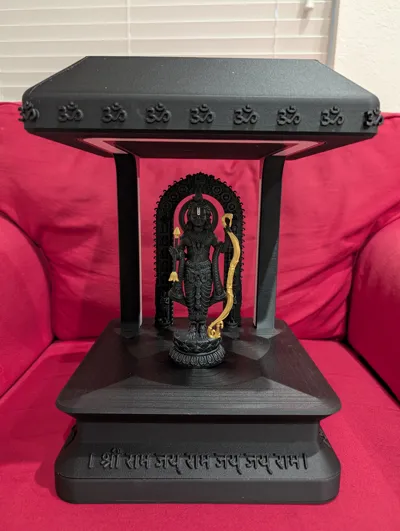
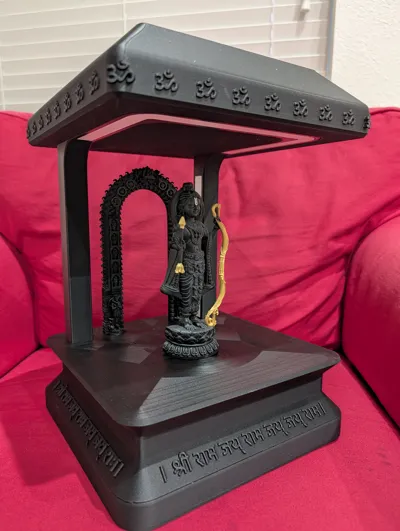
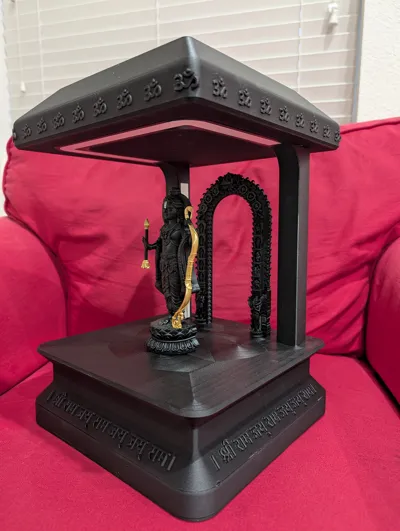
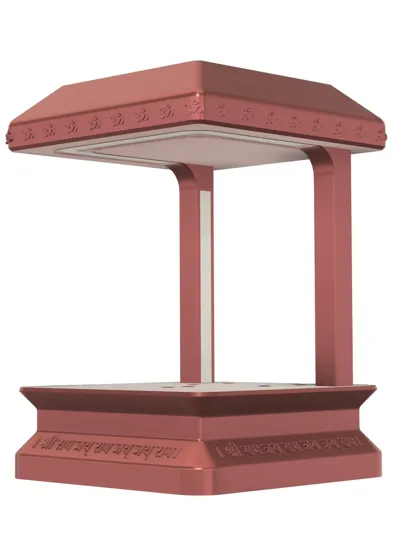
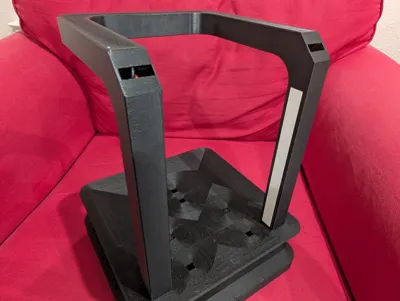
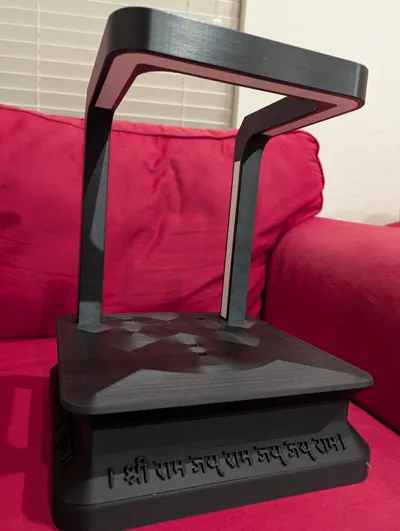
While the Ram Lalla idol and Prabhavali (arch) models are widely available, I found a lack of dedicated Mantaps (altars) designed with integrated lighting. I created this architectural display to provide a professional, illuminated sanctum for the idol.
Design Files & Exclusivity
- Fusion 360 Source Included: I have included the original .f3d files to allow for community remixes and adjustments (e.g., resizing for different idol scales).
- MakerWorld Exclusive: This model is hosted exclusively on MakerWorld. Please do not re-upload these files to other 3D model repositories.
Licensing & Commercial Use
- Non-Commercial Use Only: This design is provided for personal, non-commercial use.
- Commercial Licensing: If you intend to sell physical prints of this Mantap or use the design for any commercial purpose, you must contact me directly to discuss licensing and formal permission.
Features
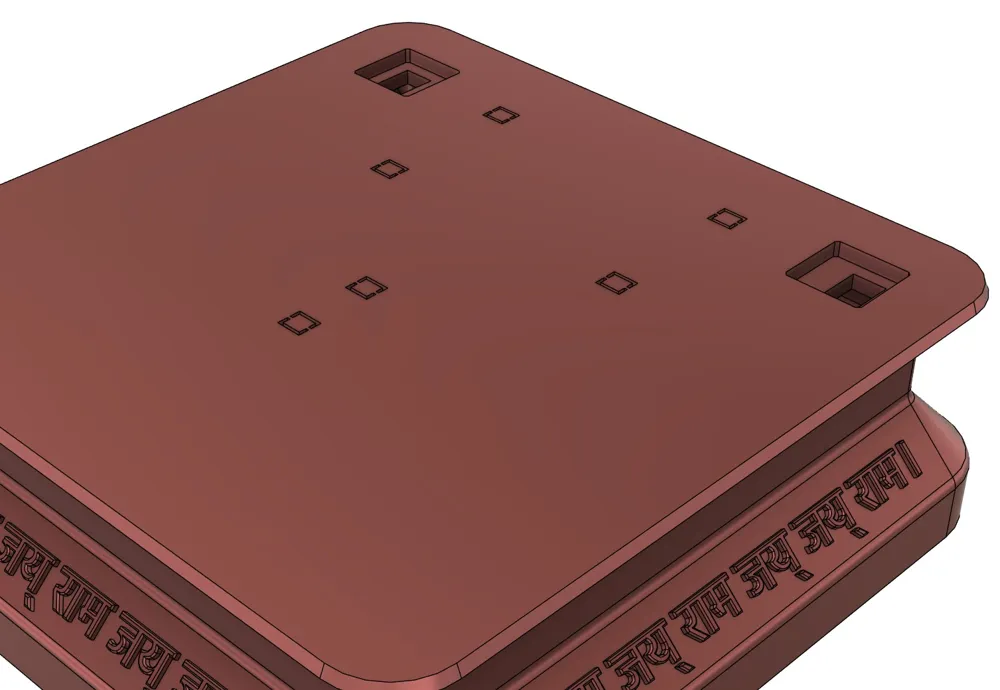
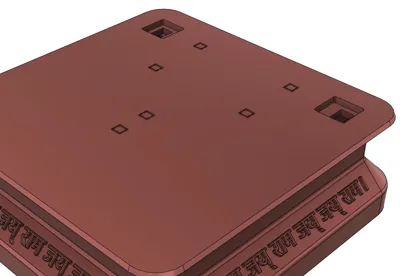
- Modular Base Platform: Includes knockouts for both the idol and the Prabhavali, with two adjustable depth positions for the arch.
- Integrated LED Channels: Designed for 8mm COB LED strips (recessed for a clean look).
- Optimized Diffusion: Dedicated snap-in diffusers (best printed in white PLA/PETG) to ensure a soft, divine glow.
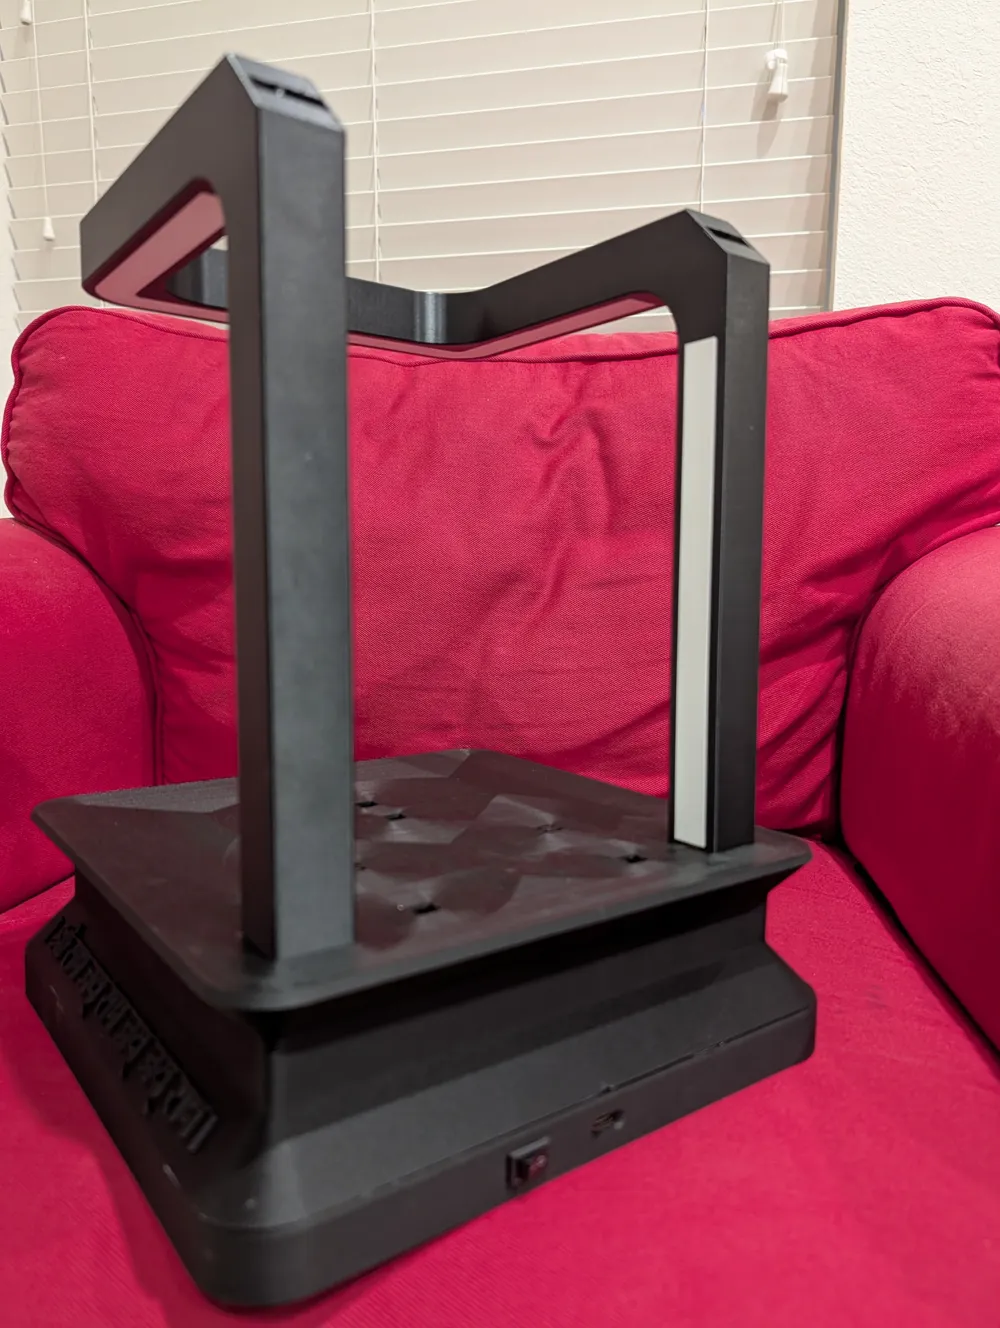
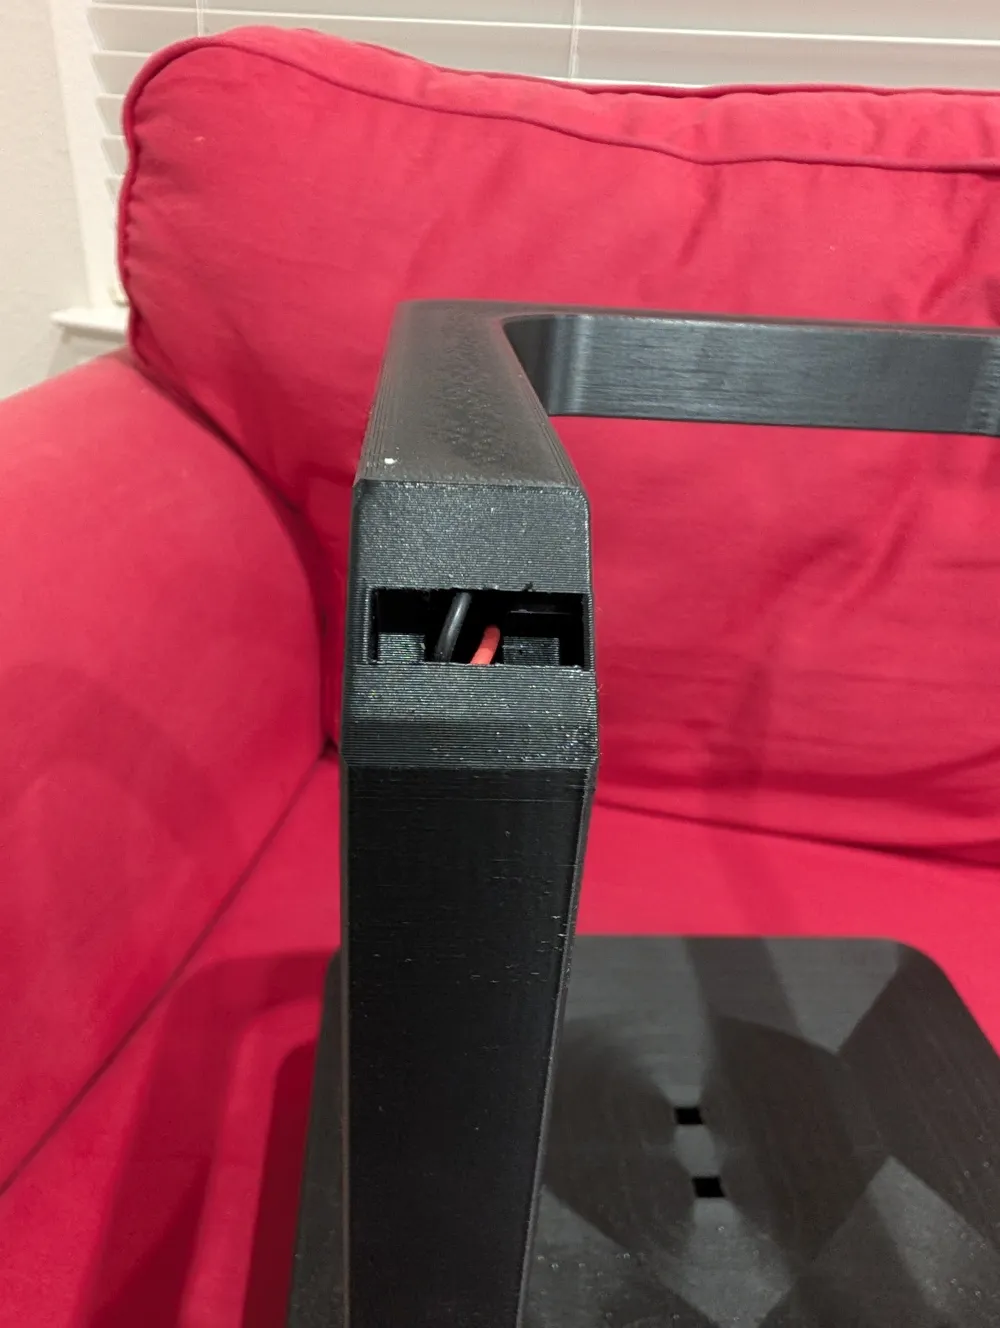
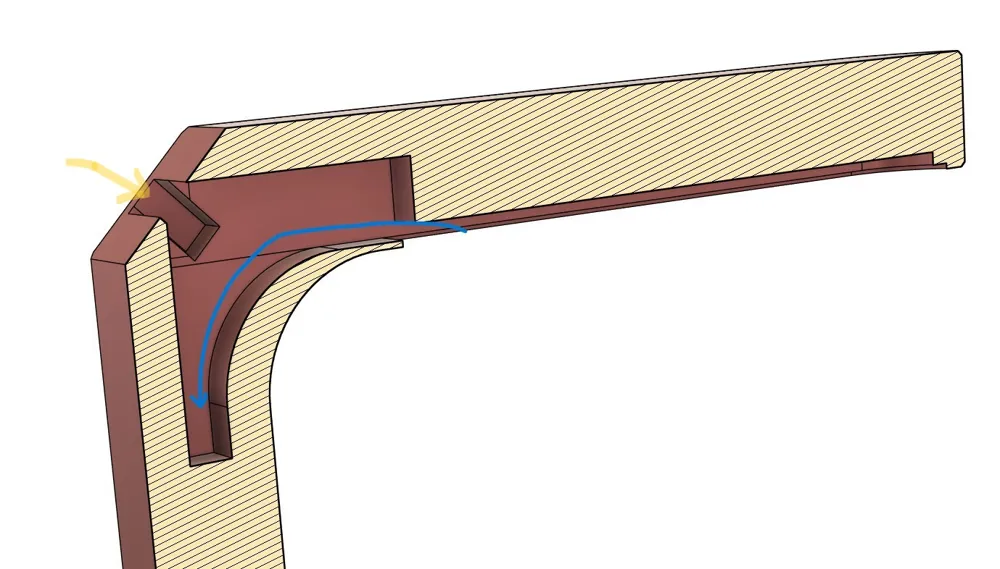
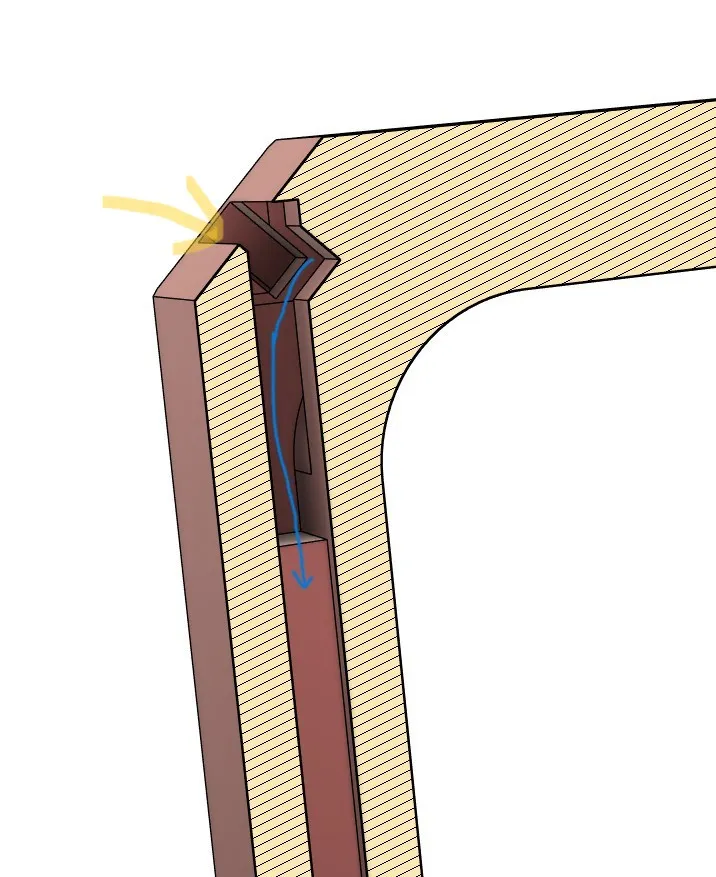
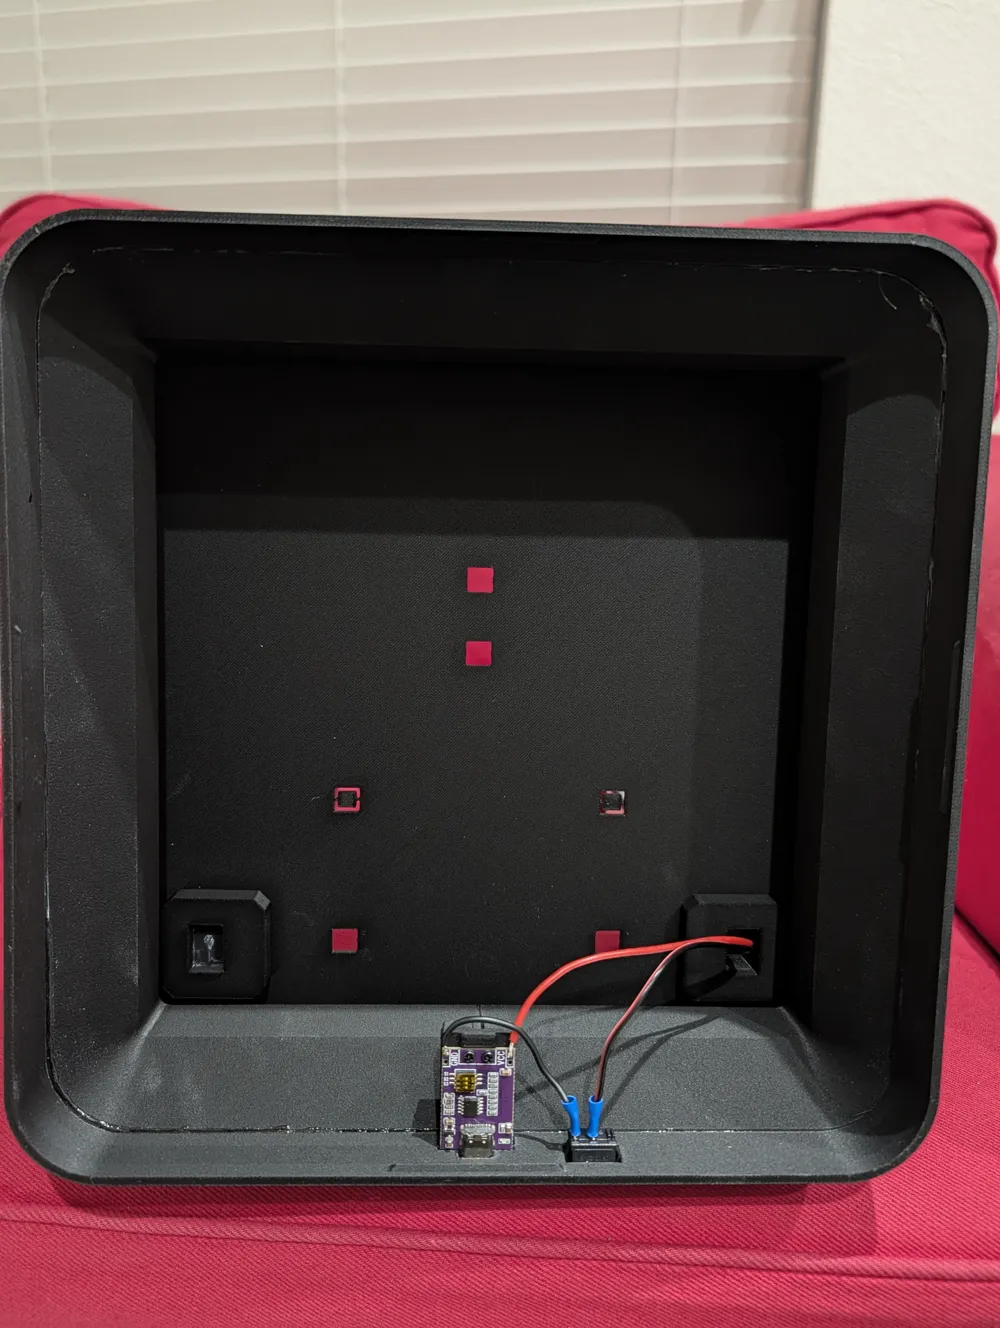
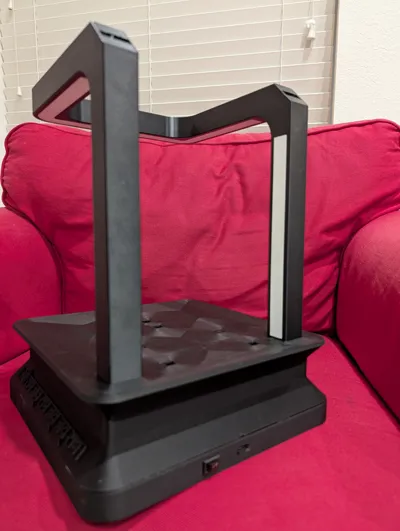
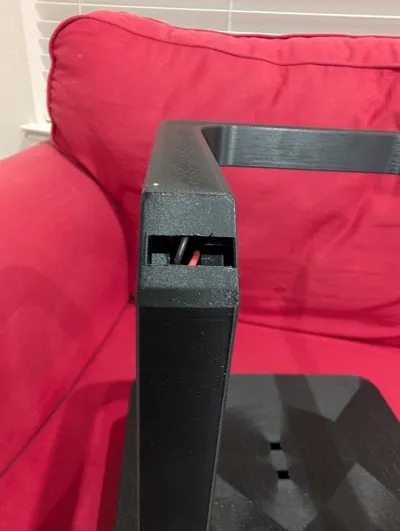
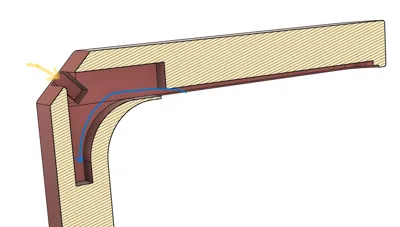
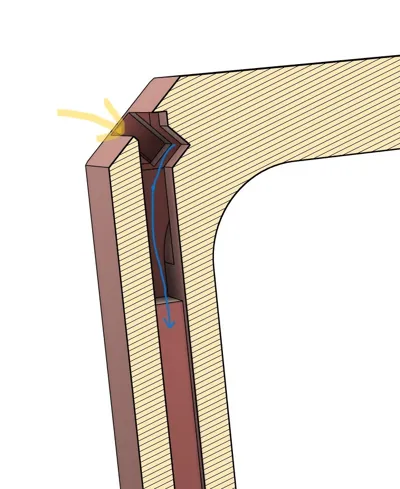
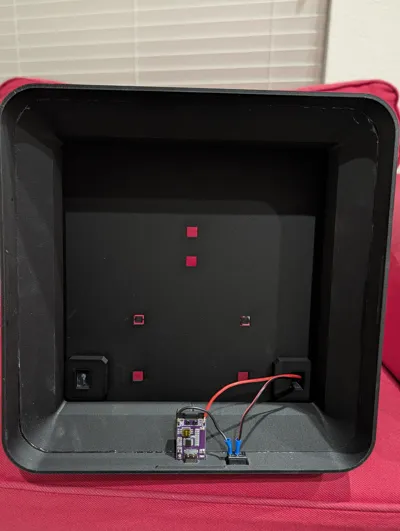
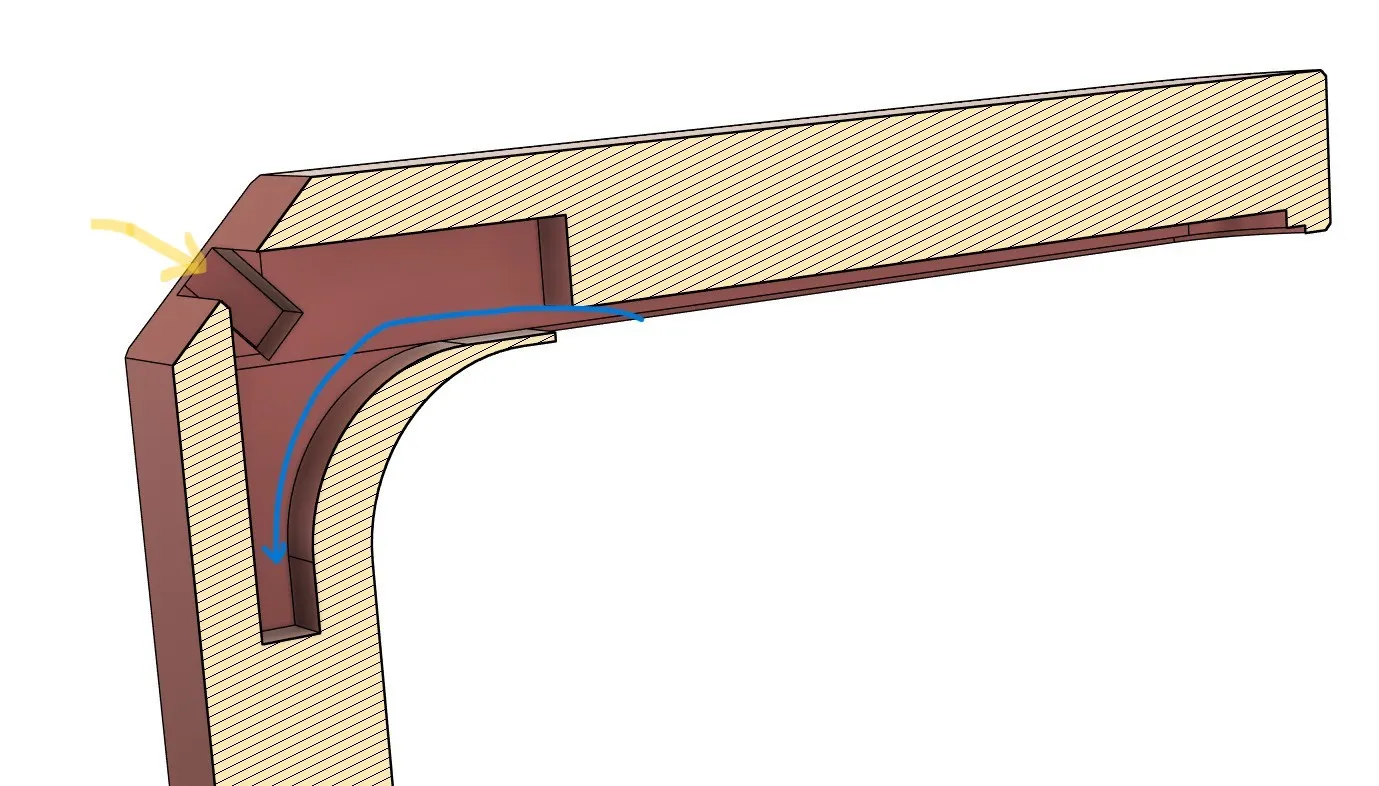
- Hidden Cable Routing: Internal pockets and pillar cut-outs keep wiring completely out of sight.
Additional Components Needed / Bill of Materials (BOM)
- LEDs: 5V COB LED strips (8mm wide).
- Power: USB-C PD Trigger Board (set to 5V) and a standard power rocker switch (15mm x 8.3mm footprint) .
- Wires and Basic Soldering skills
- 2 of M2x5mm screws to mount the USB trigger board (or you can hot glue it!)
Assembly Instructions
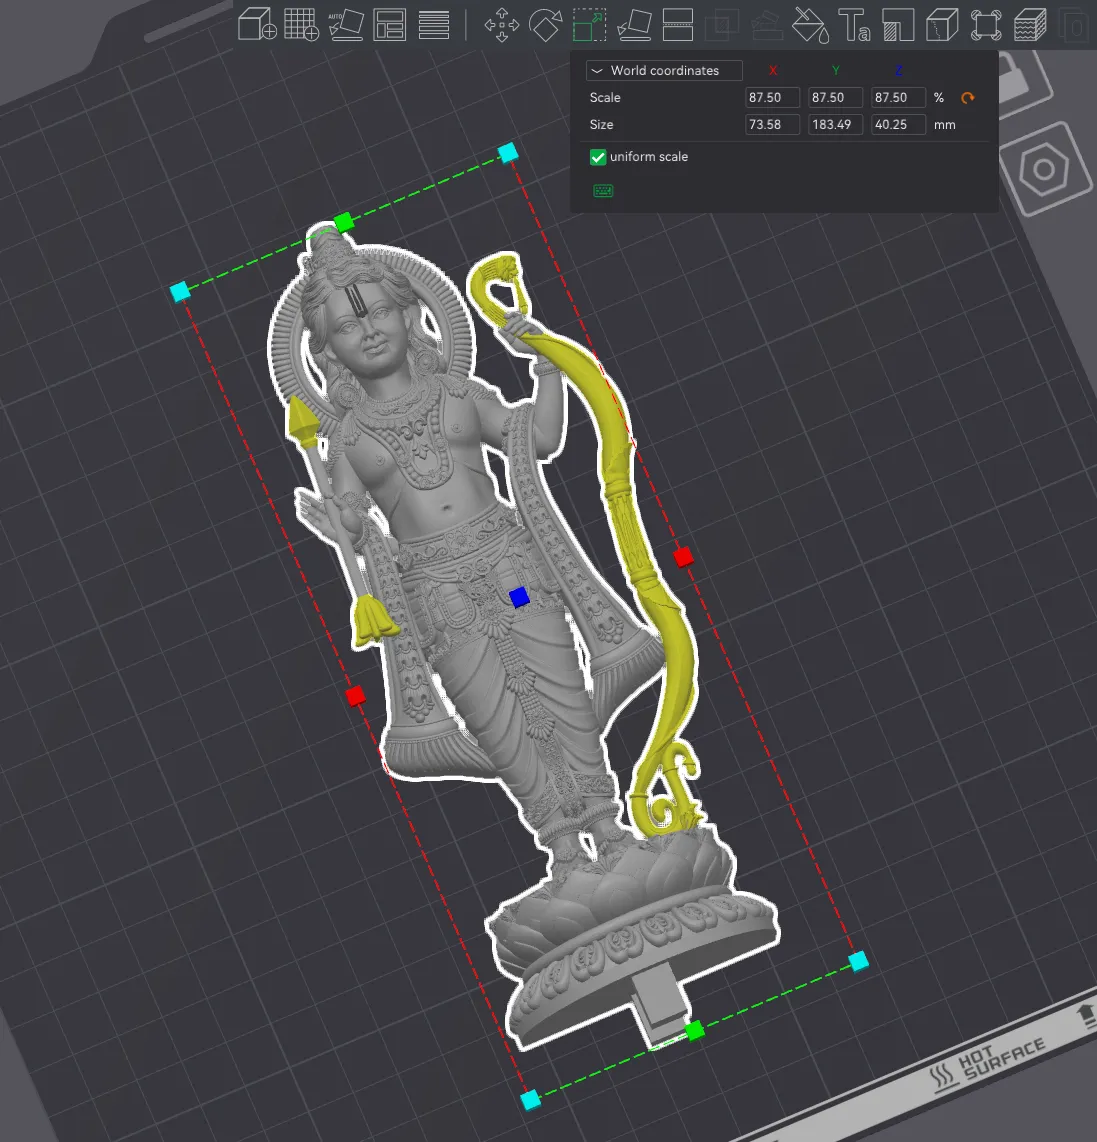
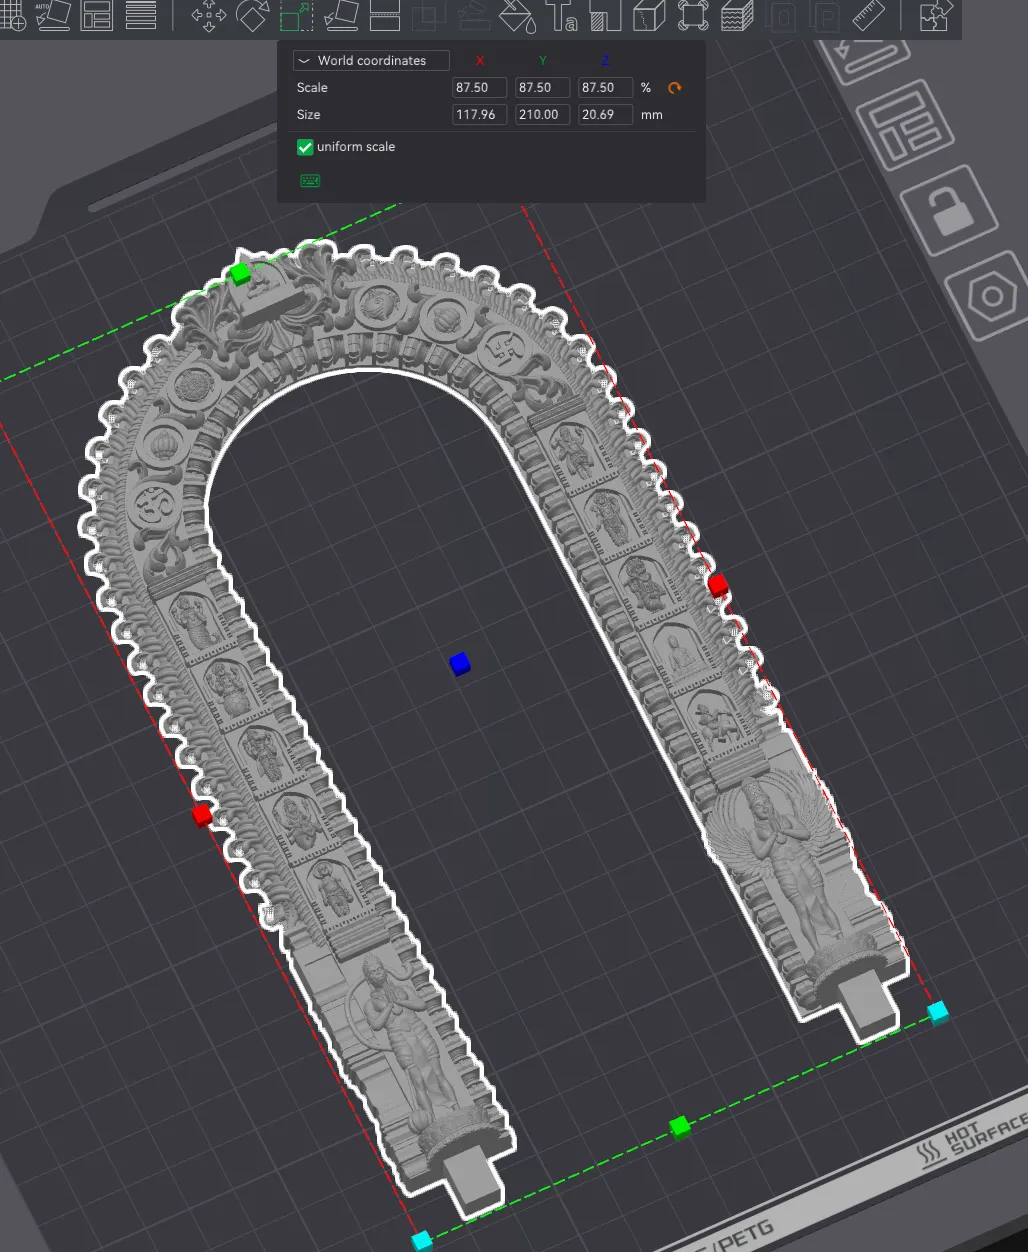
Step 0: Print the Ram Lalla Idol and the Arc with this size. I have NOT included the Idol and Arch as I don't own that design. But its publicly available on makerworld and other sites.
IMPORTANT: To get a perfect fit, you need to resize the Ram Lalla Idol - to the size shown below (this way the bottom stubs fit the knockouts on this Mantap model perfectly:
Ram Lalla Idol : - x:73.58 y:183.49 z:40.25 (in the orientation shown below)
Arc : x:117.96 y:210 z:20.69 (in the orientation shown below)
Step 1: Wiring & Support Cleanup Clean out the support structures in the pillar corners using needle-nose pliers to reveal the wiring pockets - See images below. Cut your LED strips into 5 segments (2x vertical, 3x for the U-shaped roof) and solder them for continuous connectivity.
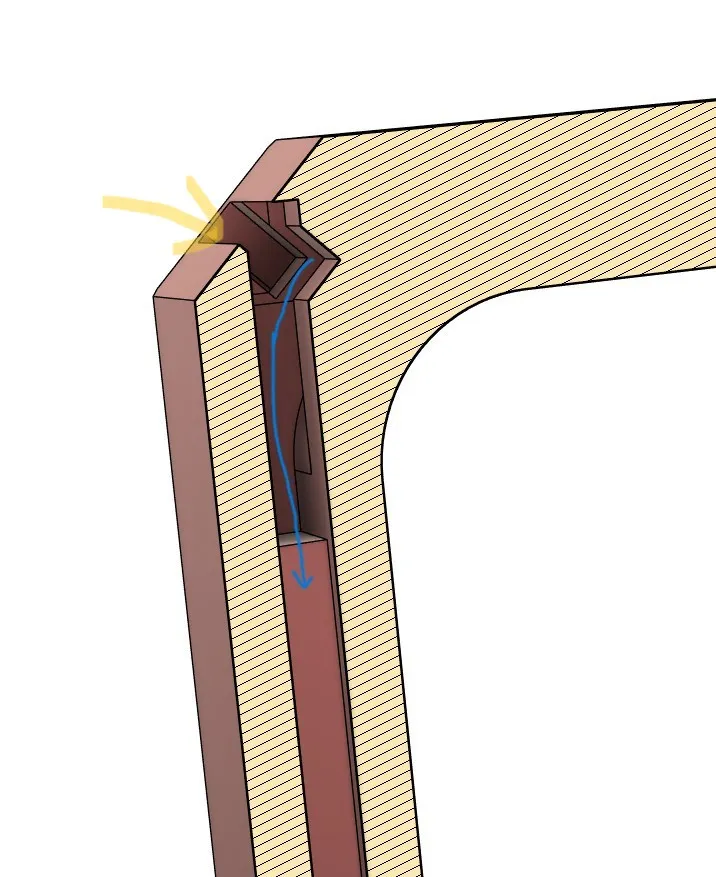
Step 2: Pillar & Base Integration Mount the pillars onto the base and route your power leads through the pre-designed internal cut-outs.
Step 3: Electronics & Power Install your switch and USB-C trigger board. Note: Ensure your trigger board is jumped/set to 5V (or your specific strip voltage) before connecting to power to avoid damaging the LEDs. These boards work great with most modern PD adapters due to integrated pull-up resistors.
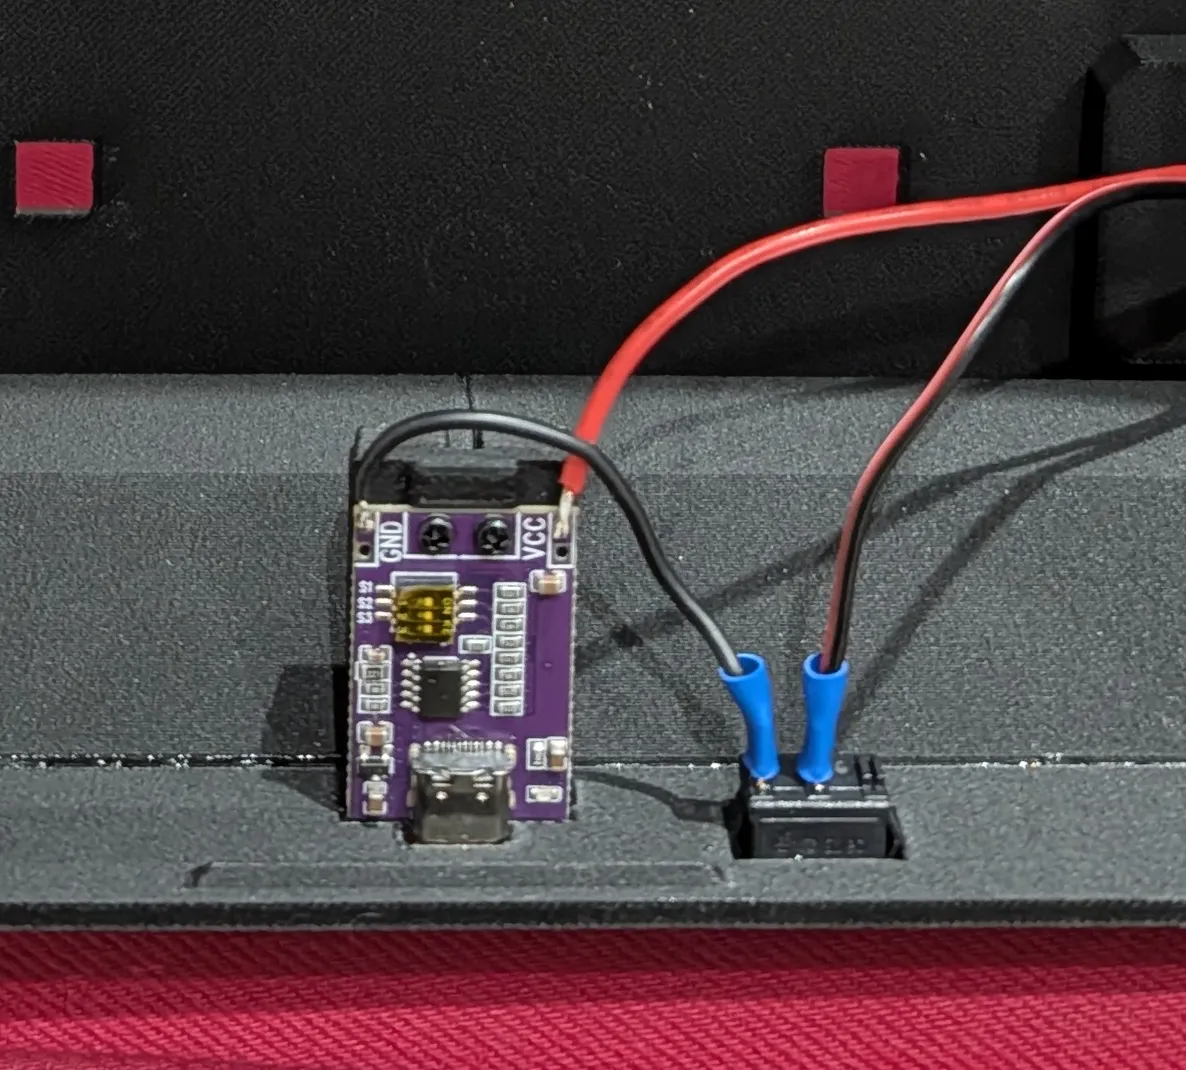
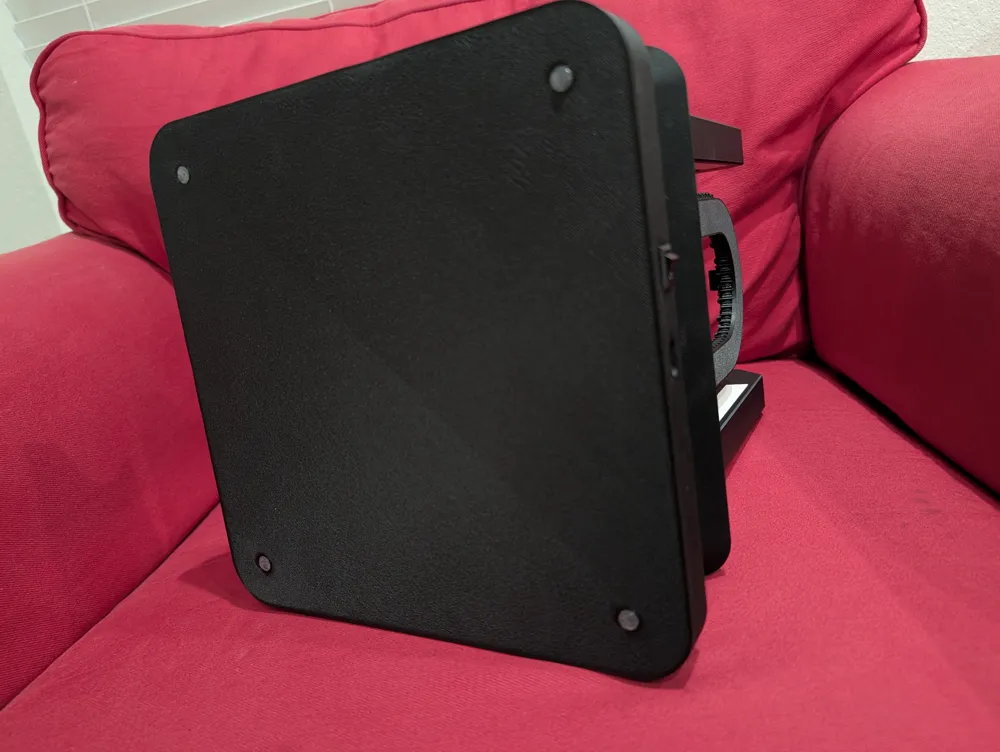
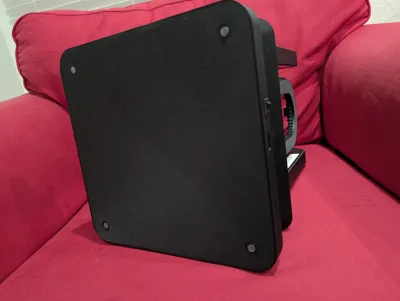
Step 4: Final Closure The base cover features a snap-fit notch design for easy closure, and the top roof is designed for a secure friction fit. Install optional rubber foot at the bottom cover (8mm)
Step 5: Idols and Arc - Remove the knockouts and place the Ram Lalla Idol and the Arc.
For those looking to modify the design, the Fusion 360 files are organized to easily adjust the LED channel depth (some of it is parameterized) or the 'knockout' positions on the base platform. If you find the internal wire pockets difficult to clear of supports, you can use the source files to increase the tolerances.
Tips and Suggestions:
- Filament Choice: I used Black Bambu PLA-CF - for the Roof and Base platform and Sunlu PETG back for the Pillars. The Black CF came out amazing!
- Support Settings: use the Tree Supports in Bambu Studio to make removal easier (especially for the Pillars / Pockets for wiring LED strips)
License

You shall not share, sub-license, sell, rent, host, transfer, or distribute in any way the digital or 3D printed versions of this object, nor any other derivative work of this object in its digital or physical format (including - but not limited to - remixes of this object, and hosting on other digital platforms). The objects may not be used without permission in any way whatsoever in which you charge money, or collect fees.


Comment & Rating (15)