
ZKULL FAT BEATS - Skull Urban Multipart
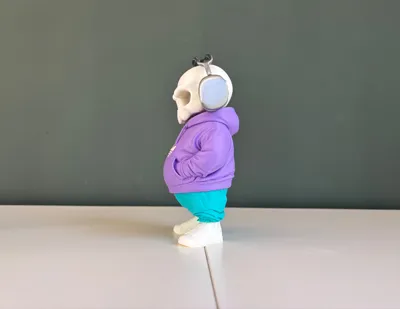
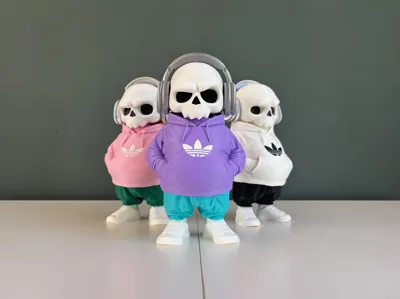
Print Profile(1)




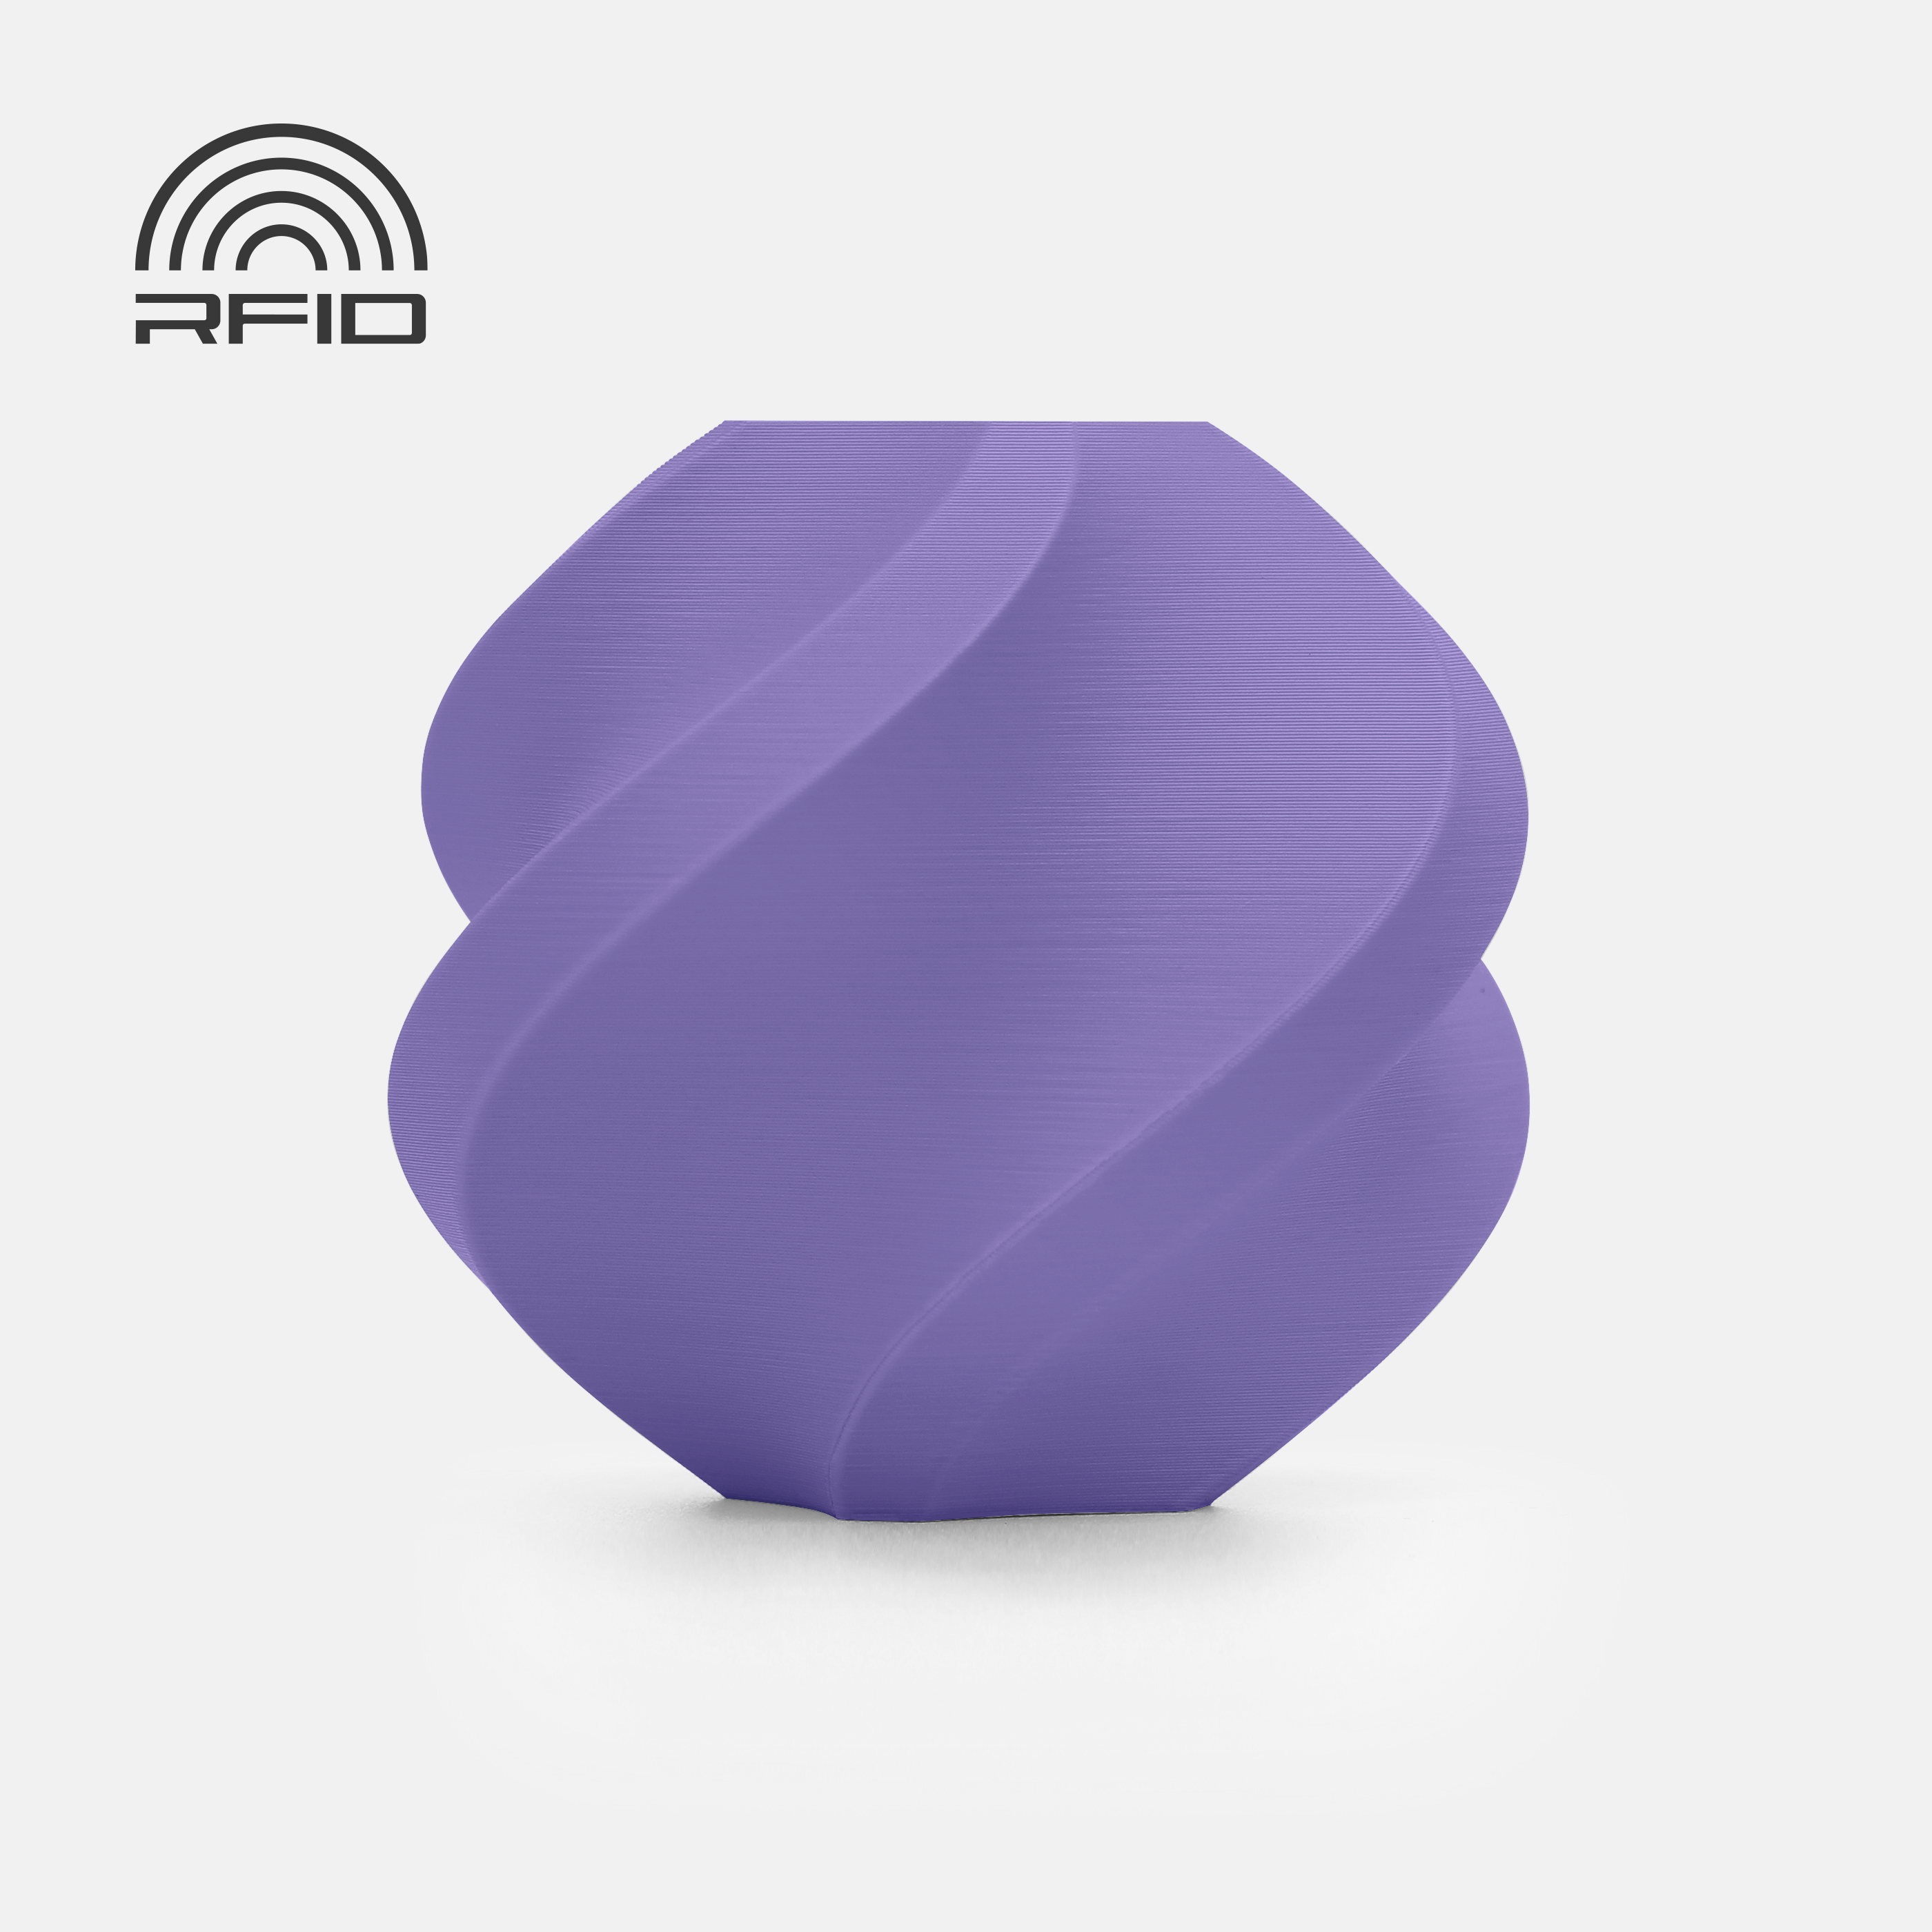

Description
Boost Me (for free)
Thank you for your support, each boost encourages me a little more ! :)

ZKULL EDITION
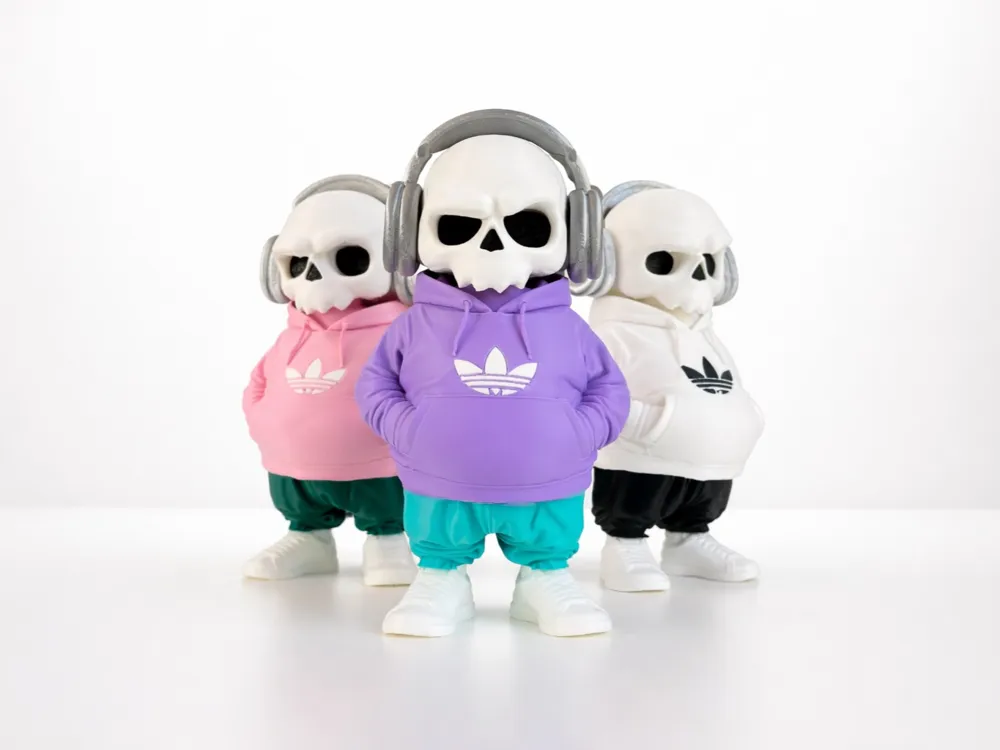
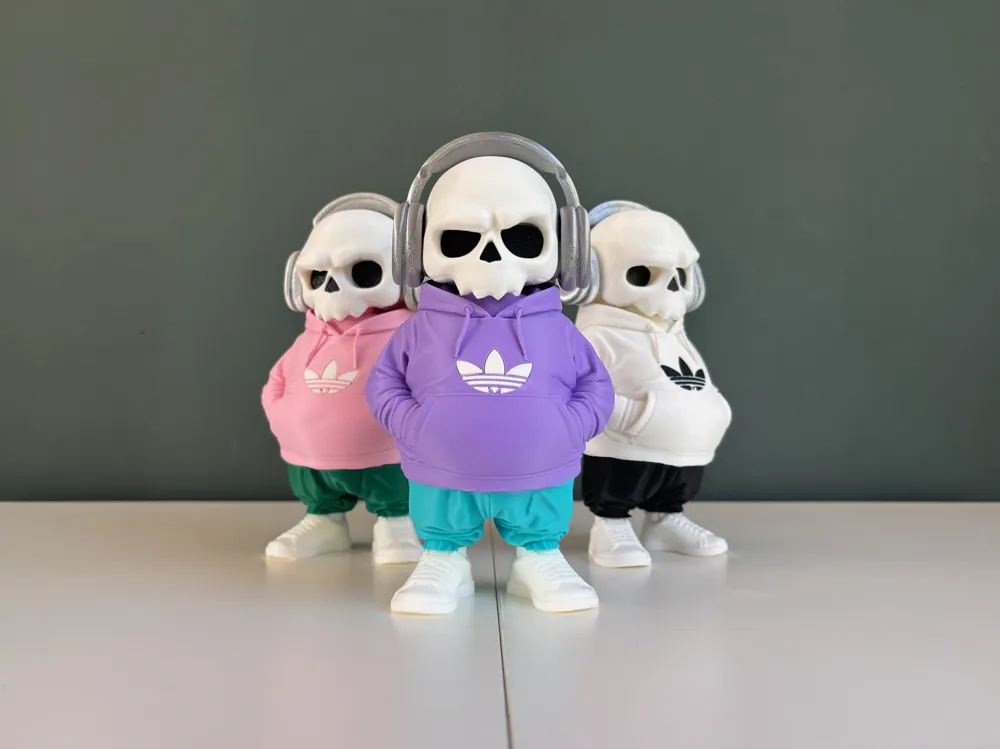
Discover ZKULL, a new collection of modular figurines inspired by urban culture and designer toys.
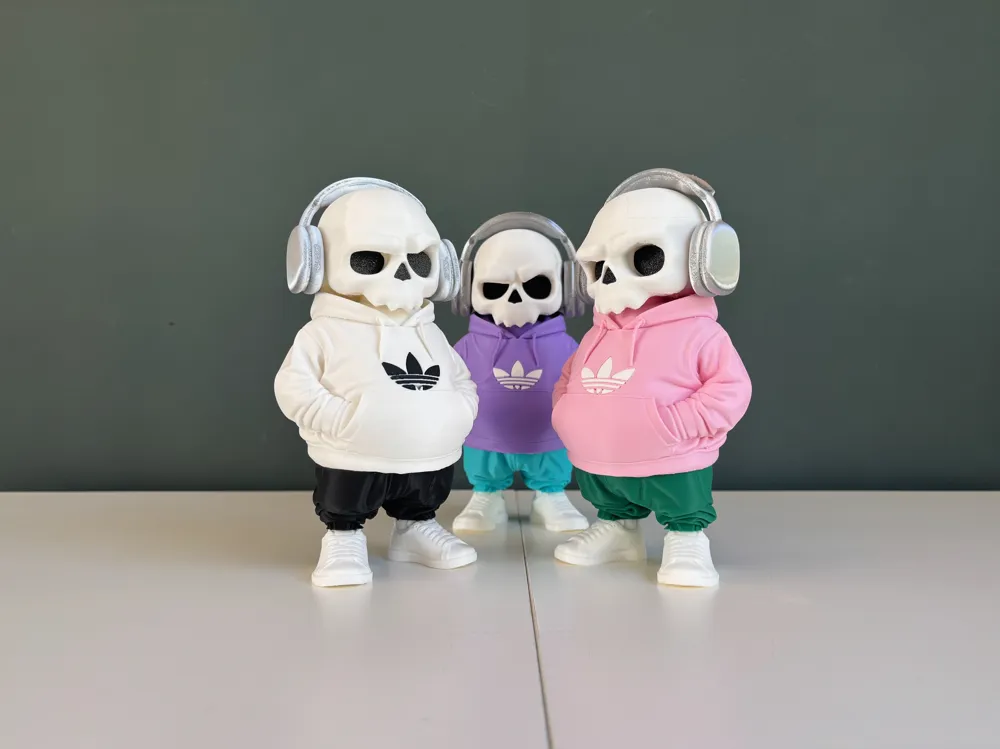
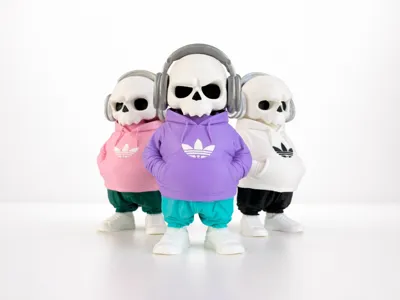
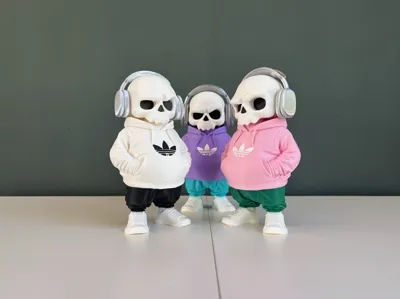
The idea is simple: avoid AMS and reduce filament waste by offering multi-part models so anyone can choose their own colors with a single-extruder printer no purge tower, no forced material swaps.
Each piece is designed to be easy to print, assemble, and customize to fit your style.
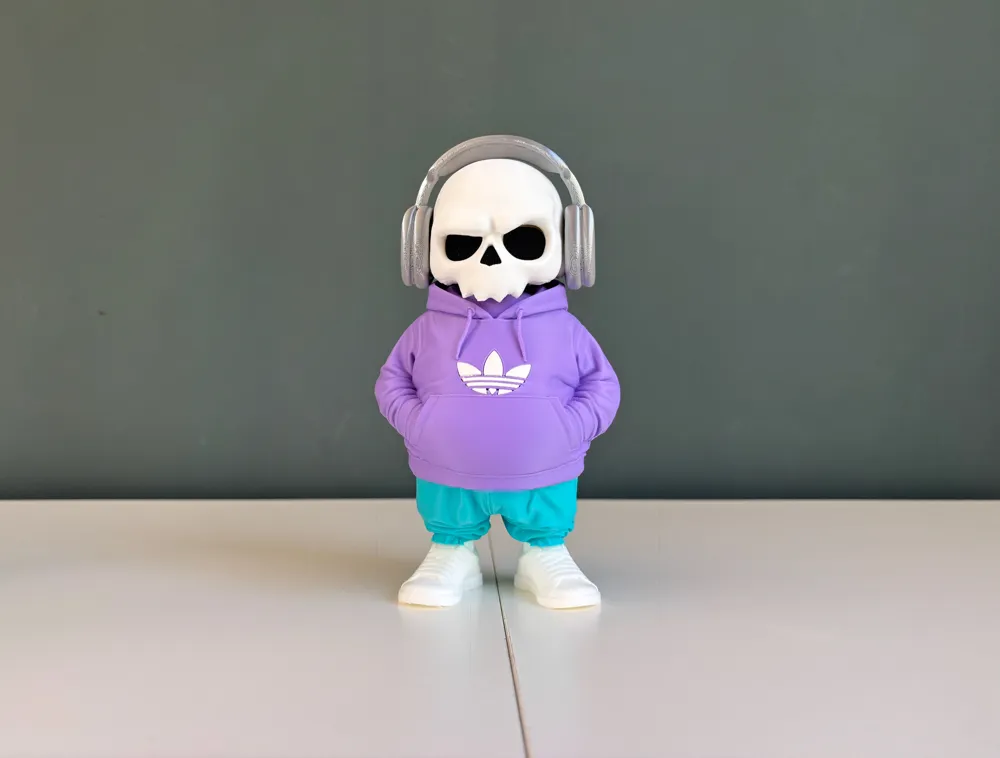
This first release, Urban Ghost (ZKULL Edition), sets the tone: street attitude, iconic silhouette, total customization.
New versions of the ZKULL Edition will be released regularly,feel free to share your ideas !
I hope you’ll enjoy the collection, and I can’t wait to see your prints.
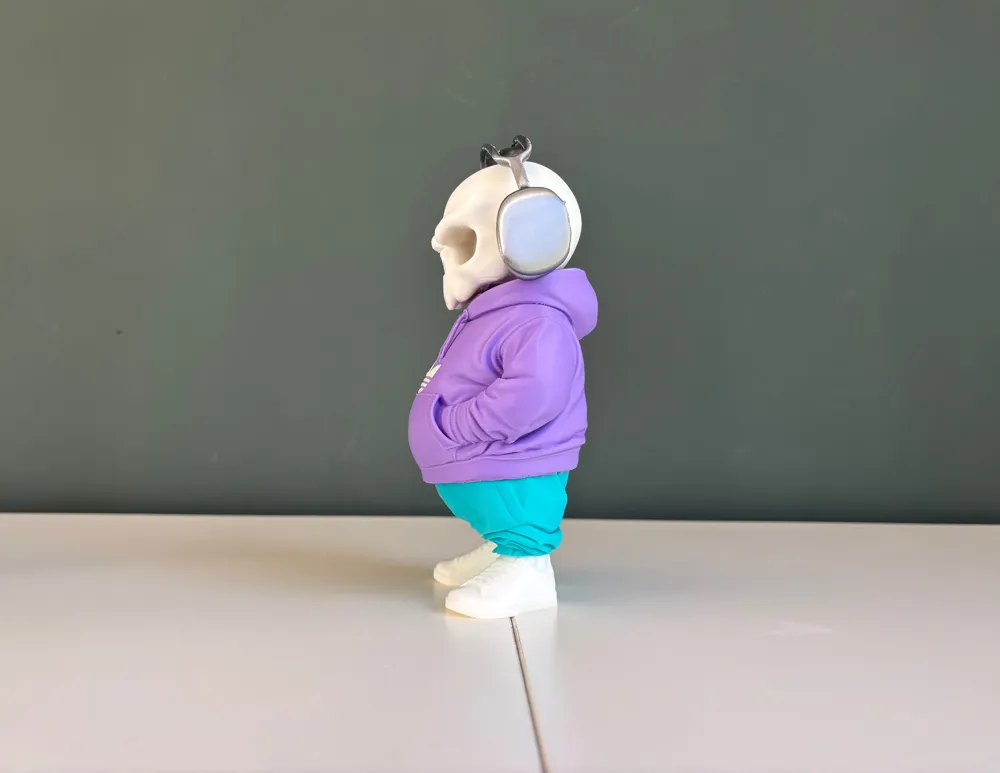
ZKULL FAT BEATS
He doesn’t walk.
He grooves.
With headphones resting like a crown, he listens to the invisible pulse of the city. Every street has a rhythm, every wall a vibration. He turns it all into deep bass and beats that echo through the concrete. In his world, silence doesn’t really exist.
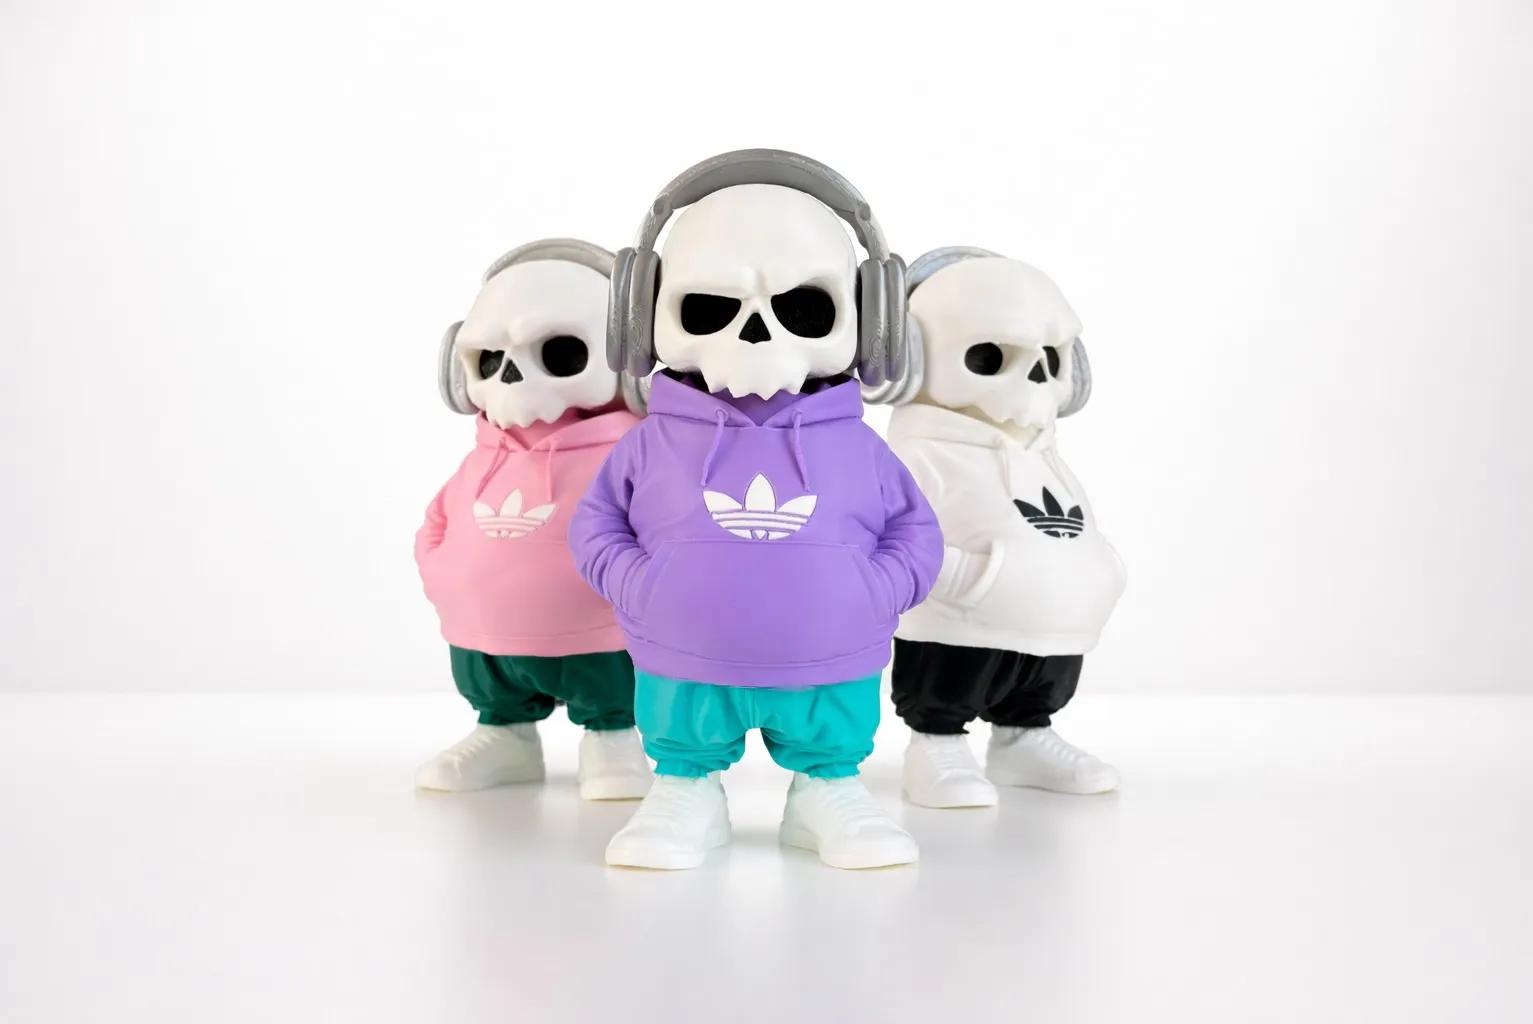
There is always a beat somewhere. The rumble of the subway beneath the streets. A passing car with music shaking the windows.
A melody escaping from an open window.
Everything becomes rhythm. ZKULL FAT BEATS doesn’t follow the music. The music follows him.
He stands calm and still…
but inside his head, the whole city is mixing.
And when night falls and the city lights start glowing, one thing becomes clear:
The beat never stops.
Summary
Model designed in multiple parts, assembled using friction-fit connectors.
The pieces fit together without glue, provided your material tolerances and printer calibration are accurate.
The supplied files already include optimized orientations (for supports and positioning) — do not reorient parts unless you know exactly what you’re doing.
Printing Instructions
Keep the provided settings: the Bambu Lab / Bambu Studio profiles included in the archive have been tested for this model and can be used as-is for reliable printing.
Orientation & Supports
All parts are positioned in the files to minimize supports and simplify post-processing.
Do not globally reorient the parts; if you modify one, verify the effect on support generation.
Assembly – Recommended Method
- Dry fit first: Assemble all parts without glue to check alignment and tolerances.
- Cleaning: Lightly trim or sand edges and pegs with a file or modeling tool for smooth contact.
- Fine adjustments:
- Too tight → very light sanding (grit 200–400).
- Too loose → apply a thin strip of PLA/PTFE tape on the peg (discreetly) or a small drop of glue.
- Optional bonding: Use cyanoacrylate (CA) glue for permanent joints.
- Small parts (buttons, tips): Depending on your printer’s accuracy, you may need to glue small details for proper stability.
- Back patch / logo: It’s recommended to glue the back emblem securely for long-term stability.
- Final check: Verify pattern alignment and mobility (if any moving parts).
Recommended Print Settings
- Layer height: 0.12–0.20 mm (use 0.12 mm for fine details).
- Perimeters (walls): 2–3.
- Infill: 10–20% (increase for load-bearing parts).
- Top/bottom layers: 4.
- Supports: Use the orientations provided — Bambu Studio / included profiles handle them efficiently.
- Bed adhesion: Use a skirt if contact surfaces are small.
- Temperatures: Keep the default profile settings or adjust to match your filament.
Additional Note on Gluing
Each piece can be glued for long-term stability, or left unglued if you plan to swap color variations.
However, it’s strongly recommended to glue the black eye inserts and the nose, as these are the only parts without designed tolerances for friction fit.
Specific Notes & Best Practices
- Tolerances vary depending on filament — always test on your target printer.
- Do not glue immediately — prefer a dry assembly to allow color swaps and adjustments.
- Labeling: Keep the original part names/positions as indicated in the files (this makes reassembly and support easier).
Membership
Are you a 3D print seller? Get a commercial license to legally use my models in your shop. Choose the option that fits your needs: Lite License: covers around ten selected models. Standard License: gives you access to all my models for commercial use. Whether you're selling online or at local markets, these licenses allow you to print and sell physical copies of my designs. Support independent creators and grow your business with original models made for makers like you.
License

You shall not share, sub-license, sell, rent, host, transfer, or distribute in any way the digital or 3D printed versions of this object, nor any other derivative work of this object in its digital or physical format (including - but not limited to - remixes of this object, and hosting on other digital platforms). The objects may not be used without permission in any way whatsoever in which you charge money, or collect fees.


Comment & Rating (86)