
Print Profile(2)
Bill of Materials


Description
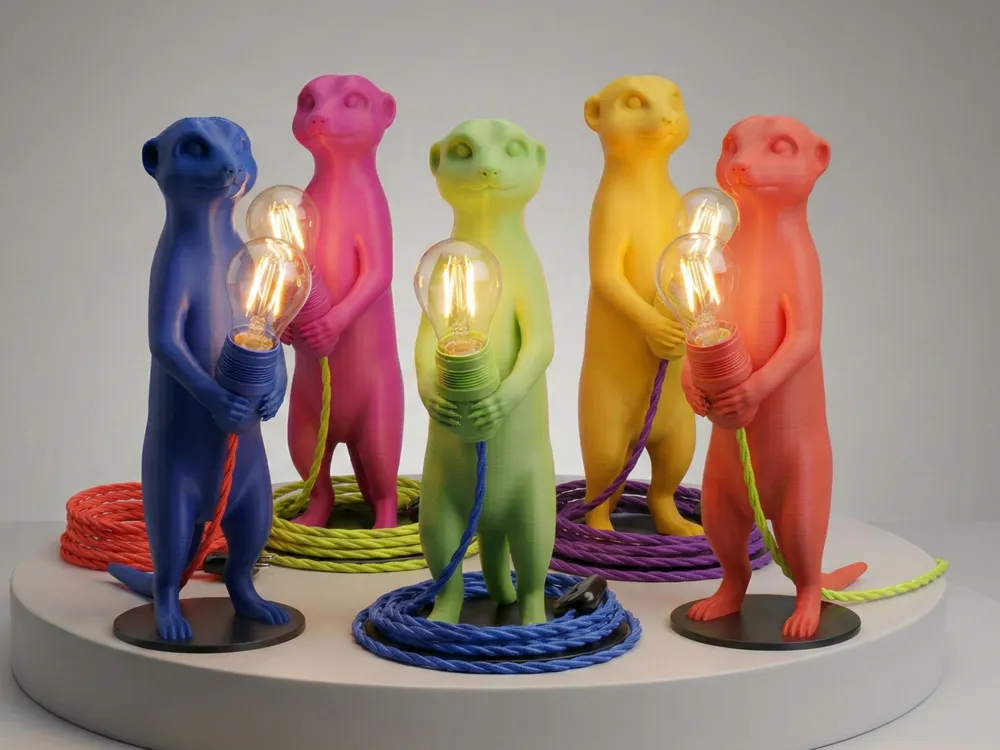
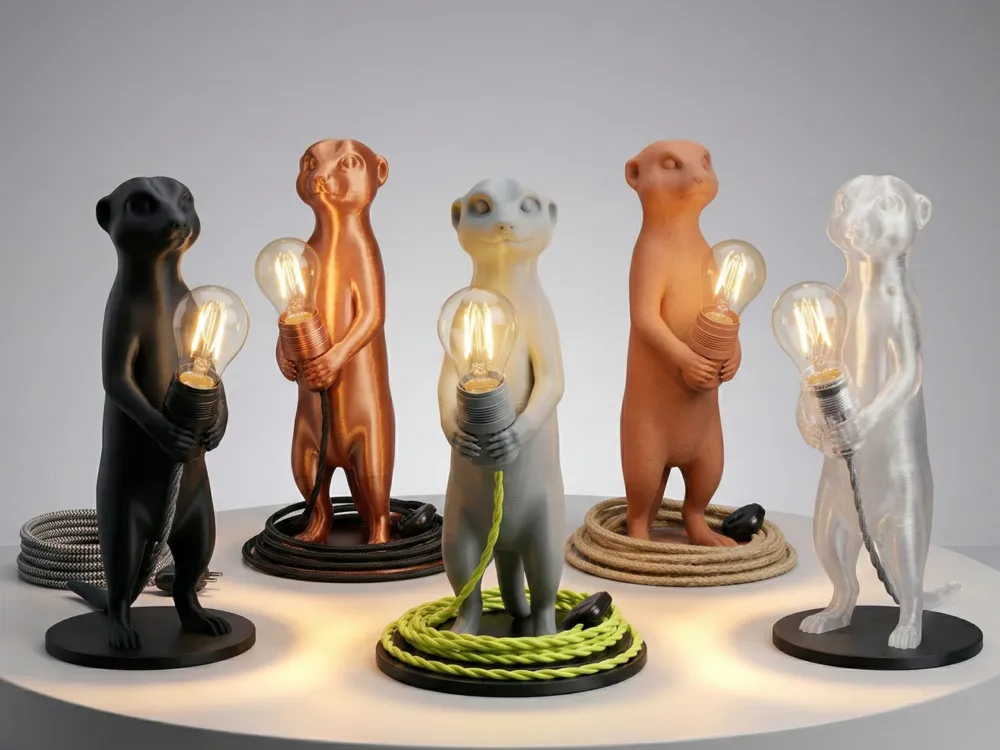
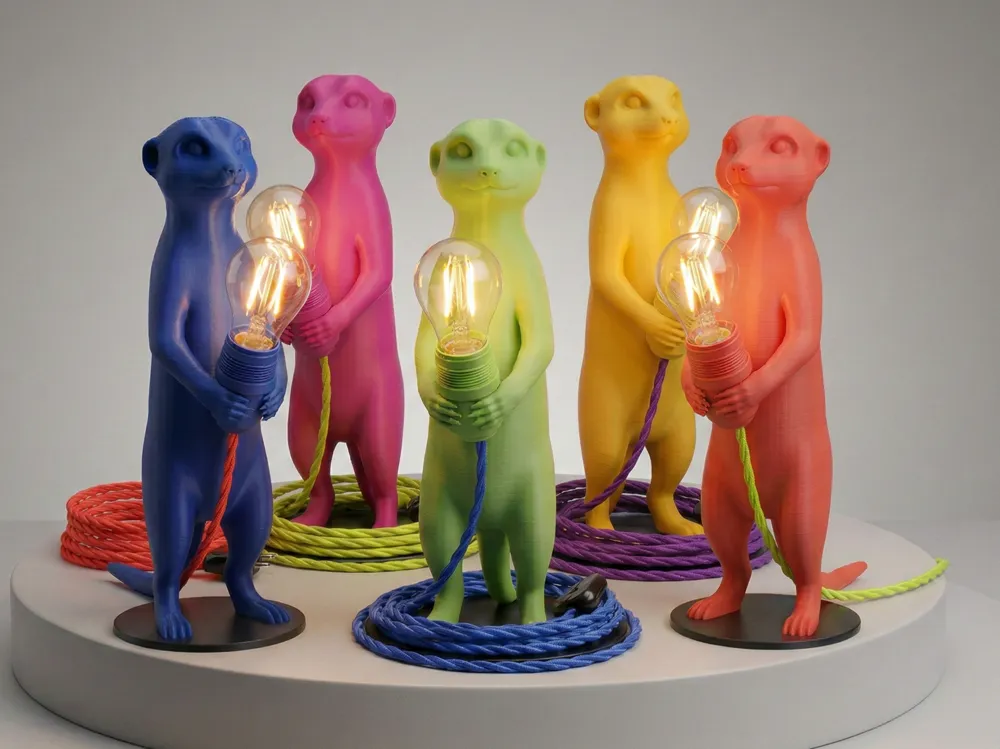
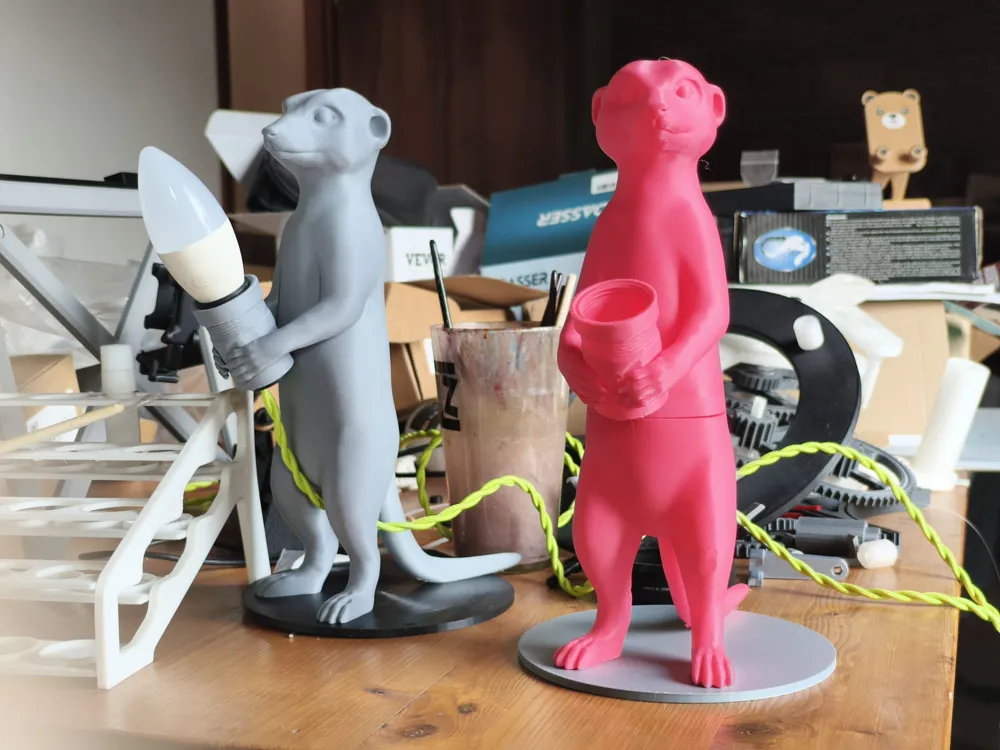
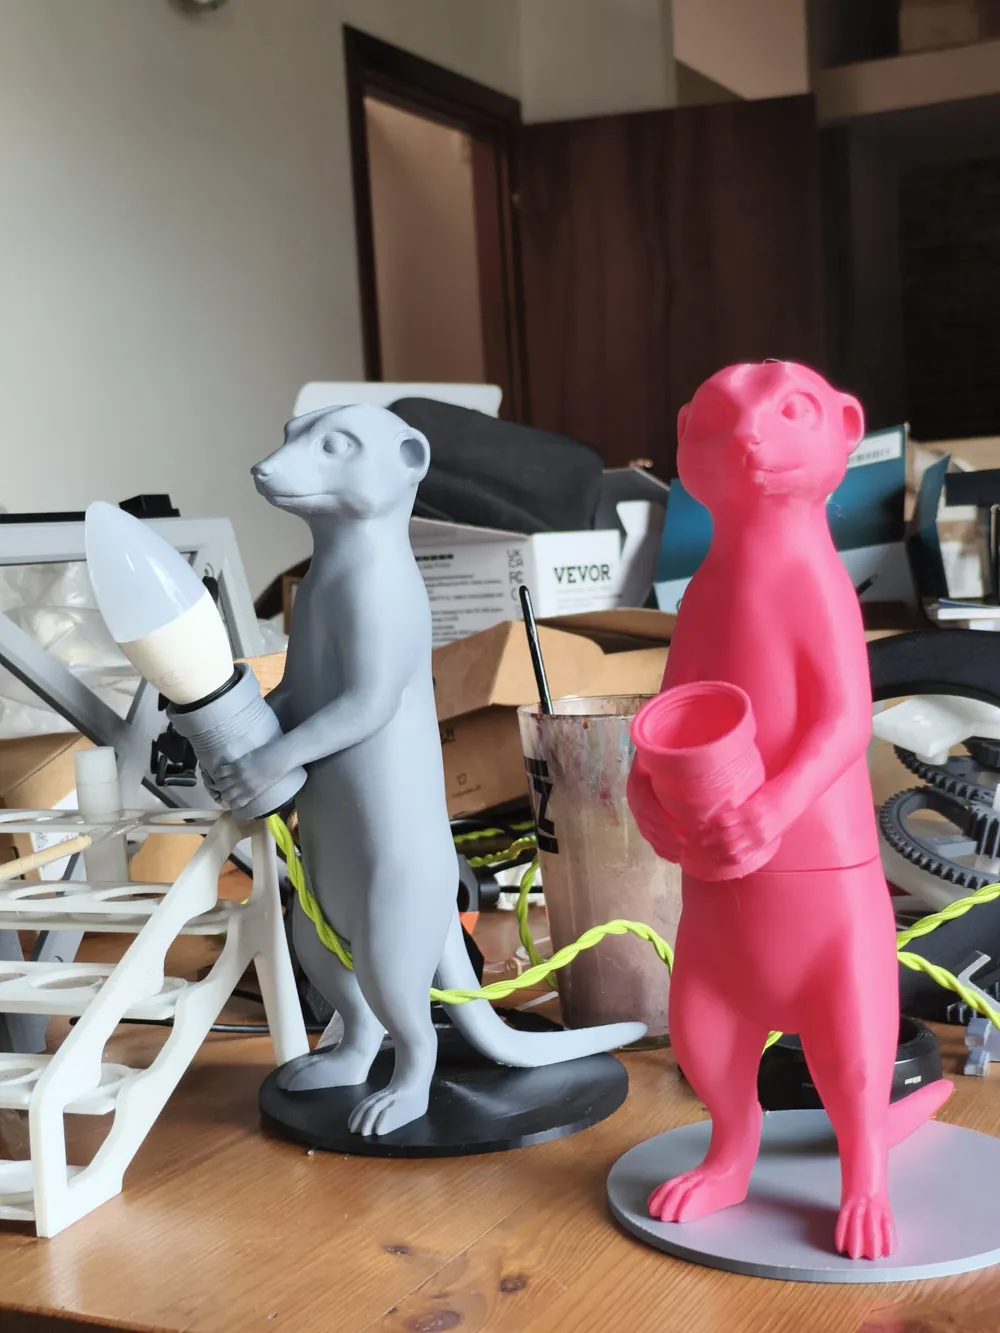
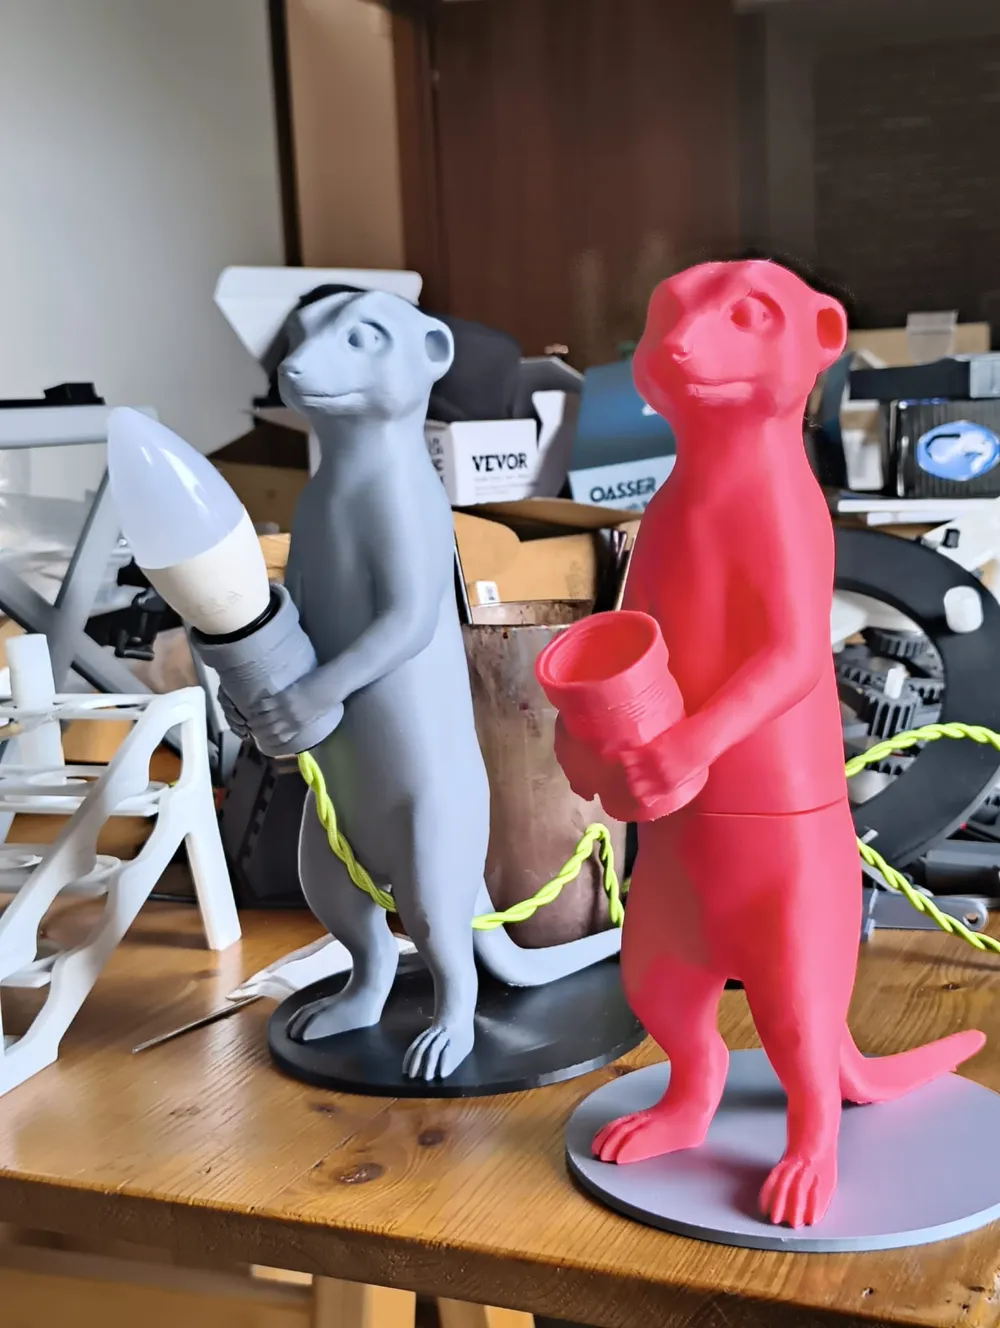
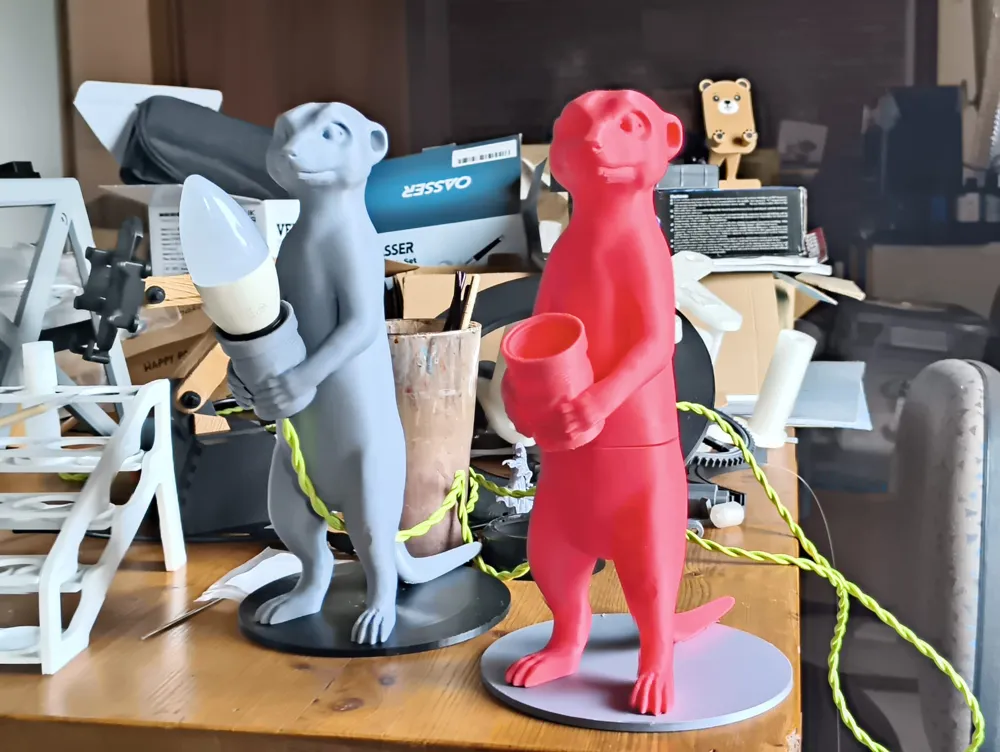
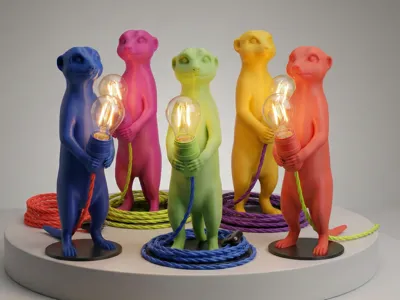
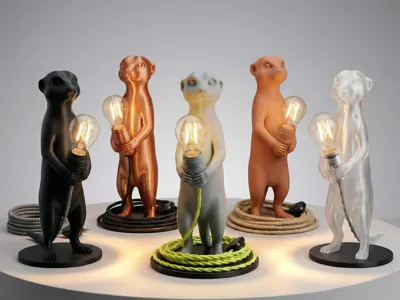
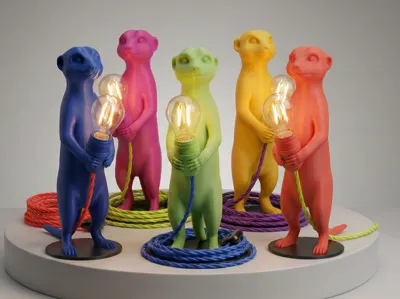
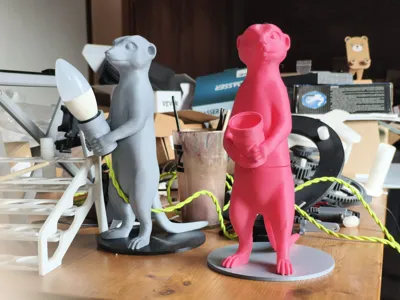
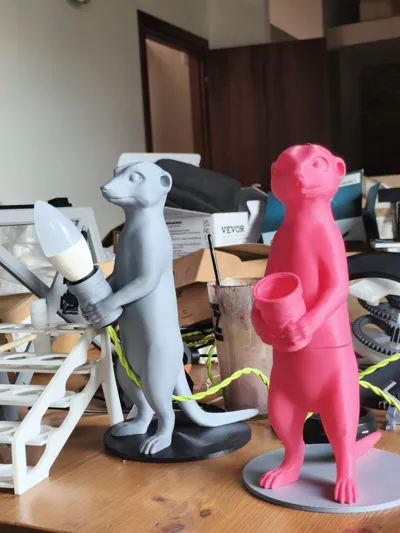
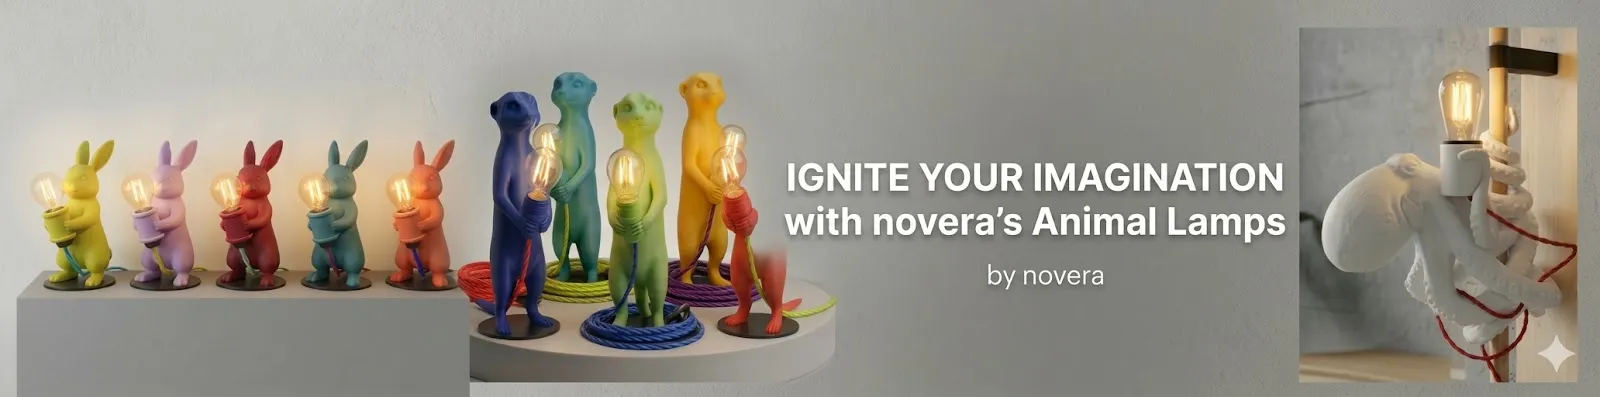
Meerkat Desk Lamp - E14 Socket Edition
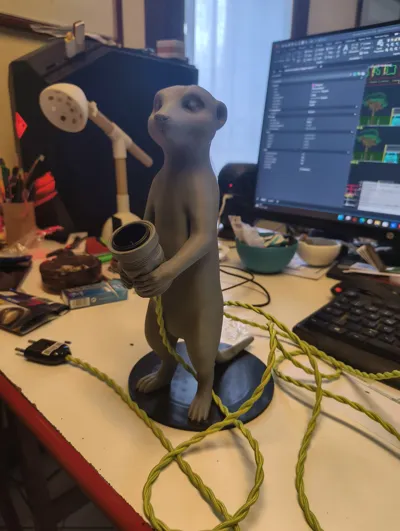
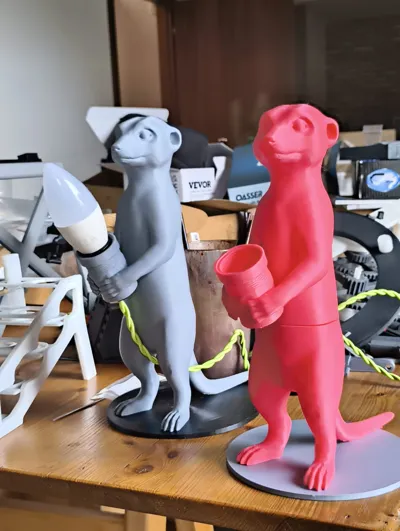
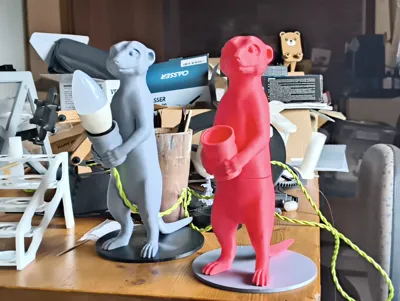
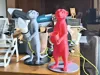
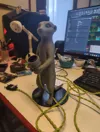
Meet your new desktop companion! This 3D-printable Meerkat lamp holder is a perfect mix of wildlife art and functional lighting. The meerkat stands tall, holding your E14 bulb socket as if discovering light for the first time.
Boost Me (for free)
🚀 Support my Work
If you enjoyed printing and assembling this Meerkat Desk Lamp, please consider giving it a Boost!
Your support helps me keep creating and sharing unique 3D-printable designs with the community. Don't forget to share your makes in the comments!
Membership
💎 Support the Journey If you love my designs and want to support my creative process on a deeper level, consider joining my Membership program! By becoming a member, you'll get exclusive access to: Commercial License to sell physical prints of my models. Your membership allows me to dedicate more time to engineering and artistic projects like this one. Thank you for being part o
🛠️ Technical Specs & Assembly (IMPORTANT)
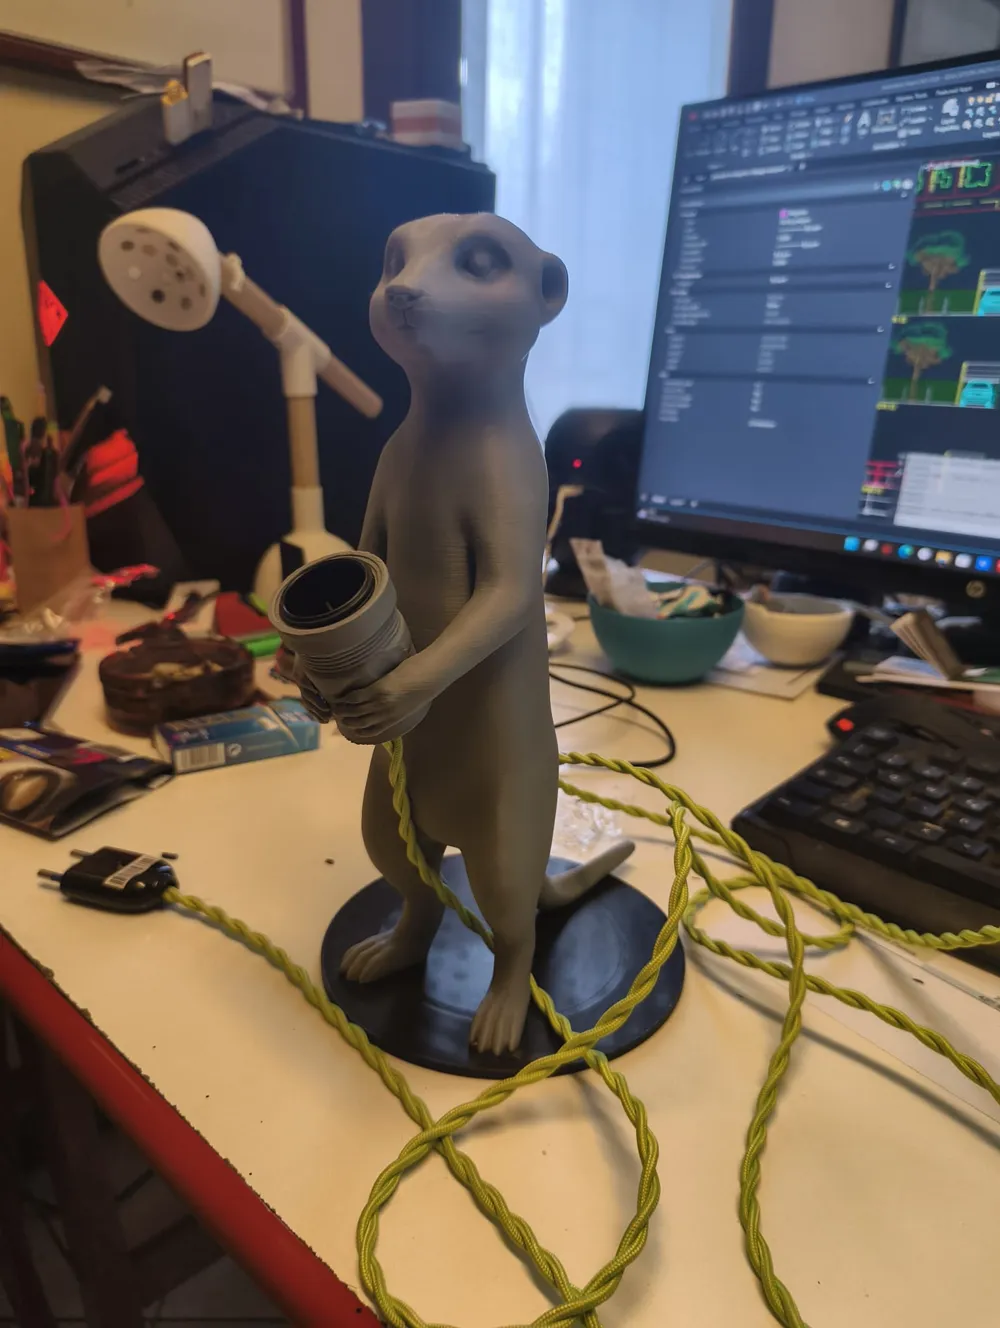
- Socket Type: This model is designed for a smooth E14 socket (without the external threaded ring for lampshades).
- Technical Mod: If you only have a socket with a fixing ring, no problem: simply cut off the plastic ring and sand/file the body until it's flush. This ensures it slides perfectly into the holder between the paws.
- Assembly Sequence: 1. Wire the socket to the cable first. 2. Insert the assembly from the top, sliding it through the meerkat’s arms. 3. Press it down until it sits snugly and flush in place.
- Cable Path: The base is designed to let the power cord sit flat on the surface for maximum stability.
📦 Available Print Files
Two different versions are available to fit your printer's build volume:
- Single Piece Version: Optimized for large format printers like the H2 Series. The meerkat is printed as a single, solid piece.
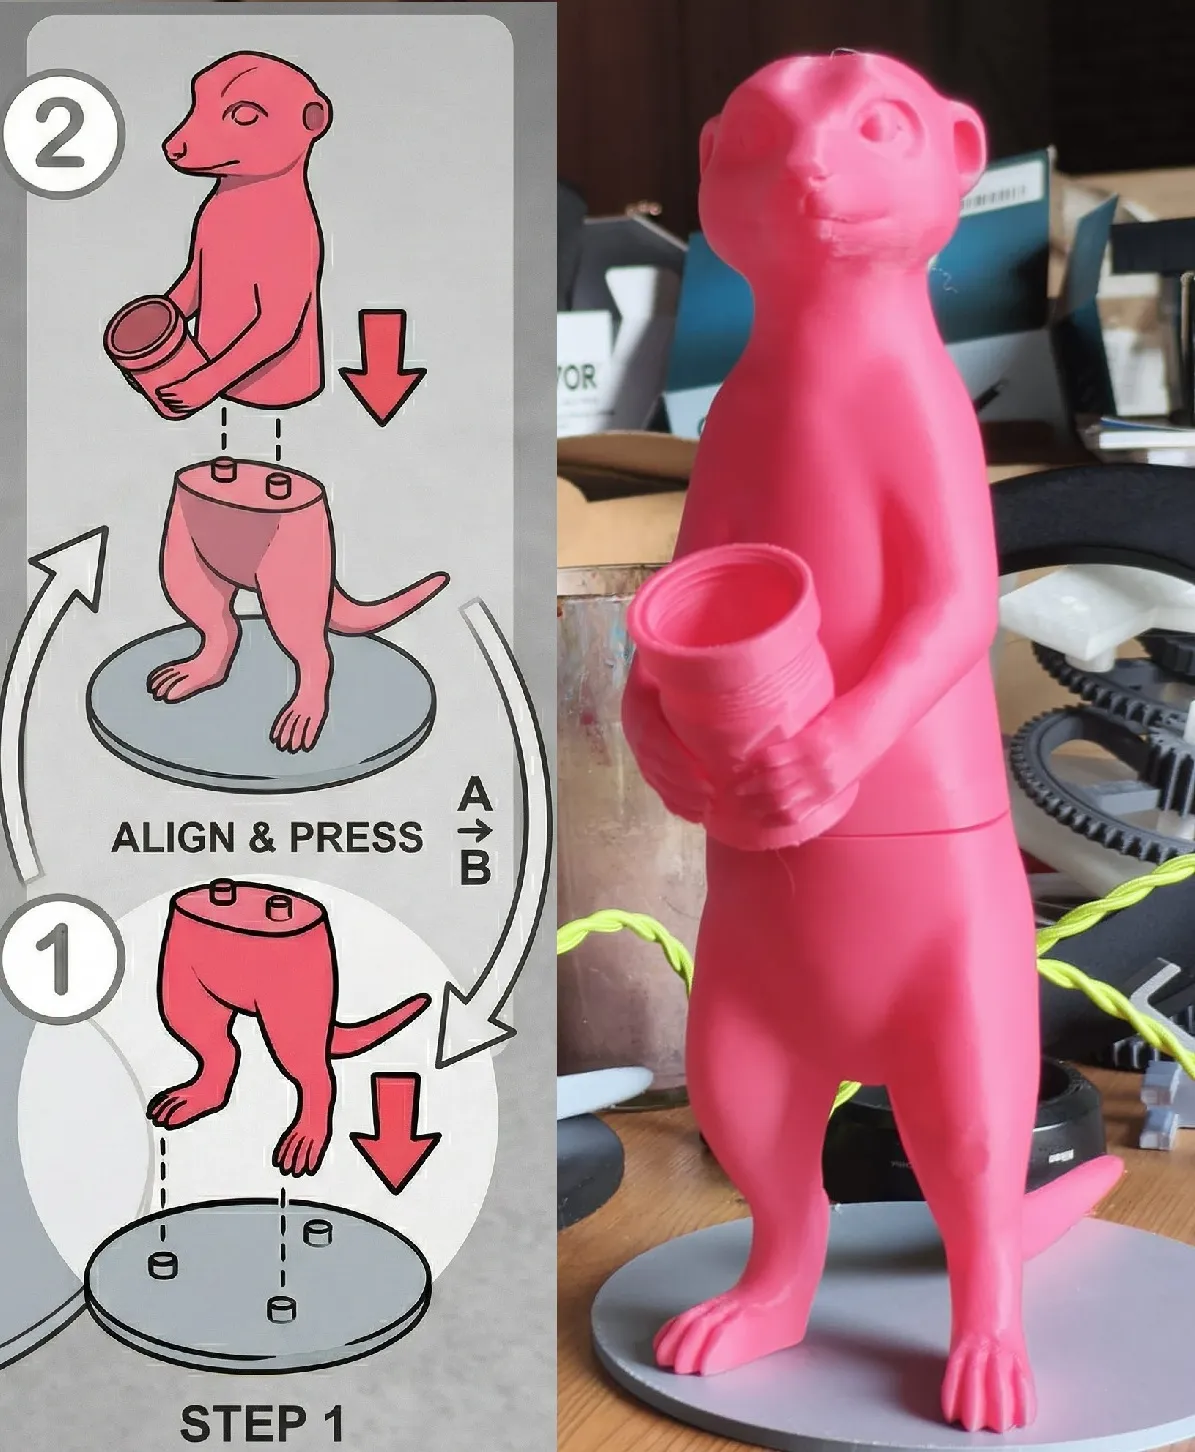
- Split Version: Designed for smaller printers. The body is divided into two parts equipped with built-in connectors for easy and precise alignment during assembly.
⚠️ SAFETY WARNING
Use LED bulbs ONLY. Standard incandescent or halogen bulbs generate excessive heat that will cause the plastic to soften and deform. Using a low-heat LED bulb ensures the longevity and safety of your 3D-printed lamp.
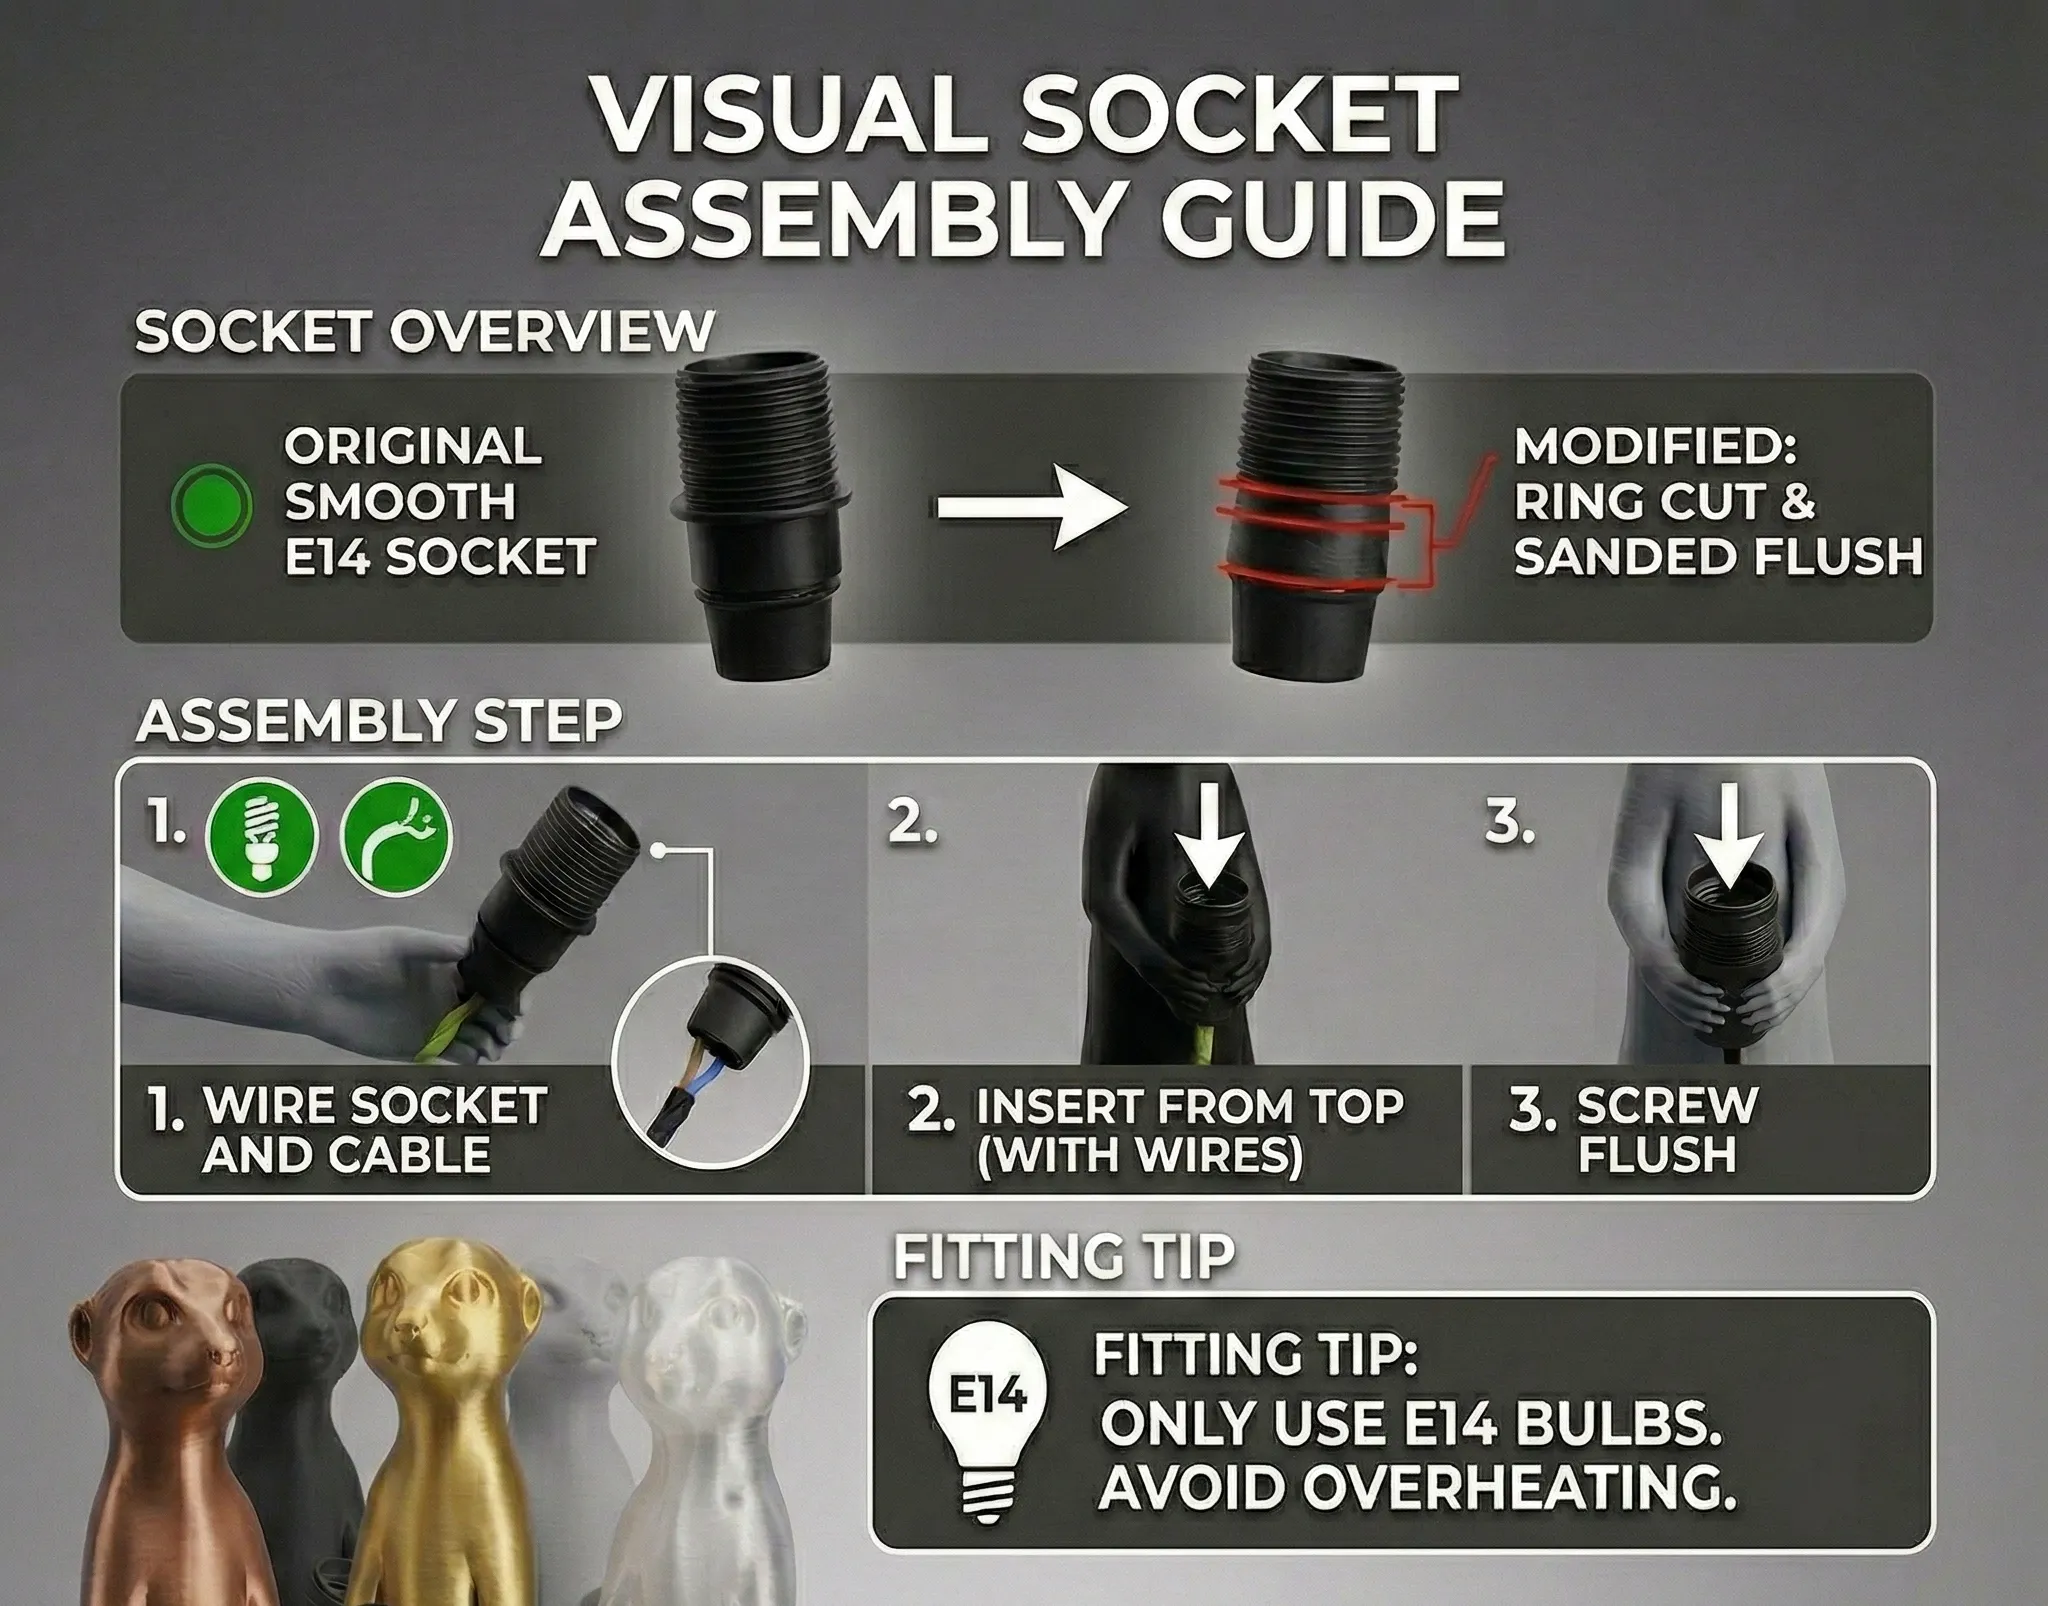
ASSEMBLY GUIDE FOR SPLITTED BODY
License

You shall not share, sub-license, sell, rent, host, transfer, or distribute in any way the digital or 3D printed versions of this object, nor any other derivative work of this object in its digital or physical format (including - but not limited to - remixes of this object, and hosting on other digital platforms). The objects may not be used without permission in any way whatsoever in which you charge money, or collect fees.


Comment & Rating (72)