
Print Profile(1)
Bill of Materials








Description

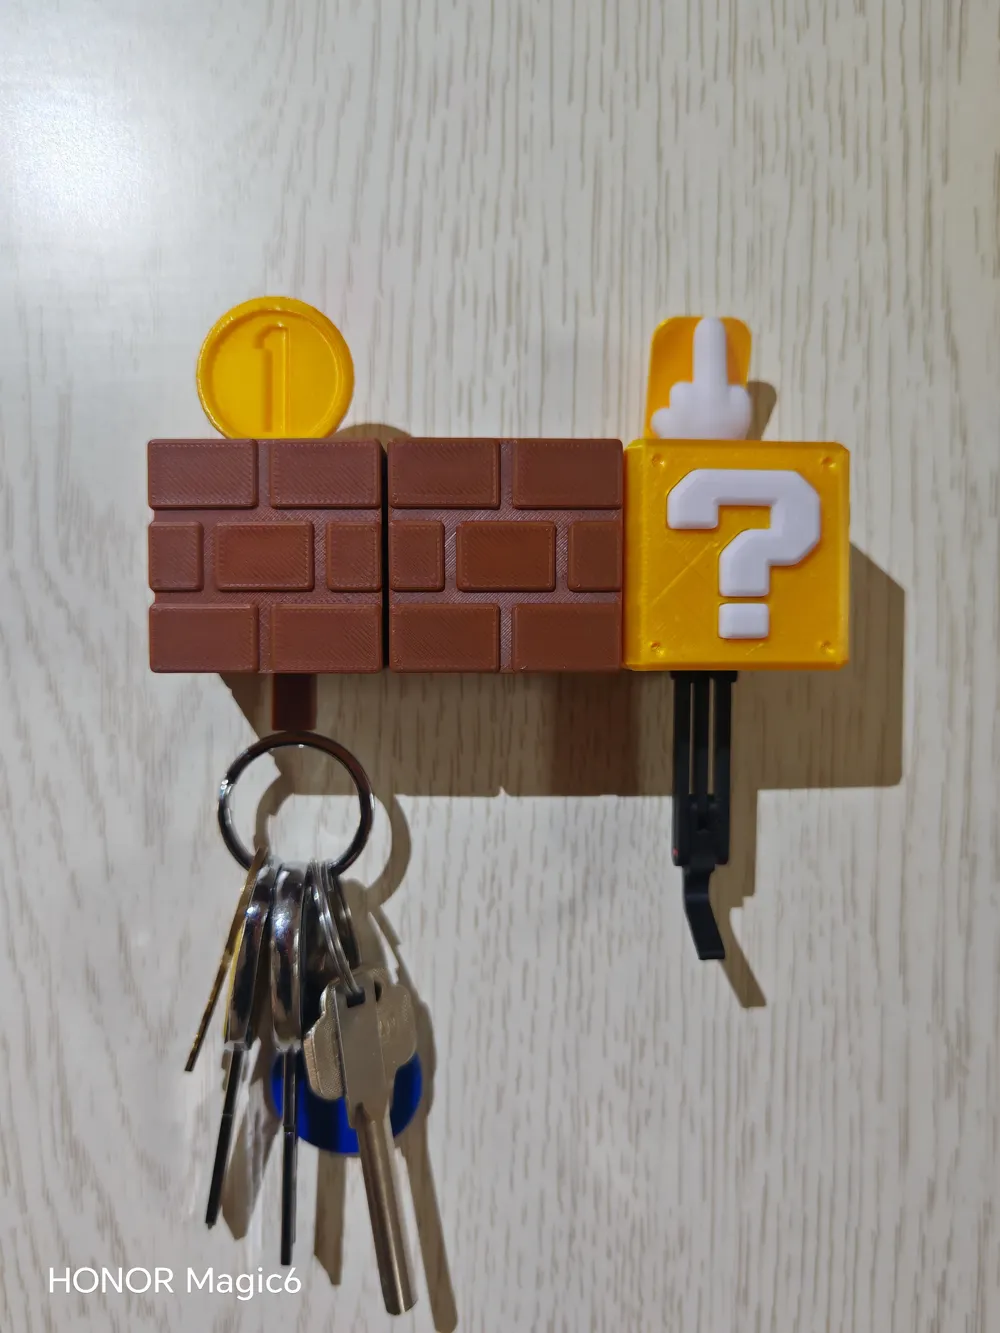
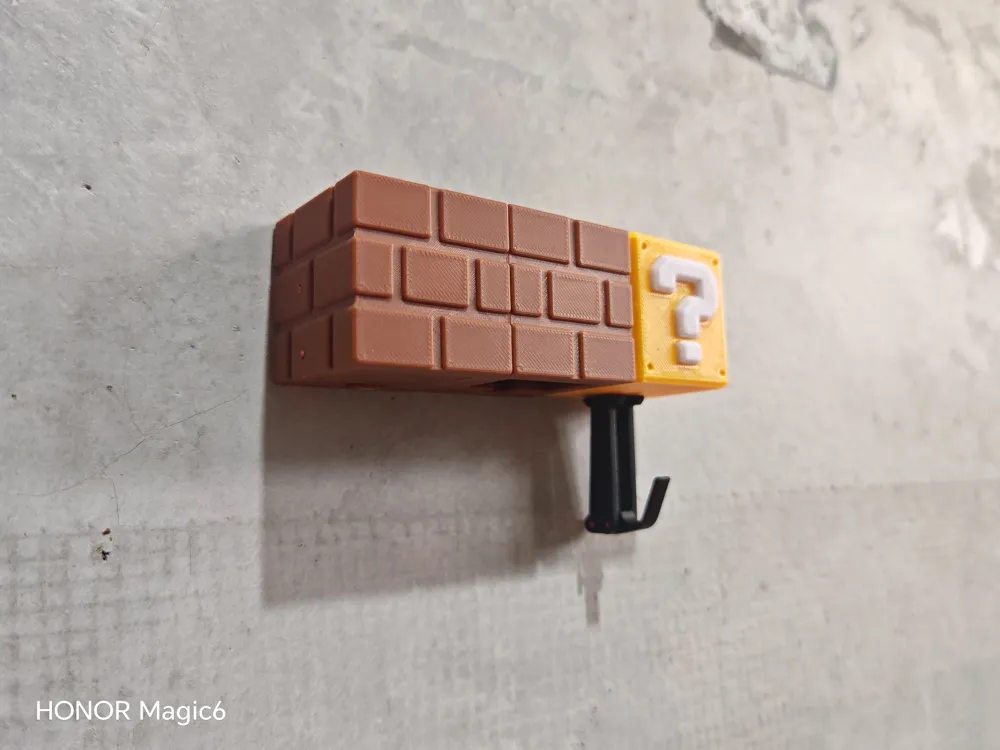
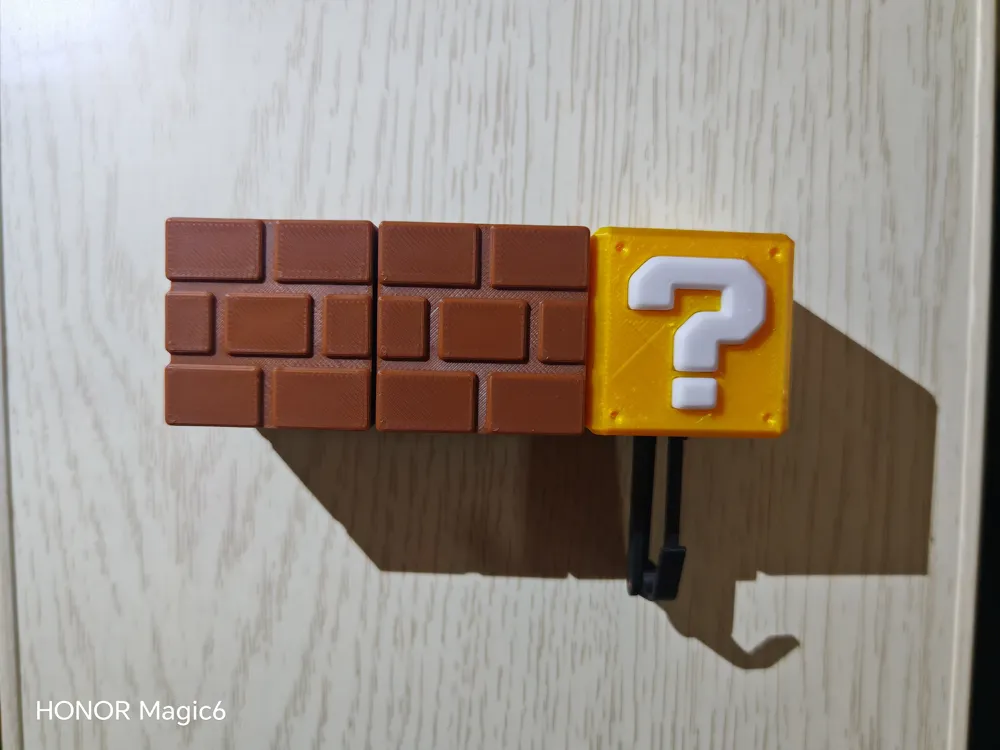
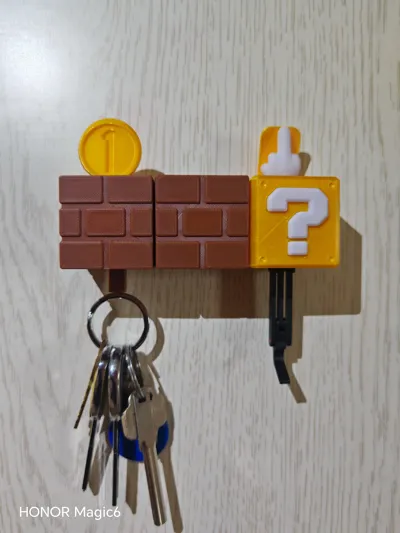
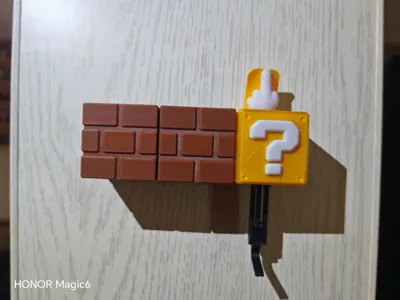
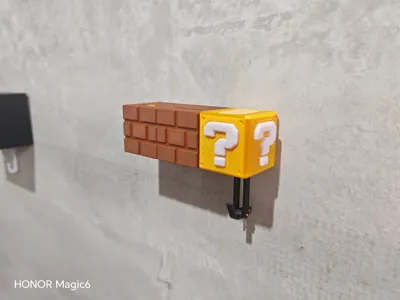
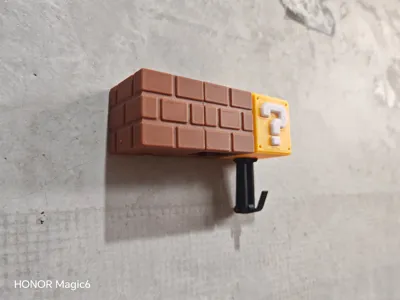
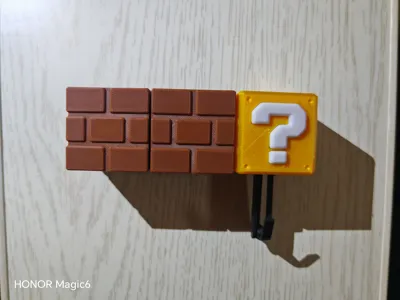
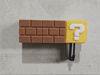
This is a key holder, but is it really what you think?
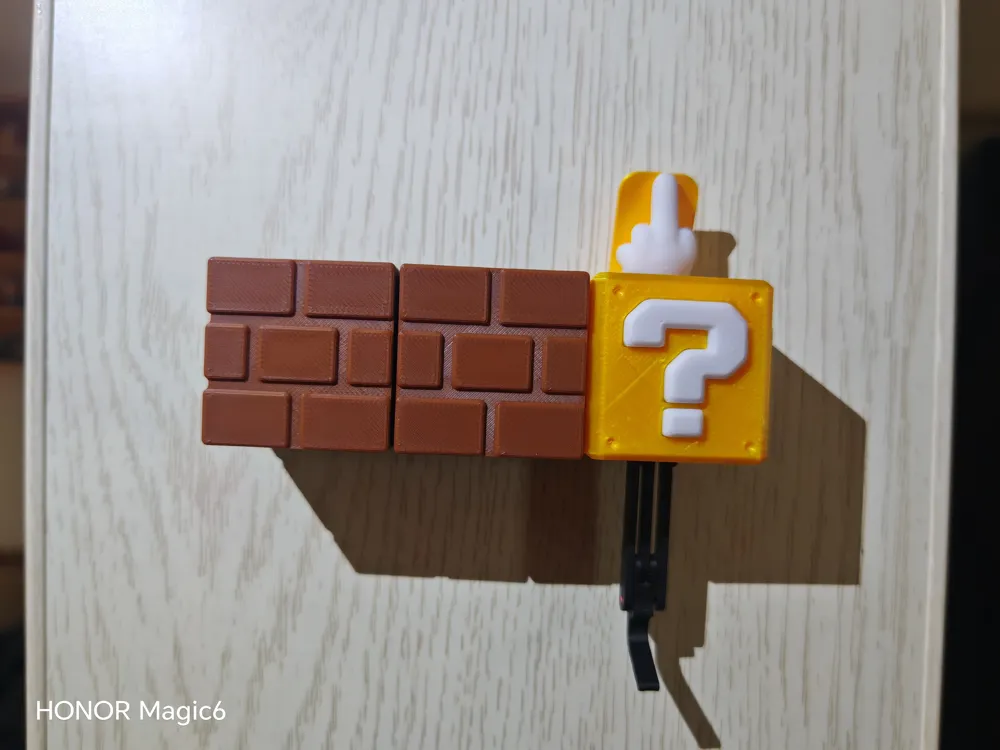
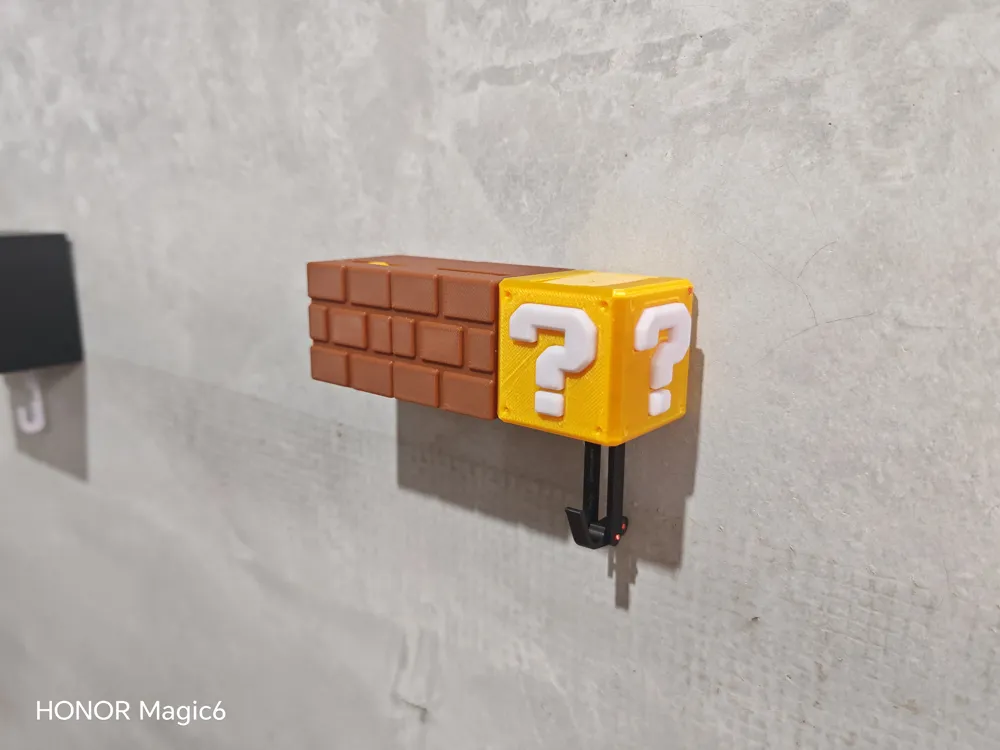
No, no, no, if you hang your keys on the question block, it will mercilessly mock you and throw your keys to the ground, while the brick next to it is the real key holder.
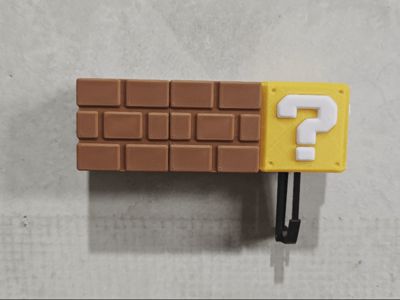
The files are divided into three parts: left, middle, and right. The middle brick can be stacked infinitely. Create your exclusive key holder based on the number of keys you have!
In addition to the 3D Printed parts, you will need two 4X2mm magnets
Nail positions are reserved on the back, with a nail spacing of 40mm and a maximum nail diameter of 3mm; it can also be fixed to the wall using double-sided tape
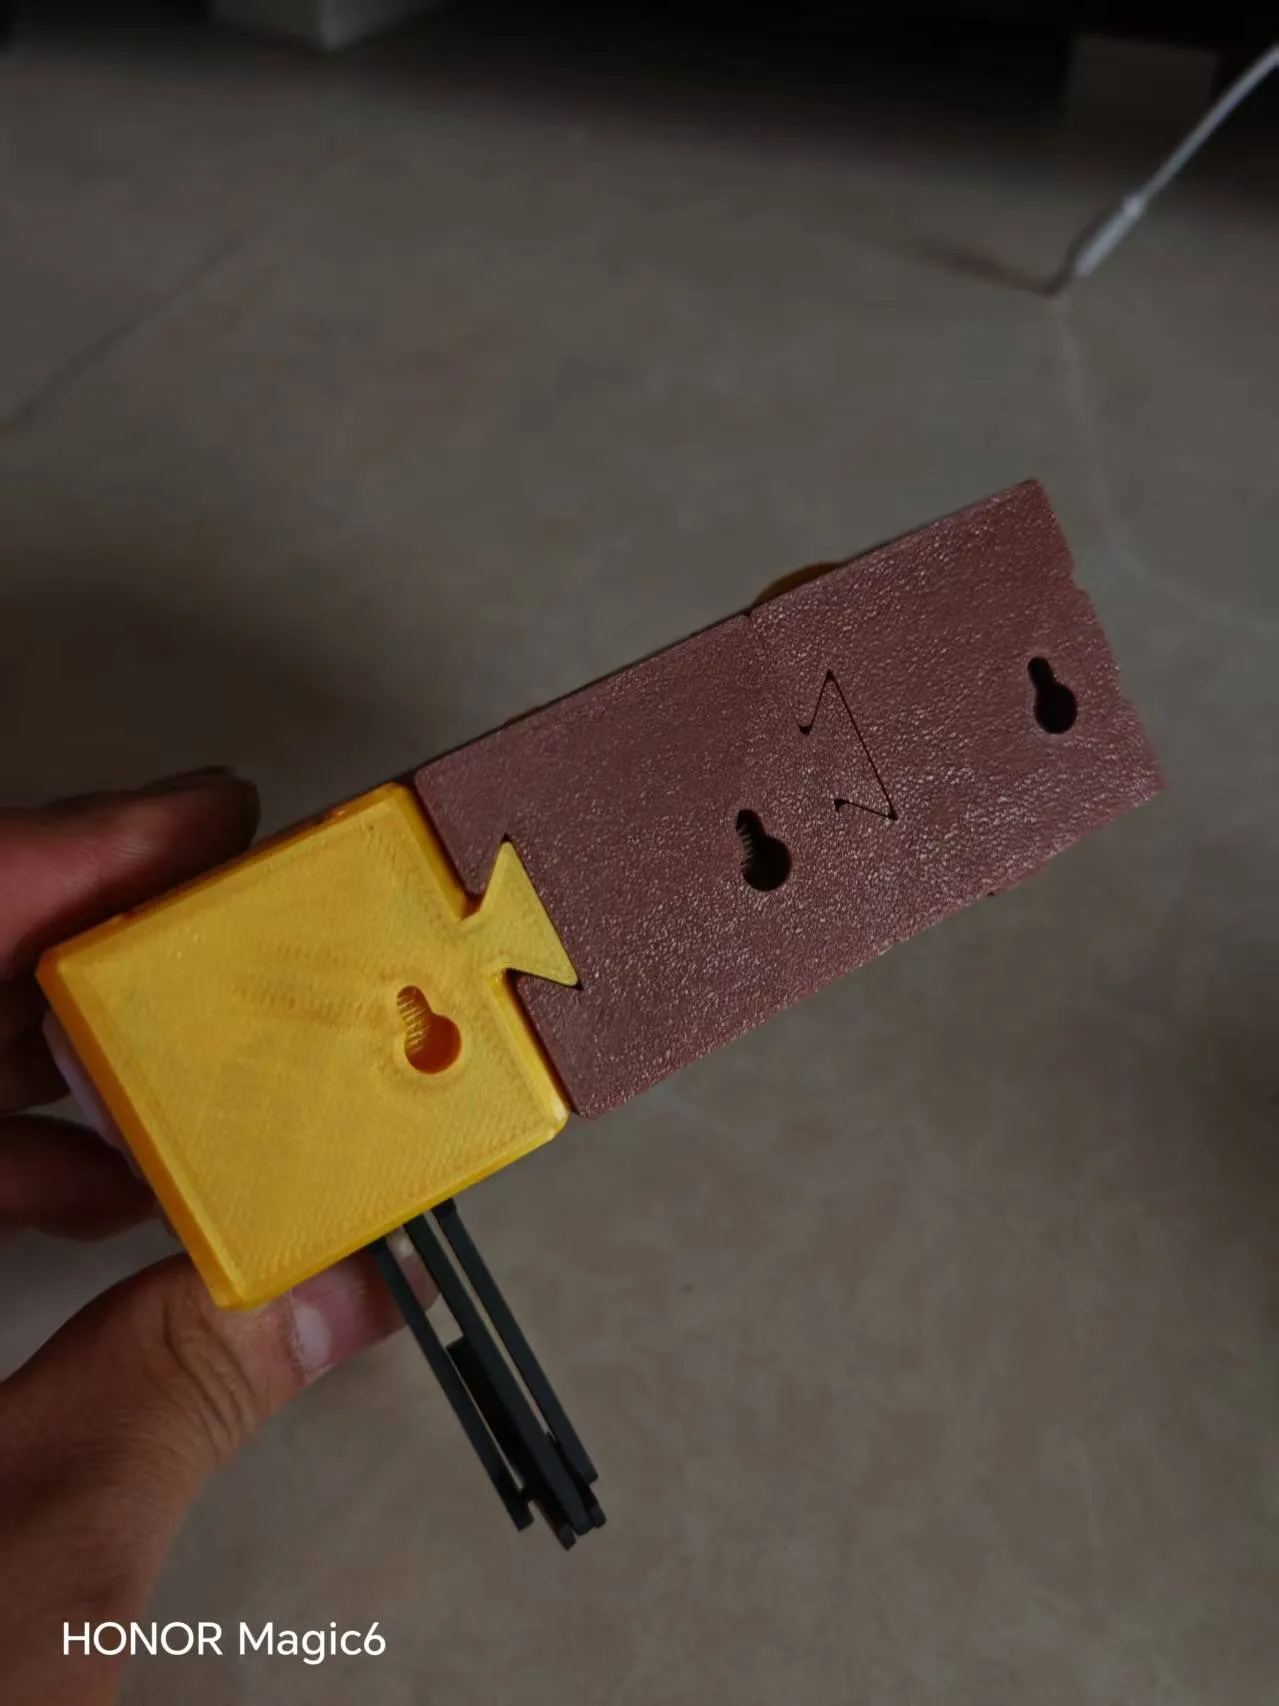
Assembly tutorial:
1. Glue the 4X2mm magnet into the slot of the left part, and assemble the coin part as shown in the figure using filament, paying attention to the coin's orientation
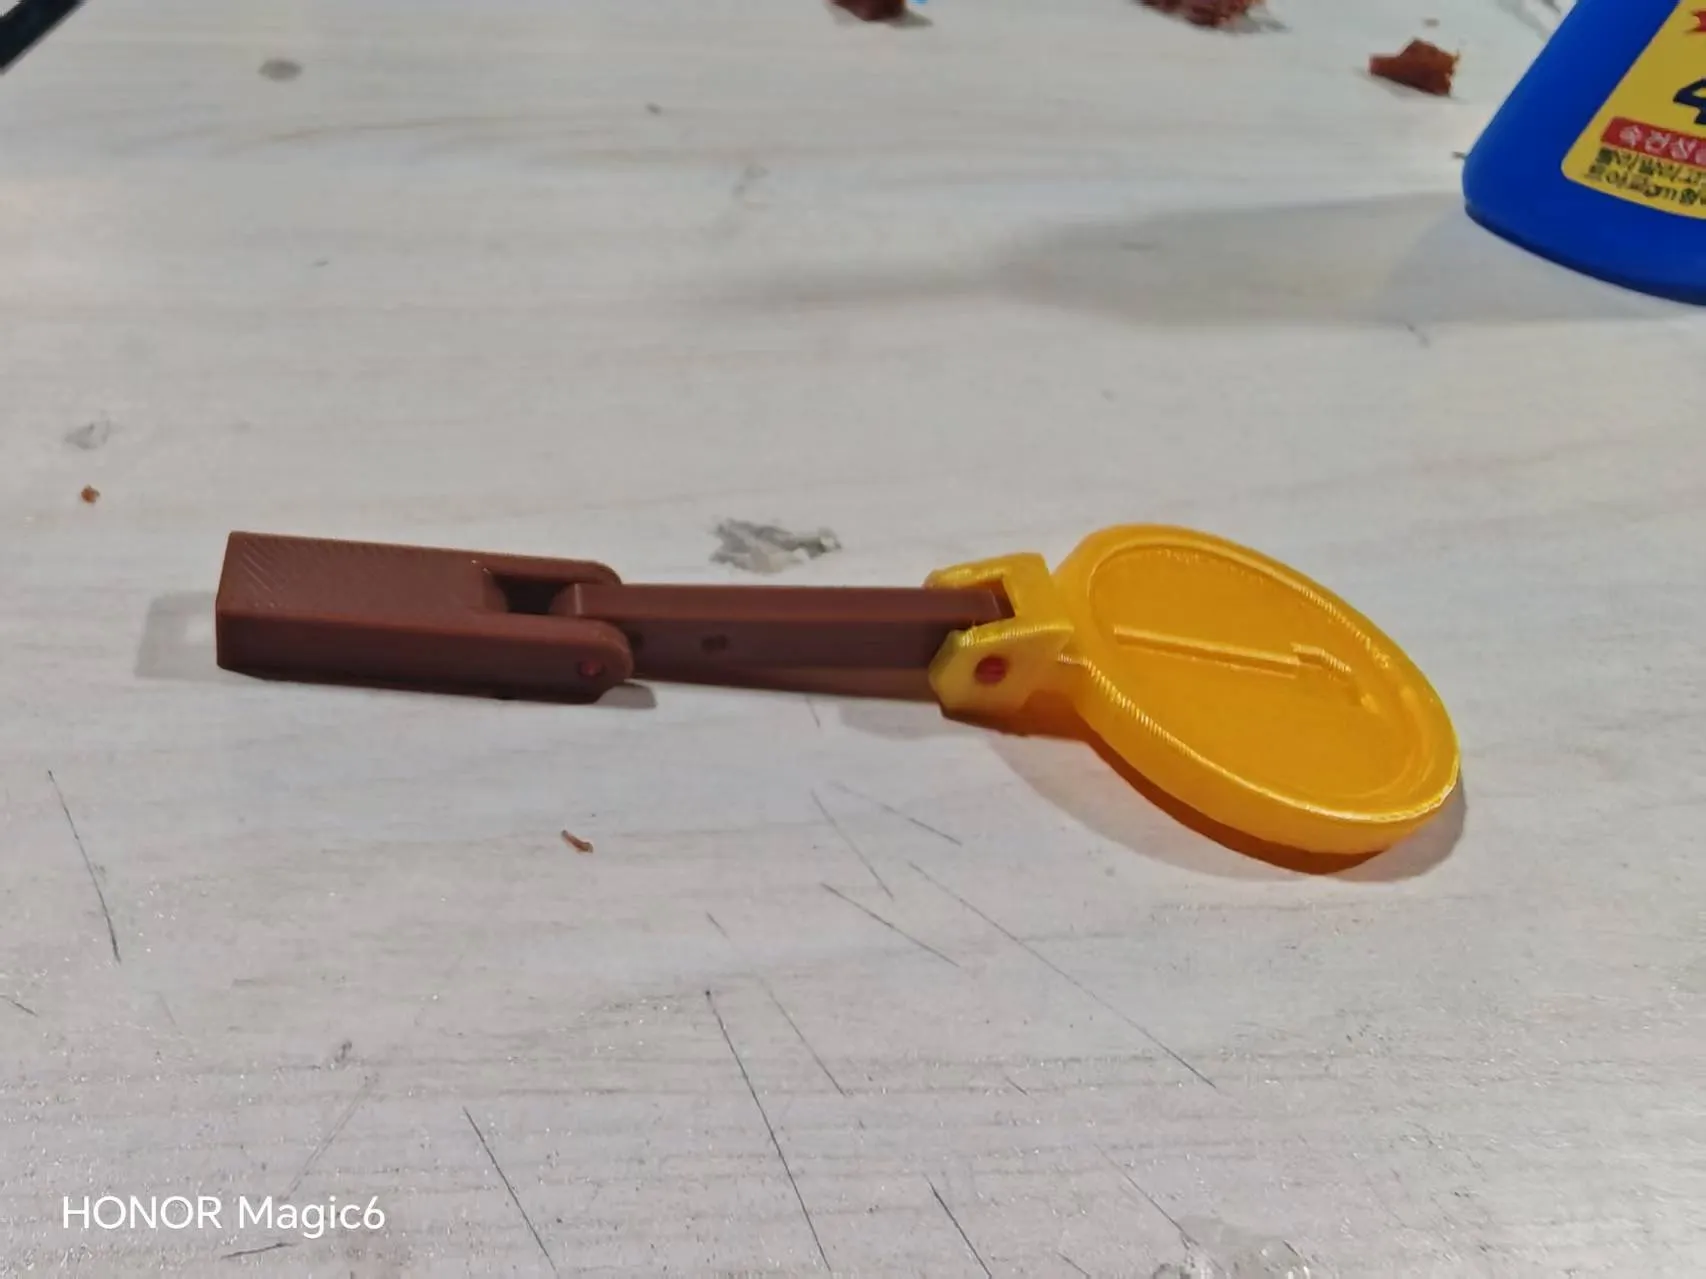
2. As shown, insert the coin into the brick, making sure the coin aligns with the top exit, and secure the side with filament
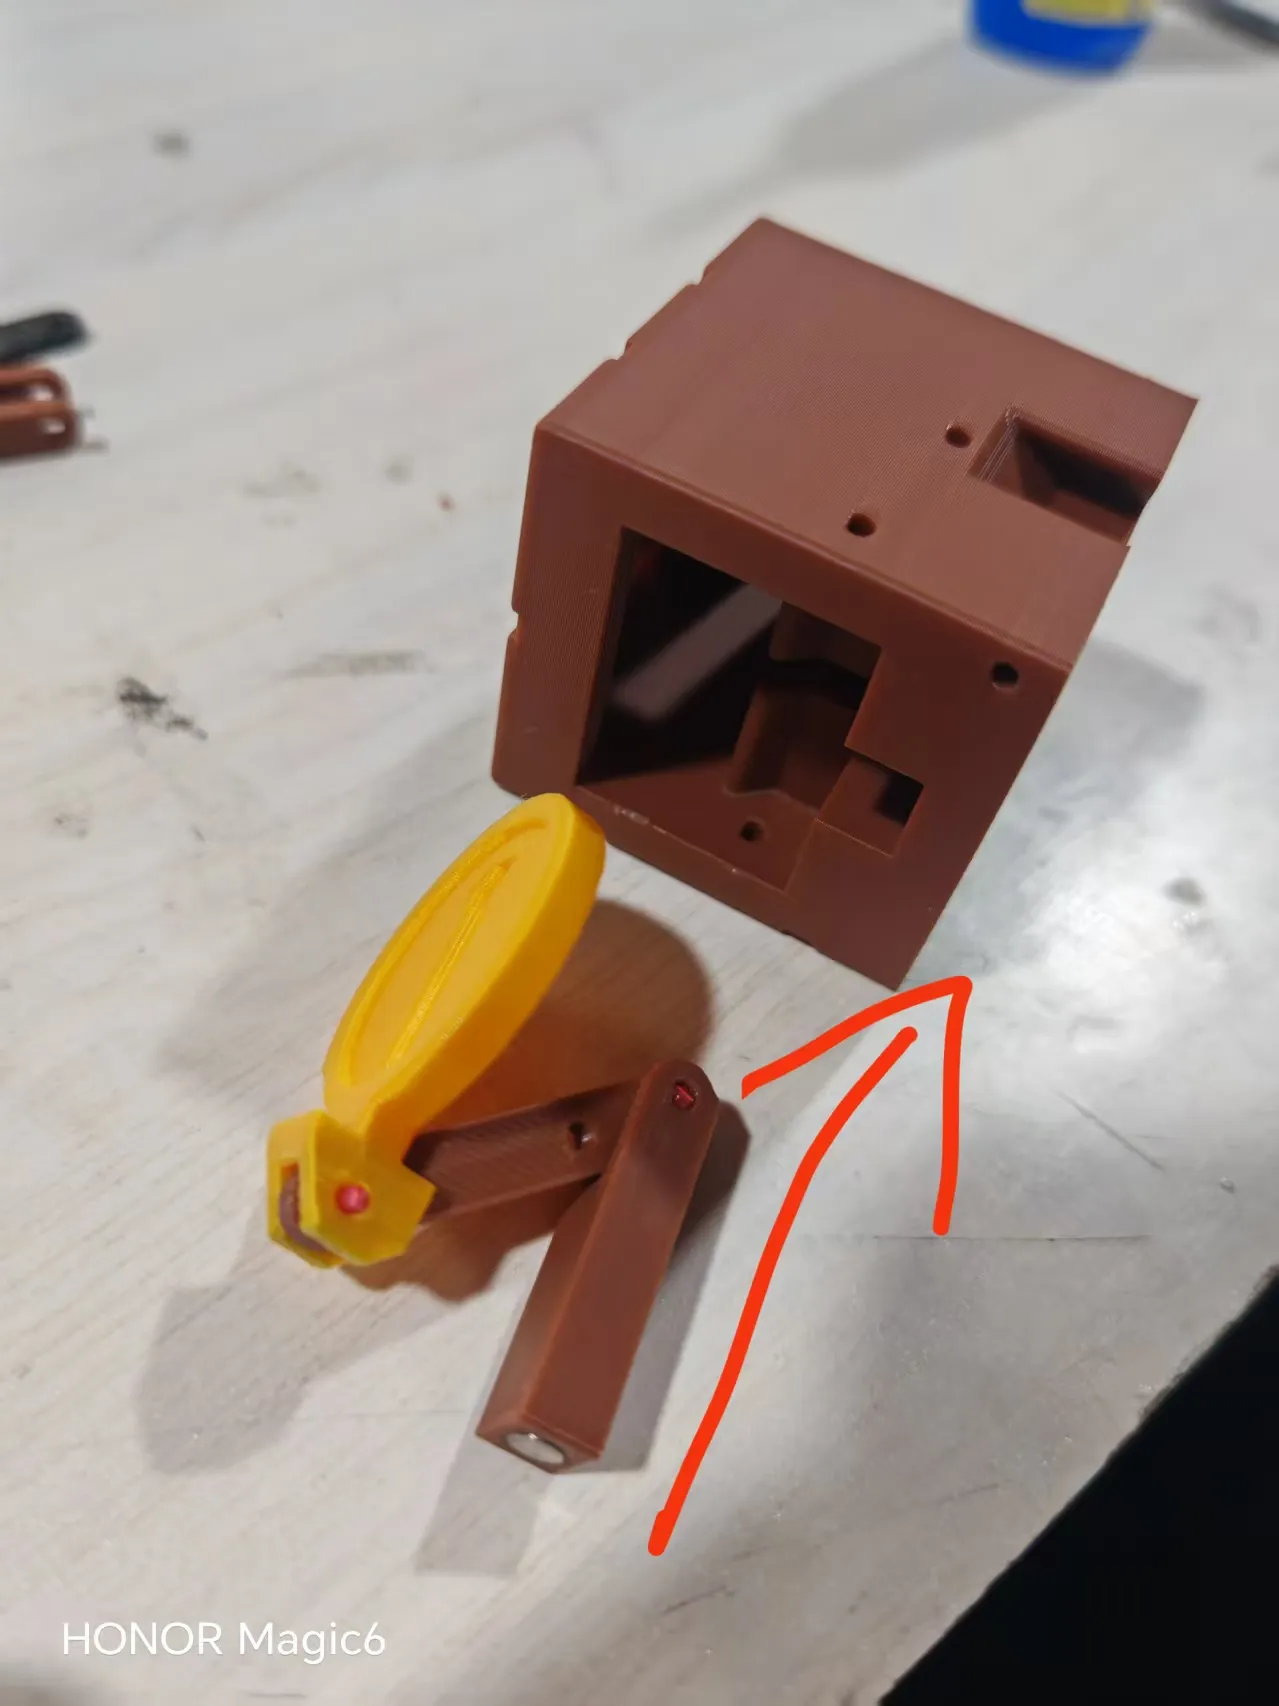
3. Insert the bottom cover plate as shown, and secure it with filament
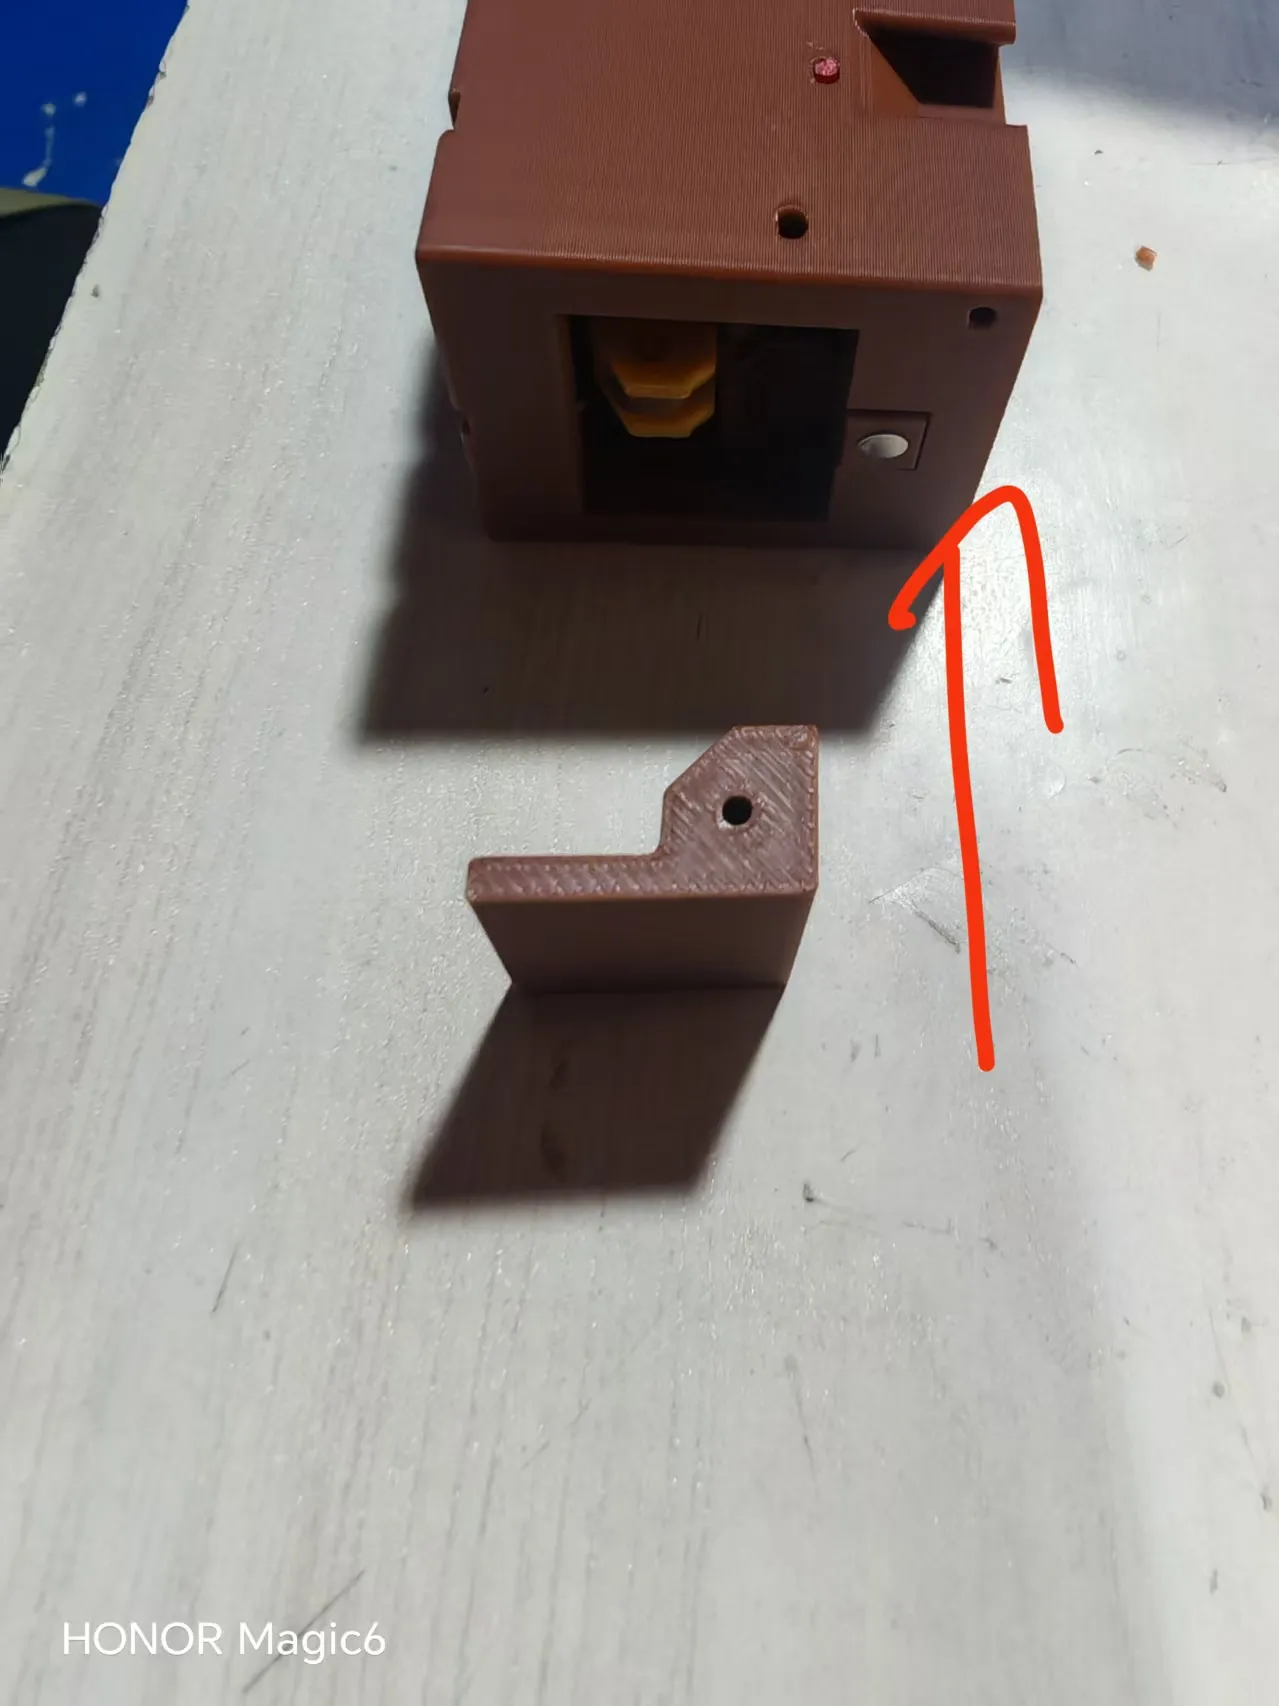
4. Assemble the golden part as shown and secure it with filament. Note that the black connecting rod has a correct orientation; if it's too loose, reverse its direction
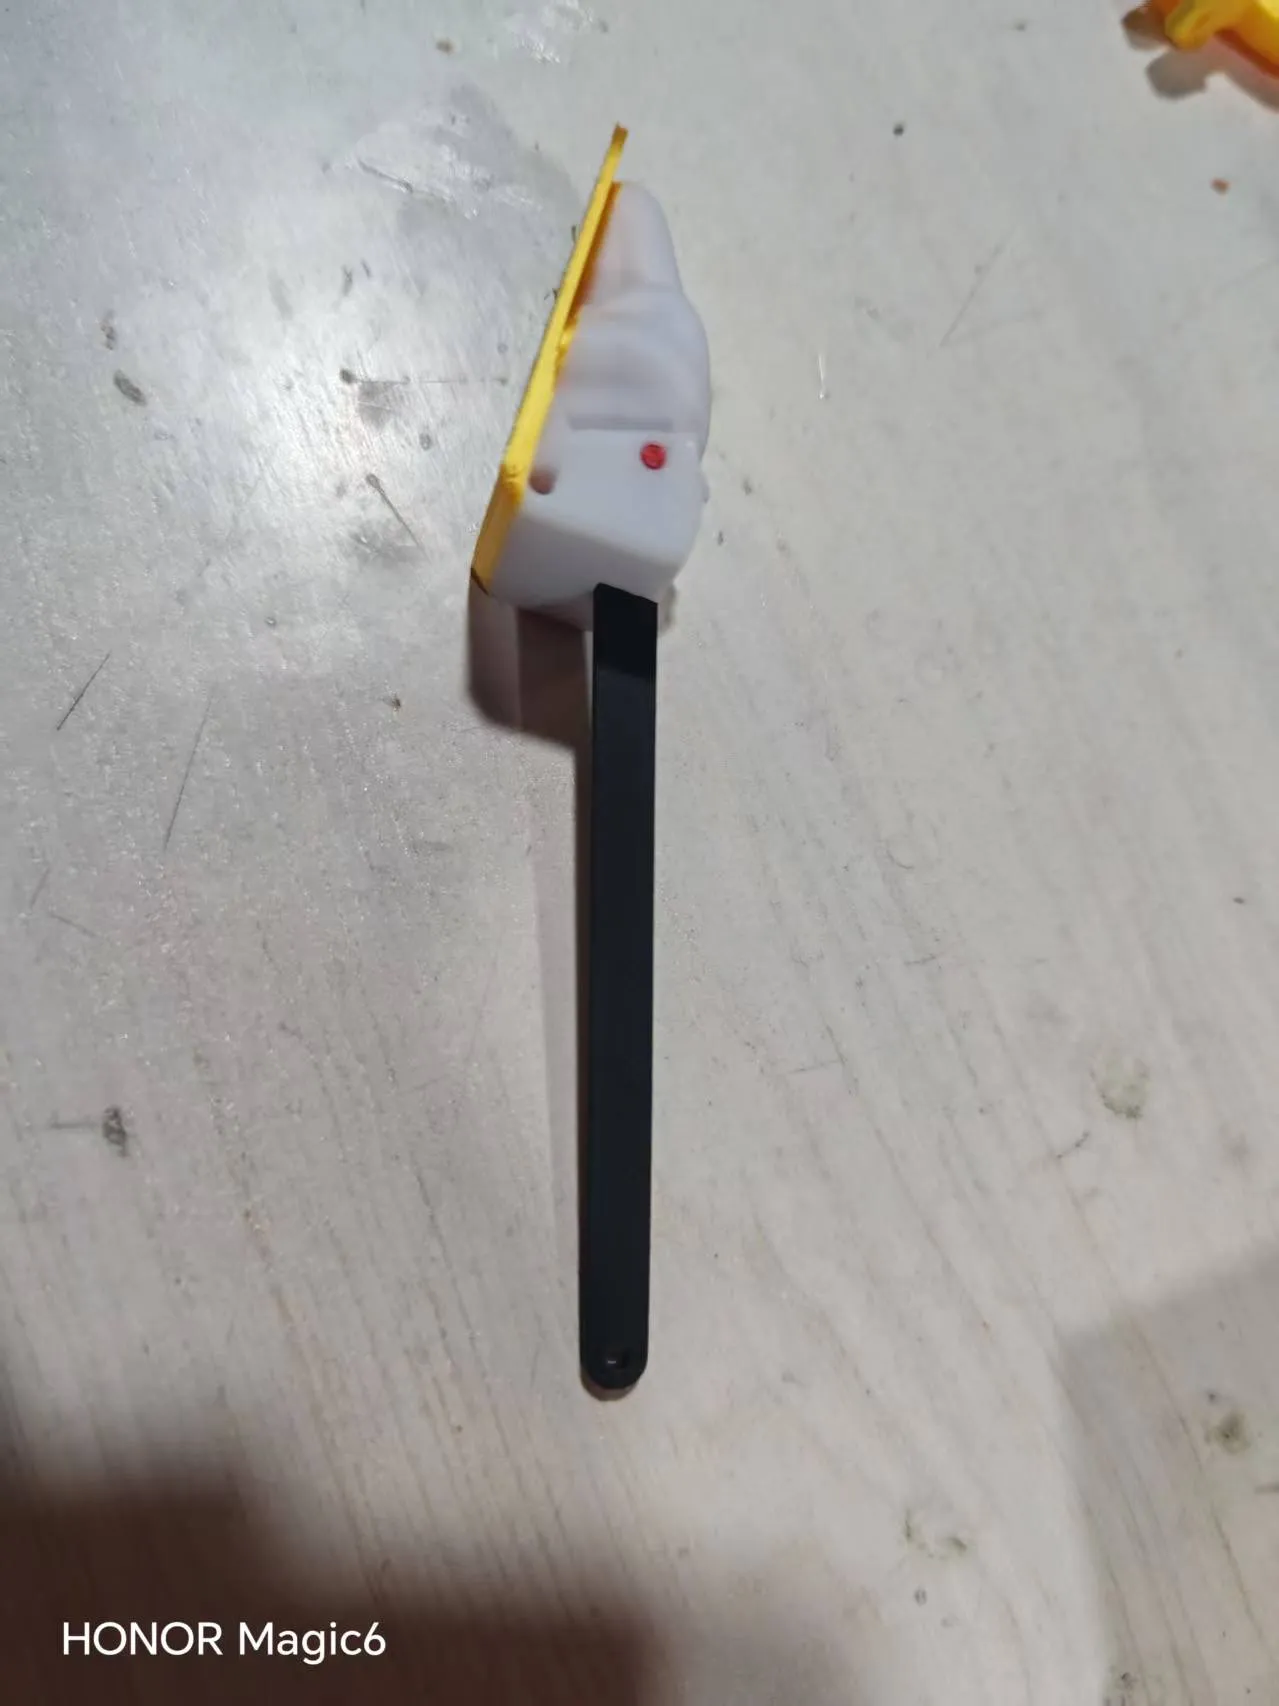
5. Insert the connecting rod into the question block in the direction shown, and secure it with filament
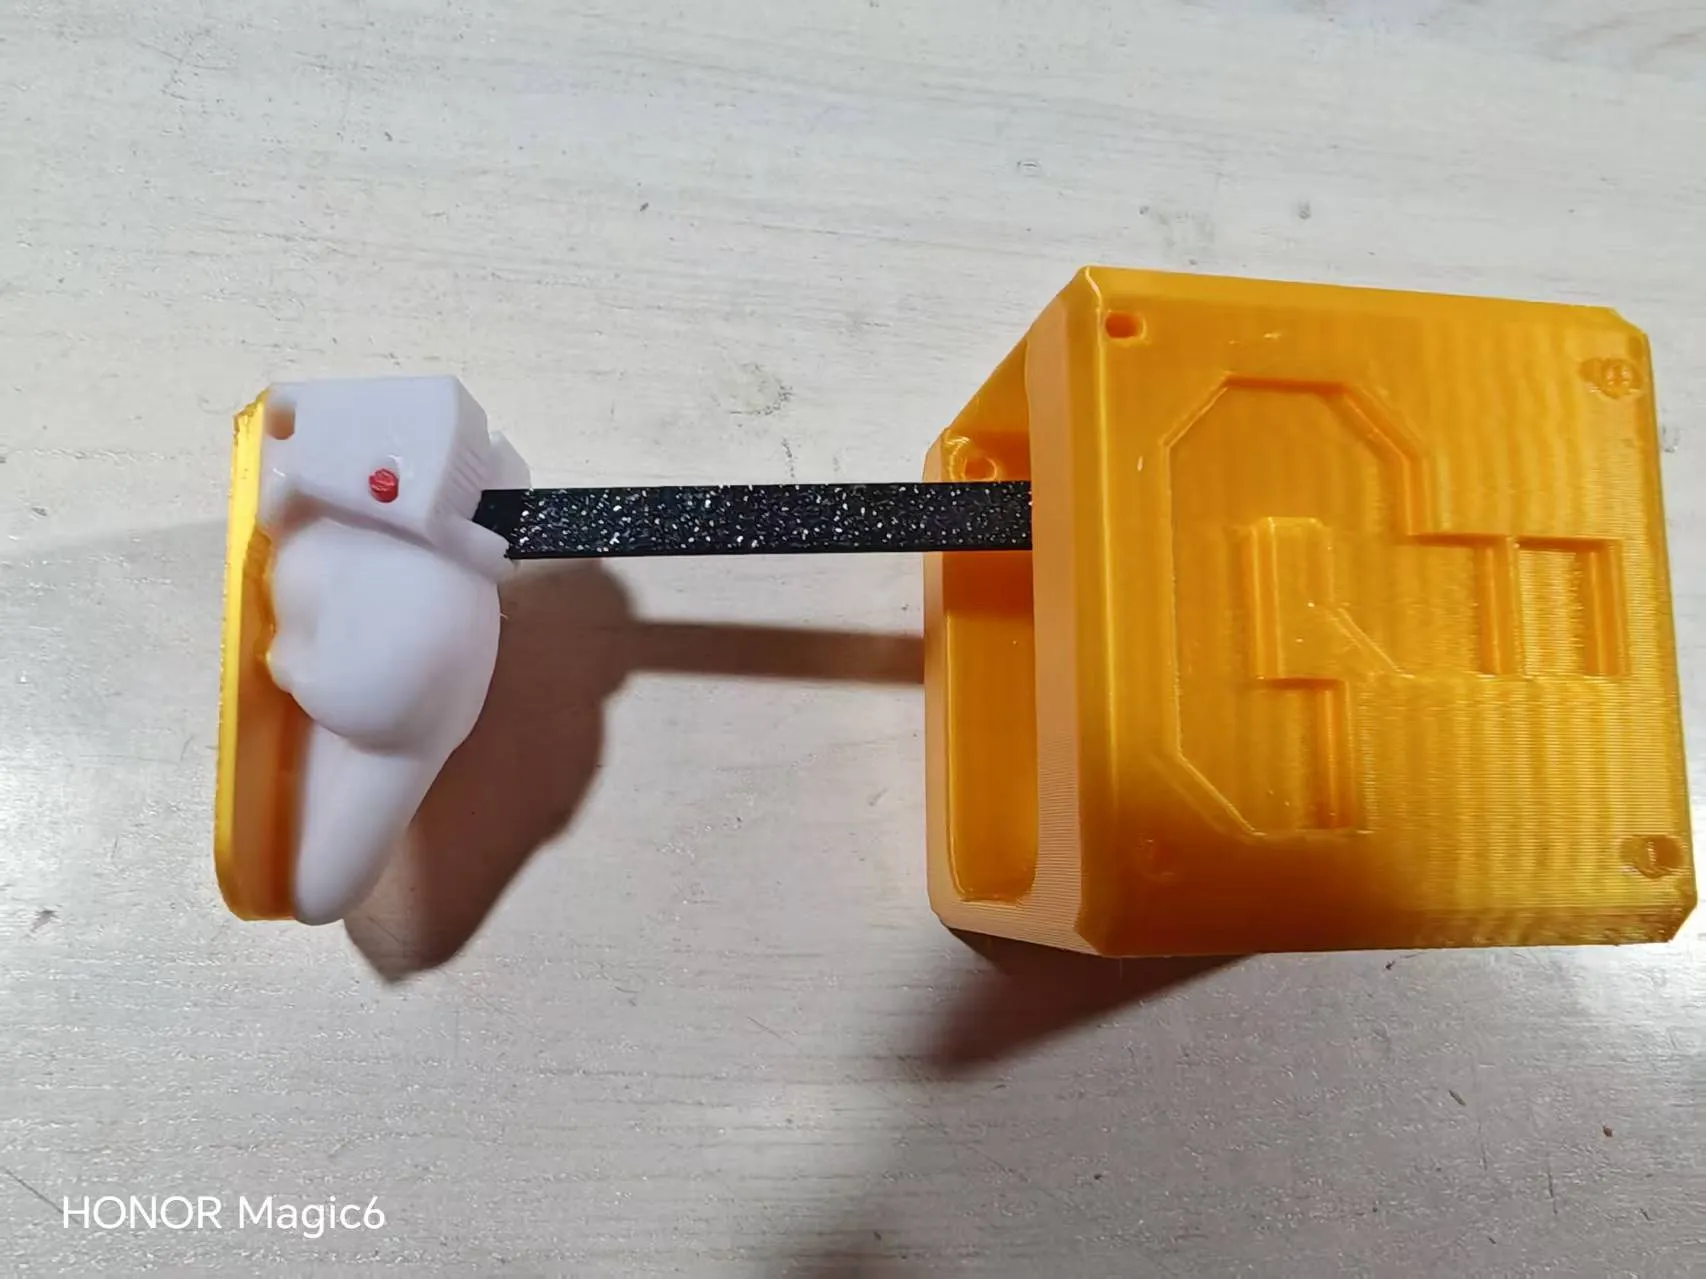
6. Glue the two black connecting rods to the bottom of the question block as shown
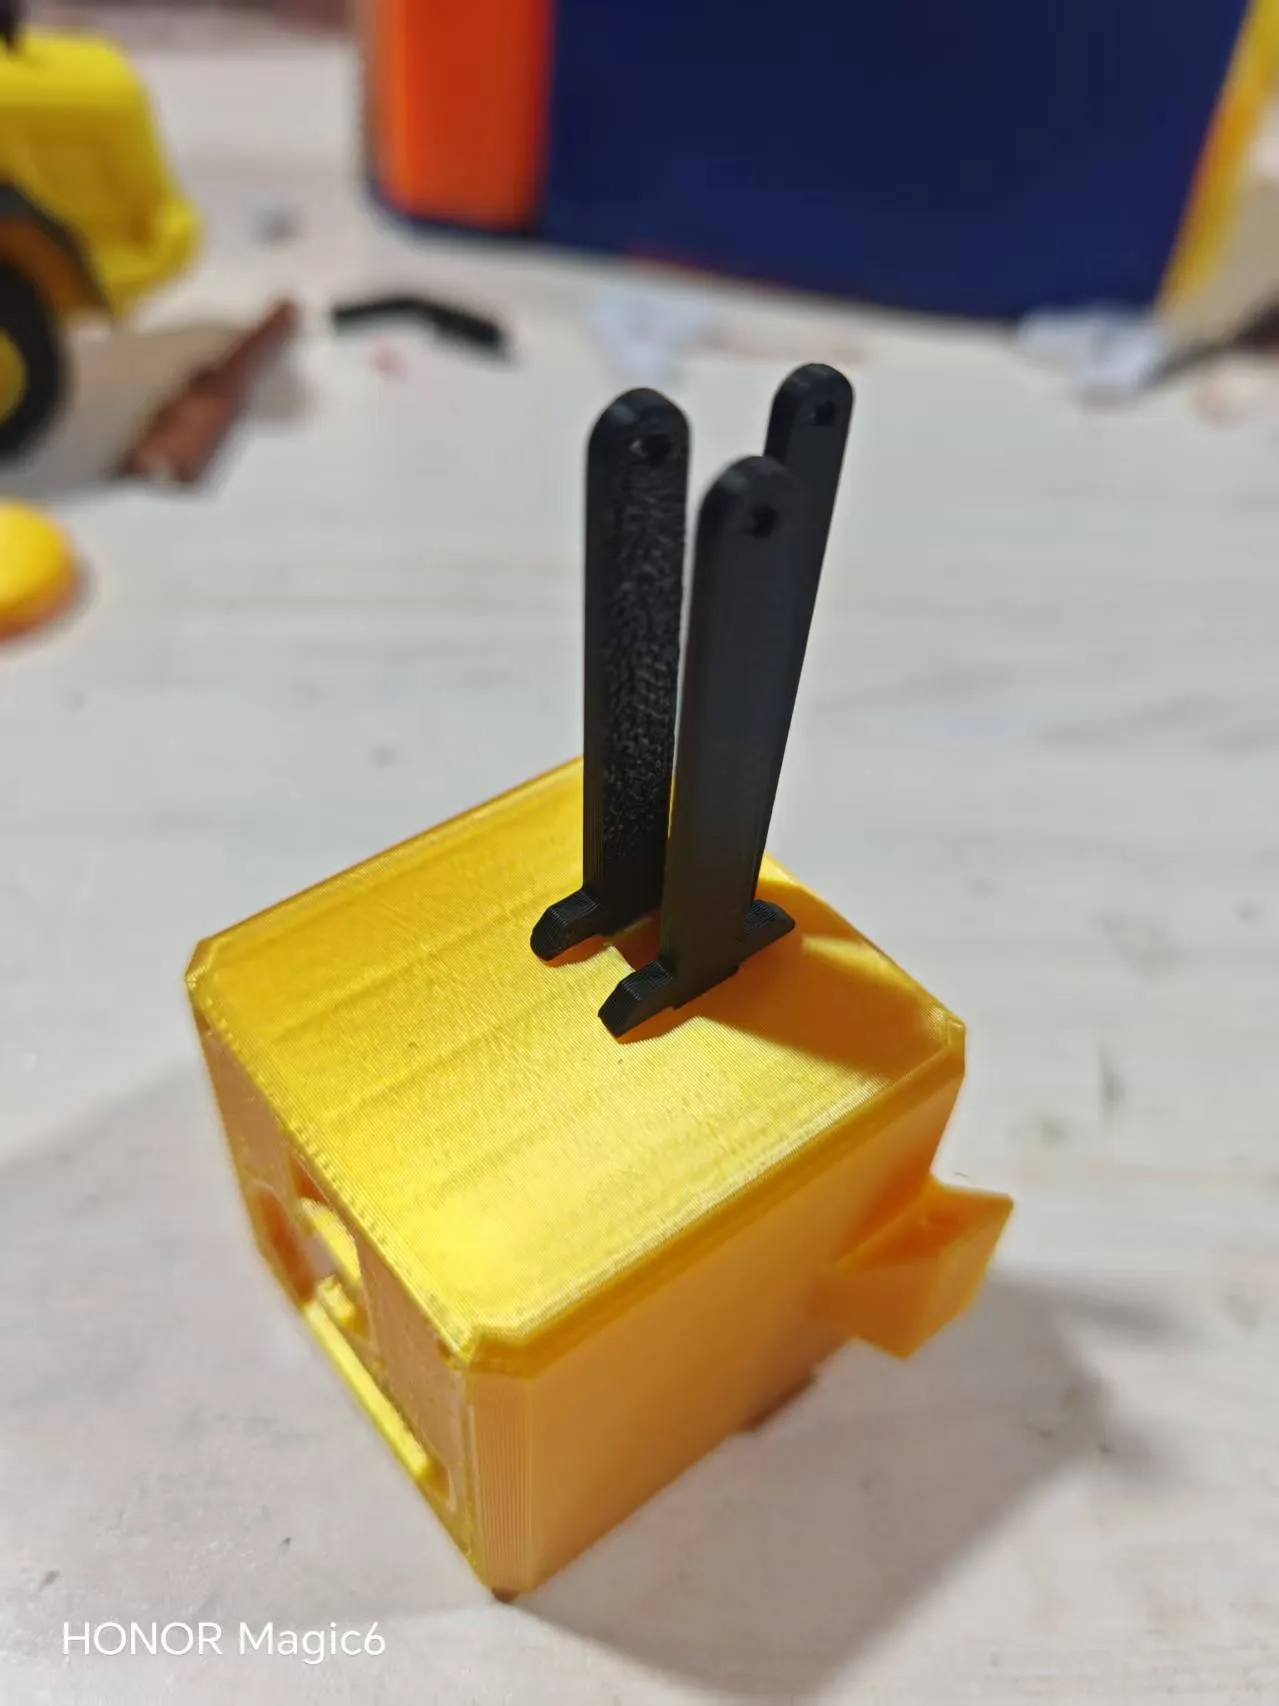
7. Secure the hook with filament in the direction shown in the figure
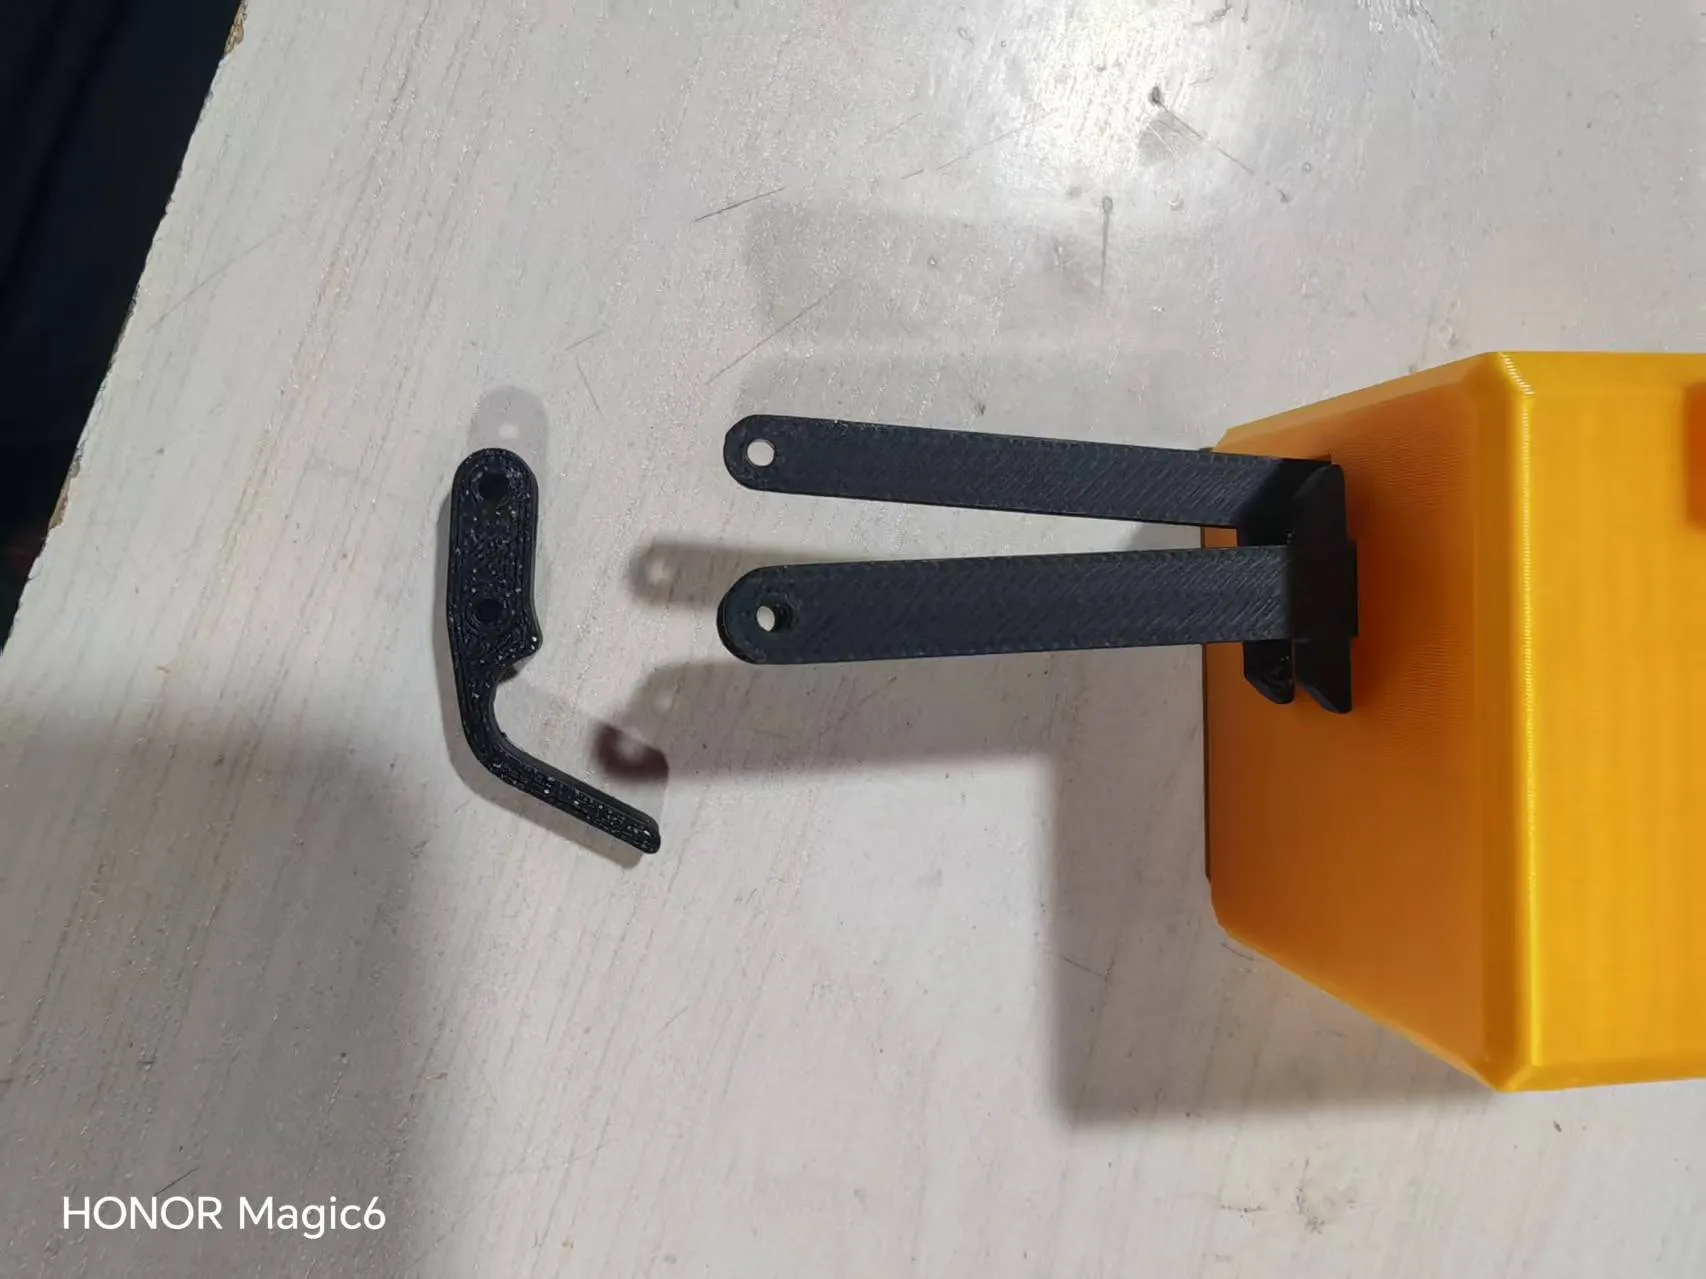
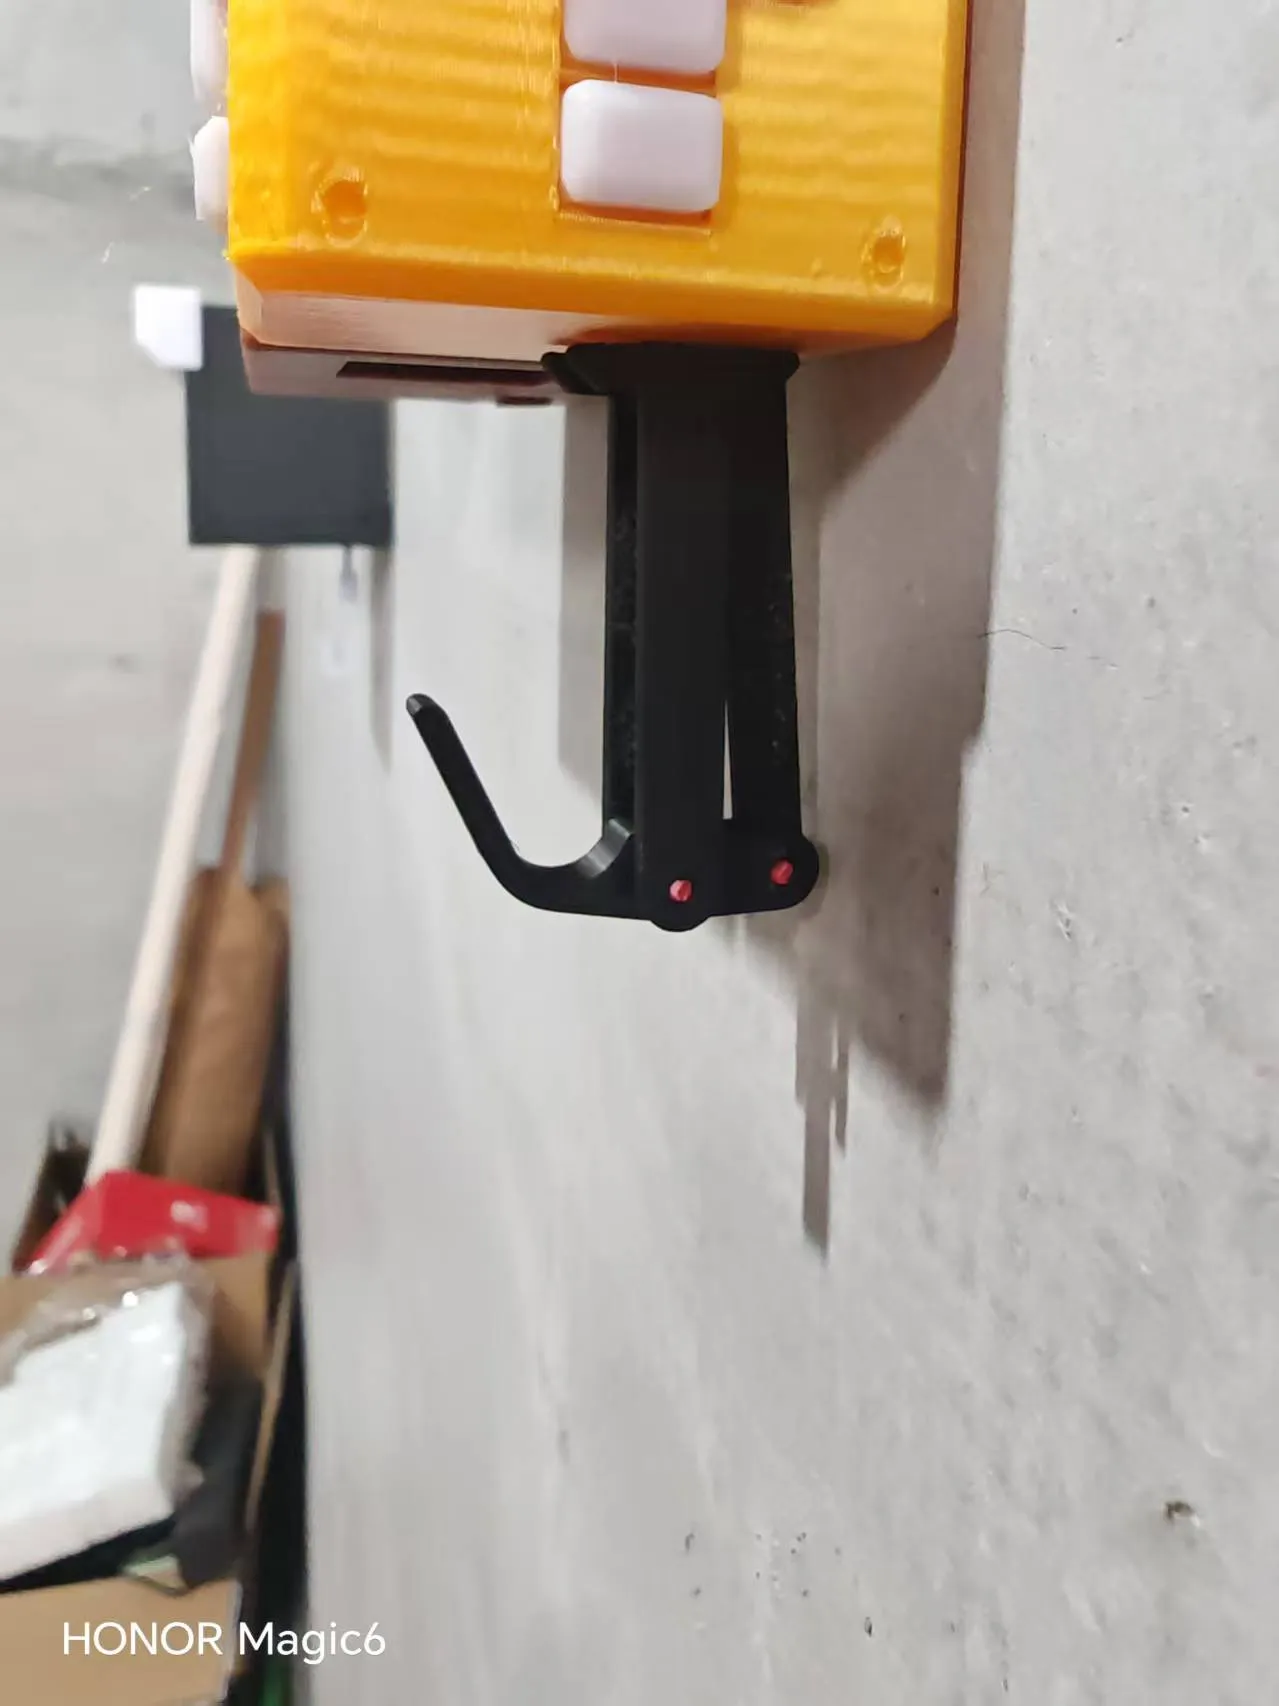
8. Link all parts and secure them with filament
License

You shall not share, sub-license, sell, rent, host, transfer, or distribute in any way the digital or 3D printed versions of this object, nor any other derivative work of this object in its digital or physical format (including - but not limited to - remixes of this object, and hosting on other digital platforms). The objects may not be used without permission in any way whatsoever in which you charge money, or collect fees.


Comment & Rating (3)