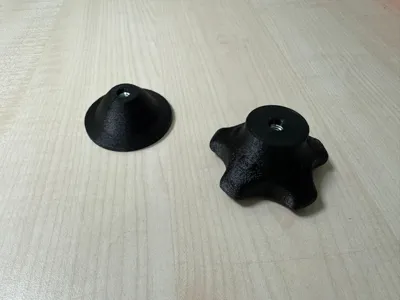
Hand knob and stopper head for M8 threaded rod


Print Profile(1)
Bill of Materials
- Sechskantmutter M8 x 2:
- Gewindestab M8 100mm x 1:
Description
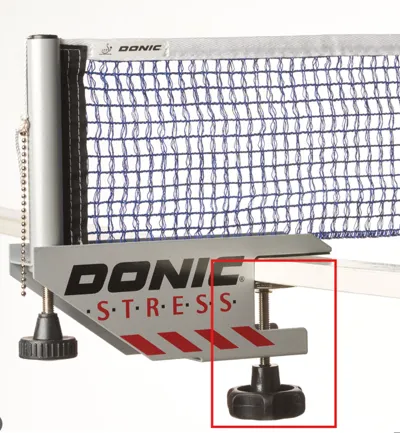
As a task, I was given to design a replacement part for a Donic table tennis net holder. Since an M8 thread was installed there, I had to make both parts compatible with M8 nuts. ATTENTION: Do not use self-locking screws! These do not fit in height.
The print provides for two instances, so that nuts can be inserted for both parts. When each nut is to be used should be apparent from the stop.
After printing, a threaded rod must be inserted into the knob and secured with screw adhesive (e.g., Loctite Extra Strong).
Then it can be screwed into the net holder's socket. The stopper head only needs to be screwed on, as it tends to tighten itself when screwed in and has no counter-pressure when loosened.
Boost Me (for free)
I would appreciate a boost :)
Comment & Rating (0)