
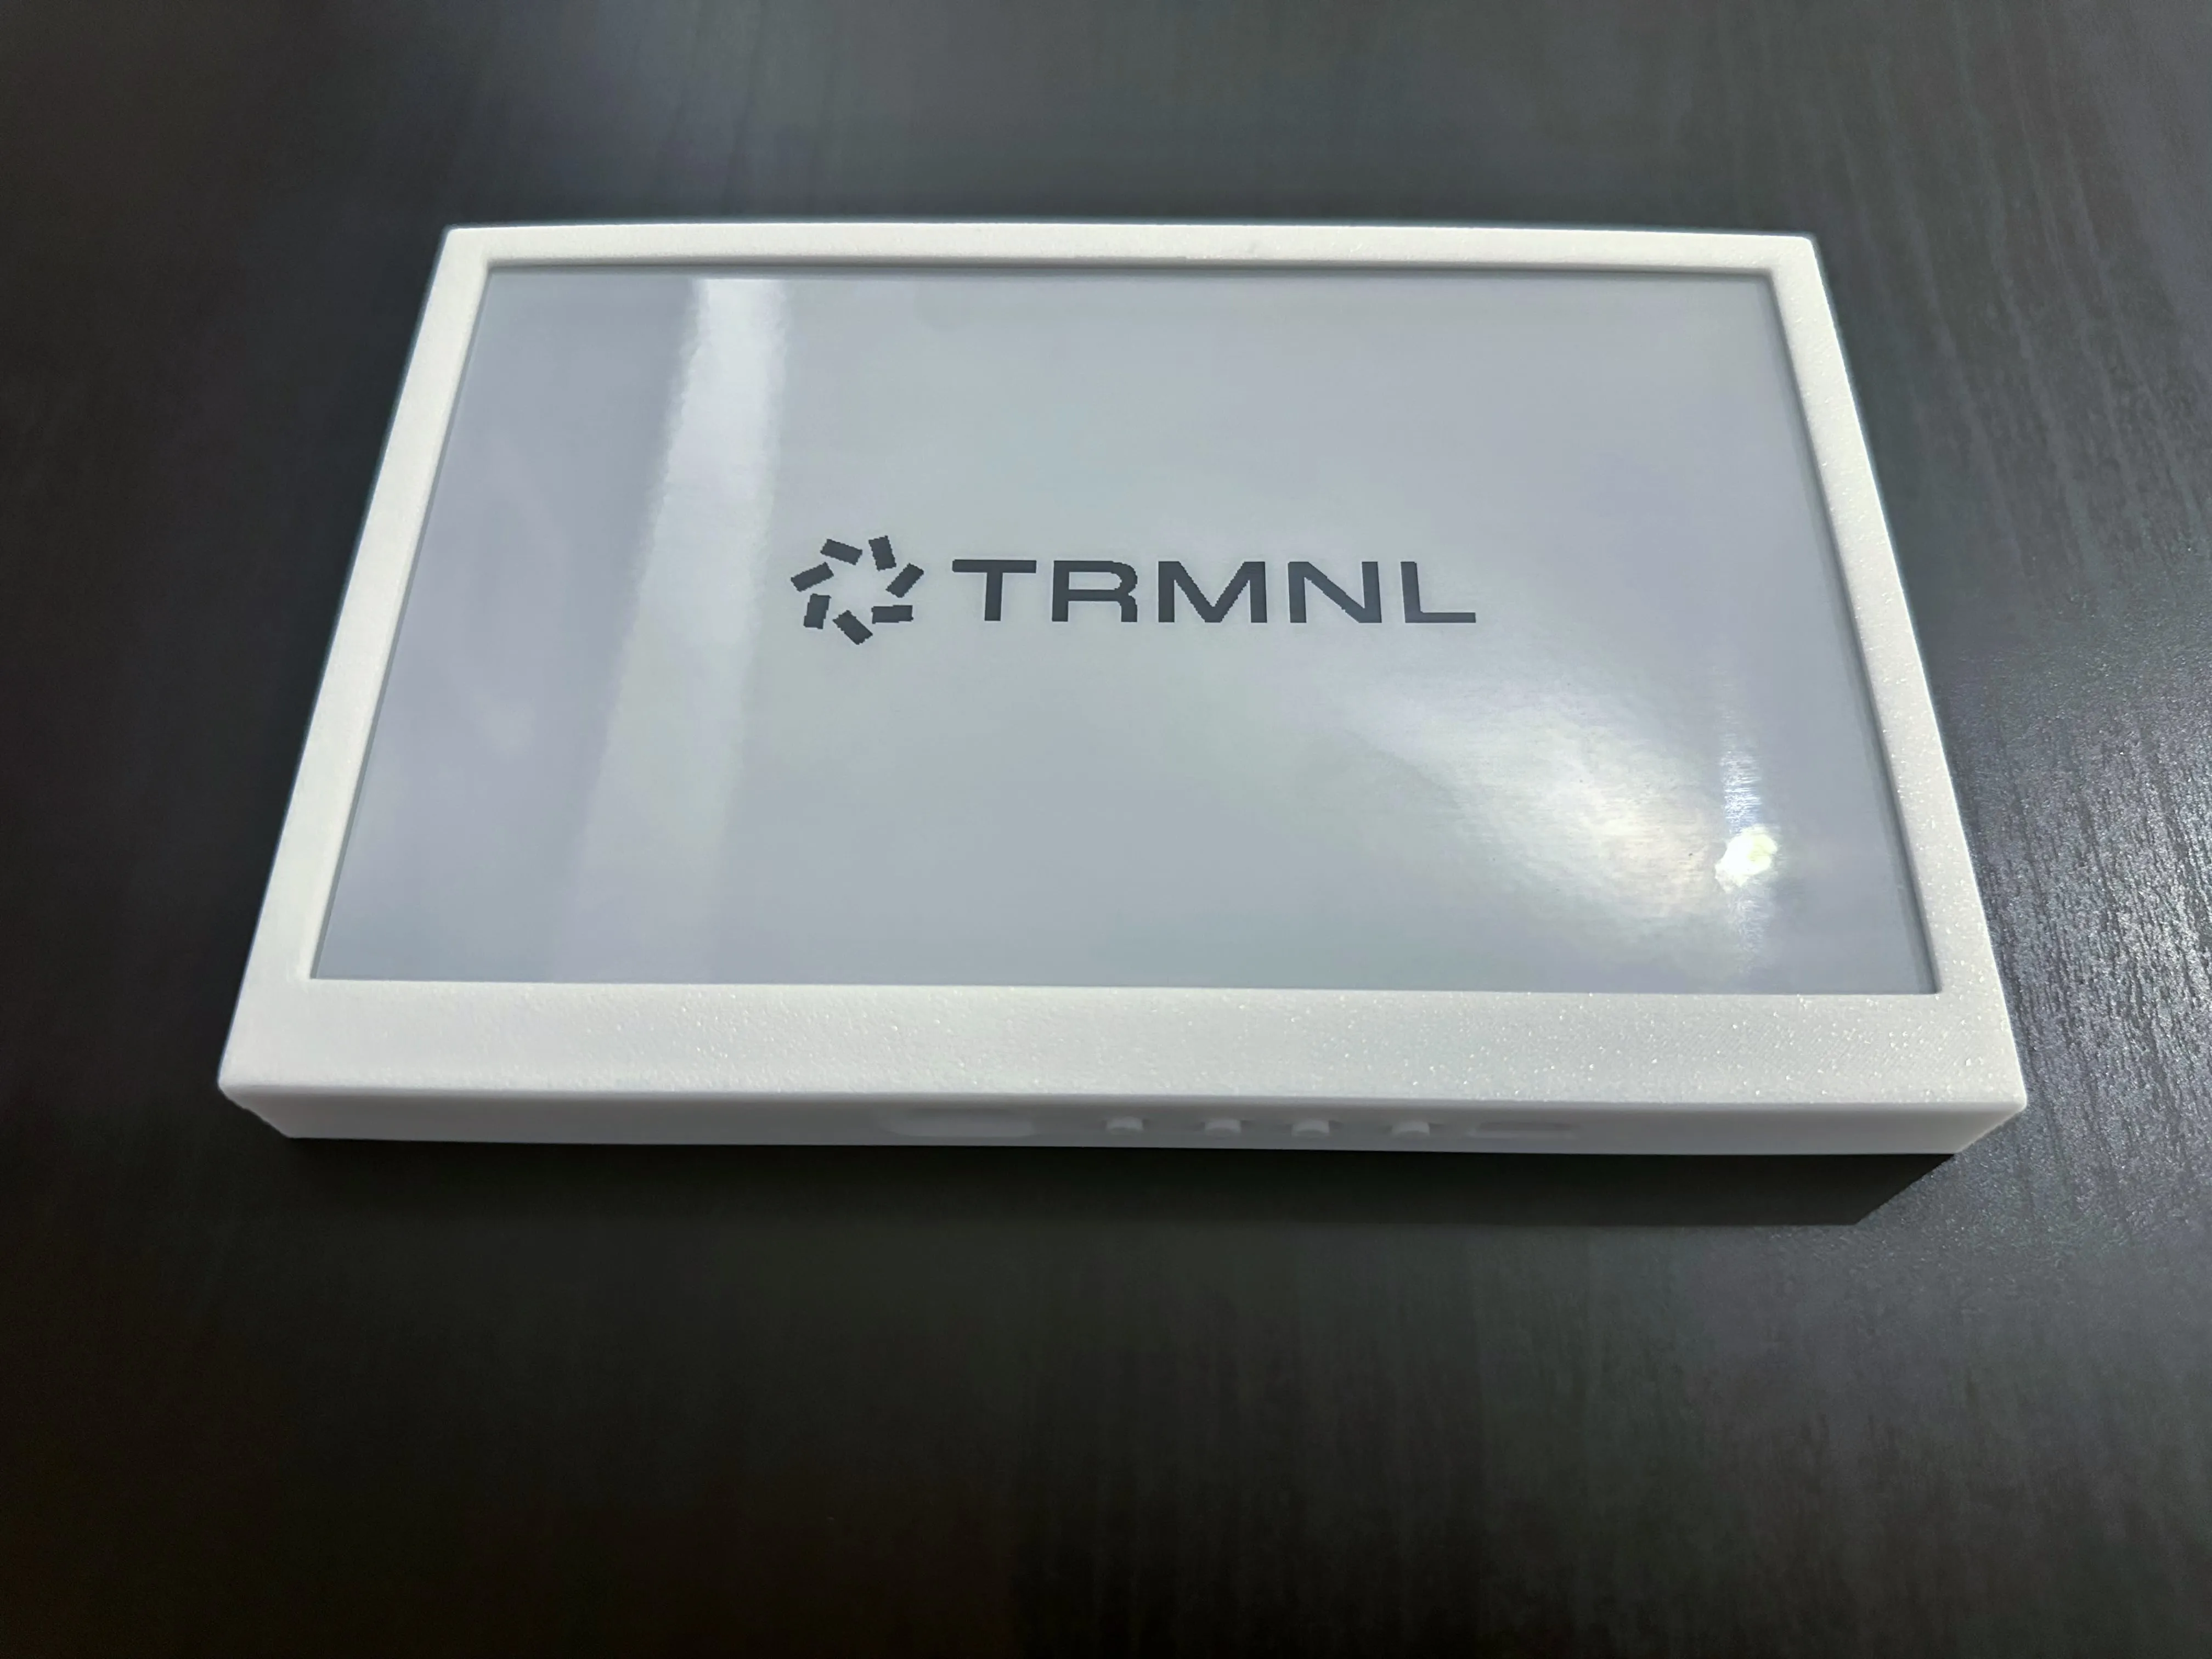
TRMNL DIY Kit Wall-Mount Case/Frame
Print Profile(3)


Description
Boost Me (for free)
Hey, just a thought, but why not use your boost before it expires?
I would be delighted ;-)
TRMNL DIY Kit Wall-Mount Case: Assembly Guide
About the Design:
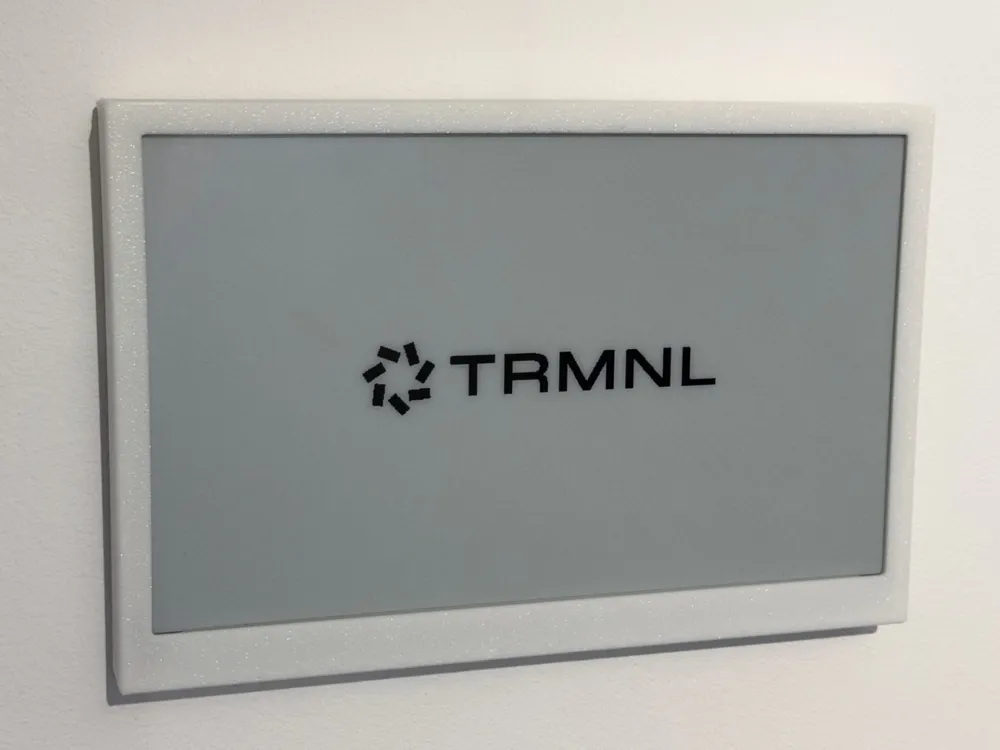
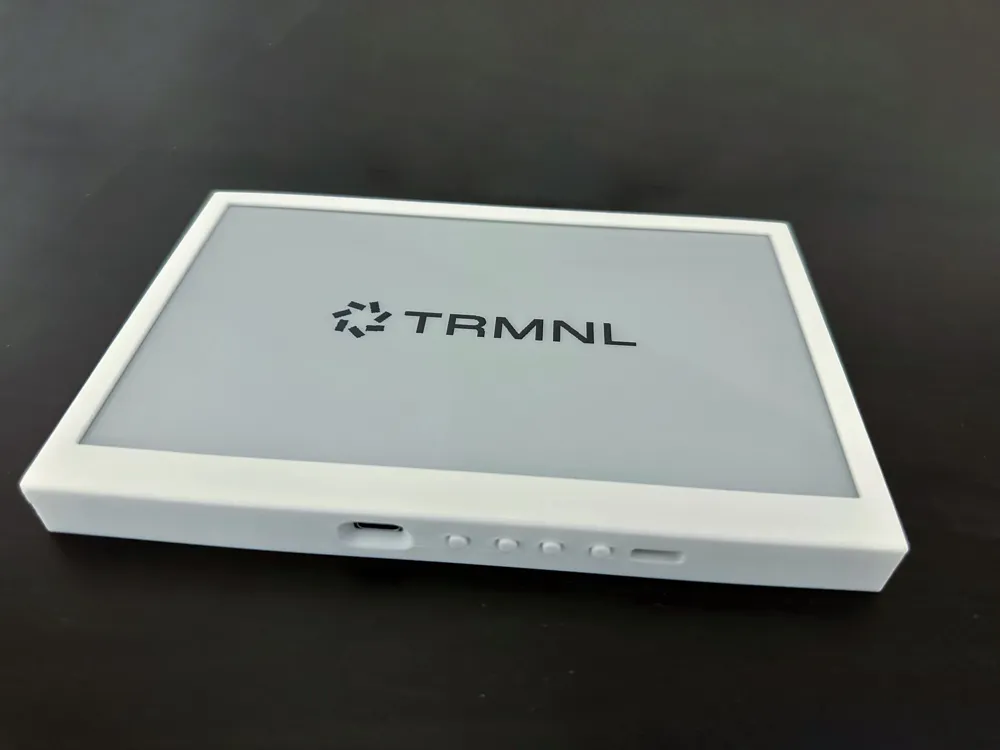
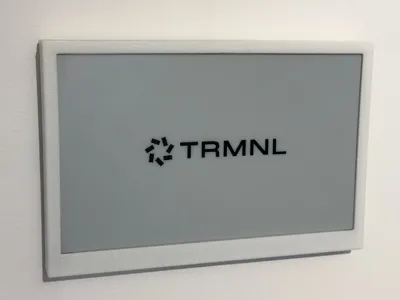
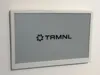
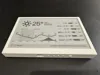
This wall-mount case is specifically designed for the TRMNL DIY Kit, offering functionality and a sleek, minimalist look. Thanks to its solid, non-hollow design, the frame securely holds the screen in place, even when pressed.
Key Features:
Sturdy Screen Support: No hollow space behind the screen ensures stability and prevents flexing.
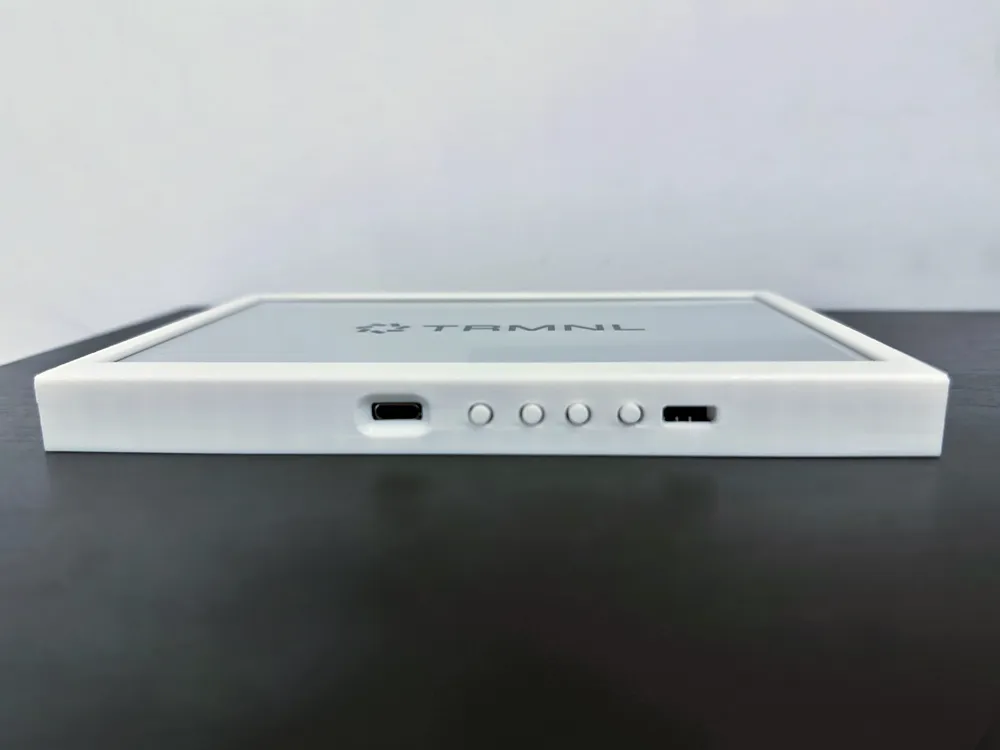
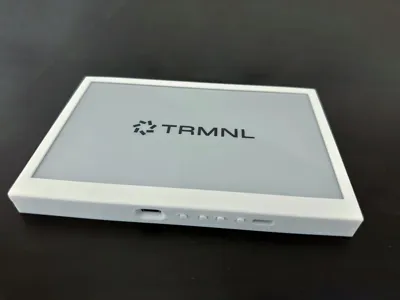
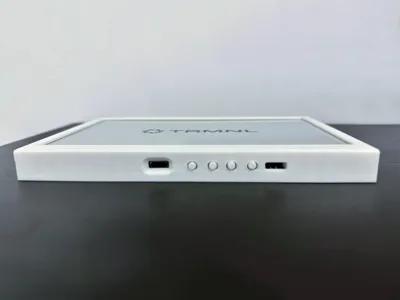
Easy Slide Control: Buttons are conveniently placed at the bottom for quick and intuitive slide navigation.
USB-C Access: A precise cutout allows for easy charging without having to remove the case or disassemble the screen.
Power Switch: Intentionally tucked away to prevent accidental shutdowns.
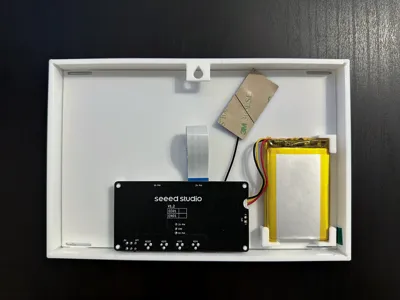
Wall-Mount Ready: Includes a stable cutout for easy hanging.
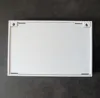
Optional Back Plate: Can be omitted to save material, but recommended for added rigidity.
Assembly Instructions
Assembling your TRMNL DIY Kit case is simple! Follow these few steps, and refer to the accompanying images if needed.
Step-by-Step Guide
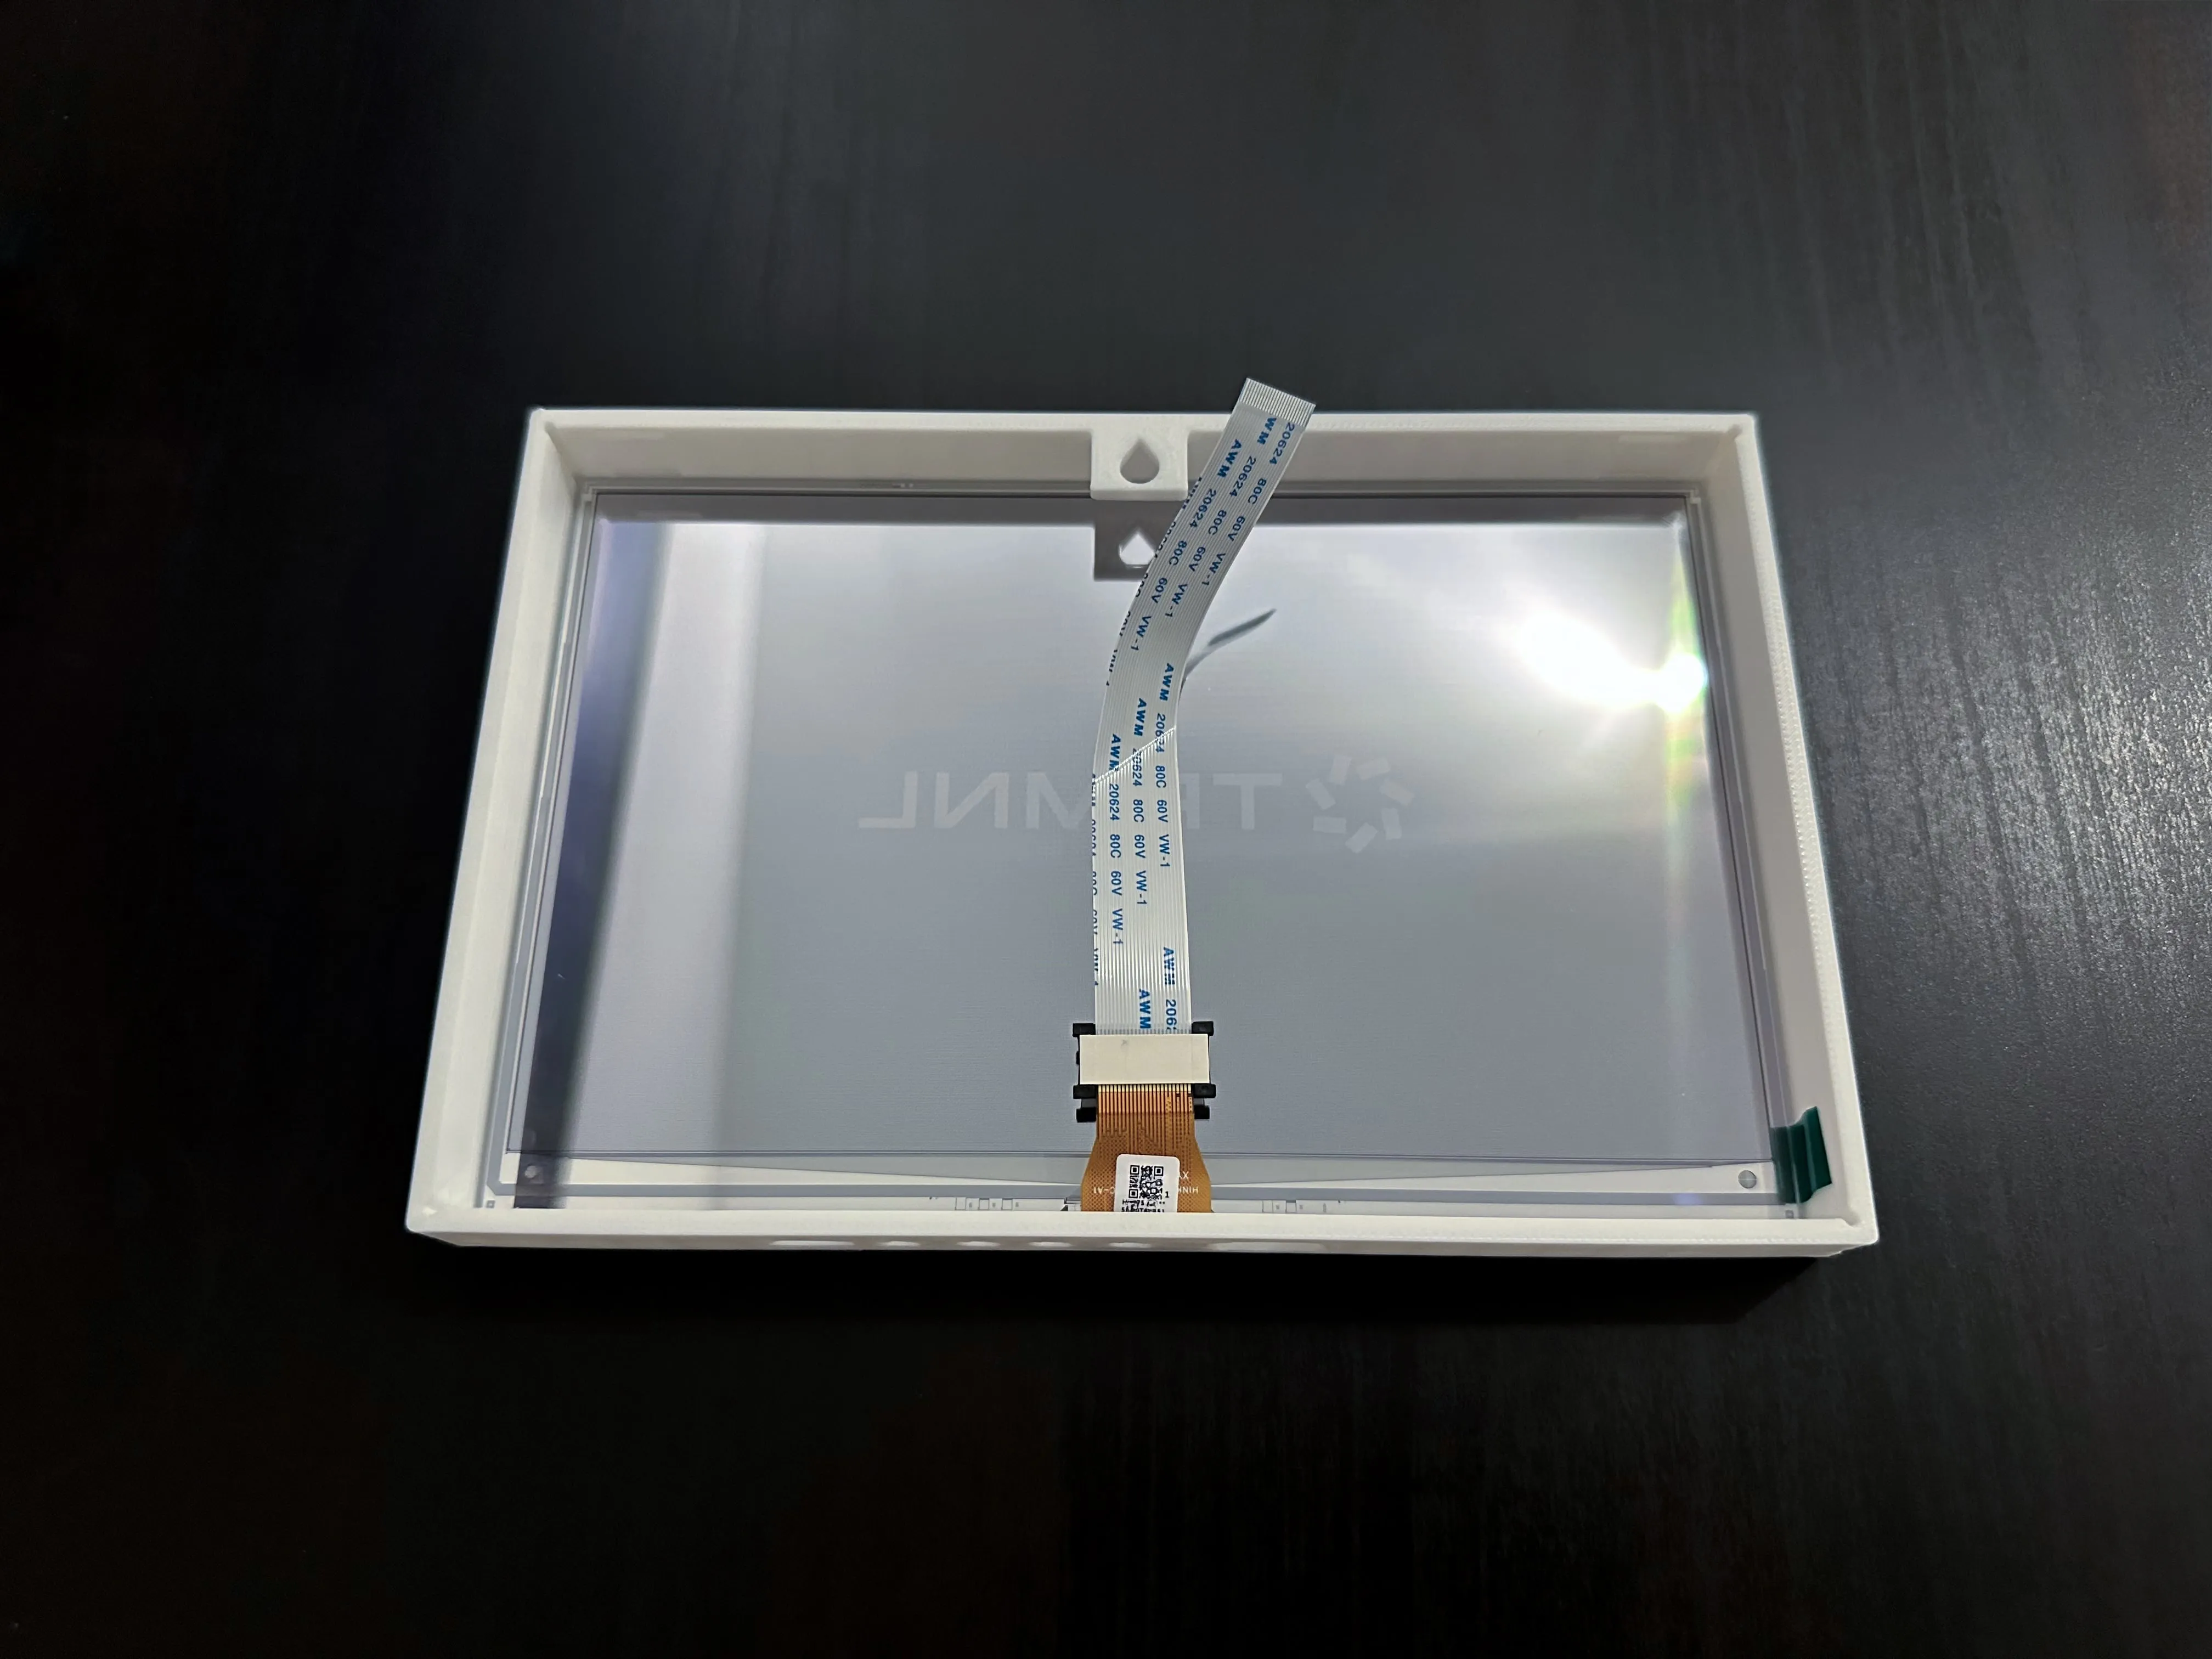
Insert the Display:
Place the display face-down into the printed frame. Be gentle with the cable to avoid damage the fit is snug by design. (If needed, pull the frame instead of pushing the screen down.)
Attach the Inner Plate:
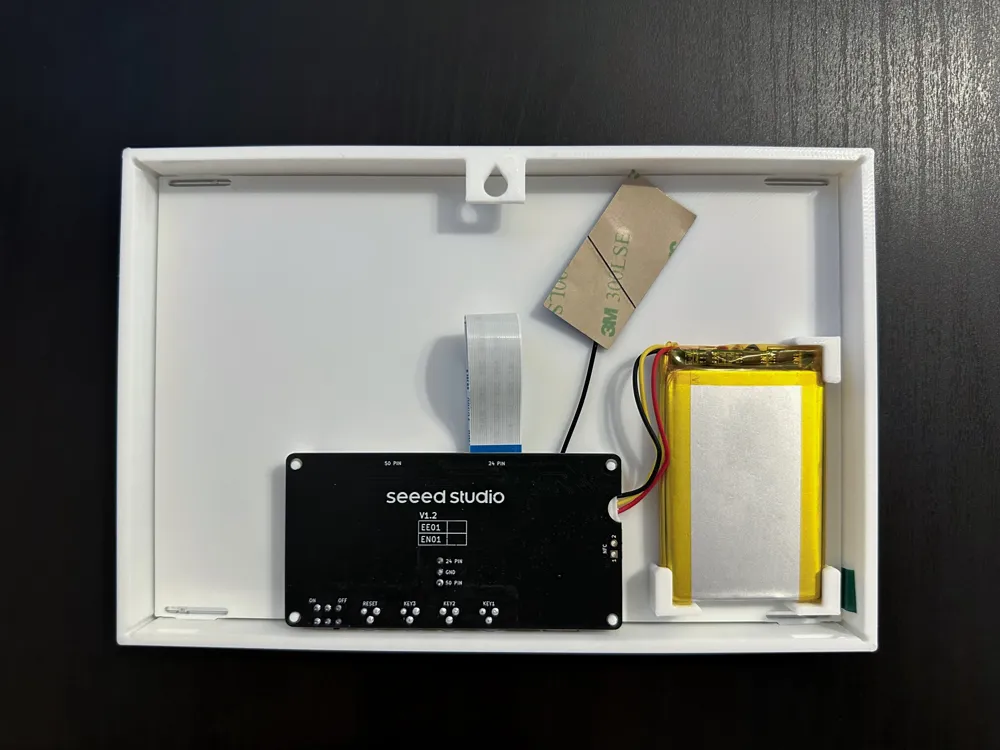
Insert the inner plate and press it firmly into place. Ensure the screen cable remains accessible.
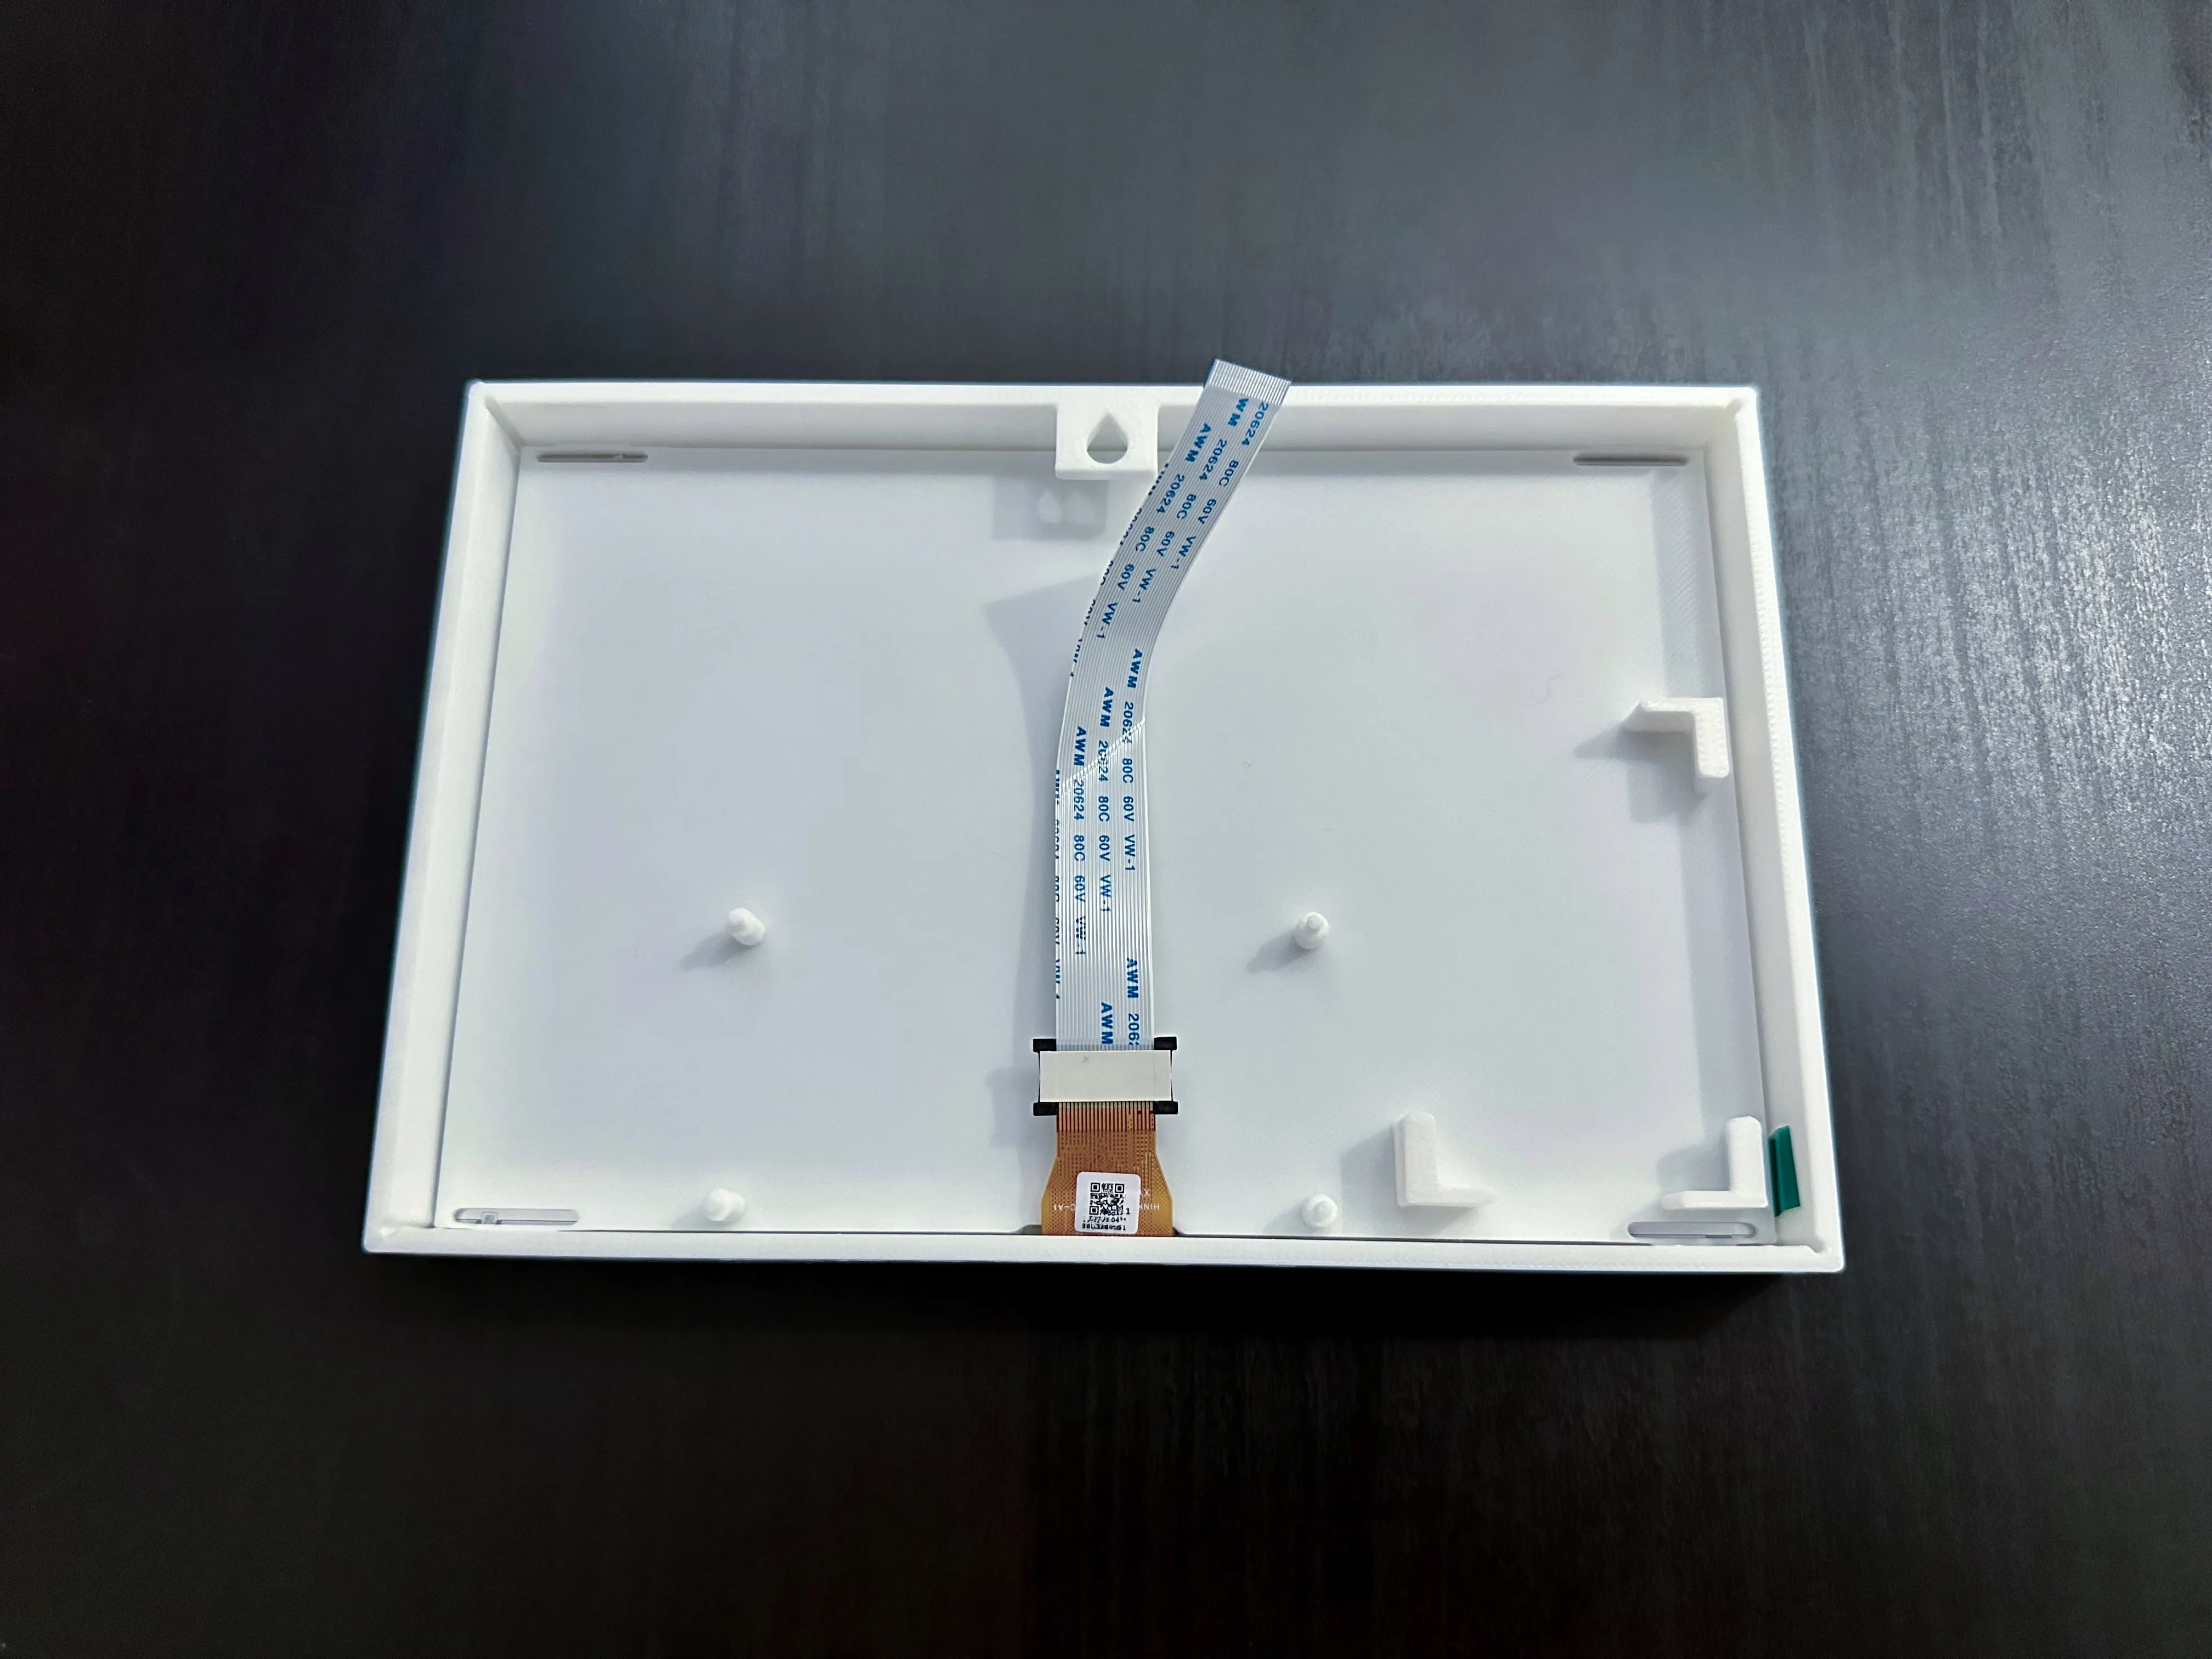
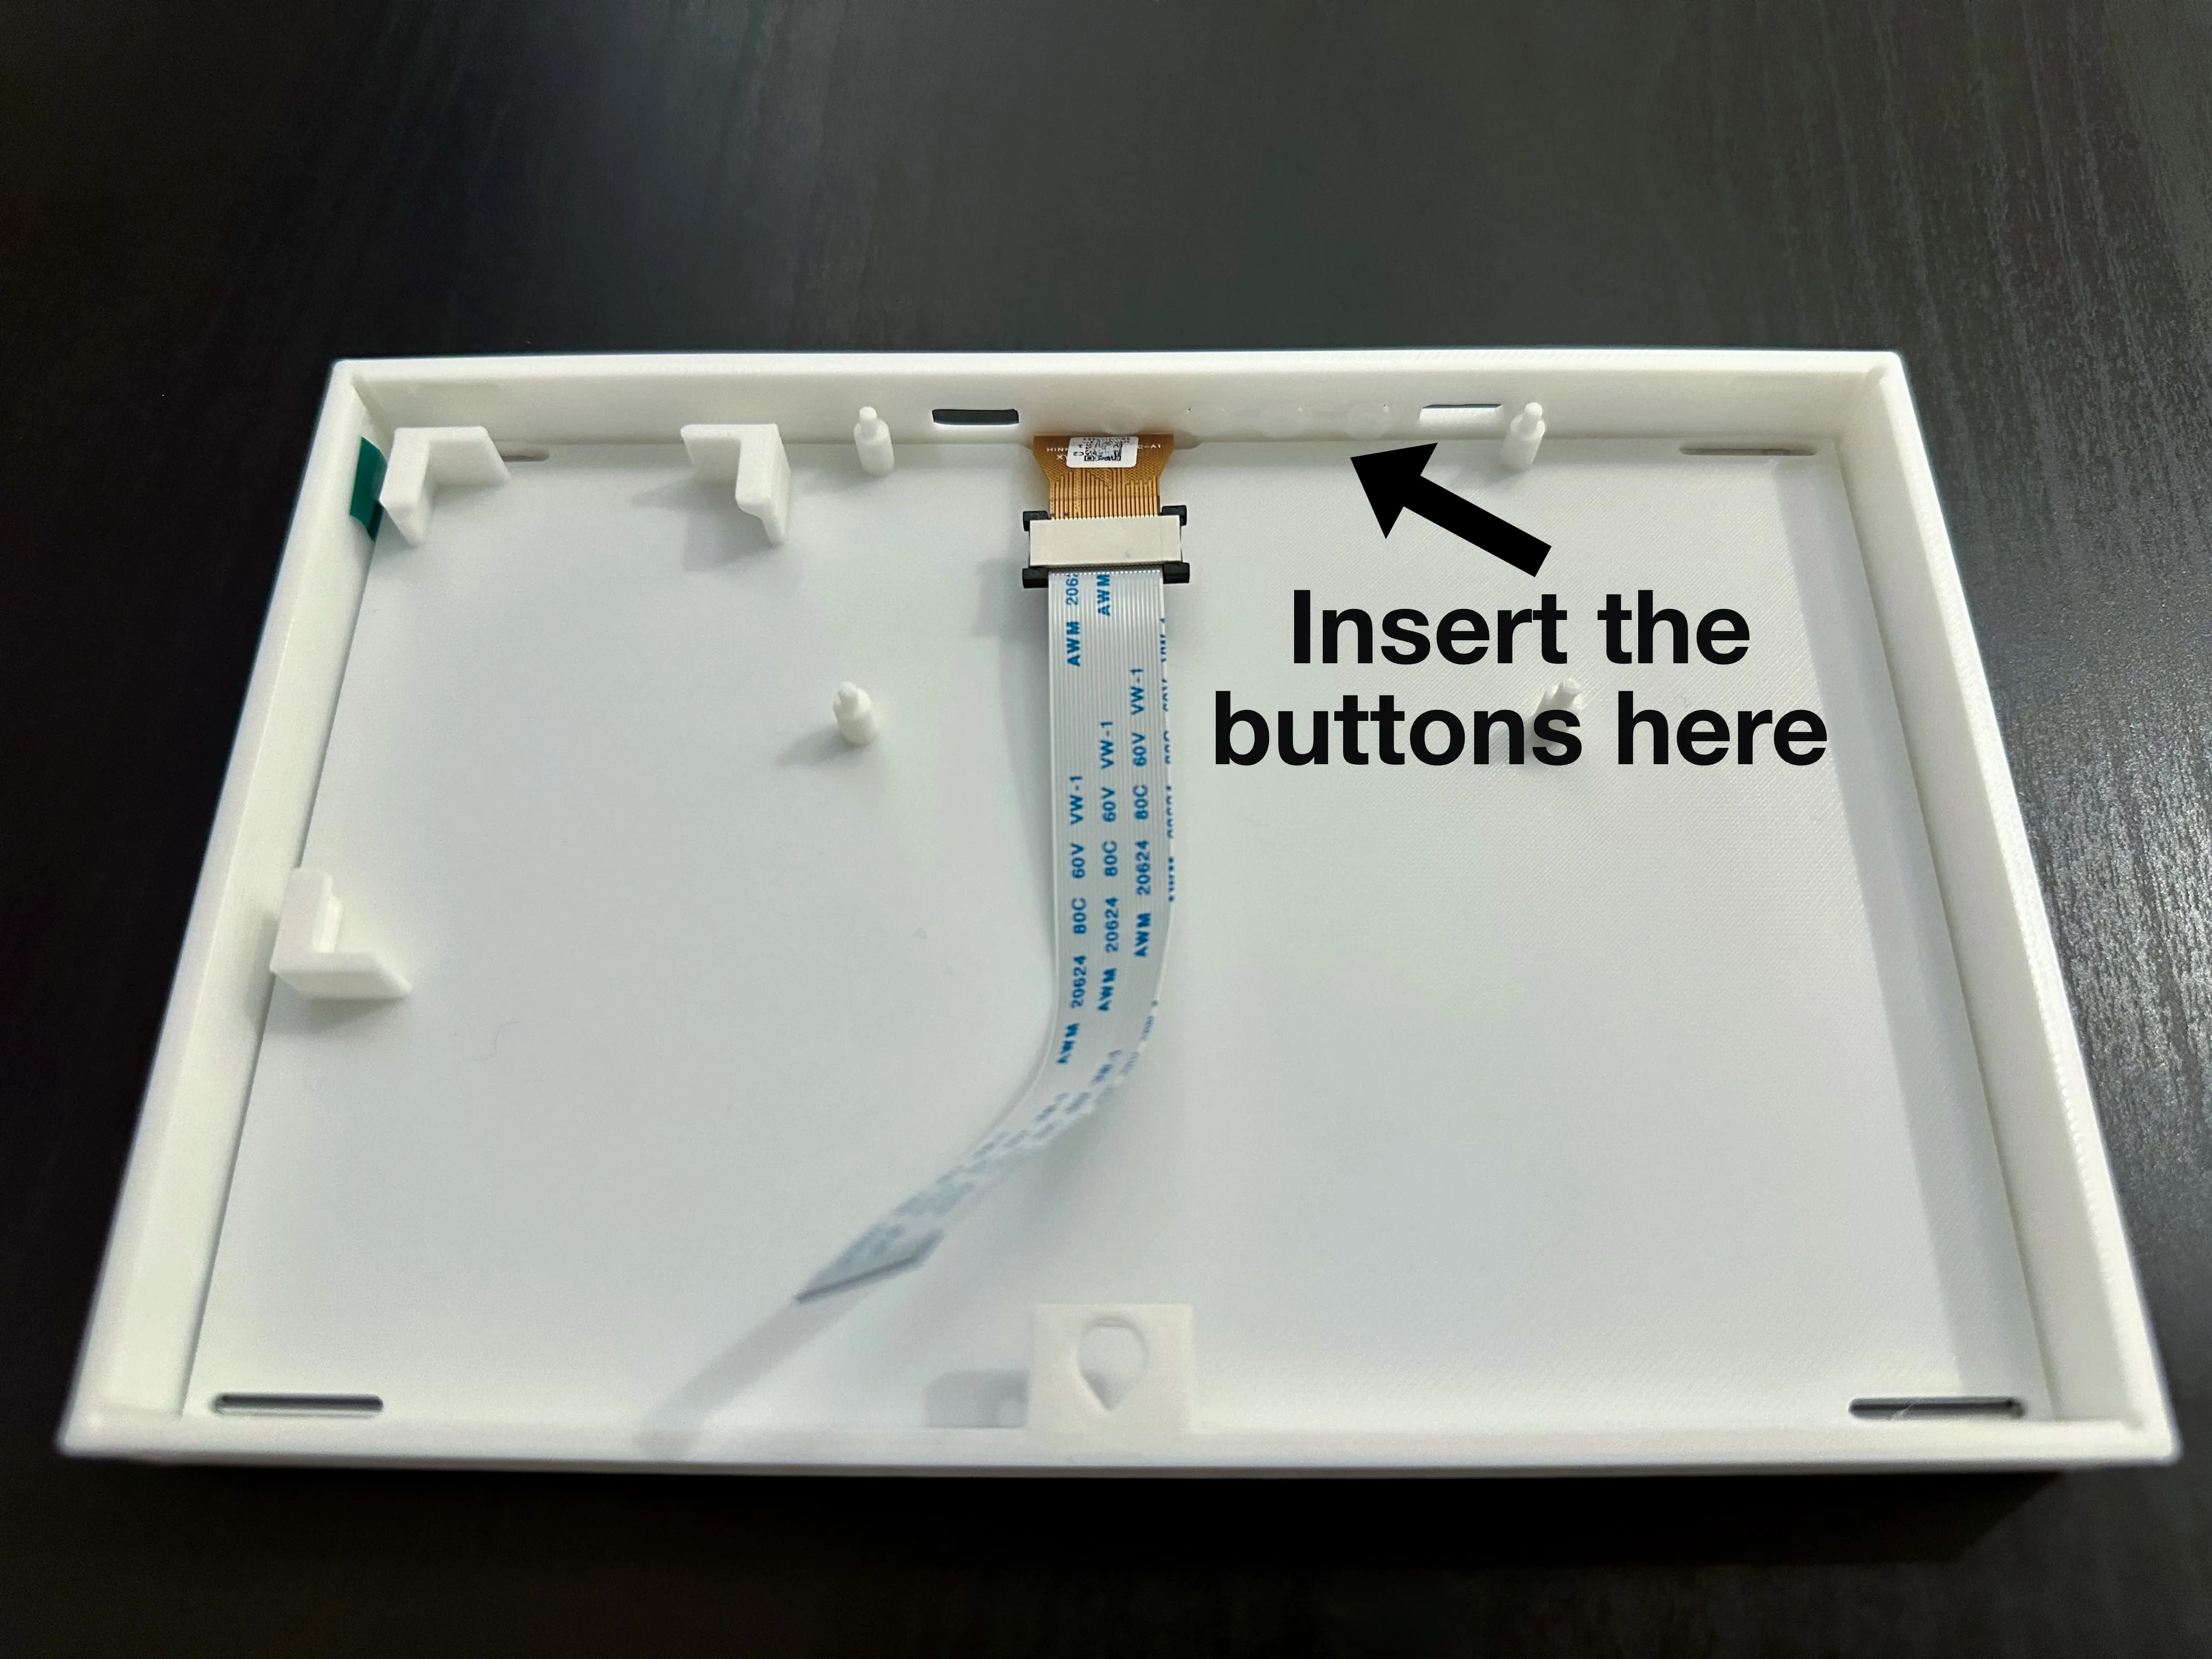
Add the Buttons:
Secure the buttons in their designated slot.
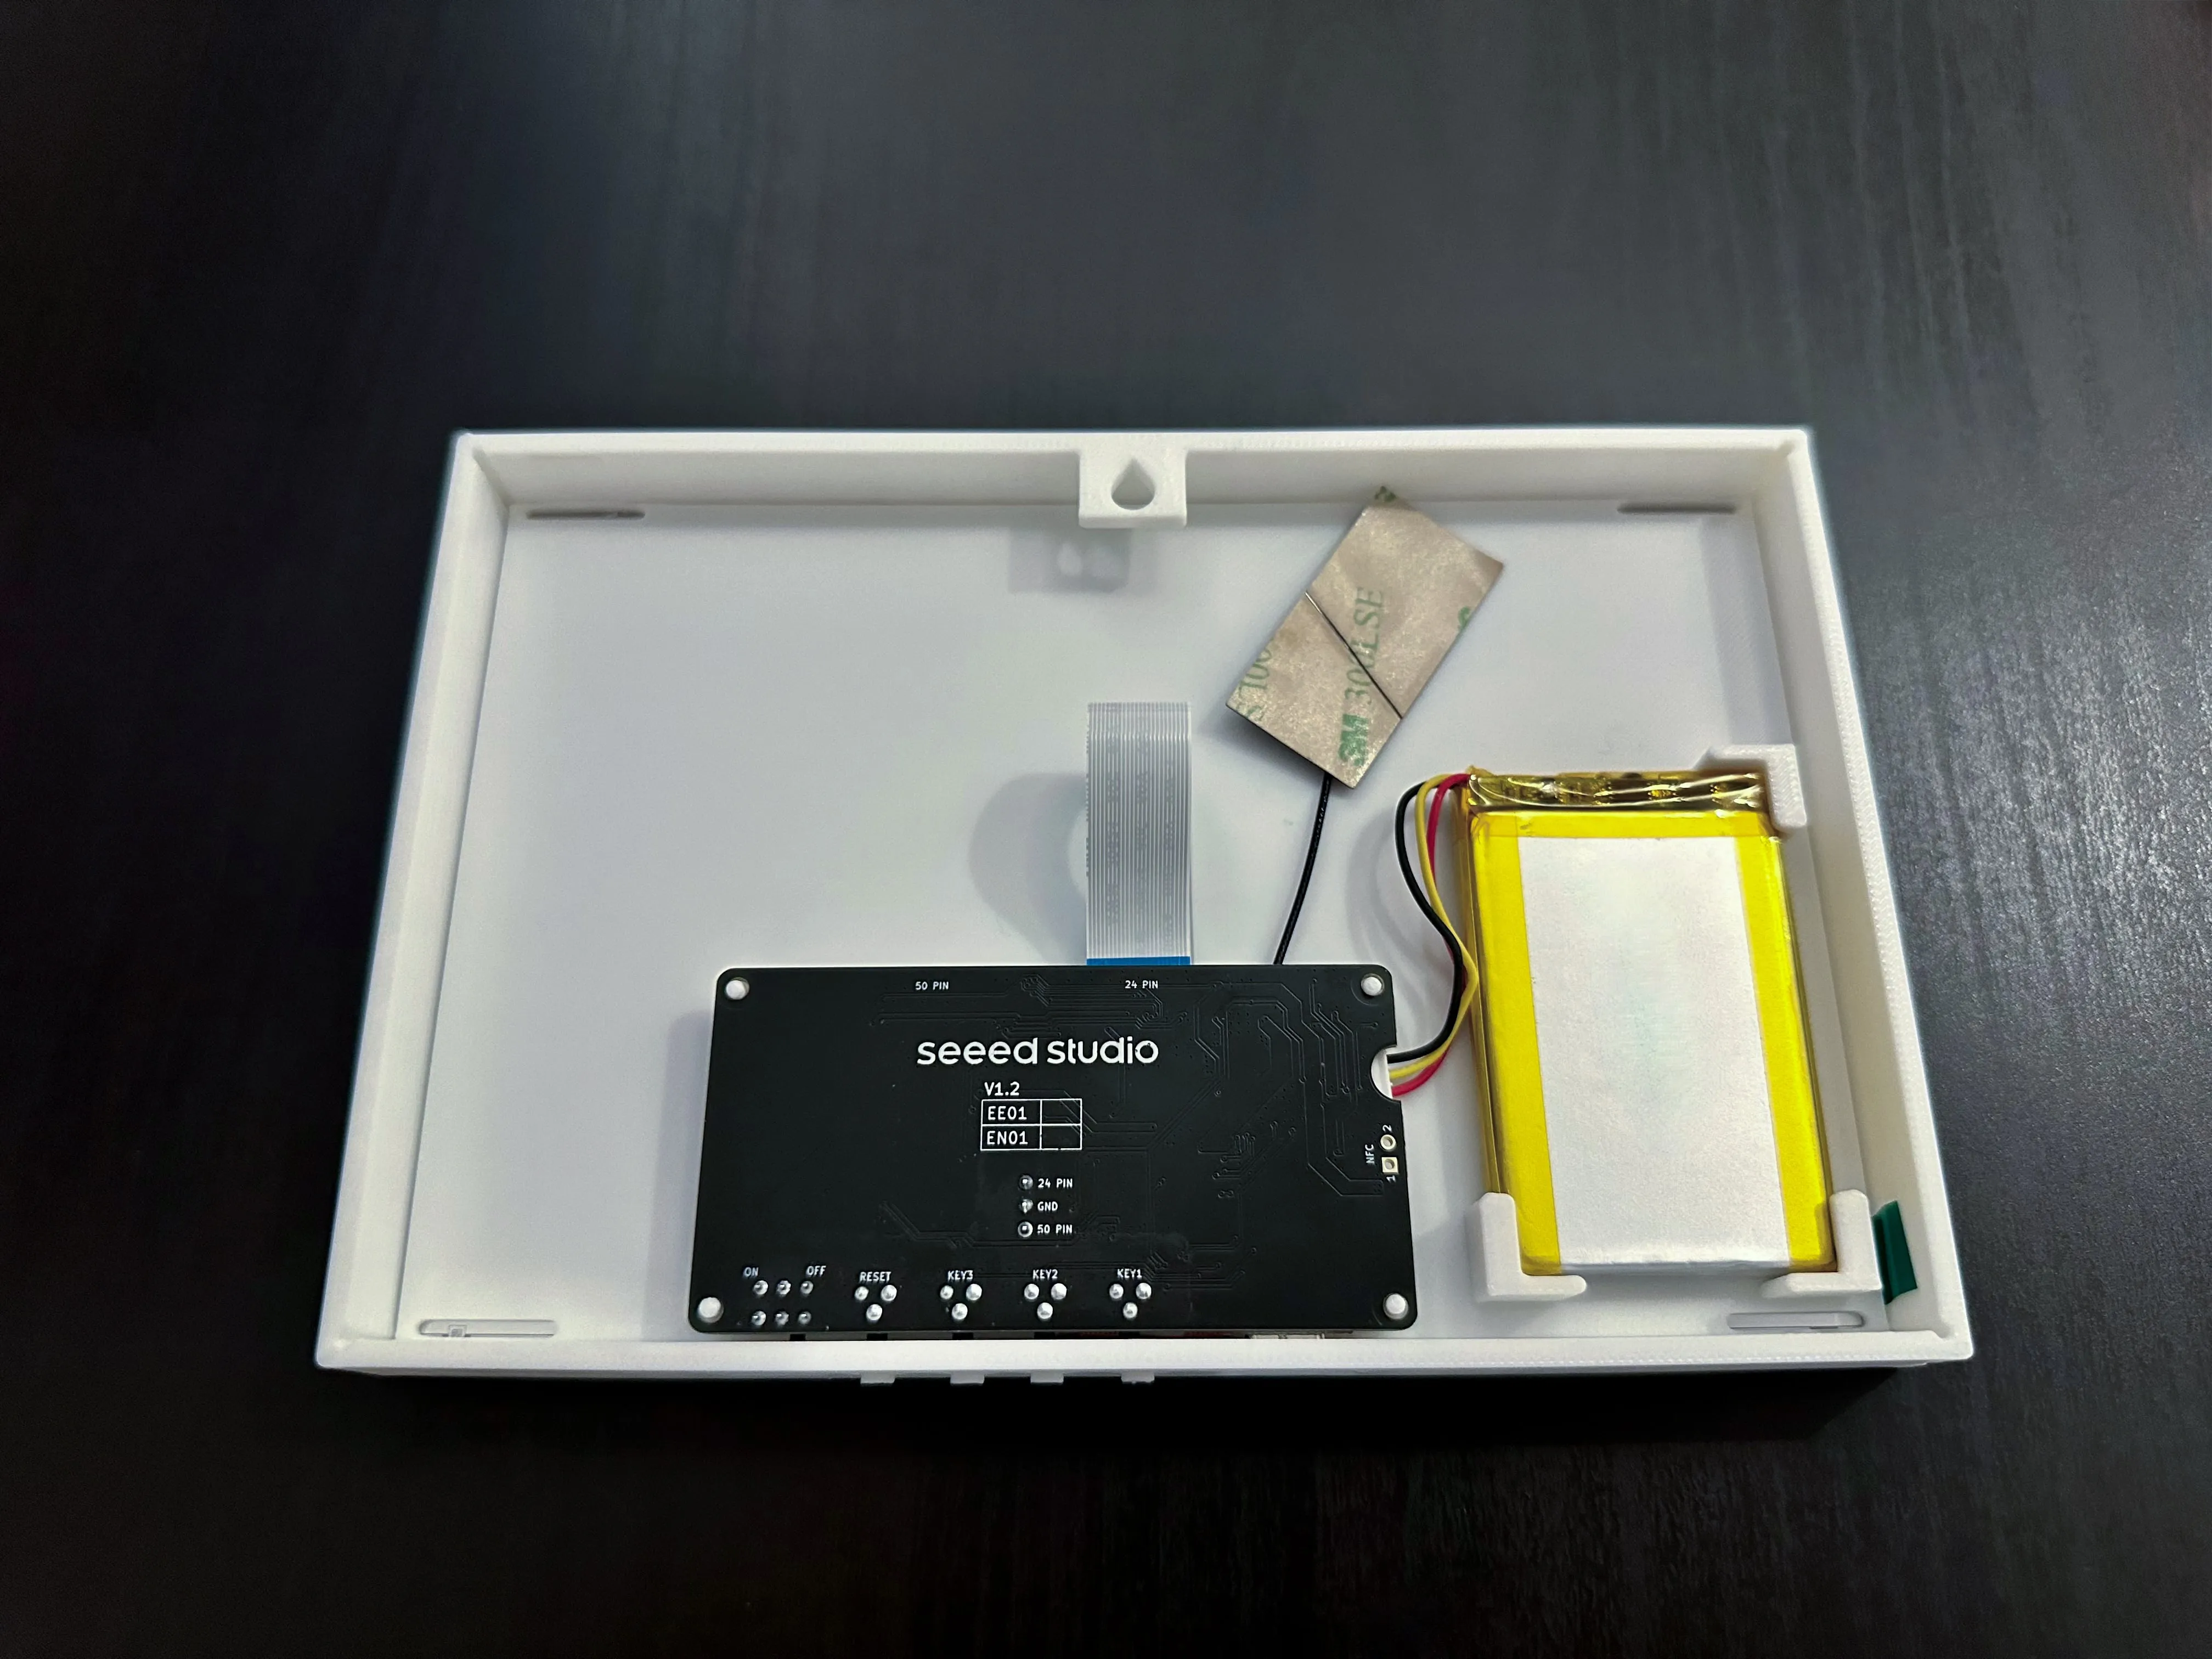
Connect the Battery & PCB:
Attach the battery and PCB, then position them in their respective compartments.
Attach the Back Plate (Optional):
If using the back plate, snap it into place for extra stability.
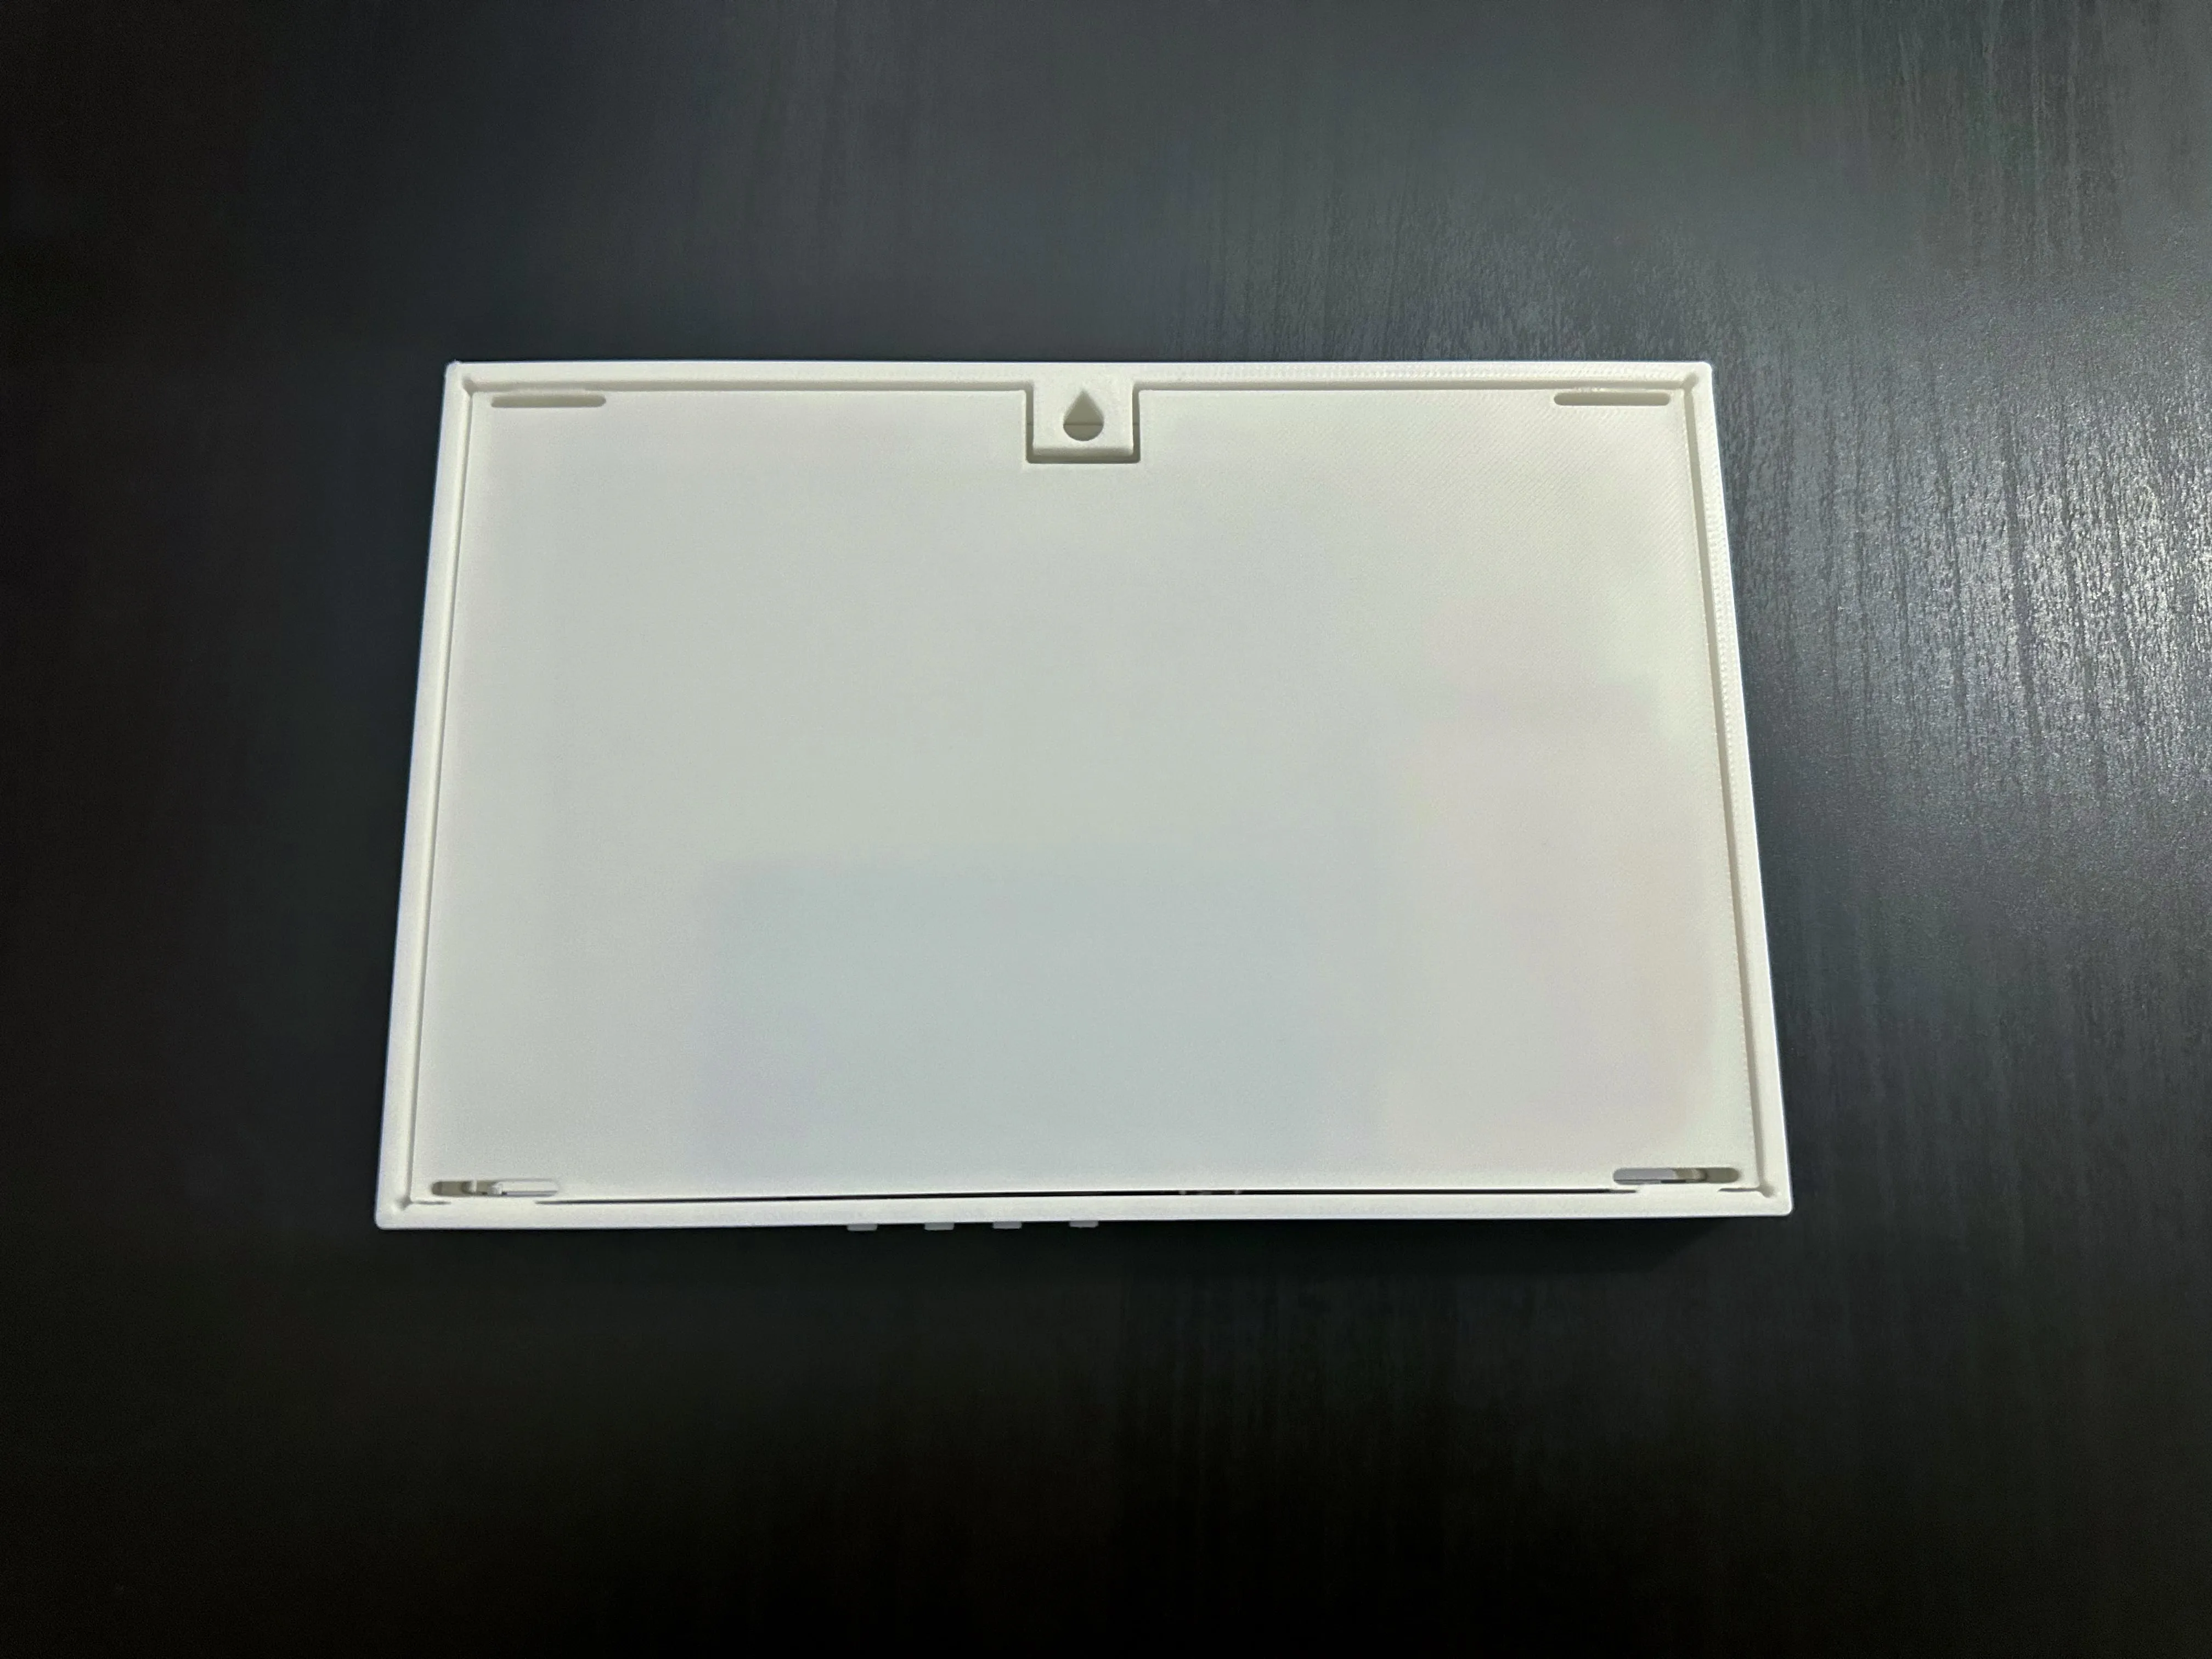
That’s it! Your TRMNL DIY Kit is now ready to mount and use.
Have fun with your new wall-mounted display!
License

You shall not share, sub-license, sell, rent, host, transfer, or distribute in any way the digital or 3D printed versions of this object, nor any other derivative work of this object in its digital or physical format (including - but not limited to - remixes of this object, and hosting on other digital platforms). The objects may not be used without permission in any way whatsoever in which you charge money, or collect fees.


Comment & Rating (12)