Patient Zero-Bunny: The Undead Plague


Print Profile(1)
Description
☣️ The Lore: The Great Infestation
In a world reclaimed by nature after the "Grey Pulse" virus wiped out humanity, not even the most innocent creatures were spared. What started as a mutation in urban wildlife quickly spread to the forest depths.
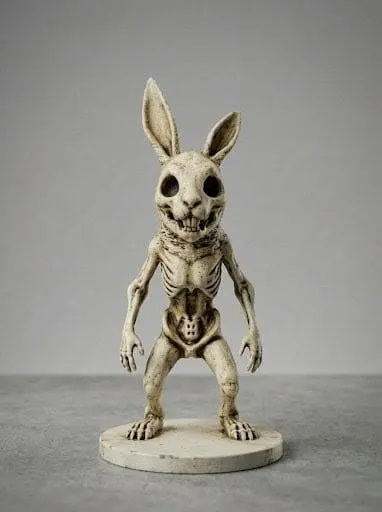
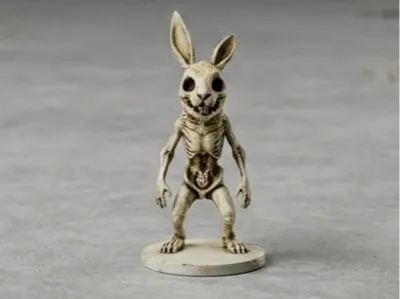
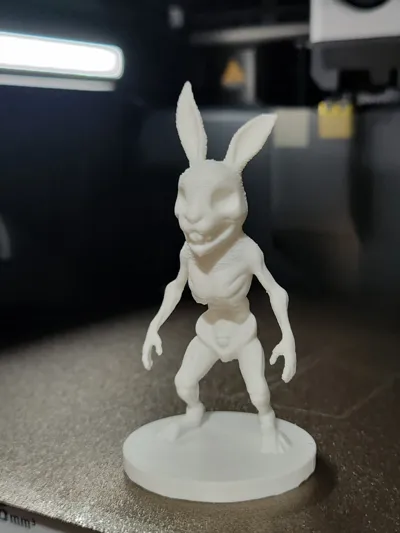
Patient Zero-Bunny is the first recorded instance of a leporid mutation. Once a symbol of spring and rebirth, this creature now wanders the ruins of civilization. Its flesh has withered away, leaving behind a terrifying skeletal frame driven by a singular, primal hunger. It doesn't want carrots anymore... it wants a host.
🧟 About the Model
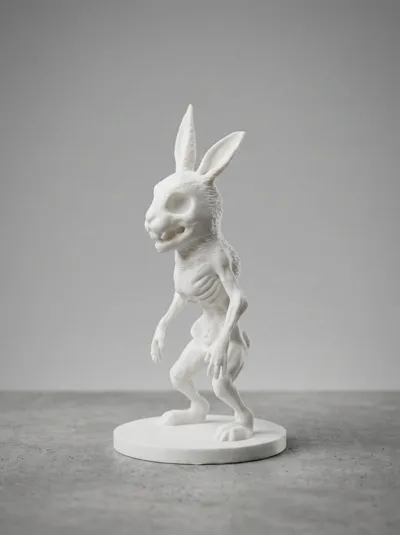
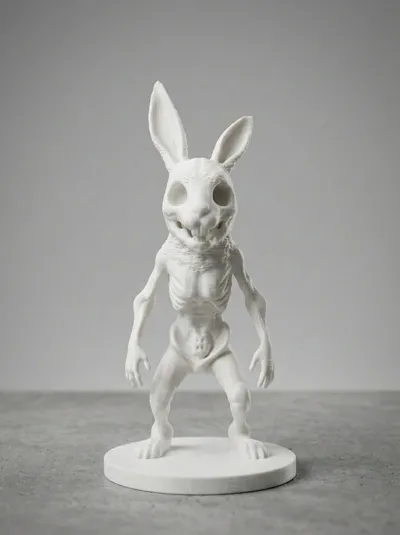
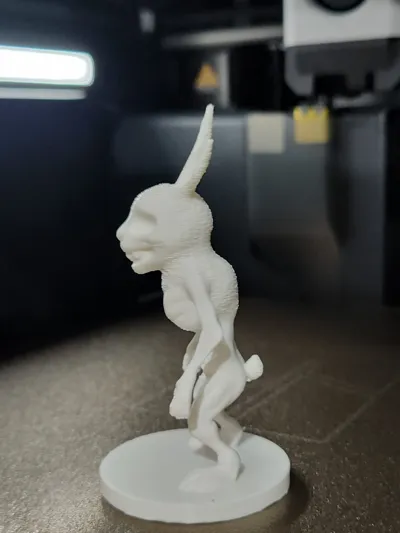
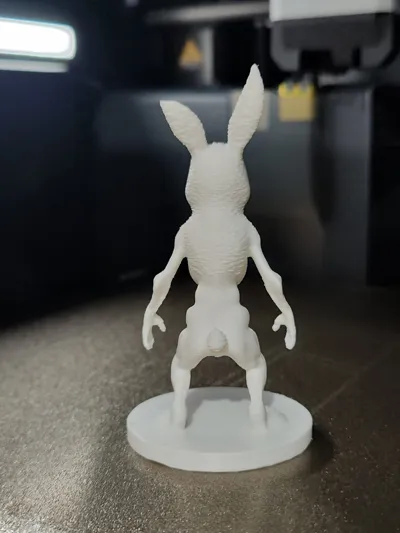
This 3D-printable miniature captures the chilling transition from a cute forest inhabitant to a post-apocalyptic nightmare. With its exposed ribcage, hollowed-out sockets, and menacing posture, it’s a must-have for fans of horror, zombie lore, and dark fantasy.
⚙️ Print Settings (Tested & Optimized)
I designed this to be a quick, efficient, and high-quality print. Whether you’re building a diorama or just want a creepy desk companion, these settings work perfectly:
- Material: PLA (White / Bone White recommended)
- Walls: 2 (Excellent for capturing the fine bone details)
- Infill: 15%
- Supports: Yes, required for the chin and arm overhangs. (Tree supports are highly recommended for easy, clean removal).
- Print Time: ~1h 13min
- Filament Used: ~24g
🎨 Customization Tip: The "Undead" Look
To truly bring the Zombie aesthetic to life and ensure a professional finish, follow these steps:
- Prime First: Before painting, apply a thin coat of plastic primer (spray or brush-on). This creates a porous surface that helps the acrylic paint stick to the smooth PLA.
- The "Dirty Wash": Cover the model in a very diluted dark brown or black acrylic paint (or a specialized "shading wash").
- Wipe & Reveal: Before the paint dries, gently wipe the surface with a paper towel.
- Result: The dark pigment will stay trapped in the ribs, eye sockets, and bony cracks, making the skeletal details "pop" with a realistic, weathered, and terrifyingly realistic look.
License
You shall not share, sub-license, sell, rent, host, transfer, or distribute in any way the digital or 3D printed versions of this object, nor any other derivative work of this object in its digital or physical format (including - but not limited to - remixes of this object, and hosting on other digital platforms). The objects may not be used without permission in any way whatsoever in which you charge money, or collect fees.
Comment & Rating (0)