Nanoleaf Sense+ Smart Wireless Switch Square Plate


Print Profile(1)

Bill of Materials

Description
Boost Me (for free)
Like the model? Rate it and boost it! It's free and gives valuable feedback! :)
Boost Me (for free)
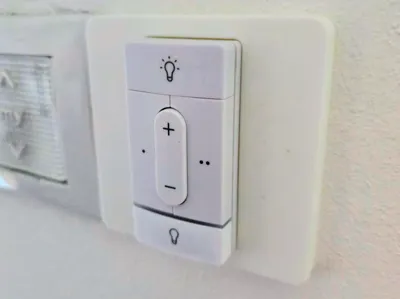
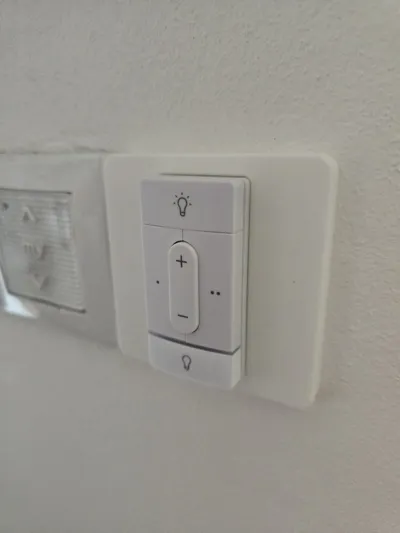
Upgrade or replace your Sense+ Smart Wireless Switch mount with this sleek, low-profile wall plate. Designed specifically for the European standard (80x80mm) instead of the supplied US one, this bracket provides a secure, magnetic docking point for your smart switch while maintaining a clean aesthetic.
This model is ideal if you’ve lost your original mount, want to add a second docking station in another room, or simply need a fresh plate after moving.
### Key Features
- Perfect Fit: Sized at 80x80mm to match standard European light switch dimensions.
- Magnetic Docking: Features 4 precision-cut recessed holes for magnets, ensuring your switch snaps into place and stays there. (Be vary of magnet orientation! Magnets are hard to insert so they don't slide out. Use tome tool, or change dimension in provided cusomizable model).
- Easy Installation: Designed for a tool-free, "no-drill" setup using double-sided mounting tape.
- Customizable: The clean geometry allows for easy scaling or modification if your specific regional variant differs slightly.
### Hardware Requirements
To complete this build, you will need:
- Magnets: 4pcs of 6mm (Diameter) x 2mm (Height) neodymium magnets.
- Adhesive: High-quality double-sided tape (e.g., 3M VHB or similar) for wall mounting.
### Print Settings & Recommendations
- Material: PLA for standard use; PETG if the switch is located in a high-temperature area or direct sunlight.
### Assembly Instructions
- Insert Magnets: Press-fit the 4 magnets into the circular recesses. Be vary of orientation!
- Apply Tape: Place strips of double-sided tape on the flat backside of the plate.
- Mount: Clean your wall surface, level the plate, and press firmly.
- Click: Snap your Sense+ Switch onto the new magnetic base.
License
You shall not share, sub-license, sell, rent, host, transfer, or distribute in any way the digital or 3D printed versions of this object, nor any other derivative work of this object in its digital or physical format (including - but not limited to - remixes of this object, and hosting on other digital platforms). The objects may not be used without permission in any way whatsoever in which you charge money, or collect fees.
Comment & Rating (0)