ESP32-C6 mmWave Presence Sensor - Home Assistant


Print Profile(1)

Bill of Materials
- ESP32-C6 x 1: I used a Seeed Studio Xiao ESP32-C6 w/ built in antenna
- LD2410C MM Wave Sensor x 1:
- Pimoroni PIR Stick - PIR Sensor x 1:
Description
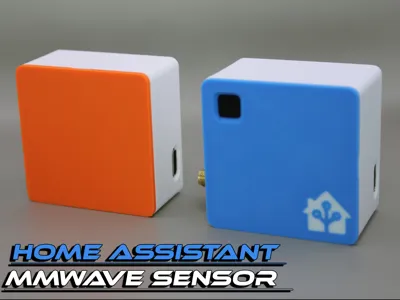
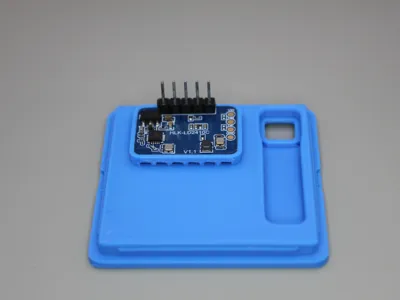
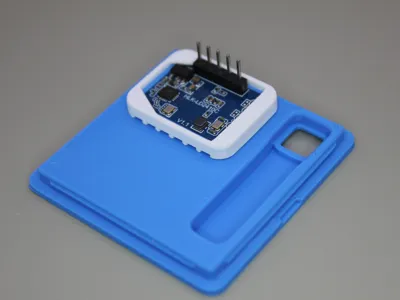
ESP32-C6 mmWave + PIR Sensor Case
A clean, compact 3D-printed case designed for the ESP32-C6 with both mmWave and PIR motion sensing. This enclosure keeps everything secure while staying simple to print and assemble. This is ready for use in ESPHome and Home Assistant.
Features
No supports required – prints flat and clean.
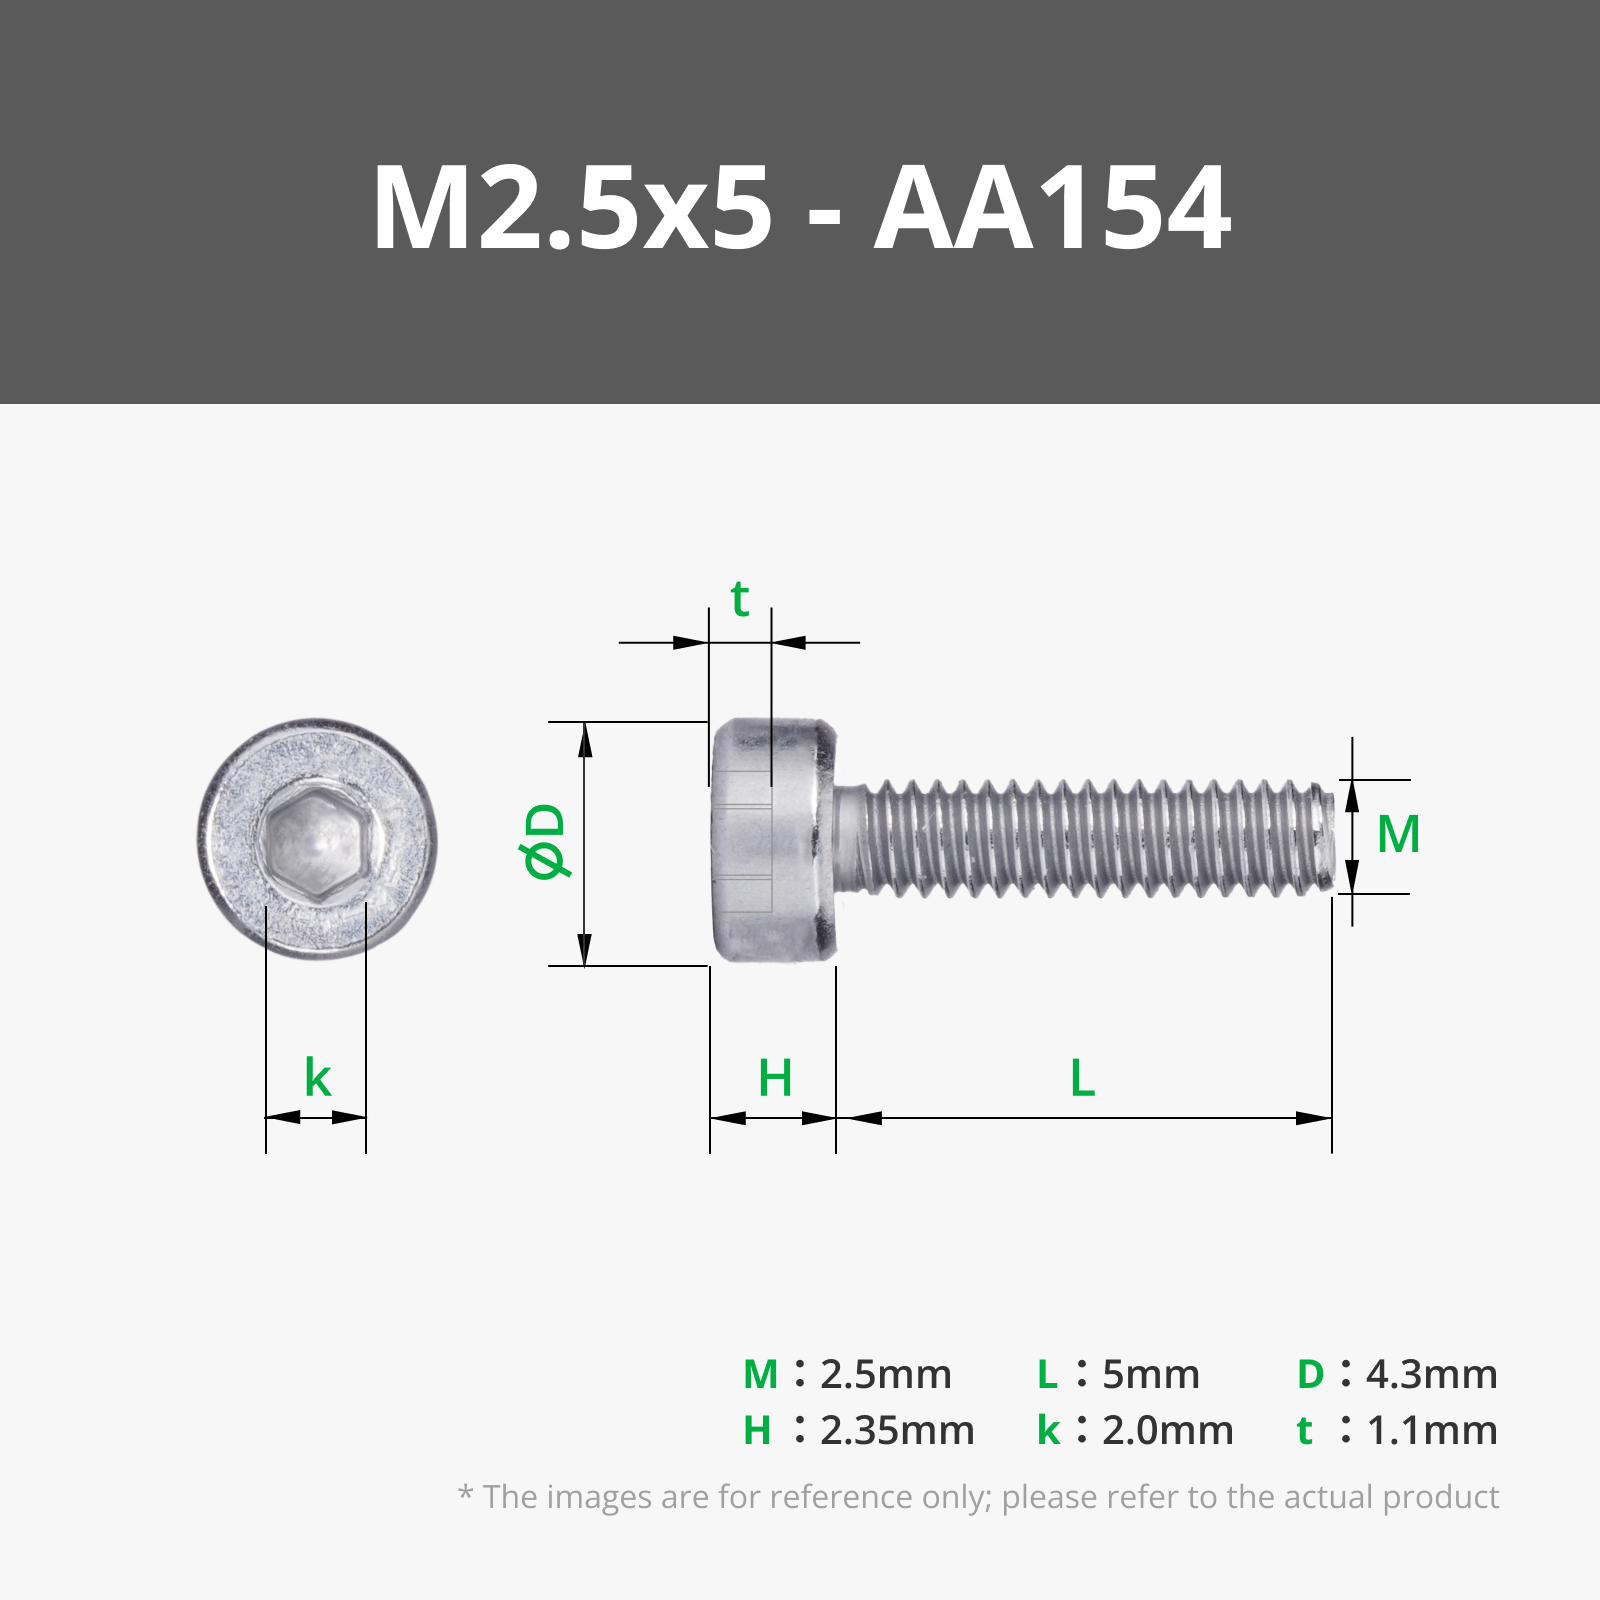
Minimal/No hardware – just one M3x6mm screw (only for PIR sensor mounting).
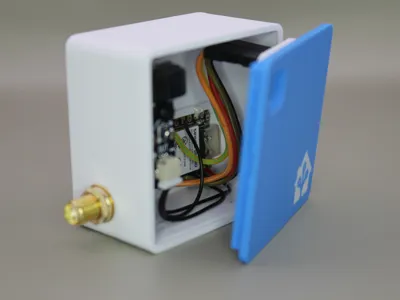
Clip-on cover – front faceplate locks into place with built-in slots & clips. Two tiny pry slots let you pop it off with a fingernail or screwdriver when needed.
- Sensor-ready – holds:
- Xiao ESP32-C6
- LD2410C mmWave sensor
Pimoroni PIR Stick (OPTIONAL)
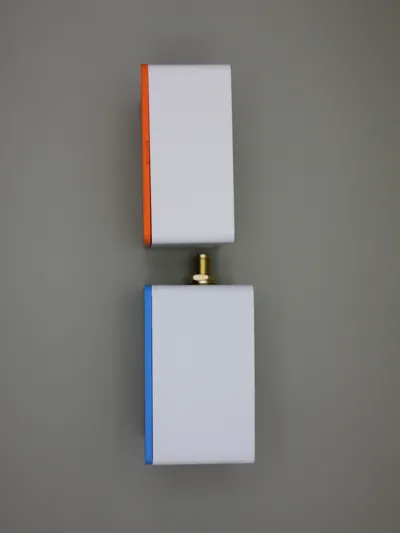
Antenna port – small side hole for optional external antenna. (OPTIONAL)
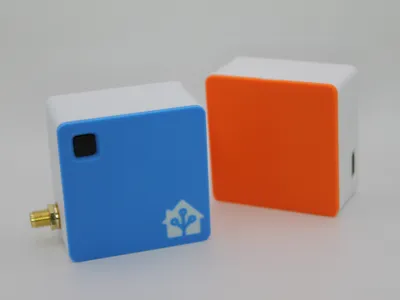
- Multiple versions included:
- Slim width 23.8mm case
- 28.8mm extra-wide case (extra wiring clearance, especially if your LD2410C board has headers)
- mmWave-only case in both slim and extra-wide (no PIR cutout or mount / no antenna)
Assembly
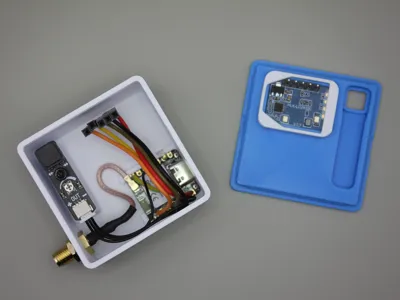
- Print the case body, cover, and LD2410C clip
- Mount the PIR sensor using one M3x6mm screw.
- Fit the LD2410C clip around the sensor, and then press-fit the mmWave sensor into its slot. It's normal for it to be a tight fit.
- Secure the ESP32-C6 with a thin strip of double-sided tape or removable glue (OPTIONAL)
- Route and install the external antenna through the side port.
- Snap on the cover until the clips engage. To remove, insert a small flat screwdriver in the side slots and gently pry.
Print Notes
- Recommended layer height: 0.2mm
- Material: PETG
- 28% Gyroid & 3 Walls
Wiring Diagram & Yaml:
Yaml has been included as an additional file alongside this model

Documentation (1)
License
You shall not share, sub-license, sell, rent, host, transfer, or distribute in any way the digital or 3D printed versions of this object, nor any other derivative work of this object in its digital or physical format (including - but not limited to - remixes of this object, and hosting on other digital platforms). The objects may not be used without permission in any way whatsoever in which you charge money, or collect fees.
Comment & Rating (2)