
Big Red Button Prank Box
Print Profile(4)

Bill of Materials





Description
Boost Me (for free)
I make these models as a hobby, if you would like to support me you can boost me for free!
If you want to support me you can buy me a coffee :)
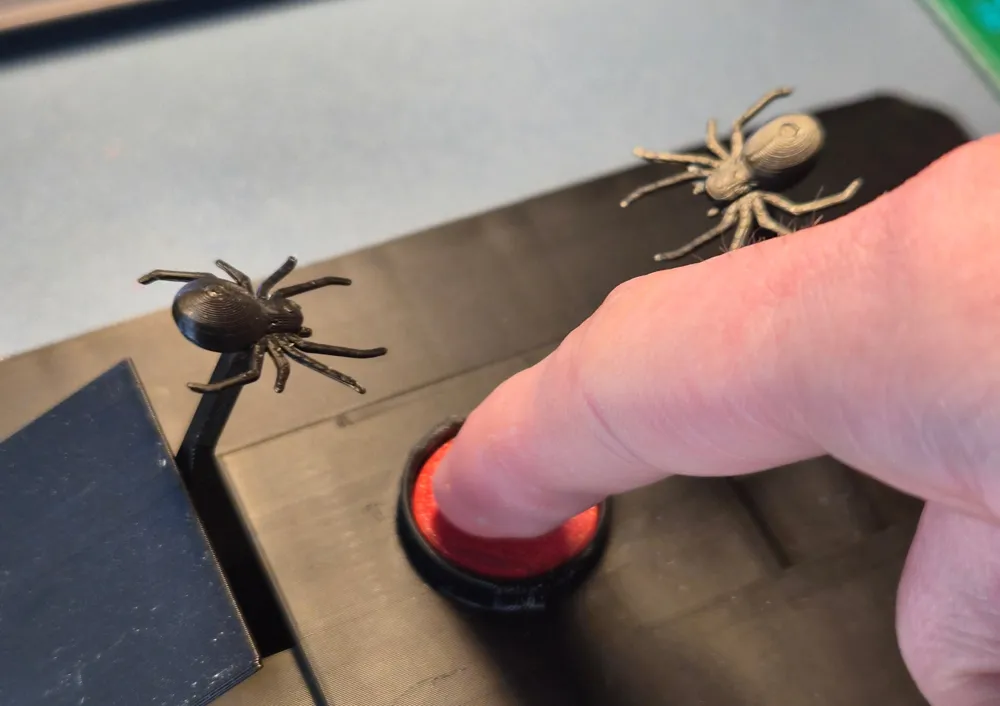
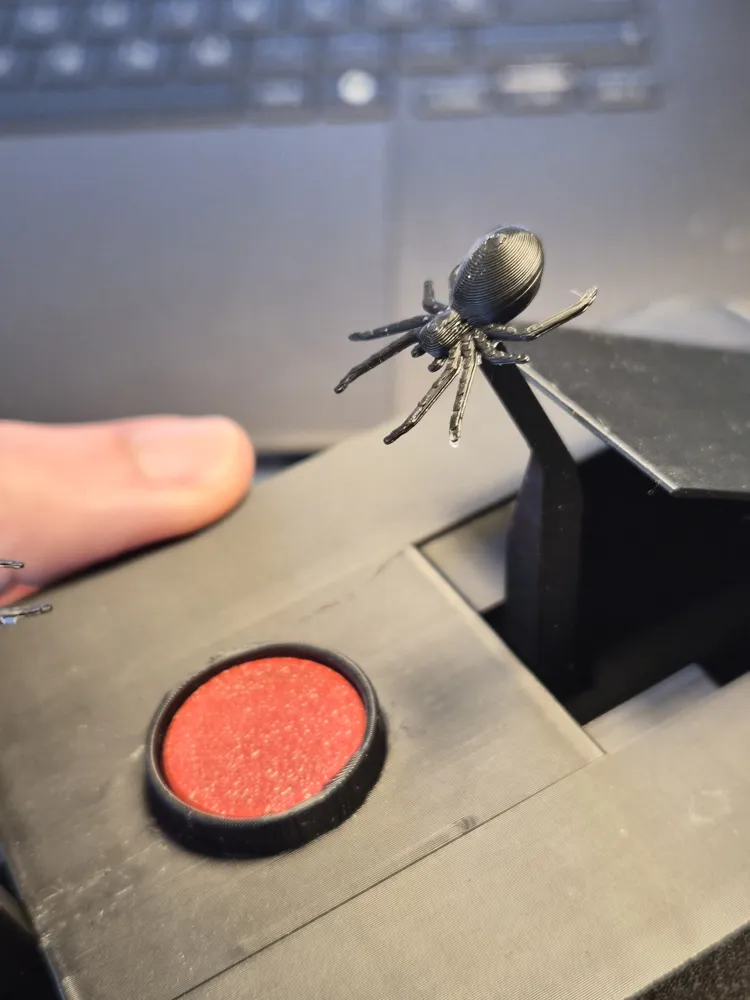
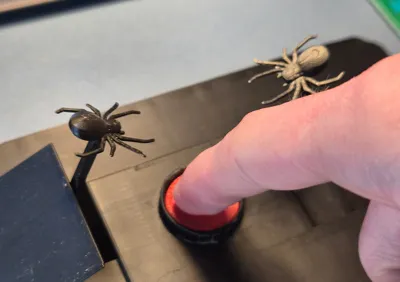
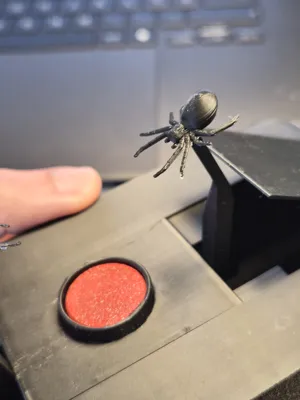
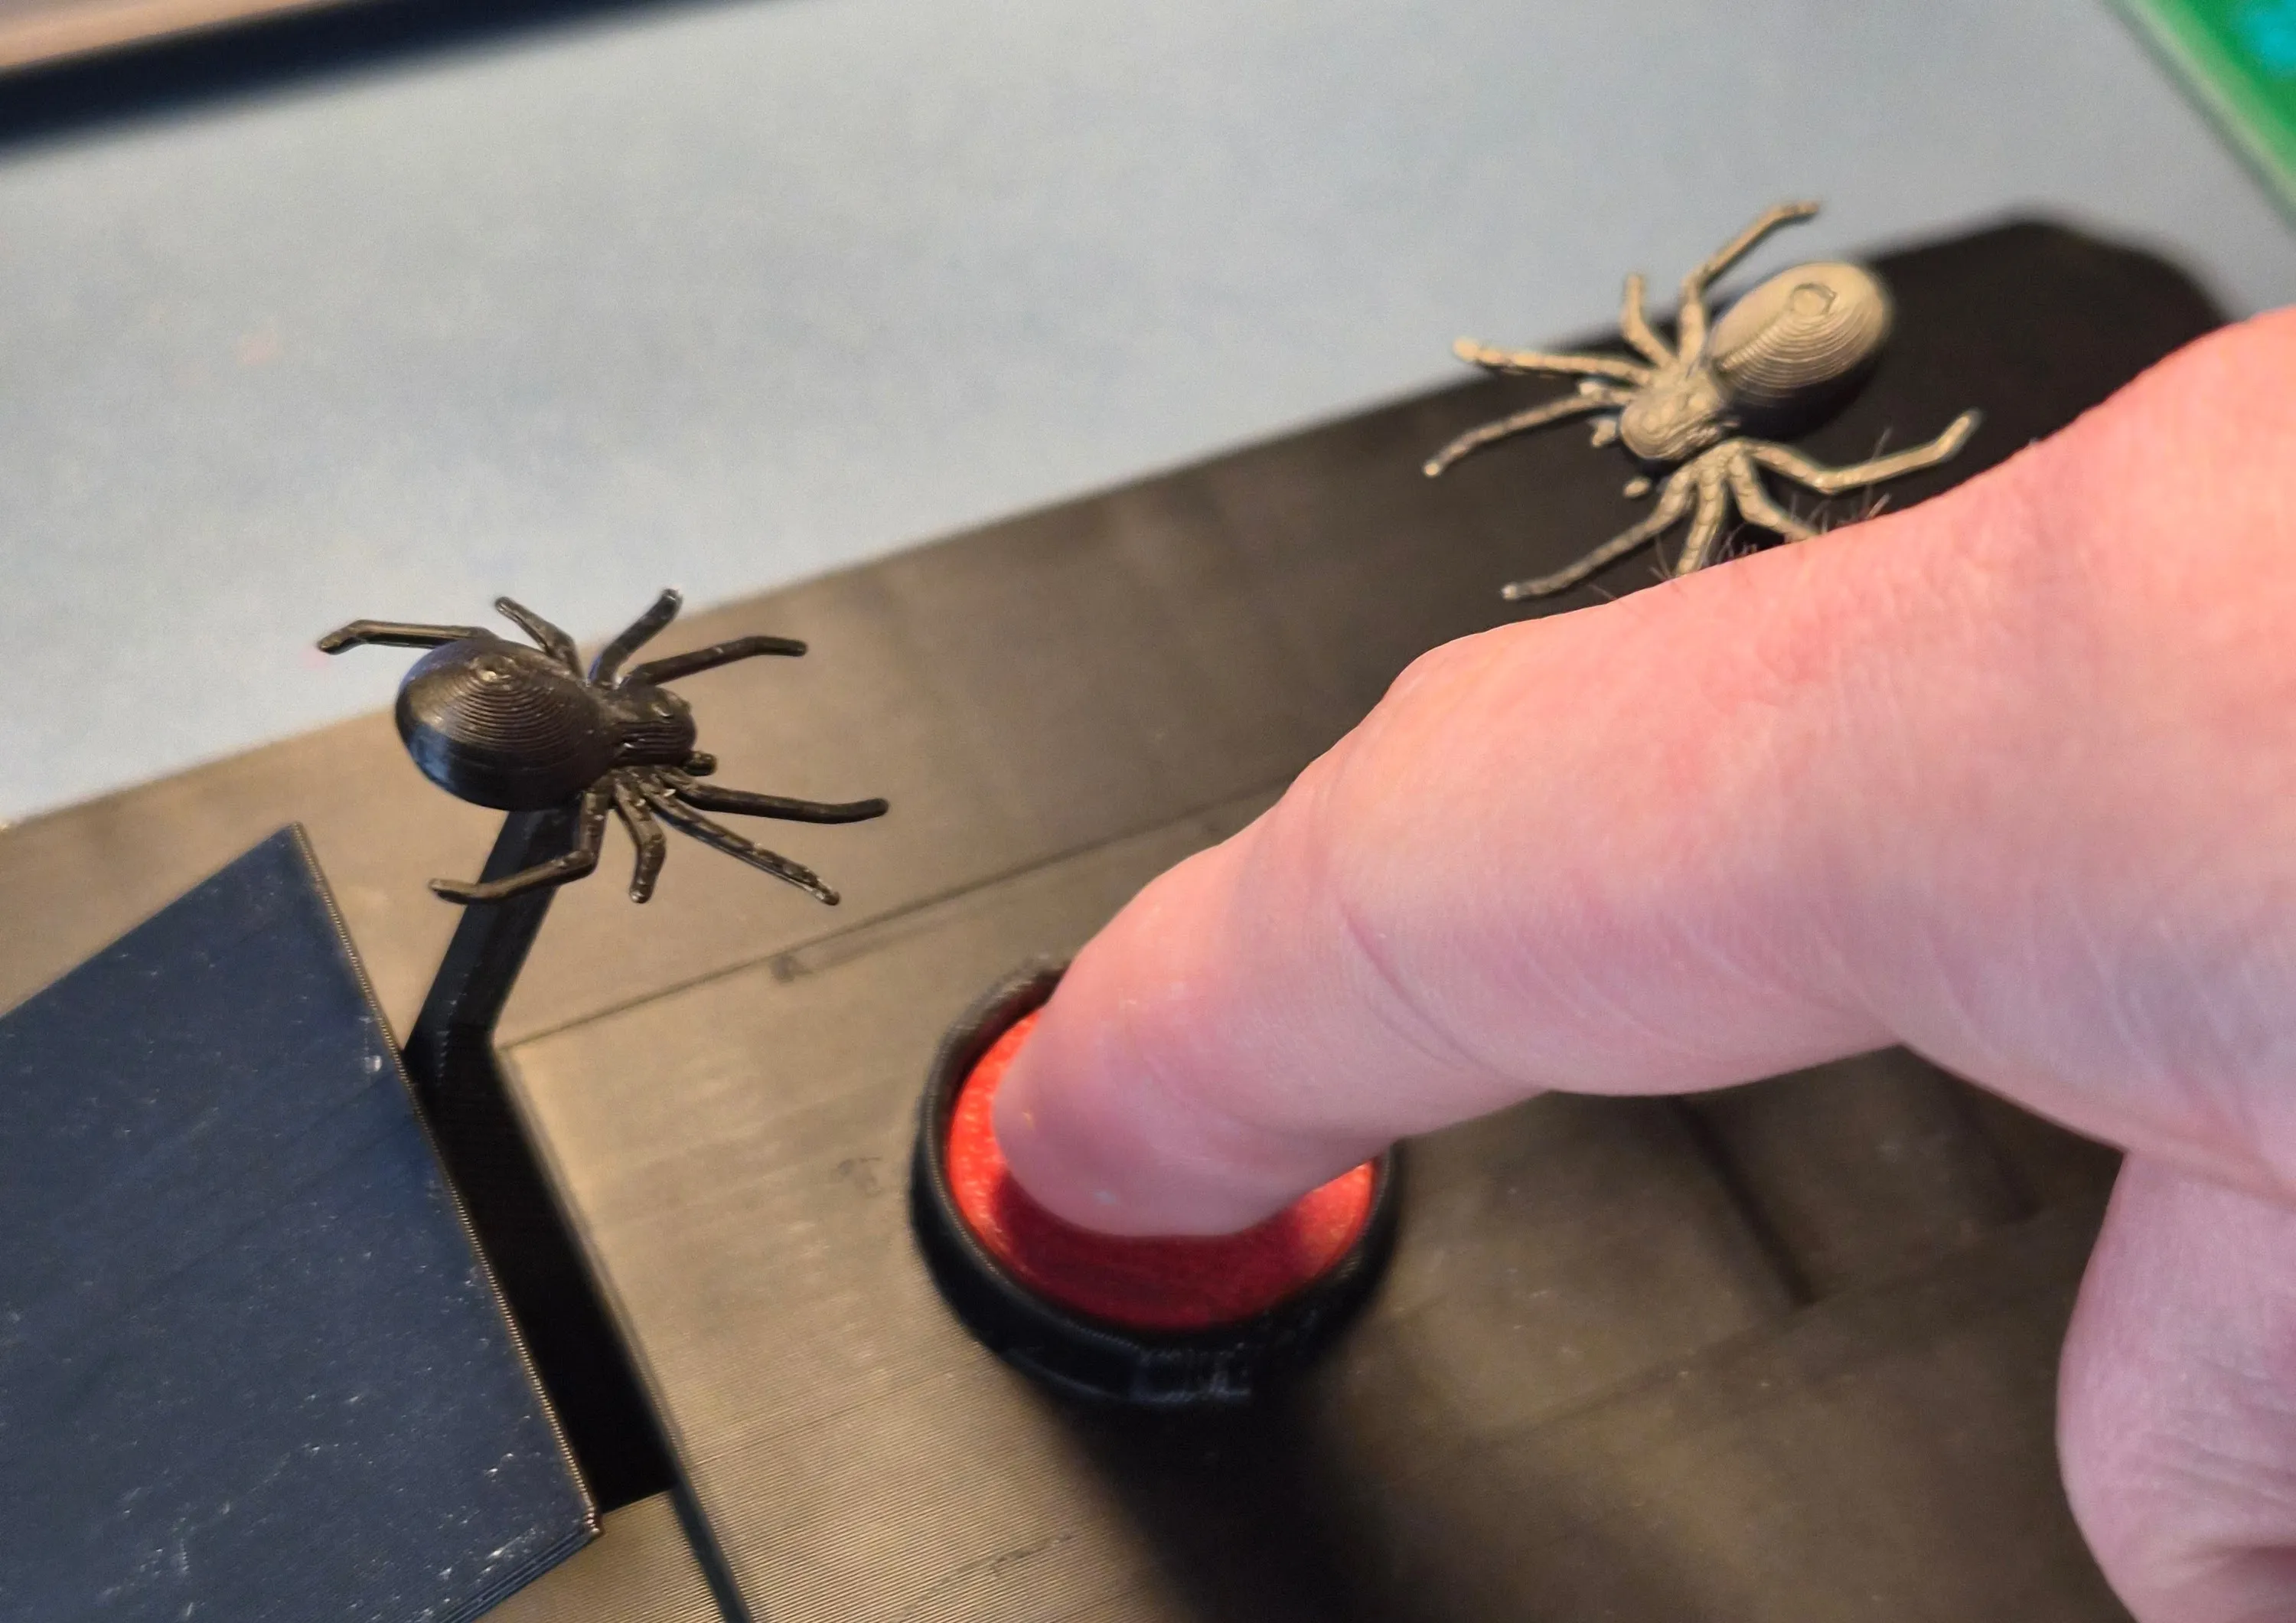
Happy April fools everyone! Due to popular demand I have added the “Spider Edition!” print profile! Use it to turn this prank box into a prank again for those that already saw it!
Big Red Button Prank Box


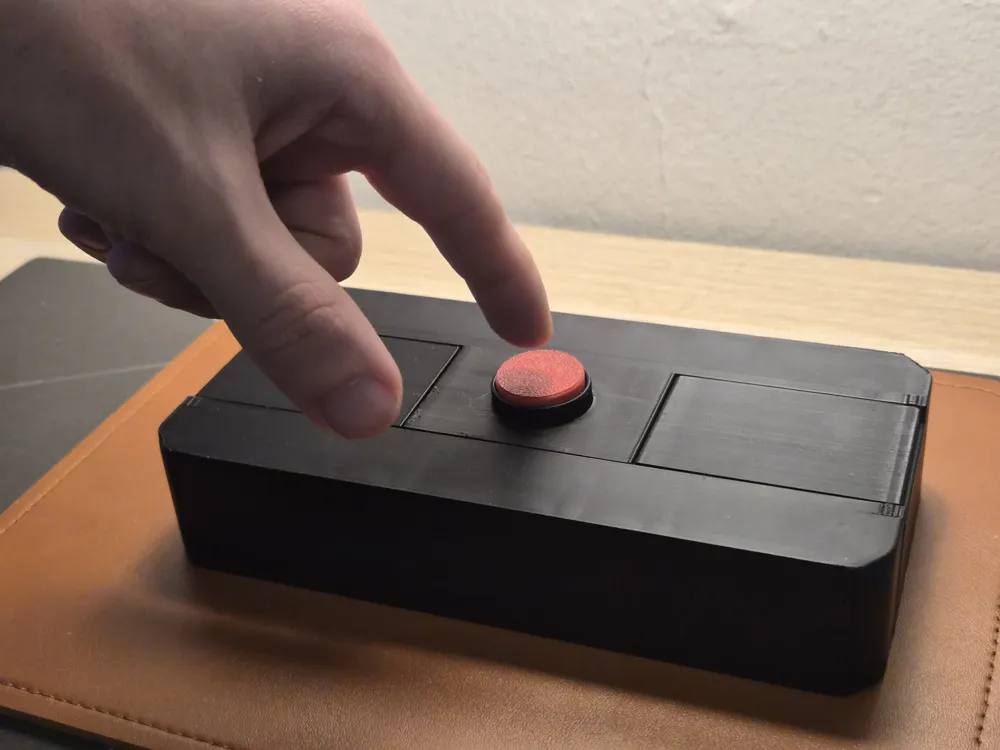
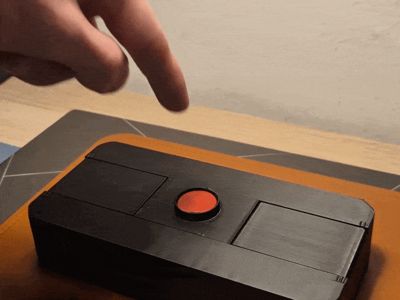
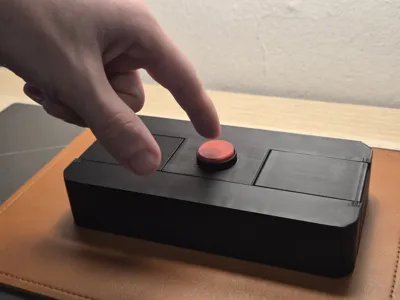
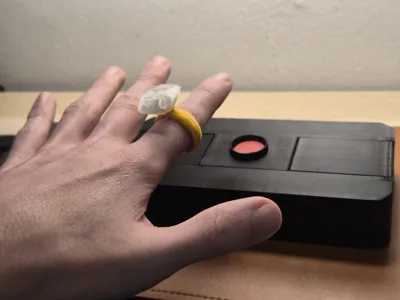
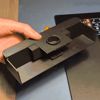
A small black box with a classic big red button, just begging to be pressed!
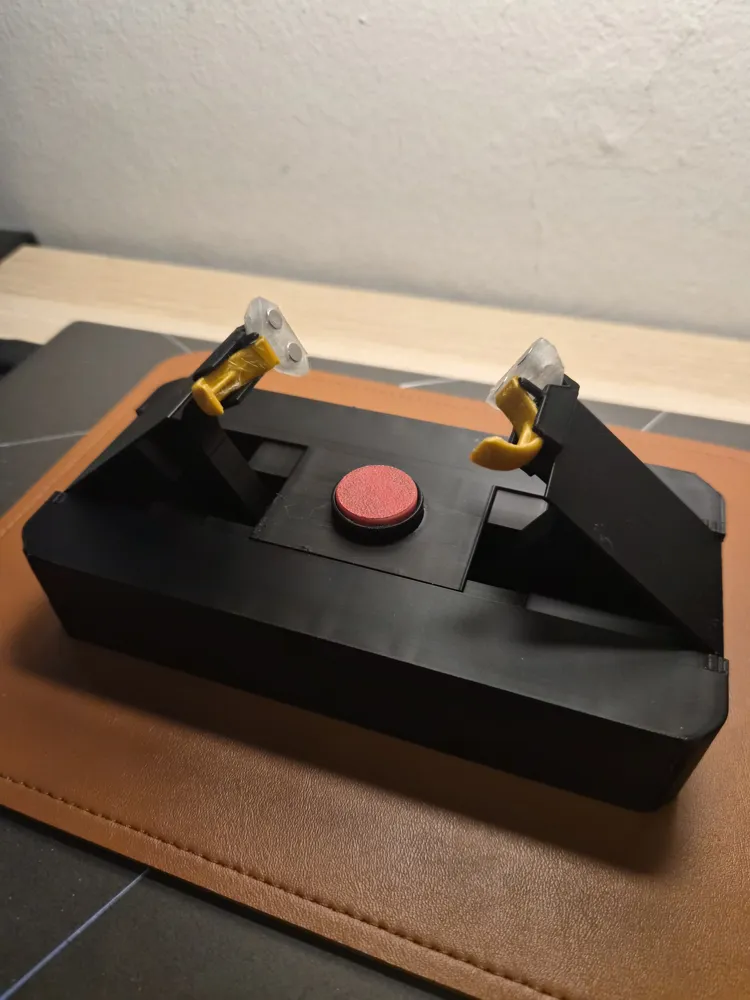
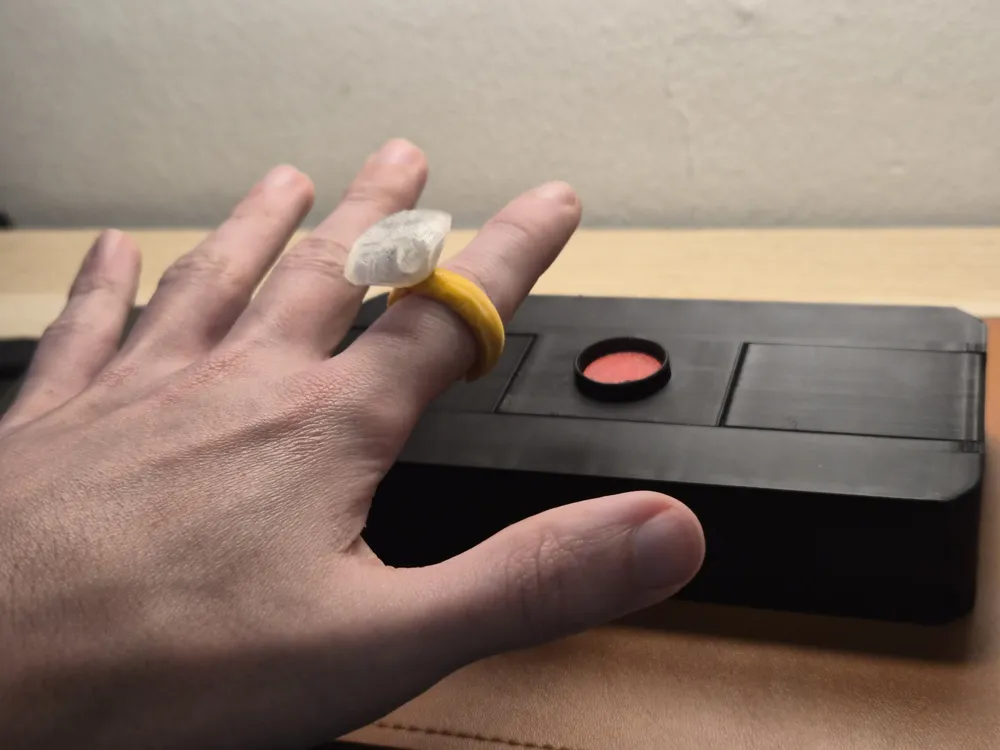
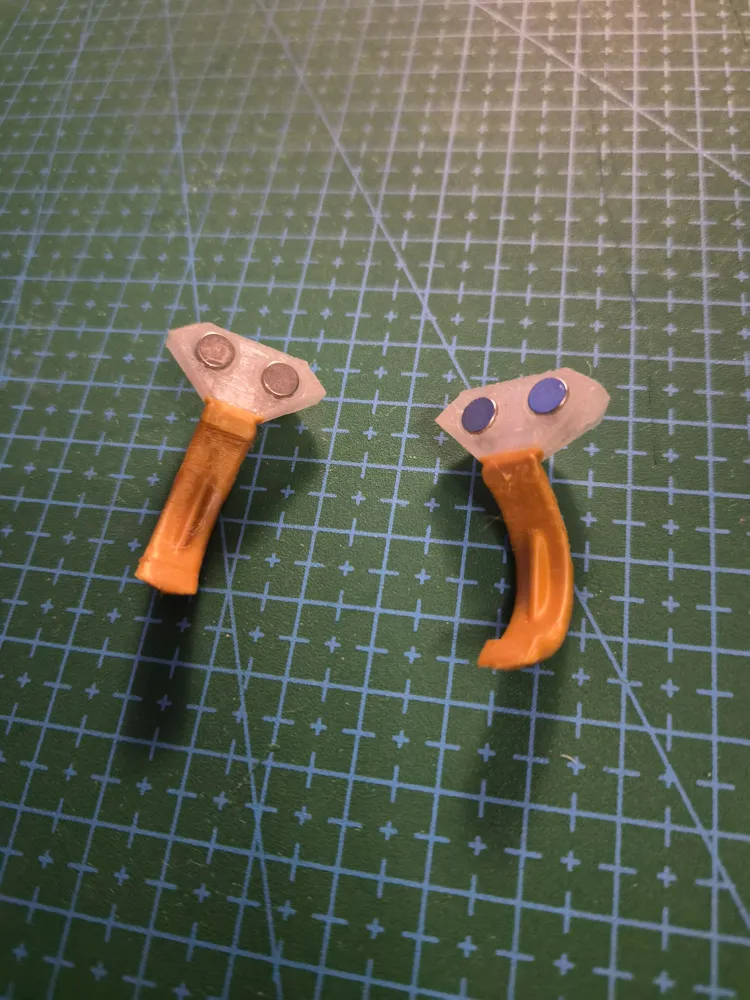
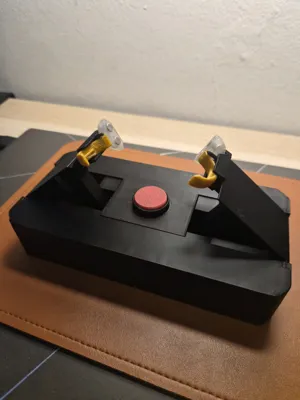
Pressing the button triggers a fast mechanical sequence: two side flaps open, two internal arms spring upward, and a ring with an absurdly oversized diamond snaps onto the finger of whoever pressed it. The mechanism immediately retracts, the flaps close, and the box returns to its neutral state in under a second.
I'm still not sure what the context of the prank is exactly, either some kind of “Press if you like me” or something, but I leave that up to the makers!
How It Works

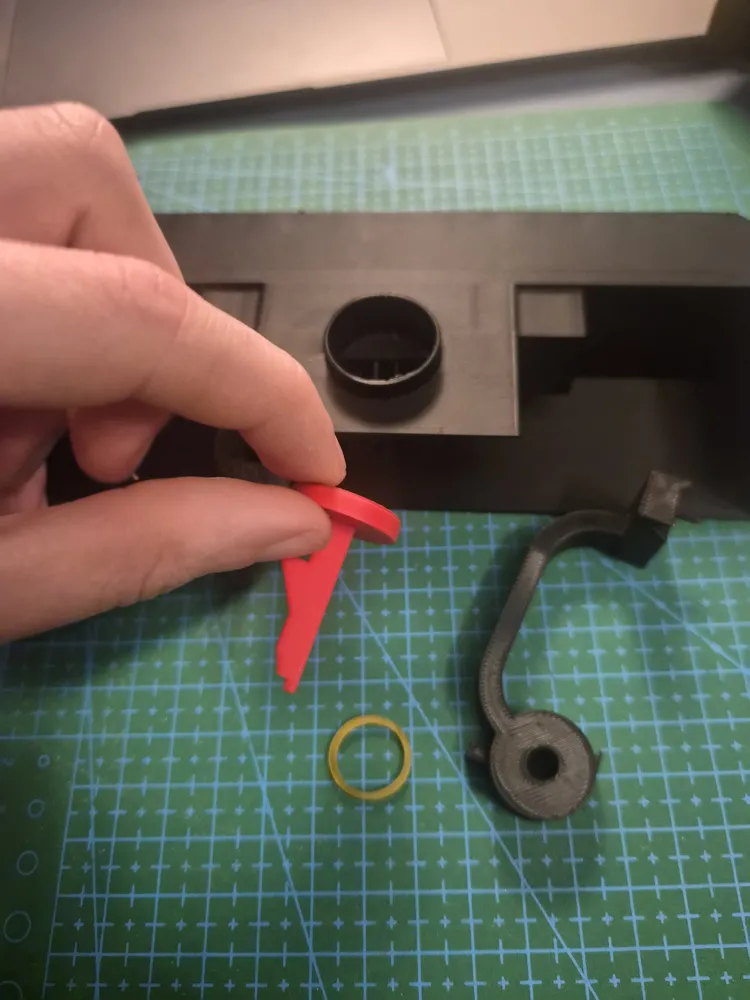
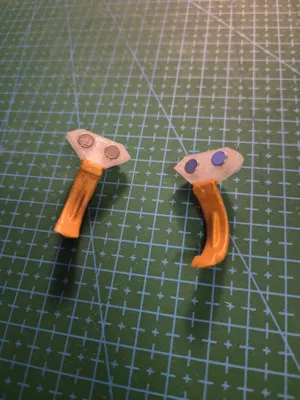
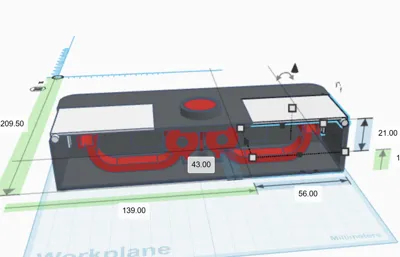
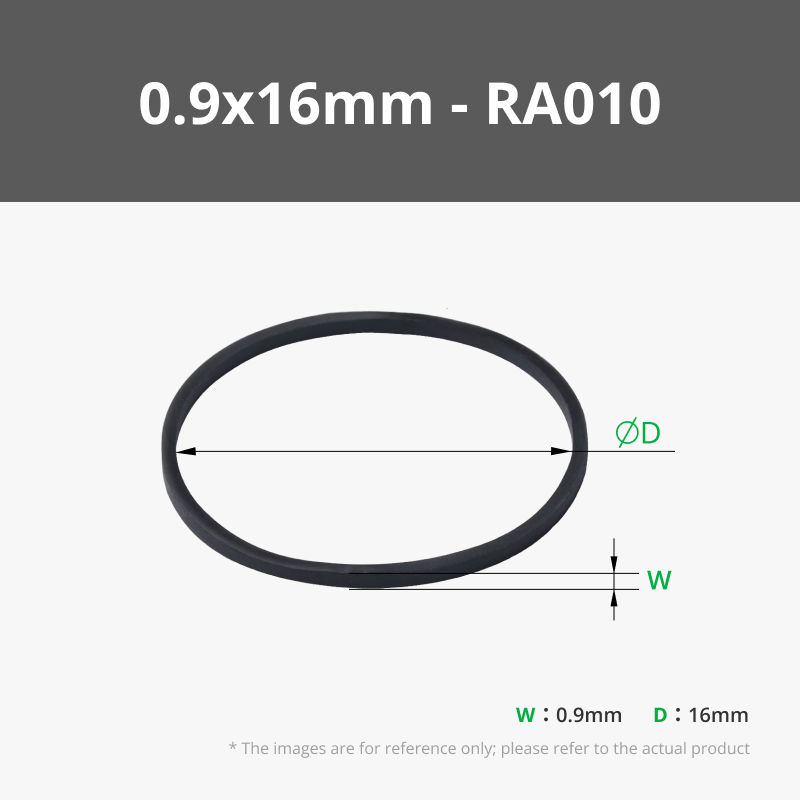
The two internal arms are held under tension by a rubber band and each carries half of the ring.
Pressing the button releases the arms. They spring upward, pushing the side flaps open as they move. At full extension, the arms hit mechanical stoppers. The sudden stop transfers momentum to the ring halves, launching them forward.
Inside the diamond are a whopping 12 magnets (5 mm diameter, 2 mm tall), arranged in four stacks with opposite polarities. This ensures the ring halves self-align and couple cleanly, even if the finger placement is slightly off.
Once the arms reach maximum travel, the rubber band disengages. Gravity and recoil pull the system back down, and the flaps close automatically.
The full cycle completes in the blink of an eye.
Assembly
- Insert the two arms onto the axles in the main body and rotate them down until they click into the locked position. (Diamond holder part facing away)
- Connect the rubber band between the hooks at the top of each arm.
- Carefully slide the button into place to avoid premature triggering. (Triangle bit facing you)
- Insert magnets into the ring halves in stacked pairs, ensuring opposite polarities face inward so they attract.
- Rest each ring half on the end of each arm. (Make sure they are not swapped, they rest securely in the correct side only)
- Insert the two flaps into the side holes. (Smaller downward flap facing away from you)
- While holding the flaps in place, snap the lid onto the main body. This is easiest with the whole thing on a flat table.

Or check the assembly gif:
Reset
Slide the button back out after activation. The rubber band automatically rewraps around it during the reset process.
Just take the rubber band out of the button and place it back on the arms. Sort of like the first assembly.
If you want a faster reset print the “Easy Reset Arms” print profile. In this version the arms stay up after activation and you only need to push them down to reset. They click into place.
Troubleshooting
The print should work print and play but some issues with a bad rubber band or bad print quality may show up.
The main culprit of issues is the rubber band. Try around with different rubber bands and numbers of loops if its not launching the ring into place. You are looking for probably more tension than you expected.
I found the best rubber bands are either those “rainbow loom” colorful bracelet rubber bands (folded for two loops) or (best one i tested) small dental brace rubber bands (the ones that usually connect the top and bottom braces, not the super tiny ones on each tooth).
If you are still having trouble with the rubber band, the “Easy Reset Arms” print profile is a lot easier to use with non ideal rubber bands.
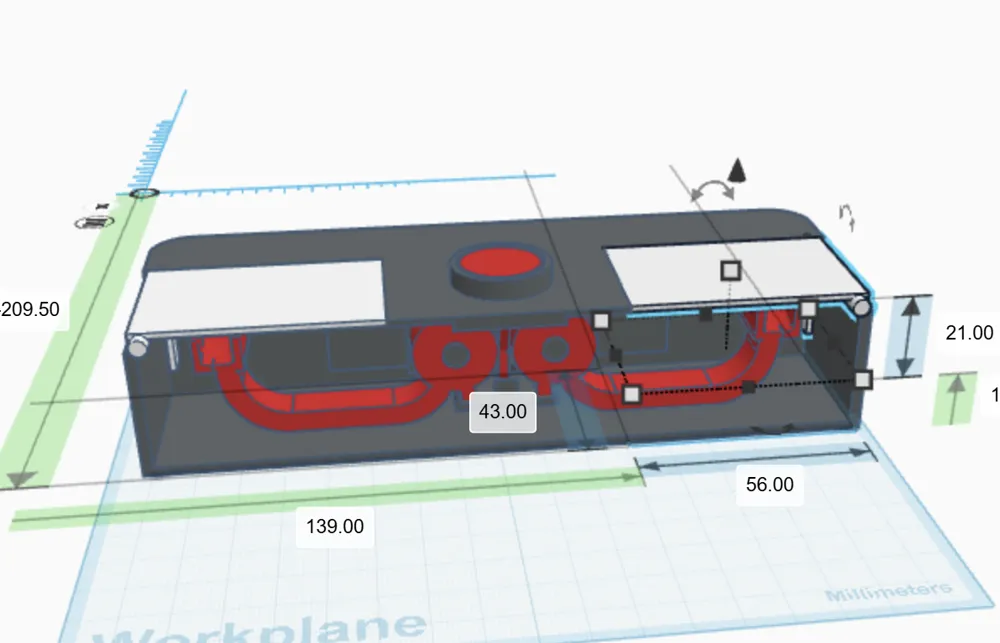
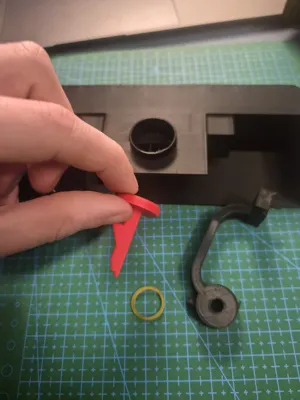
If you have issues with timing (one arm launches before the other) make sure the two arms are symmetrical in this area (pic below). A little bit of filament may make it so that it is easier for either to escape. If that is the case take a small blade and cut a bit of either the arm locking thing or from the sides of the little slab that the button pushes on.
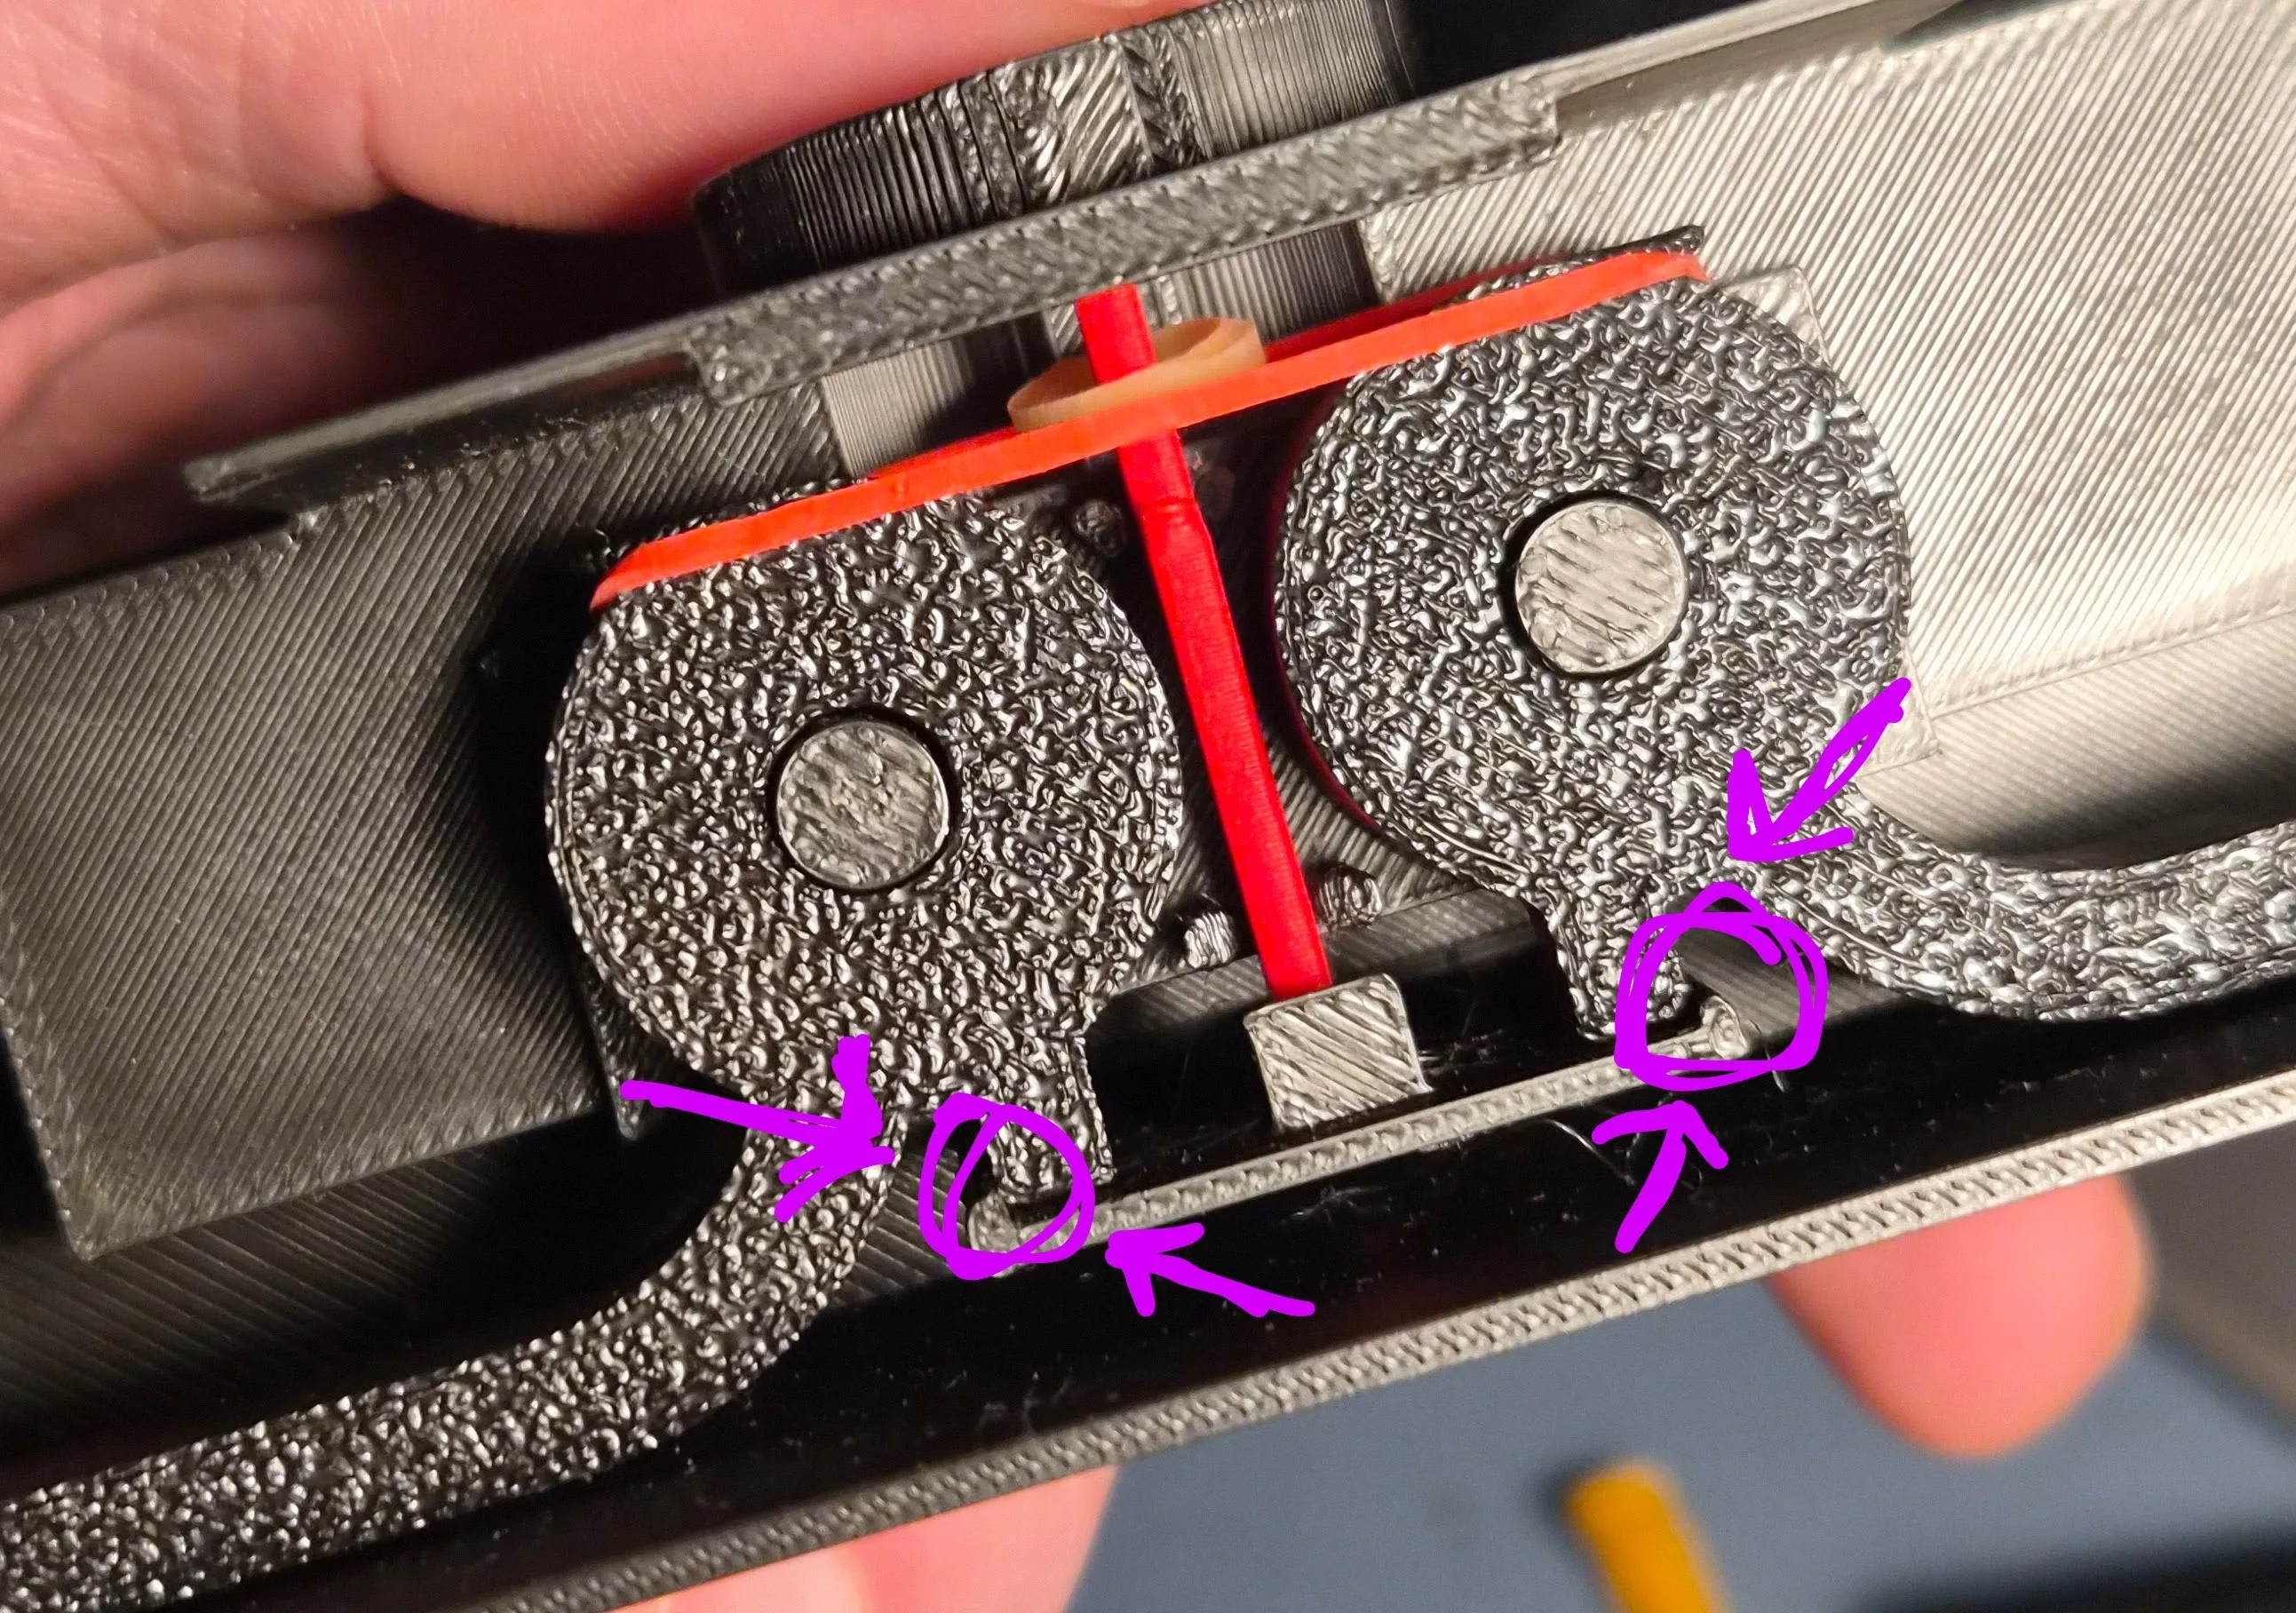
If there is still an issue, try testing the machine without the side flaps. If it works now then you probably dont have fully free rotating flaps. Try sanding down their axels. If that still doesn't work you can replace them with two black paper rectangles and their weight can no longer be an issue.
Boost Me (for free)
I make these models as a hobby, if you would like to support me you can boost me for free!
If you want to support me you can buy me a coffee :)
Documentation (1)
License

You shall not share, sub-license, sell, rent, host, transfer, or distribute in any way the digital or 3D printed versions of this object, nor any other derivative work of this object in its digital or physical format (including - but not limited to - remixes of this object, and hosting on other digital platforms). The objects may not be used without permission in any way whatsoever in which you charge money, or collect fees.


Comment & Rating (302)